


Would you like to save this?
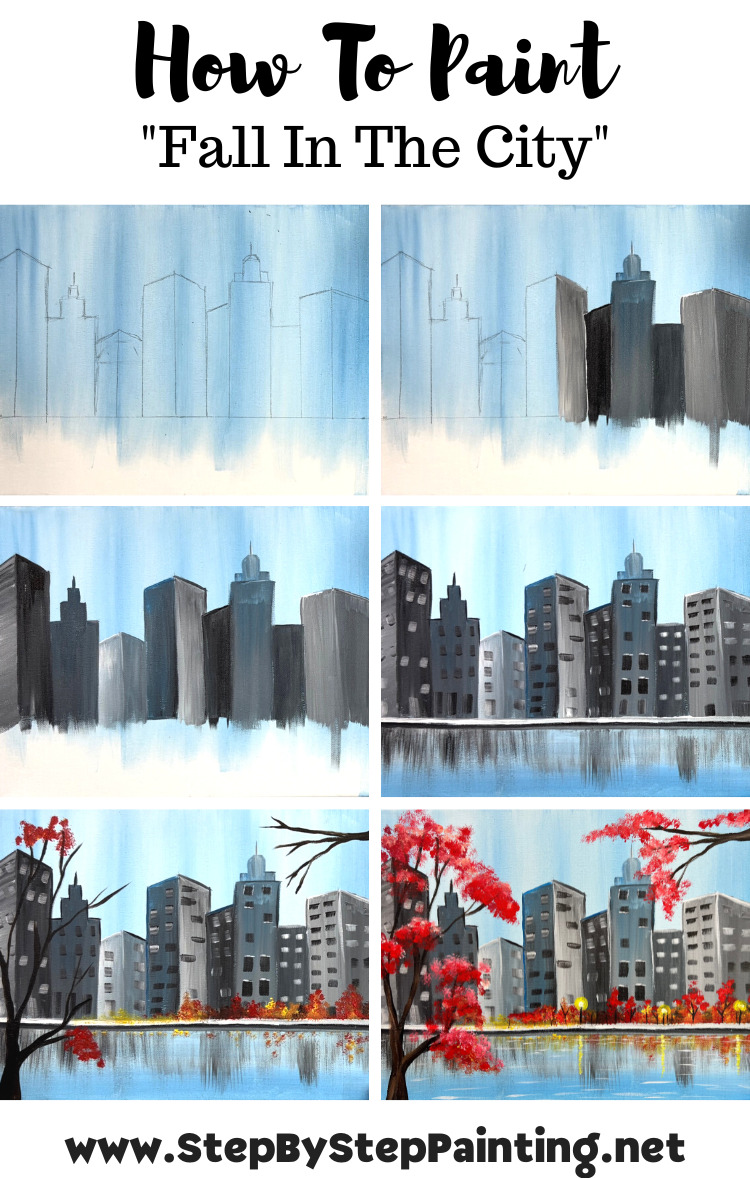
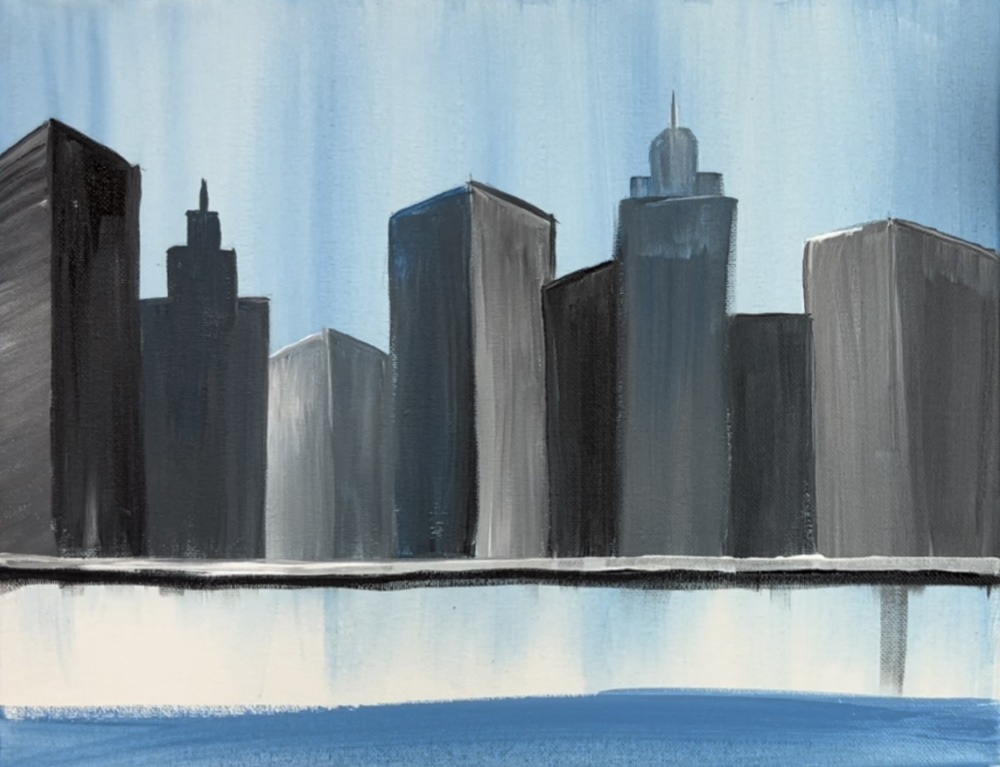
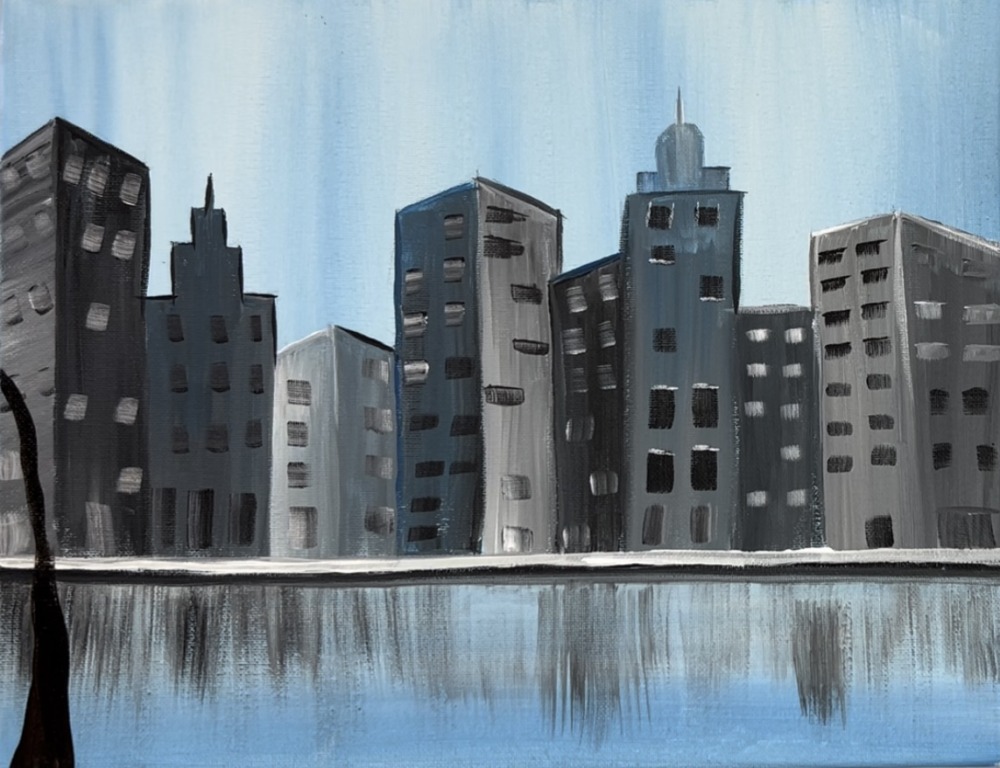
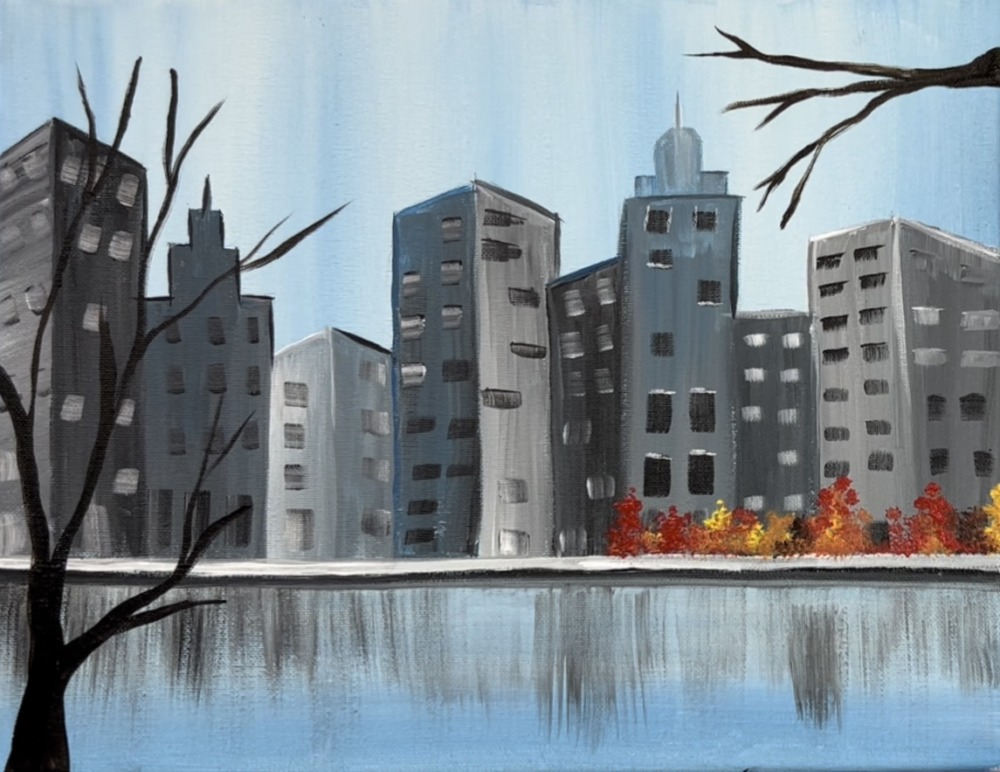
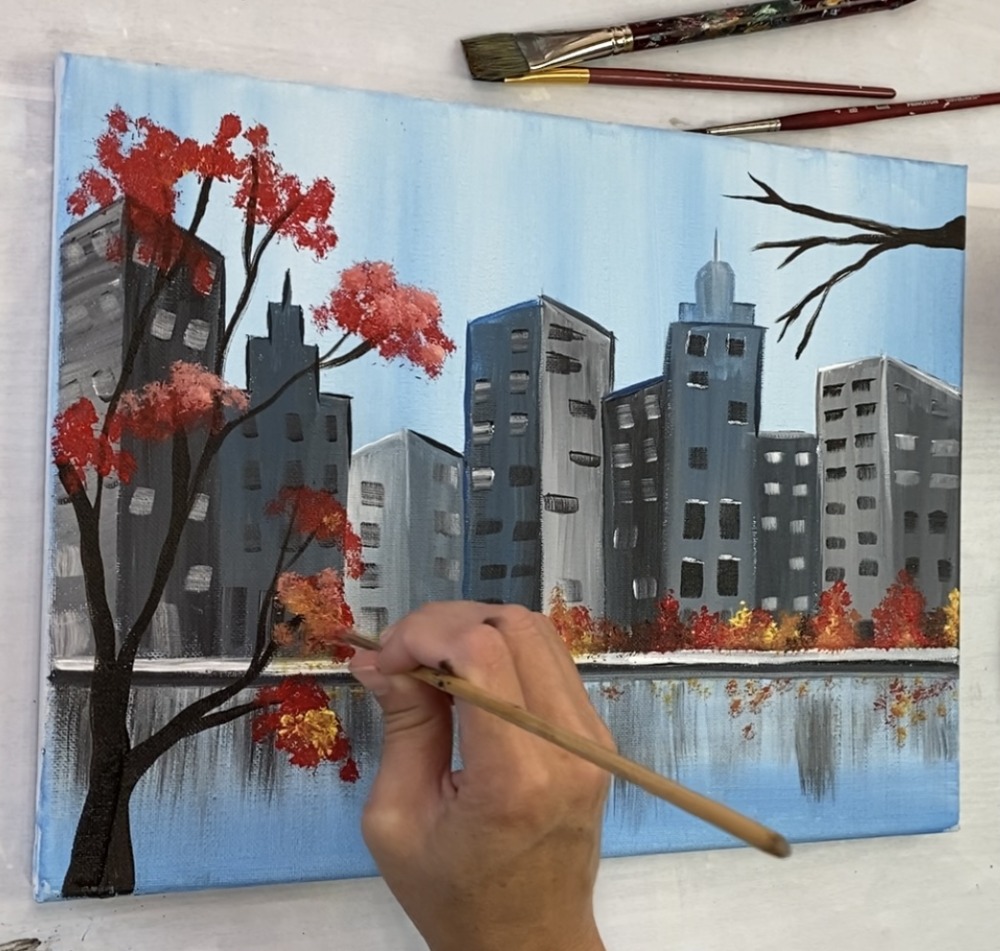
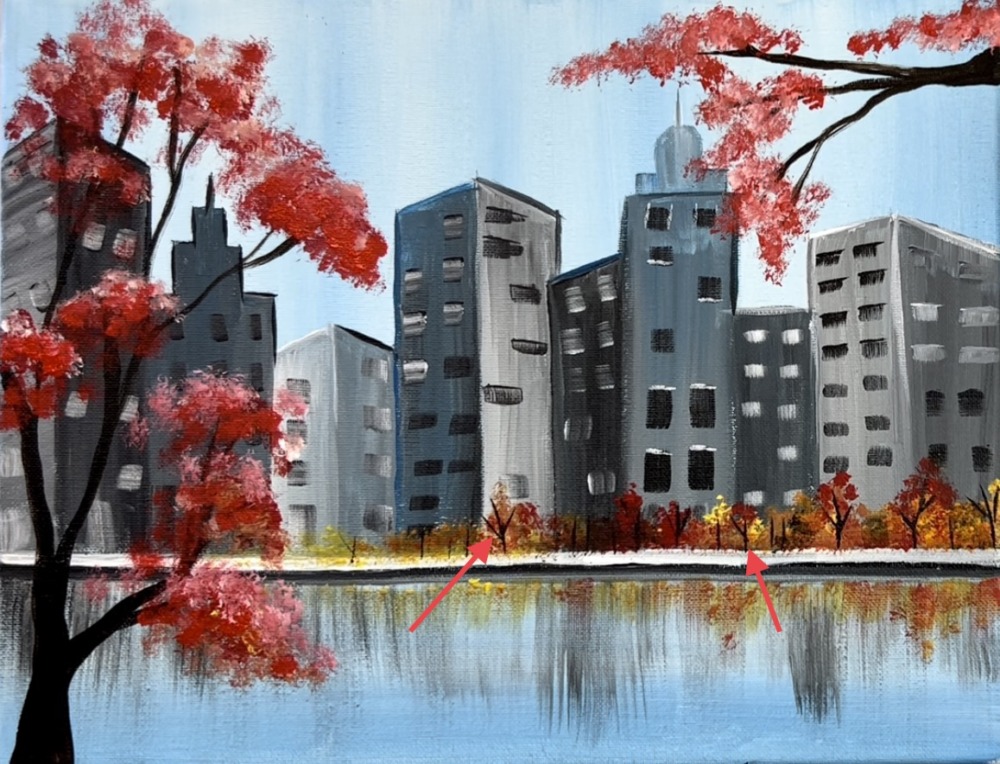
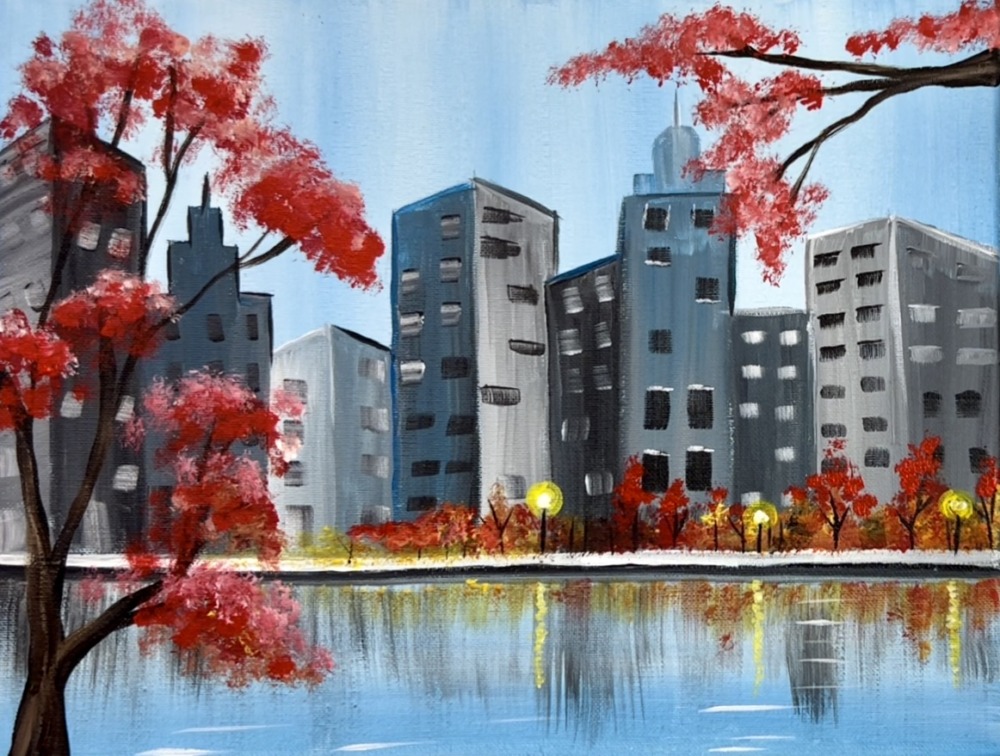
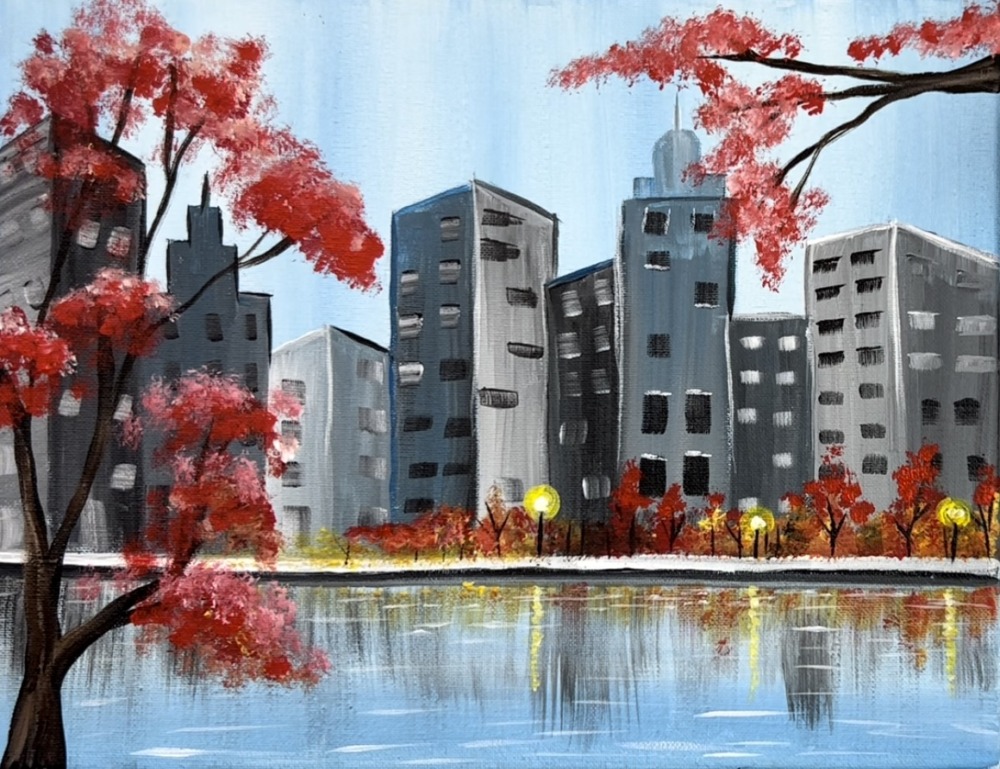
Learn how to paint an abstract city scene bursting with fall colors! I love the little lampposts way in the distance reflecting over the water. This style of painting is loose and abstract.
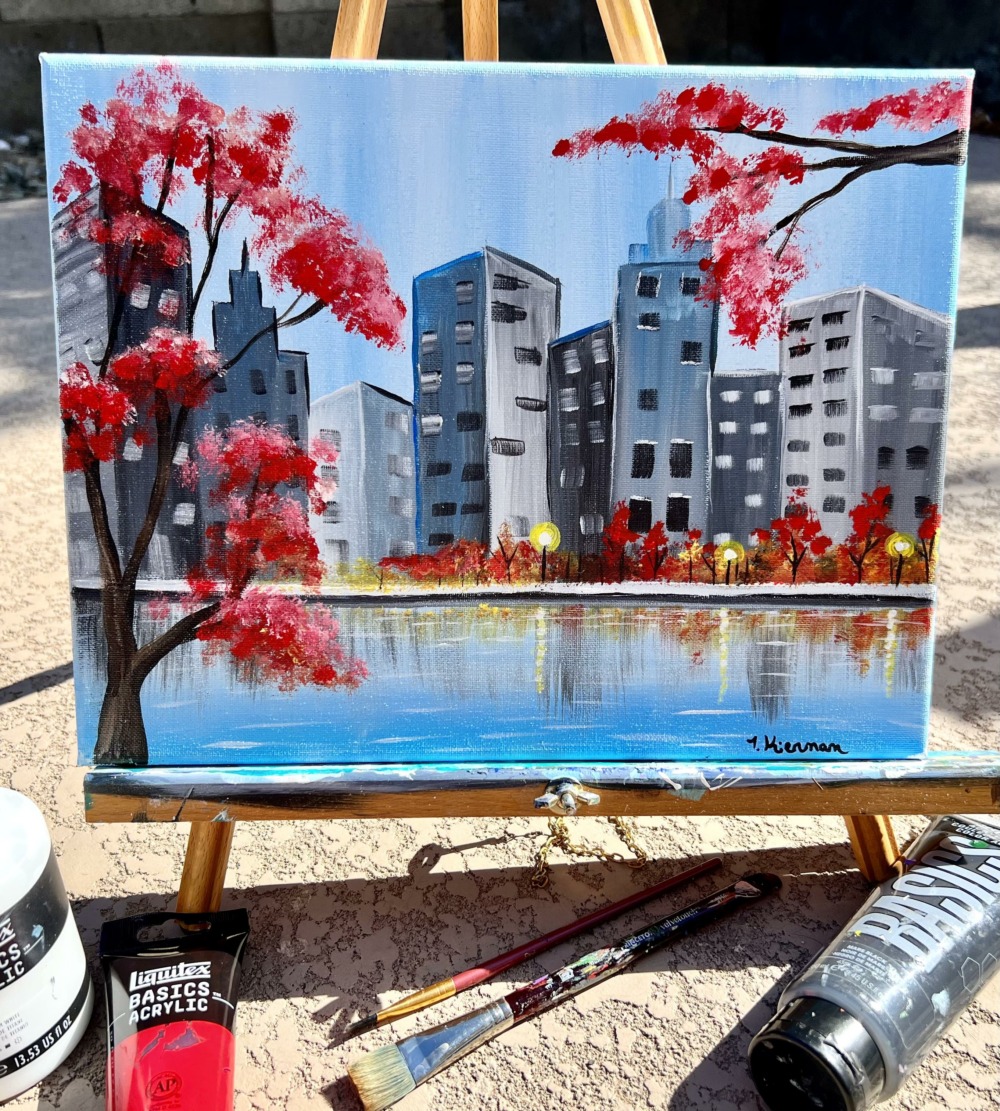
Enjoy and happy painting!
Materials Needed
How To Paint "Fall In The City"

Learn to paint a cityscape with fall trees and reflecting water.
Materials
- 11 x 14 Canvas
- Acrylic Paints
- Brushes
- Ruler (preferable a t-square)
- Pencil
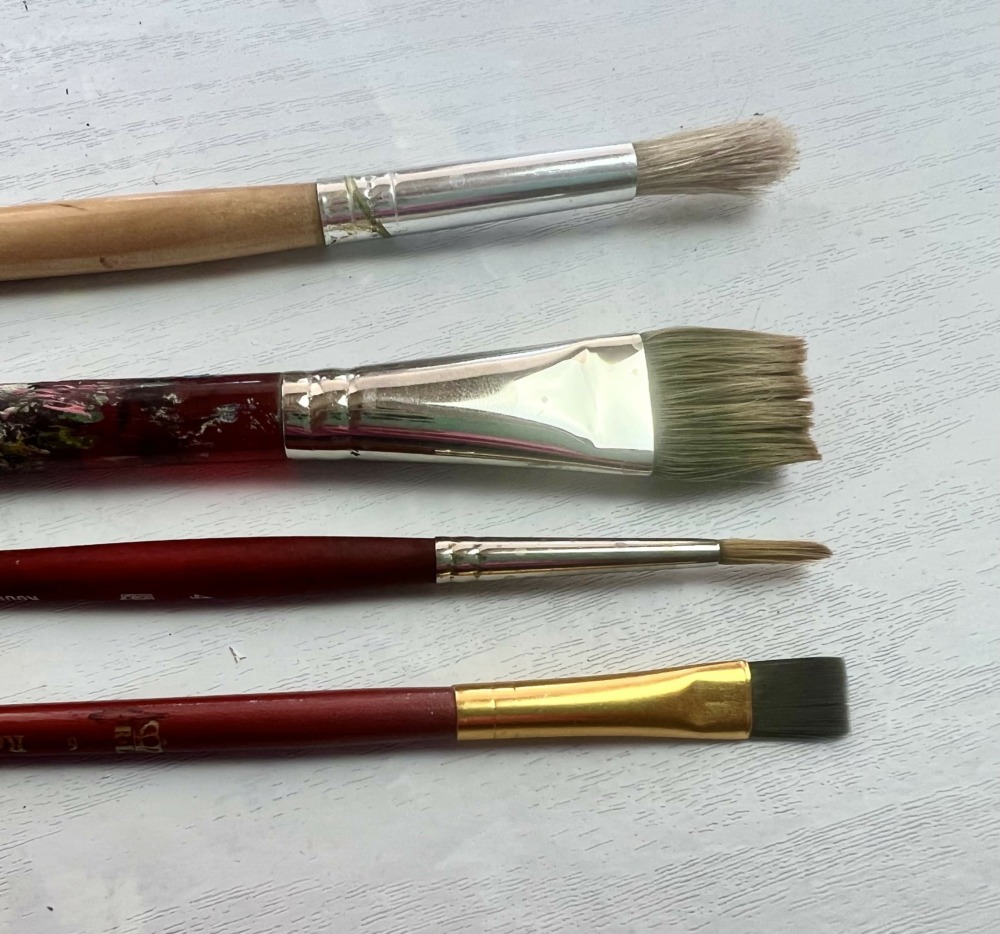
Brushes
- 3/8" or 1/4" flat brush or something similar (smaller flats will be helpful for the windows in this painting!)
- 3/4" wash brush
- #4 round brush
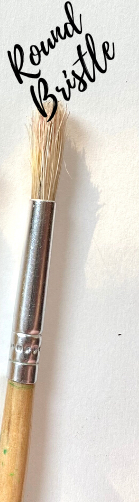
- round bristle brush
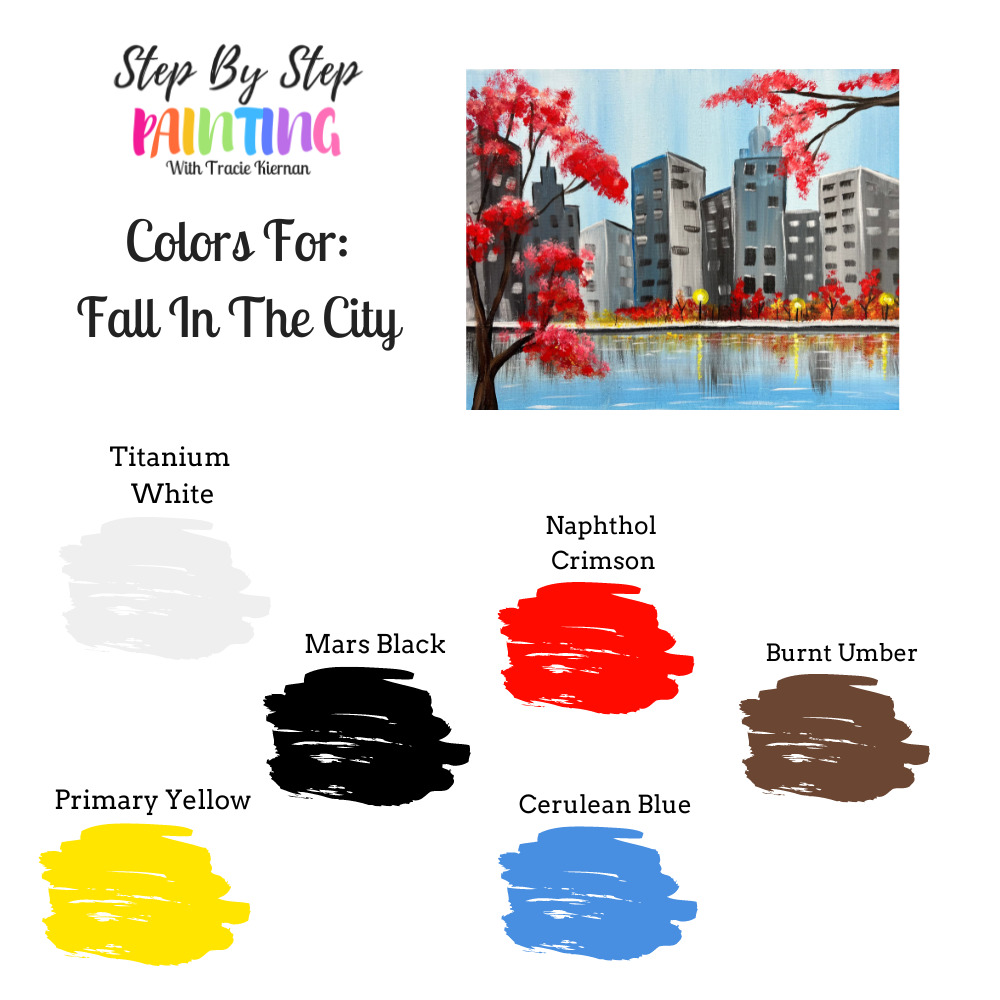
Colors
- titanium white
- mars black
- naphthol crimson (or any red!)
- primary yellow
- cerulean blue
- burnt umber
Color Palette
I used Liquitex BASICS acrylics to paint this scene! If you are using different paints, use the color chart below to try to match your colors.
Using Craft Paints?
If you are using craft paints such as the Apple Barrel Paints, I would recommend subbing to these colors:
- White
- Black
- Flag Red
- Melted Chocolate
- Yellow Flame
- Parrot Blue
Brushes
Traceable
There is no traceable for this tutorial! I will be demonstrating how to draw the building using a pencil and ruler! It’s super simple!
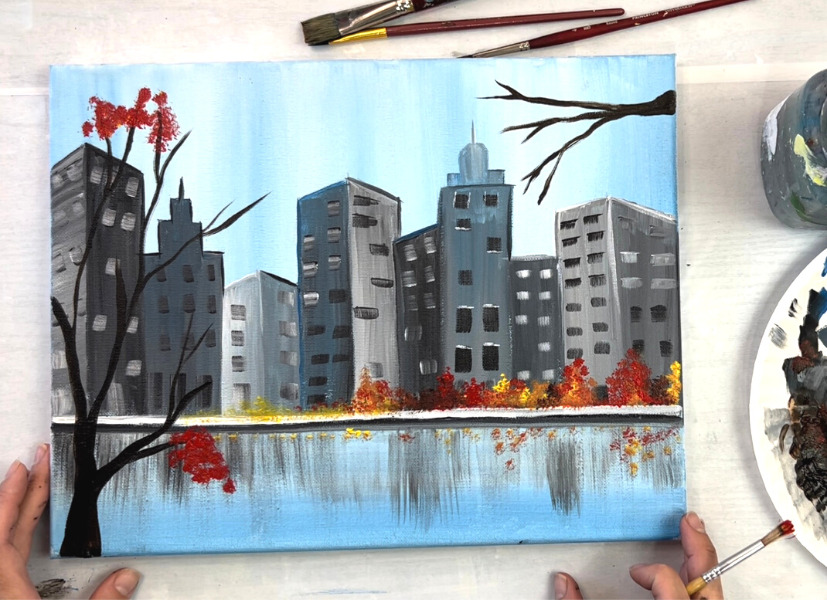
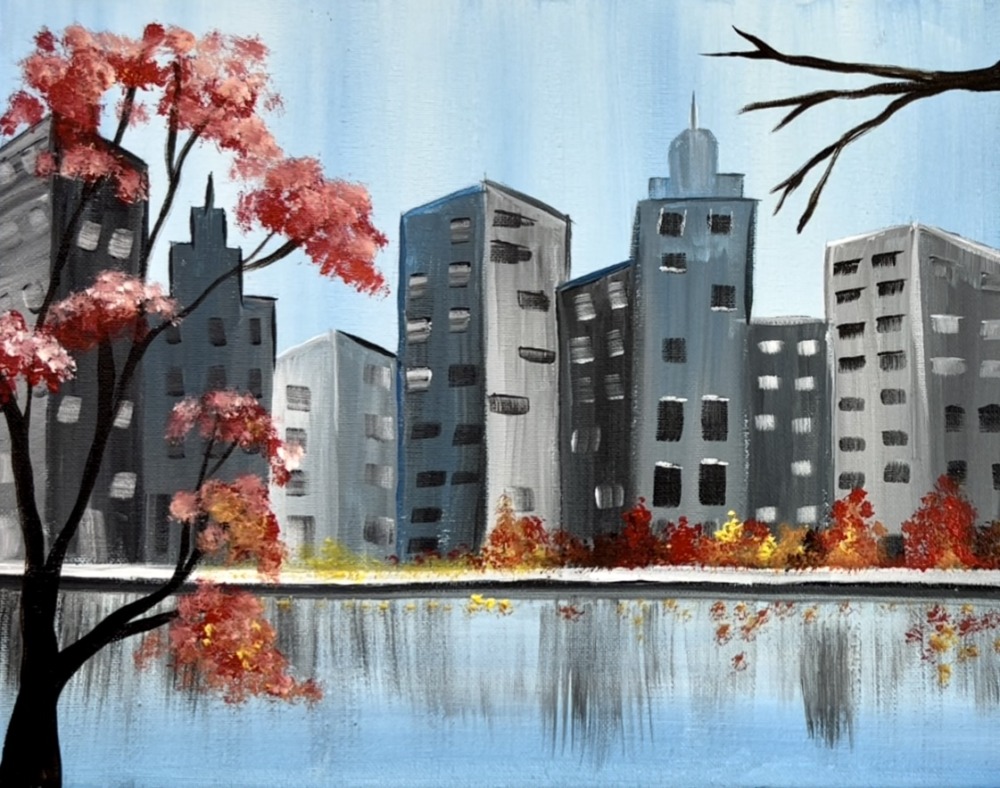
Directions At A Glance
Video
Step By Step Directions
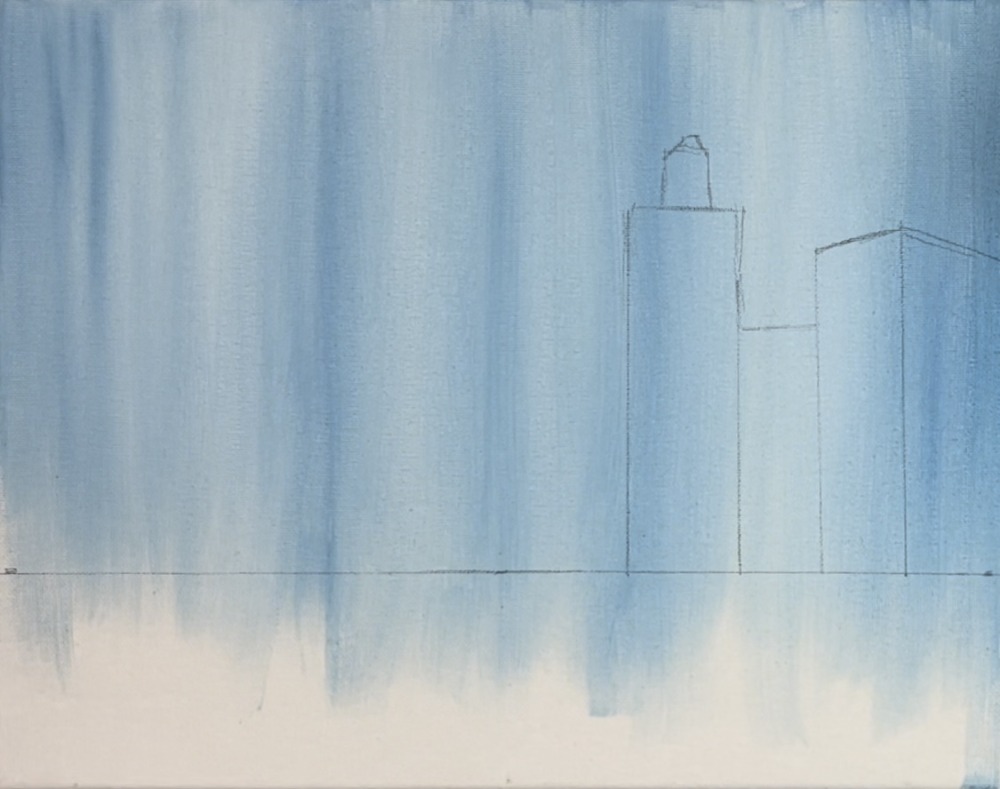
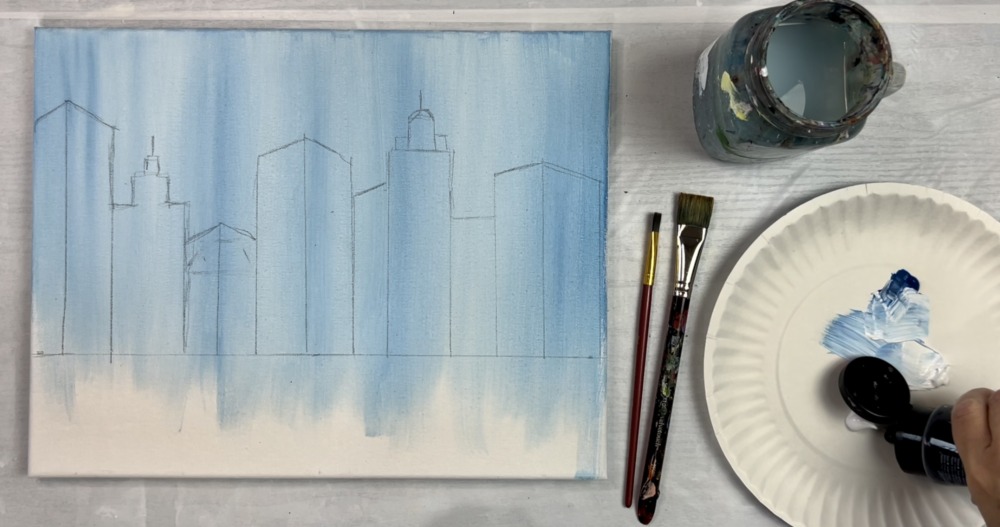
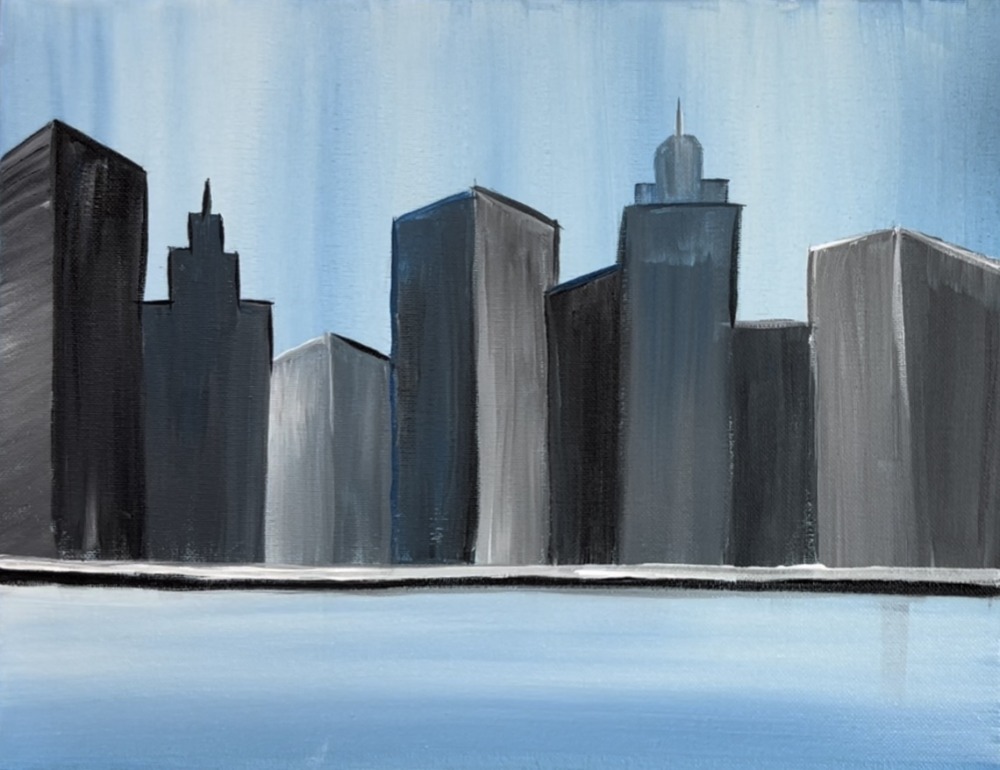
1. Paint The Sky
Load your palette with cerulean blue and titanium white. Use a 3/4″ flat wash brush. Load it into the water and pat it dry. Then double load the brush into titanium white and cerulean blue (load a higher proportion of white to blue).

Next, paint vertical strokes blending the blue and the white. Leave about 1 two inch gap on the bottom of the canvas.
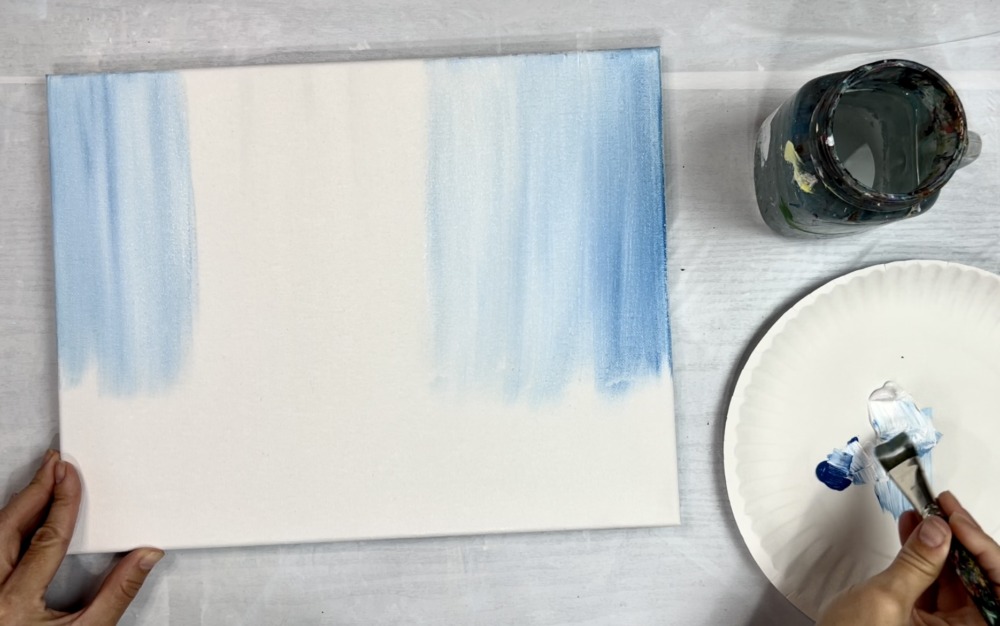
Paint these vertical strokes all across your sky area. You can blend the colors all the way or leave it “streaky” and “un-blended”. This should be a relatively thin layer of paint. If needed, add a small amount of water to the paint as you are painting this.
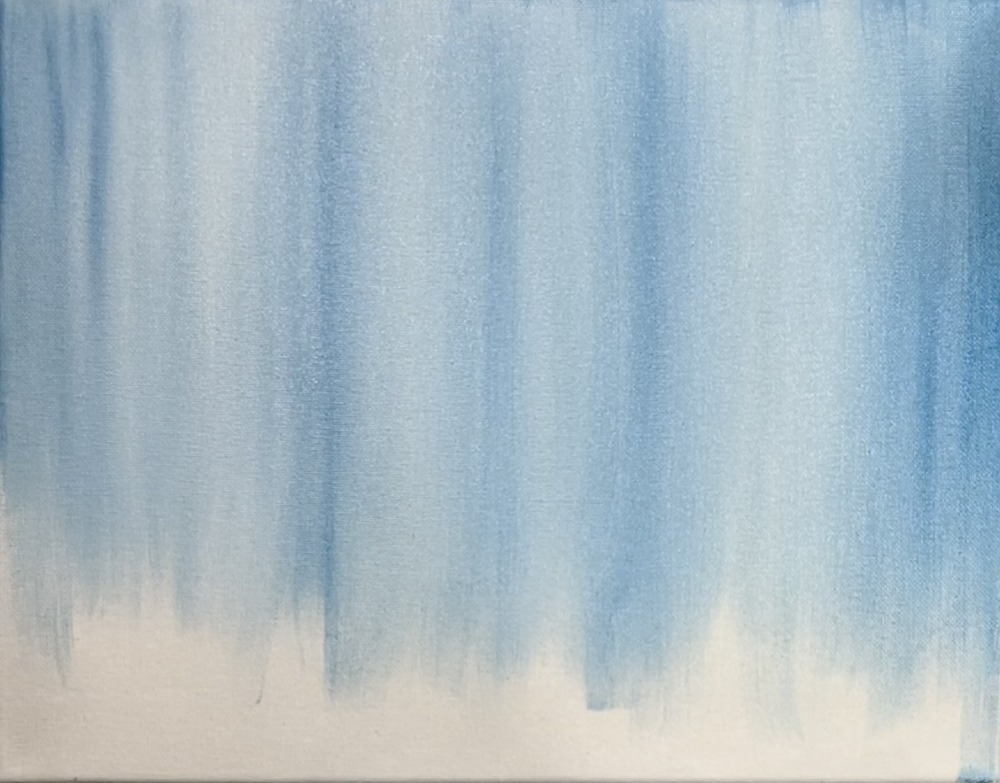
Let this dry before going onto the next step of drawing the buildings.
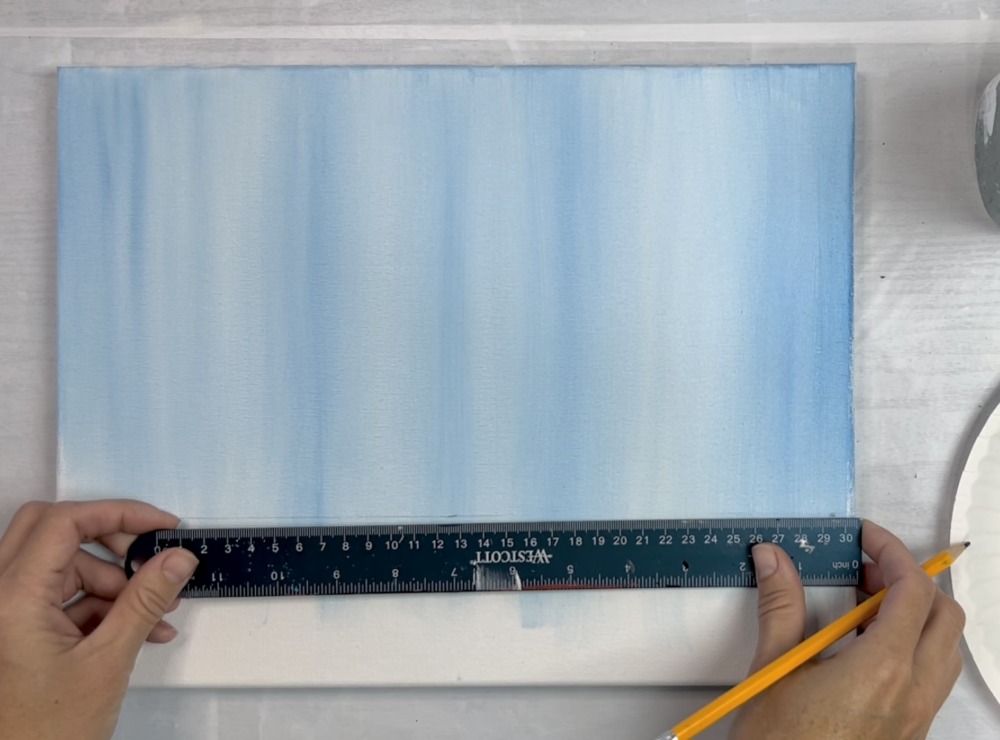
2. Draw The Buildings
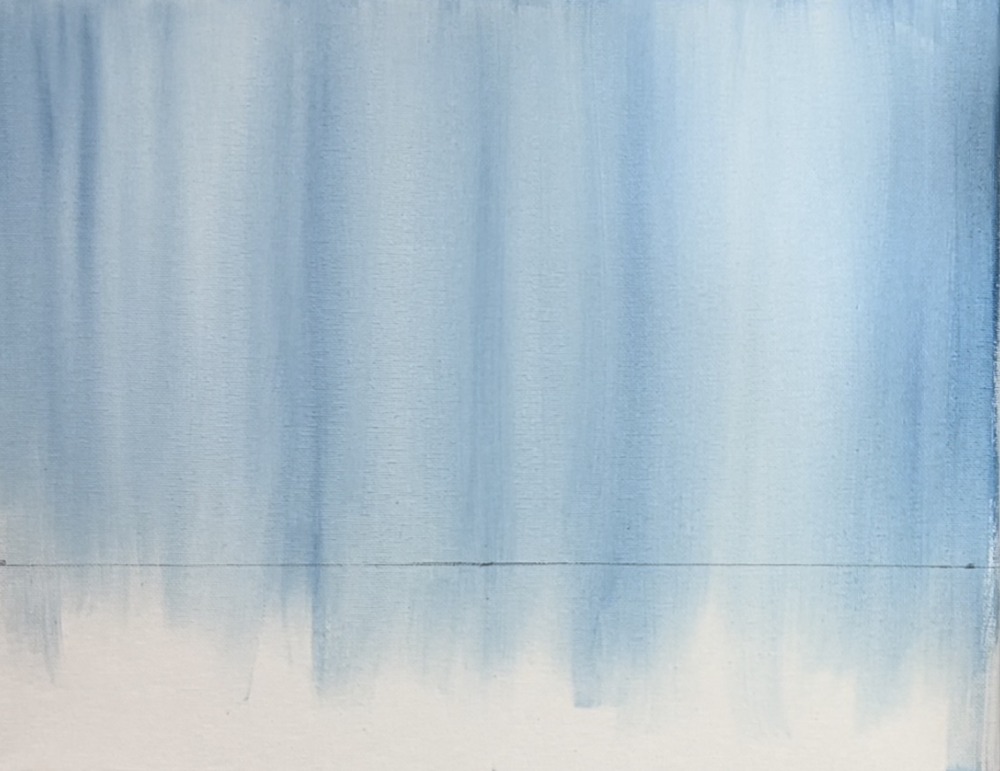
Use a ruler and a pencil to draw the buildings and your horizon line. Measure 3″ from the bottom of the canvas.
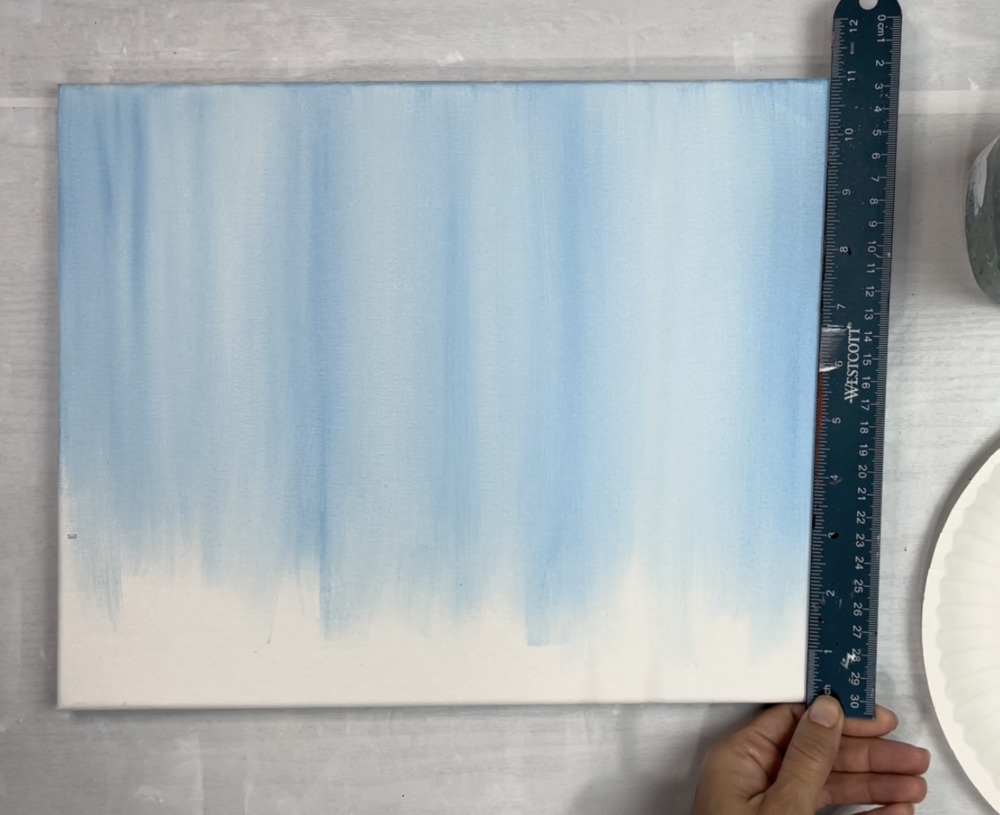
Next, draw a horizontal line going across the canvas.
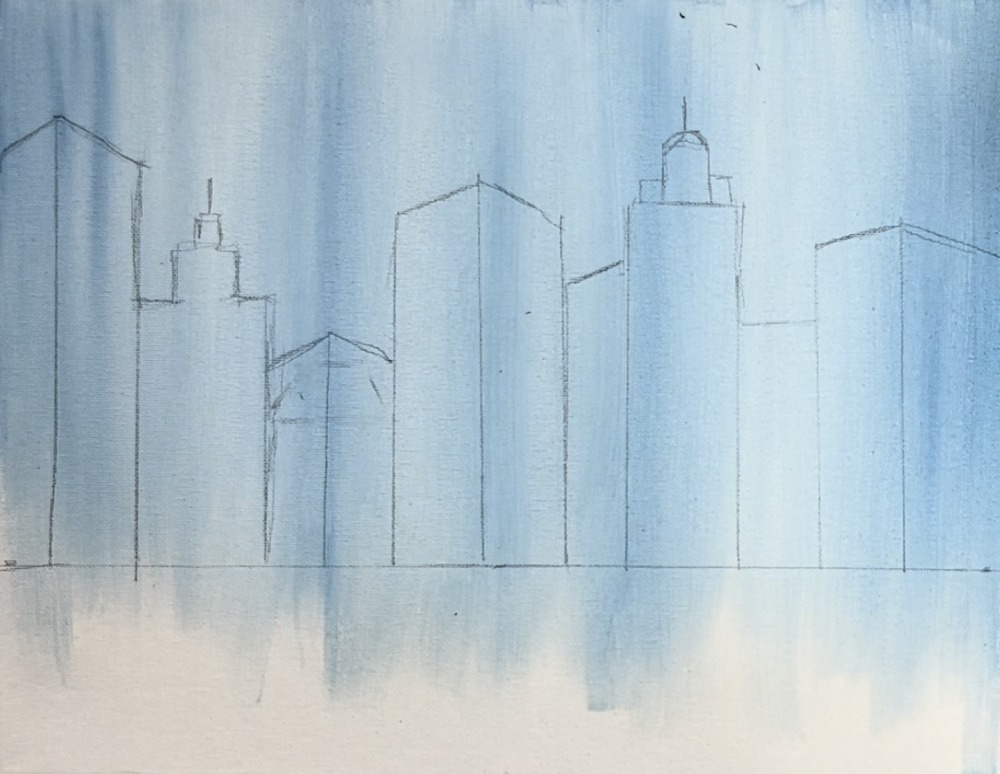
Then draw your buildings. These should be a variety of heights and shapes. To make them look “3D”, draw an obtuse angle.
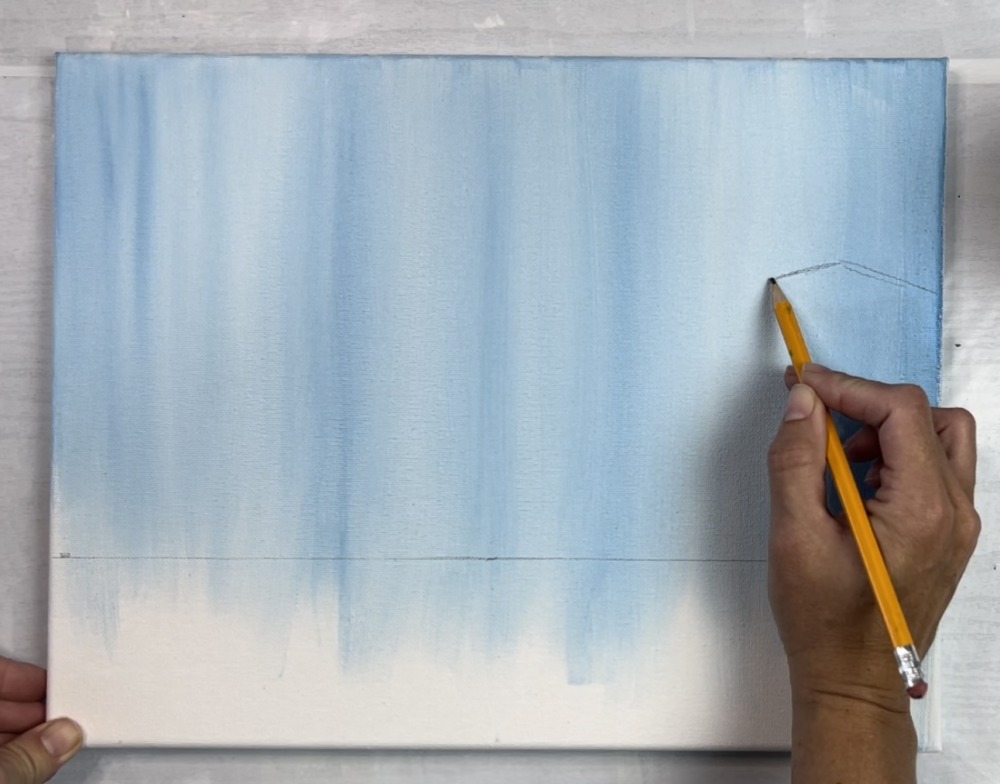
Then draw vertical lines. One line goes down the middle where the point of that angle is.
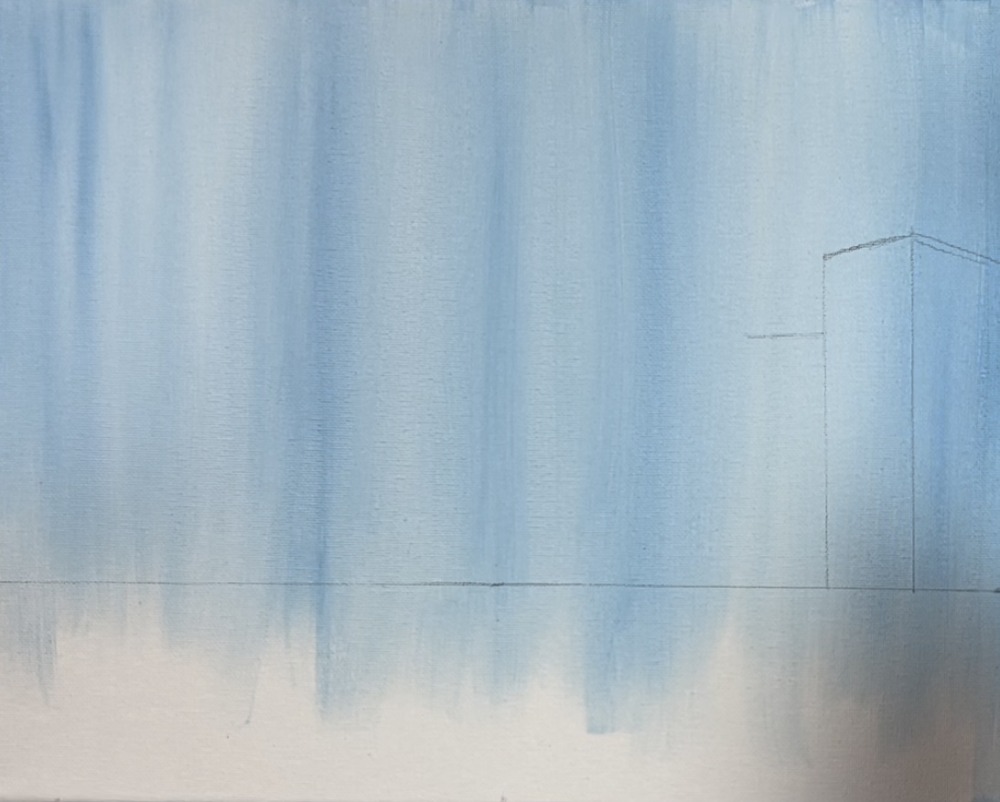
Draw horizontal lines and vertical lines. Draw a wide variety of heights in the buildings and vary the tops with different shapes and radio towers.
Some buildings can look “3D” and others can look more flat.
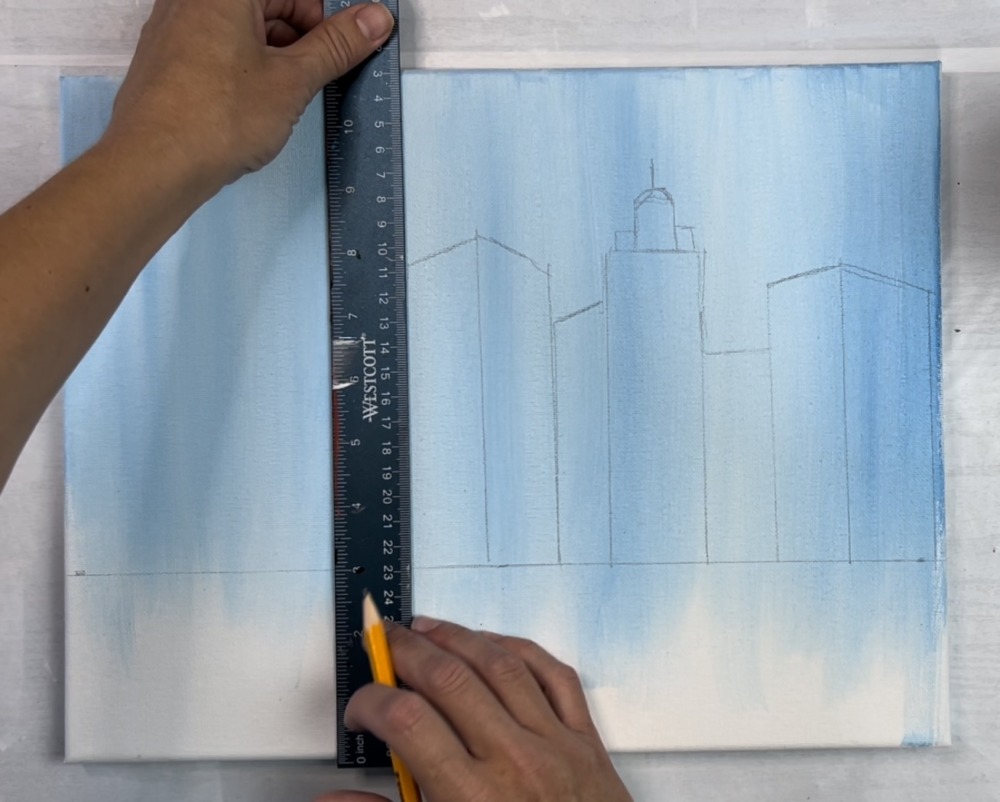
Each building is touching the one next to it.
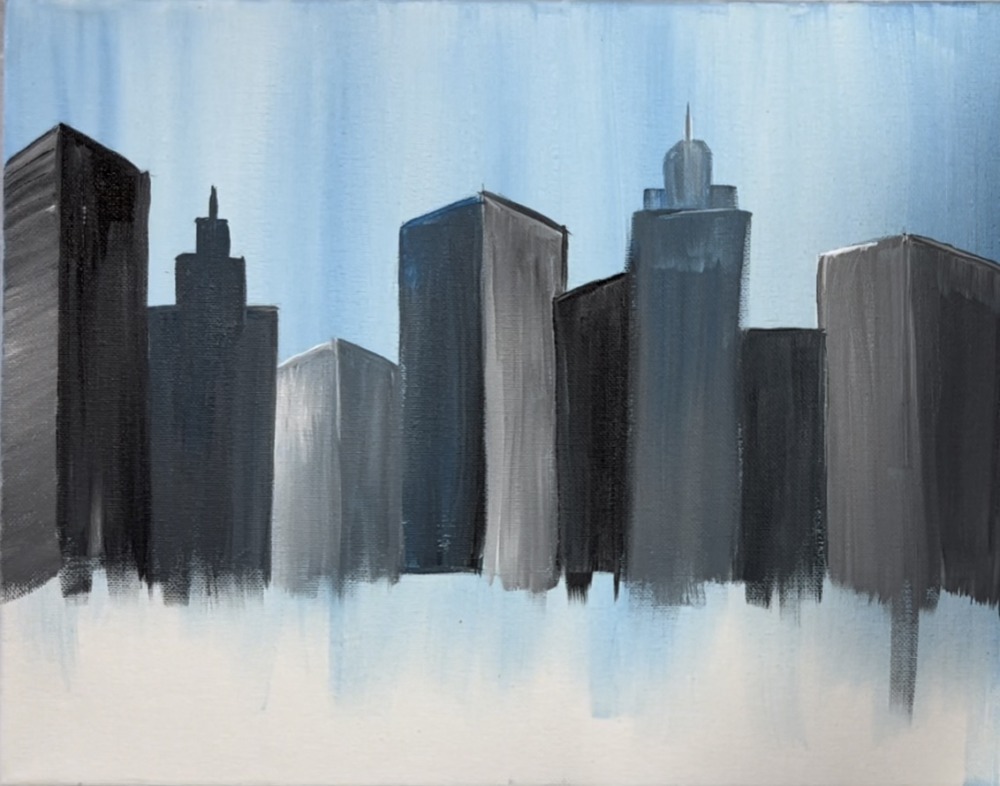
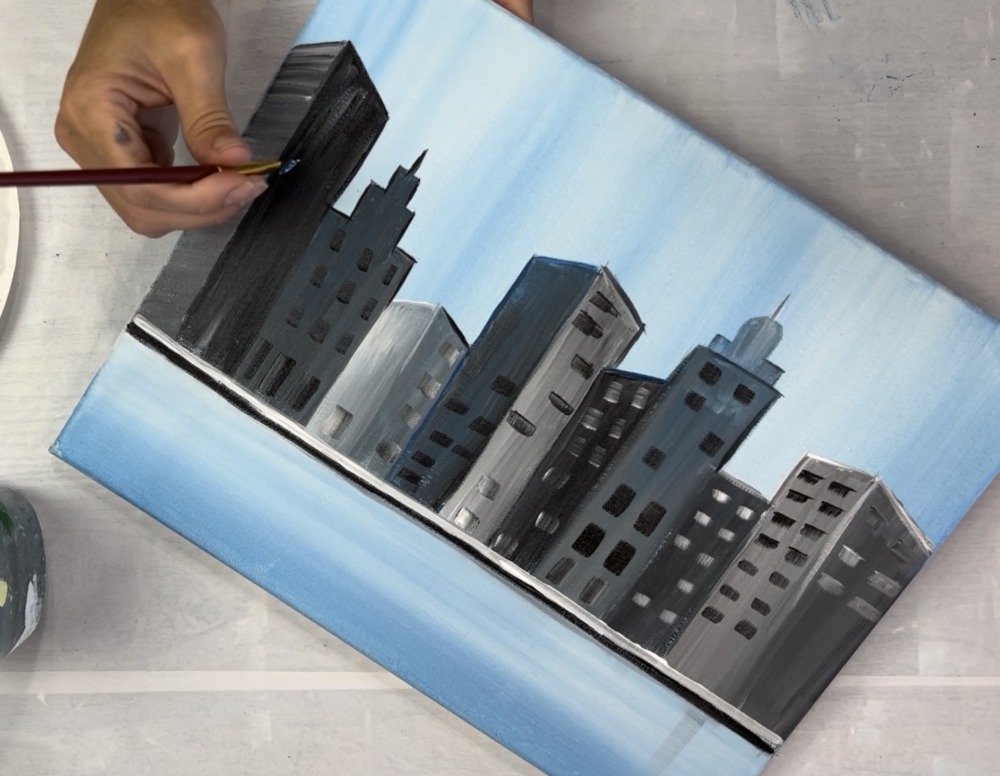
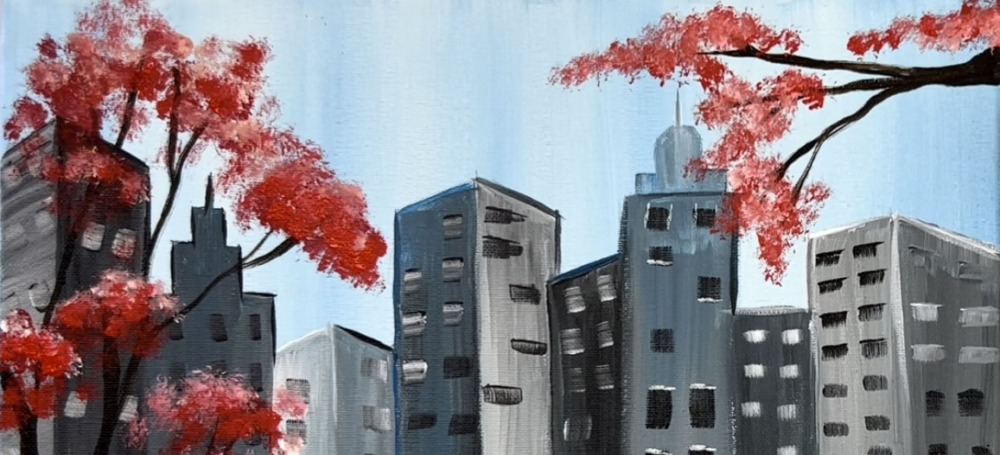
3. Paint The Buildings
Load your palette with mars black and titanium white. Add more cerulean blue to your palette if needed. To paint these buildings, you are going to mix a variety of grays and blues.
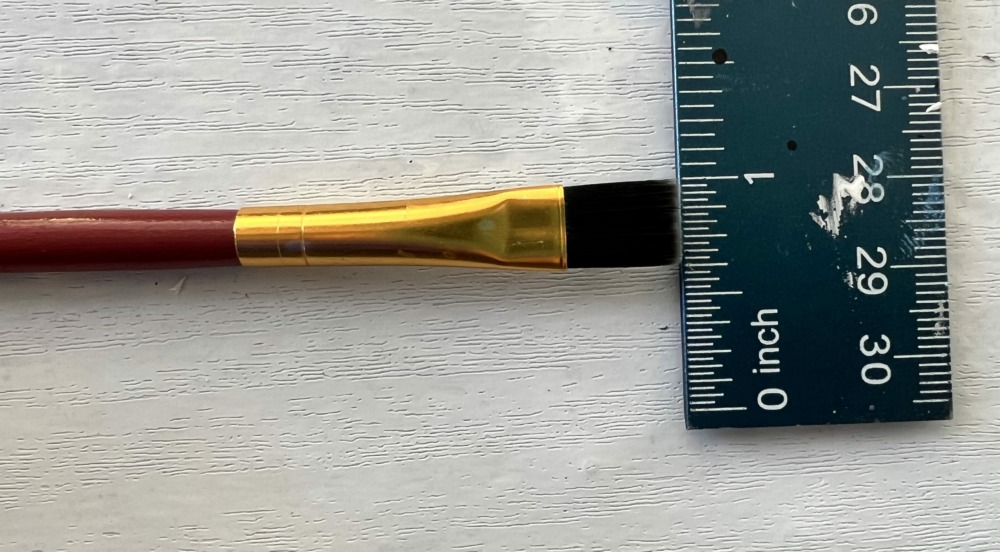
You will be using a 3/4″ flat wash brush and a 3/8″ wide flat brush. If you don’t have the 3/8″ wide brush, use and flat brush that is small and has a flat tip. It does not have to be this exact size! Any small flat brush will work…
Use both of your flat brushes to paint the buildings using vertical strokes. Use the large brush to paint the large areas and the smaller brush for the smaller areas. Paint the buildings one shape at a time. As you go to the next shape, change the shade of gray by adding more black or white to it. You can also add blue into your gray to create different shades of blue-gray.
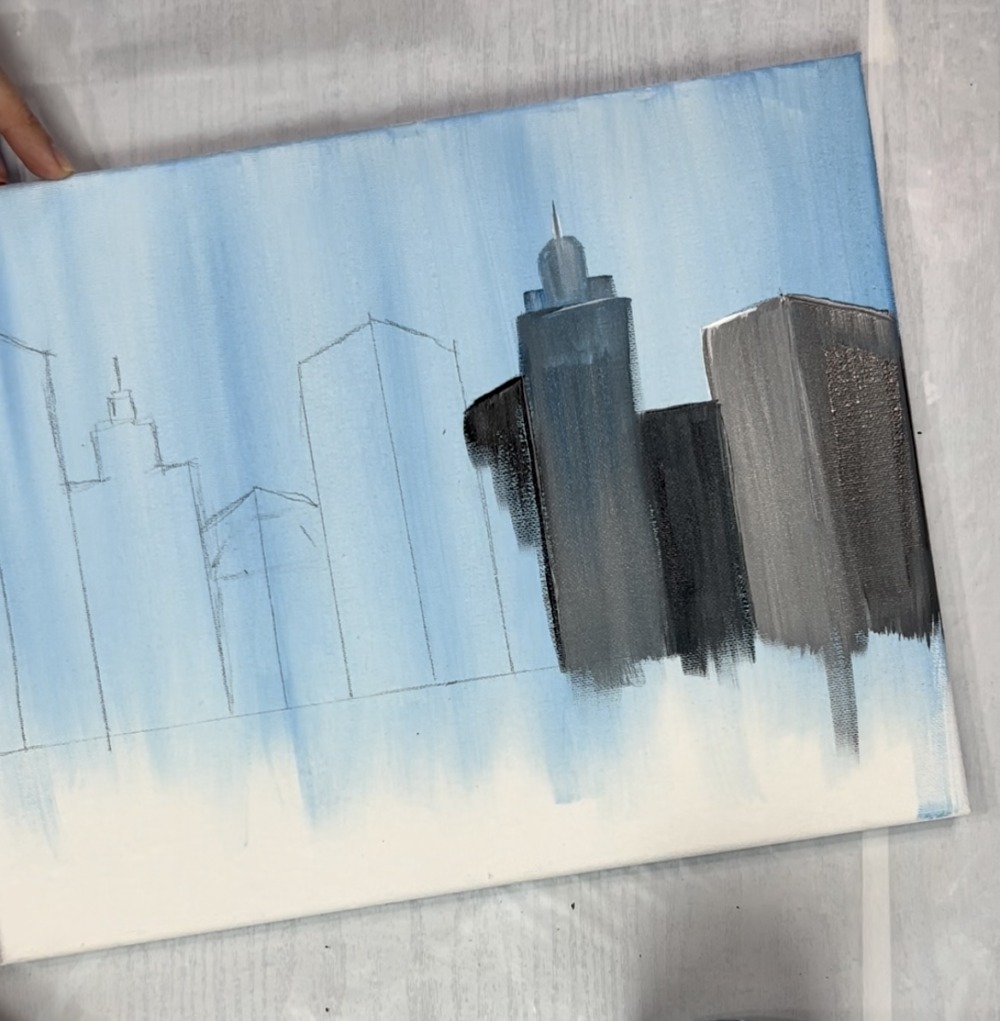
You do not need to mix your colors all the way. You can leave them “un-blended”.
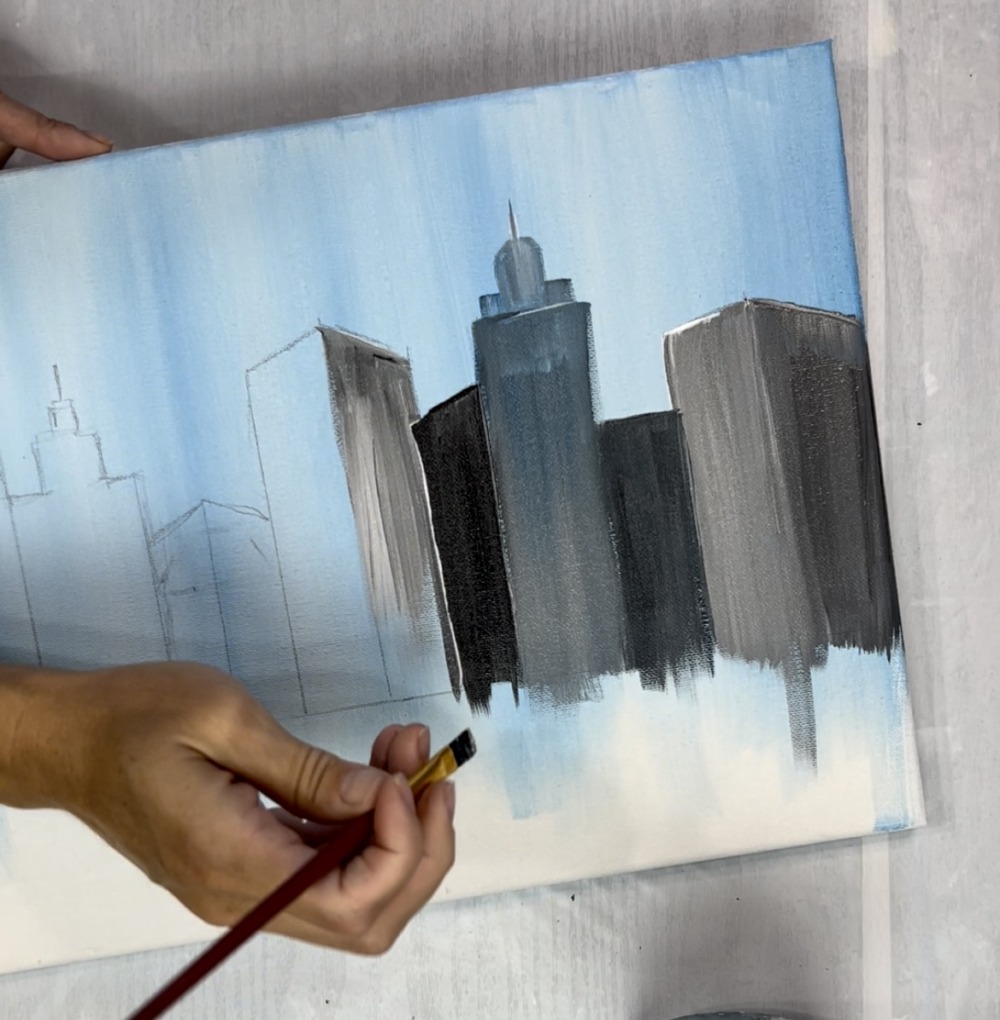
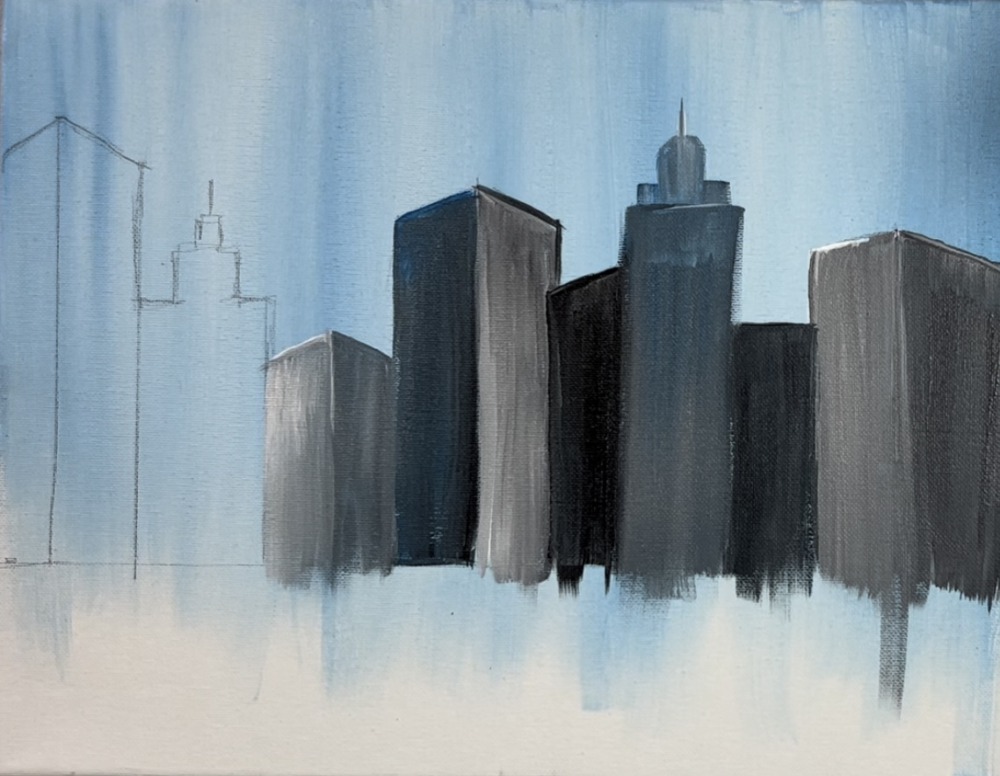
Note that the “depth” in the buildings is created by varying the grays. Try to make each building a different shade of gray and try to make the building shapes have “contrast” to the one next to it. Fore example: a “3D” building has a lighter gray on one side and a darker gray on the other side.
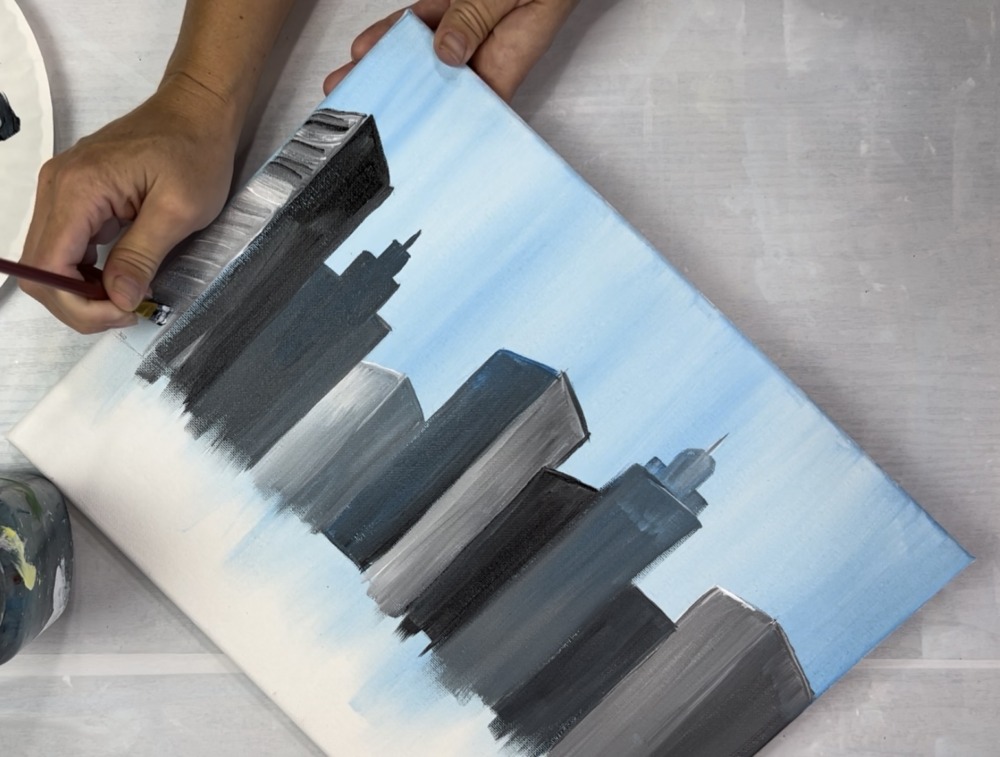
You can make your building paint strokes go at an angle if you want. You don’t have to have all your strokes go in a vertical direction.
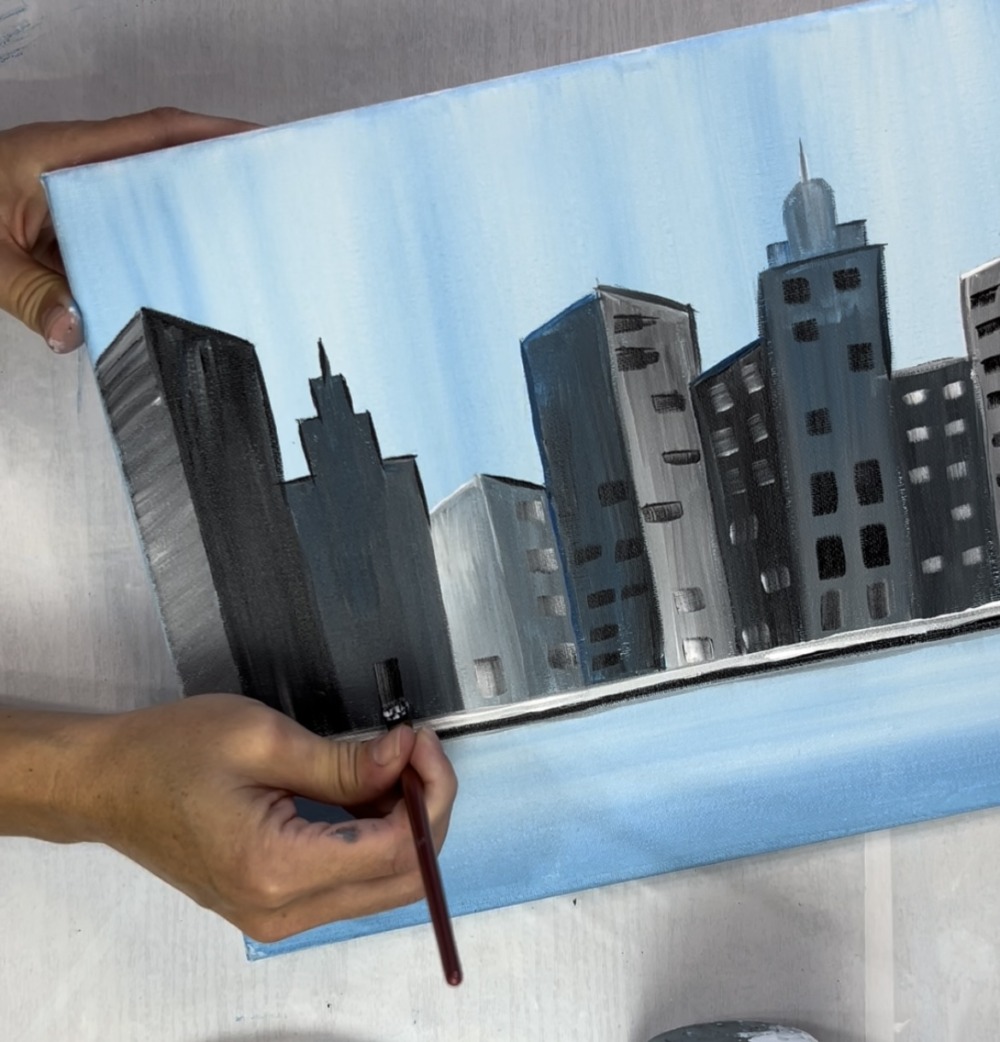
4. Paint The City Ground Line
Use a ruler to re-define your ground line. This is the line that you drew at 3″ from the bottom. Paint a thin white line using the small flat brush.
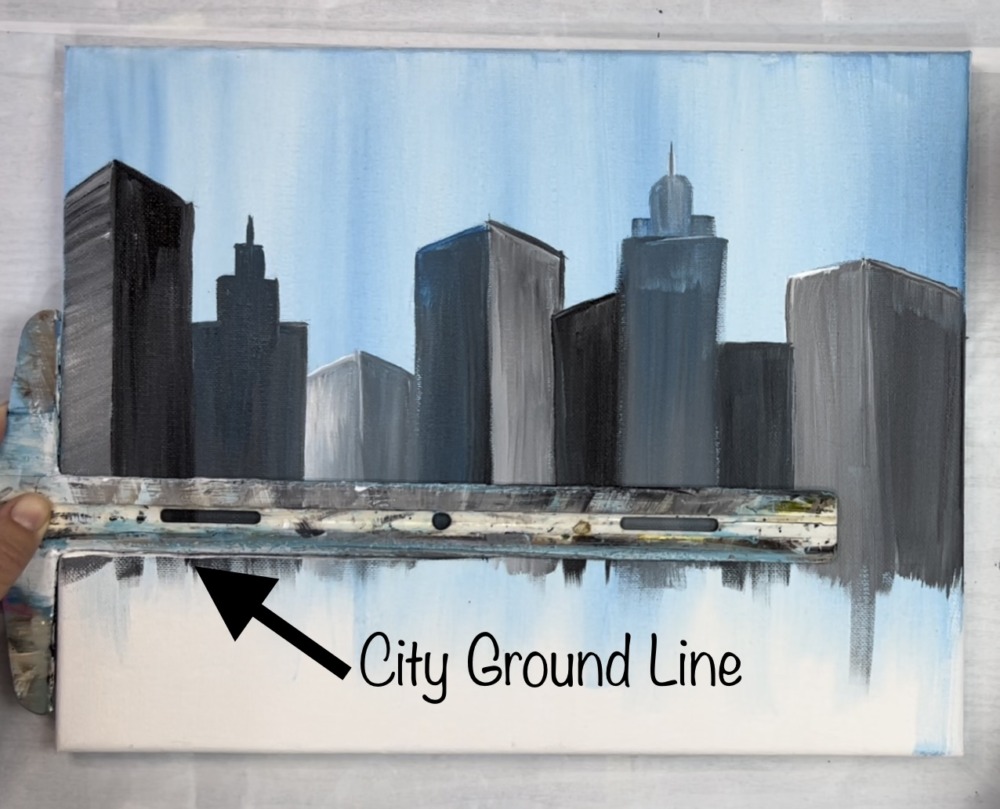
Paint this white line all the way across. Then paint a black line underneath it.
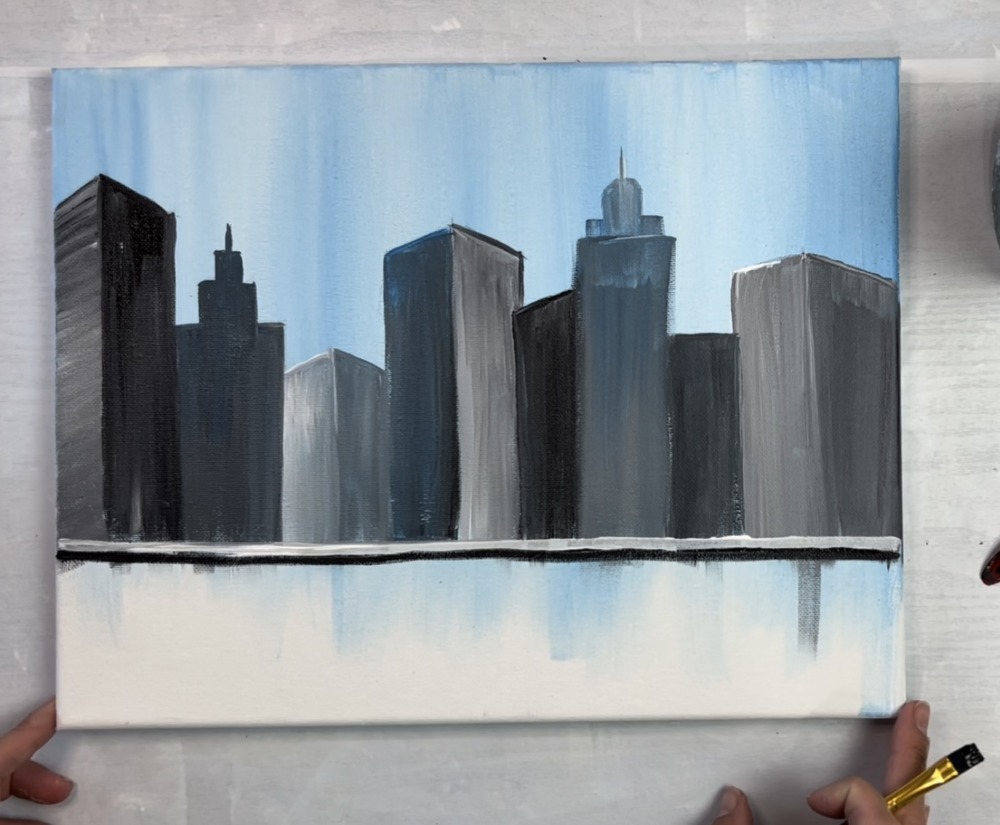
5. Paint The Water
Use a 3/4″ flat wash brush to paint the water. Start on the bottom of the canvas and paint a layer of cerulean blue. Paint left and right across the canvas.
Then gently blend white into the blue as you work your way up. Create a gradient blend of blue that blends to a lighter light blue at the top of the water.
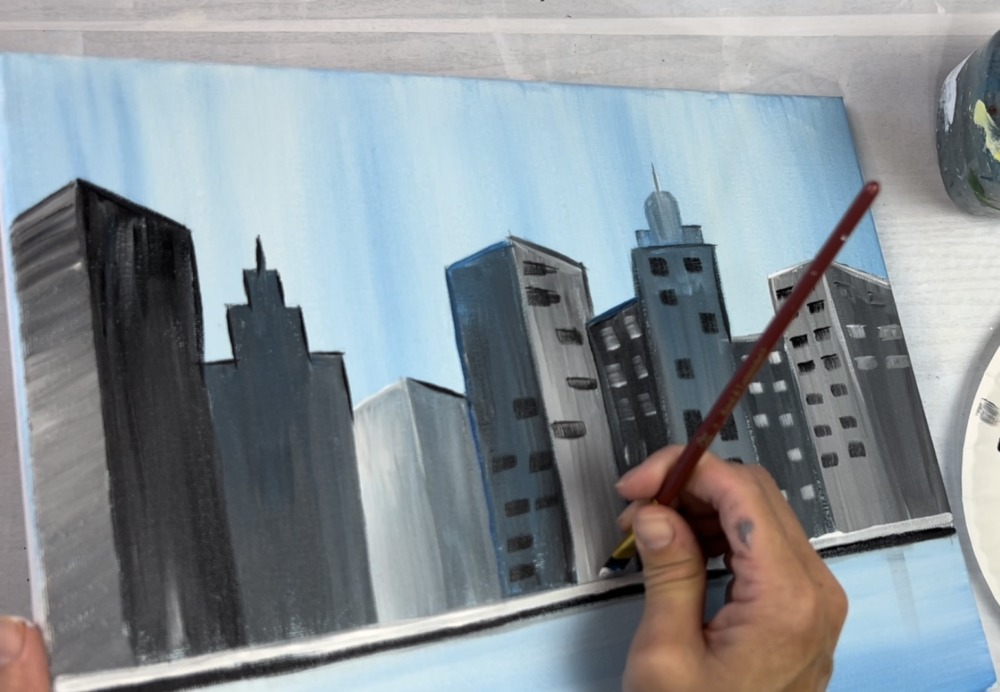
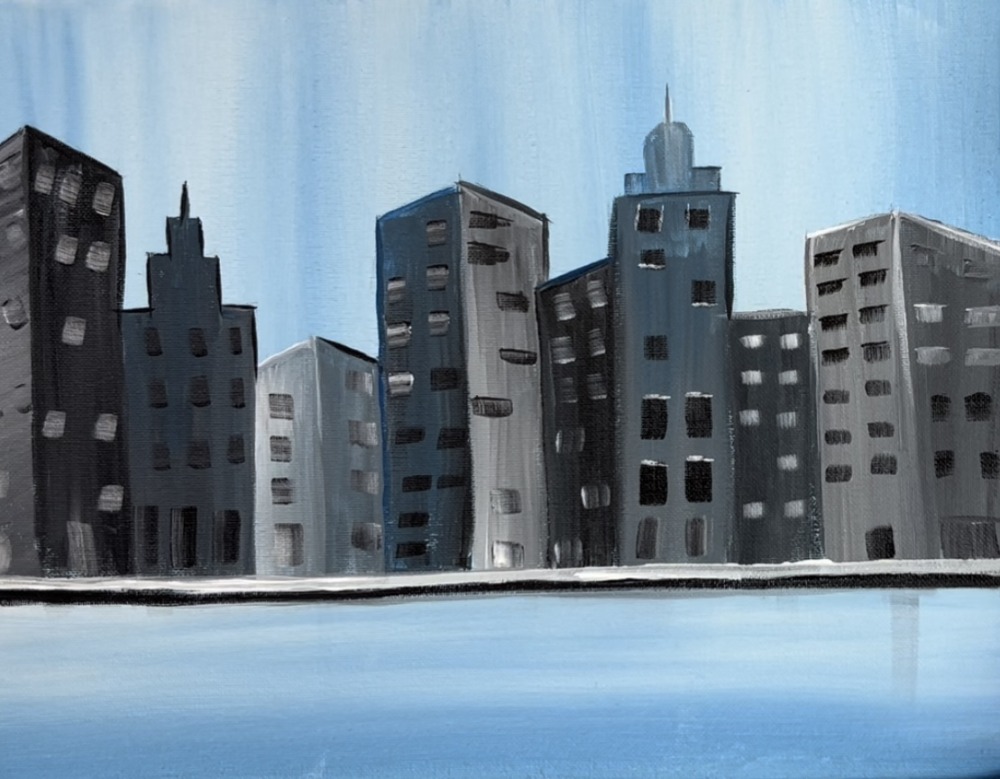
6. Paint The Windows
Use the small 3/8″ flat brush to paint the windows. Use a variety of black and white to paint each window. You’ll want to create contrast to paint the windows on the lighter buildings with a darker color and visa versa.
To do the windows, use the tip of your brush to paint a rectangle in one stroke.
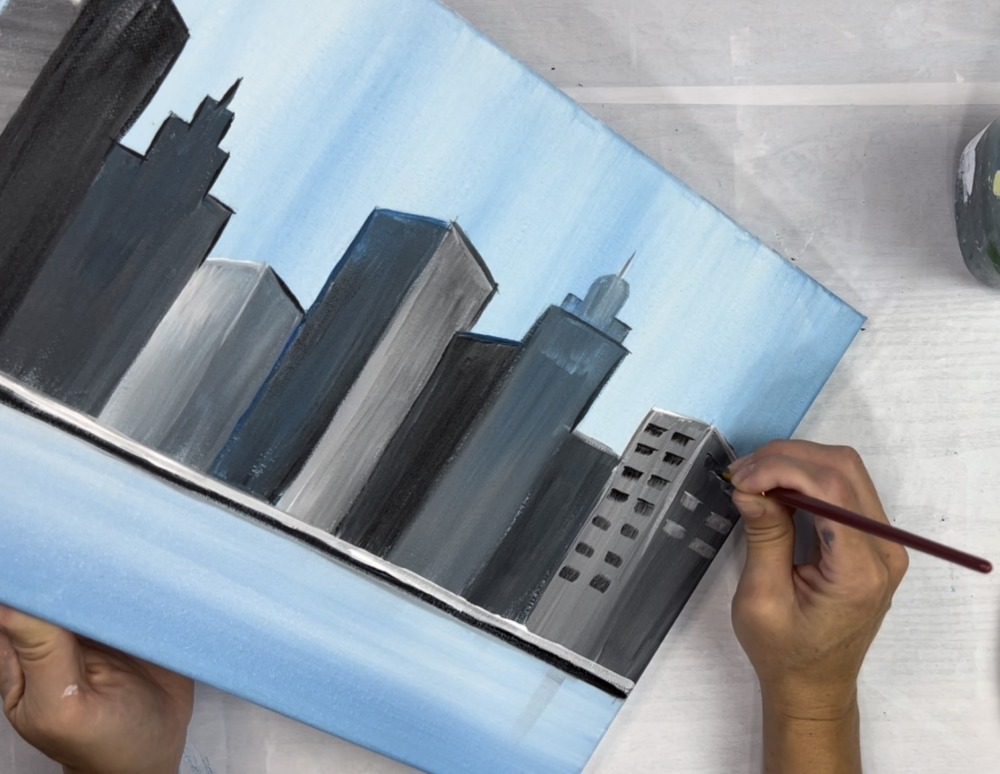
You don’t need to fill up all of the buildings with windows. You can leave gaps. You can also create a variety of grays. Some of the windows will show darker and some lighter. Also, some buildings may have larger, more rectangular windows and some may have more square windows.
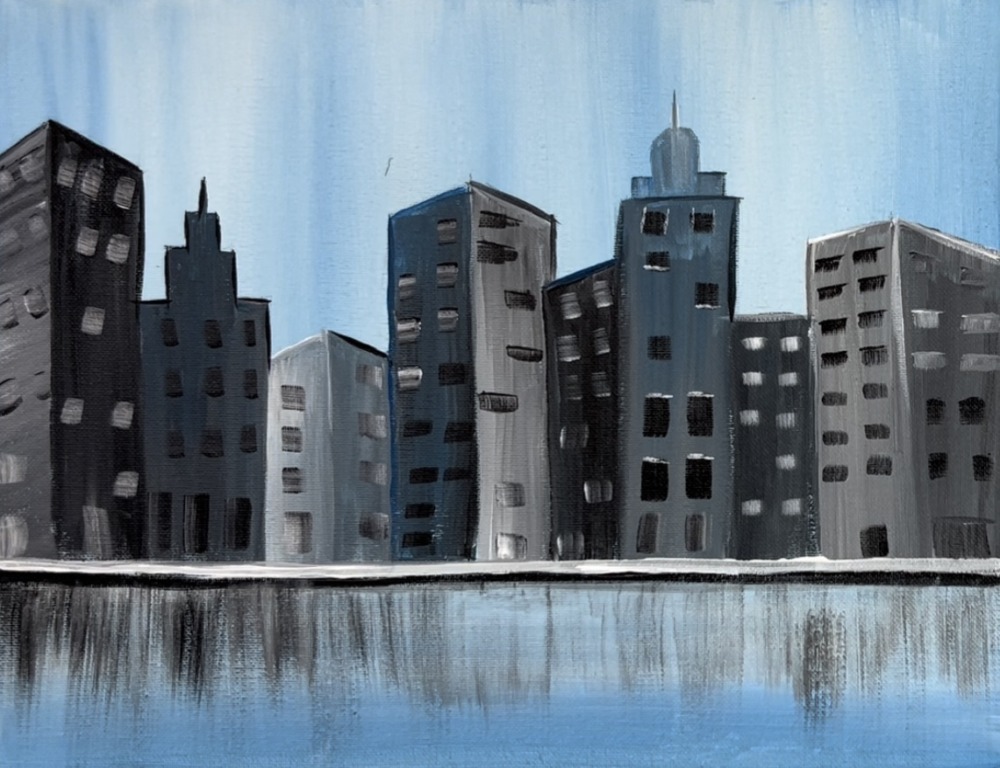
7. Paint Water Reflections
Use your 3/4″ flat wash brush to paint the building reflection in the water. Paint vertical strokes just under the buildings. Do this with gray (mix black with white). Water it down to a watercolor consistency. Your strokes should be thin with a lot of blue still showing through.
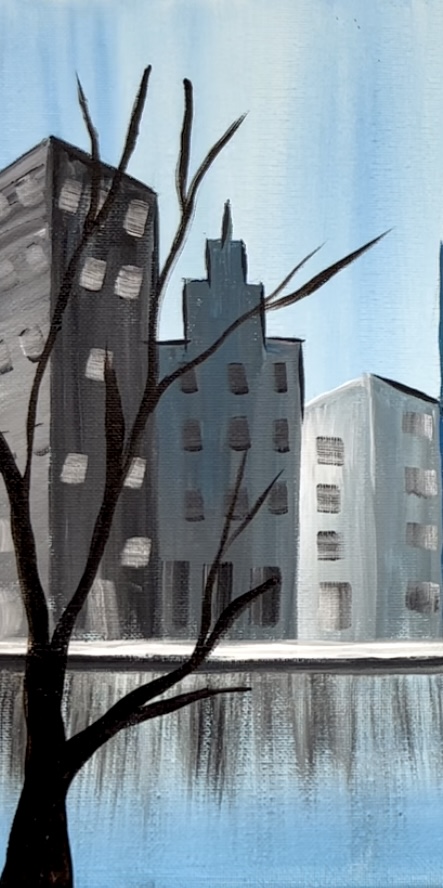
8. Paint Trees
Use your #4 round brush to paint the trees. On your palette, load it with burnt umber and mars black. Mix about equal amounts of the brown with the black. Start at the bottom. Paint a large base. Then let it go thin and off the canvas.
Paint thinner branches that reach high above the tallest buildings. Also, paint branches that may overlap some of the building. You’ll want to be “strategic” about where you paint your branches. In other words, you don’t want to cover some part of the building that you still want to show through the branches.
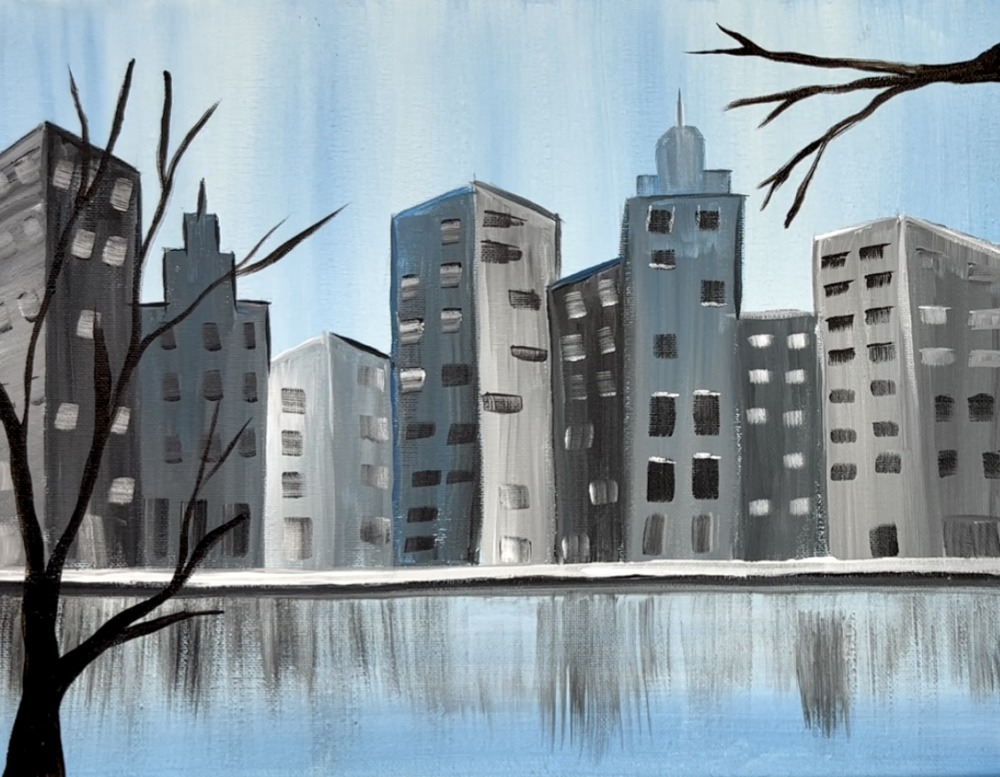
Next, paint a second branch in the upper right part of the painting. This one is hanging off the top right edge of the canvas.
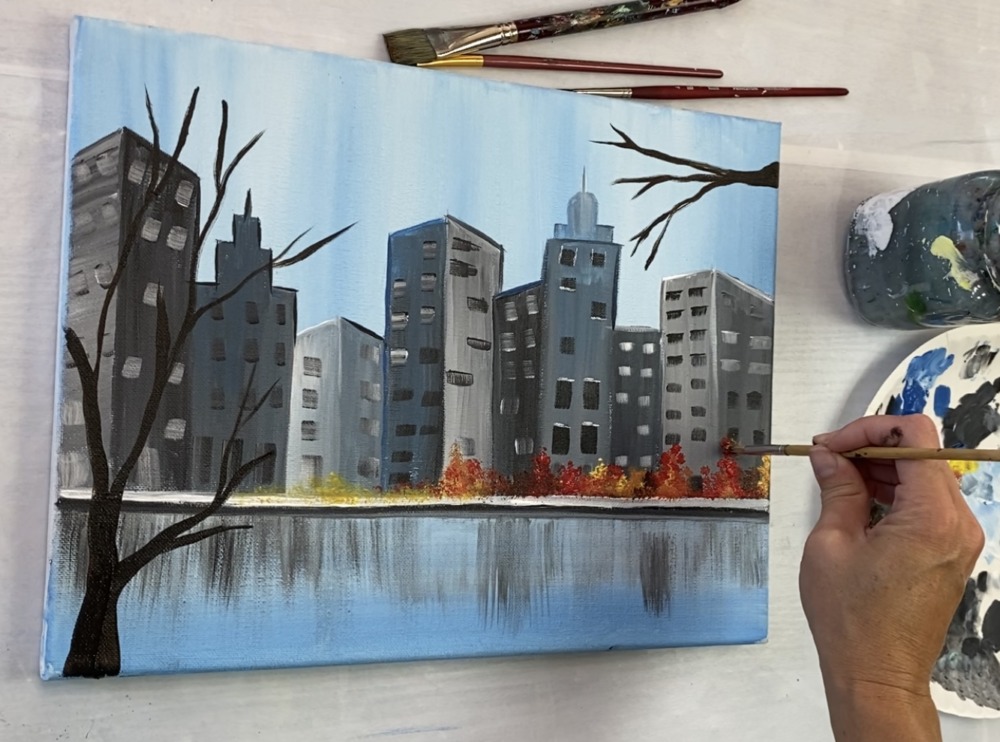
9. Paint Fall Foliage
Use a round bristle brush to paint the leaf texture. Alternatively you can paint round leaves with a round brush or use a few q-tips to create the “stippling texture” technique.
Load your palette with the colors: naphthol crimson and primary yellow. Double load your brush in both the red and white. Create small trees above the sidewalk in front of the building.

Vary the heights of the trees. Some will be taller, some shorter. Vary the colors by adding more red or more yellow in some areas. To make it look more orange, mix 3 parts yellow to 1 part red on your palette.
I only did the smaller trees on the right side of the painting and stopped at about 2/3 of the way to the left.
Next, paint more fall leaves on the large tree. I did just the red for this tree so that it would be more vibrant!
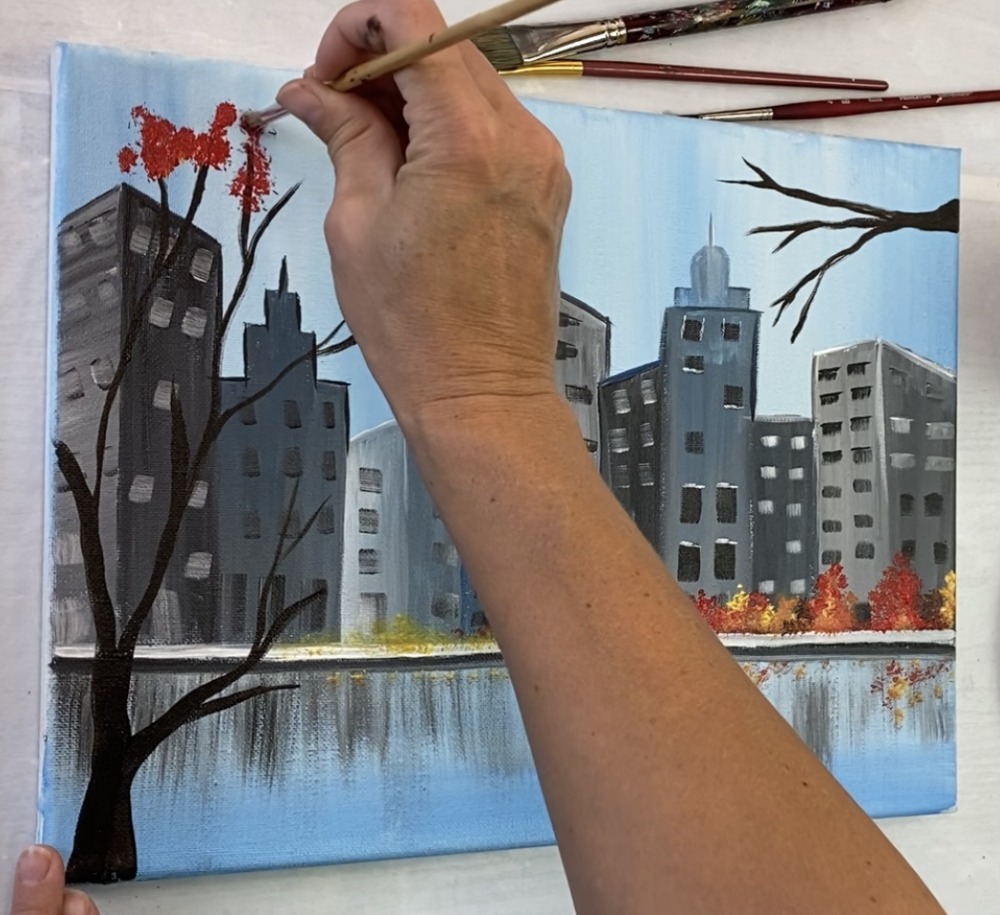
Paint clusters of red on the tips of the branches. Strategically space the bundles of leaves out so that a lot of the buildings in the background are still showing through.
Next, mix a little titanium white into the white and add a layer of the lighter red on the tops of the bunches. This gives the leaves highlight and dimension.
Additionally, you can paint some of the leaf texture in the water for reflection.
Next, paint the leaf texture on the upper right branch. Do this with the red and then add a bit of white into it.
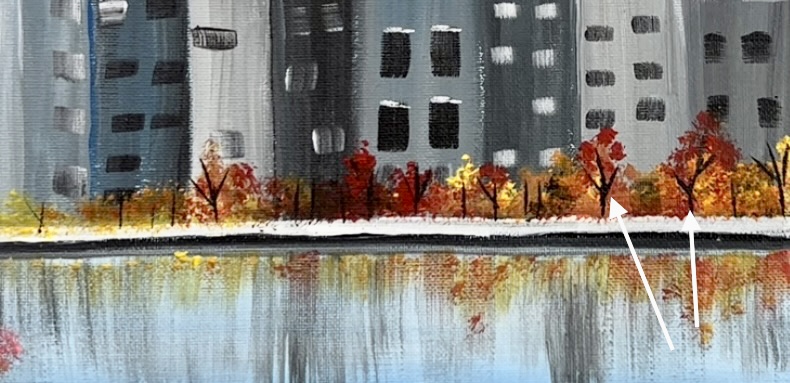
Use the tiny flat brush and mars black to paint small trunks over your painted trees that are along the sidewalk. Simply dip the tip of your brush in mars black and “stamp” the trunks. Paint little “Y’s” and vertical lines.
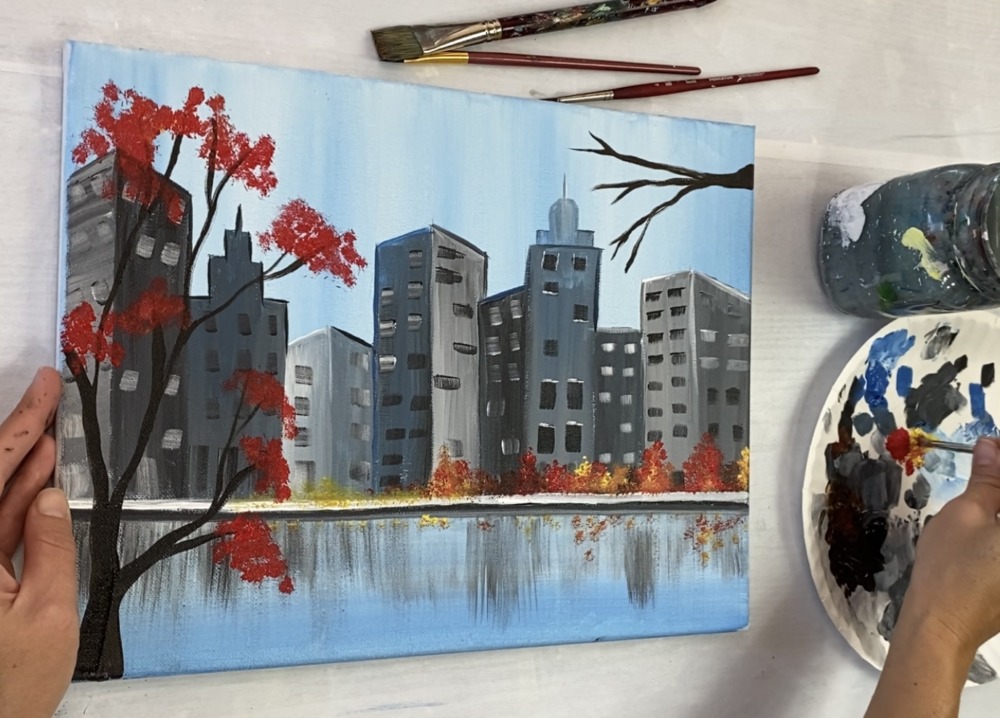
10. Paint Lamps
Then paint little yellow circles for the lamps. To do this, mix equal parts yellow and white together. Use your round brush to paint a circle. I did 3 circles. They are about the same heights as the tree tops, although, they can be lower.
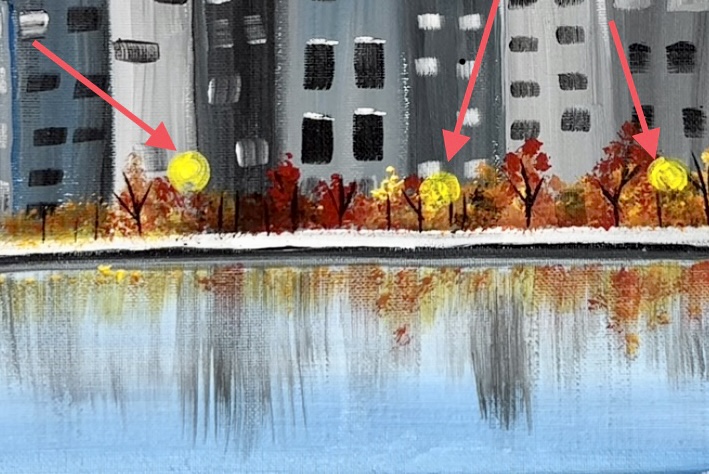
Then paint a small white circle inside of each of the larger yellow circles. This will make the lamp appear bright.
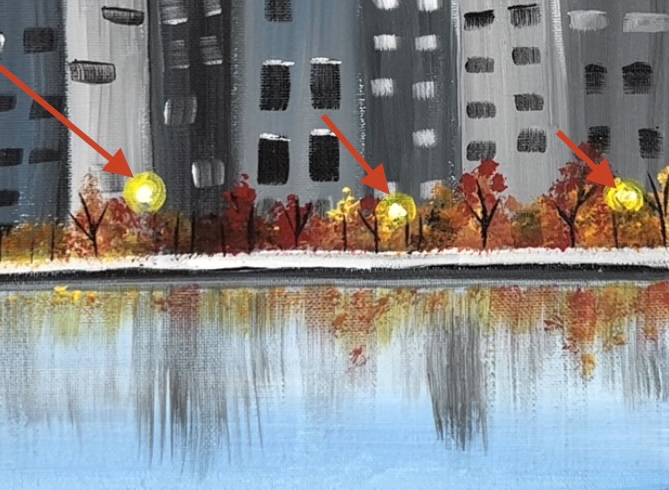
Next, use your round brush to paint a vertical column of light reflecting in the water under each of your lamps. Paint small yellow tic marks going in a vertical direction.
11. More Reflections/ Touch Ups
Paint white water reflection lines over the water area. Use either your 3/4 flat brush our your small 3/8″ flat brush. Load just the tip of this in titanium white. Then paint horizontal lines all throughout the water.
Paint your lines longer, wider and more spread out towards the bottom of the water and closer, smaller and more dense further up the water. This helps to create perspective.
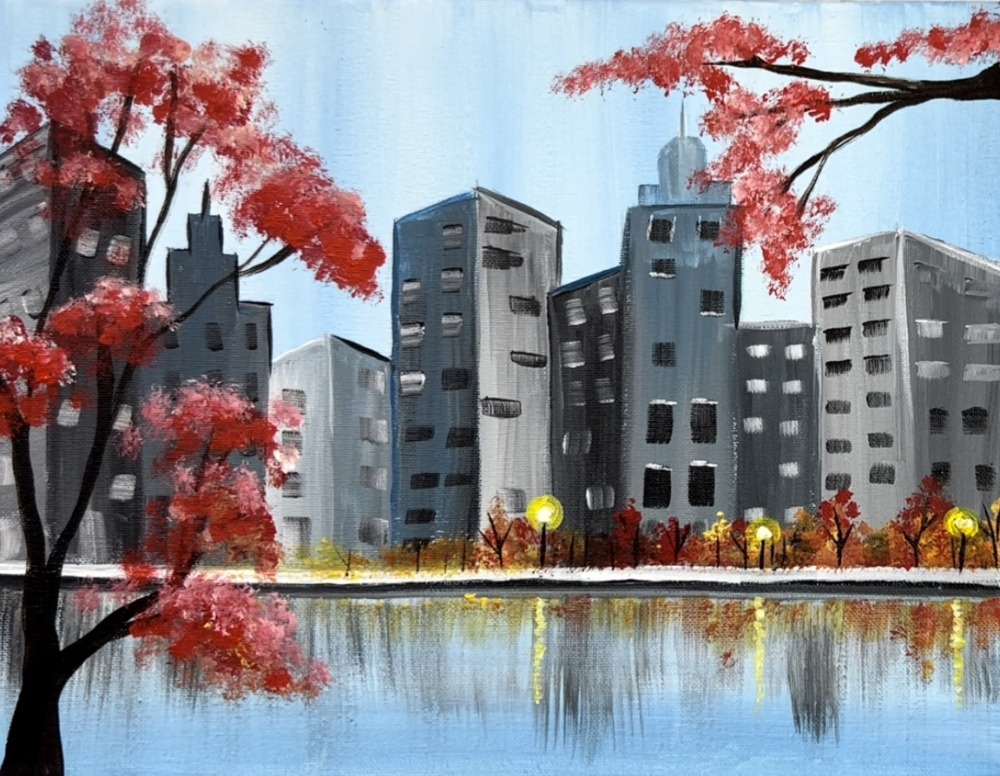
Finished!
Share Your Art Here:


