
Would you like to save this?
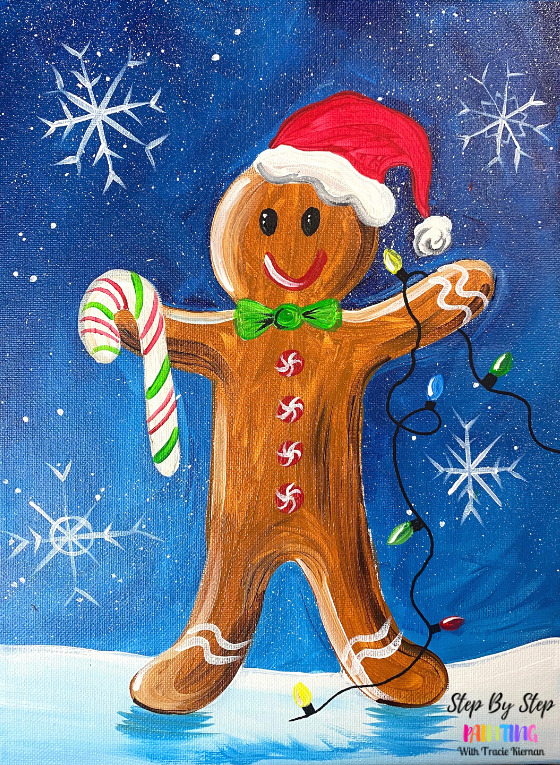
This acrylic painting tutorial will demonstrate how to paint a gingerbread man on a 9 x 12 canvas with acrylics.
The design can work on other canvas sizes as well! You are welcome to use the free traceable template. I will also be demonstrating how to draw the gingerbread man in the video.
There are a lot of fun things you can do to customize this painting! Add different candy decorations, make it a gingerbread woman, etc.
Enjoy and happy painting!
Materials Needed
How To Paint A Gingerbread Man
Learn how to paint a gingerbread man with acrylics on canvas.
Materials
- Acrylic Paints
- Brushes
- 9" x 12" Canvas
- Pencil
- Optional Traceable
- Optional Graphite Paper
- Optional Paint Black POSCA Pen
Colors
- Naphthol Crimson
- Primary Yellow (only used in the lights)
- Light Green Permanent
- Prussian Blue
- Mars Black
- Titanium White
- Burnt Umber
- Raw Sienna
- Cerulean Blue (only used in lights)
Brushes
- 3/4" Flat Wash
- #4 Round
- Toothbrush for splatter snow effect (can also use your large flat brush for this)
Color Palette
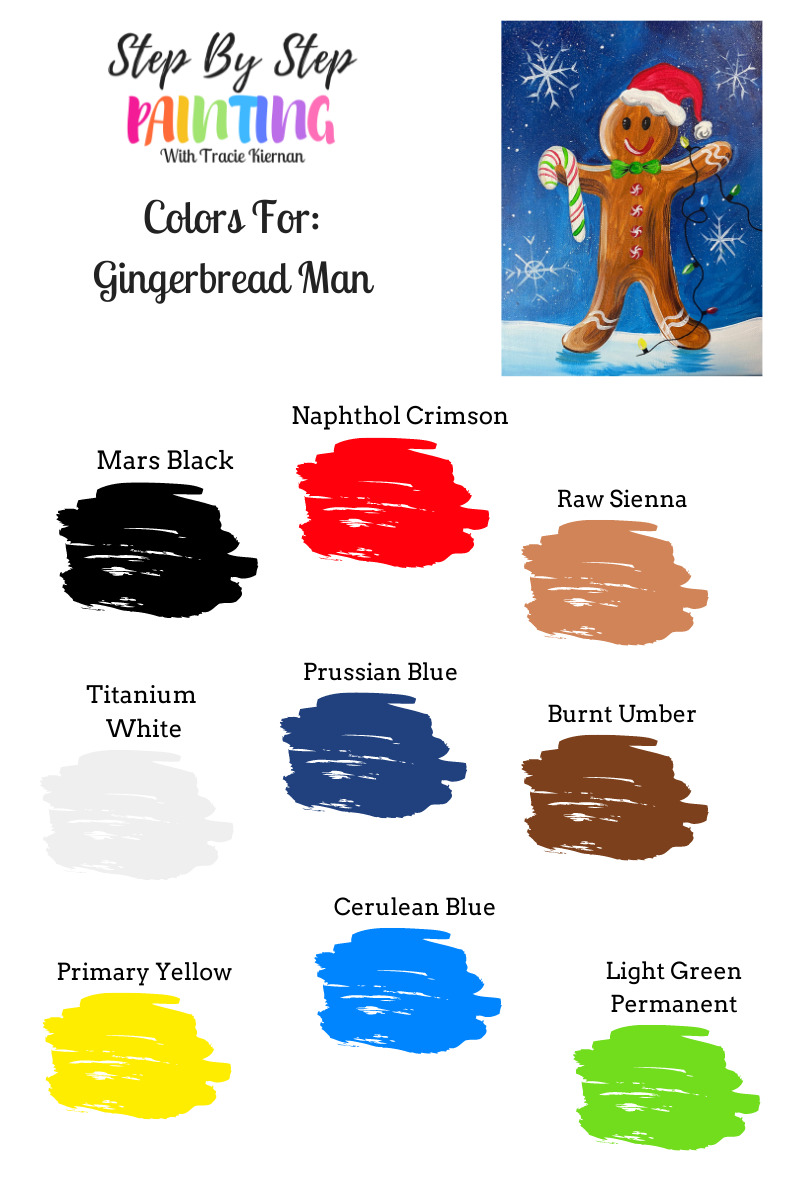
Note: if you don’t have “Prussian Blue” you can substitute it for another dark blue such as phthalo blue.
Using Craft Paints?
Try substituting with these colors:
- Flag Red
- Yellow Flame
- New Shamrock
- Too Blue
- Bright Blue
- Black
- White
- Nutmeg Brow
- Melted Chocolate
Traceable

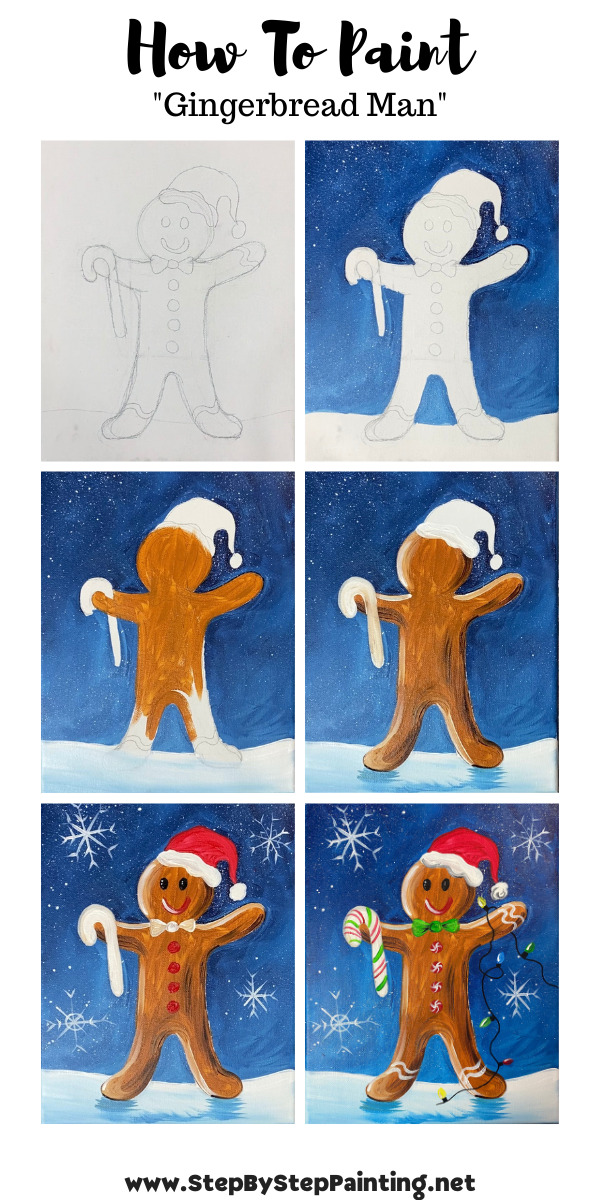
Directions At A Glance
Video:
Step By Step Directions:
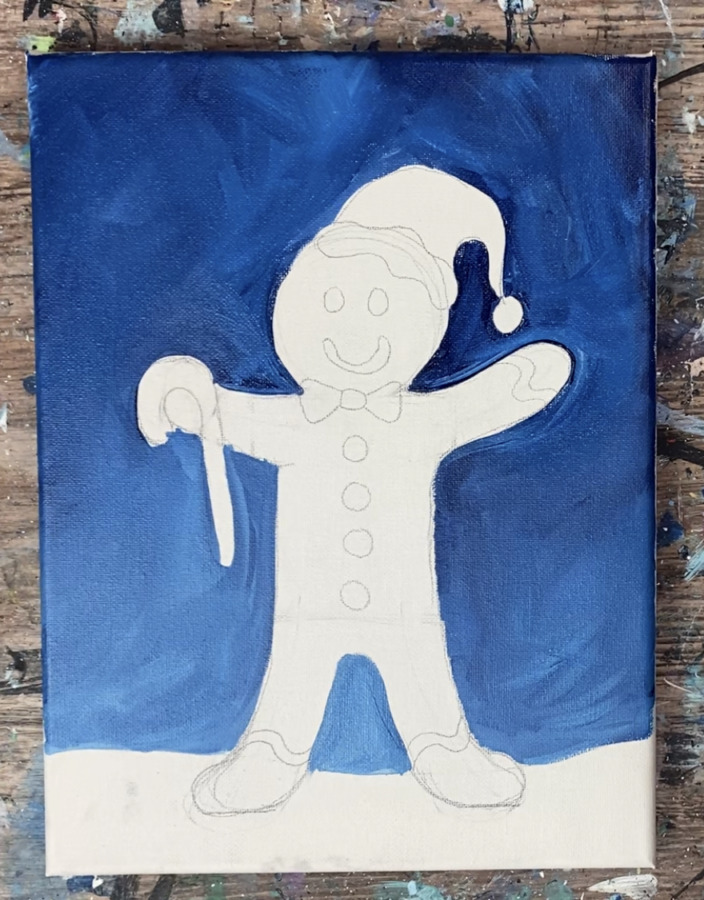
1. Draw The Gingerbread Man (Or Use Traceable Template)
If using the traceable, print out the gingerbread template. Place a sheet of graphite paper below the traceable and press firmly with a pencil to transfer the design to the canvas.
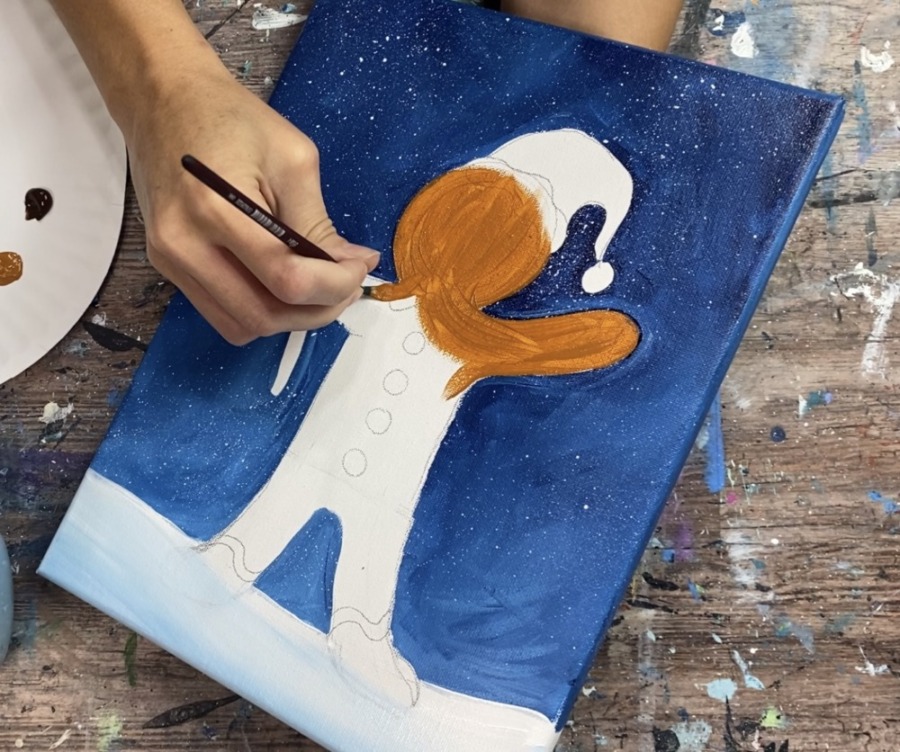
If drawing…
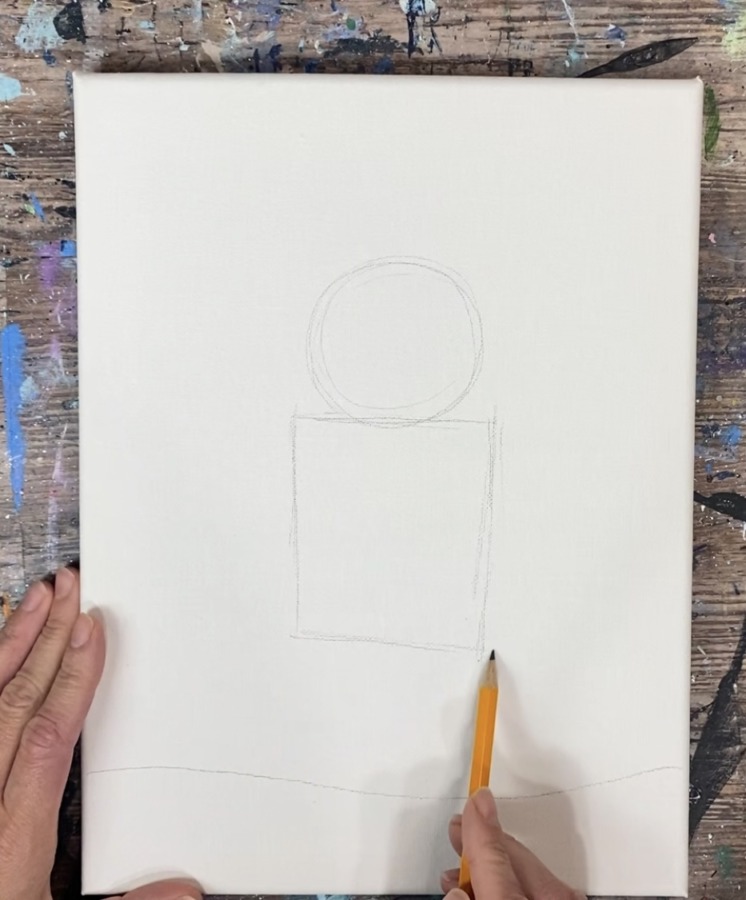
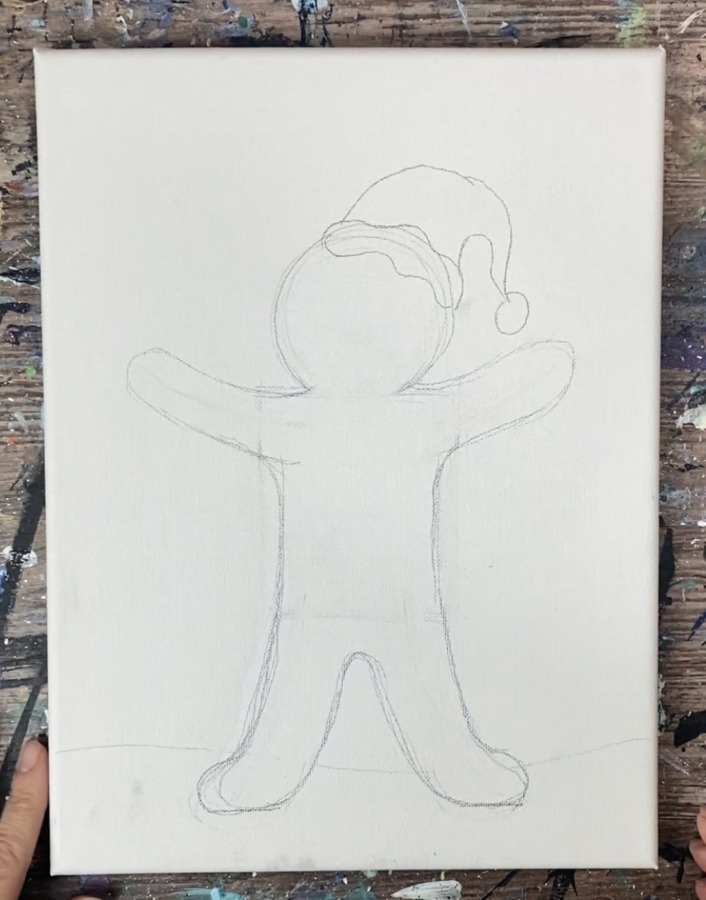
Position your canvas so that it is vertical. Use a pencil to lightly draw a snow line on the bottom of the canvas. Then draw a circle about 2/3 up from the bottom of the canvas.
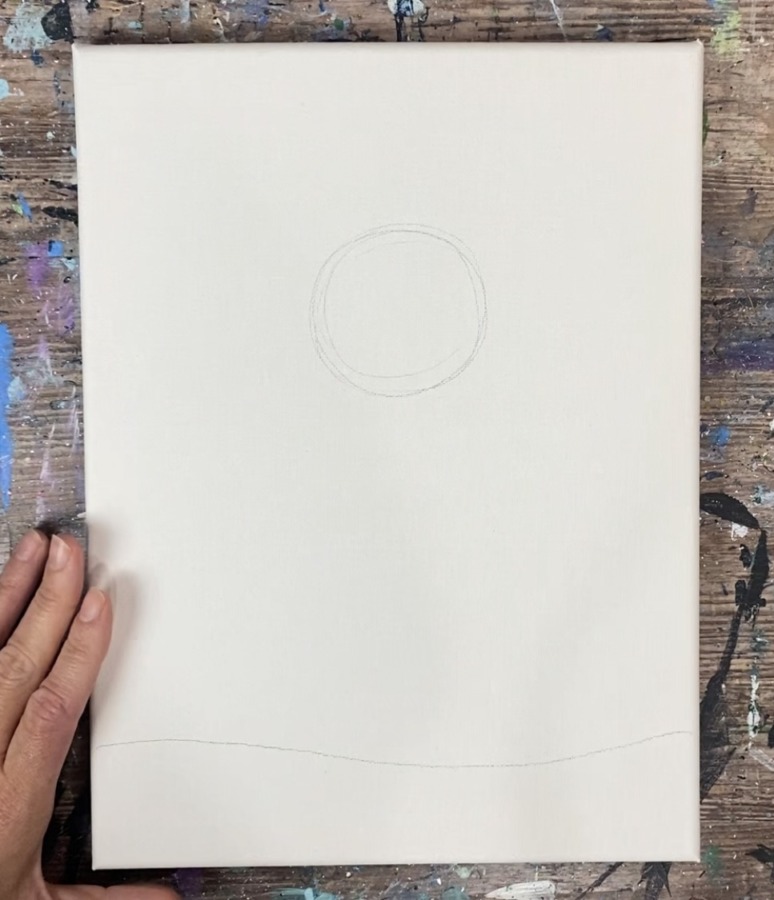
Then draw a rectangle under the circle. This will help get the placement of the arms, legs and body.
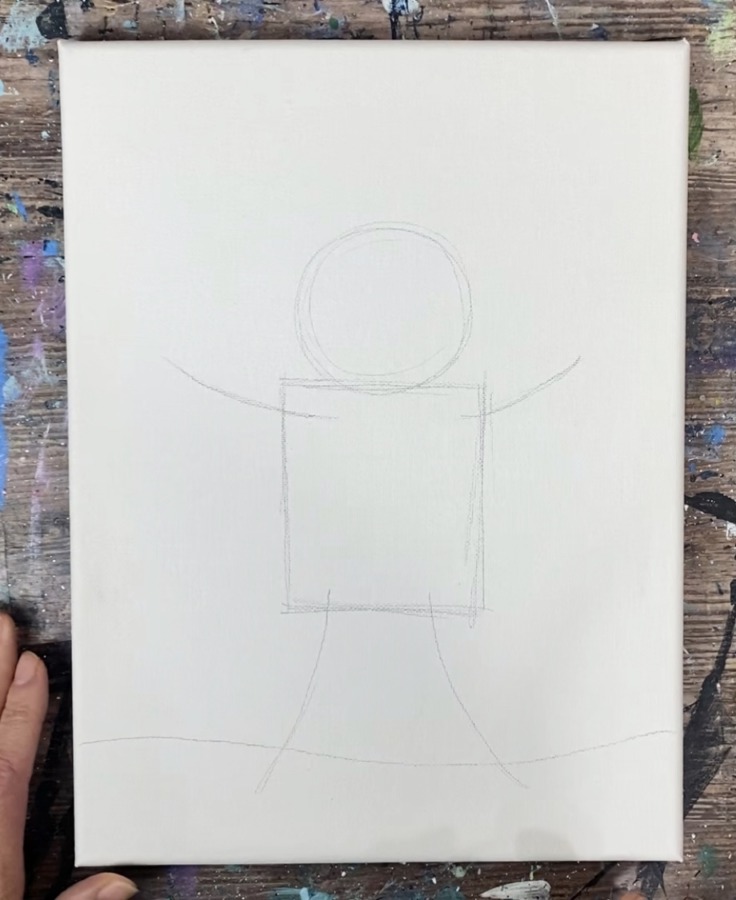
Draw two diagonal lines going up on the top of the rectangle (base of the arms). Then draw two diagonal/curved lines going downwards for the base of the legs.
Then lightly sketch the shape of the arms and legs going around the lines. Lightly sketch the shape of the torso.
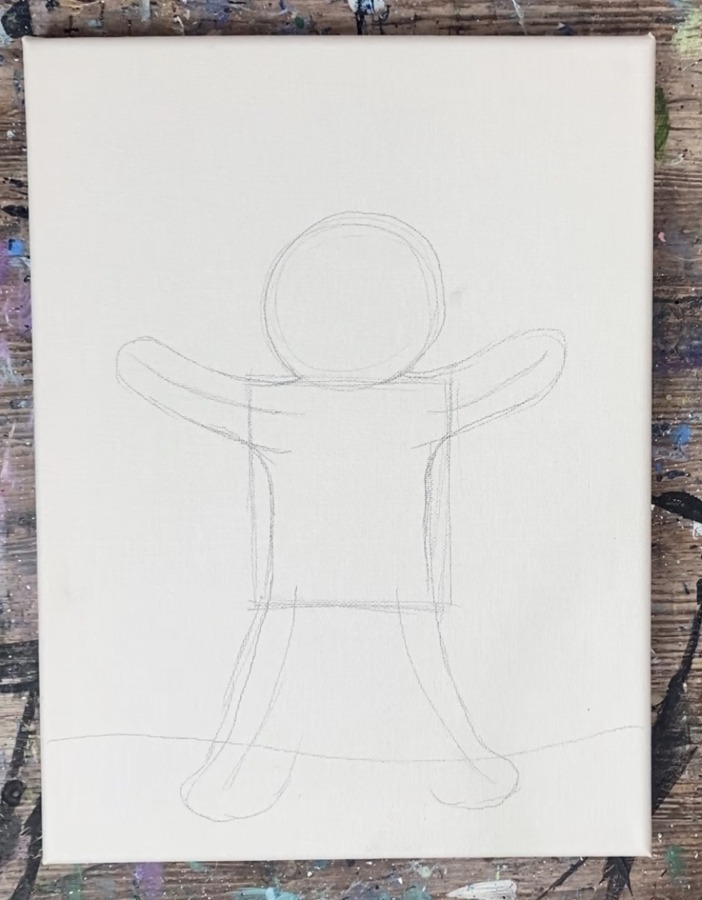
You can use a ruler to make sure the bottom of the feet lines up.
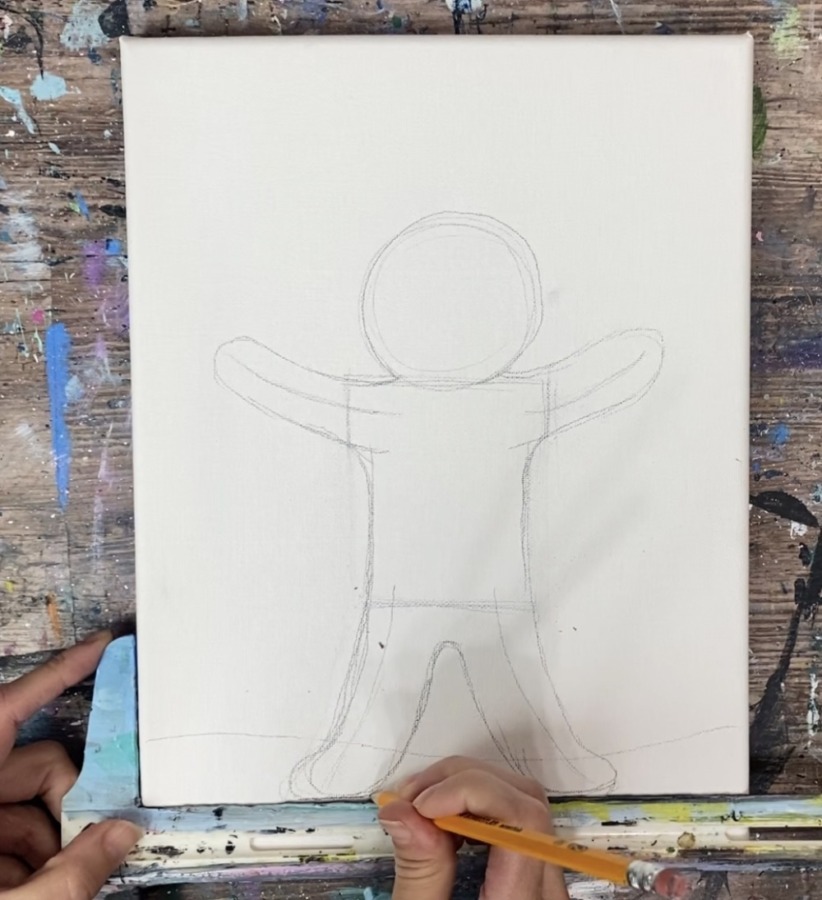
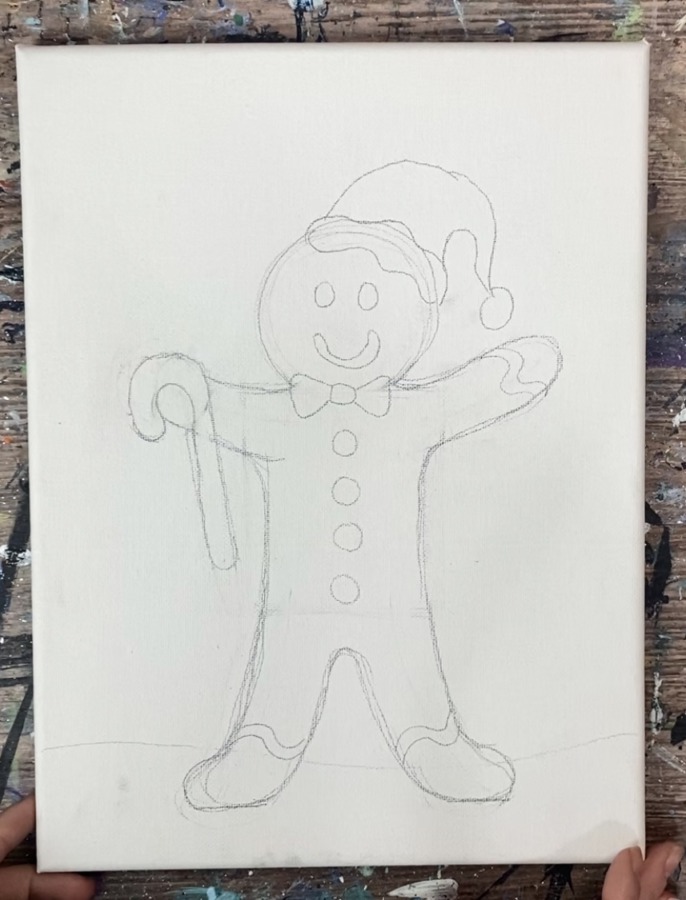
Continue to lightly sketch the shape of the gingerbread man. Erase the inner guidelines. Then draw a Santa hat on the right side of the head.
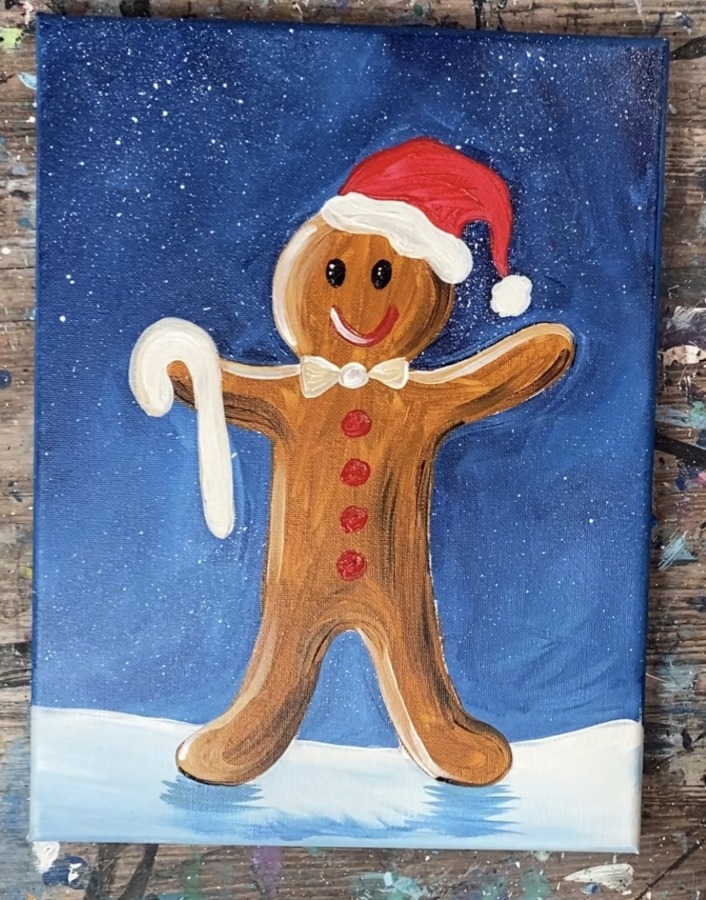
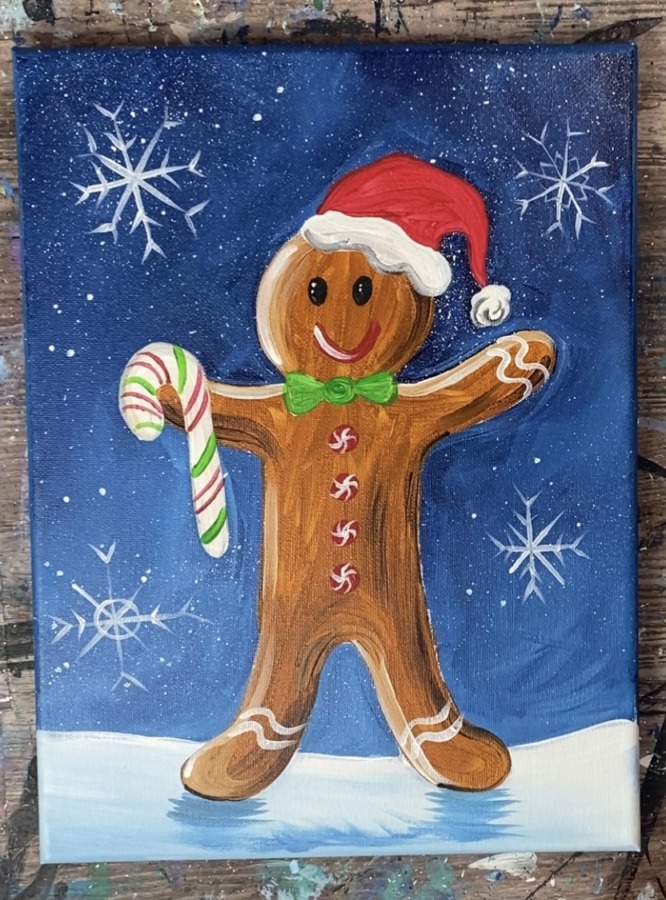
Draw the face, bow and buttons. Draw the candy cane.
2. Paint The Background
Use a 3/4″ flat wash brush to paint the background. Double load the brush in both “Prussian Blue” and “titanium white”. Paint all the negative space around the gingerbread man.
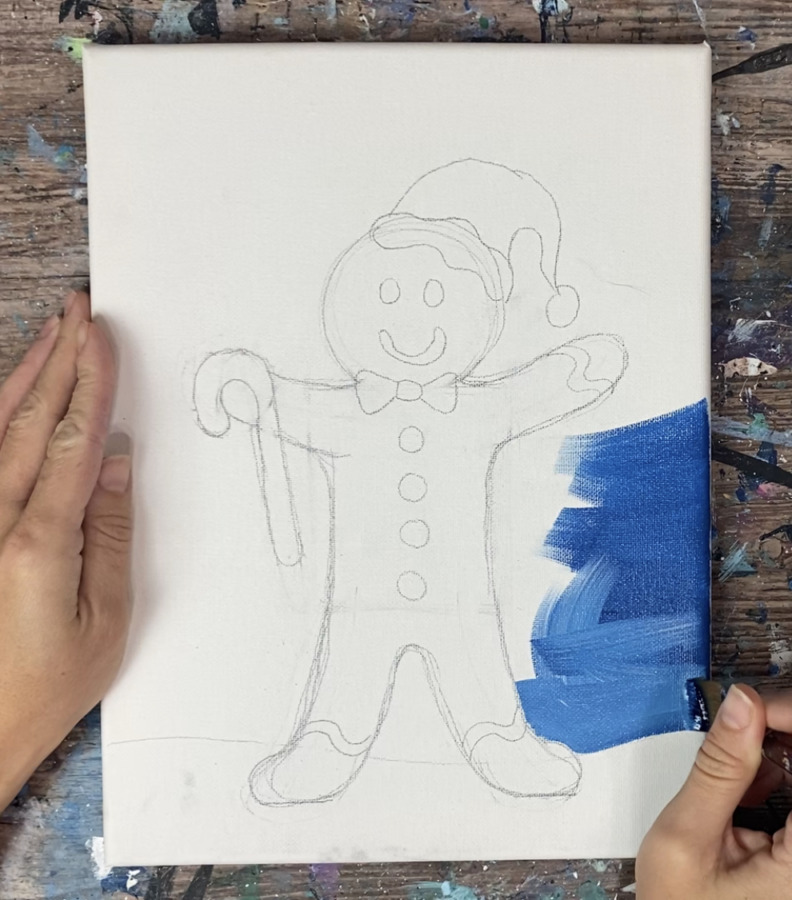
Let the blue and white gently blend to create some variation in tints of that Prussian Blue.
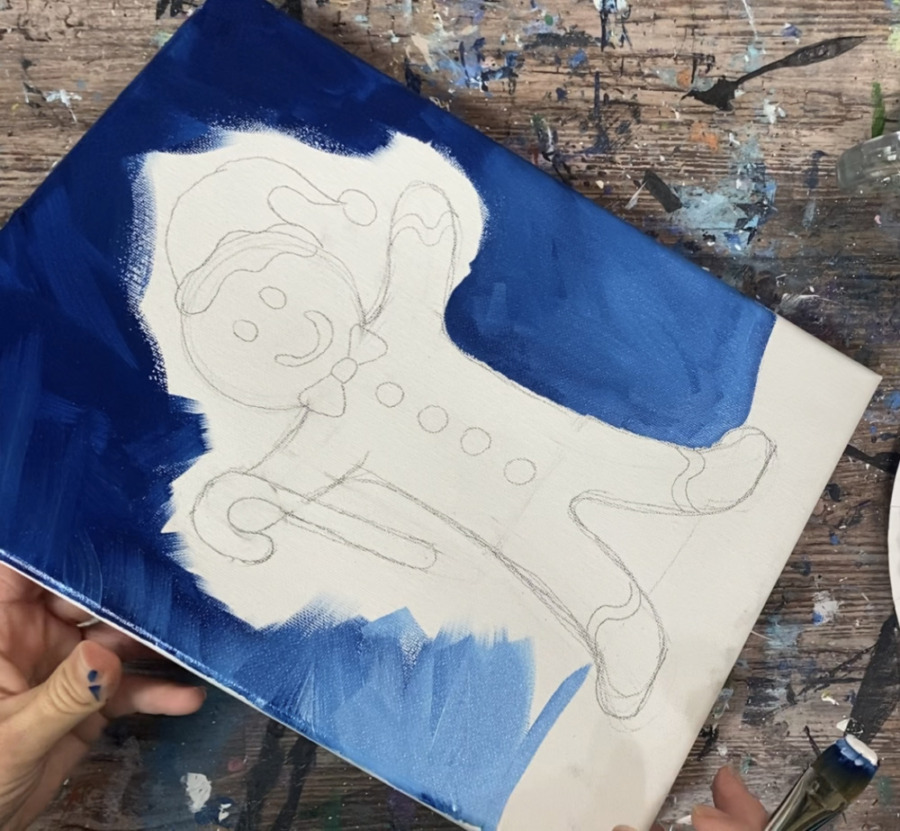
If needed, use the #4 round brush to cut in very close to the gingerbread man.
Next use a toothbrush or your 3/4″ flat wash brush to splatter fine white specks of dots all over the sky for snow.
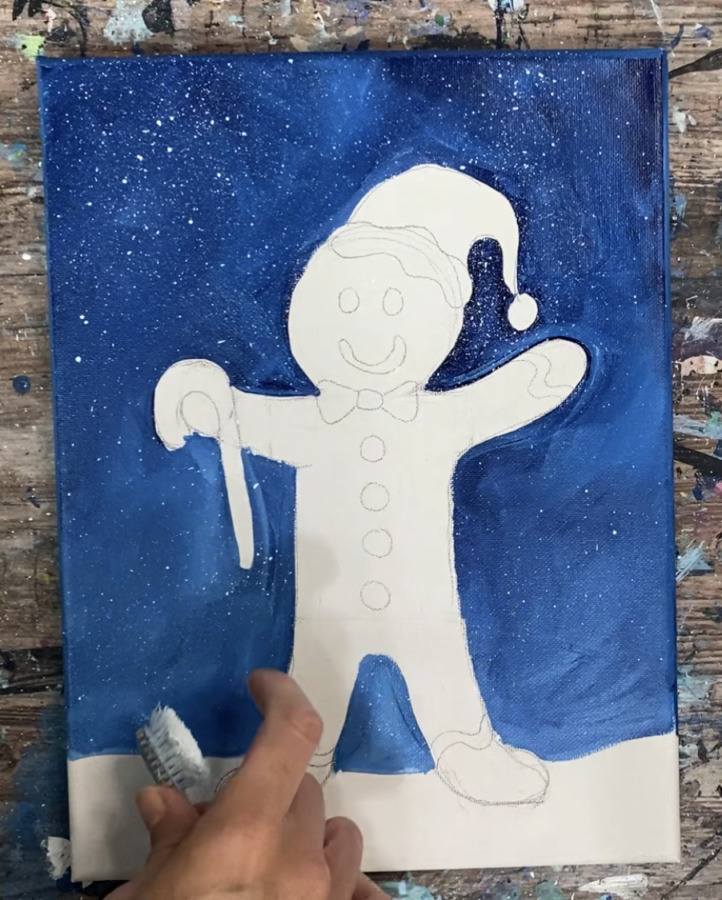
It helps to slightly water the white down to get a very fine mist of the white (you want the paint not too thick but not too thin).
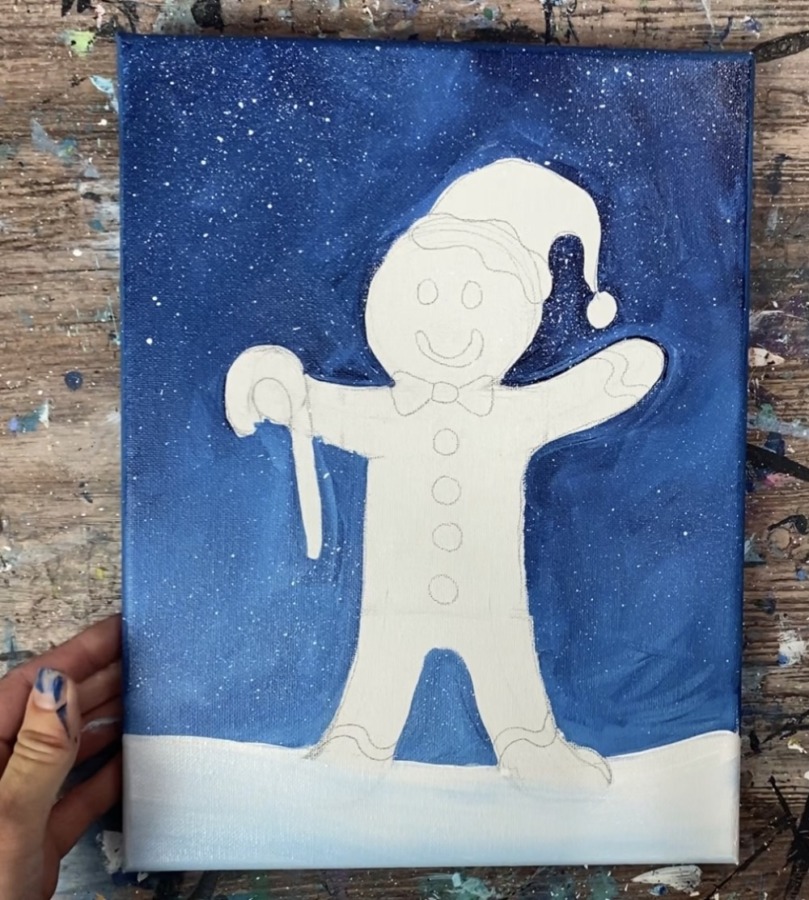
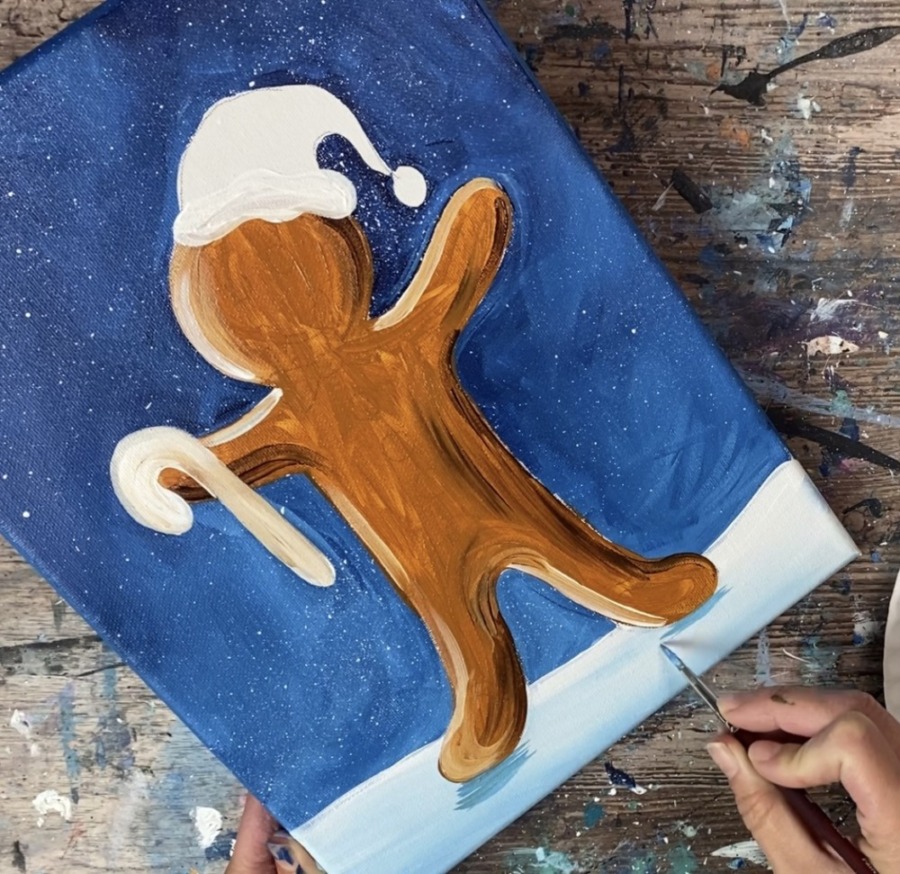
3. Paint Snow Ground
Use a 3/4″ flat wash brush to paint the snow on the ground. Paint a layer with just titanium white first.
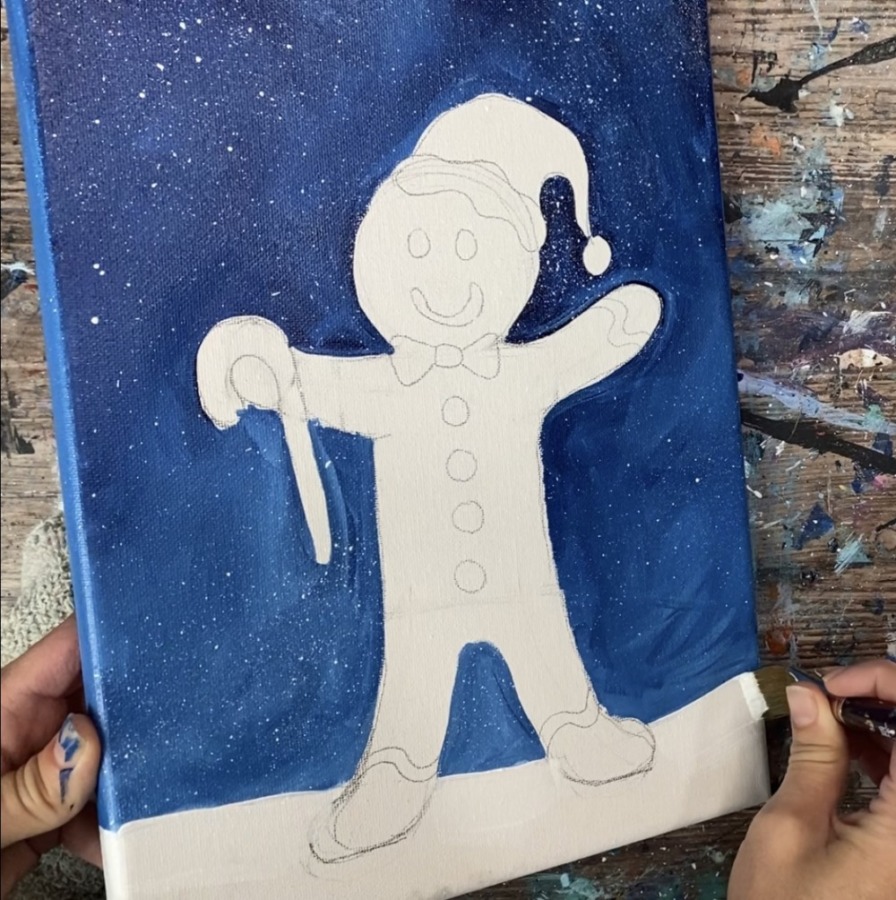
Then add a very small amount of Prussian Blue on the bottom of the snow area and gently blend it up to blend the snow. The snow should be slightly darker on the bottom and lighter on the top.
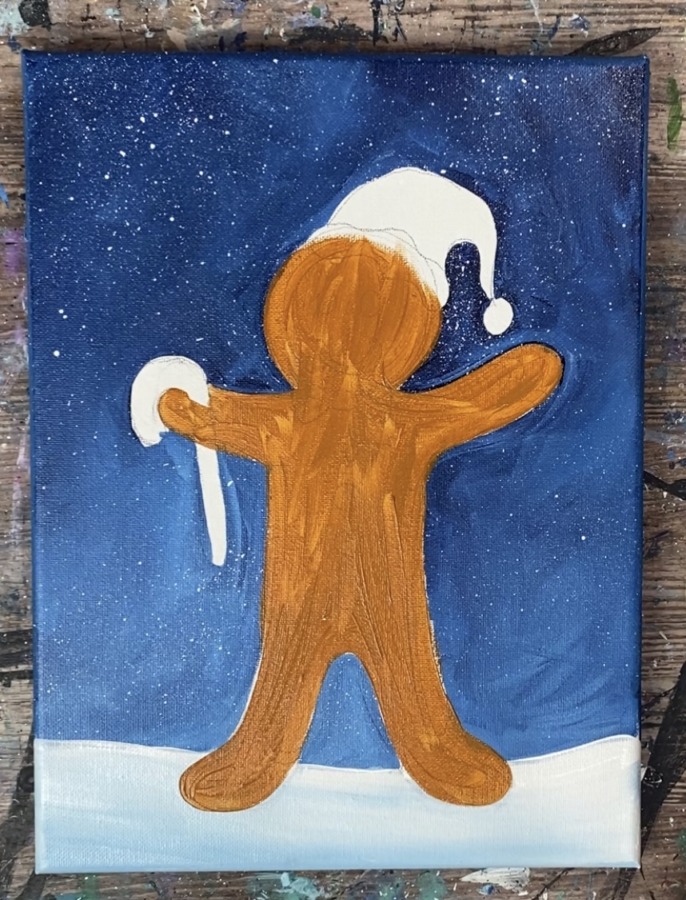
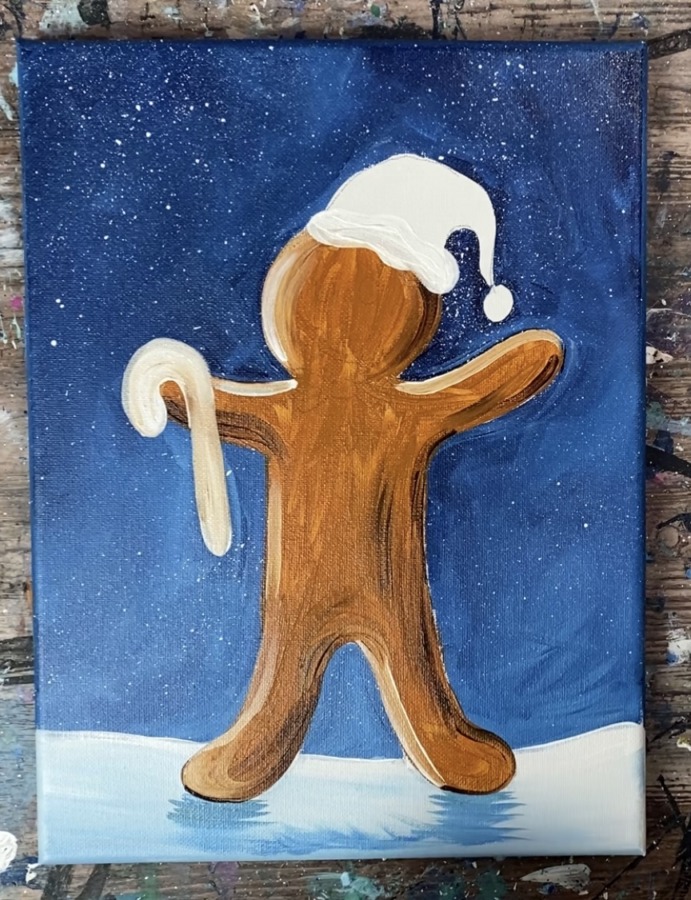
4. Paint Gingerbread Base Color
Use a #4 round brush to paint the gingerbread man a layer of raw Sienna. Paint the entire shape of the gingerbread man, painting over the button and facial features drawings.
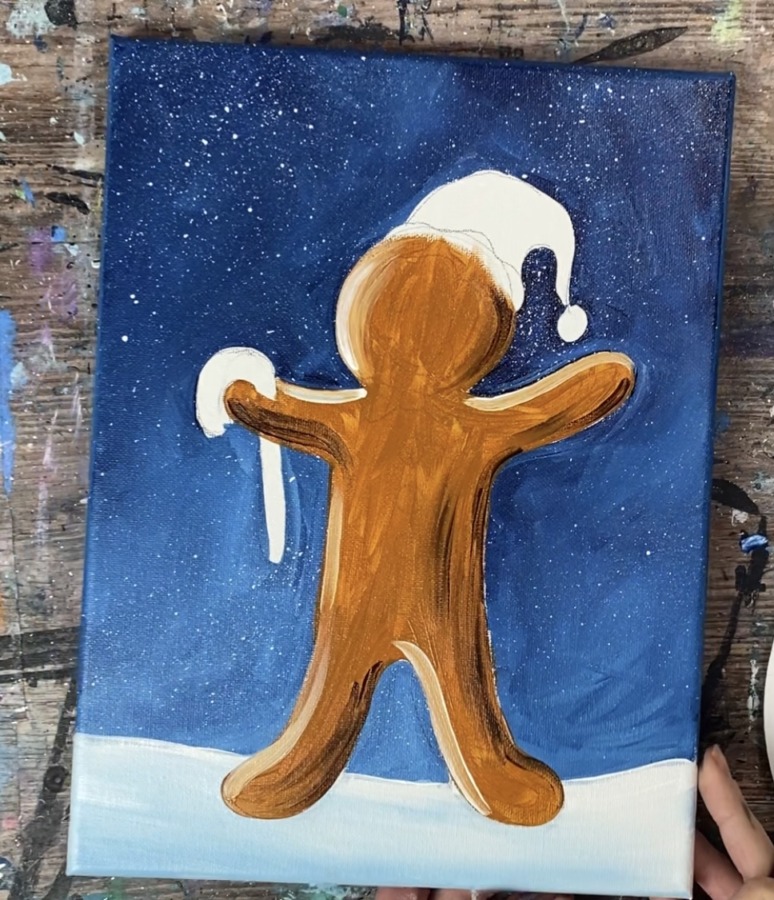
5. Paint Highlights & Shadows
Then load your #4 round brush in titanium white. Paint a curve on the left side of the circle head. Loosely outline some of the inner edges of the gingerbread man with the white (don’t outline all of the inner edges). Your white should gently blend with the raw Sienna.
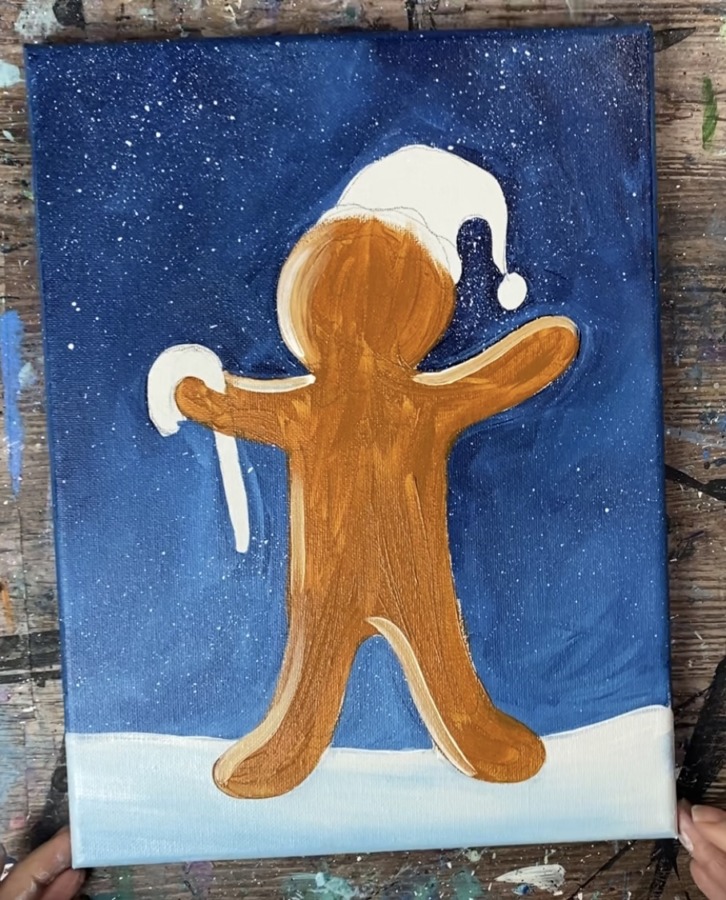
Rinse the brush and add burnt Sienna on it. Paint the rest of the inner edges of the gingerbread man. Let the burnt Sienna gently blend with the raw Sienna.
6. Paint Hat Base & Candy Cane Base
Use titanium white to paint the candy cane and the base of the hat.
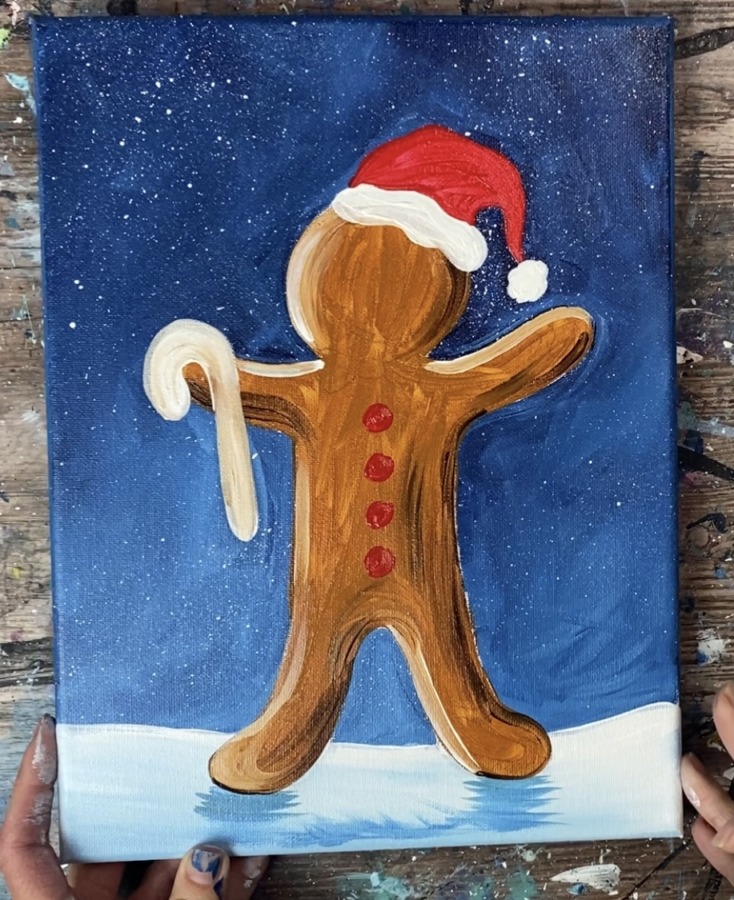
7. Paint Shadow & Red Part Of Hat
To do the shadow, mix a lighter blue on your palette with Prussian Blue and titanium white. Water it down slightly. Then use your #4 round brush to paint loose horizontal lines under the gingerbread man’s feet.
Use the #4 round brush to paint the hat with naphthol crimson. Paint the white circle on the tip of the hat.

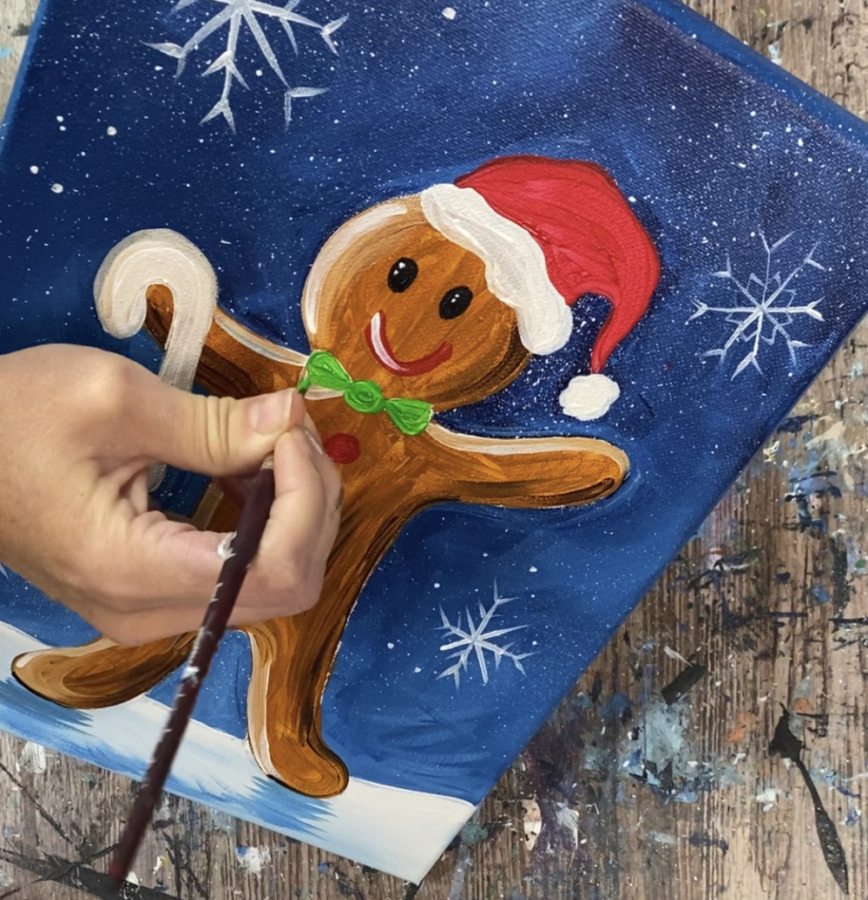
8. Paint Buttons, Eyes, Mouth & Bow
Use a #4 round brush to paint the buttons napthol crimson.
Paint the mouth naphthol crimson. Paint the eyes mars black.
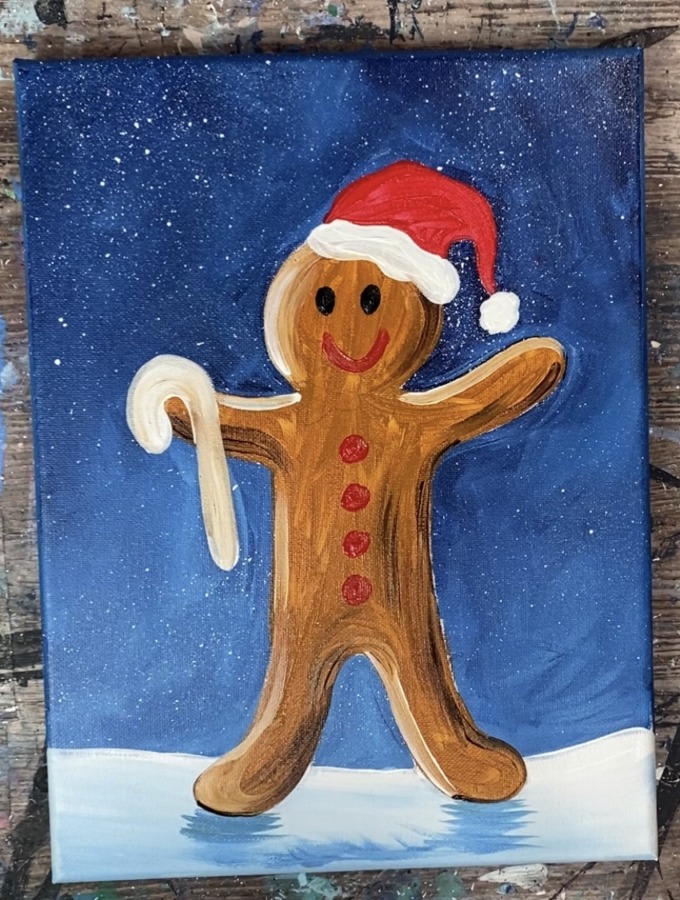
Paint a bow with titanium white. Paint two small white dots inside the black of the eyes. Paint a white highlight on the left side of the mouth.
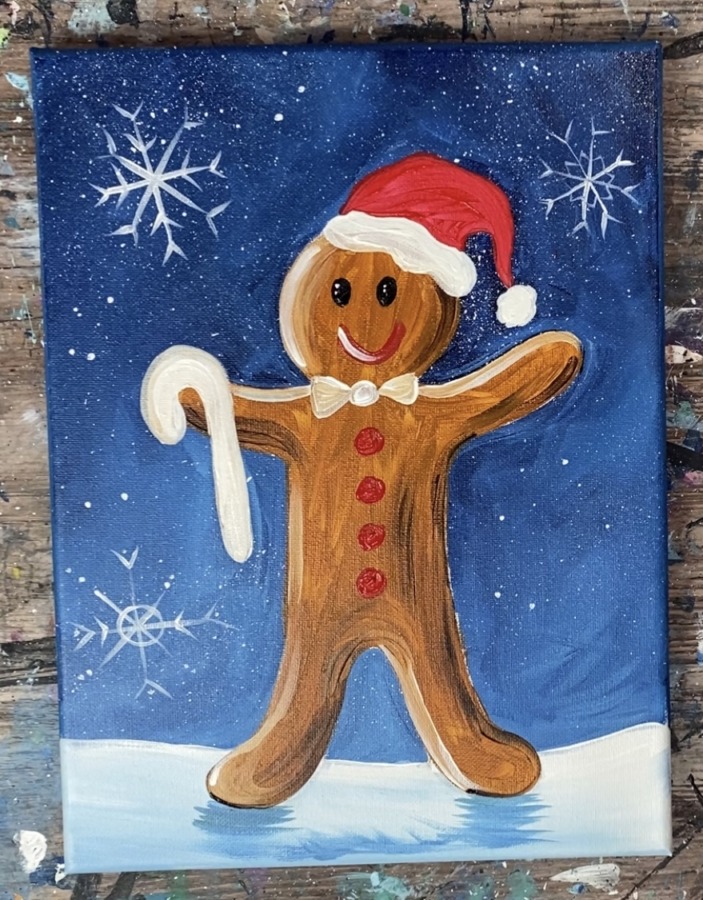
9. Paint Snowflakes
Use a #4 round brush to paint snowflakes. Alternatively you can do this with a white paint pen. Paint diagonal lines and vertical and horizontal lines. Paint little diagonal lines on the tips of the snowflake lines.
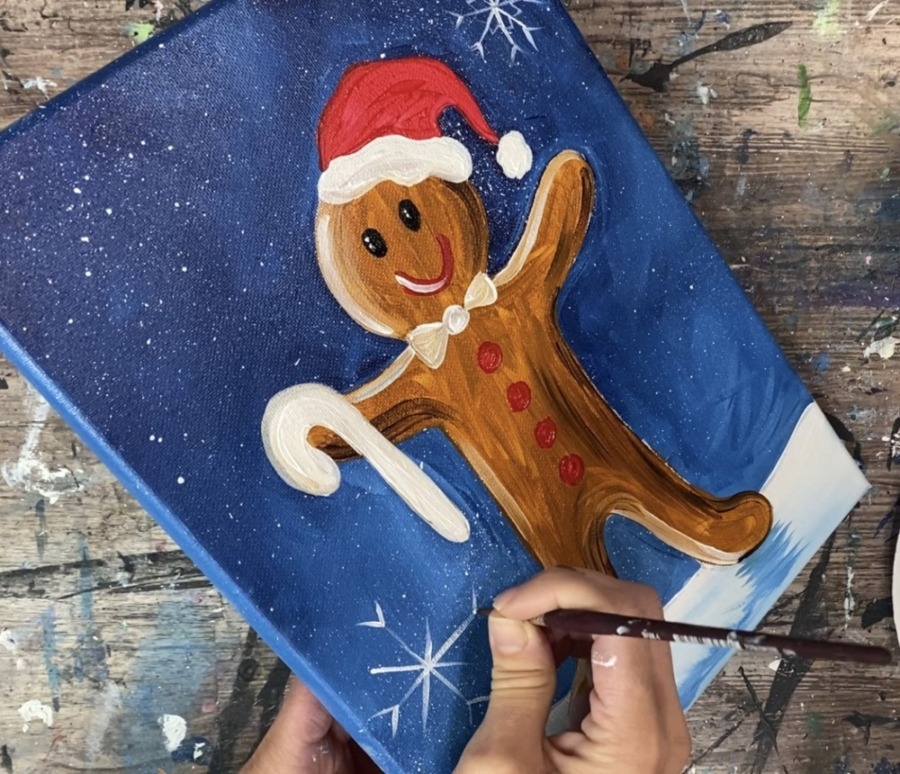
Paint various snowflakes all around the background. Paint little white dots everywhere.
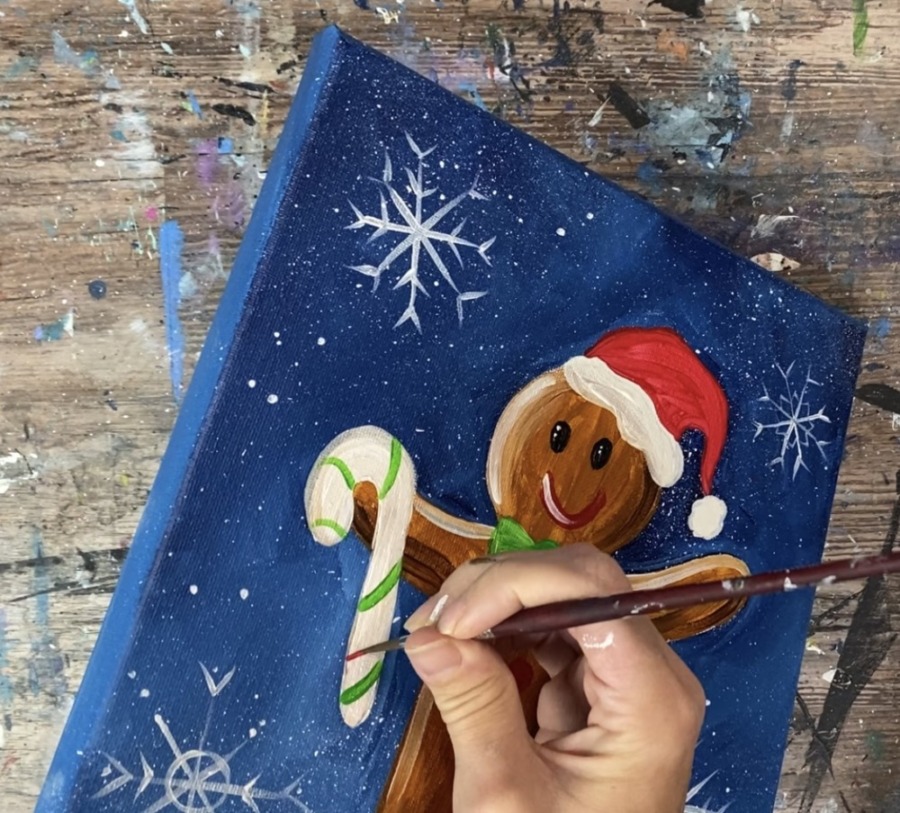
10. Paint Bow & Candy Cane Stripes
Paint the bow light green permanent.
Then use the #4 round brush to paint stripes on the candy cane. You can do all red stripes but I opted to do green and red stripes. These are thin curved lines that form a pattern.
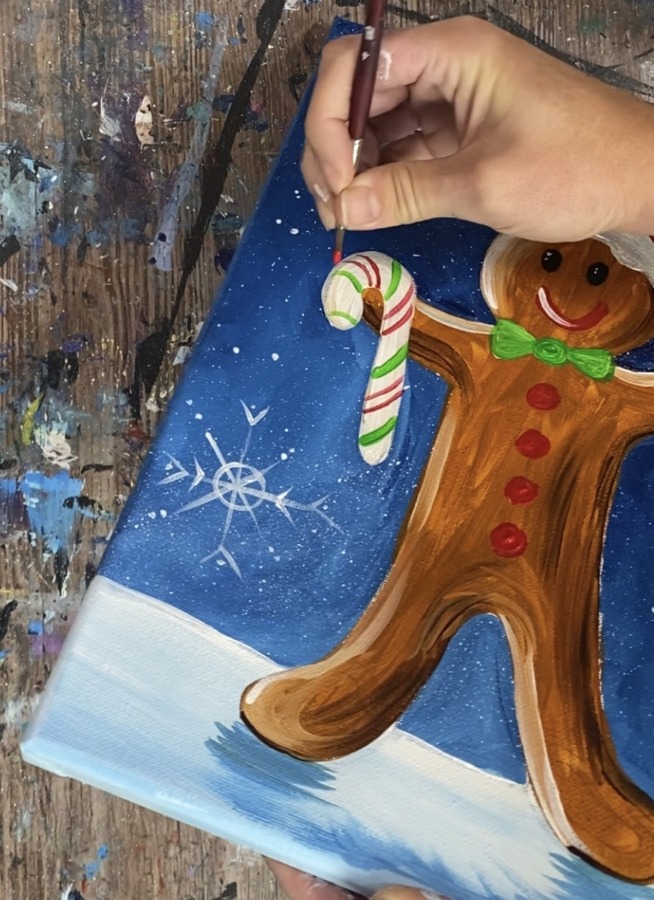
11. Paint Frosting Edging On Arms & Legs & Details On Buttons
Paint wavy lines on the end of the hand and legs using the #4 round brush and titanium white. Paint little curved lines on the red buttons. Use mars black to paint a shadow on the bottom of the Santa hat (mix white with the black to make gray).
12. Paint Lights
Use the black POSCA paint pen to paint the string for the lights. Paint a curvy, twisty line that wraps over the gingerbread’s right arm.
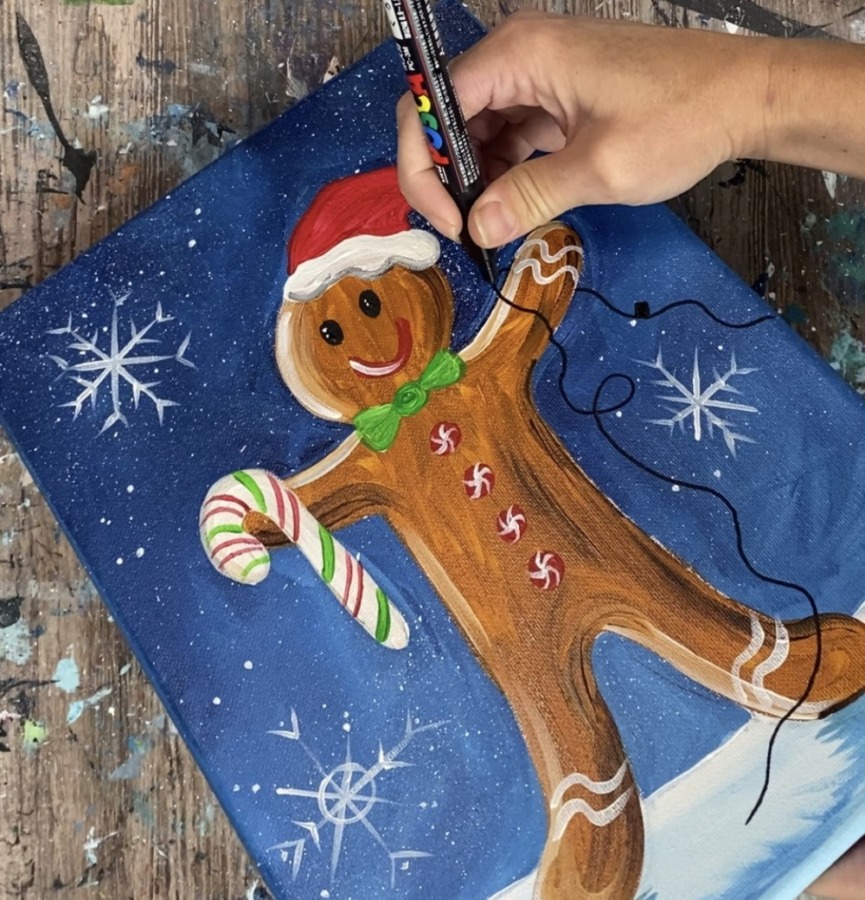
Draw little squares for the sockets of the lights. Use a #4 round brush to paint the light bulbs different colors.
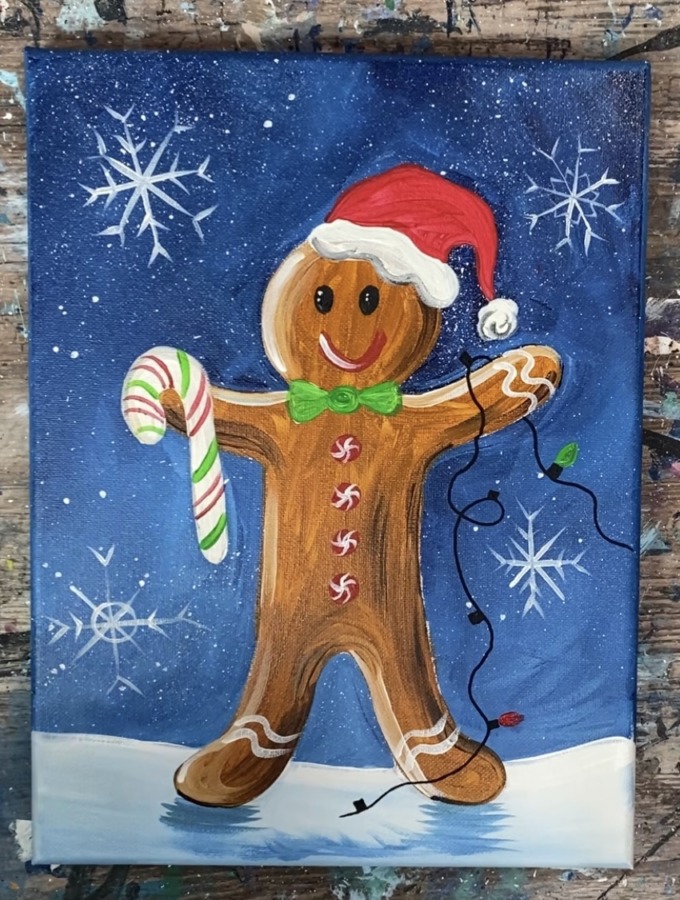
I used light green, cerulean blue, primary yellow, and naphthol crimson for the lights. After the bulbs dry, paint a white highlight line on the left side of each of the bulbs.
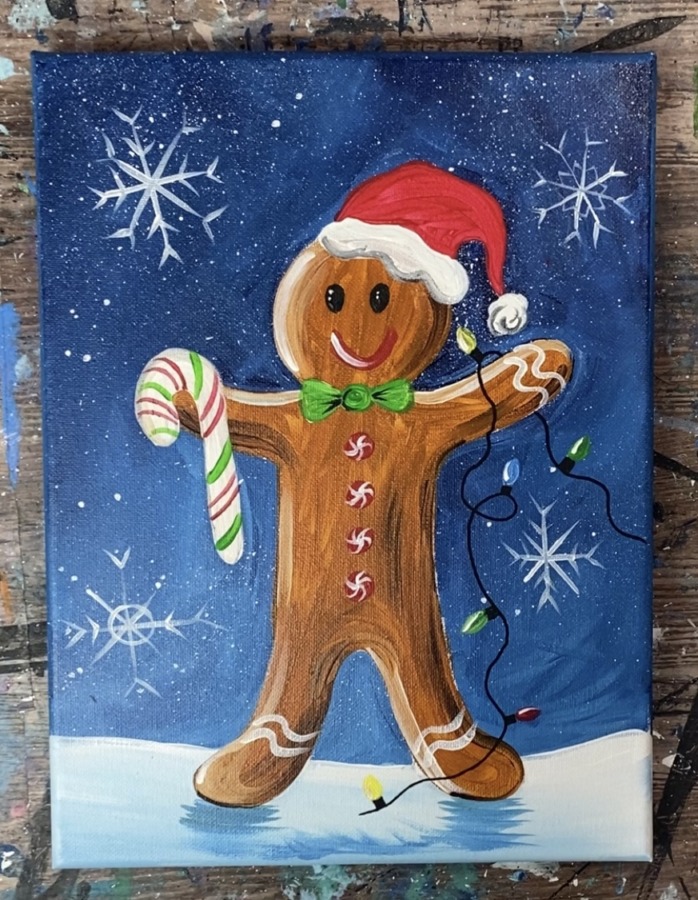
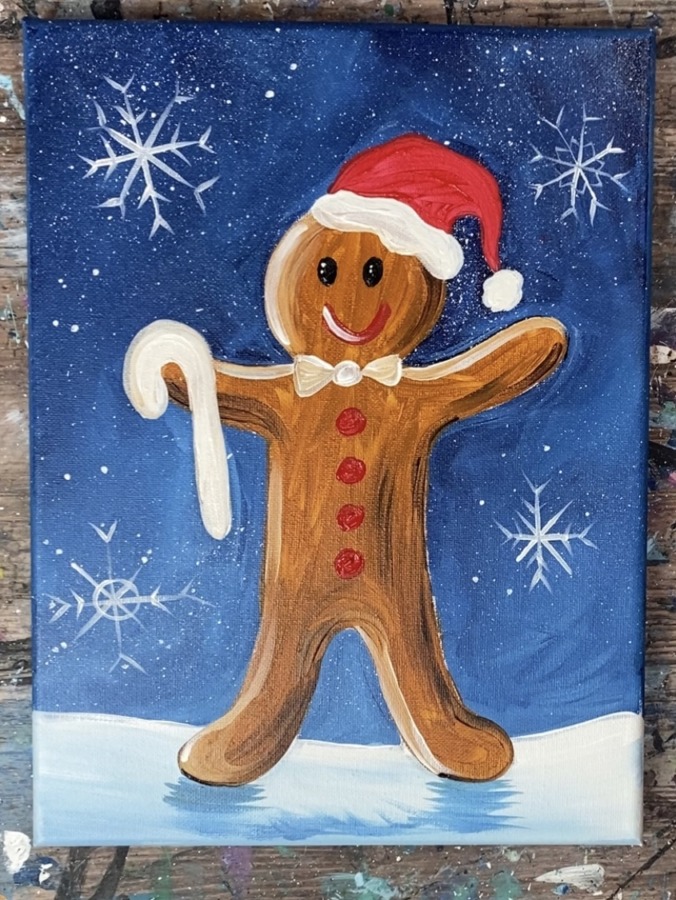
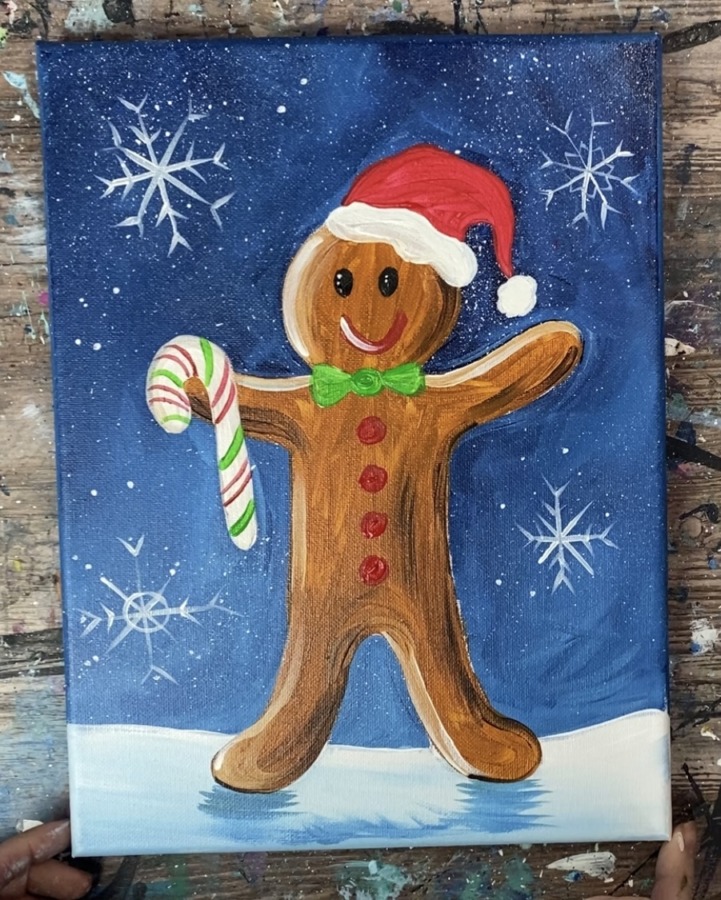
Finished!
That’s it! Sign your name and show it off!
Share Your Art Here:


