
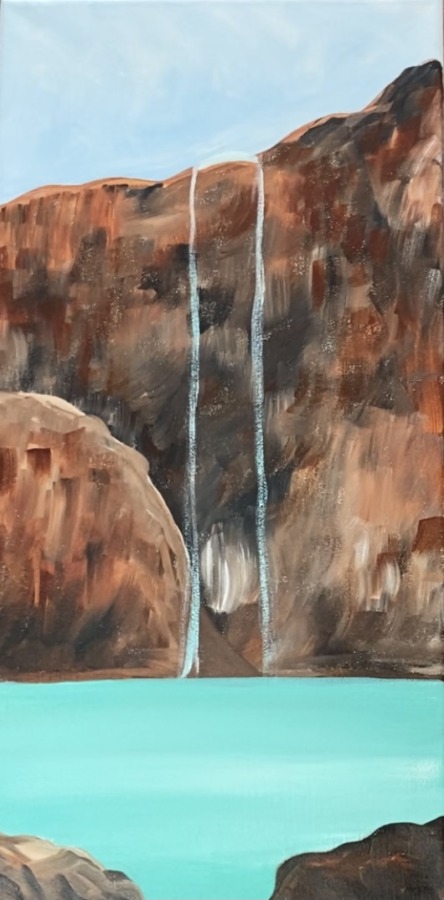
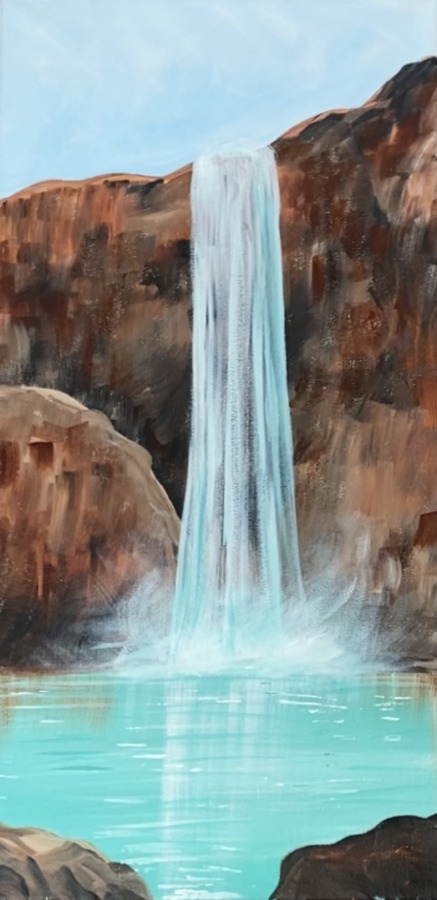
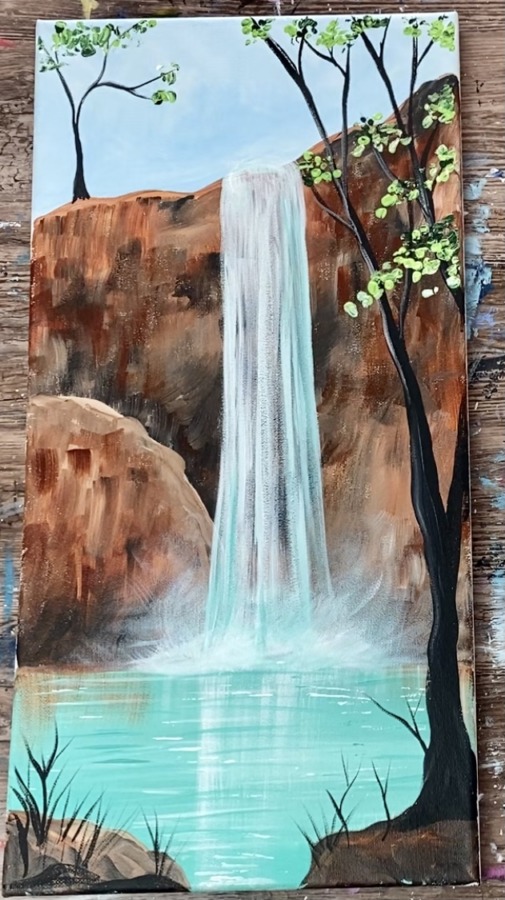
Learn how to create a canyon waterfall painting with acrylics on a 10″ x 20″ canvas. The design of this painting is inspired by the waterfalls in Havasupai in the Grand Canyon. I just love the reds in the canyons and how they compliment with the bright, glowing turquoise water!

Would you like to save this?
There is something very therapeutic and healing about painting water, especially a waterfall painting! My favorite part about painting a waterfall is the bottom area where you must express the splash. That is where most of the energy of the painting is so don’t be afraid to let all sorts of emotions out in that area!
I also love the greenery on the trees. I think adding all that green in this painting is a representation of life. For those leaves, I recommend using a palette knife so you can apply thick textures of the green and also be more loose and expressive with them.
Looking for more waterfall paintings?
Check out “Galaxy Falls” which was done on a black canvas! That particular painting is an easy beginner waterfall painting!
Materials
Havasu Falls Painting Tutorial

Learn how to paint a canyon waterfall with glowing aqua water! This painting is done on a 10 x 20 canvas with acrylics.
Materials
- 10 x 20 Canvas
- Acrylic Paint
- Brushes
- #3 Palette Knife (optional)
- Water Cup
- Palette
- Paper Towel
- Easel (optional)]
- T-Square Ruler
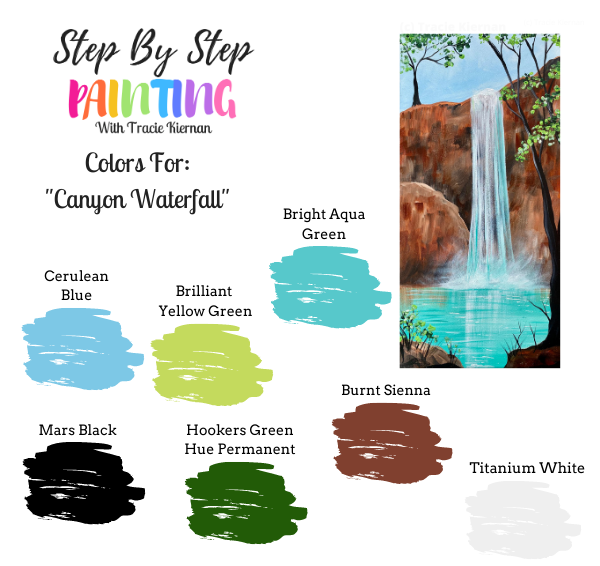
Colors
- Titanium White
- Mars Black
- Burnt Sienna
- Bright Aqua Green
- Brilliant Yellow Green
- Hooker's Green Hue (or Green Deep Permanent)
- Cerulean Blue
Brushes
- 3/4" Flat Wash
- #8 Round Brush
- #3 Palette Knife
- #4 Round Brush
Instructions
- See tutorial on www.stepbysteppainting.net for full instructions.
Notes
You can use a 12 x 16 canvas if you do not have a 10 x 20.
Color Palette
Apple Barrel Craft Paint Suggestions:
- Parrot Blue
- Bimini Blue
- New Shamrock
- Holly Branch
- Black
- White
- Nutmeg Brown
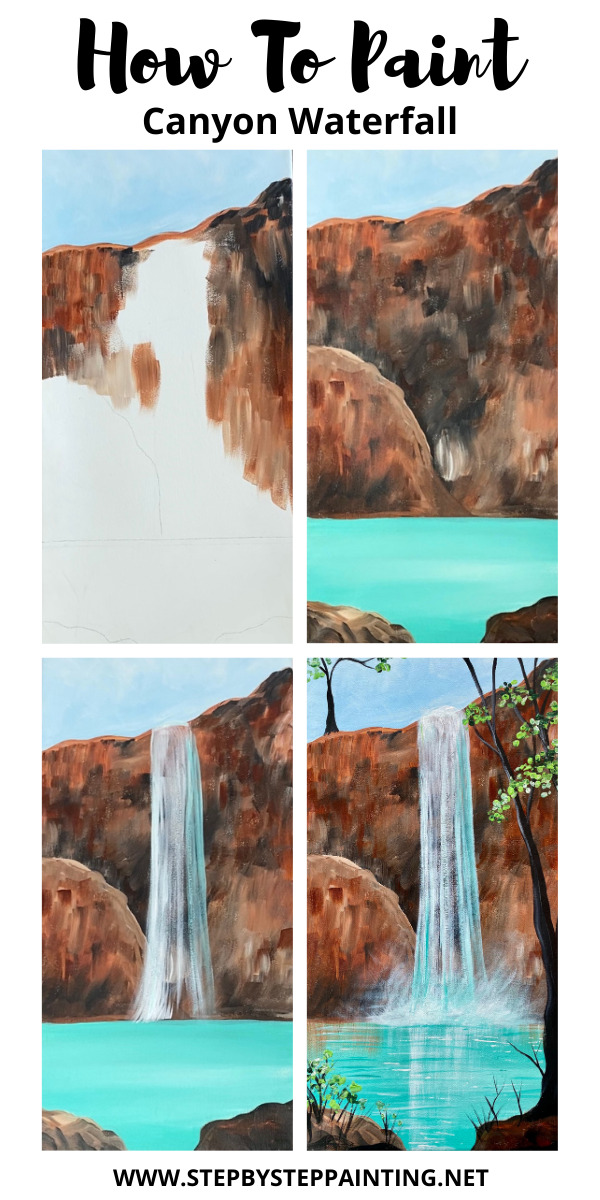
Directions At A Glance
Video
Step By Step Directions For Canyon Waterfall Painting
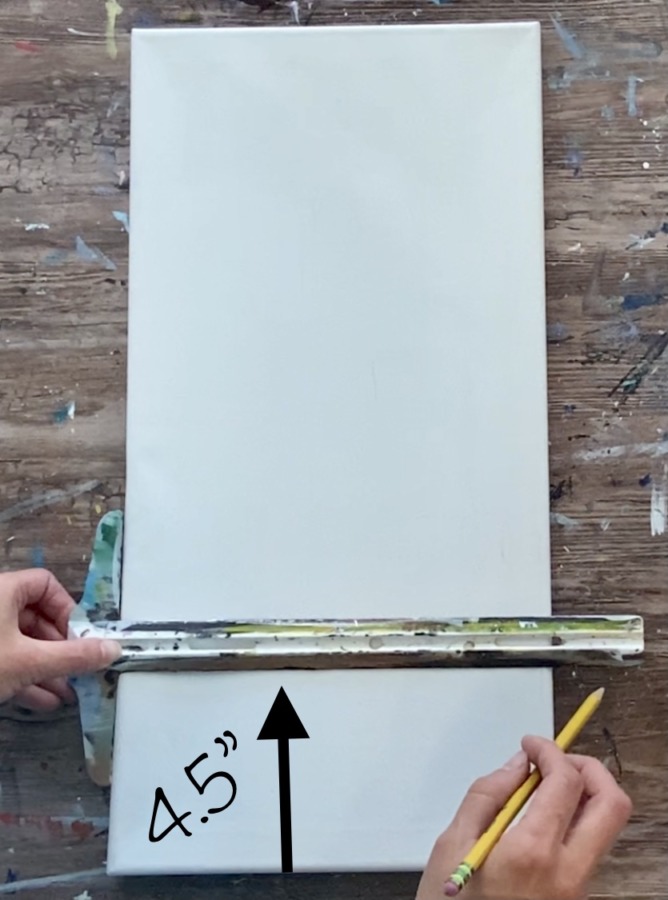
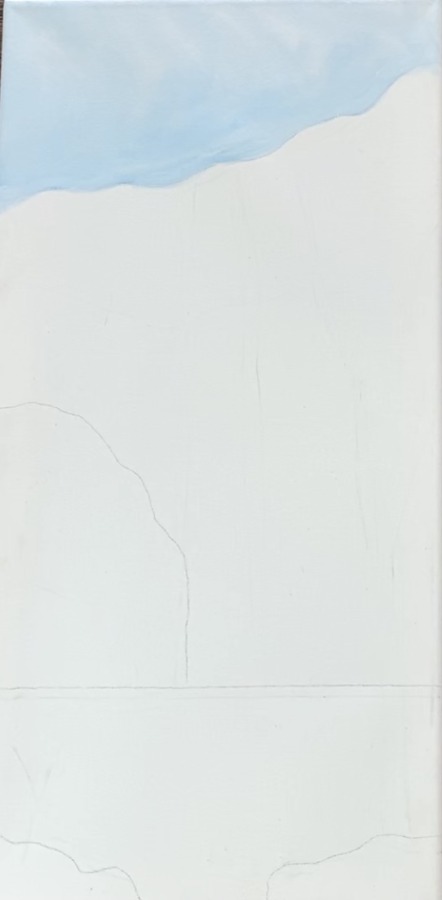
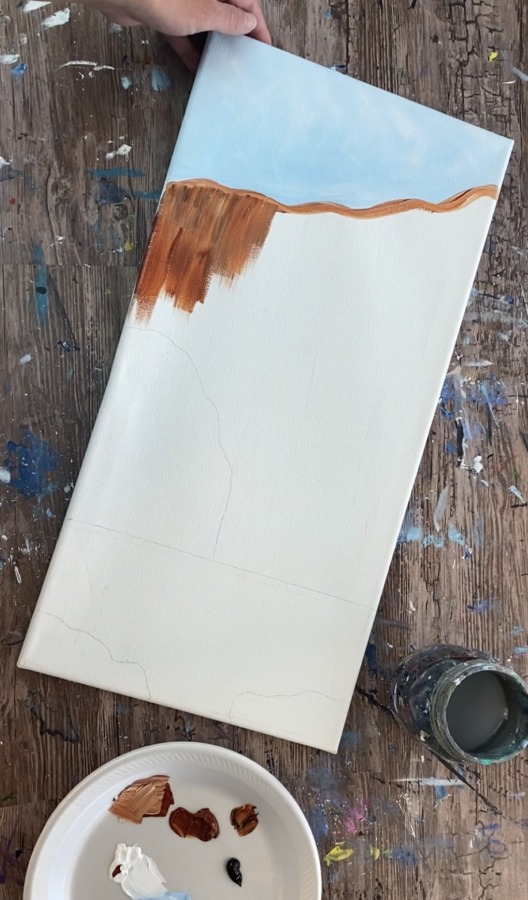
1. Draw the composition of the cliffs & waterline
Position your canvas so that it is vertical. Draw a horizontal waterline at about 4.5″ up the canvas. This line will divide the water and the cliff.
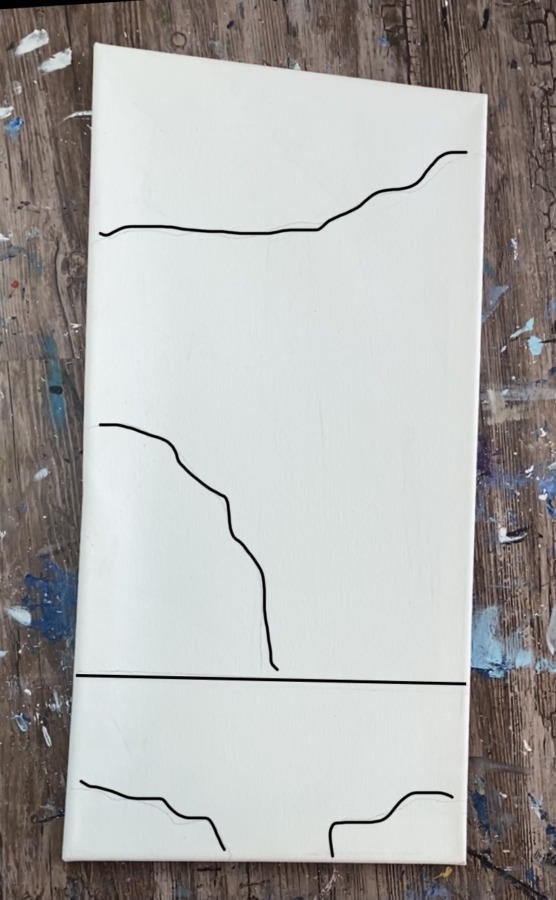
Next lightly draw the cliff lines with a pencil. Start at the top where the highest part of the cliff will be. Draw an uneven line that starts at the top right of the canvas and dips down.
Then draw a smaller curved cliff on the left above the horizontal water line.
Draw two rock formations at the bottom of the canvas. Below is a representation of what the drawing looks like (with darker lines). The drawing does not have to be exact but is helpful for painting the composition in.
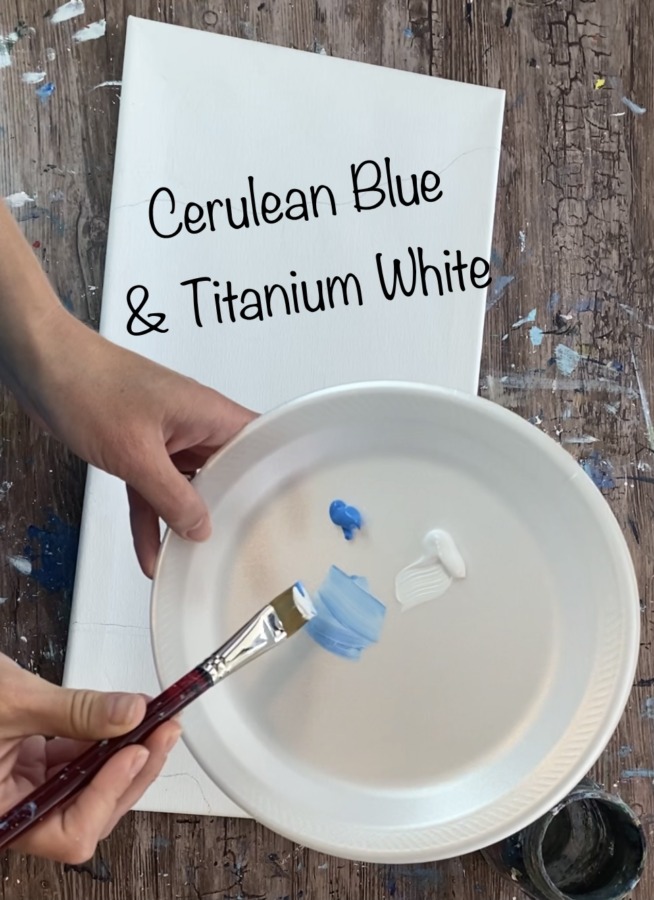
2. Paint The Sky
Load your palette with cerulean blue and titanium white. Use a 3/4″ flat wash brush to double load in a TINY bit of cerulean blue and a lot of the titanium white. Mix it on the palette so that it makes a very light blue.
Paint the sky above the cliff line. Do this with angular expressive strokes.
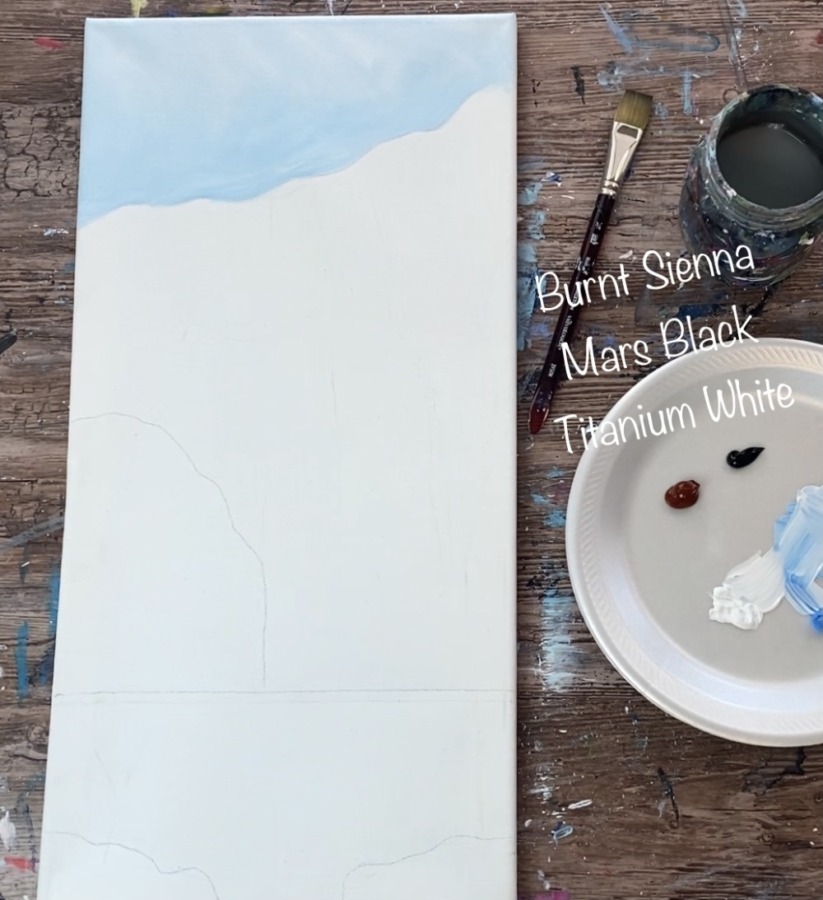
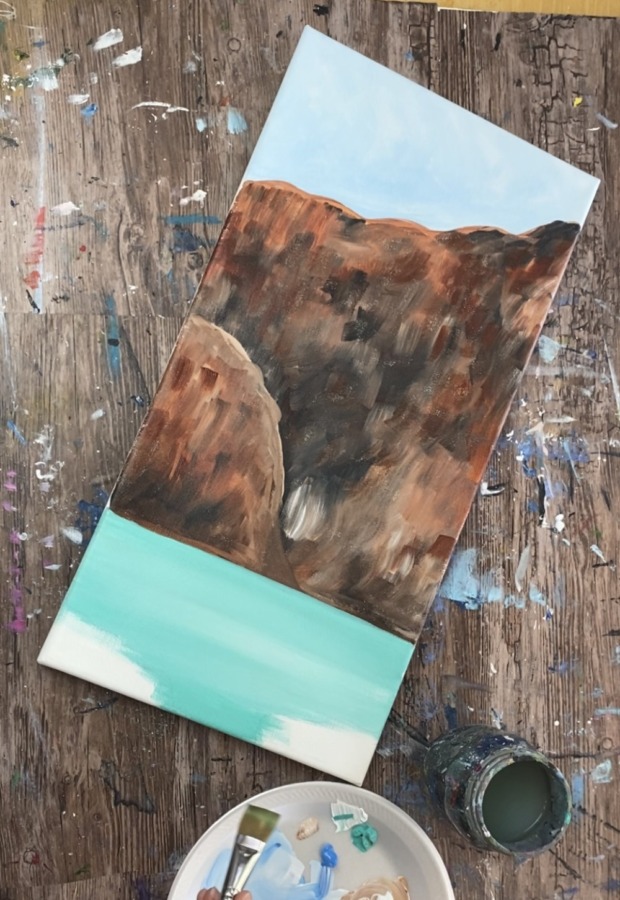
3. Paint The Canyon
Completely rinse and dry the blue off of your 3/4″ flat wash brush. Load your palette with burnt Sienna, mars black and titanium white.
Load your 3/4″ wash brush in a little bit of white and burnt Sienna. Use the tip of your brush to outline the top of the cliff line.
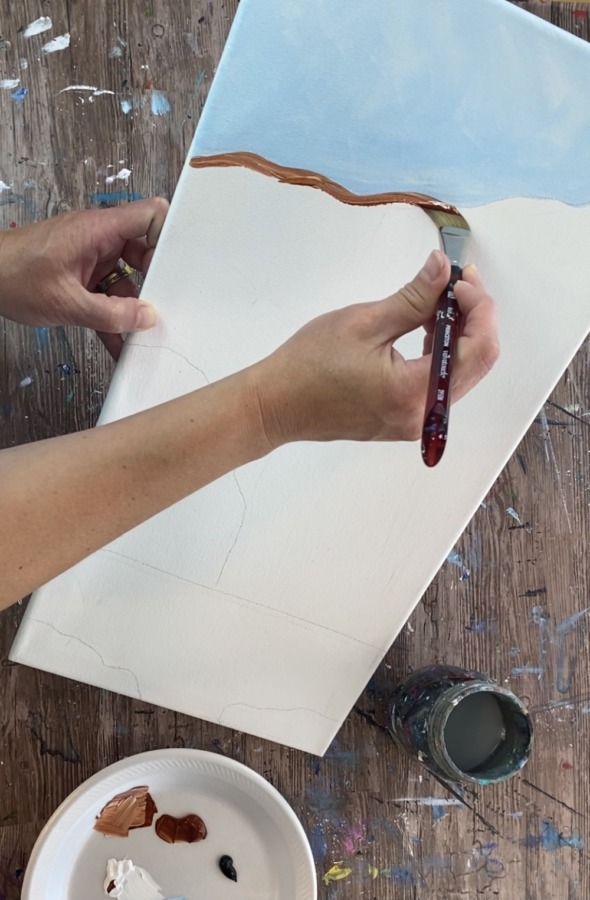
Then start filling in the cliff. Do this with short vertical strokes using the full width of the brush. Load your brush in different amounts of the burnt Sienna, titanium white and mars black.
You will need to add a variety of darks and lights into the canyon but be careful not to add too much black. This technique really is simple. You are applying layers of the three colors and they blend on the canvas to create the different variations of color in the canyon.
Paint over the waterfall area too! You don’t want to leave that area blank because when you paint the waterfall in, you will want the shadows of the canyon showing through the water.
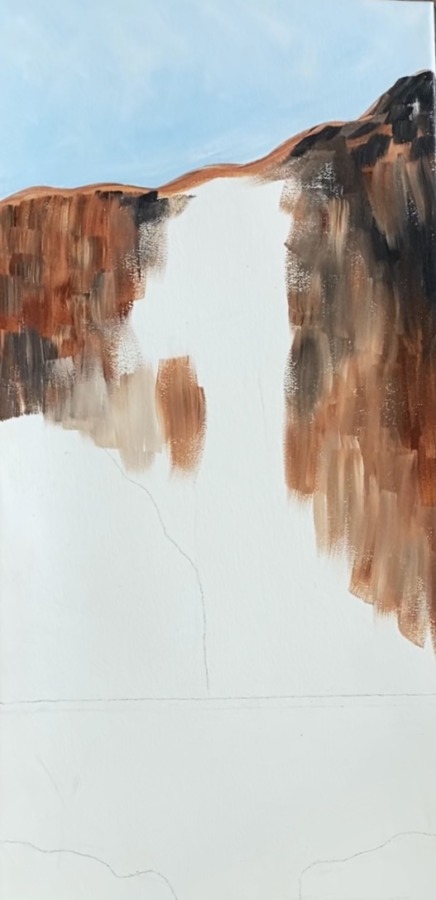
Your paint strokes should (for the most part) go vertical. However, you can change the direction of your strokes in some areas (such as going in an angle).
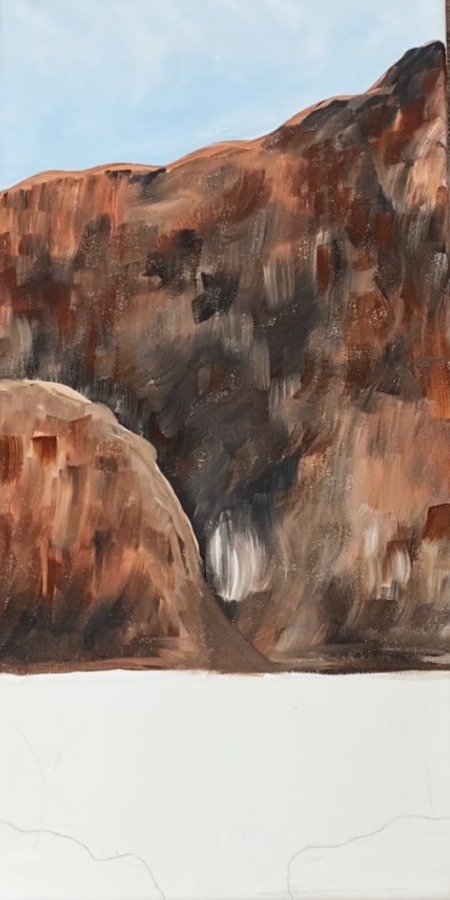
Make a dark shadowy area behind the smaller front cliff. This will give that area enough contrast so that smaller, curved front cliff will stand out.
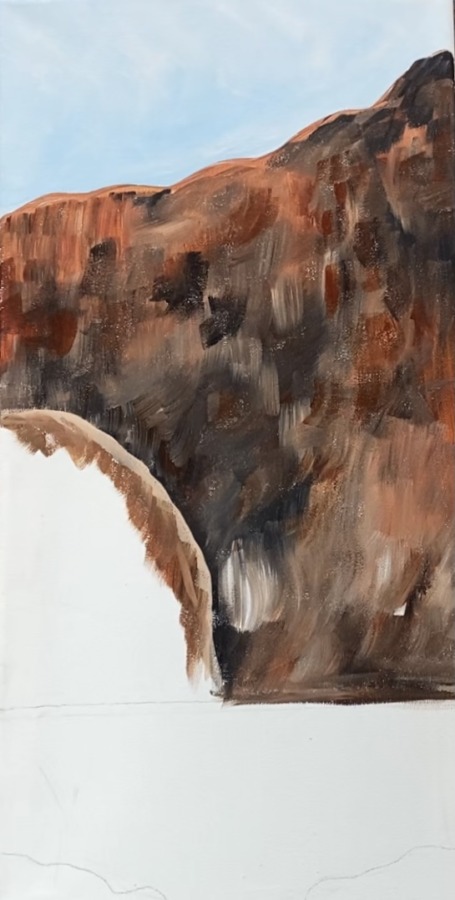
Add lighter colors to the front smaller cliff so they contrast against that dark shadowy area behind that cliff. Add darker areas of color at the bottom of the cliff and blend upwards.
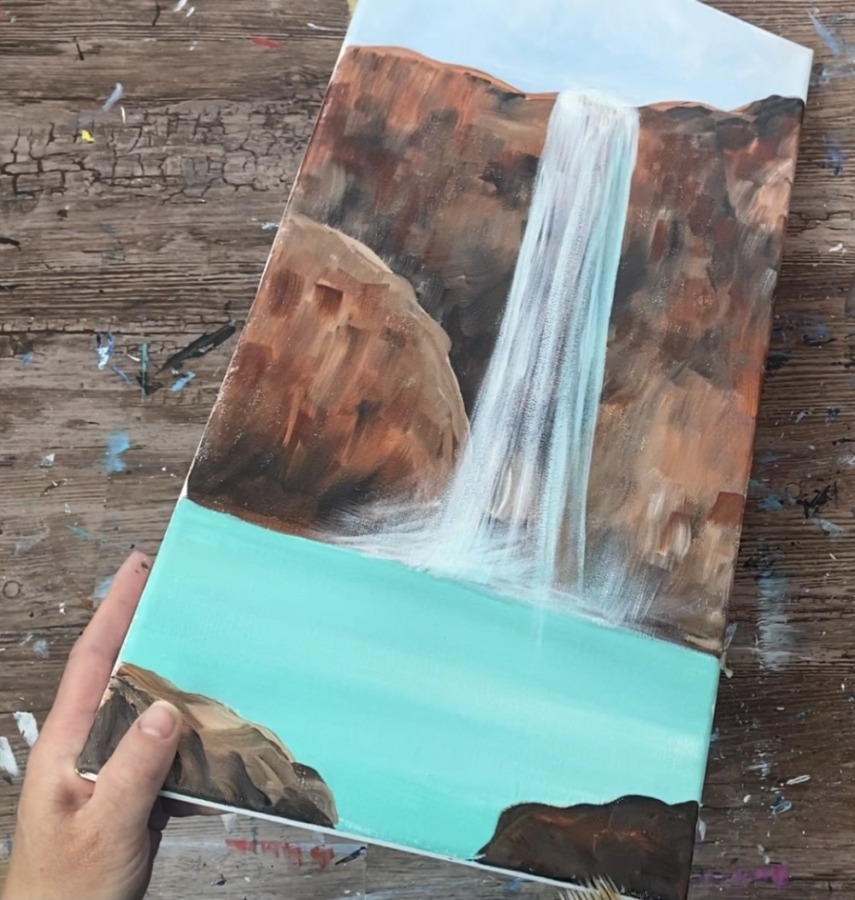
4. Paint The Water
Completely rinse all the brown off your 3/4″ flat wash brush. Load your palette with bright aqua green and titanium white. Double load your brush in both the aqua and the white.
Paint left and right strokes so the aqua blends with the white. This should be a thin layer of color. The color should be a very light aqua blue and the white should blend softly to create different variations of that color.
Define the horizontal water line, make sure it is completely horizontal.
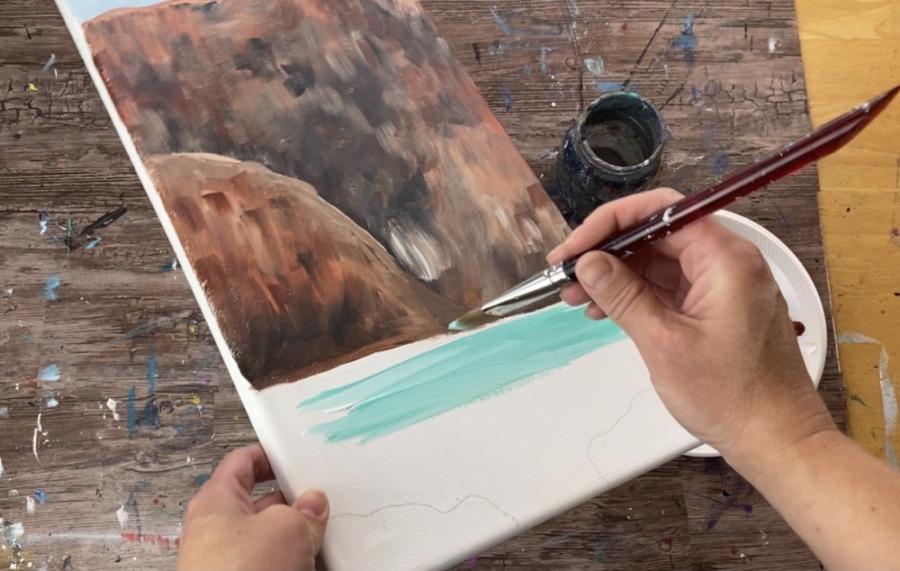
Fill in the water area down the bottom of the canvas. Leave the rocky areas on the corners blank for now.
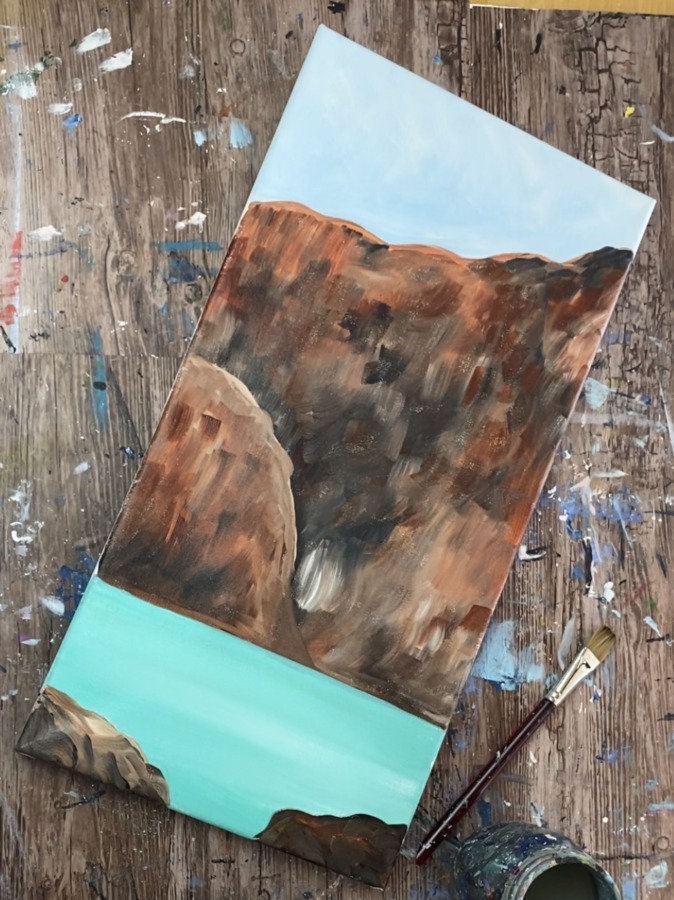
5. Paint The Bottom Rocks
Use the same colors & brush technique (short textured strokes) you used in the canyon to paint the rocky areas on the bottom corners of the painting. Use that 3/4″ flat wash brush. Make that area slightly darker by adding a bit more black to it.
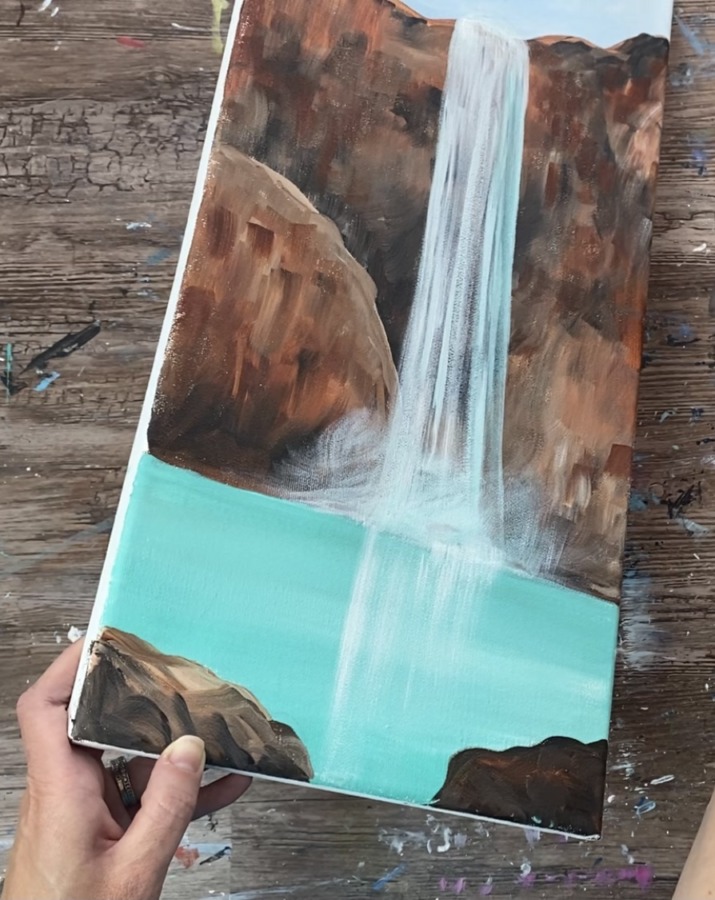
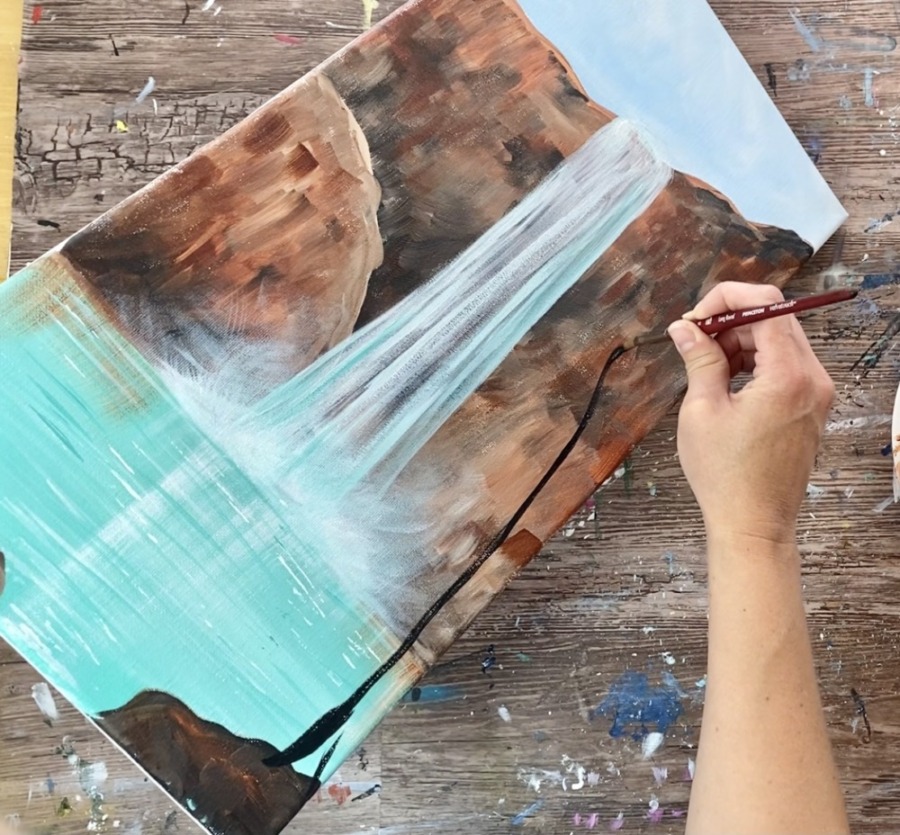
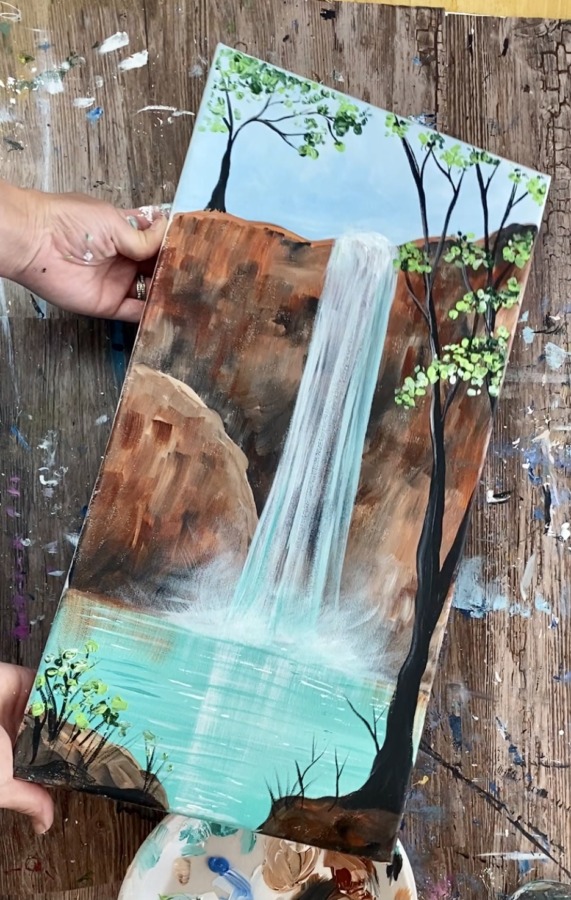
6. Paint The Waterfall
Make sure the canyon part of the painting is completely dry.
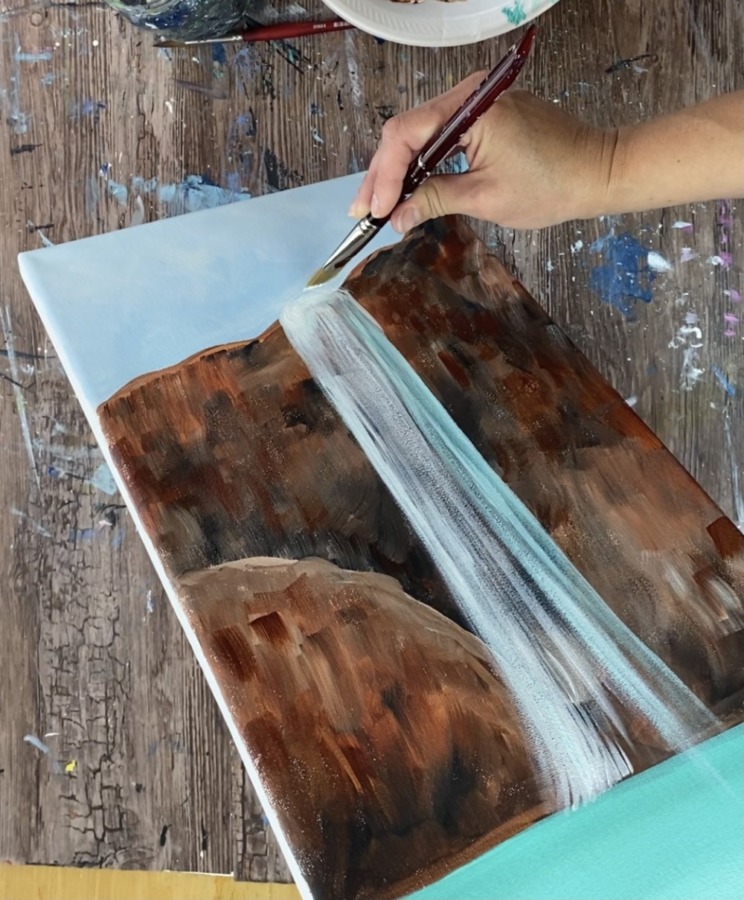
Use a #8 round brush (or any round brush) to lightly paint the shape of the waterfall with titanium white and a tiny bit of bright aqua green. Start at the top and paint a curved line where the top of the waterfall would be falling over the cliff.
Then paint two vertical lines going all the way down to the water. Make this waterfall fairly narrow for now. You can always widen it when you paint it in. Do this very lightly with only a small amount of paint on your brush. You don’t want the lines you are painting to be too opaque.
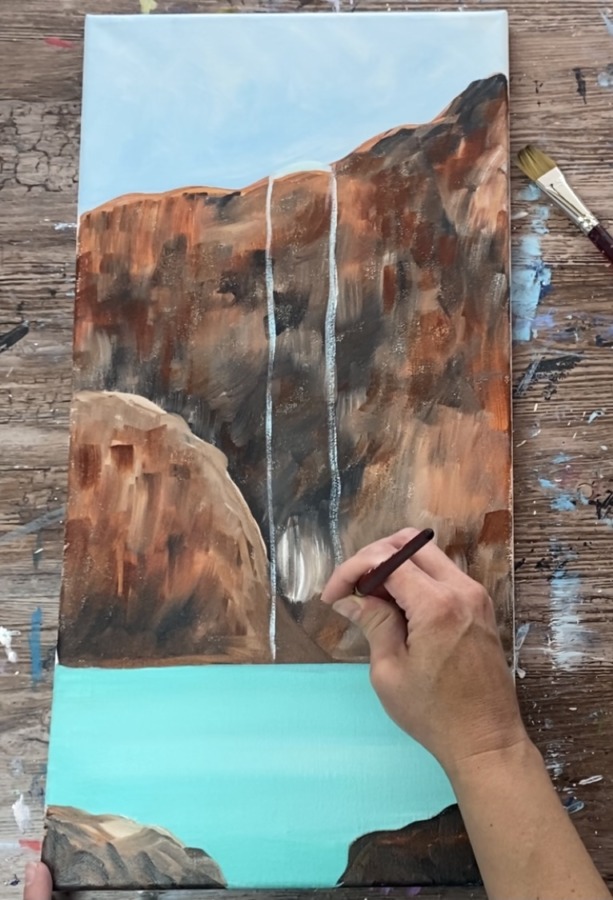
The waterfall is for the most part vertical but trumpets out (gets slightly wider) on the bottom.
Use your 3/4″ flat wash and load it in titanium white. Wipe off the brush so only a small amount of white paint is on it. Dry brush the white paint on the waterfall. Paint vertical strokes.
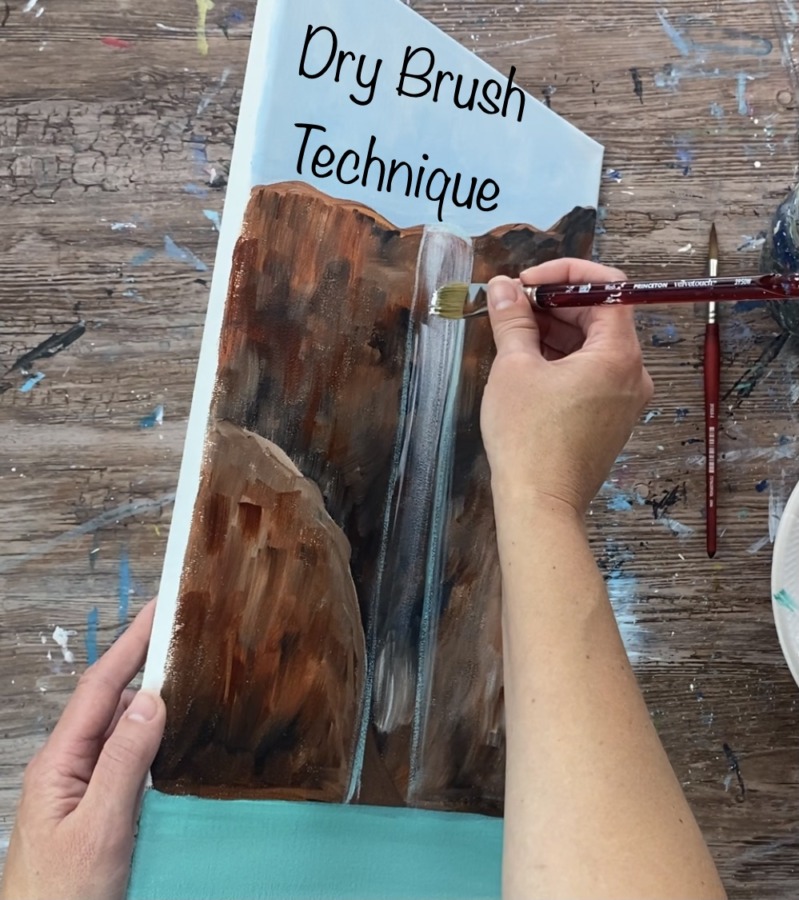
Try not to make the waterfall solid white. There should be shadows of the cliff showing through the paint. You achieve this technique by making sure only a small amount of paint is on the brush and applying the paint very lightly to the canvas.
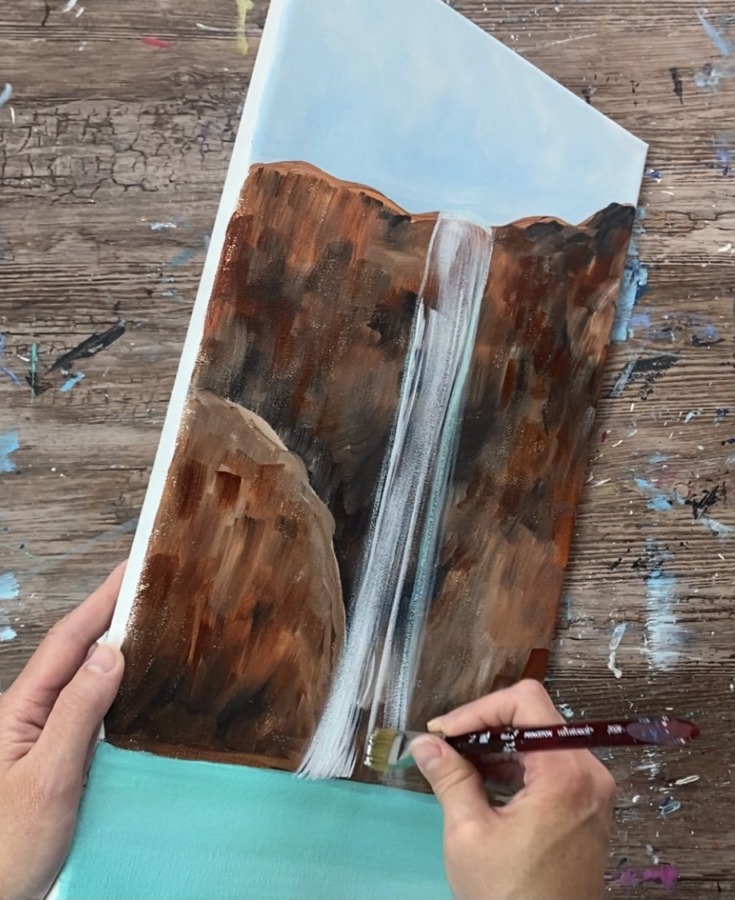
Vary the strokes by making your brush tip go horizontal in some areas (dragging the brush down) and vertical in other areas. Also vary the intensity of some of the white. Some areas of the waterfall are brighter (more paint) and some areas are more sheer (less paint).
Add a tiny bit of bright aqua green into the waterfall but not too much.
To paint the splash on the bottom, do the same dry brush technique with the white and tiny bit of aqua. Paint very expressive angular strokes. There is a lot of energy in this area of the painting so don’t be afraid to channel emotions here!
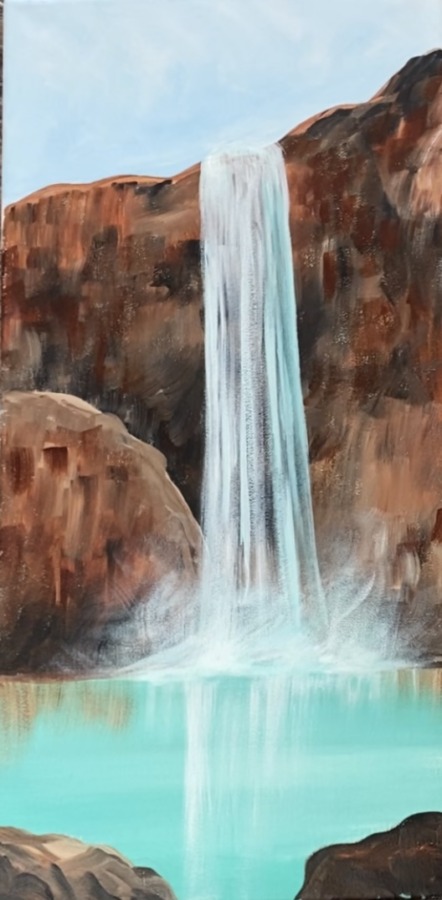
7. Paint Reflection In The Water
This reflection is done with the same dry brush technique as the waterfall. Load only a small amount of white paint on the tip of your brush (wipe it off to be certain only a small amount of paint is on there). Then paint vertical strokes over the water just under the waterfall. Drag your brush down vertically.
Paint a few more shorter vertical strokes under the splash so that reflects into the water.
Then paint some reflection of the cliff into the water. Load your brush with burnt Sienna and a little bit of white. Paint dry brush vertical strokes and only go down about a half inch over the water.
8. Paint Water Texture
I did this technique with both the palette knife and 3/4″ flat wash brush. Load the tip of the flat brush in some titanium white and paint horizontal water lines in the water. These lines overlap the reflection you painted in the water.
To use the palette knife, load the side of the knife with titanium white and make horizontal marks in the water.
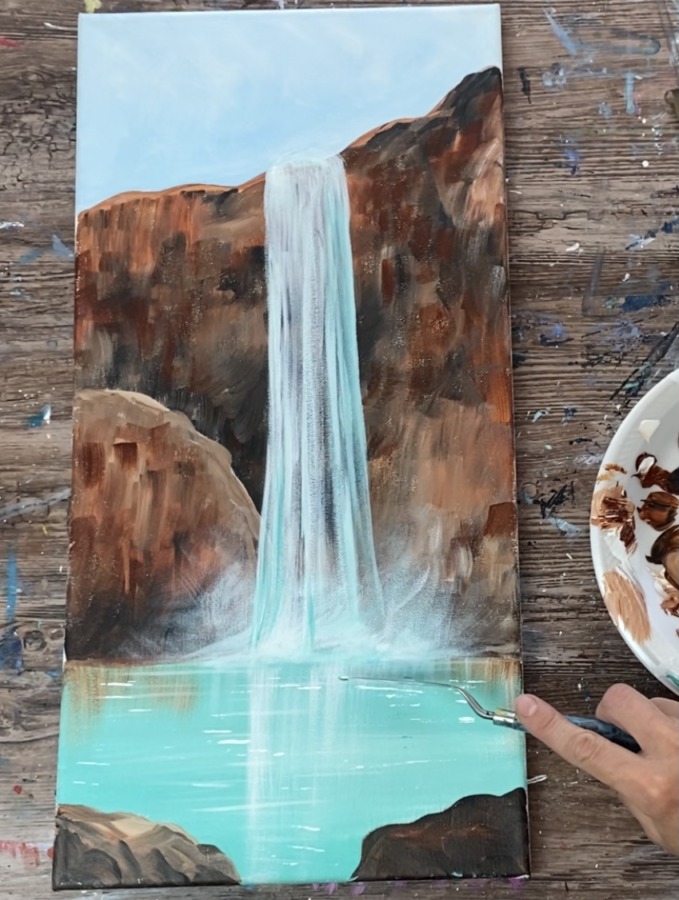
The palette knife allows you to make some more thicker textured water lines. Paint some lines with the aqua as well.
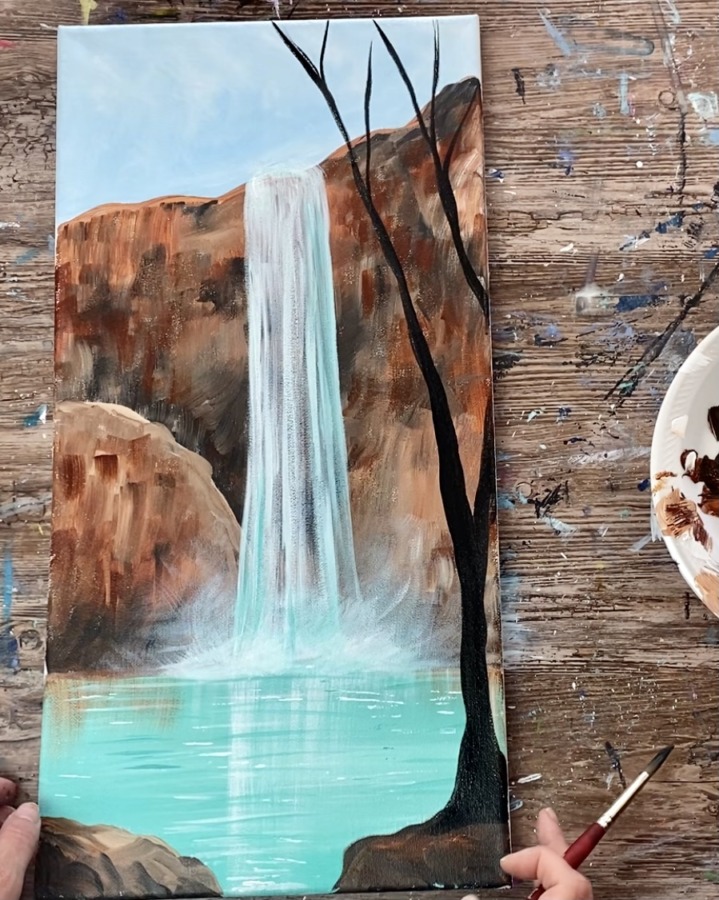
9. Paint The Trees
Use a #8 round brush for these trees. Start with the large tree at the bottom right. Form the trunk so it is slightly wide at the bottom and thins out towards the top.
This is a very long tree with the branches extending all the way to the top of the canvas. The tree forks out into two major branches. Use the tip of your brush to get the thinner branches.
Tip: slightly water down the mars black to help if flow better for these branches.
Paint a smaller tree at the top left part of the canyon. Also paint smaller branches/ twigs on the bottom left rock area. Paint smaller twigs and branches at the base of the large tree on the right.
Then add some highlight to the left part of the large tree. Do this by loading a small amount of titanium white onto your brush. It will blend to a light gray if the black of the tree is still wet. Loosely paint the lighter color just on the left side of most of the branches.

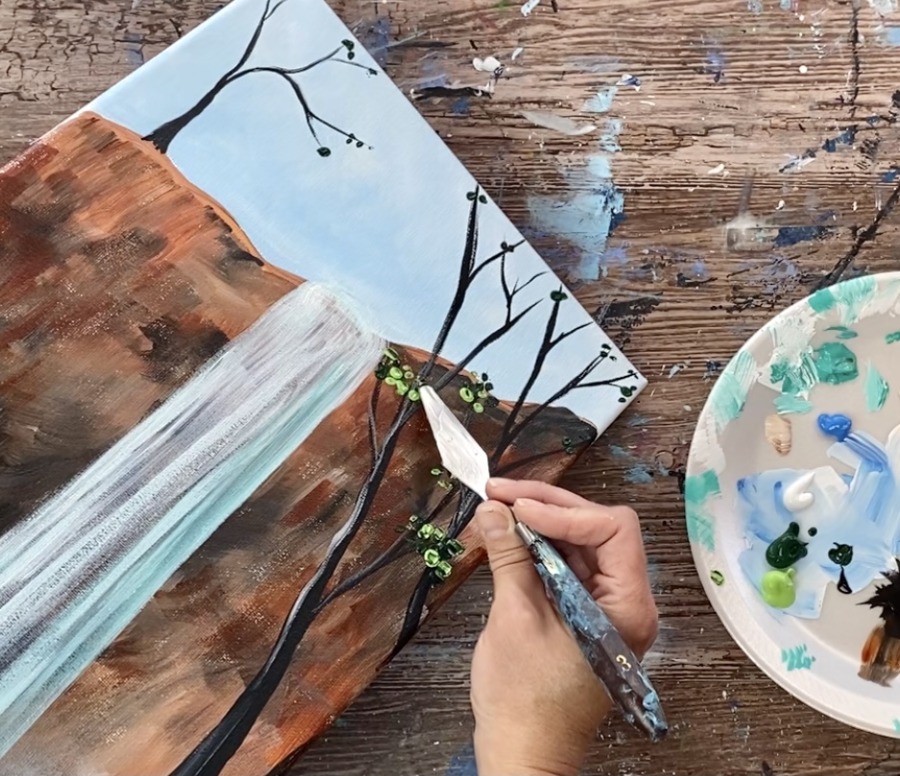
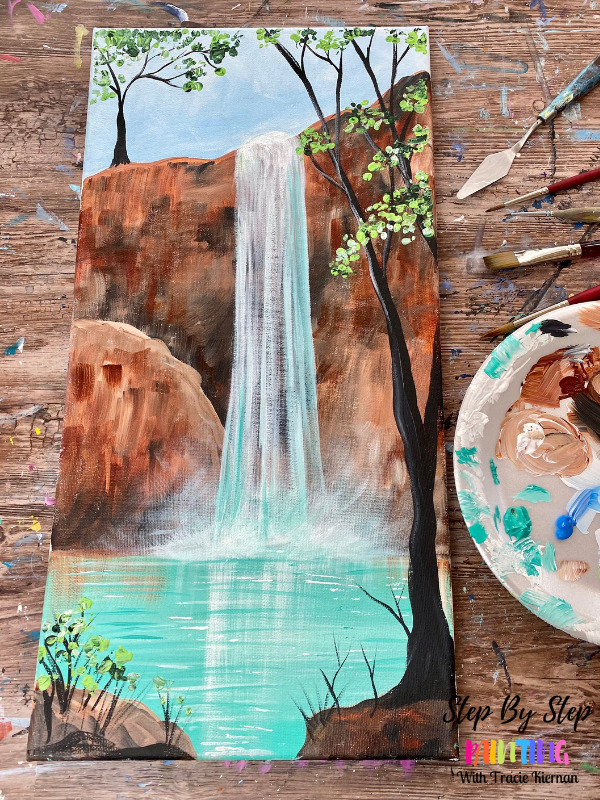
10. Paint The Leaves
You can do this with a round brush, palette knife or even a small flat brush! I did this with that #3 palette knife.
Load your paint palette with brilliant yellow green (light green), hookers green hue permanent (dark green), mars black and titanium white. Start by mixing a little black into the dark green so that it becomes a very dark shade of green. Load the paint just on the tip of the palette knife and make your leaf marks. They will be thick, rounded strokes.
Paint the dark leaves in clusters all throughout the large tree and the small tree. Then load some lighter green onto the tip of your palette and continue to paint clusters of leaves.
Continue to paint more clusters of leaves using different variations of the greens. Add some white into that lighter green to make a bright tint of that green.
Paint leaves on the bottom left area as well.
Finished!
Share Your Art Here!


Hey , can you please tell the colors forn Apple barrel paints for this painting please I’d really appriciate it
Thank you
Sure I’ll update sometime tomorrow with those colors!
Oh one more question is it right under the colors
Hello Tracie,
This post and the art that you have made here are amazing. I use to visit many websites that provide tutorials on how to draw a particular thing but the details that you have mentioned here step by step including the materials and specific colors that are required are just outstanding.
I loved it and I would definitely go through your other blog posts as well!
My wife and I recently decided to try this at home and we enjoyed painting this waterfall… Thank you for sharing it for us to use.