
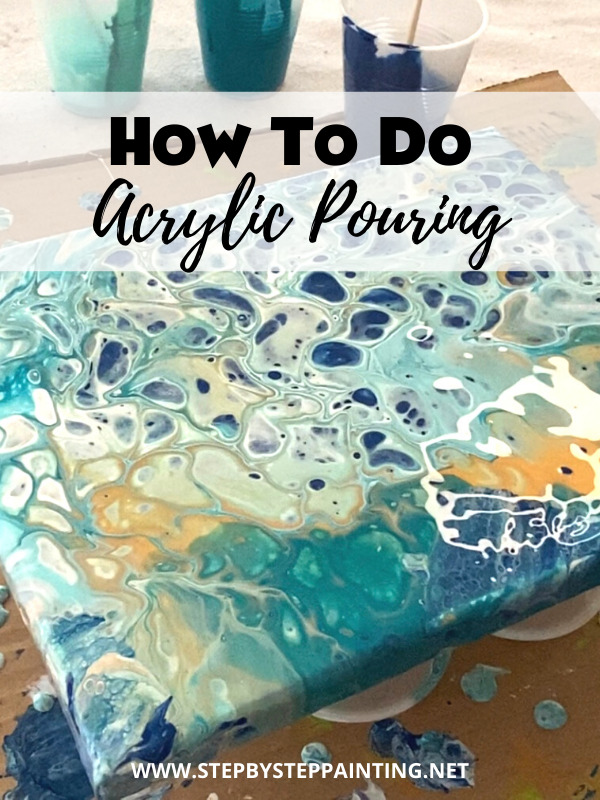
How To Do Acrylic Pouring

Would you like to save this?
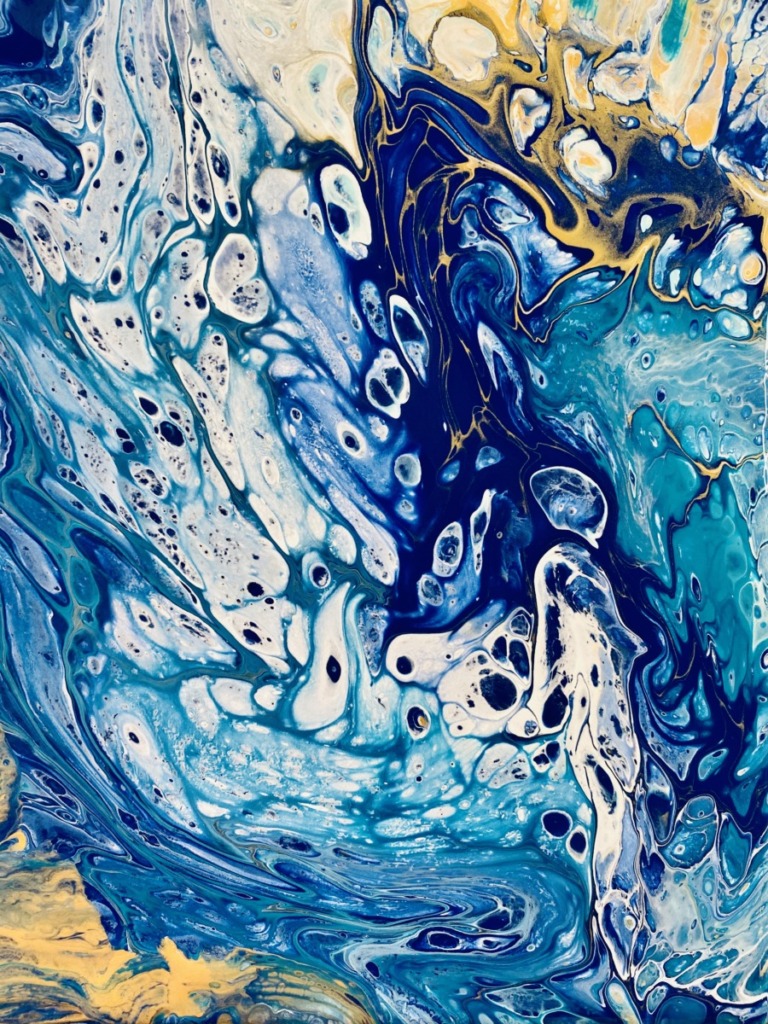
Acrylic pouring painting is the art of using fluid acrylics to pour onto a canvas (or other surface) to create unique abstract effects. The actual process of doing pour painting is mesmerizing and quite addicting!
In this tutorial I will guide you through how to do acrylic pouring! I will walk you through how to pre-mix your acrylics to make them into fluid paints as well as how to achieve those really cool “cells” you seen in acrylic pour paintings.
You will also get some information about how to select colors for your acrylic pours. I think selecting colors is an important part of the creative process that takes place because you really have to think about how colors look together.
In the acrylic pouring world, there are so many techniques! You can spend weeks watching videos and soaking up all the information on all the different techniques! My favorite two artist websites that teach acrylic pouring are Smart Art Materials and Acrylic Pouring.com!
On Smart Art Materials, Olga has a GENIUS calculator for measuring the amount of ounces of pre-mixed paint you will need for the size canvas you are using.
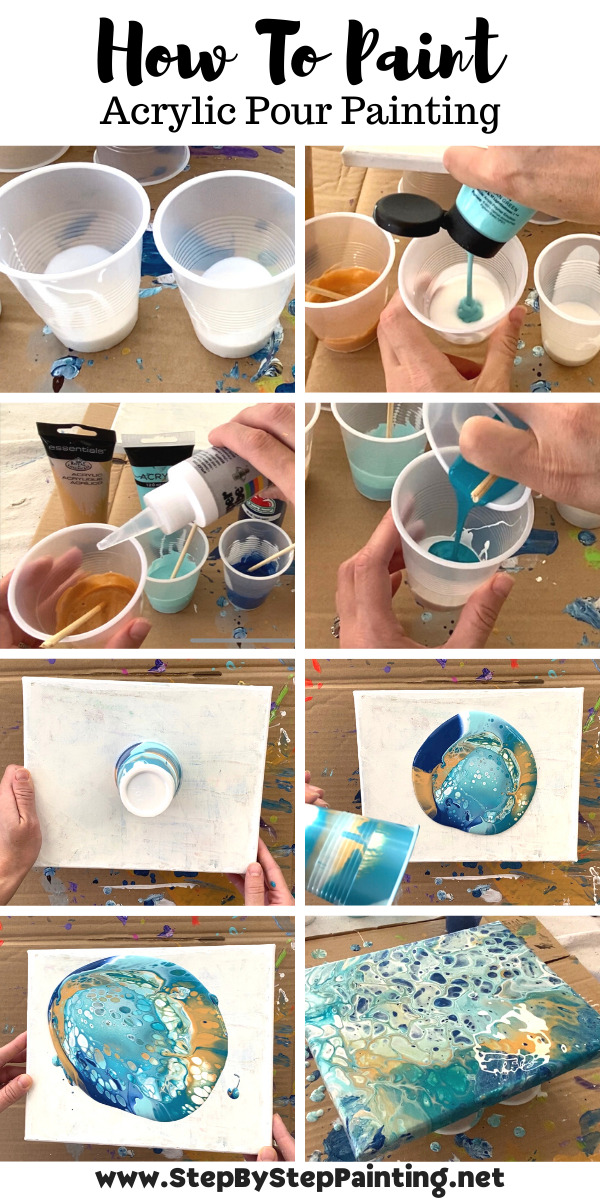
I will only be showing you what is called a “Flip Cup Dirty Pour”. This is where you put all your (pre-mixed) colors in one cup and flip the cup onto the canvas.
Why is it called a dirty pour? It is because the paint colors are all layered/ poured together in one cup!
Enjoy and happy acrylic pour painting!!!
This post contains affiliate links.
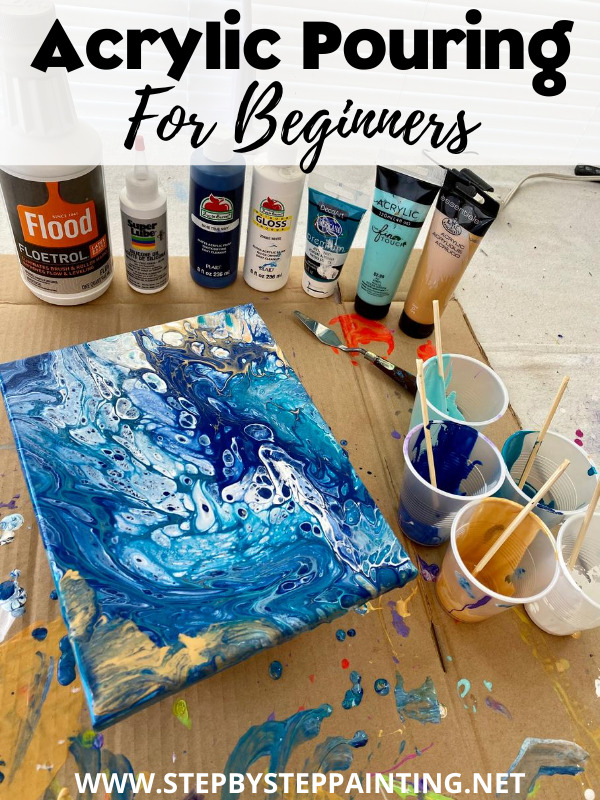
Materials For Acrylic Pouring Painting
How To Do Acrylic Pouring - "Flip Cup"

Create your very first acrylic pour painting! This tutorial will show you how to do acrylic pouring! Mix the paints and pour them on the canvas to create a beautiful abstract fluid art painting.
Materials
- 8x10 Canvas (you can pour on any canvas size, any object...)
- Acrylic Paint (Any brand! Craft paints work great for this.)
- Palette Knife (Optional If your want to “swipe”)
- Floetrol
- Silicone Oil
- Plastic Cups (I used 7oz)
- Wooden Stir Sticks
- Disposable Gloves (highly recommended since pour paintIng is messy and you will be mixing additives)
- Optional: acrylic sealer
- Optional: gesso (see notes below)
- Cardboard or Tinfoil Sheet Pan for catching paint drippings
Instructions
- Premix your colors with a 2:1 proporation of floetrol to acrylic paint.
- Add a tiny bit of water (preferable distilled) to each cup and stir.
- Add 2-3 drops of silicone oil to each color and slightly stir.
- Pour each of the colors in layers into one cup.
- Place your canvas on the cup and flip over onto an elevated but level surface.
- Slowly lift cup and watch paint flow out.
- Tilt the canvas to allow the paint to flow everywhere and off the canvas.
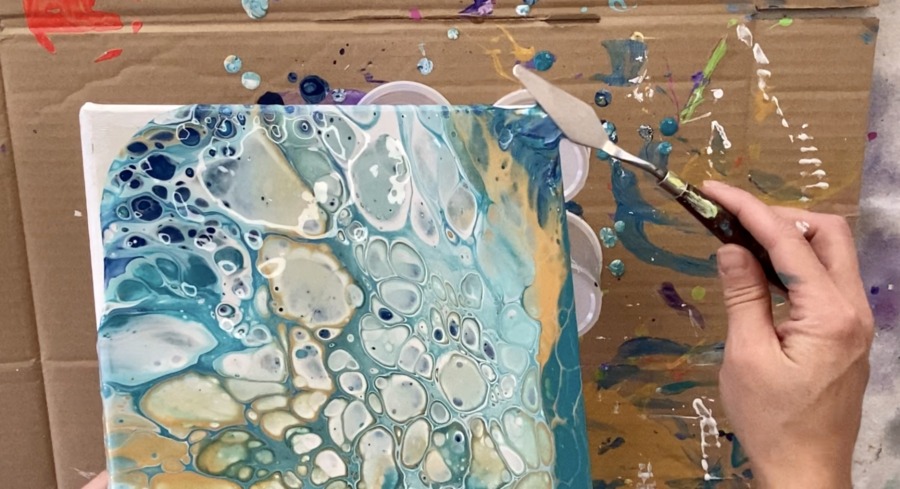
- Optional: use a palette knife to gently swipe some of the paint to reveal some more cells and help it to spread.
- Leave the pour painting elevated for 2-3 days to allow it to completely dry.
- If desired, finish with an acrylic sealer such as a high gloss varnish.
Notes
You can use a fresh canvas, a gessoed canvas or a canvas with an unwanted painting. Gesso may help the paint flow better and adhere better.
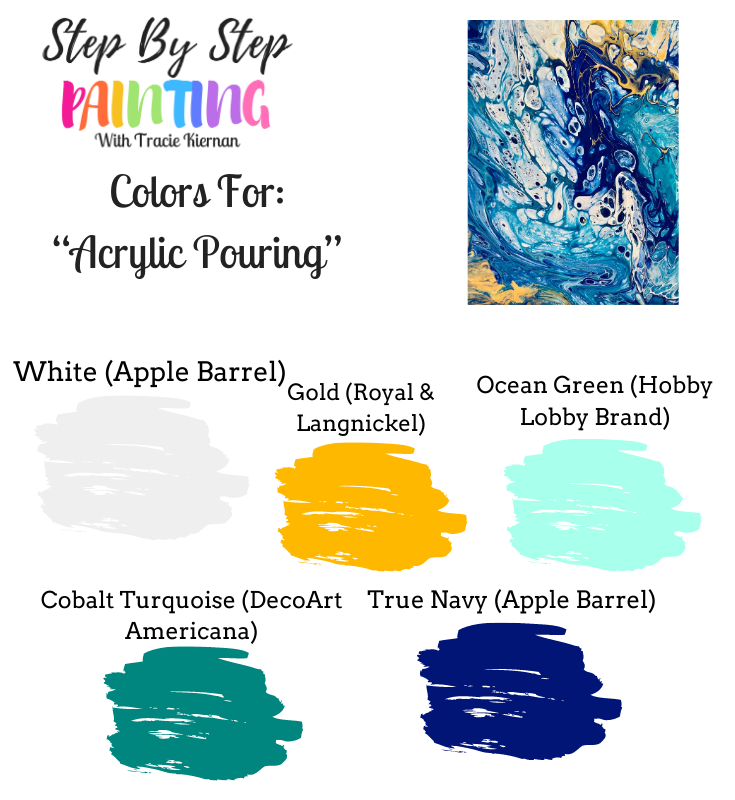
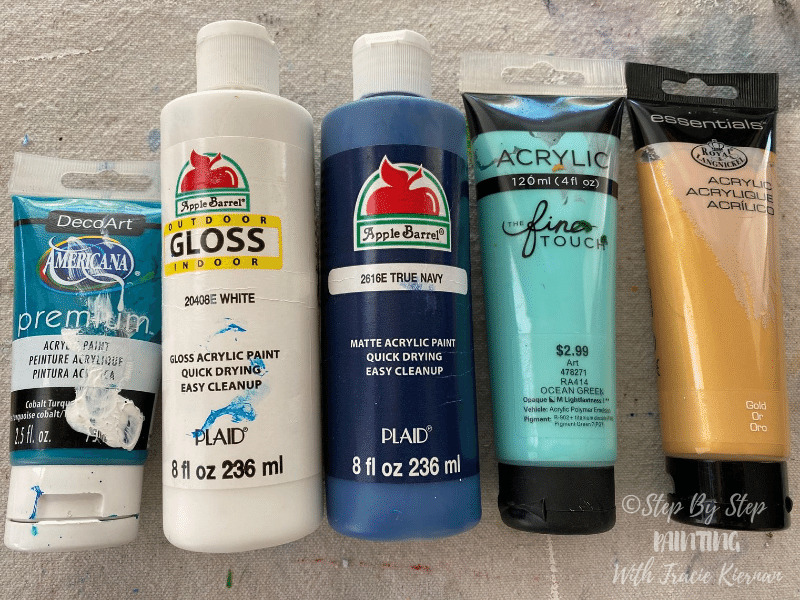
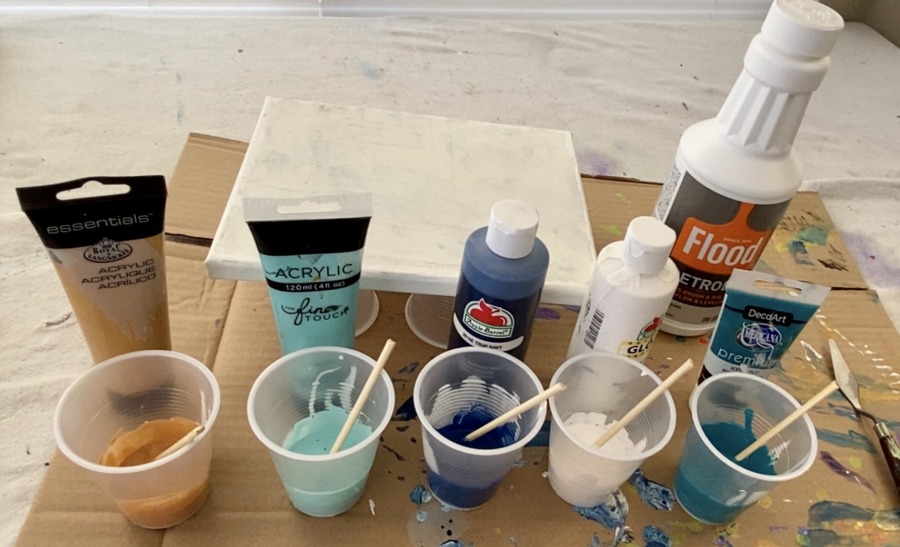
Color Palette I Used
Here are the colors I used! You can use these or your own. Any brand works with acrylic pouring!
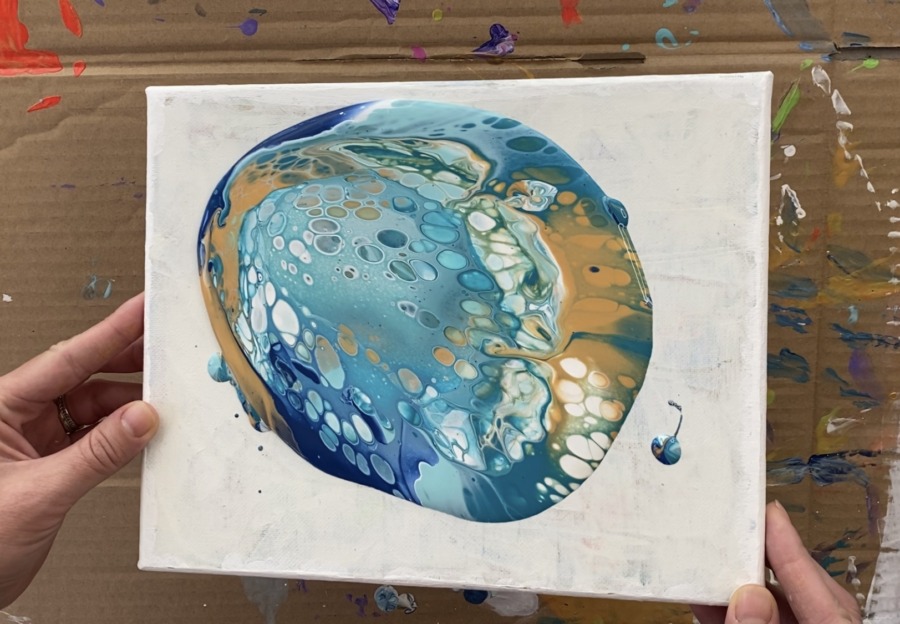
One important thing you must know about Acrylic pouring is no two will ever be the same! I did this exact technique with the exact colors and both turned out very different from each other.
Choosing Colors For Acrylic Pouring Paintings
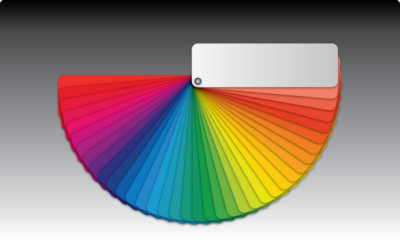
Stuck on what colors to choose? Do a little reading up on some basic color theory and select a scheme.
I recommend going for analogous or monochromatic colors for your first pour because if they end up mixing together, they won’t look too “muddy”.
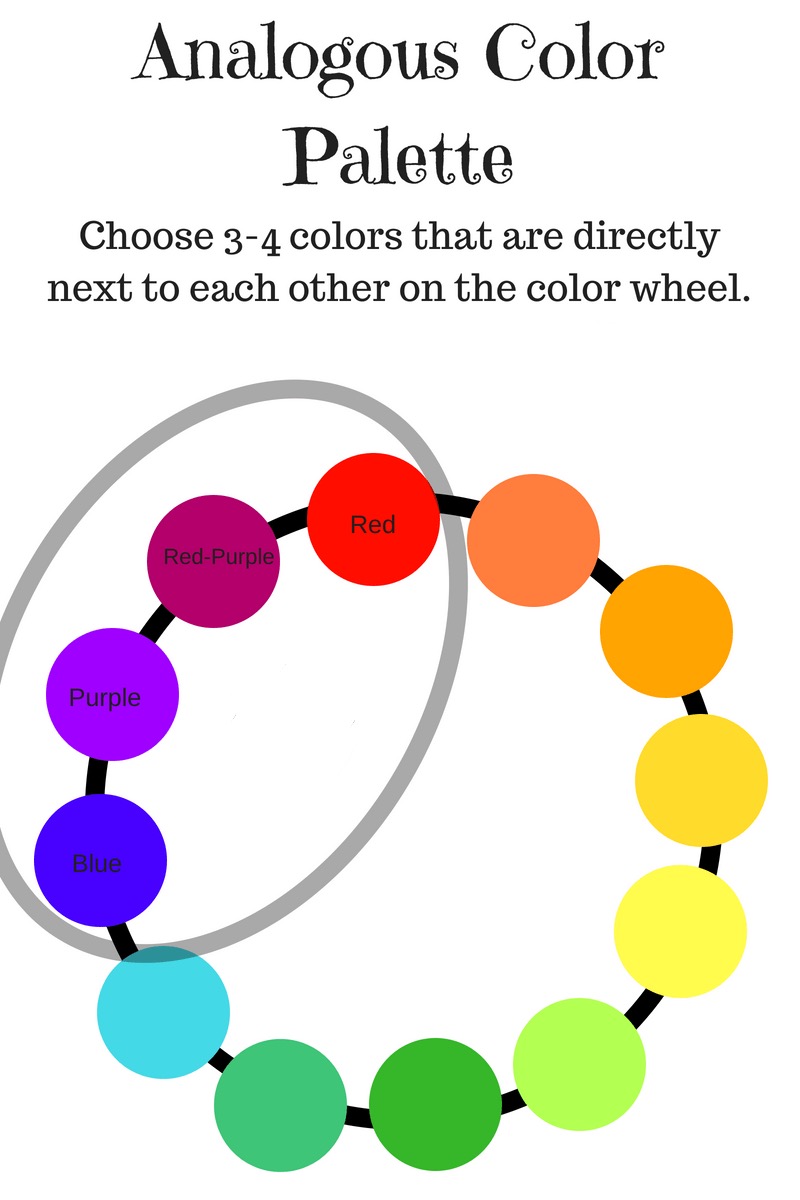 Analogous colors are colors that are next to each other on the color wheel. They are great “safe” colors to choose for acrylic pouring because if they end up mixing together during your pour, they won’t look muddy.
I highly recommend black or white be one of your color choices just because it helps create contrast in your painting.
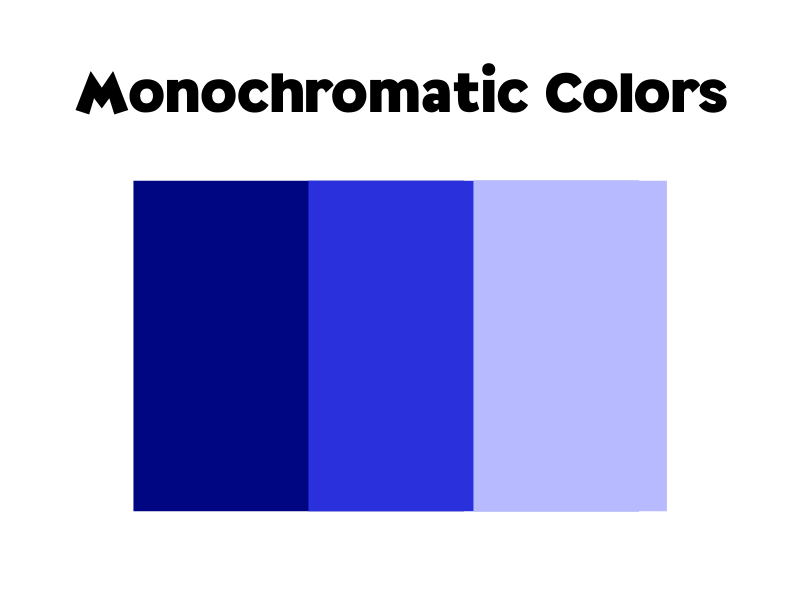 Monochromatic is another safe choice. These are colors that range from a pure form to a color mixed with white or black. For example: dark blue, primary blue and light blue are a monochromatic color scheme.
The best place to find color inspiration is from your everyday surroundings. Look around your home and in nature. What colors catch your eye?

You can look at stock photos on sites such as “Pixabay.com“ for color inspiration like this really cool peacock feather photo!

Selecting a metallic such as silver or gold will give it a nice effect. Metallics look very pretty in pour paintings!
![]()
To sum this up…
- Choose 2-4 colors based on a color scheme
- Choose black or white (still optional)
- Choose a metallic (also optional)
Choosing Acrylic Pouring Painting Supplies
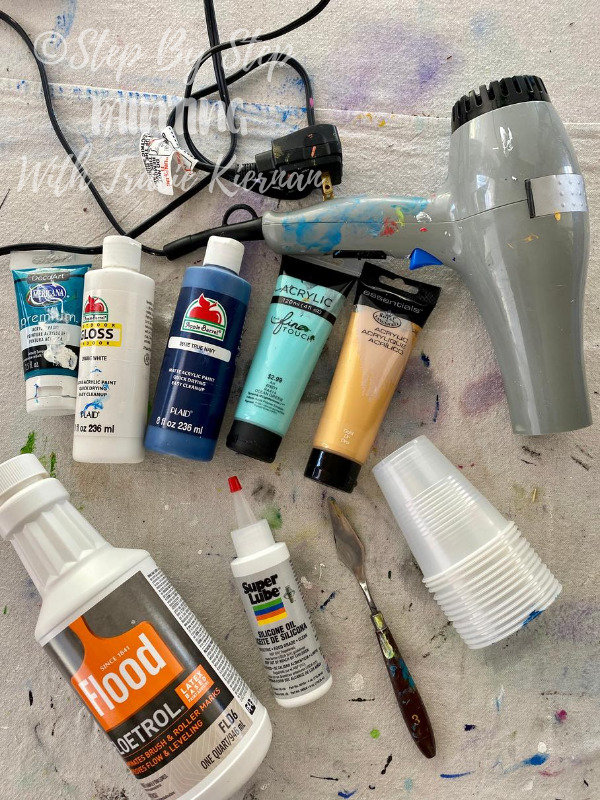
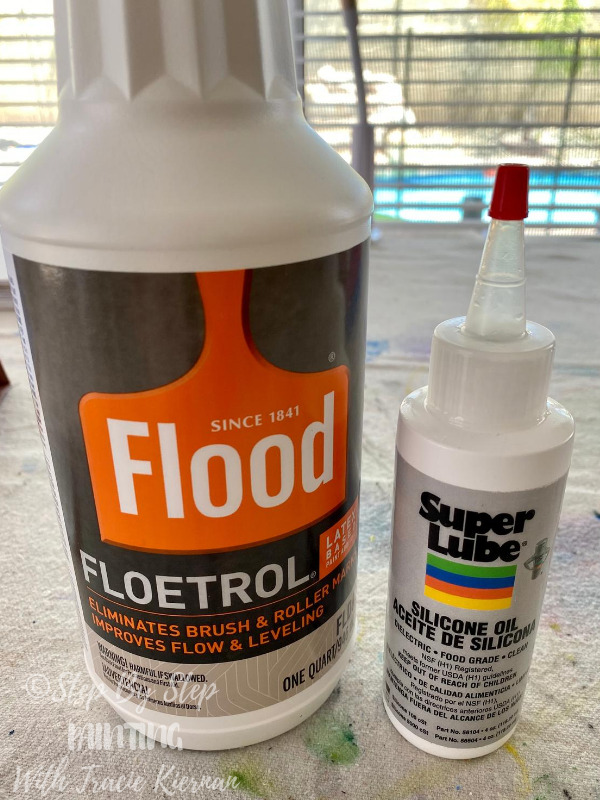
To do an acrylic pour, you need to change the consistency of your paint into a fluid consistency. This is achieved by using an additive such as elmer’s glue, floetrol, Liquitex pouring medium. Ultimately I decided on floetrol for this tutorial.
![]()
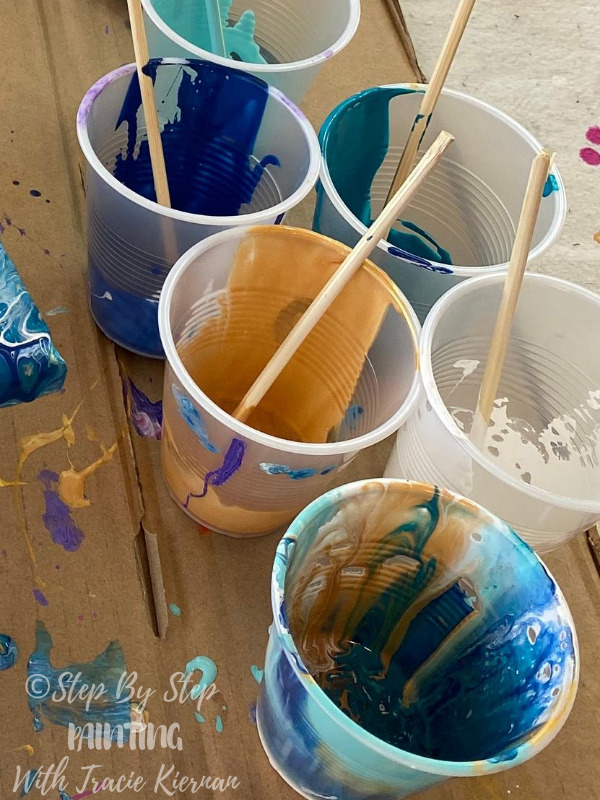
As far as what paints to use, that is up to you! Craft paints are fine and so are professional quality paints. I used quite a few brands as you can see and they all worked well together to do this pour.

![]()
I found craft paints to be easy especially since they are already a thin paint to begin with. There is also nothing wrong with having a mix of consistencies in your paint. ![]()
If you use the Liquitex basics or even another brand like this Hobby Lobby one, you may find the paint to be a bit thick even after mixing with the floetrol.
I found that adding a tiny bit of water (preferably distilled but I used filtered water) into your mix helps get it to the right consistency. In acrylic pouring you want your paint to be a warm honey consistency or like melted ice cream. If it is dripping then it is too thin.![]()
Silicone oil is another additive used in acrylic pouring technique. This will create the effect of cells in your pour. Because silicone does not mix with paint, it reacts and acts as a resist.![]()
A palette knife was useful for me to alter some of the painting and get some of the cells to pop up better. I used it to “swipe” or push more of the paint to the edges. Swiping is akin to frosting a cake using the flat edge to smear the top frosting.
The other thing that helps to alter the painting is a blow dryer. This helps to move the paint around but also the heat from the blow dryer will help some more cells to pop up.
![]()
Some other things you need are disposable plastic cups (I ordered 7oz) wooden stir sticks (popsicle sticks are perfect), a protected surface (I used a sheet of cardboard) and of course a canvas to pour on!
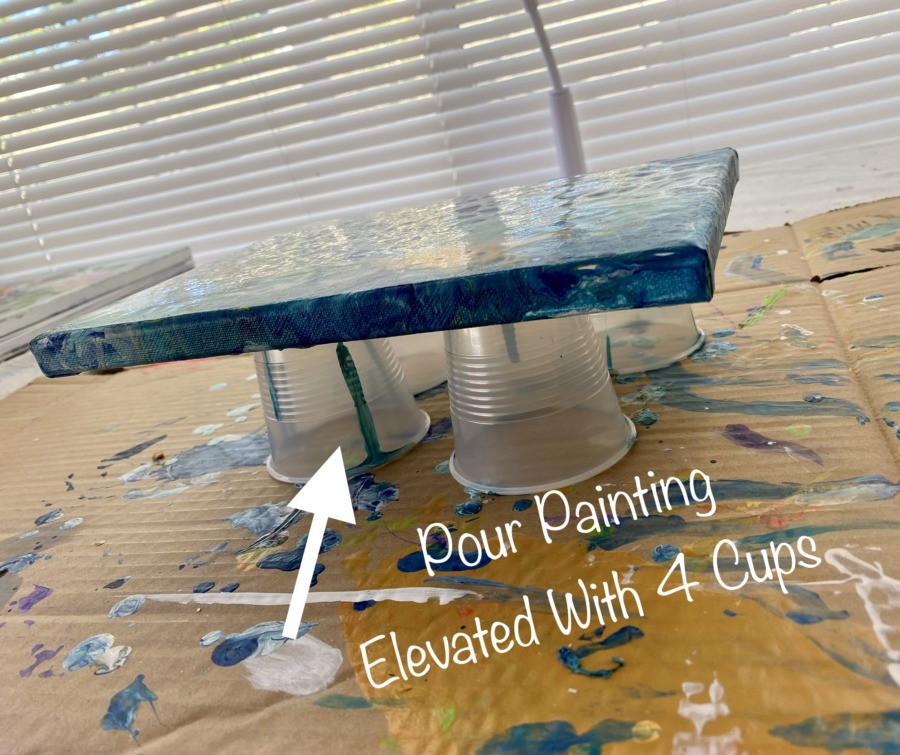
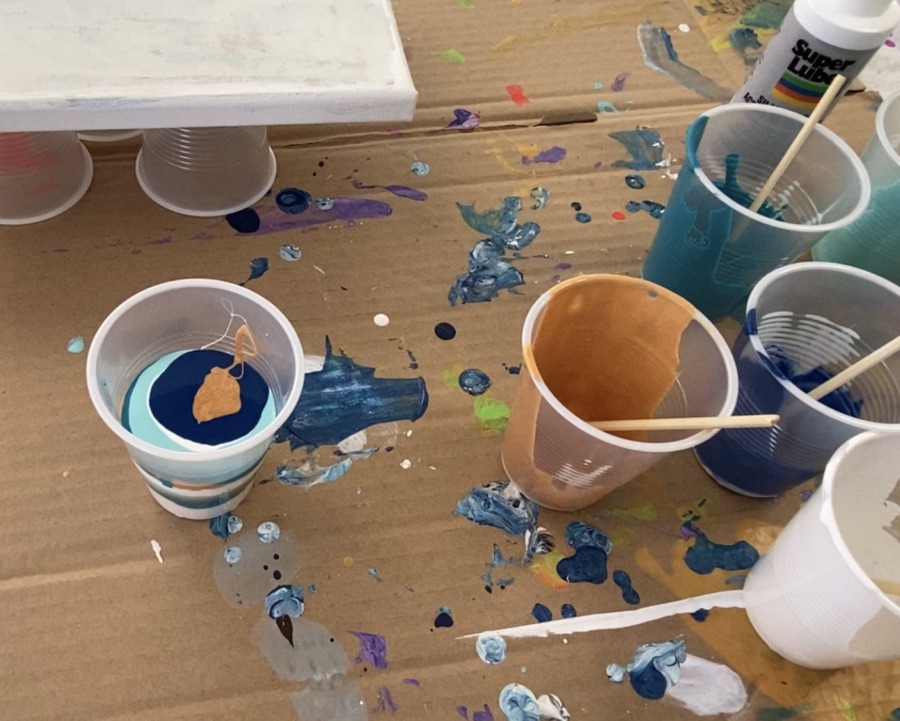
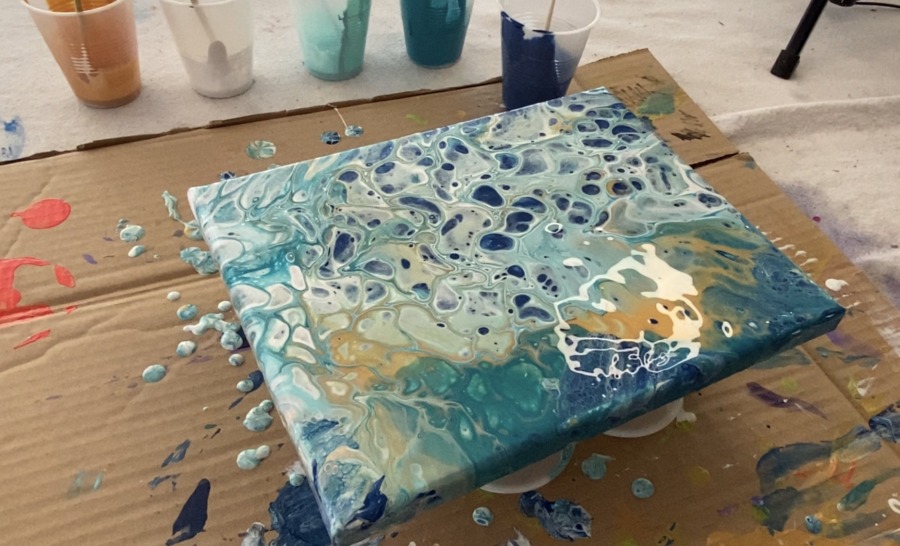
I used the same 7oz cups to also prop my canvas up. You want your canvas elevated so when the paint drips off, it will not stick to the surface.
![]()
If you are using a fresh canvas, the recommendation is to actually gesso it first so it creates more of a slippery surface but also it helps the paint stay on better. I think it will still work both ways. In my demonstration, I added gesso over an unwanted painting (to make it white again). However, you do not have to gesso over an unwanted painting, you can acrylic pour directly over it. ![]()
I’ve seen pour paintings done on rocks, wood and all types of objects. The sky is the limit!
Directions At A Glance
Step By Step Directions For How To Do Acrylic Pouring
1. Prepare the workspace
Acrylic pouring is messy! Prepare your surface by laying a table cloth on the table.
Lay a sheet of cardboard on your table where the pour painting will take place.
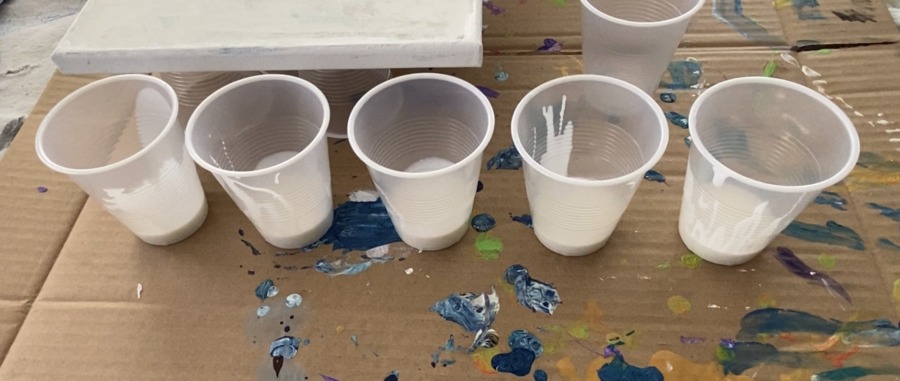
Then set up four plastic cups (or however many colors you are using) and place your canvas on it. Make sure your canvas is level.
Also, I highly recommend you wear gloves! You will be getting paint on your hands, this is very messy. I didn’t have any when I did this demonstration.
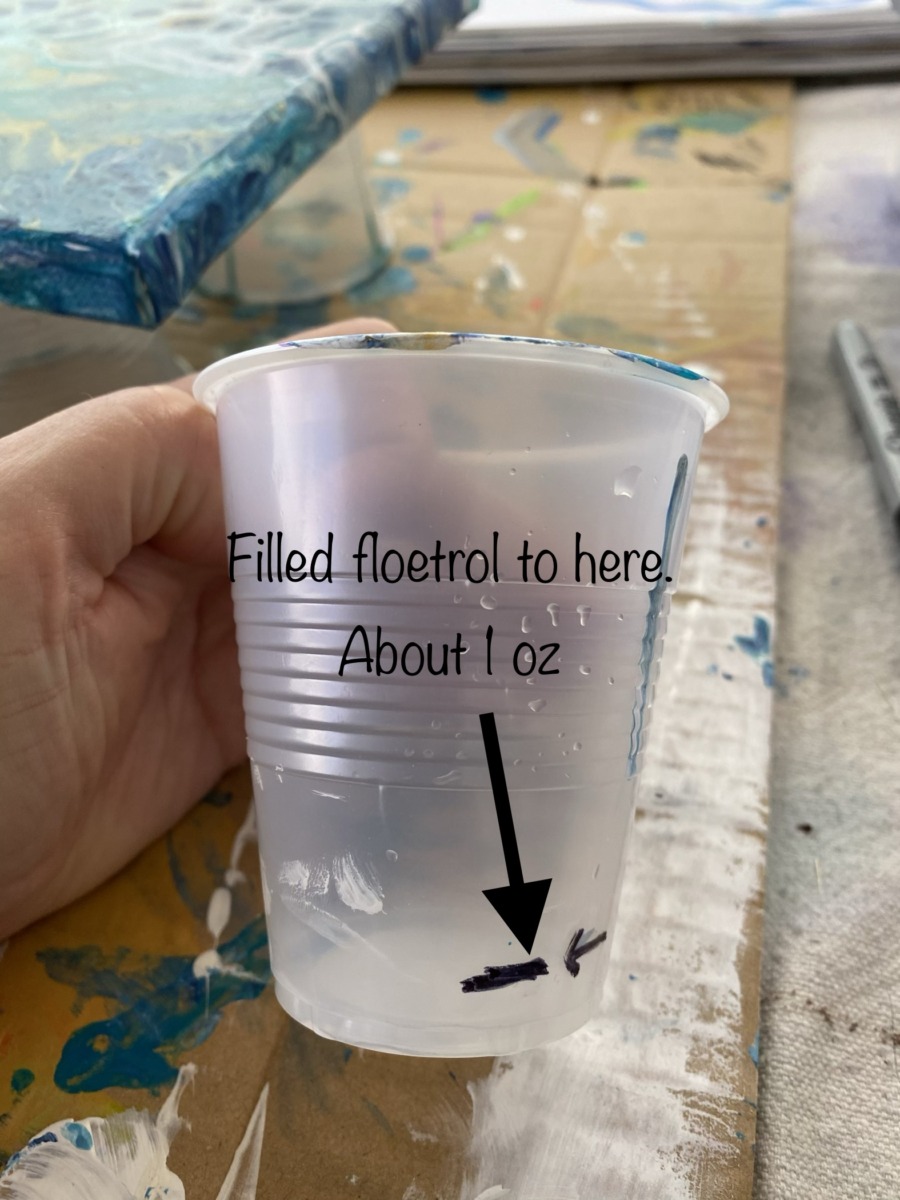
2. Pour your floetrol in each of your cups.
I found a 2:1 consistency to work for this. You will find varying recipes for this on different acrylic pouring sites but this seemed to work for me. I poured about 1oz of floetrol in each cup. I would do a little less than an ounce because I ended up with slightly more paint than needed for the 8 x 10 canvas.
If you are working on a different canvas size or using more or less cups, you may find Olga’s acrylic pouring calculator to be very helpful!
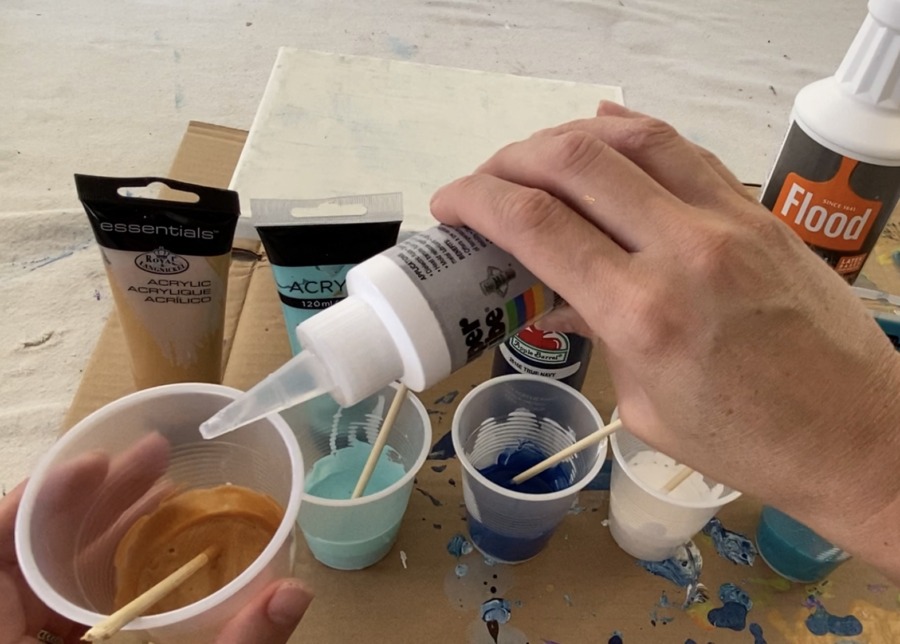
3. Squeeze your paints.
I did not measure my paints. I simply squeezed them in each cup until it was about half the amount of the floetrol. Each color goes into one cup.
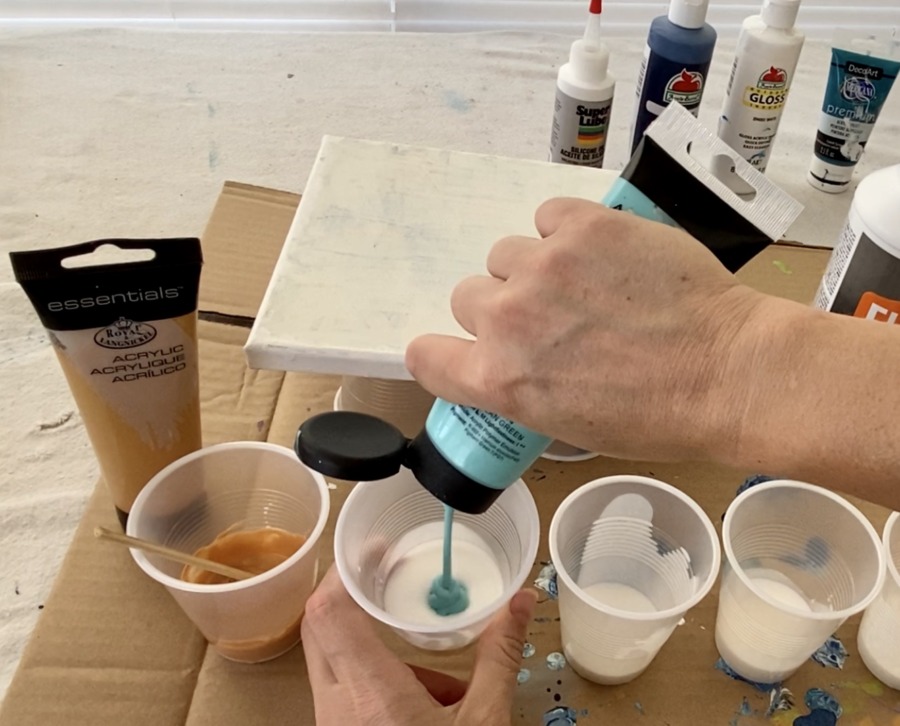
4. Stir your paints
Use a popsicle stick to thoroughly mix the paint with the floetrol. You will notice right away that your paint will become very fluid.
5. Optional: add a tiny bit of water (preferably distilled).
I used filtered water and this turned out just fine! However, it is recommended in the acrylic pouring technique to use distilled. Add a tiny bit of water and mix your paints so they become that melted ice cream consistency.
They should not be dripping wet! It should be more like melted ice cream.
 Tip: if you used craft paints or any paint that is already very fluid to begin with, you may not need to add any water.
6. Add 2-3 drops of silicone oil
Two to three drops is all you need to create the effect! Then slightly stir it into the paint. You don’t want to over-stir the silicone oil. You can also leave it in the cup un-stirred.
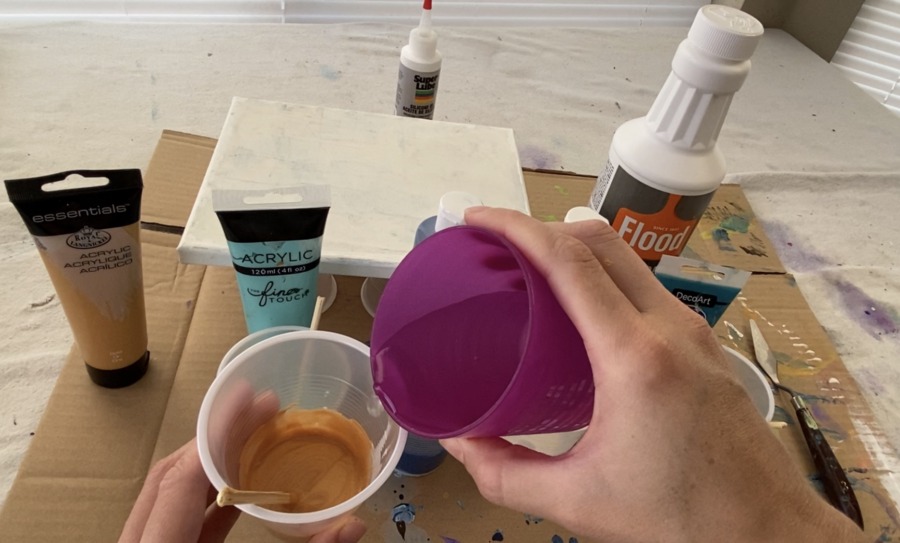
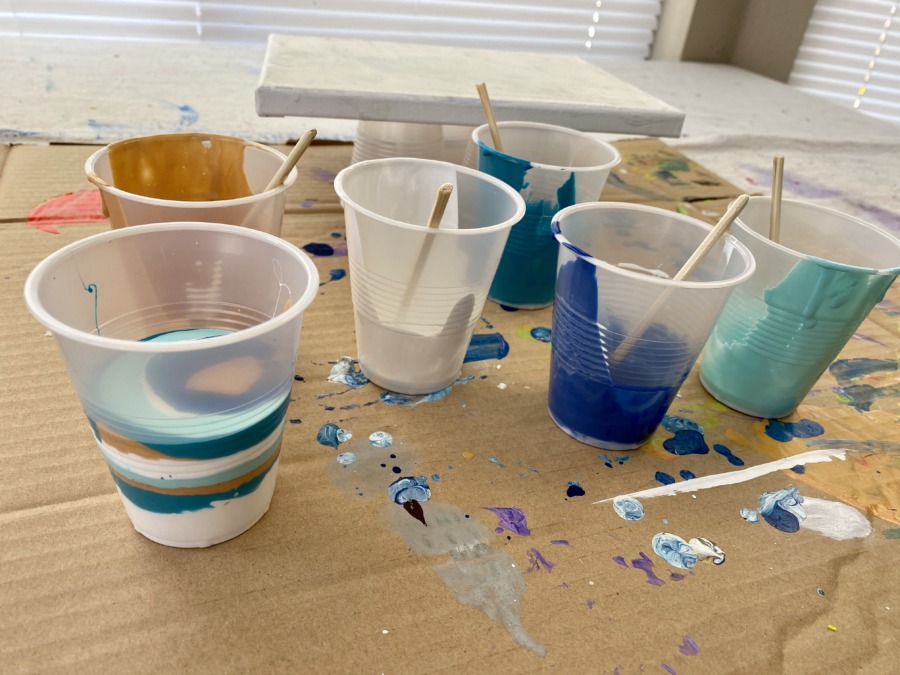
7. Layer pour your paints into one cup
This is where you get to decide your pattern of colors!
I started by pouring some white first. Then I did the teal and gold.
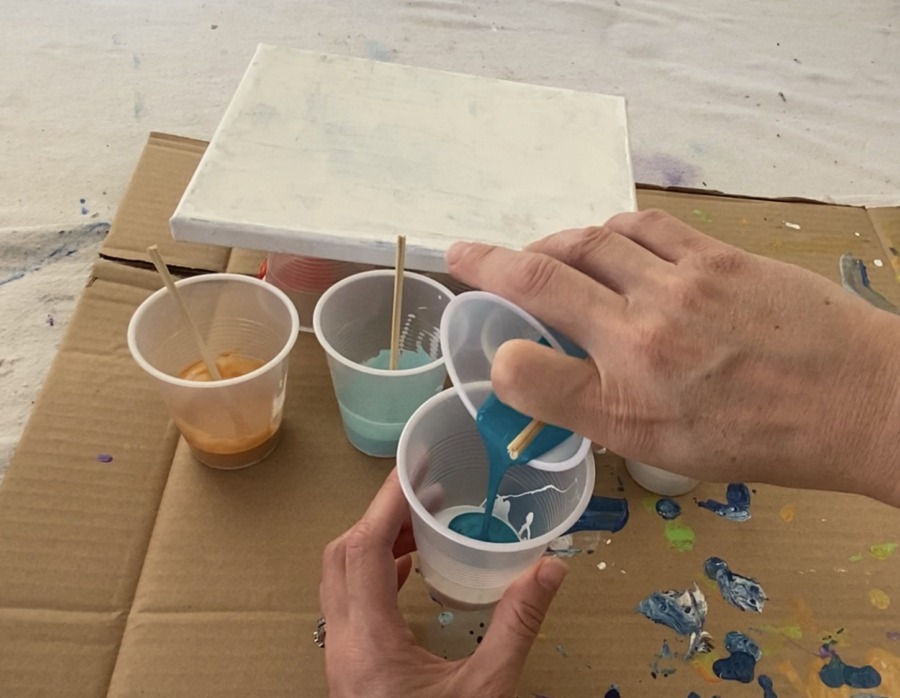
Then I pretty much kept layering my colors.
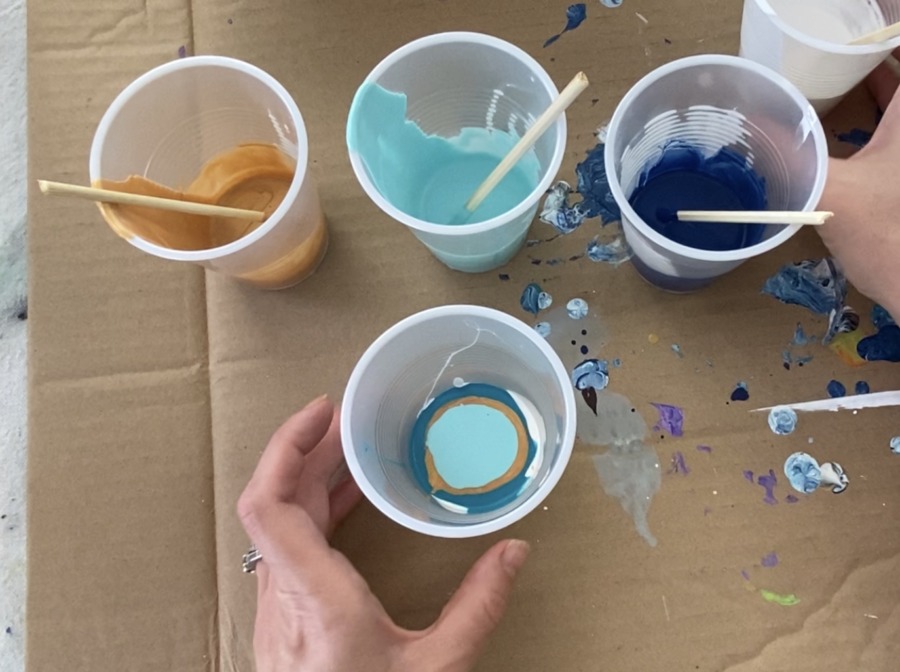
Do NOT mix the colors after pouring and layering them in one cup!
8. Lay your canvas on the cup and flip
Lay your canvas over your cup and quickly flip it over and back onto your cup stand.

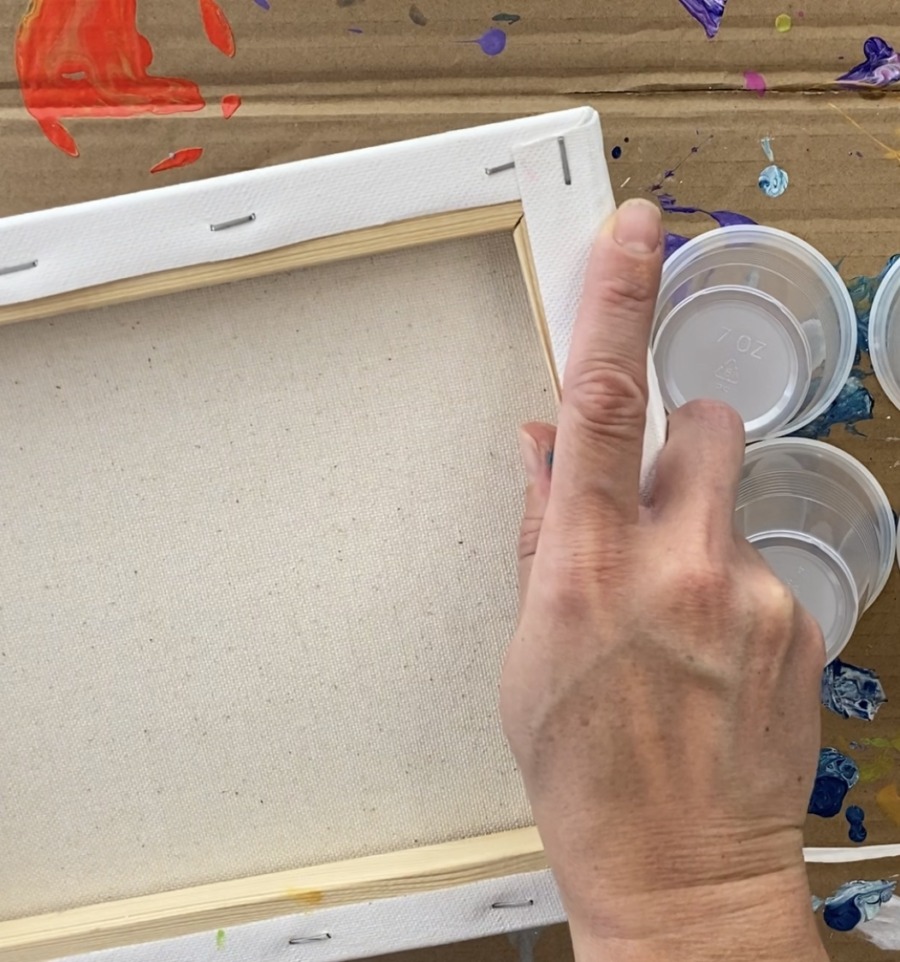
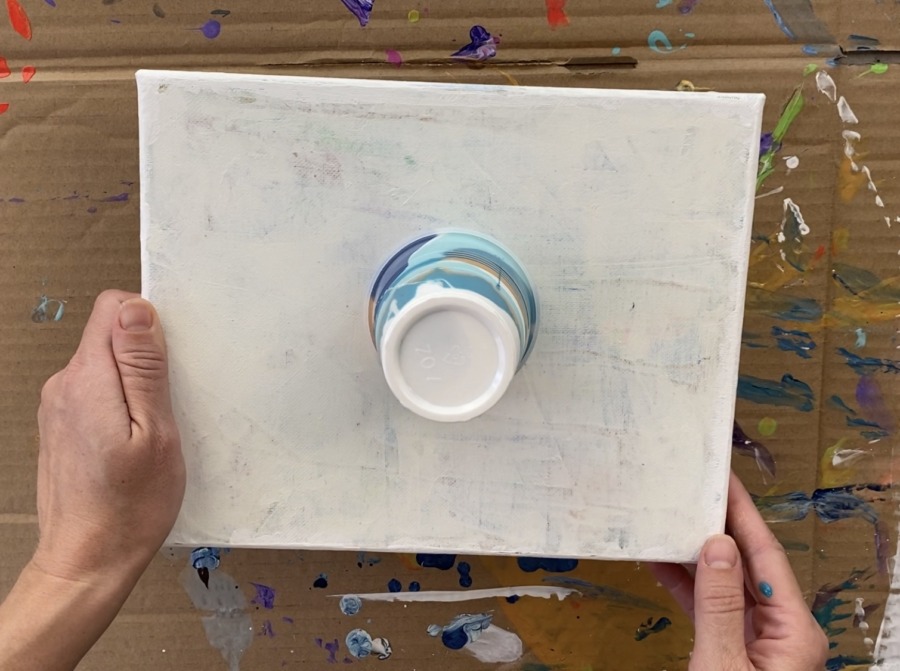
You might have a little paint spill out and that is fine!
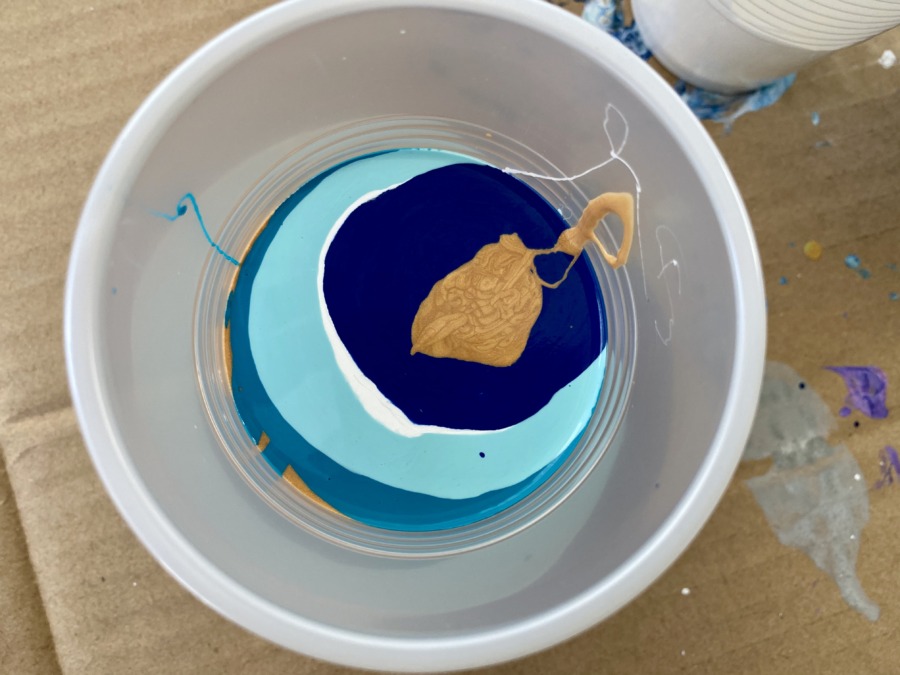
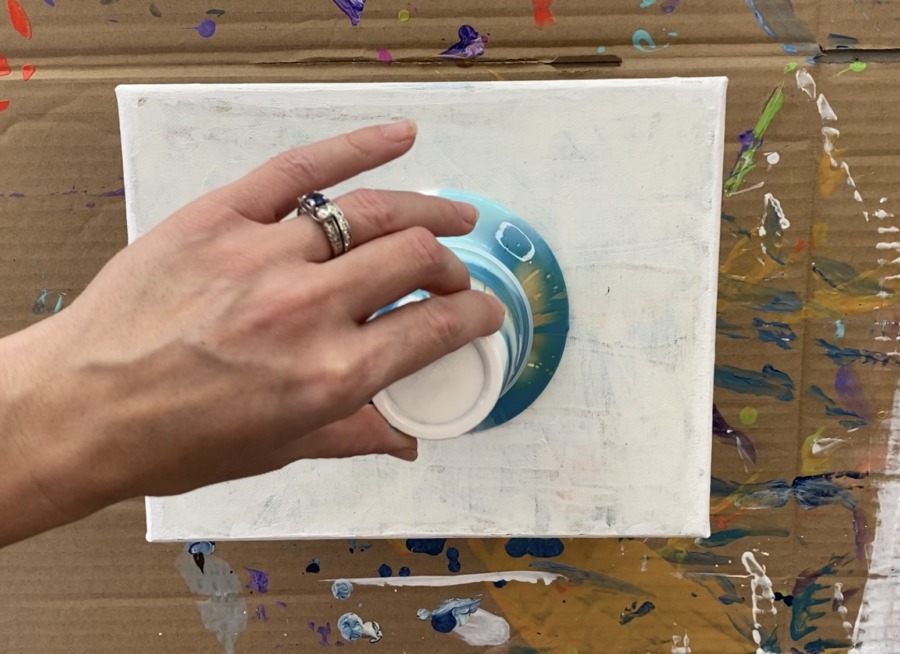
9. Lift the cup SLOWLY for the magic to happen!
Your paint will flow out in a mesmerizing way!

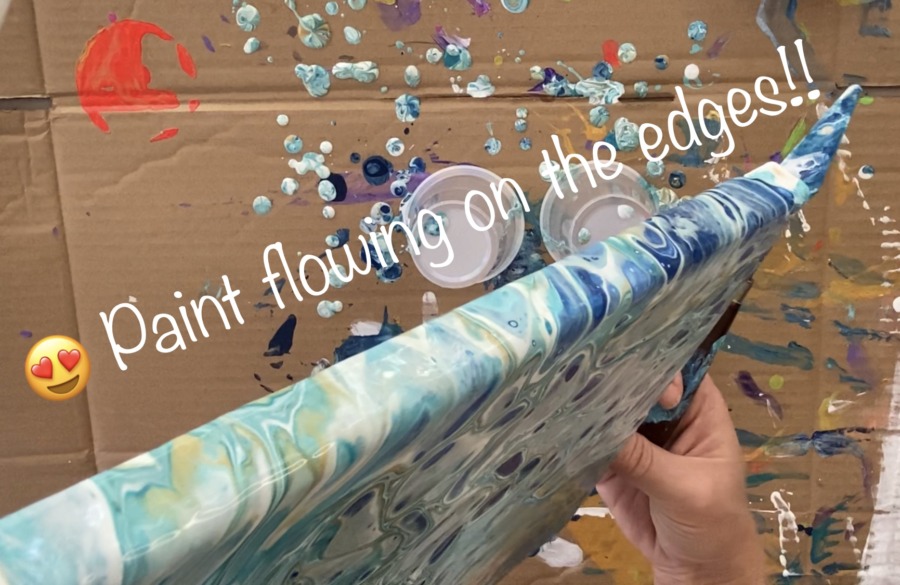
10. Tilt your canvas
This is where you can have some control over your final results! Tilt the painting to allow the paint to flow one way to the next.
I like to try and get my paint to flow to the very edges and then off the edges.
11. Pour left overs & use a palette knife to swipe
If there is any leftover paint in your cup, you can apply it to your canvas in many creative ways. This is especially helpful if your paint didn’t get to the edge of the canvas or you have blank spots you want to fill up.
You can also use a palette knife to gently swipe the very top of the paint (like frosting a cake). When you do this, it actually activates silicone more to create some more little cells.
12. Play around with it a bit but don’t over do it!
You can use a hair dryer to blow some of the paint in different directions. Sometimes the heat activates more cells too.
Just don’t poke your painting too much! If you try to alter the paints and tilt it too much, your paint may mix together too much. Try not to over do it!
13. Let it dry!
Eeek! I forgot to mention it takes several days to dry! I live in Arizona and work in a very bright, sunny warm room. Mine was pretty much dry the next day. But because the paint is so thick, the under layers may take longer.
14. Finish with a sealer
I love the look of acrylic pour paintings that are sealed in a high gloss sealer! The gloss brings out more dimension in the color.
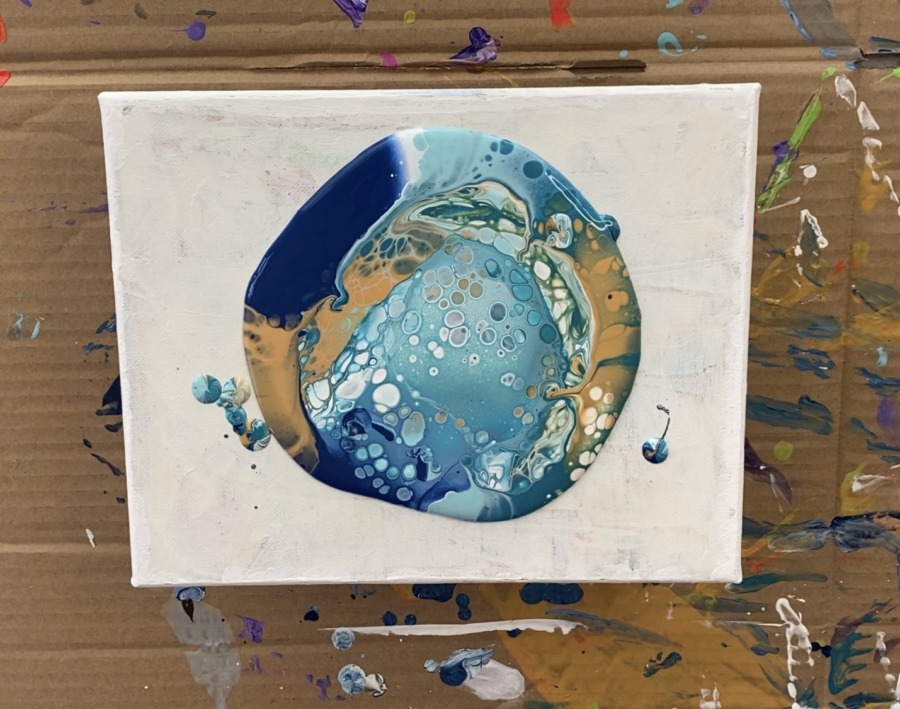
Finished!
I did this pour technique twice for this demonstration and both turned out relatively different from each other. That is one thing that makes acrylic pouring so special – no two will ever be the same!

What do you do with leftover acrylic pour paint?
You can use it to paint with! The consistency will be very high flow but the paint will show up transparent.
You can also use leftover paint to pour on some small objects such as rocks, shells pieces of wood or other small objects.
K wow that is sooo cool!!!❤️❤️
Thanks Tabitha! Give it a try, it’s so much fun!
So i got a acrylic pouring set today and it consists of 2 tubes of glitter and 1 tube of paint and a thing of glue but none of that floetrol stuff will it still work????sorry to bother ya!!??
Hi Tabitha! If you got an actual kit that is intended for Acrylic Pouring then YES it should work! In fact…you do not HAVE to use floetrol! Glue is also a great agent to use to increase flow of the paint for the pour. My recommendation is to follow the instructions your Pouring Kit gave you 🙂 Good luck!
Alright thanks!!all try it ?
What if I don’t have silicone oil? Is it worth giving it a try without it?
Yes go ahead and try! You might still get “cells” from the floetrol.
Hi Tracie.
I am from France and I am very happy to find you.
My friends and I have a little group, and we are looking for new things,
I will buy tomorrow the products and prepare the materials to work in the
next meeting.
Only one question, what about gesso and how can we use?
Hi Laetitia! Sounds like a lot of fun!
I don’t think gesso is all necessary, you can do acrylic pouring without it. But it does help to smooth a canvas so the paint will spread across it better. Some canvases feel too rough with the texture and the gesso can help smooth it prior to the pour.
I love this website! Thank you for making me learn more!
You’re welcome Nicole!!
How do I keep it from cracking until it’s dry.
Also, should I cover it to dry
What do you use to “swipe” the poured paint? It often shows swiping across the canvas to make cells–but never mentions what the artist uses to swipe the paint? In some cases it looks like a paper towel, but I can’t be sure. I want to try this method–what do I use to swipe my paint? Thanks.
Bob Kimball
bobbarbk@aol.com
Hi, you can use a palette knife or even a plastic card.
Hi Tracie
I just have the colours and water for the start will it still work out?
This is a good start what I am looking for. I purchased a mid=century house and have tried to keep the era. In the master bath there is a window that goes from the ceiling to almost the floor of a sunken bath. The tile around it is not in goo shape but think I can rebuilt it but I would like to make the window stained glass painted. Would acrylic pour be waterproof on a window in a shower or would I need a sheet of acrylic to start out with. I know this is a crazy idea but I have my heart set on it. It has no other windows and the light would be beautiful. Thank so much for your comments.
I was given a gift of a poured art painting and thought- cool I can do this, but the painting I received the finished product seems like just acrylic and my finished product is shiny/gluey. What do you think the artist used on her canvas. Can straight acrylic do the same thing.