

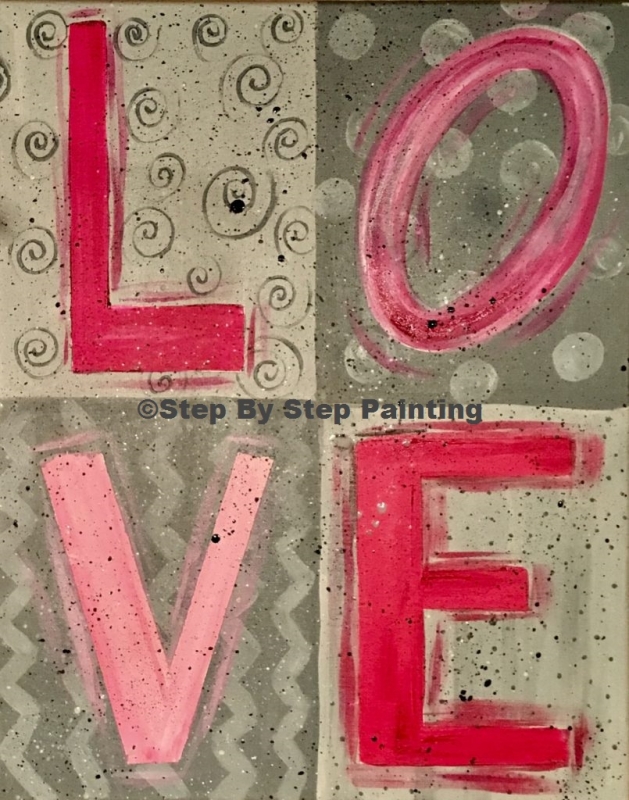
LOVE Painting – Tutorial For Beginners
I am so excited to present to you this next DIY painting project because it is sooo much fun!!! Learn to create your own LOVE painting.
This painting really has a 100% success rate because of the awesome Painters Tape!
You will get to do some splatter painting, some dry brushing and play around with mixing colors.
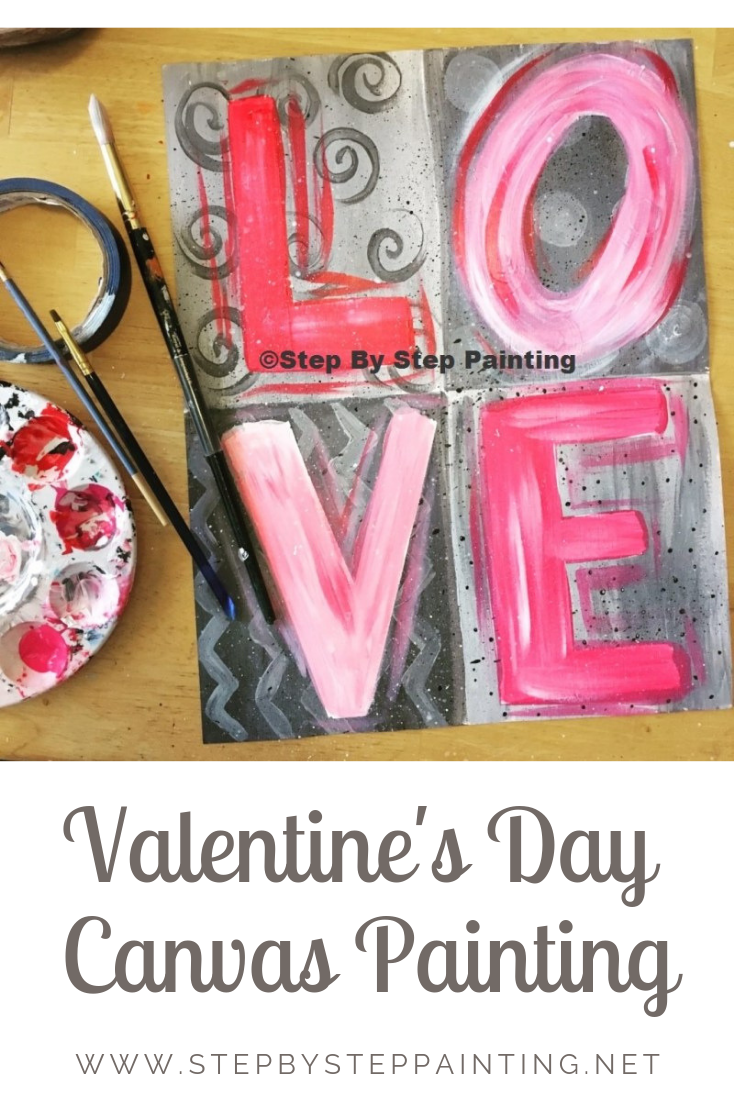
In the end, you’ll have a nice Valentines Day decor piece to add to your wall or front door or bedroom!
Some Art History:
While you are doing this project, take a moment to read up on some history. You can thank American Pop Artist Robert Indiana for this famous design.
There’s a lot of significance and meaning in his original colors and typography. He had originally created it as a Christmas card that went “viral” in the 60’s.
It then turned into a Valentines Day postal stamp and also several commissioned Public Art Sculptures.
One of the sculptures can be found here in my home state at the Scottsdale, AZ Civic Center!
The original is at the Indianapolis Museum of Art. The sculpture pictured below is in Manhattan, NY.

Enjoy and happy painting!
This Post Contains Affiliate Links from Amazon.com.
LOVE Painting
Learn how to create your own LOVE painting with this easy to follow step by step tutorial. You will need painters tape to mark off the letters and then create simple and fun designs with shades of gray.
Materials
- 16 x 20 Canvas
- Acrylic Paint
- Brushes
- Painters Tape
- Old Toothbrush
- Painters Tape
Colors
- Titanium White
- Mars Black
- Quinacridone Magenta
- Primary Red
- Medium Magenta
- Metallic Red (If Possible)
Brushes
- 3/4 Flat
- 12 Bright (1/4 flat)
- 1/8” Angel Brush
- Small Round Brush #3
Instructions
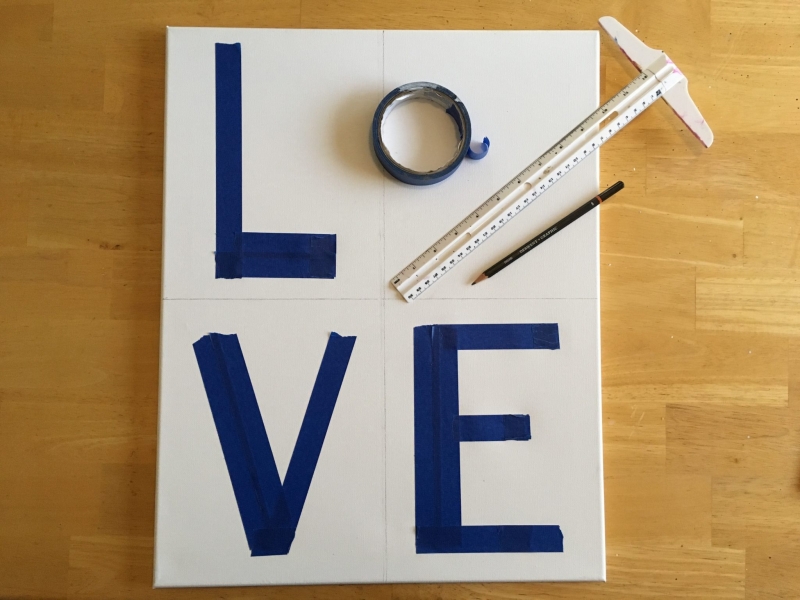
- Divide your canvas into four quadrants using a T-Square ruler.
- Use painters tape to lay out the letters L, V and E. The O will be done later.
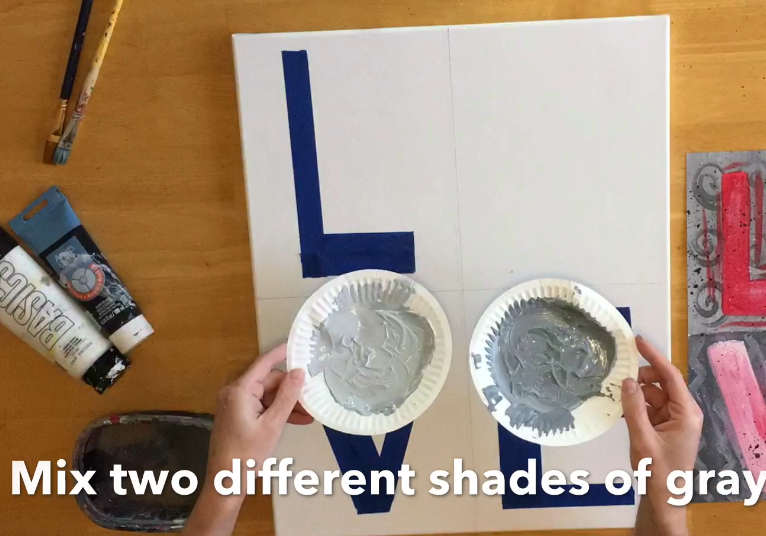
- Paint the four quadrants two shades of gray. Mix the shades of gray by mixing black and white paint.
- Use a small round brush to paint various designs over the painted quadrants.
- Use a toothbrush to add some fun splatter effect to the quadrants.
- Wait for the painting to completely dry.
- Pull off the painters tape to reveal the L, V and E.
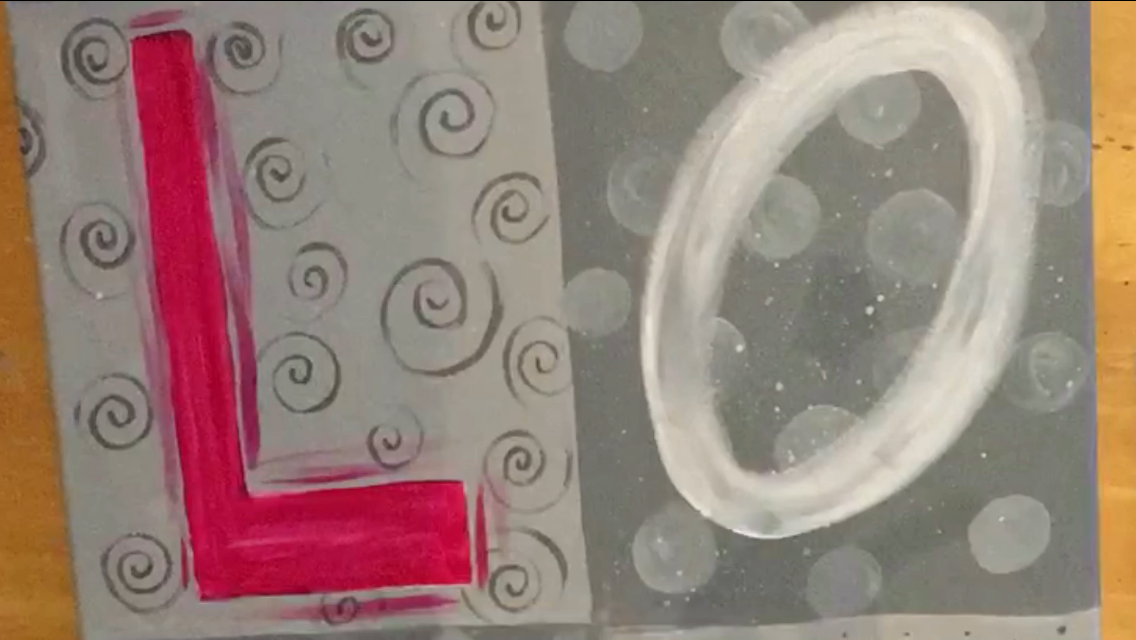
- Loosely paint the O with white and a flat brush.
- Paint each letter a different shade of magenta or pink.
- Do a dry brush style stroke to loosely outline the letters.
- Splatter paint one more time on top but this time with black.
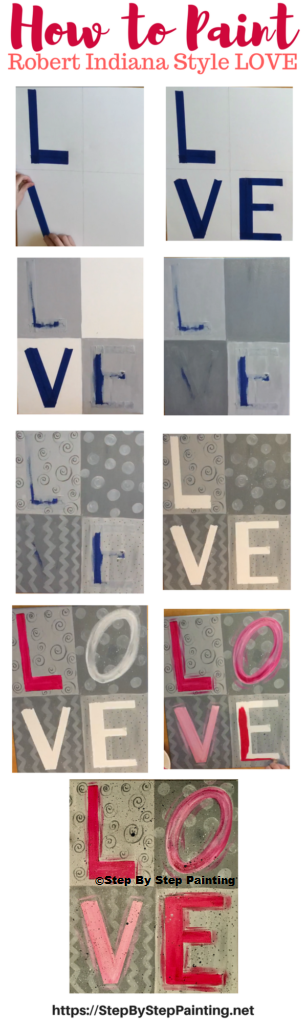
LOVE Painting Directions At A Glance:
LOVE Painting Video:
Step By Step Pictures:
1. Divide Your Canvas In Fours
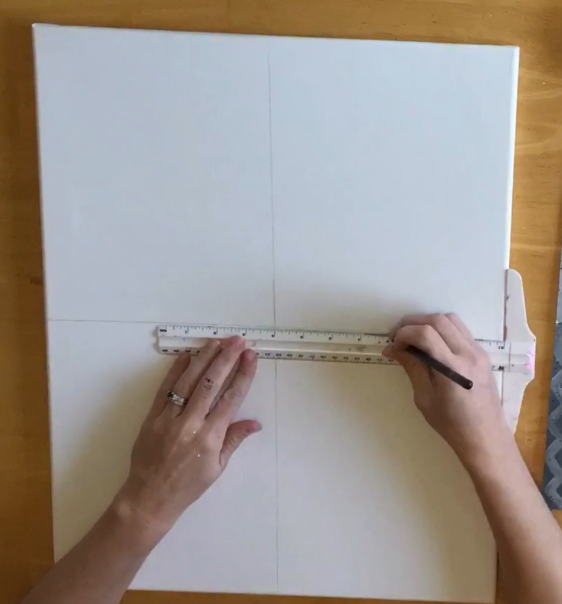 Use a ruler to measure and divide your canvas into four quadrants.
In this case, my 16″ x 20″ canvas was divided at the 8″ mark and the 10″ mark.
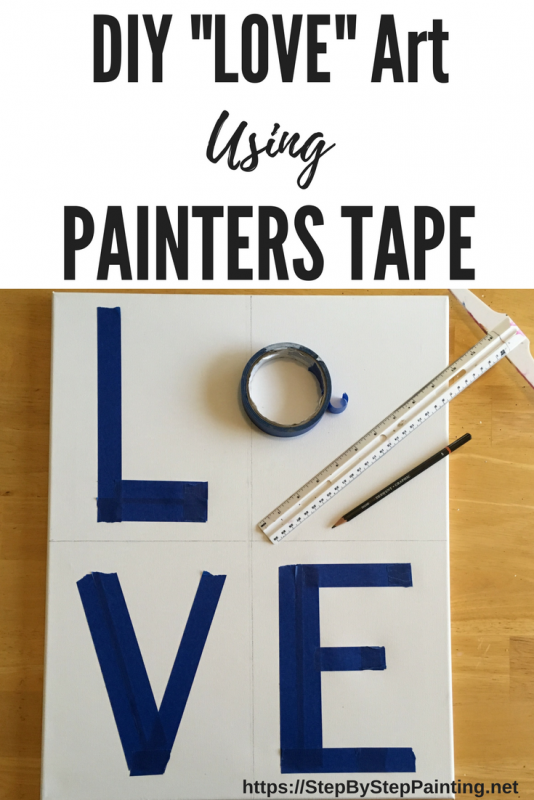
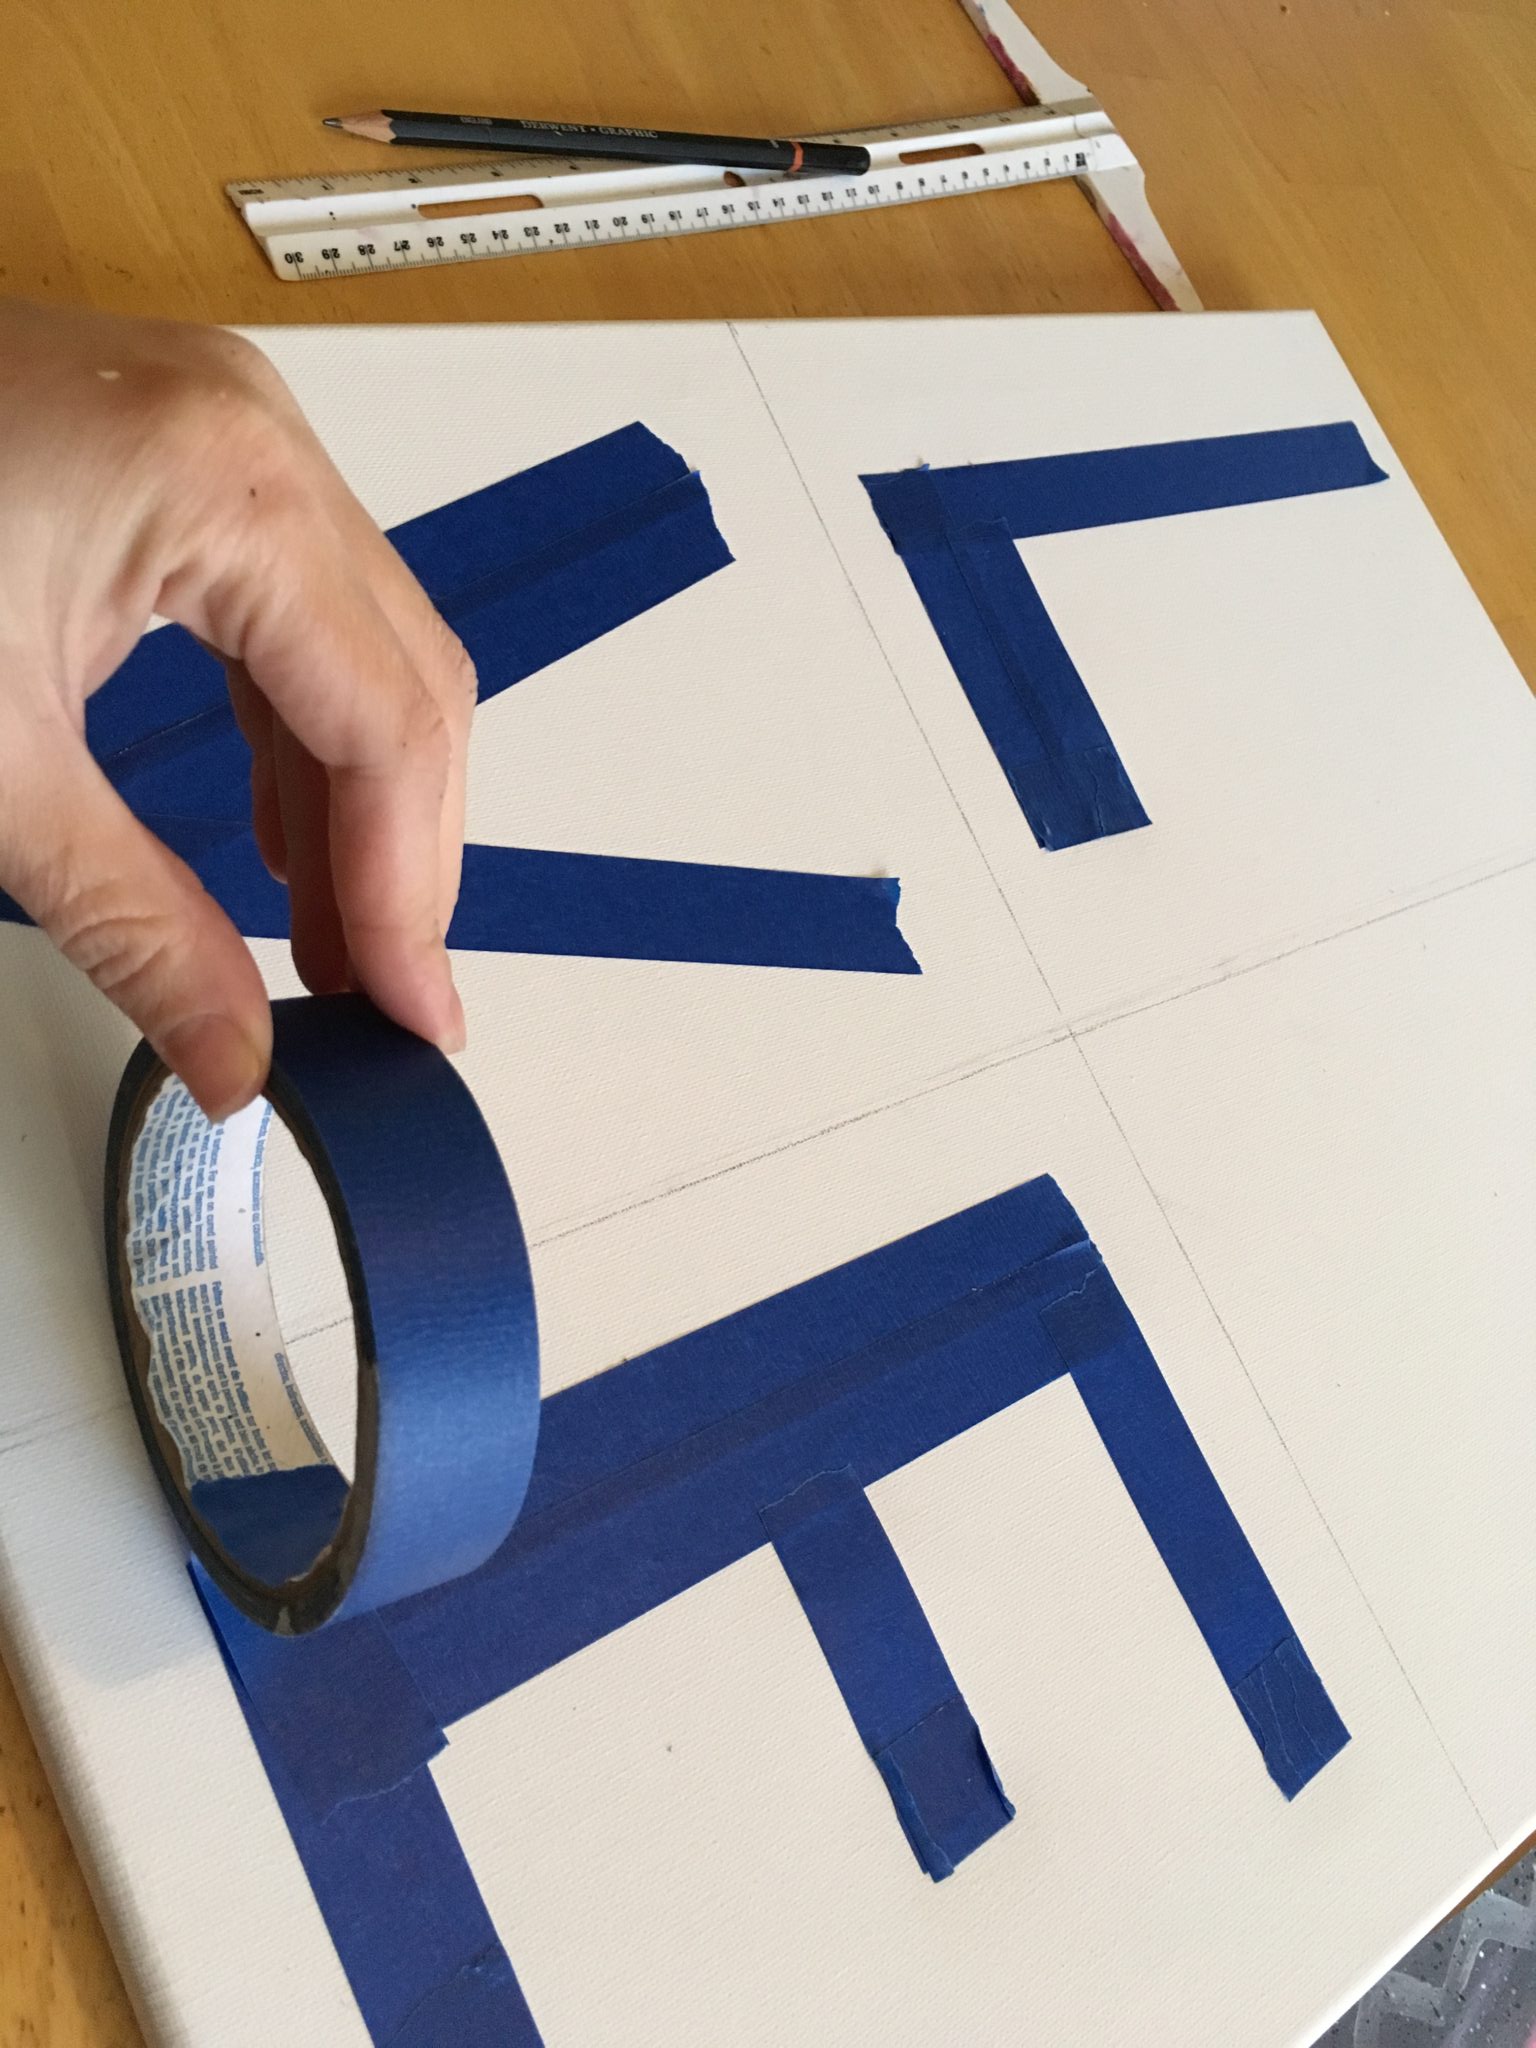
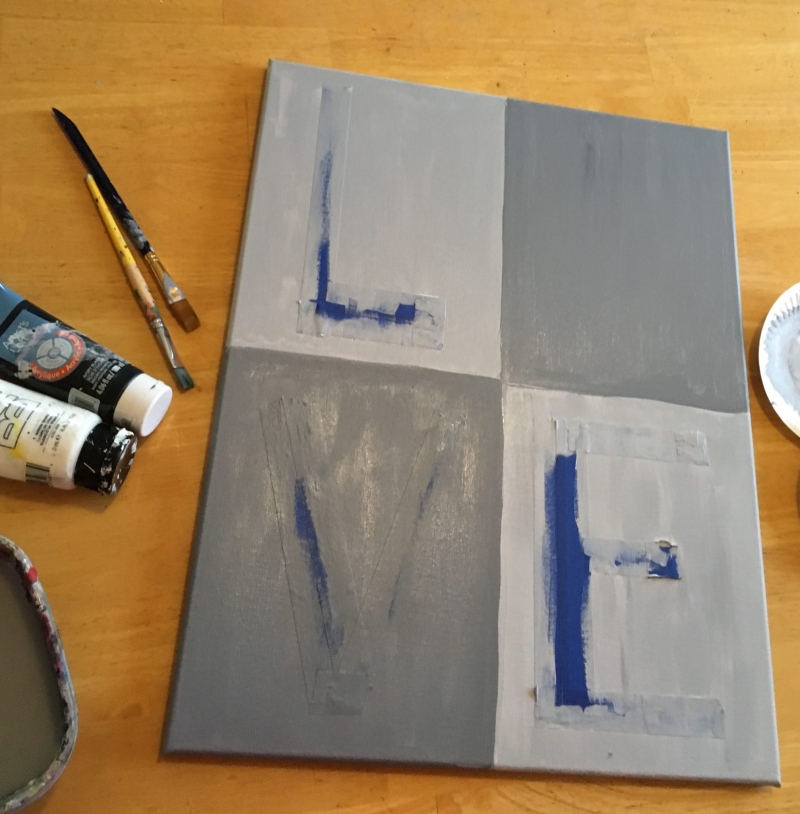
2. Use Painters Tape For The Letters
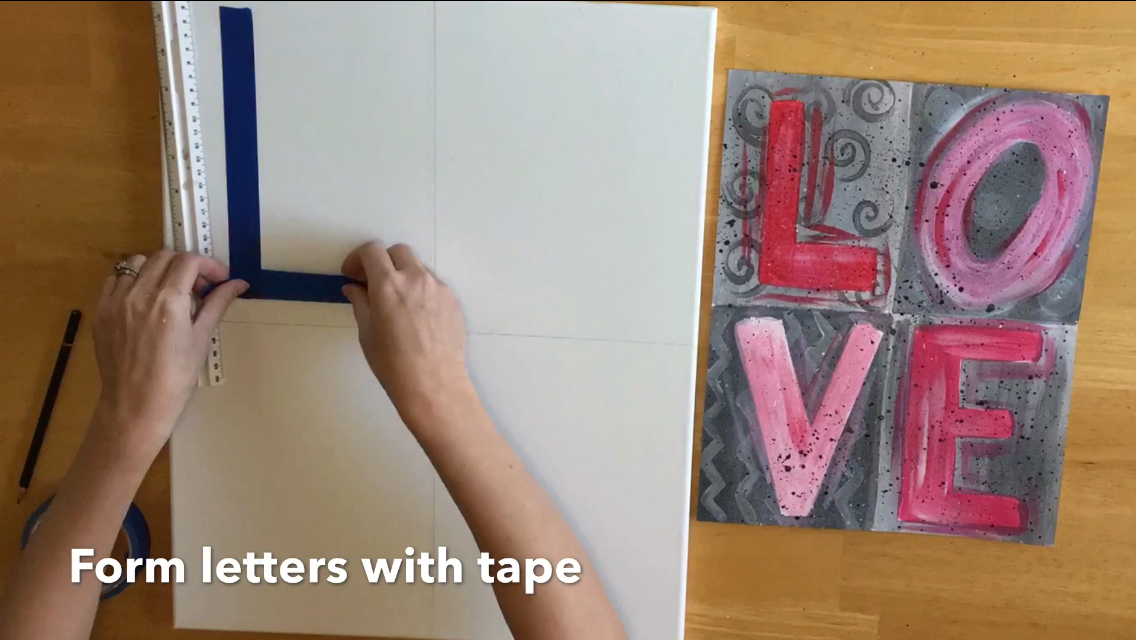 Use Painters Tape to form the letters L, V & E.
I tried to get my edges to be as straight as possible but, really, you don’t have to do this because we will be painting and fixing those “edges” later.
If you want to get more precise edges, you can use scissors. I’m all about just “tearing things up” so I didn’t use scissors.
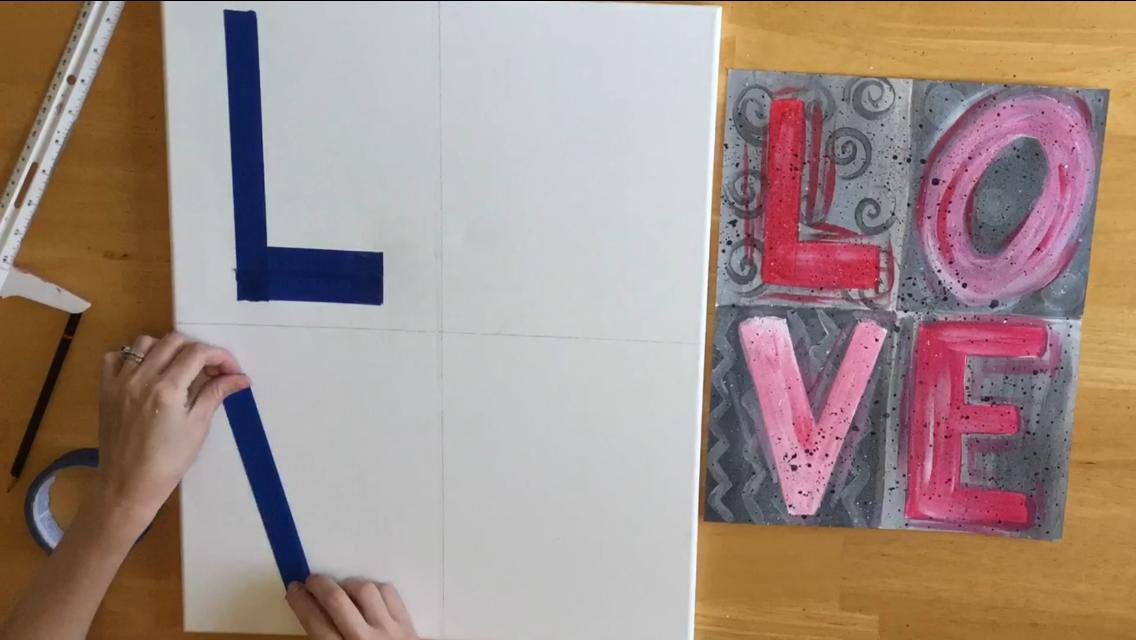
Also note that I did not make an “O” with the tape.
You technically CAN make the “O” with the tape but it would take extra effort to get the tape to curve.
I really wanted my “O” to go diagonal like the Robert Indiana original. There is some significance why he made that “O” go diagonal.
I had really good luck with this blue Painters tape! It went on easily and came off nice too without the paint seeping underneath!
The brand was Duck Brand “Clean Release”.
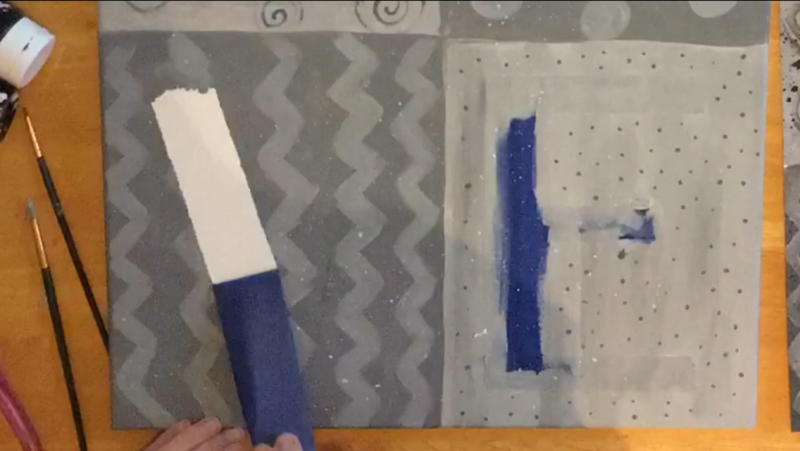
3. Paint The Four Quadrants Gray
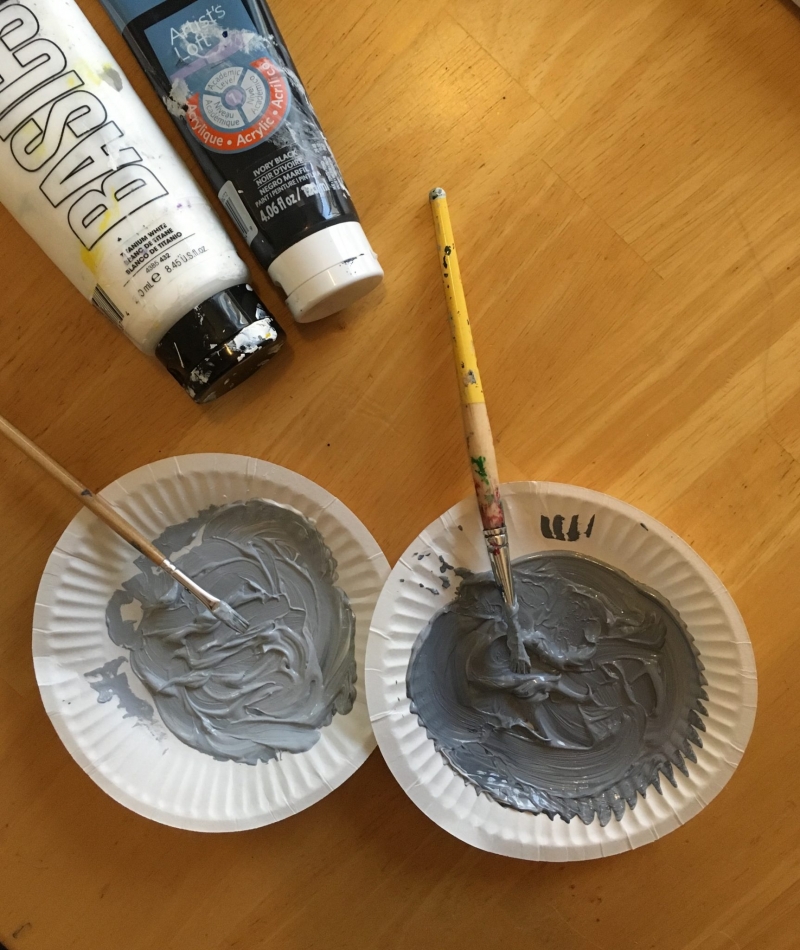
Next, you are going to need to mix two different shades of gray.
I grabbed Titanium White and Mars Black.
You will have to experiment with proportions here.
For the lighter shade I used a lot of white and only a few drops of black.
For the darker shade I used a lot of white and two or three extra drops of black.
 It also helped to keep the two shades on separate palettes or paper plates!
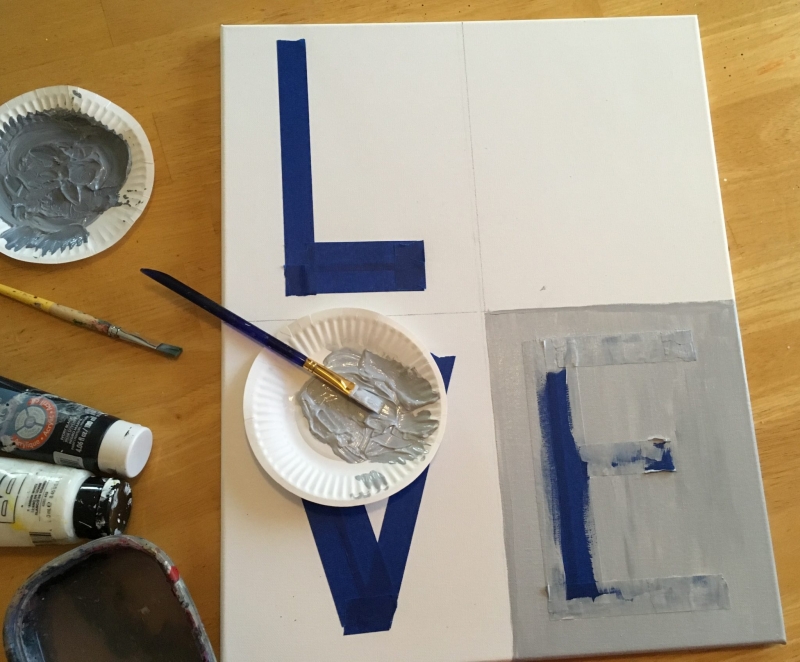 Paint the lower right and upper left quadrants with one shade and the upper right and lower left quadrants with the other shade.
Yes paint over that tape!
 I used a large flat brush to paint with! Also don’t forget to paint the sides too!
 As for keeping the lines crisp on the quadrant edges, you can technically use painters tape or a straight edge.
I wasn’t going for a perfect “crisp” look so I did not do this.
Now all four quadrants are painted! Lets add some patterns!
4. Add Some Patterns
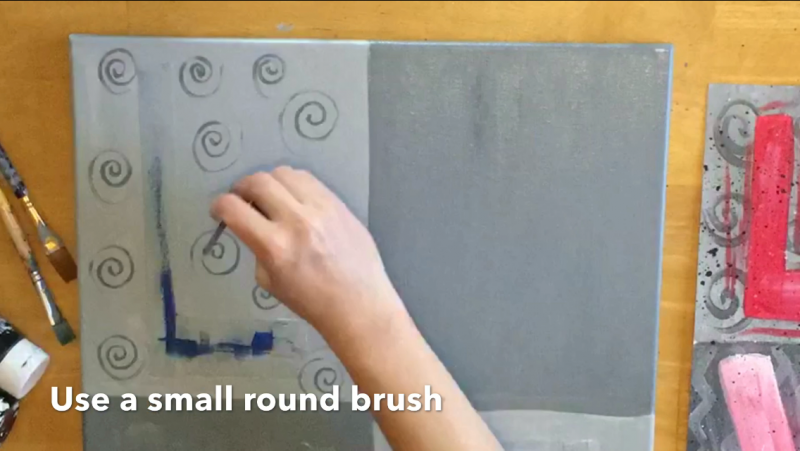 Use the opposite gray colors to paint patterns on each quadrant. (
Dark gray on light gray and visa versa).
Also, I used a small round brush for the spirals and small dots.
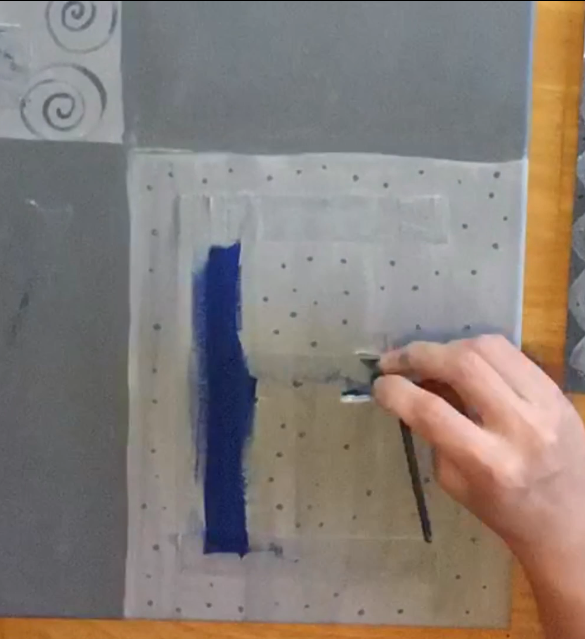 Small pin dots for lower right. Of course you can always come up with your own patterns!
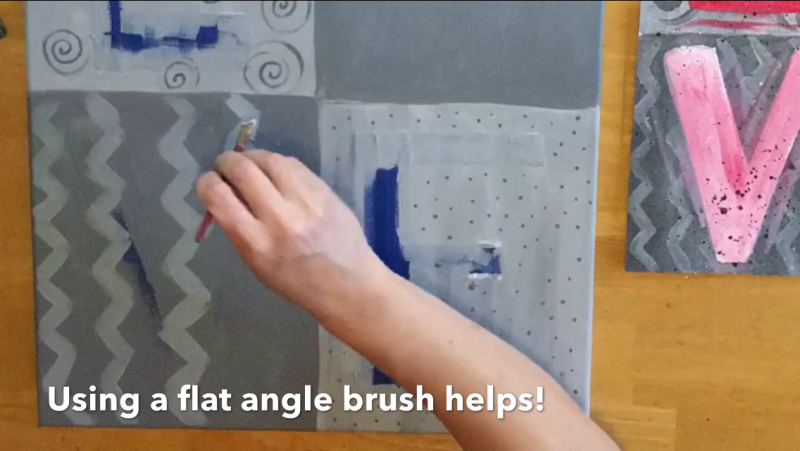
For the zig-zags, I actually used a 1/8″ angle brush.
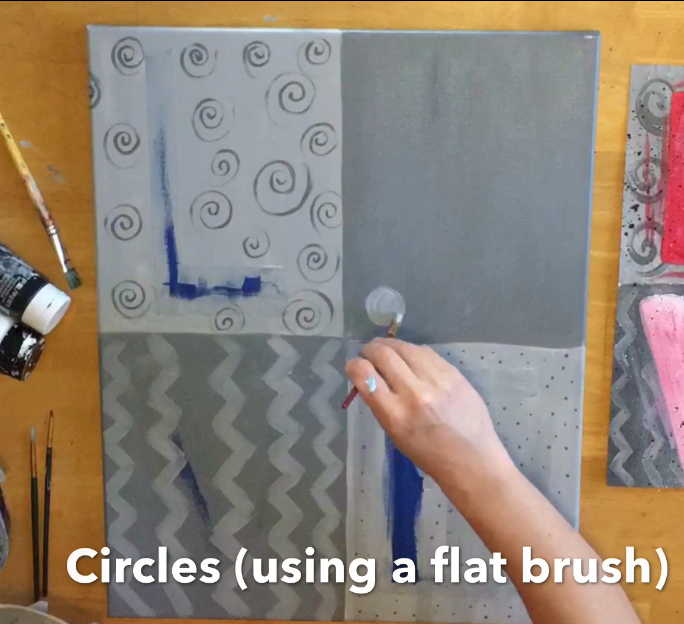
I used a flat brush for the circles.
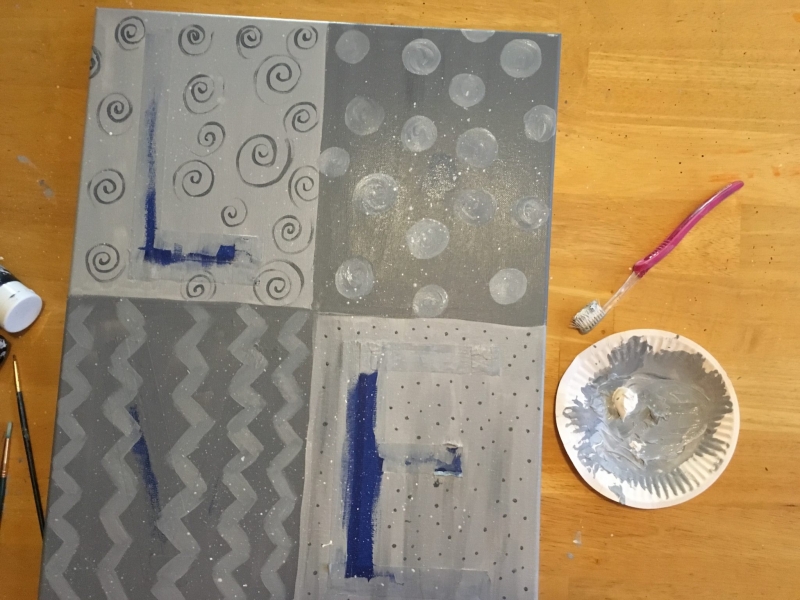 This doesn’t show up in the video, but I did some white splatter paint here!
I used an old toothbrush dipped in white paint and flicked it with my finger.
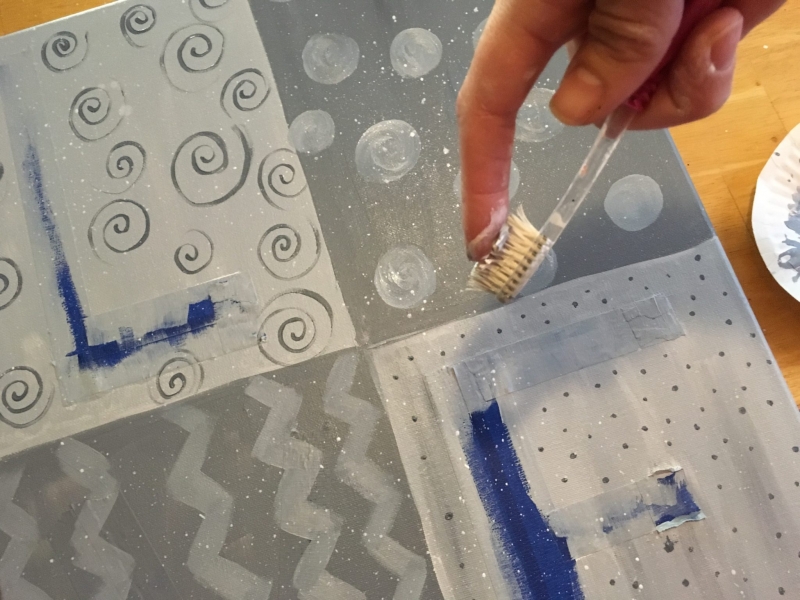
The effect is subtle but still ads interest to all the patterns!
Wait for your canvas to dry before taking that tape off!
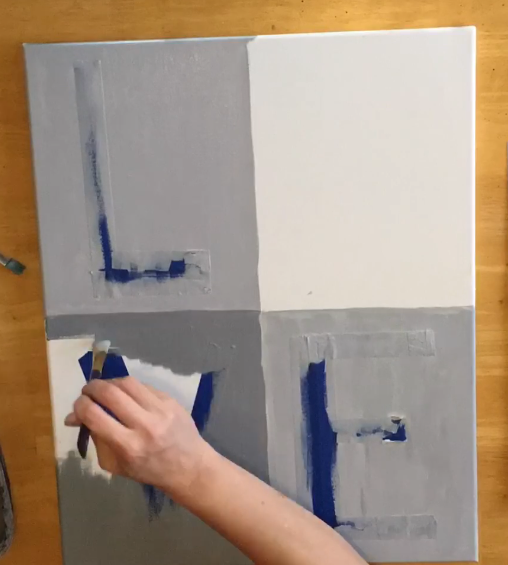
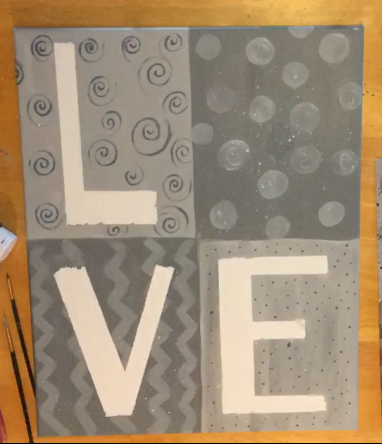
5. Pull Off The Tape
 Carefully pull the tape off.
Your letters should look nice and sharp with no paint underneath!
 I suppose you can do this without Painters Tape. You can paint your white letters over the gray.
But this technique was more fun and less stressful! (I don’t know about you, but I always get frustrated when I try to paint letters)
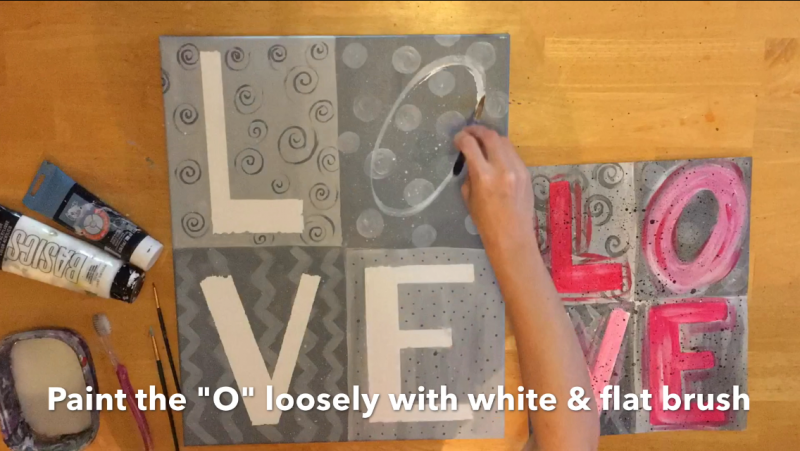
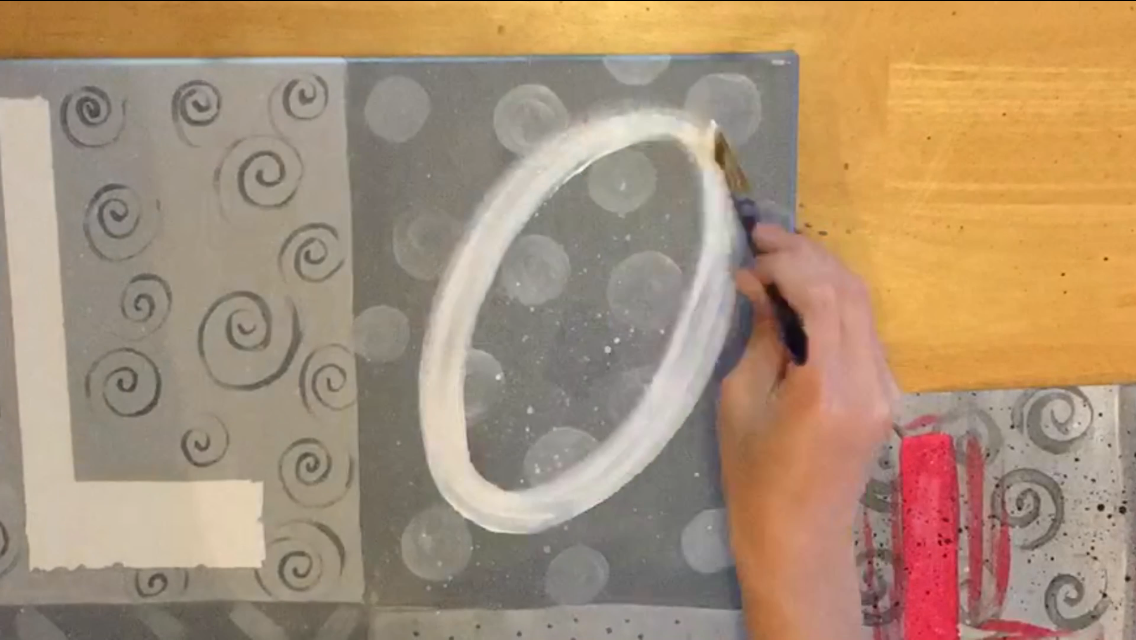 For the “O”, I used a 3/4″ flat brush and white paint.
I painted in a diagonal form. If you don’t feel confident here, you can always draw it out in chalk first then paint over it.
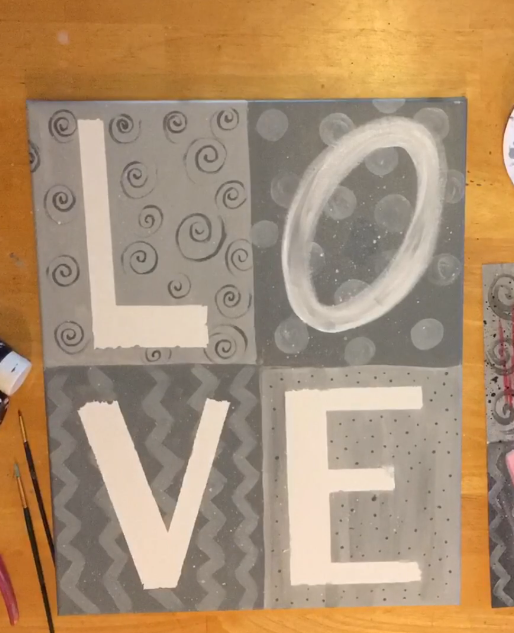
The letters are all ready for the pretty shades of pink and red!
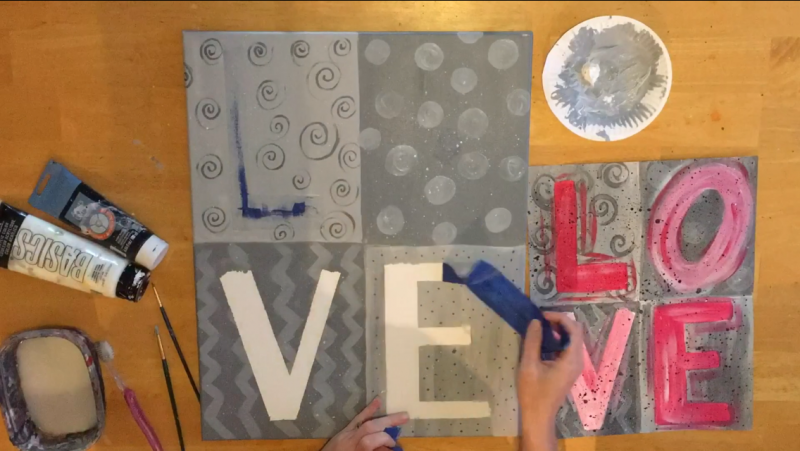
6. Paint The Letters Pink & Red
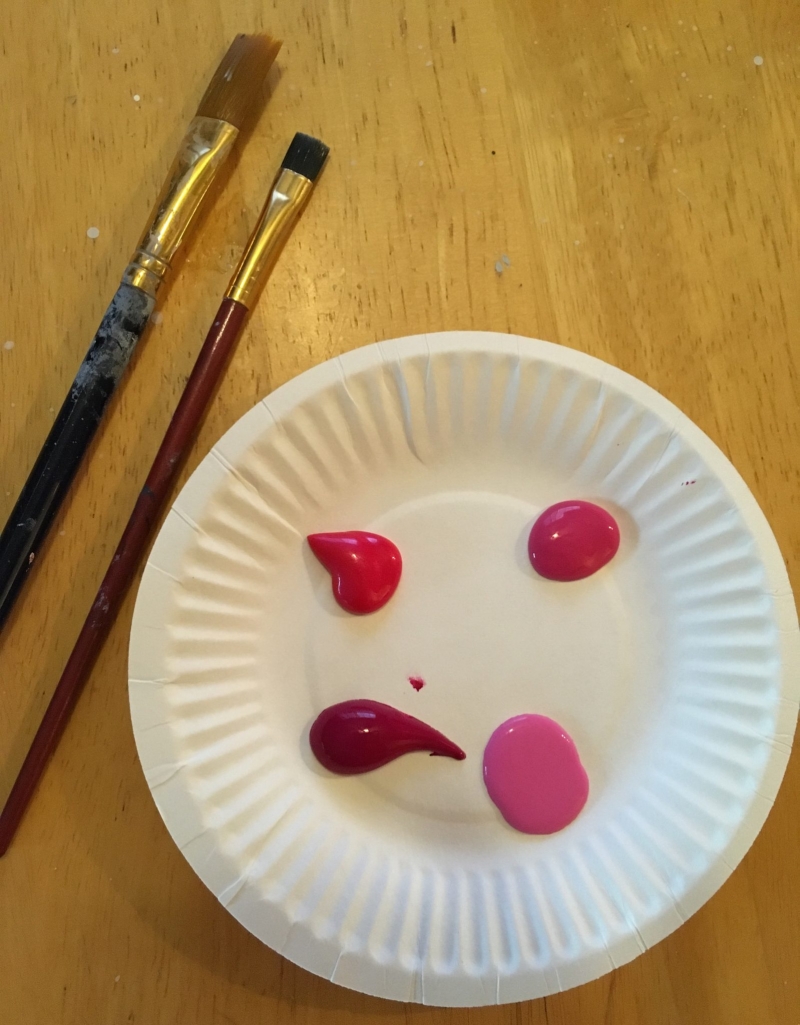 You will need to get 4 different shades of red and pink.
I use Quin Magenta, Primary Red, Metallic Red and Primary Red mixed with white (which made pink or your can use medium magenta).
Obviously you don’t need those EXACT shades! You can use all the same shade of red if that’s all you have or use only 2-3 shades, etc.
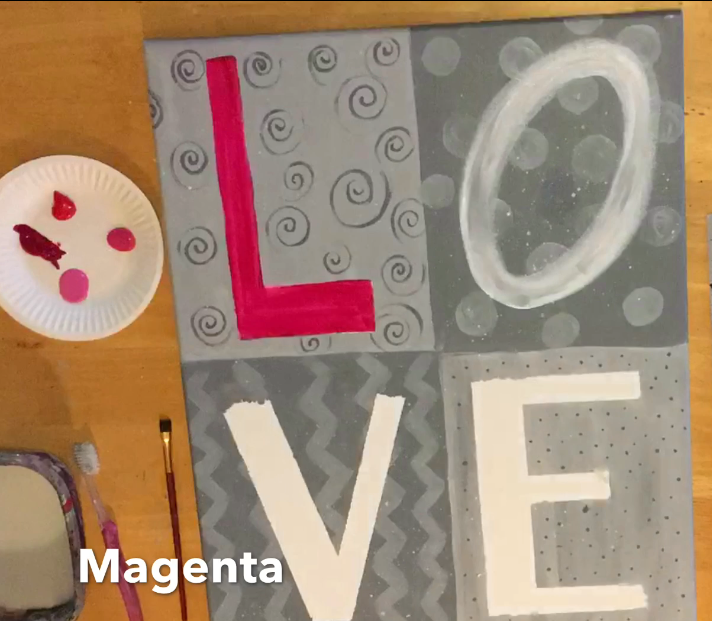
Use a flat brush to paint in the letters.
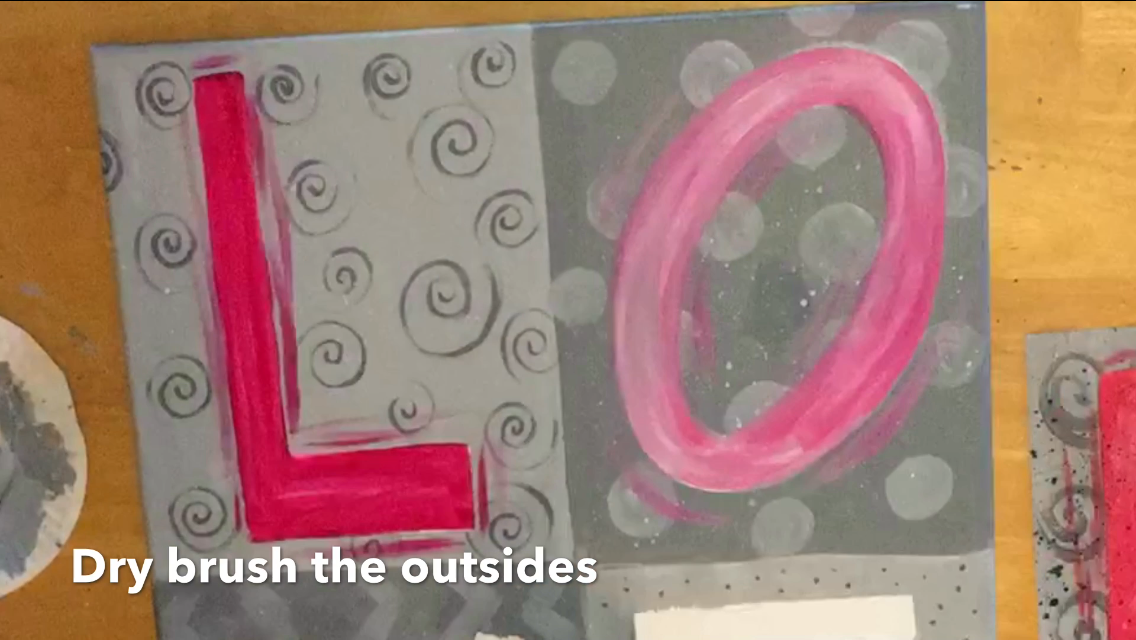
 I wasn’t going for a sharp letter look, so to smooth them out and make them look a little more “artsy”, I did some dry brushing on the outsides.
When you dry brush, load your brush with very little paint and no water.
Hold it lightly and paint very light whispy lines. It looks almost like a marker running out of ink!
I added some white on the “O” and did some more dry brushing.
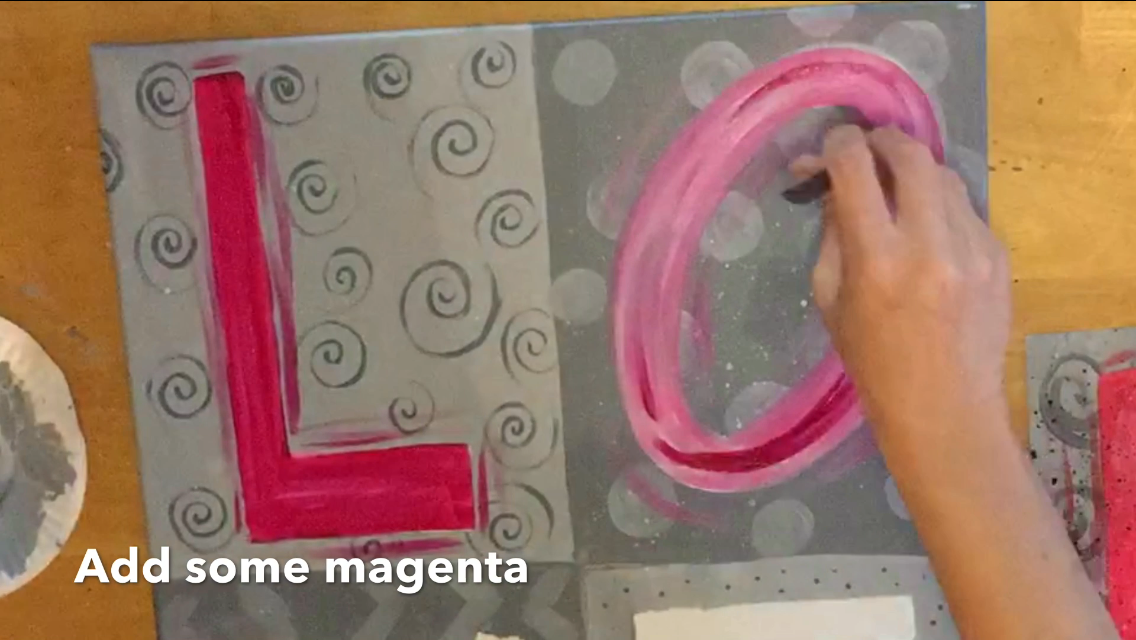
Then some magenta on the “O”. Really…you can have fun with these steps and venture off and do your own variations of colors and dry brush styles!
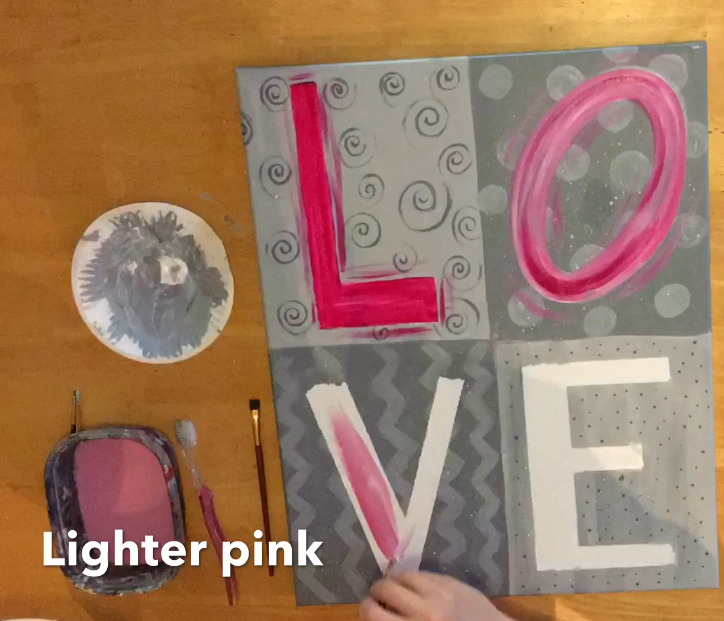
The “V” was a lighter pink. I mixed primary red with a lot of white to get this shade. Or…if you have some pink paint on hand (medium magenta), that omits the mixing!
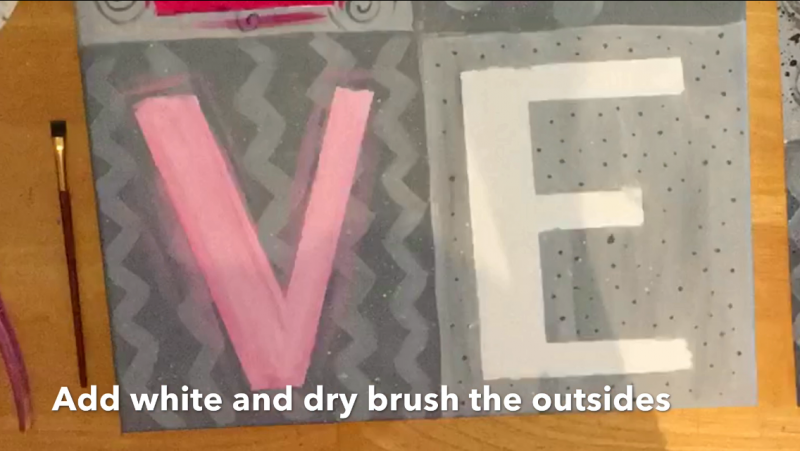
Again, I added white and did some dry brushing!
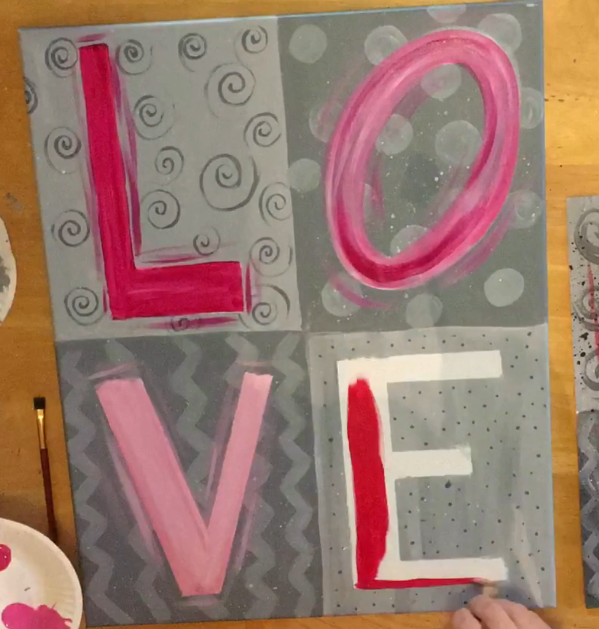
The “E” was done with Artist Loft “Metallic Red”.
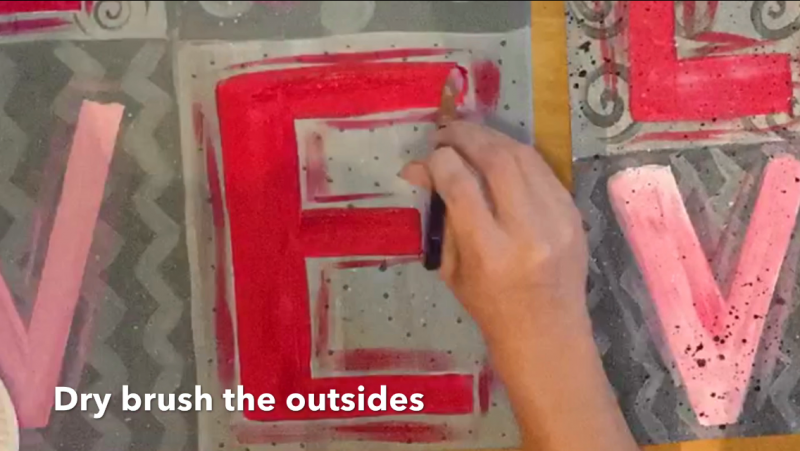
And, again, dry brush the outside to help soften the look!
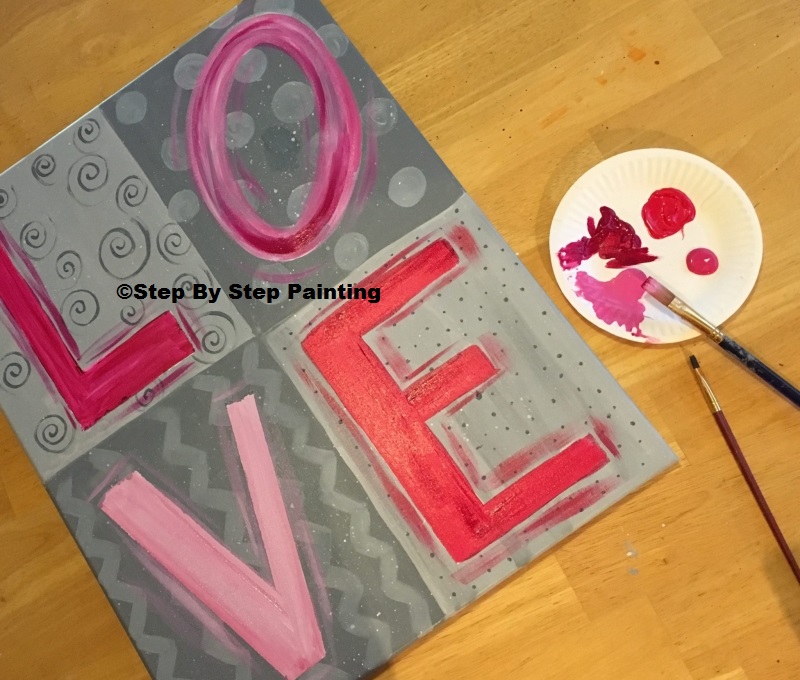 If you’re not feeling venturous with the splatter paint, you can leave your LOVE like this!
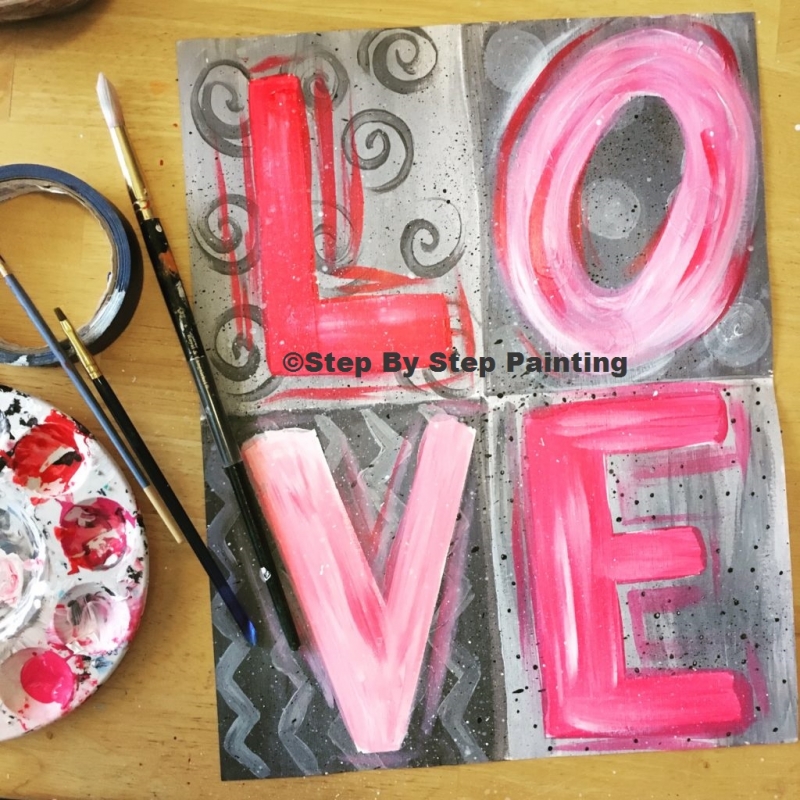
7. Splatter Paint On Top
 To get the black splatter paint effect, I used an old toothbrush dipped in black paint and splattered everywhere!
I love the messy look it gives to this painting! So much personality, no perfection whatsoever!
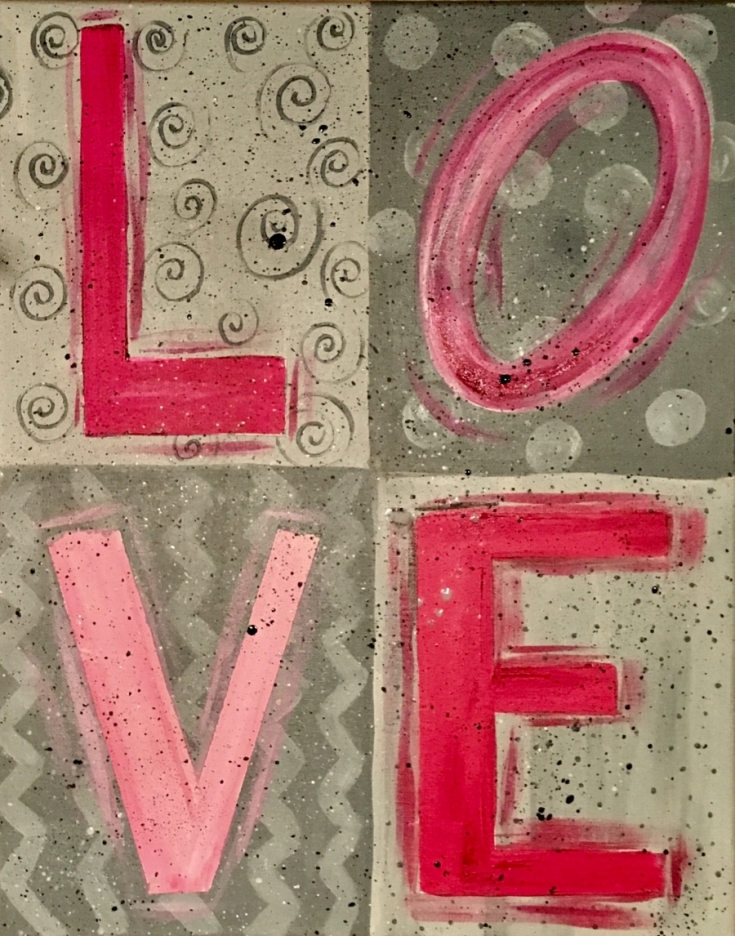
Finished!
This is my original done on 11″ x 14″ canvas paper.
Finished! Do share your versions of this fun LOVE painting!!! I can’t wait to see all the different variations of it.
Share Your Art!

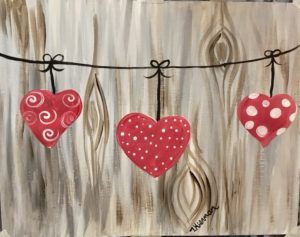
See More Valentines Painting Tutorials:

LOVE your site! I refer to it all. the. time. and am so grateful because I have little creative talent and am teaching middle school art elective at my school. I normally teach 6th math and science! LOL. Thank you for the amazing lessons. We love your site!
Awww, Thank you Christine!!! Glad I can help! ? Love that you’re doing the lessons with your students!!
Hi! I love your paintings & your site! Thank You!
Hi Ariana! You’re welcome!!
I have a big sister and she uses the site too! Thank You for this wonderful site!
I LOVE your site!!!! Will you be posting truck paintings for Spring and Summer?
Thanks! Yes I will be doing that! ?
Not a painter at all but attempting to do this with a group of 10 year old girls. How long do you think it will take?
About 1-2 hours ?
Hi! I love your paintings & your site! Thank You!
I love your site! Everything I want to paint is on here except a sunset waterfall. but still I love it!
Thanks Elsa ?