
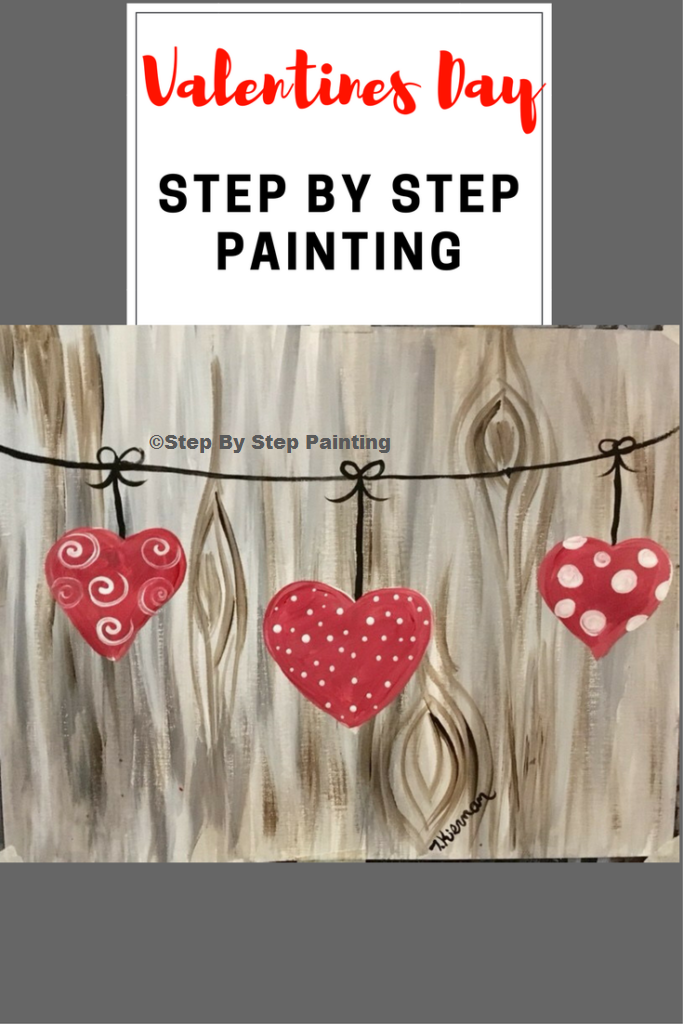
How To Paint Three Hearts on a String

Would you like to save this?
Learn how to create your very own hearts painting!
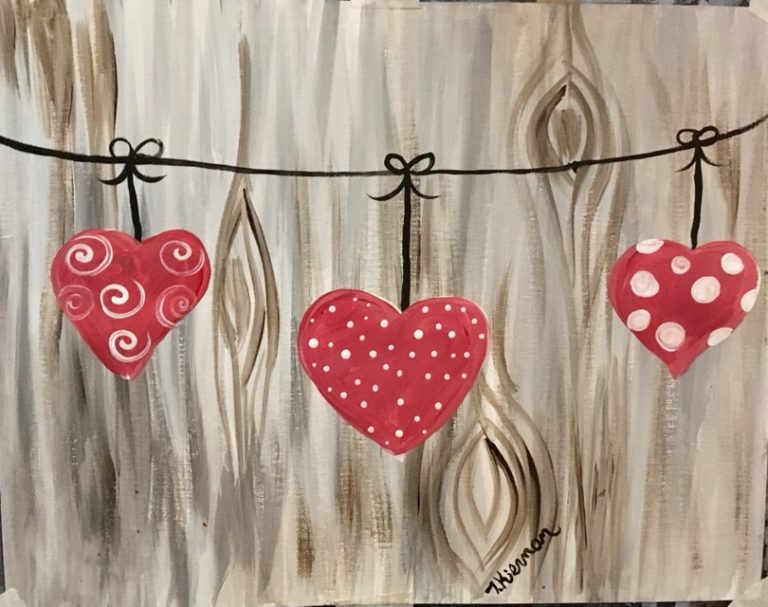
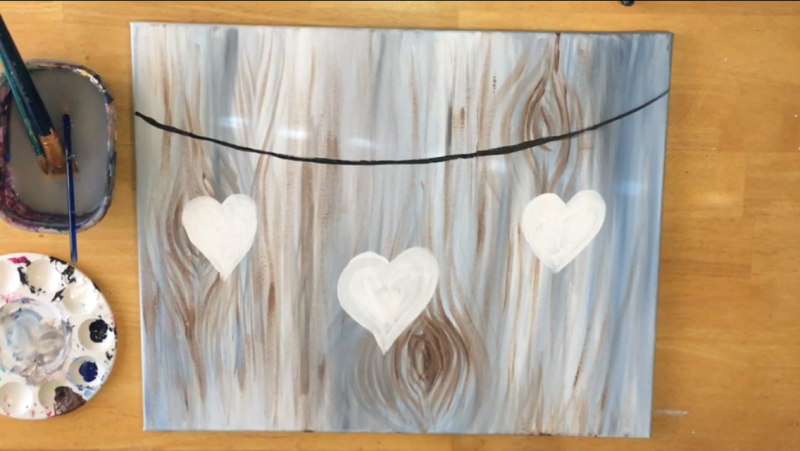
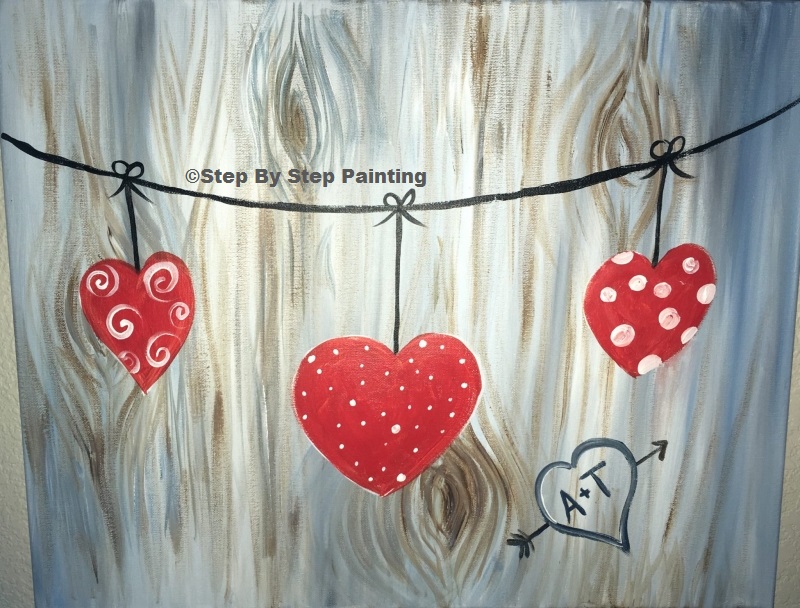
These are three cute hearts hanging on a string in front of a faux wood background.
In this tutorial, you will learn how to apply colors to a canvas to make it look like wood texture.
I did this on a 16 x 20 canvas with acrylic paints.
I will admit, however, that this painting is a bit tricky because of the wood texture! Please don’t get frustrated at the wood step!
Actually…I recommend getting a separate piece of paper and practice some dry brushing techniques before you tackle it on your canvas.
If all else fails, you can improvise and make it your own!
Those three whimsical hearts are super easy and adorable! Enjoy!
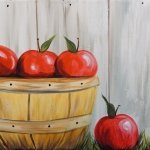
See other paintings with faux wood background:

Materials:
Heart Painting

Learn how to paint three hearts on a string with a faux wood background.
Materials
- 16 x 20 Canvas
- Acrylic Paints
- Brushes
- White Chalk (If Needed to Draw the Hearts)
Brushes
- 1” Flat
- #4 Bright
- Small Round (#4)
- 10/0 Round or 0 Round
Colors
- Cad Red Medium
- Phthalo Blue (Optional)
- Titanium White
- Mars Black
- Burnt Umber
Instructions
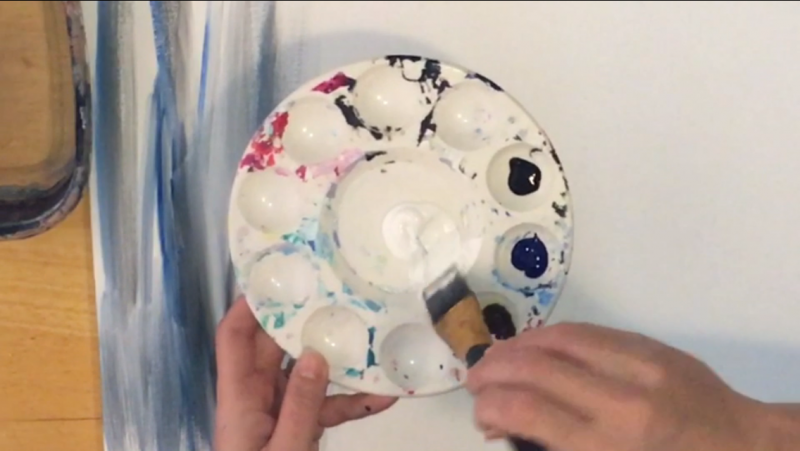
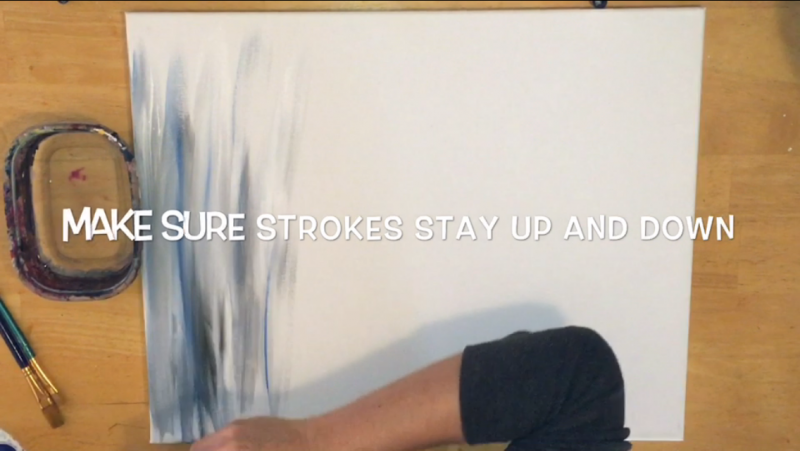
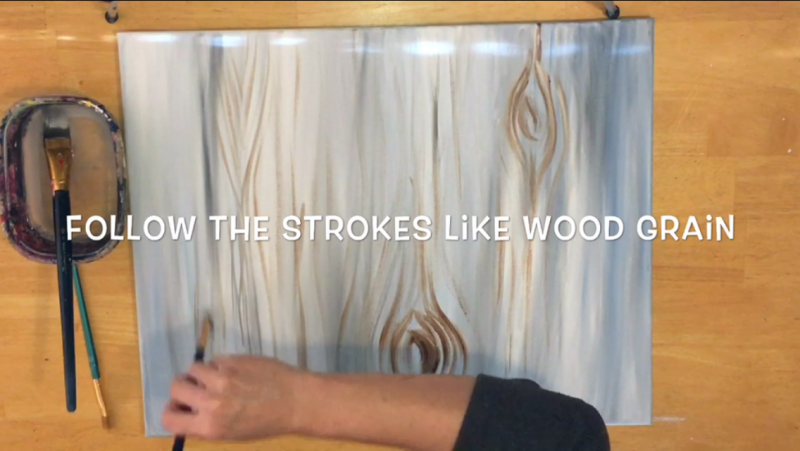
- Paint the entire canvas background with the faux wood technique. Create a gray wash faux wood background by loading your 1” flat brush in white. Then dip the corners in black and burnt umber and blend up and down strokes. (See notes or video about using phthalo blue in this step).
- Add some dry brush wood texture with burnt umber.
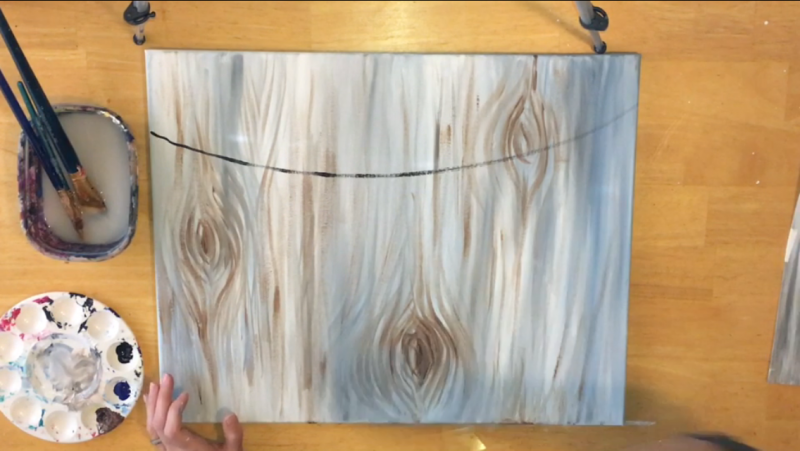
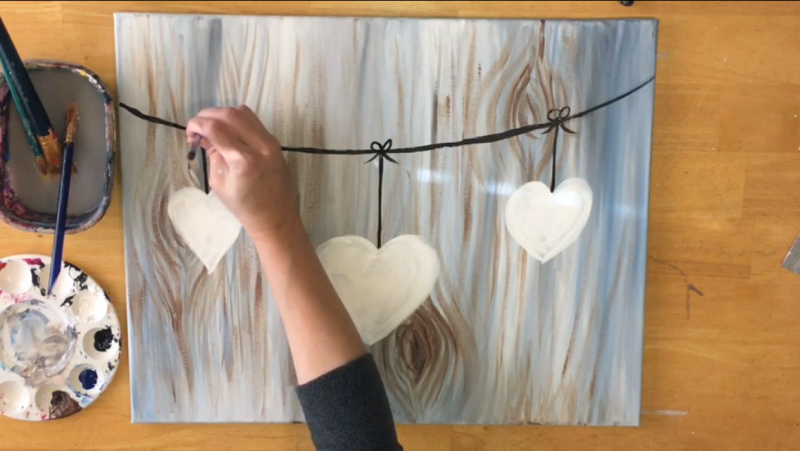
- Paint the string mars black.
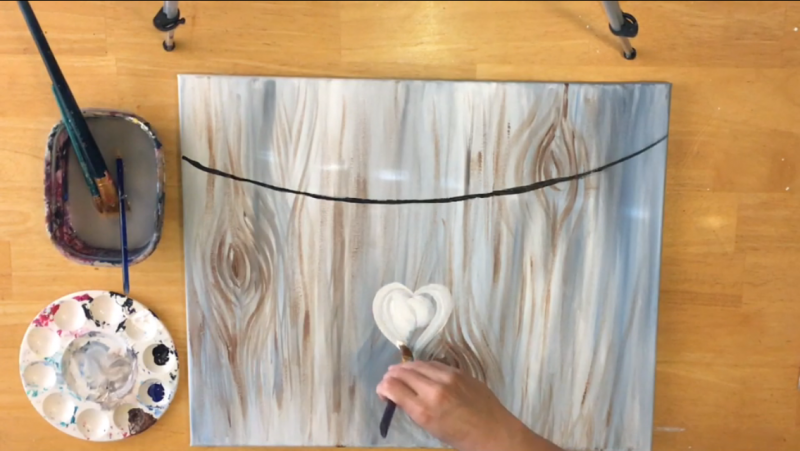
- Paint the hearts white.
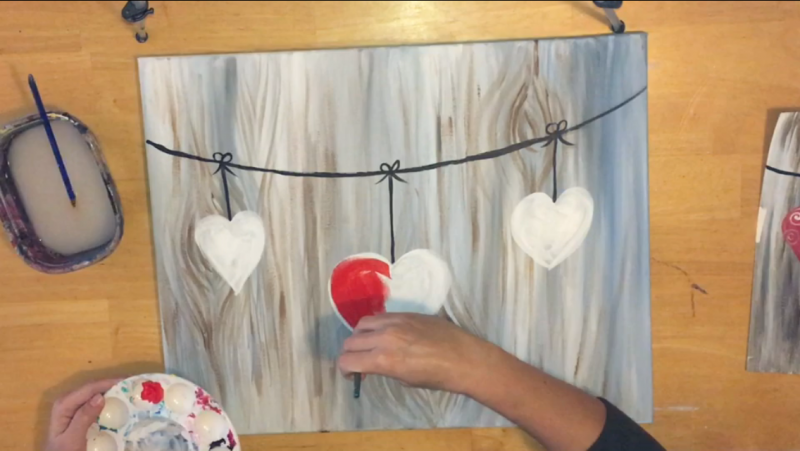
- Let the white dry and then paint them hearts cad red medium.
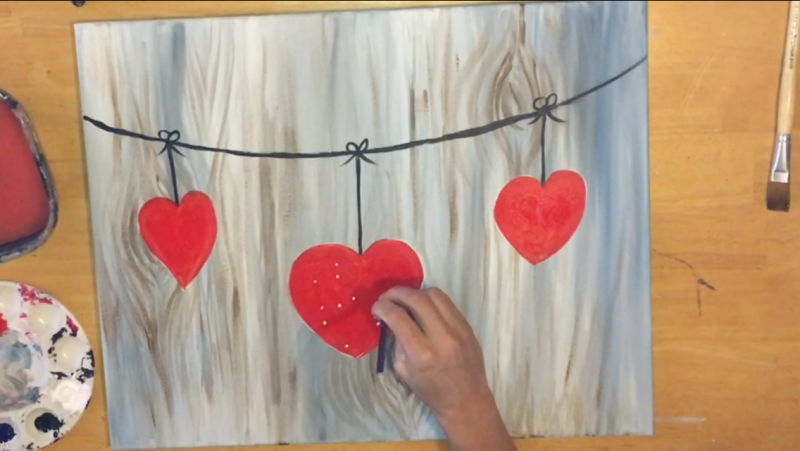
- Let the red dry and paint designs on the hearts using titanium white.
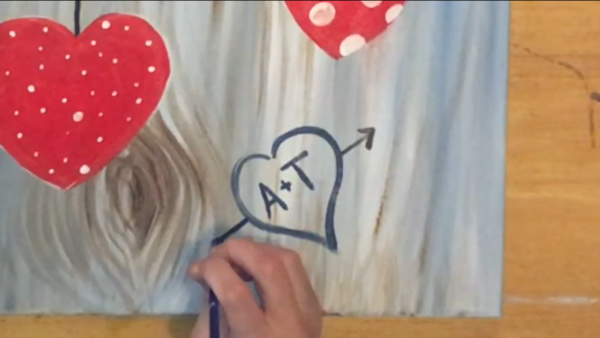
- Optional: make a little heart somewhere on the wood and add initials on the heart.
Notes
Note: my technique for the faux wood background has simplified since I createted this tutorial. I would omit the phthalo blue all together and use use brown, white and a tiny bit of black to create the faux wood look.
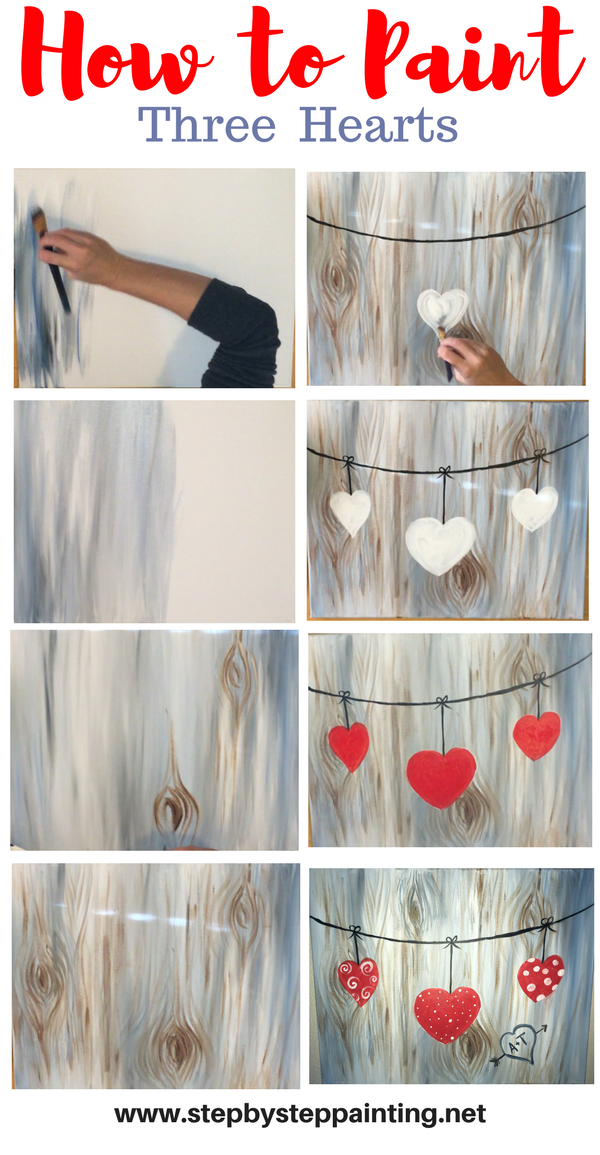
Directions At A Glance:
Video Directions:
Step By Step Pictures
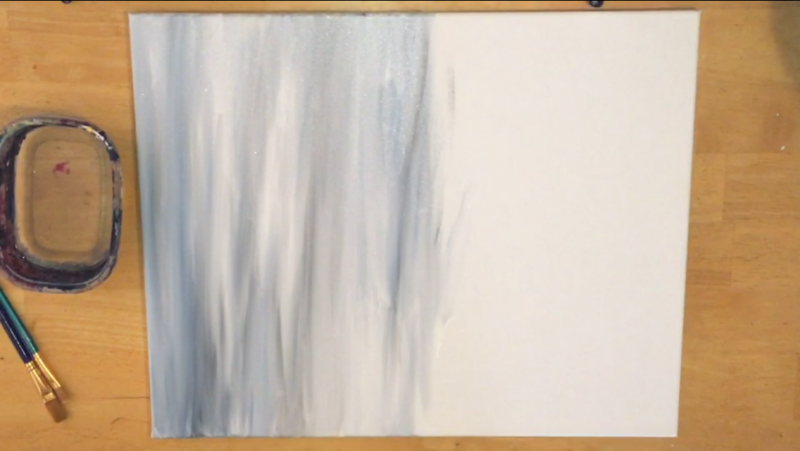
1. Gray “Wash” Background:
I mentioned this in the intro but I recommend practicing this on a separate sheet of paper to get the color proportions right before you tackle it on the canvas.
First dip your 1″ flat brush in the titanium white. Paint up and down strokes on the canvas but don’t let the white dry yet.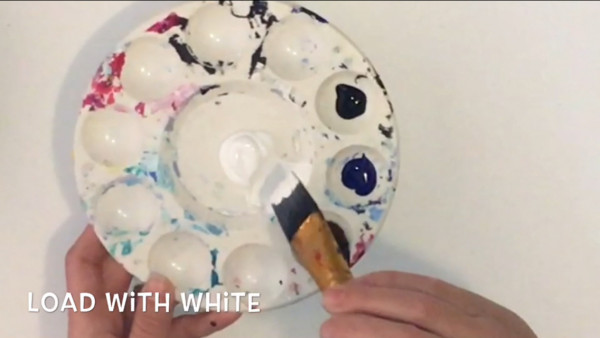
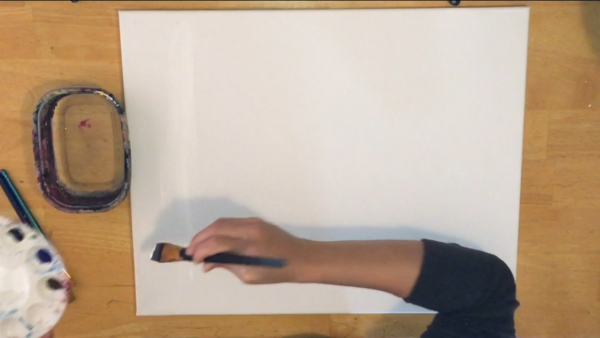
Don’t rinse your brush, leave the white on it.
Next double load the corners of your brush in black and (optional phthalo blue).
Note: In leu of phthalo blue, use burnt umber.
Use just a tiny bit of paint on the corners. Then paint up and down and let the colors blend with the white.
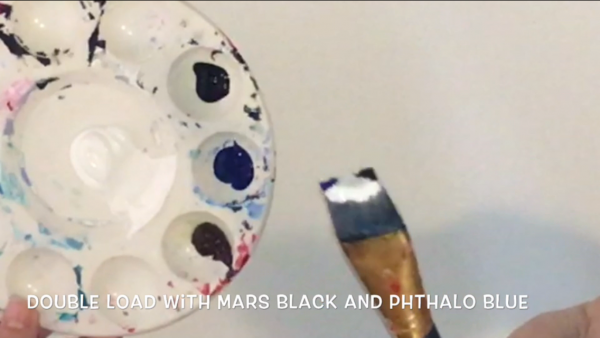
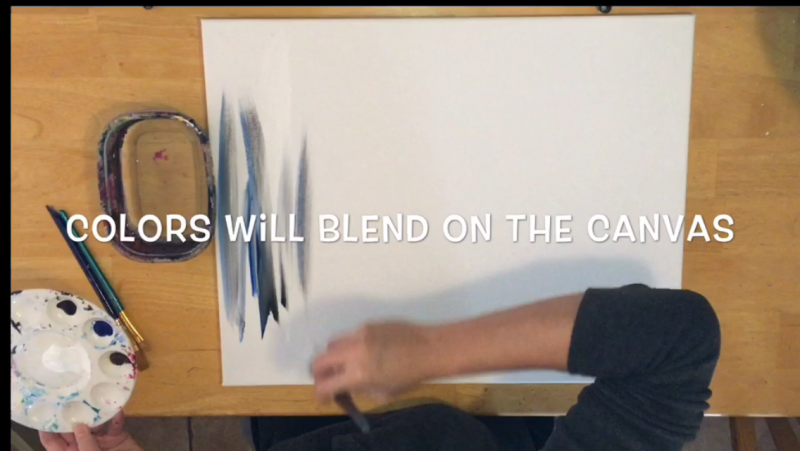
When you re-load your brush, add white and the black/blue on the corners.

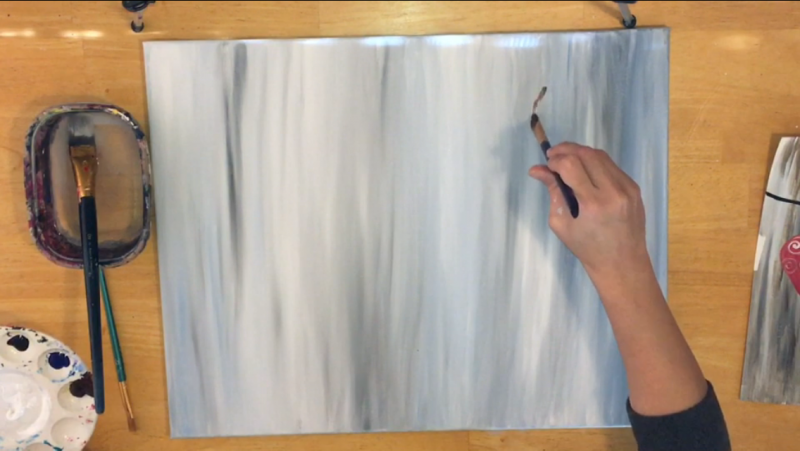
2. Adding Wood Texture With “Dry Brush”
Again, practice this on a separate piece of paper before you tackle it on canvas!
Dry brush technique means you add very little paint to your brush and no water.
Hold your brush lightly like a feather. The paint should look like a crayola marker running out of ink (light and inconsistent).
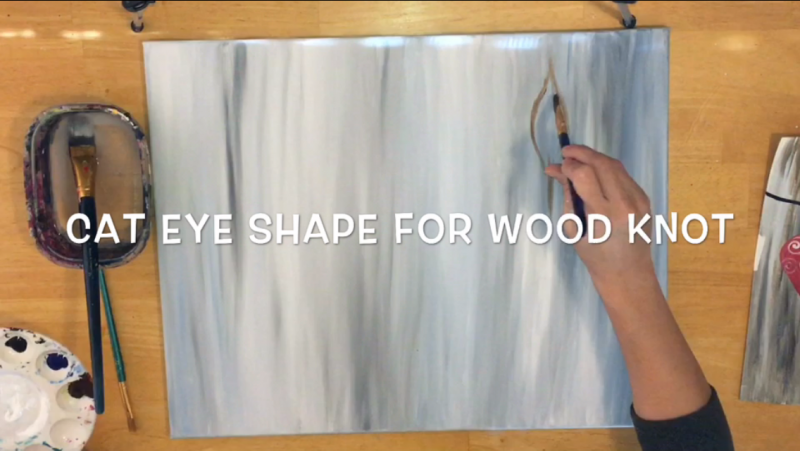
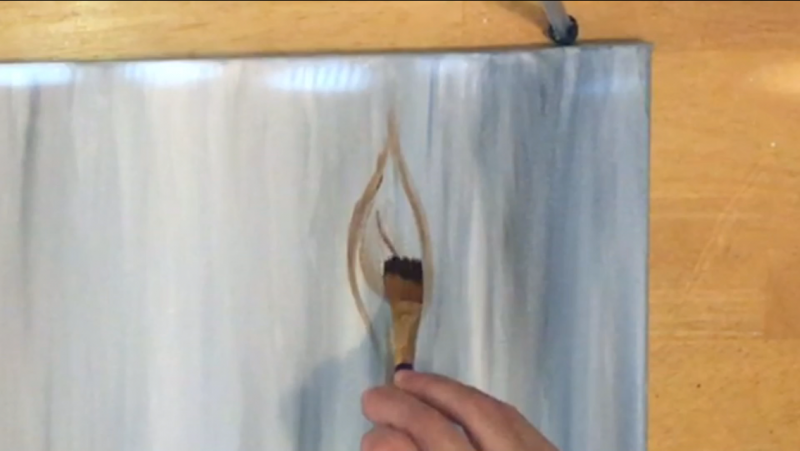
Using Burnt Umber and a small flat brush, paint a “Cat Eye” shape wood knot.
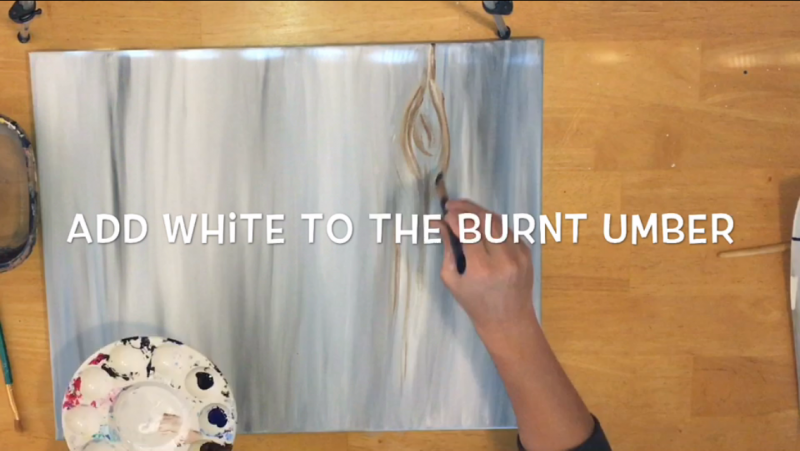
Add a tiny bit of white and let it blend with the Burnt Umber on the canvas!
Paint some more wood knots.
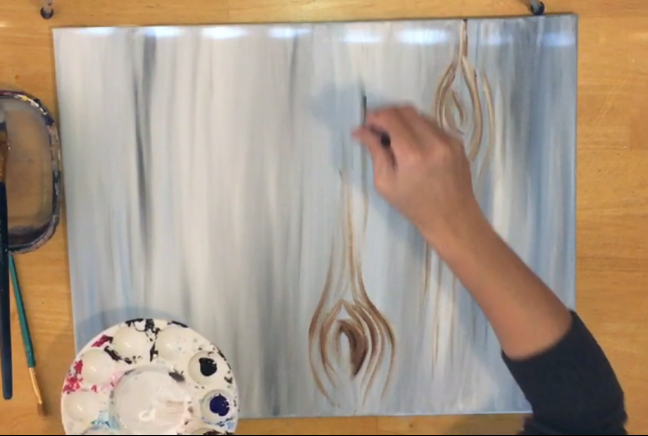
Lightly paint some up and down strokes.

I only did up and down brown strokes in some areas of the canvas. That gray wash background already gives indication of “distressed wood” with up and variations of darks and lights.
3. Paint The String
This is simple! Use a small round brush (#3, #1 or your choice!). Paint a string across the canvas.
4. Paint The Hearts White:
5. Paint The Hearts Red:
6. Paint Designs On The Heart (after red dries)
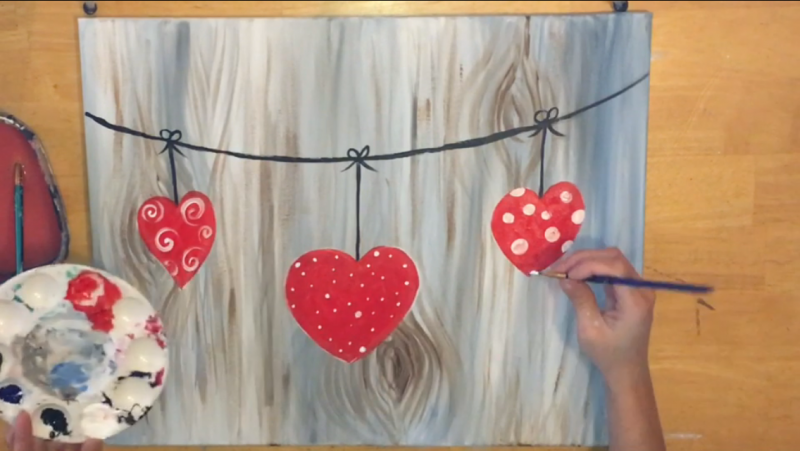
7. A Final Touch:
Finished!
Share your art!


i have tried SO MANY paint tutorials.. i used pintrest i used youtube… i used books… but I have never been able to do the gray wash backround, it just would never turn out. I have been on your site for about a week now, and I have done 7 of your tutorials, and i have loved them all. Finally tonight, I almost turned away when I seen the words “gray wash” backround… but I thought oh what the heck give it another go… I NAILED IT!!! your way of explaining things, really makes sense to the person who is just starting out.. I have been painting for a few months now and out of everything I have tried, your site is the best. I love how you use video as well as a detailed picture. I LOVE that all materials are listed and Im not trying to guess what the color is, not everyone learns the same way, and you recognize this! I now have the courage to try the dinosaur my son has been asking for! Thank you so much for making this site free and easy to follow1
Wow Erica! Thanks for posting this! I’m glad I can finally make that gray wash background click for you! Enjoy that Dinosaur painting!
During this difficult time, where being in public is discouraged, I am grateful to have found your site. Thank you for all the information, instructions and resources you’ve made available.
I planned my first at home paint night to celebrate my wife’s birthday. Although our 7 year old got a little frustrated and had difficulty waiting patiently for the paint to dry, we all had a wonderful time.
My wife chose Three Hearts on a String thinking it would be an easy one for the three of us to do. I chose 8×10 canvasses to keep things from getting out of hand. With all the “issues” and “mistakes” we had, we couldn’t be happier with our results.
Thank you again! We can hardly wait for our next paint night.
I took up painting again last autumn, on a whim, and I found your site. This was the first painting I tried (other than blobs and shapes) and I loved it SO much. Your instructions are clear and concise, easy to follow, easy to parse. The faux wood background is gorgeous (and my brother, who saw only a cell phone picture of my first heart painting, was honestly fooled!) – I’ve used my version of it for so many others. Thank you SO MUCH for your instruction. You have influenced me and taught me so much!
You are so very welcome! Glad you had such a success on that faux wood background!!