How To Paint A Rainbow Unicorn
Would you like to save this?
Description
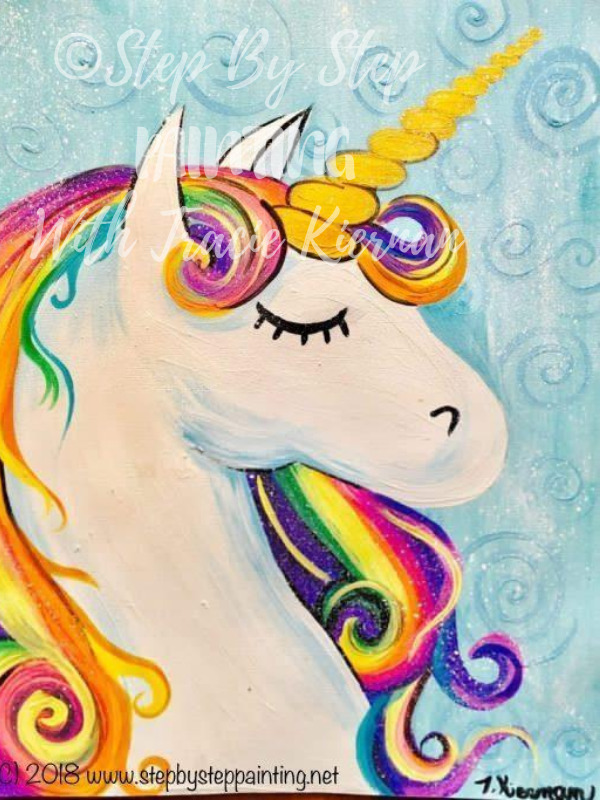
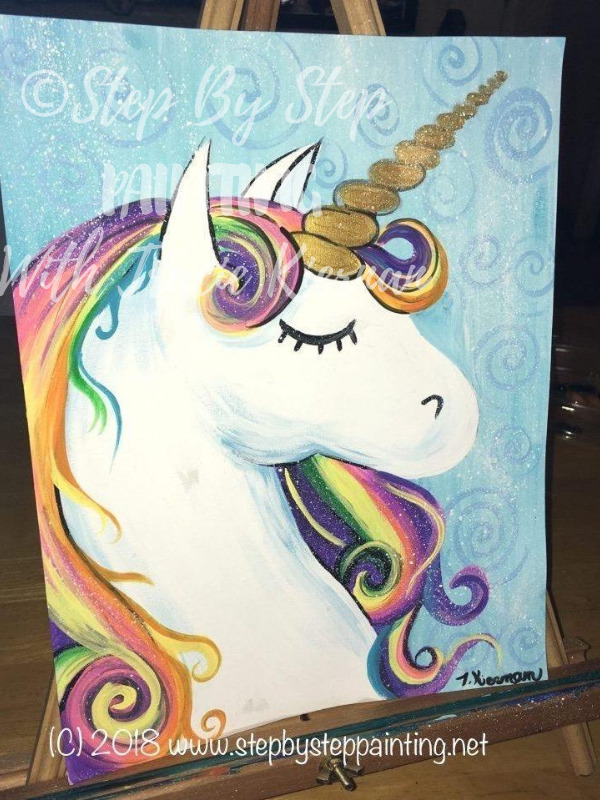
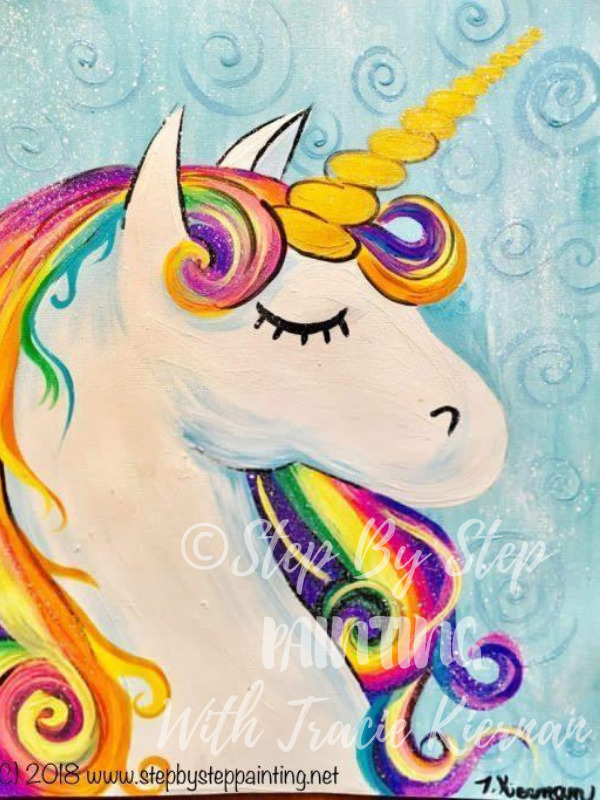
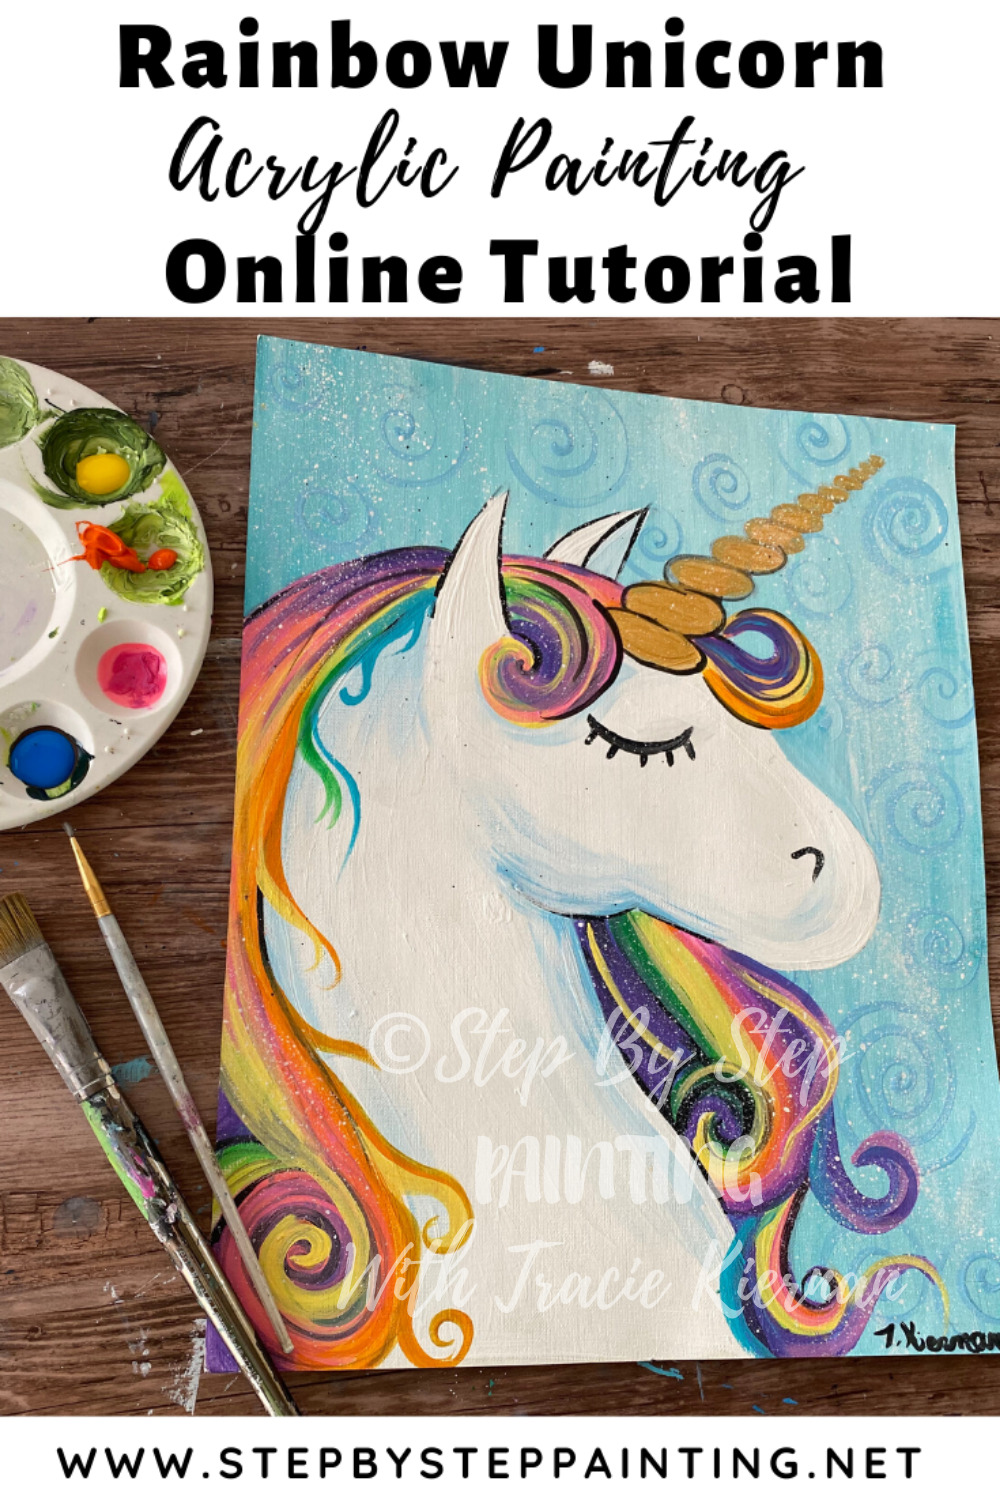
Learn how to paint a unicorn. Are you ready to channel your inner Lisa Frank with this Rainbow Haired Unicorn!?
In this tutorial you will learn how to draw and paint a unicorn head with acrylic paints on canvas! This was done on an 11″ x 14″ canvas. You can do this on any size canvas, canvas paper, water color paper, etc.

I decided to bring out my craft paints for this! I wanted to use all the colors in the rainbow and didn’t feel like mixing all my colors.
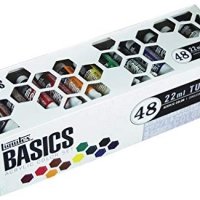
UPDATE: I recently redid this painting with the Liquitex BASICS acrylic paints and it turned out very similar, if not more vibrant than the Apple Barrel! So, yes you can use Liquitex on this painting and achieve similar color results!
This painting would make an excellent DIY unicorn paint party activity! If you are doing it with a group, I recommend transferring the unicorn to all the canvases before the event to make things easier.
As always, don’t forget to share your painting on Pinterst or Facebook!
Enjoy and happy painting artists!
This post contains affiliate links.
Tips if you’re doing this his with kids:
Wouldn’t this be a darling birthday DIY paint party activity!?
Kids LOVE unicorns! You can try to have your child draw the unicorn using the step by step drawing directions below. Or you can transfer the unicorn onto the canvas using graphite transfer paper and the printable.
Transferring the unicorn onto the canvas is recommended if you are doing this as a birthday party activity because all they’ll have to do is paint it in.
Click here to go to my PDF library or here to learn how to enlarge the traceable.
Materials:
How To Paint A Rainbow Unicorn
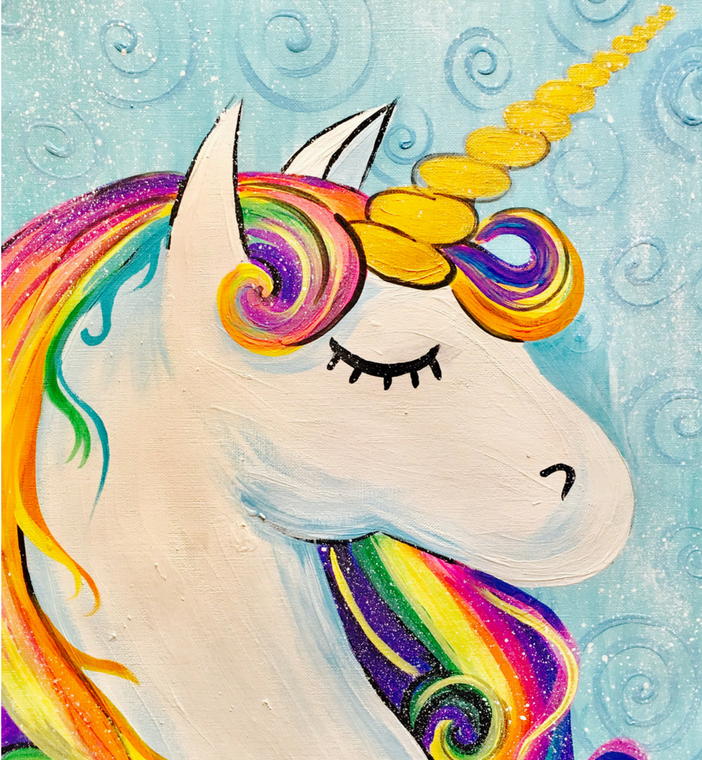
Beginners can learn how to paint a Rainbow Unicorn with acrylic paints on canvas. This full detailed step by step tutorial will guide you through the process.
Materials
Basic Supplies
- 8" x 10" or 11" x 14" canvas
- Acrylic Paints
- Brushes
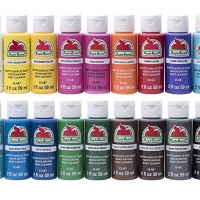
Paint Colors (first is Liquitex then Apple Barrel)
- Cadmium Red Light or Jack O Lantern
- Primary Yellow or Flame Yellow
- Bright Yellow Green or Shamrock
- Bright Aqua Green or Bimini Blue
- Light Blue Permanent or Parrot Blue
- Titanium White or White
- Mars Black or Black
- Gold
- Medium Magenta or Fuchsia
- Brilliant Purple or Purple Iris
Brushes
Tracing the Unicorn Drawing
Optional
Instructions
- Draw or transfer the unicorn head drawing to your canvas.
- Paint the background bright aqua green with some swirls of light blue permanent.
- Paint the unicorn's head white and add in a tiny bit of light blue permanent shading. Then outline the eye and nostril with black.
- Paint the hair one color strand at a time starting with magenta and going through the rainbow in color order. Slightly overlap the colors to get them to blend together.
- Outline some areas of the unicorn with black.
- Paint the horn gold or use a gold sharpie.
- Add some optional glitter to your painting. You can put the glitter on whet paint or use a gel medium to apply the glitter.
Notes
Scroll down for more detailed instructions!
Recommended Products
As an Amazon Associate, Michaels Affiliate and a member of other affiliate programs, I earn from qualifying purchases.
Template:
Directions: print this on standard computer paper. It will be able to fit an 8 x 10 canvas. If you want to do this on an 11 x 14 canvas (or larger) you may to enlarge the printable. Go to PDF Library for Download.
—->Printable download is for personal use only.<—-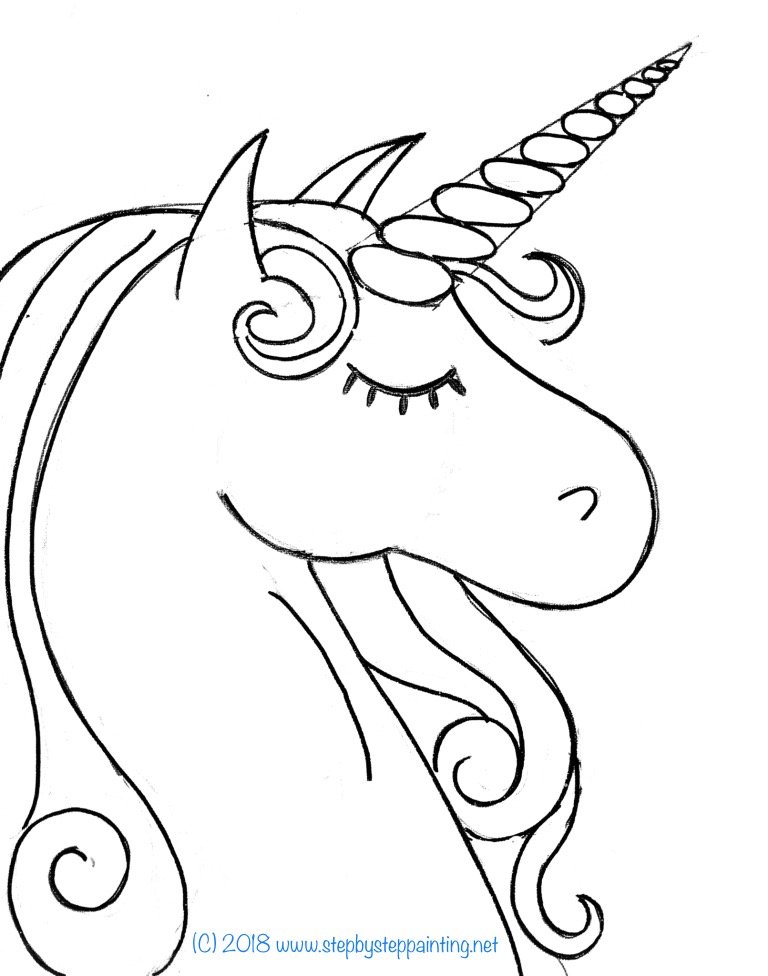
Need to enlarge the template?
If you are doing this on a larger than 8 x 10 canvas, you will need to enlarge the unicorn by a certain percentage in Adobe Acrobat Reader (free download). Click the link below to find out how to do this: 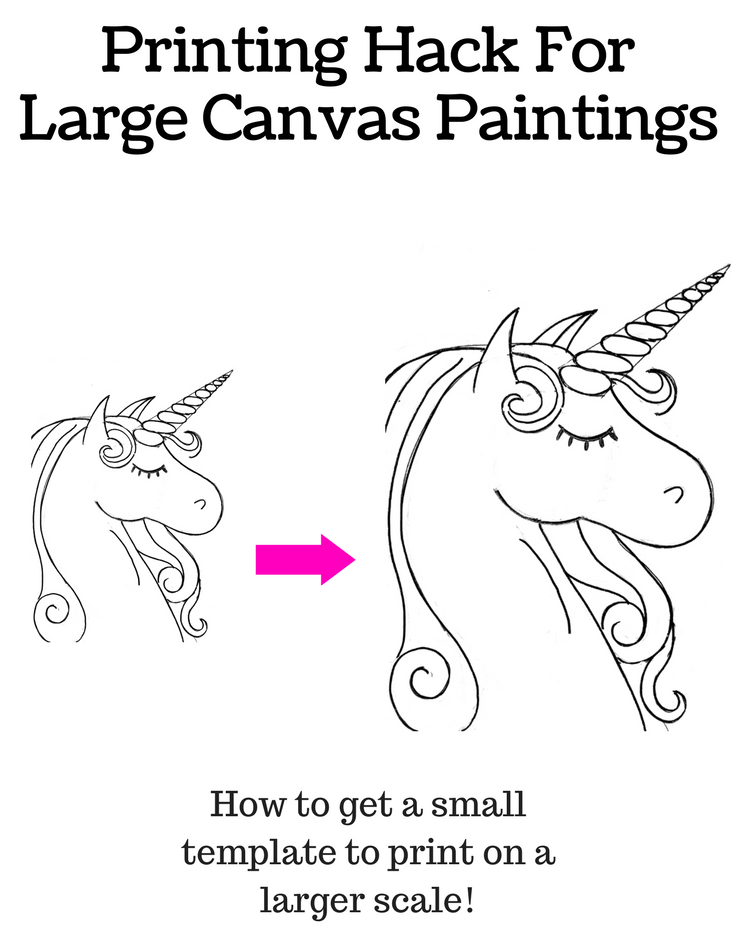
How To Draw A Unicorn:
You can see an updated post specifically about how to draw a unicorn. 
How To Paint A Unicorn Directions At A Glance:
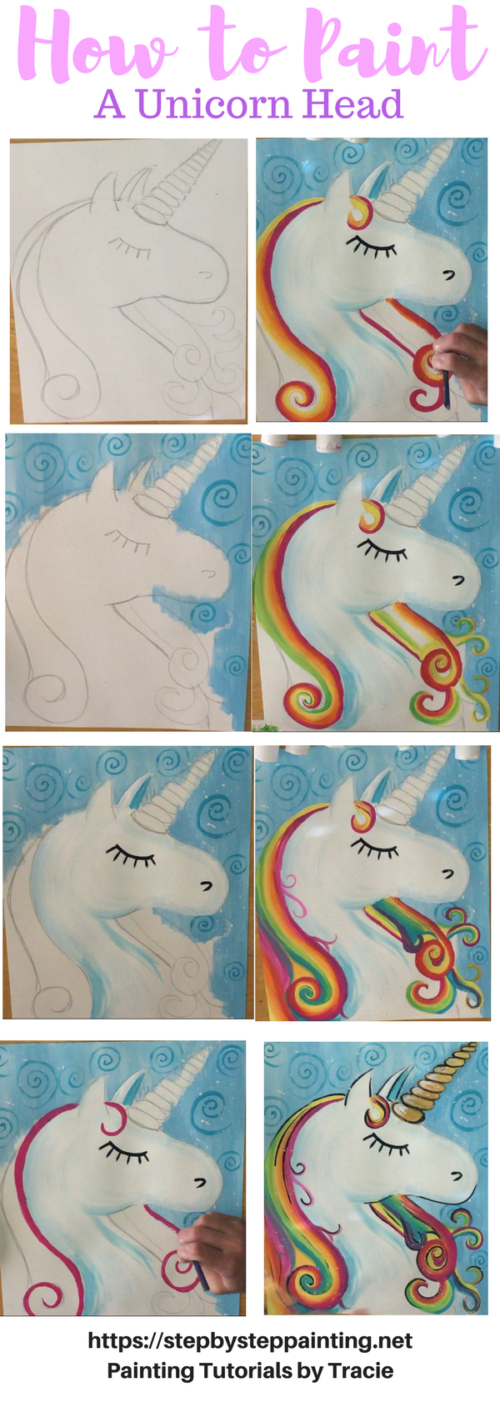
How To Paint A Unicorn Video:
Step By Step Pictures
1. Draw Or Transfer Your Unicorn Head
Draw/ sketch out the unicorn lightly with pencil (see steps above).
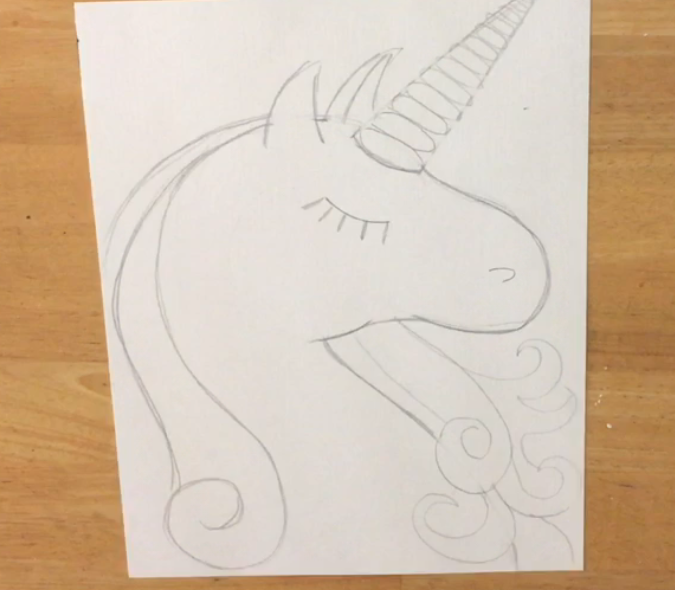
It is only optional to outline it with sharpie. I did it for demo purposes only.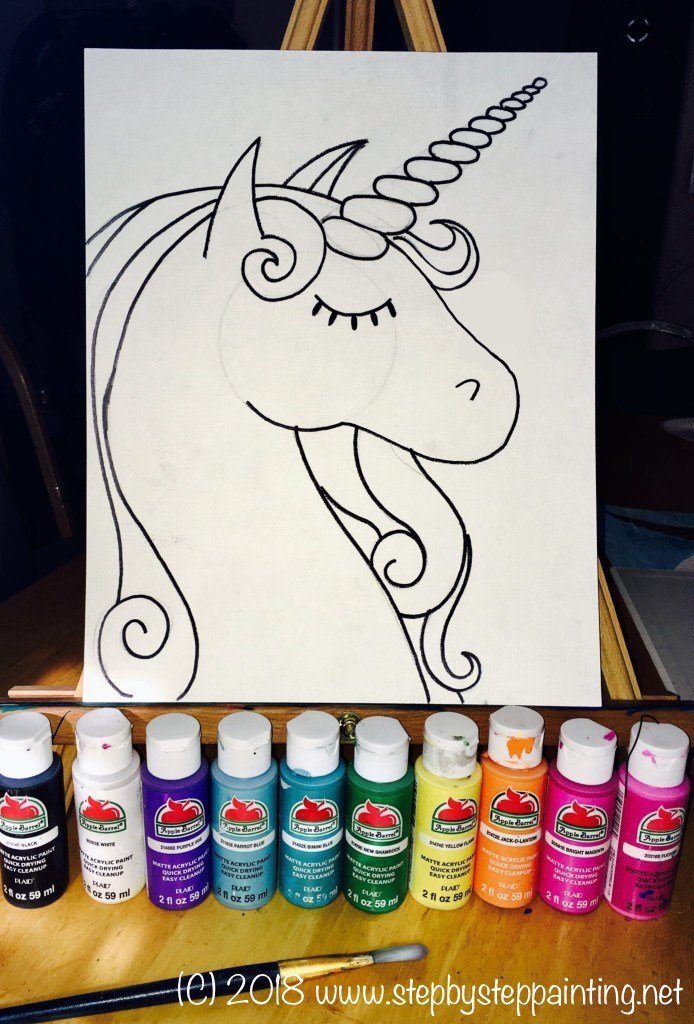
Also, you might want to practice drawing on a separate sheet of paper if you’re struggling with the drawing.
If you’re transferring, just print out the unicorn PDF and use graphite paper!
(note: graphite paper gets placed between the print out and the canvas then you trace on top. It will transfer to the canvas)
—->Note: I ended up changing the design of the snout at the end of the process pictures. The drawing looks slightly different in the following pictures but the instructions are exactly the same.
2. Paint The Background
Paint the background with a small flat brush.
I used bimini blue (bright aqua green) and white. I dipped my brush in both colors to get an inconsistent color.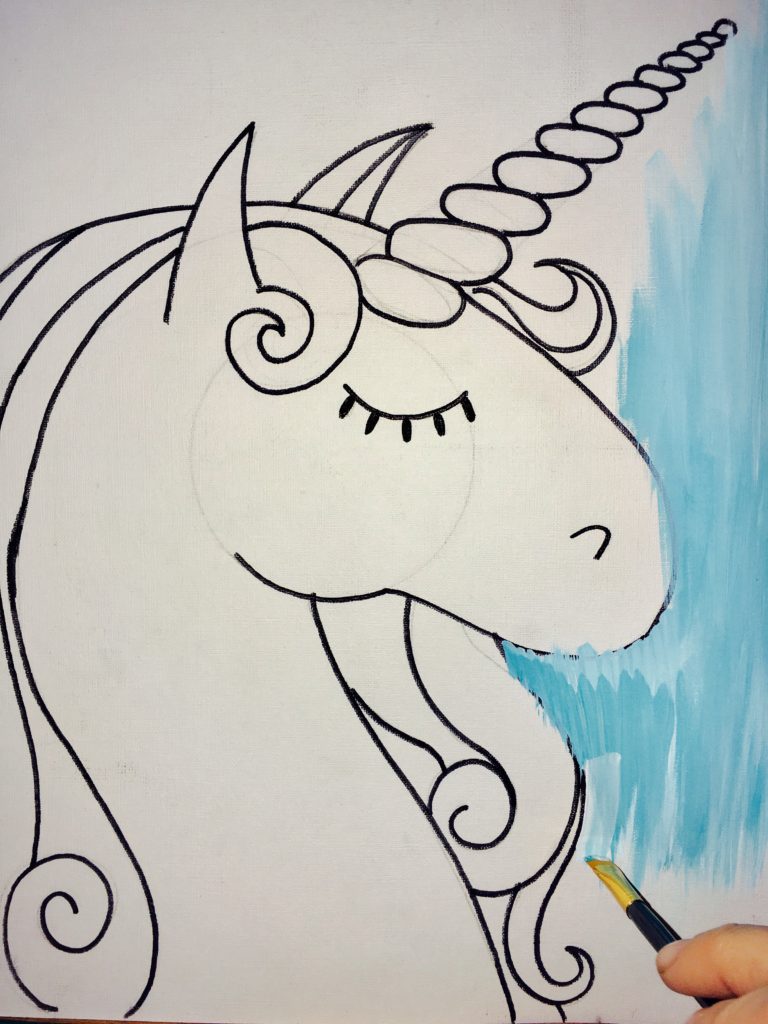
Paint spirals in the background with a small round brush and parrot blue (light blue permanent). 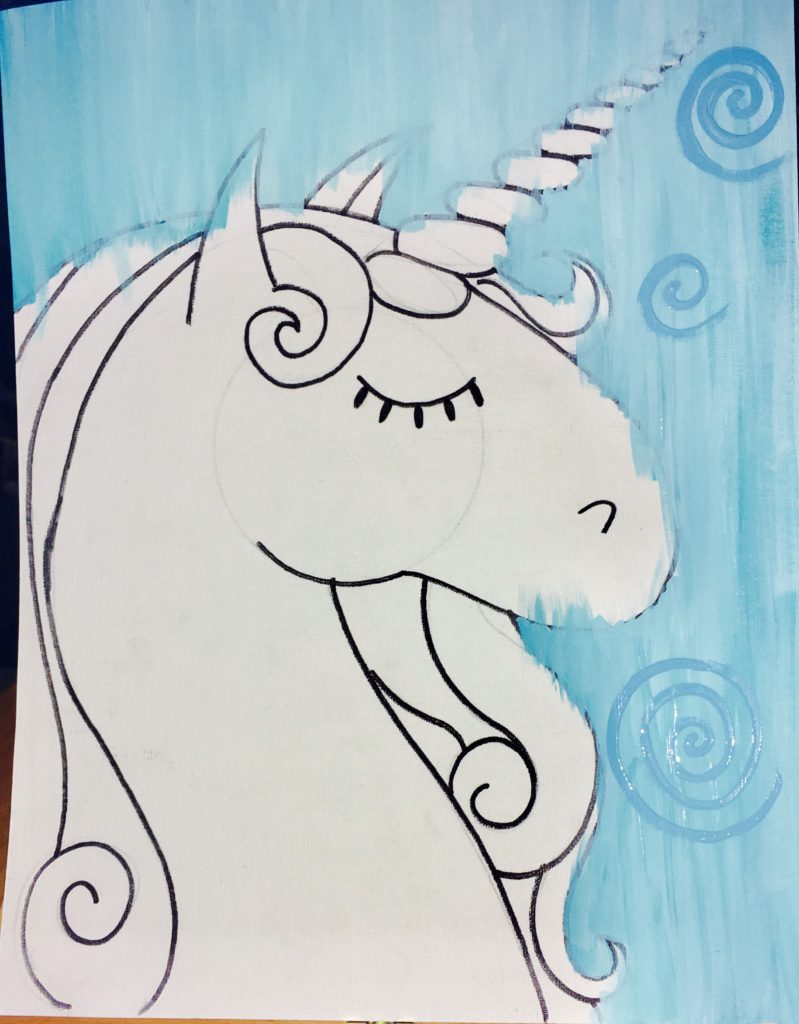
3. Paint The Unicorn’s Head White with some blue shading
Paint the unicorn white. I used a 3/4″ flat for this as well as the blue shading.
When you shade with the blue, blend it in with the white by applying both white and blue to the canvas. 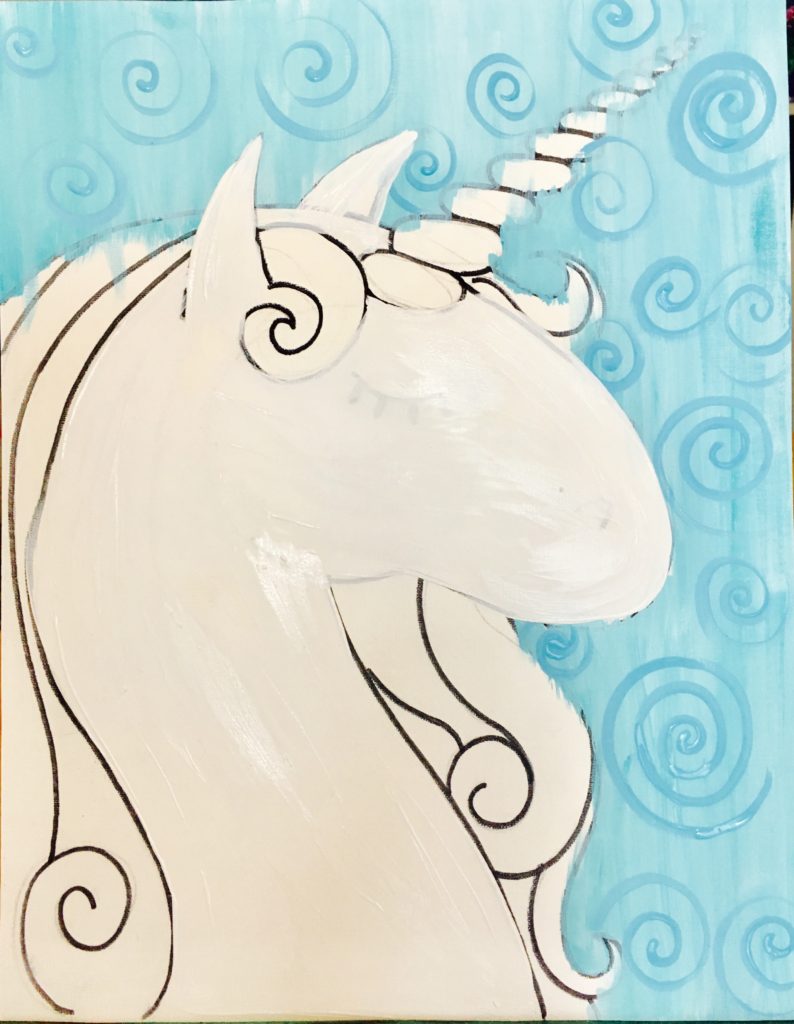
Add some shadow areas with white mixed with parrot blue (light blue permanent). Blend it in white the white.
Be careful not to add too much blue, just a little!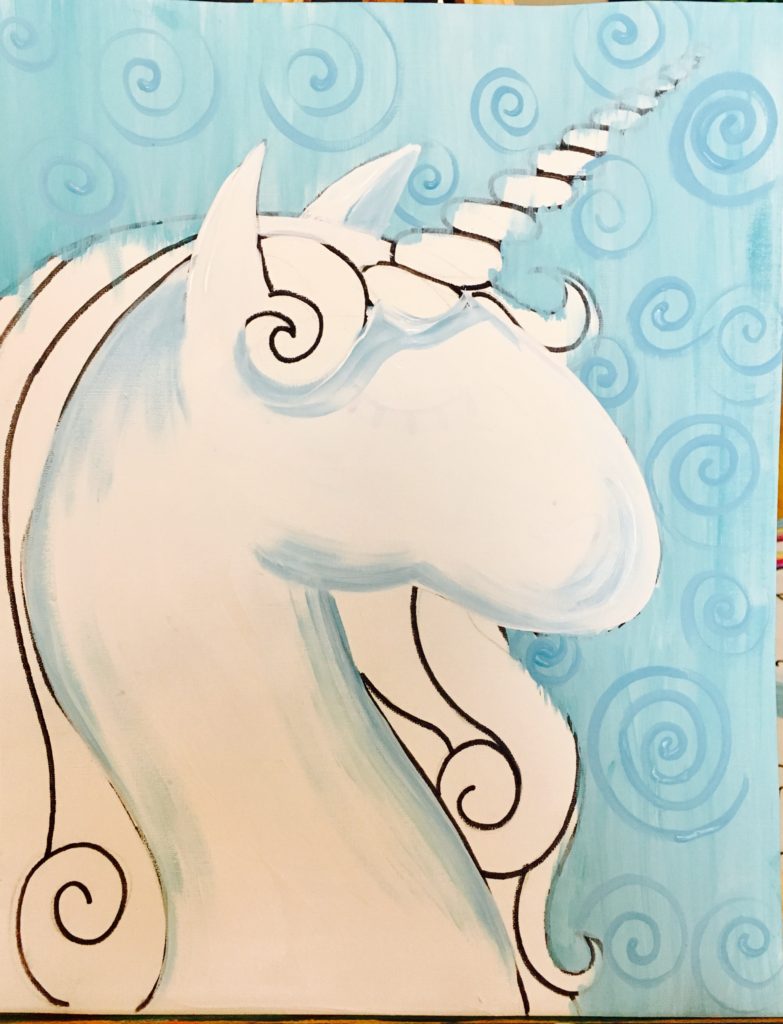
Paint the eye and nostril black with a small round brush.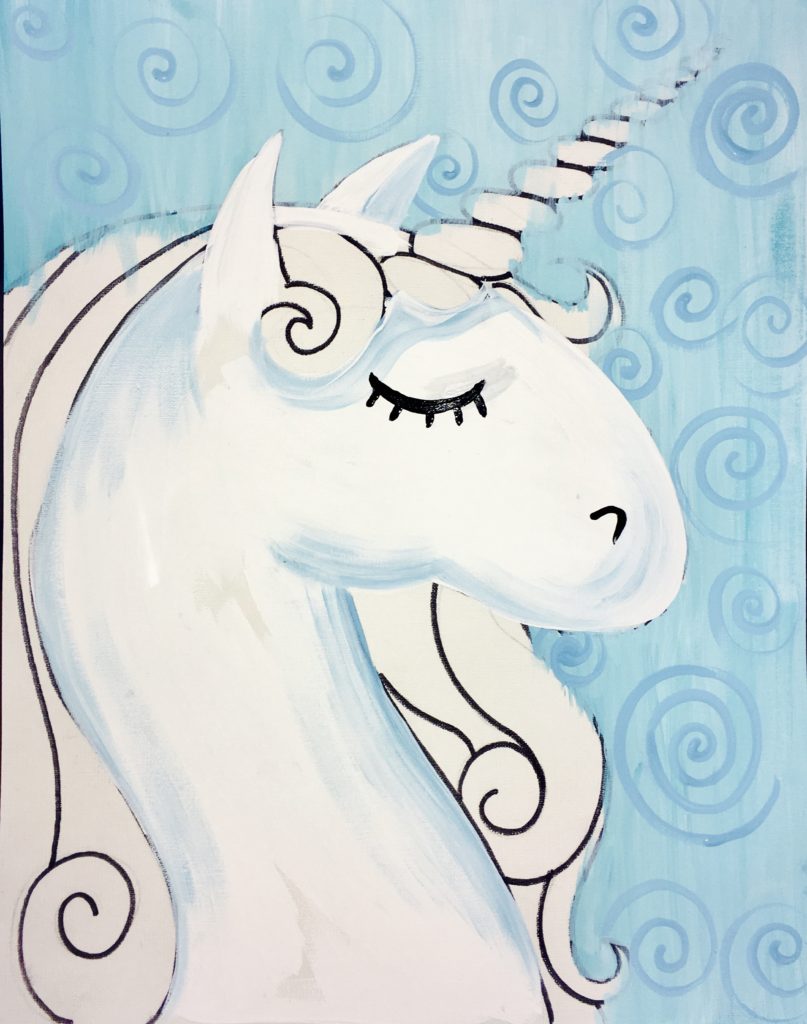
4. Paint The Hair One Color Strand At A Time
With a small round brush, paint each stroke of hair separately, following the lines of the curves you drew.
I went in this order: fuchsia, orange, yellow, green, bimini blue, purple iris.
Slightly overlap colors to allow them to blend together. You can go back and blend the colors some more by using a smaller round brush and really blend the colors to get a rainbow ombre effect in the hair!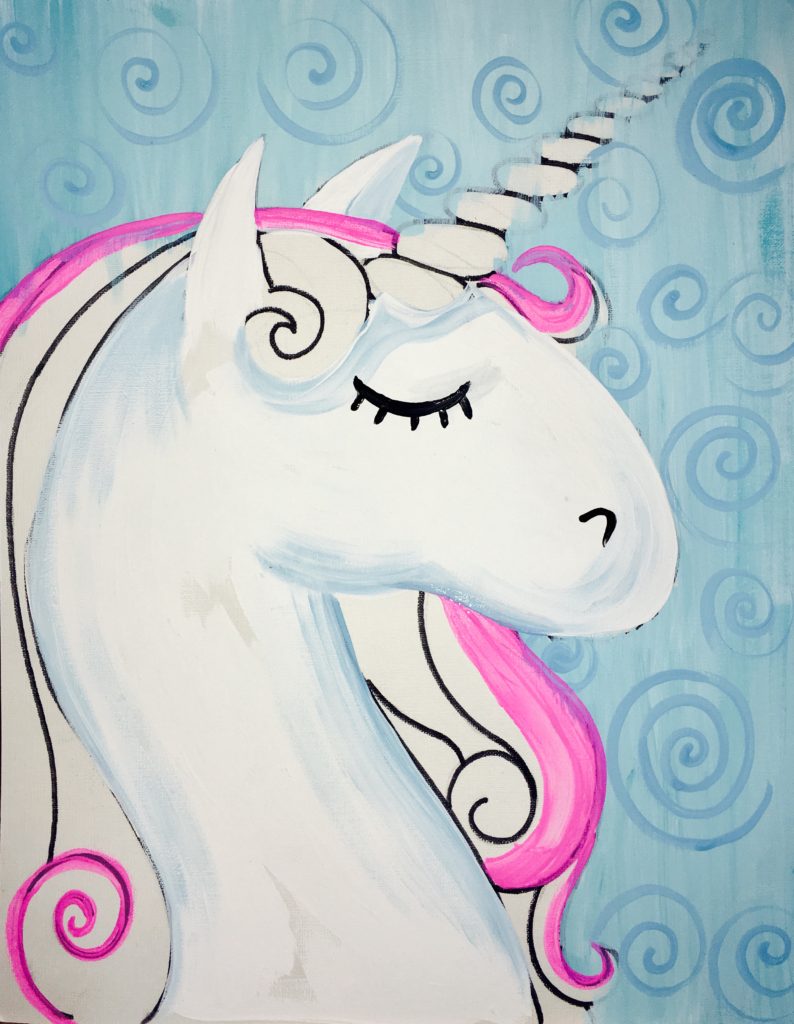
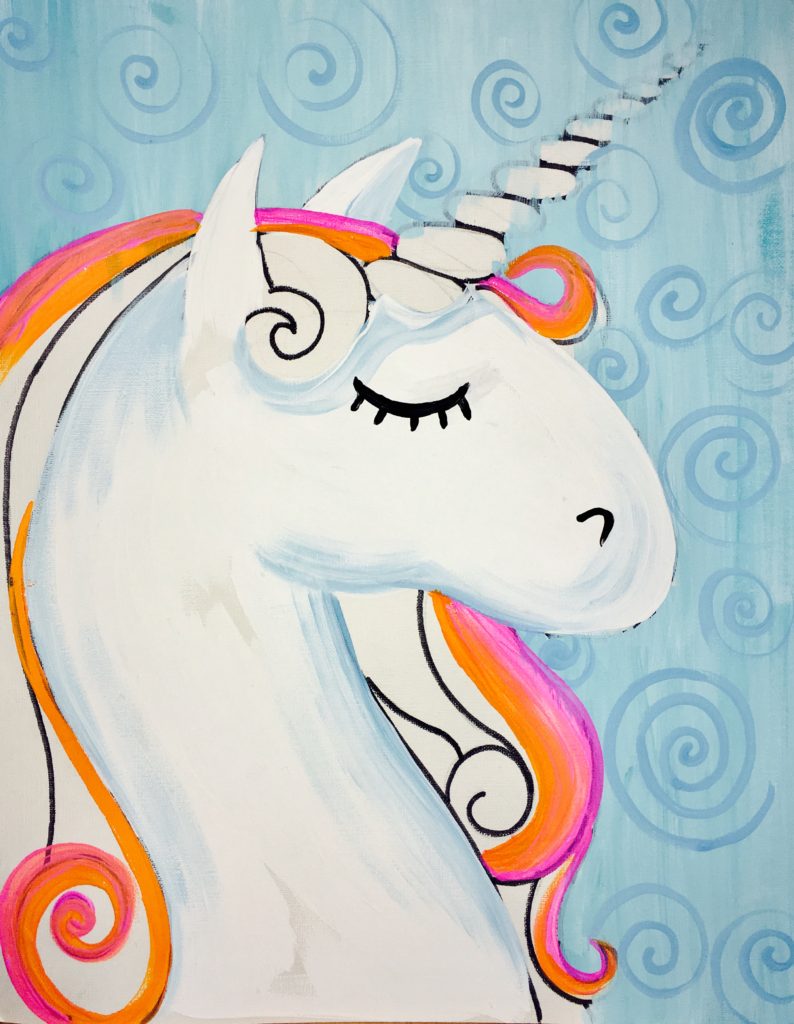
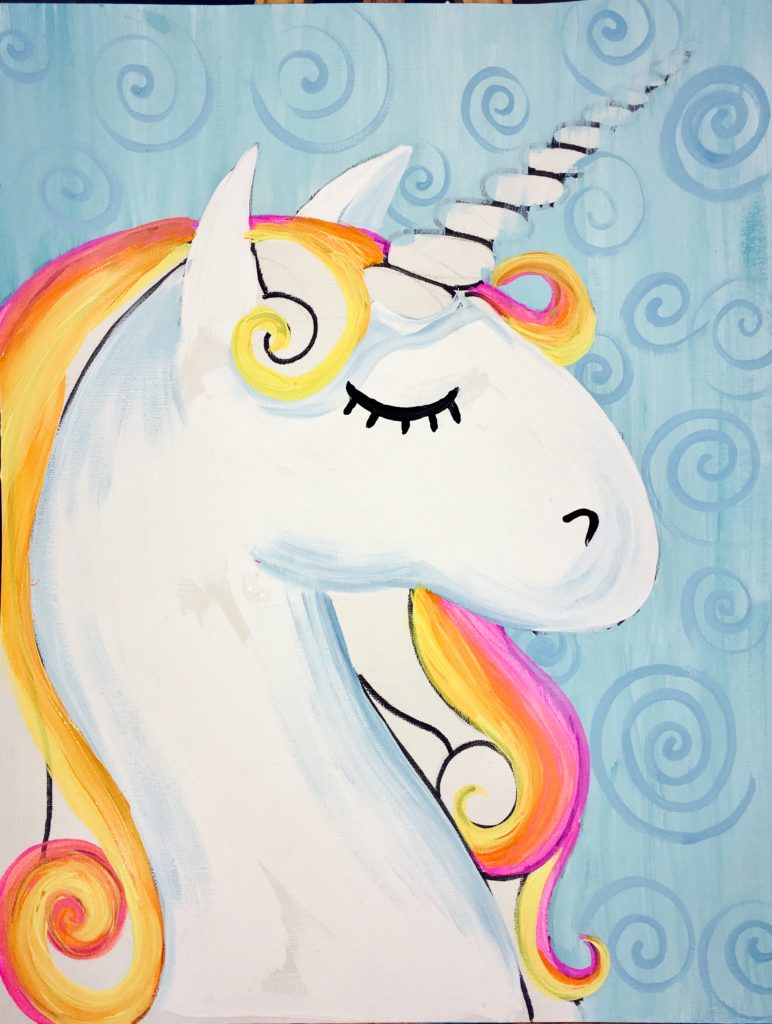
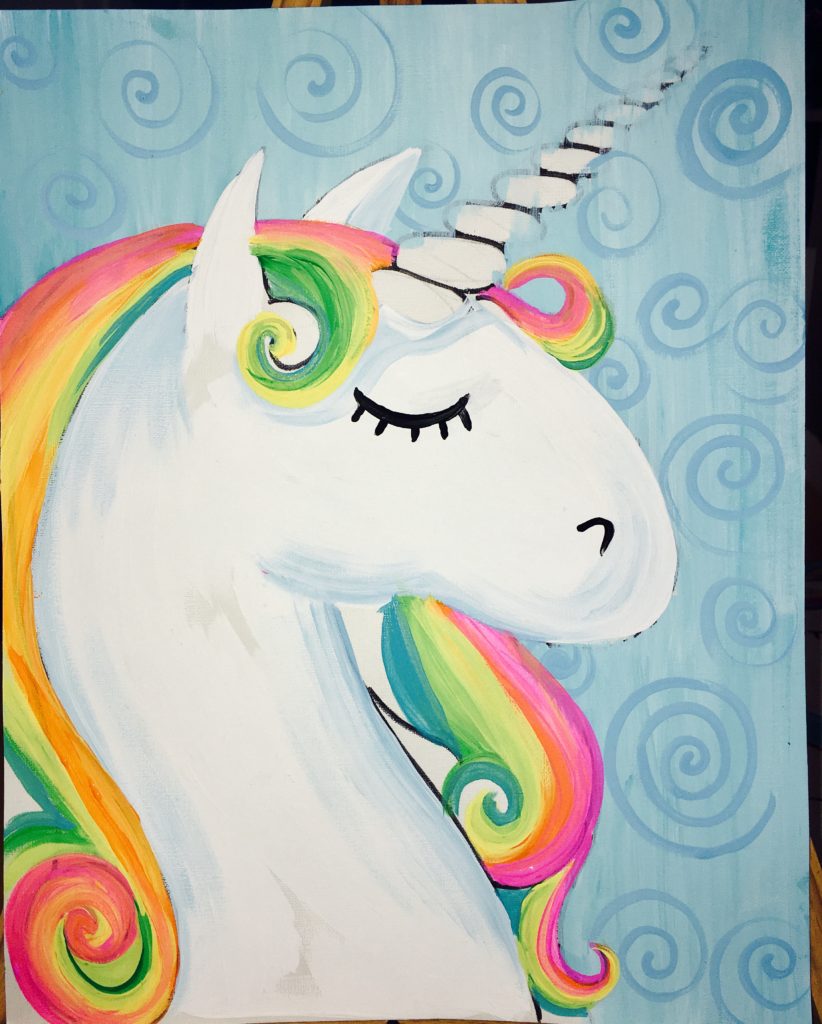
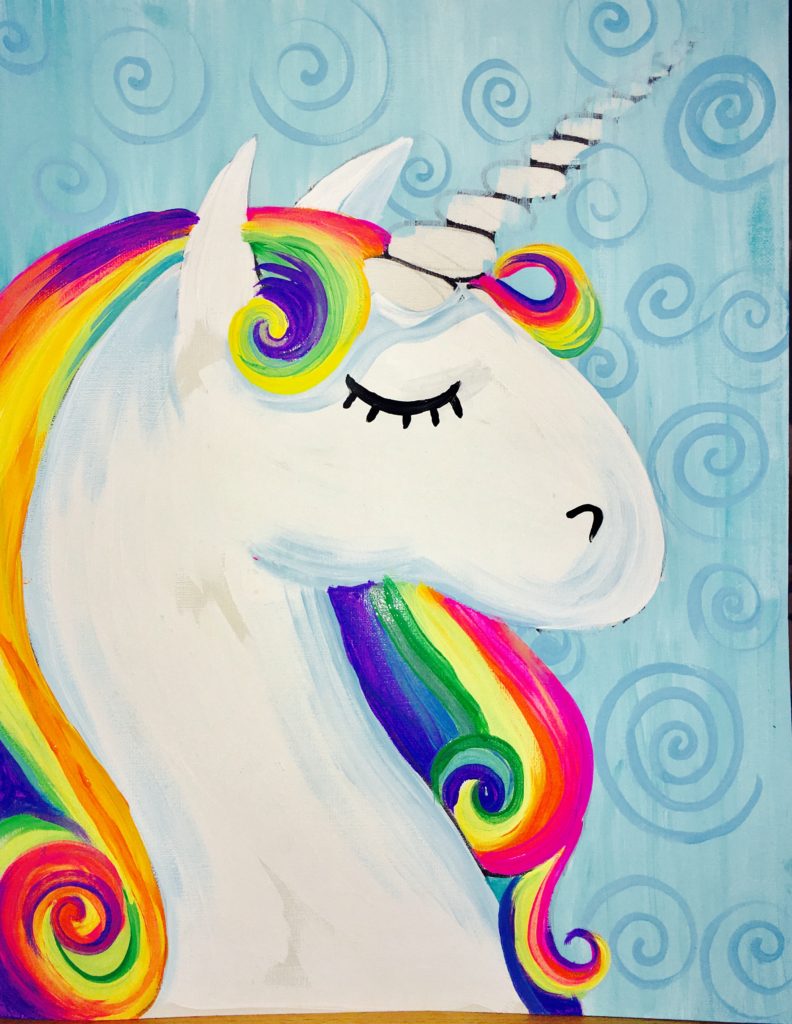
5. Outline Some Areas With Black
Use a small round brush and black to outline some areas of the unicorn to make them stand out.
Don’t outline everything, just a little here and there. 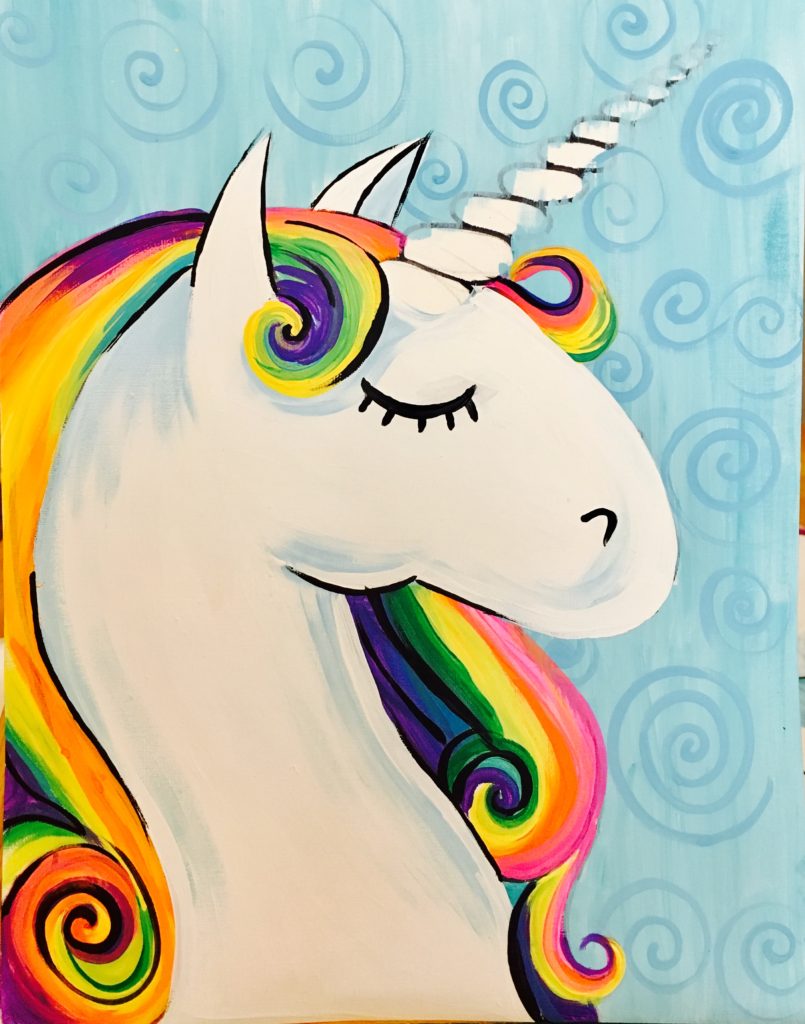
6. Paint The Horn
Paint the horn gold or use a gold sharpie to color it in. If you want to get extra crafty here, add some gold glitter!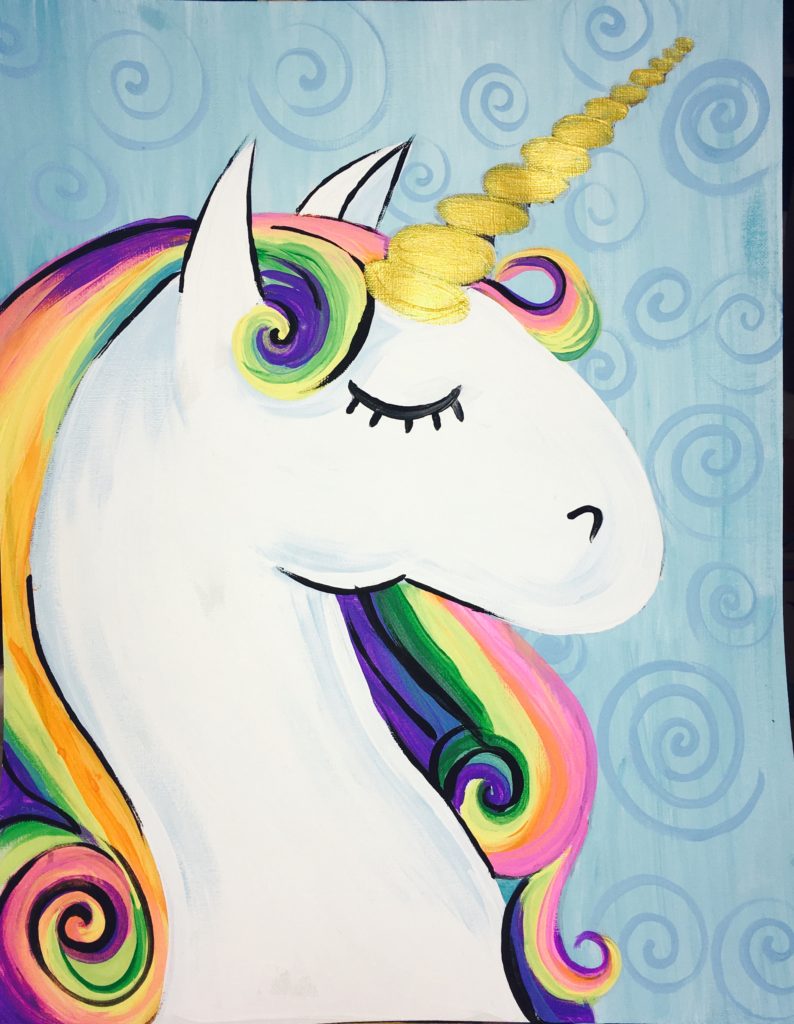
Outline ovals on the horn black (optional).
Add some white splatter paint over areas of the hair and horn with a toothbrush. This actually makes it looks like glitter but it’s paint!
Also notice that I added more hair! Just over lap some of the strands to achieve this effect. Use a small round brush to get into really find details with the hair! 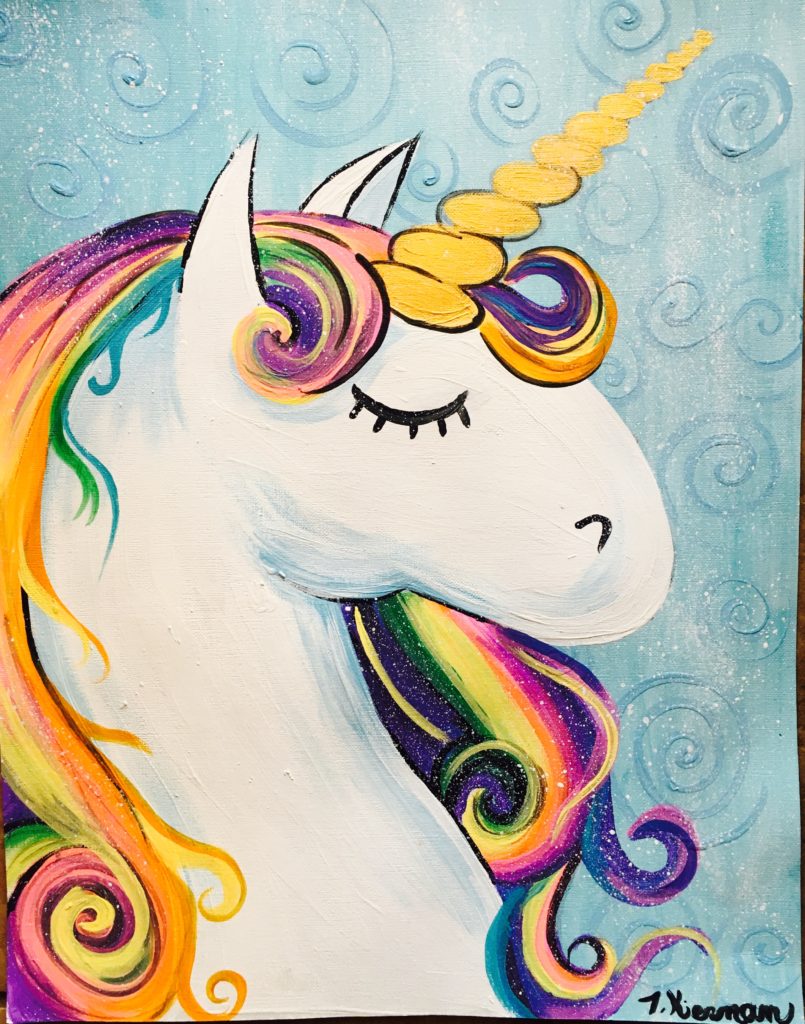
7. Some Final Touches
As you can see, I fixed the unicorn’s snout by painting over some blue in that area!
I mentioned earlier that I changed the design of the head in the end and this is where the change took place! If you are using my traceable, then you don’t have to worry about this step. 
Would you like to save this?
Finished!

I hope you enjoyed this unicorn tutorial! If you love unicorns and want to see another one of my designs, see also “Bella The Unicorn“: 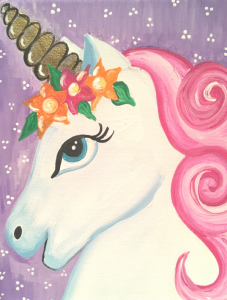



Thanks so much I had fun trying my hand at this painting. My stepdaughter had to twerk the mane on mine but all in all I am happy with my work. It’s for my daughter who is 11 and Loves Inicorns
That is so great to hear April! You are very welcome!
Love the unicorn!! We had Team Building at work this past Wednesday, and following your easy step-by-step instructions, I taught everyone how to paint this beautiful unicorn! Thank you from all of us at Drayer Physical Therapy in Petal, MS!!
You are welcome Drayer Physical Therapy!! What an awesome way to do team building! Thanks for sharing your experience Stephanie!
This looks great, but I purchased the instructions for Bella, not this one. I was saving this to do with my 11 year old granddaughter on her last day of her visit…today! Can you assist?
Sure! I’d be glad to help. What would you like assistance with?
hi I love unicorn