Would you like to save this?
Moo or Treat 🐮🎃
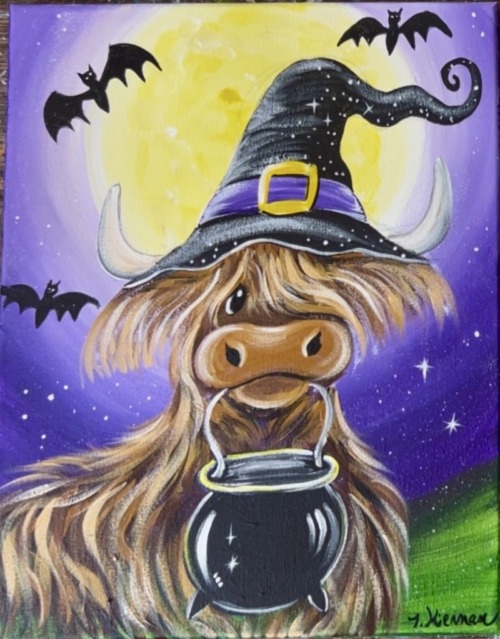
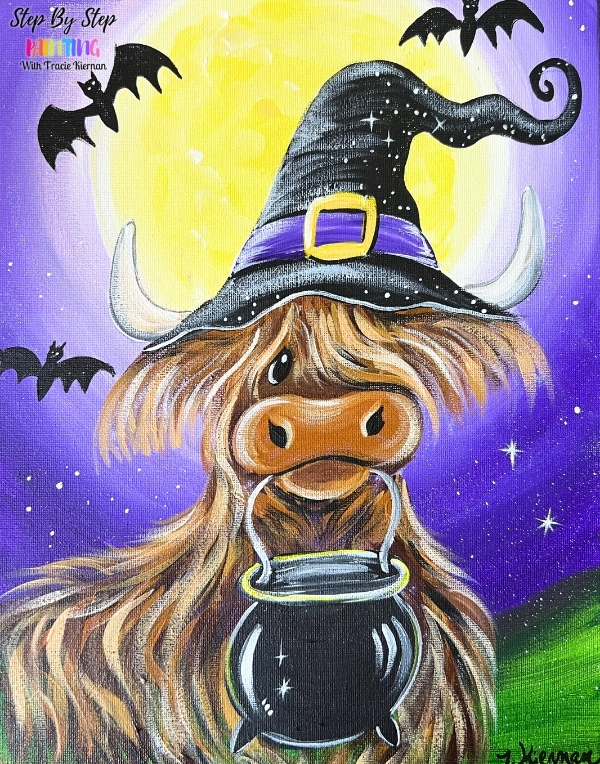
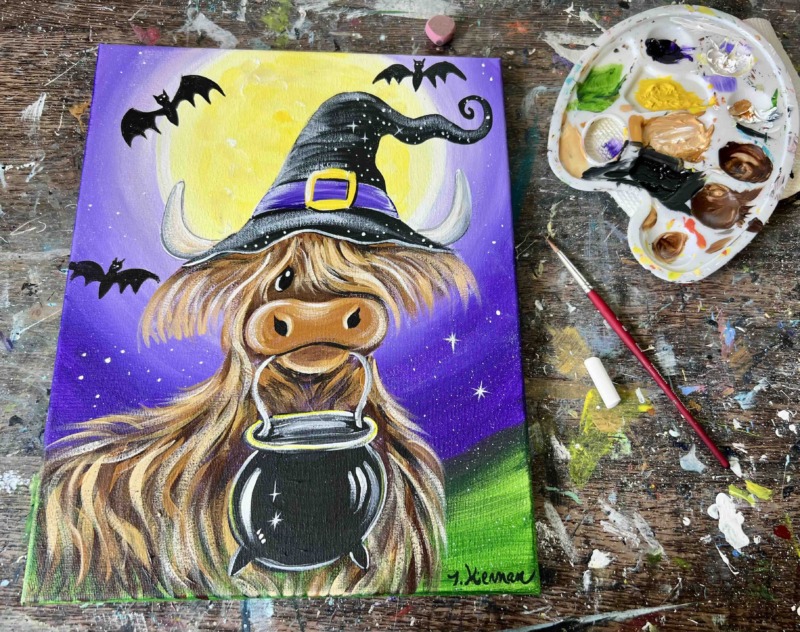
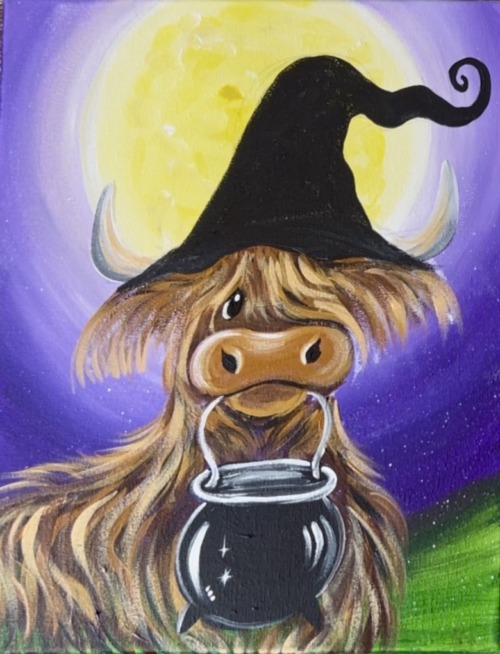
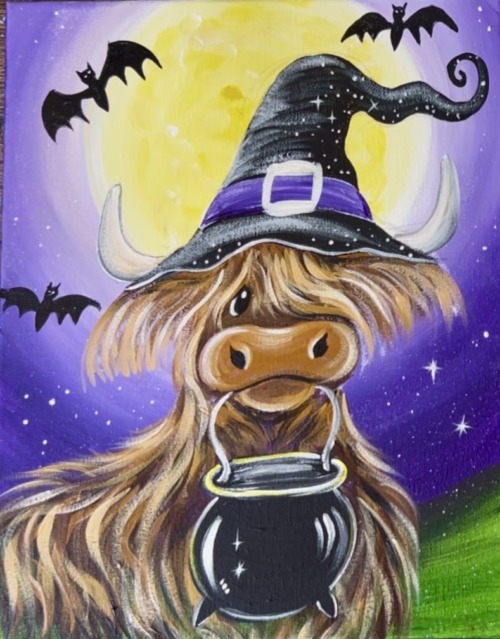
Get ready for a spooktacular painting with this adorable Highland cow dressed up for Halloween! In this beginner-friendly tutorial, we’ll paint a shaggy Highland cow wearing a whimsical witch hat, complete with a crooked tip and bright buckle.
This painting is full of fun details while still being approachable for beginners. I’ll walk you step by step through creating the cow’s shaggy fur, expressive face, curved horns, witch hat, cauldron, and magical Halloween background.
Enjoy and happy painting!
Materials Needed:
Moo or Treat - Acrylic Tutorial
Learn how to draw and paint an adorable highland cow with witch hat and cauldron. The background is a glowing yellow full moon with flying bats. This is the ultimate cutesy halloween paintings that you can add to your collection!
Materials
- 11x14 Canvas (or any size)
- Acrylic Paints (Liquitex BASICS)
- Brushes (see sizes below)
- White Chalk for drawing
- 7" Circle To Trace
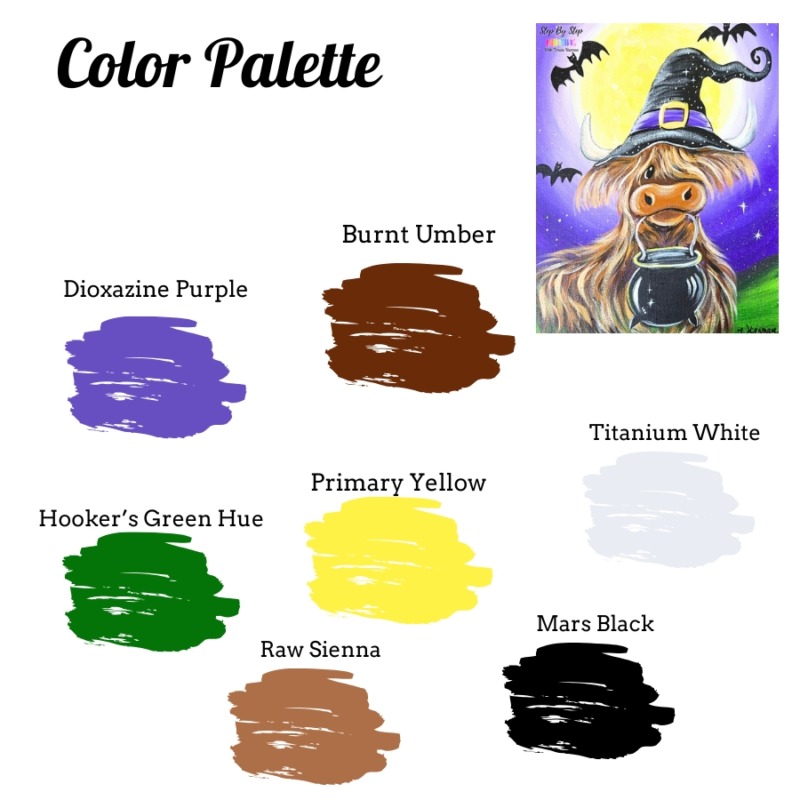
Colors
- Primary Yellow
- Hooker's Green Hue
- Burnt Umber
- Raw Sienna
- Titanium White
- Mars Black
- Dioxazine Purple
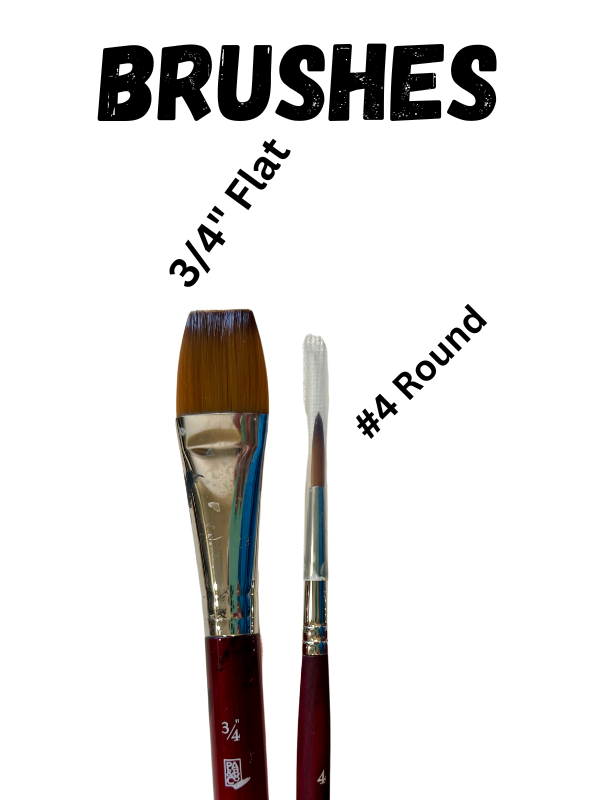
Brushes
Color Palette:
Brushes:
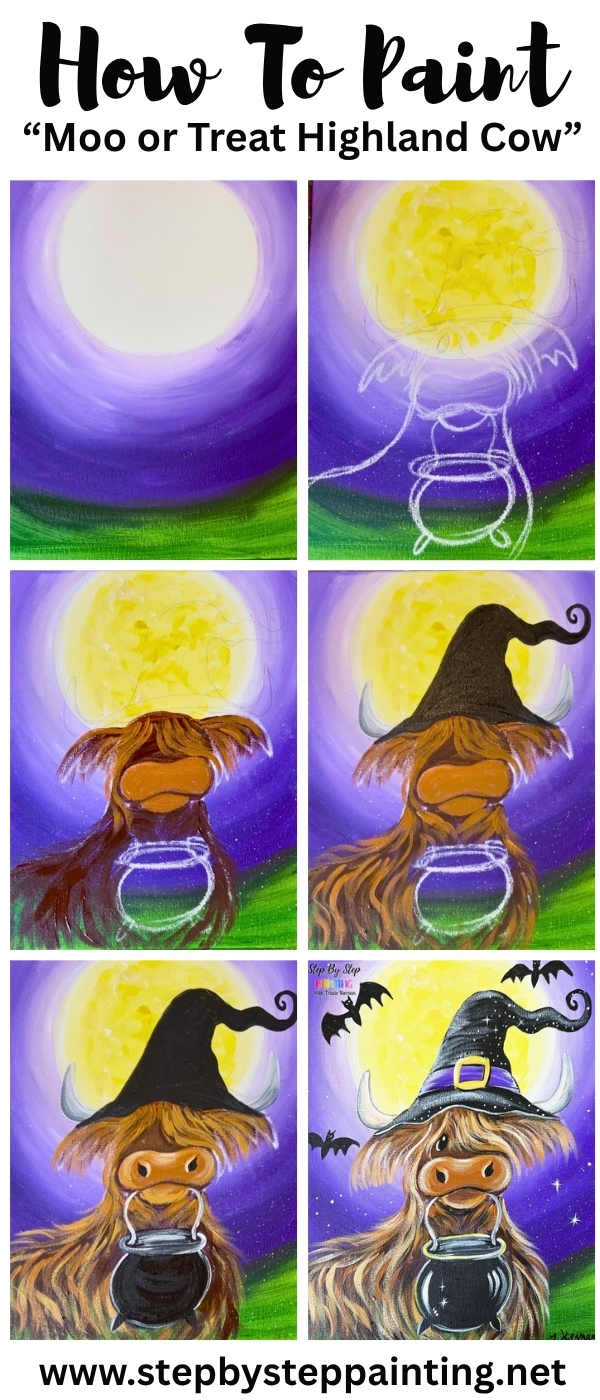
Directions At A Glance:
Traceable
You can purchase an optional traceable in my PDF shop! Download also comes with video download and PDF instructions.
If you are a member of the All-Access Membership or higher tiers, you can view the download now!
Video
Coming soon!
Step By Step Instructions
1. Paint Background
Use a 7″ diameter circle to trace a circle at the top of the canvas. Position the circle so about the top one inch goes off the edge of the canvas (circle is cut off on the top).
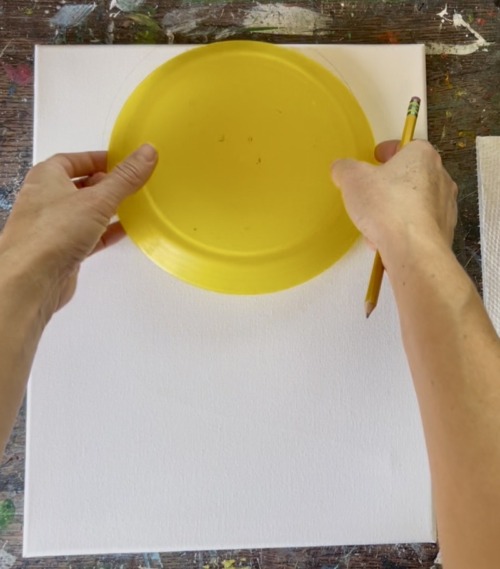
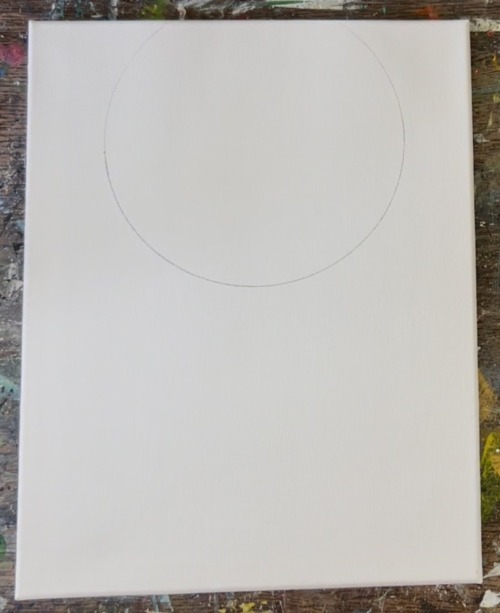
Next, use the 3/4″ wash brush and apply a white layer around the outer circumference of the moon. Use the full width of the brush to paint this area white.
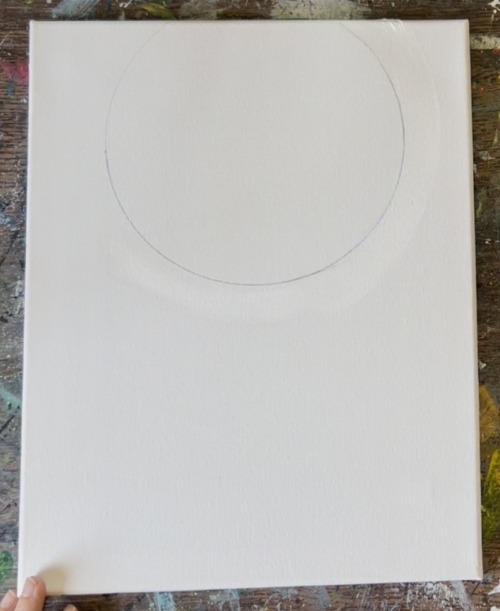
Then, without rinsing the white off the brush, load just the corner of the brush into a small “dot” of purple paint. Gently blend this into the white and go around the circle. It will turn a light purple color.
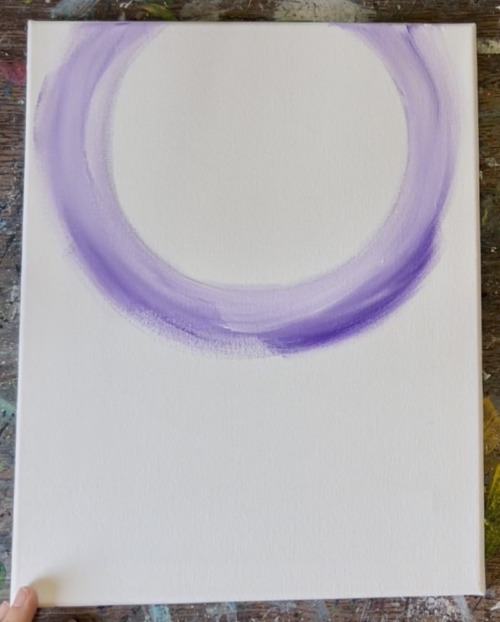
As you work your way outwards, gradually add more purple to the brush and blend outwards. The sky needs to get gradually darker.
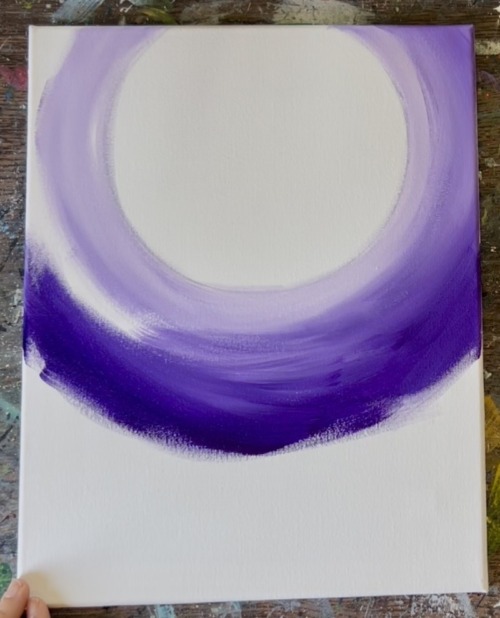
Fill the entire sky area but leave the bottom area (about 4″ on each bottom corner side) blank for the green. If needed, go back with more white paint to help blend the sky. It doesn’t have to be a perfect gradient blend and it’s okay if there are streaks in the sky.
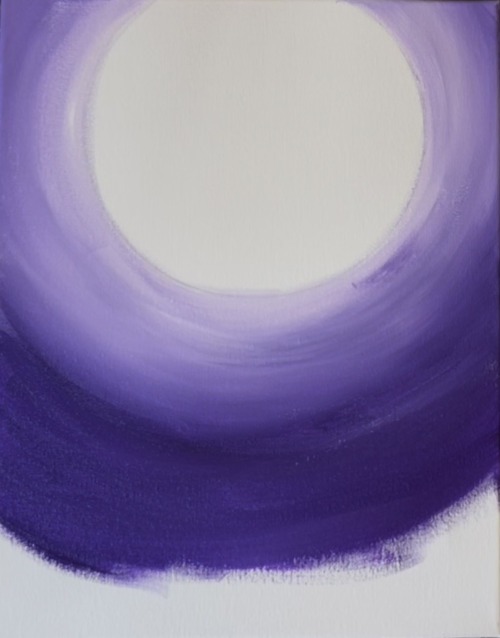
Rinse the brush and load it into “hooker’s green hue”. Fill this dark green on the bottom ground area of the canvas. Optional: lightly blend the green up into the purple.
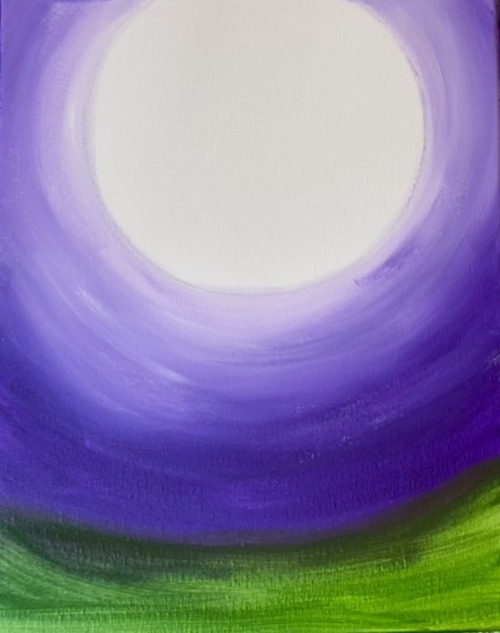
Rinse the brush. Then double load it into both “Primary Yellow” and white. Use the brush to paint just the middle of the moon circle.
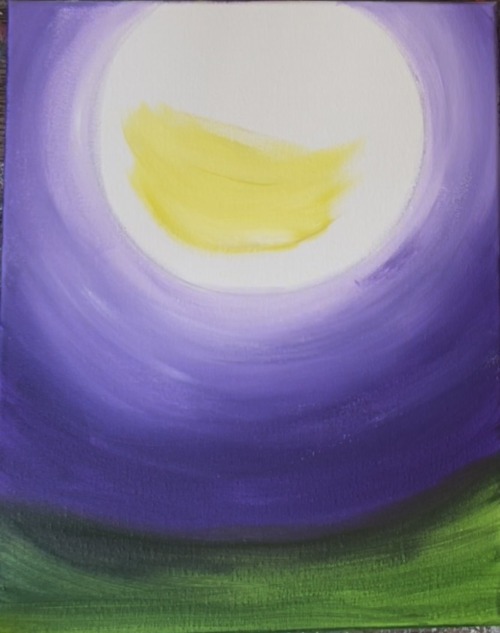
Blend more white on the outer part of the moon circle so the moon is brighter closer to the edge and slightly darker in the middle.
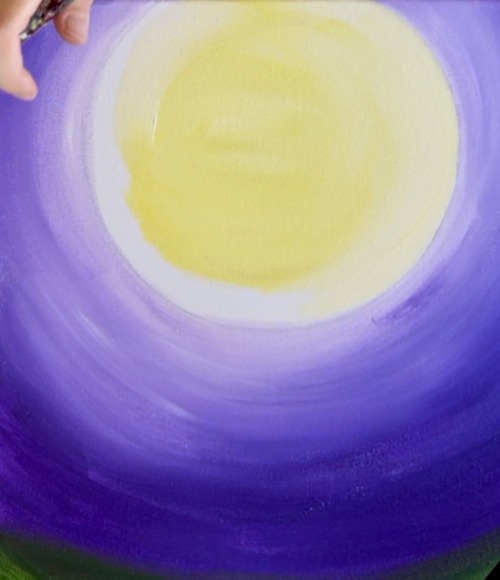
Then paint some pure yellow “choppy” brush strokes for some texture/ craters on the moon.
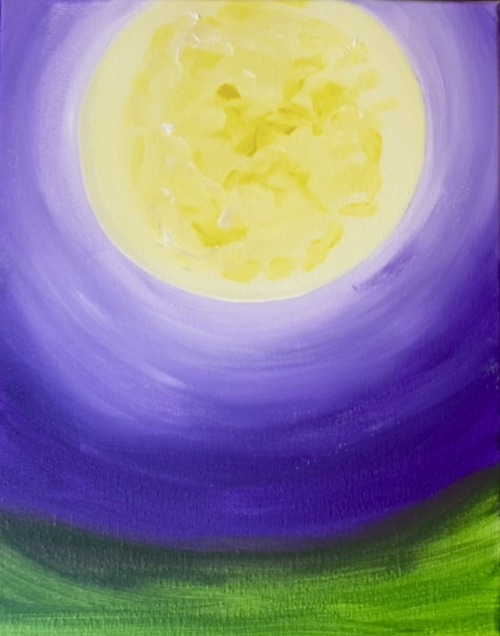
Wait for this to dry before going onto the next step.
2. Draw Highland Cow
I recommend using a piece of chalk or white chalk pencil so the drawing can show up on the dark background. Start by drawing a snout and curved shape for the mouth. This starts at just below the moon.
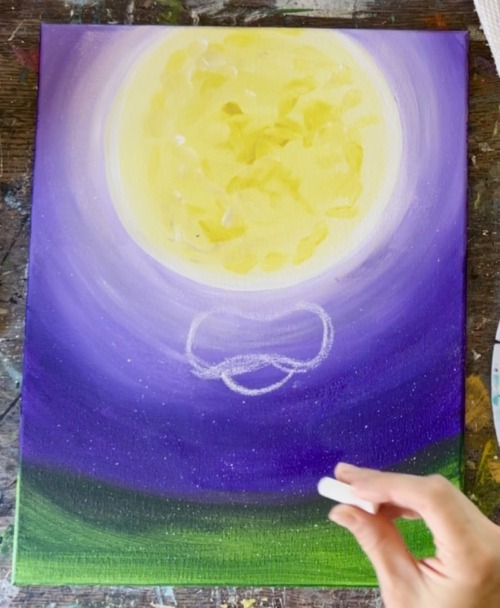
Then draw the cauldron by drawing a curved shape for the handle that starts between the mouth and snout. Draw an ellipse shape for the opening of the cauldron and a medium sized circle with two small ovals for the feet.
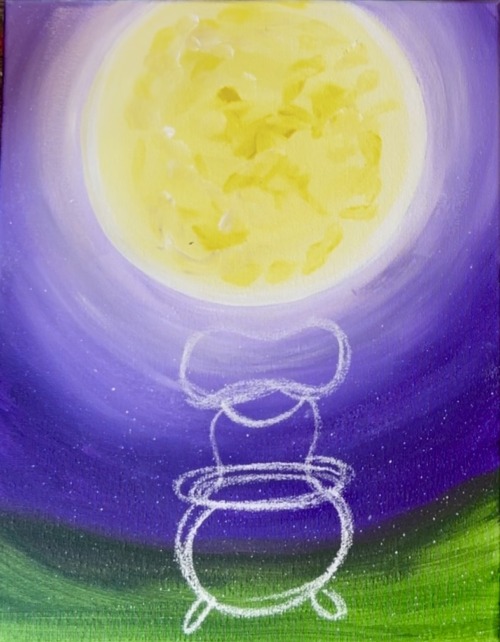
The image below is darkened where the next drawing lines are recommended. Draw an oval for an eye right above where the snout is. Then draw a “side parted” area of hair that drapes on the right side of the eye and curves slightly to the side of the snout.
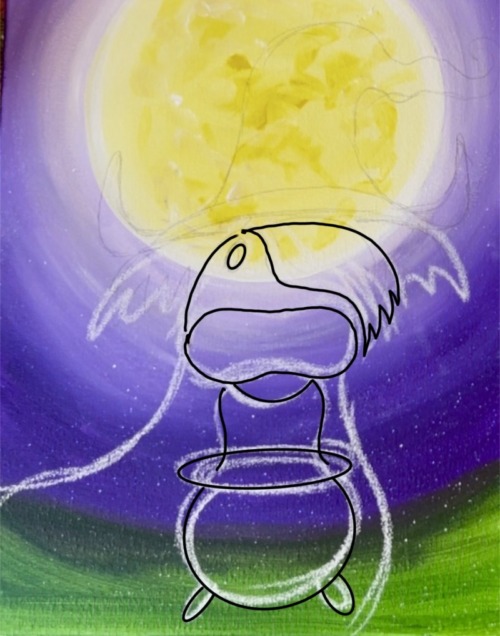
Draw a set of ears that go outwards and have kind of a jagged edging on the bottom. The ears are going to appear flat at the top because of the hat on top of the cow. Then draw a line that extends from the left side of the snout down to the left edge of the canvas for the cow’s back. Draw a line extending downwards from the right side of the snout to the bottom right edge of the canvas for the cow’s side.
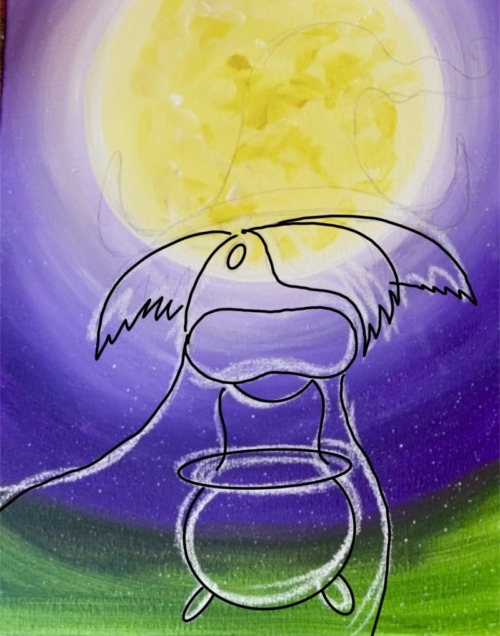
Draw the hat on the cow next. The brim of the hat is similar to a crescent shape. Then draw the rest of the hat so that it goes to a sort of whimsical spiral point towards the upper right of the canvas.
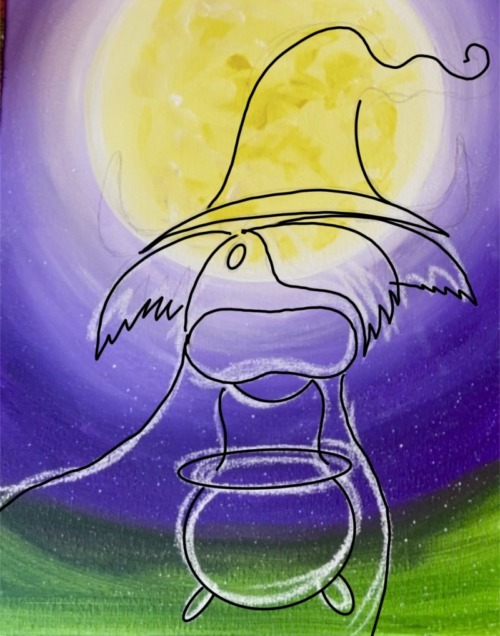
Draw the cow’s horns and nostrils.
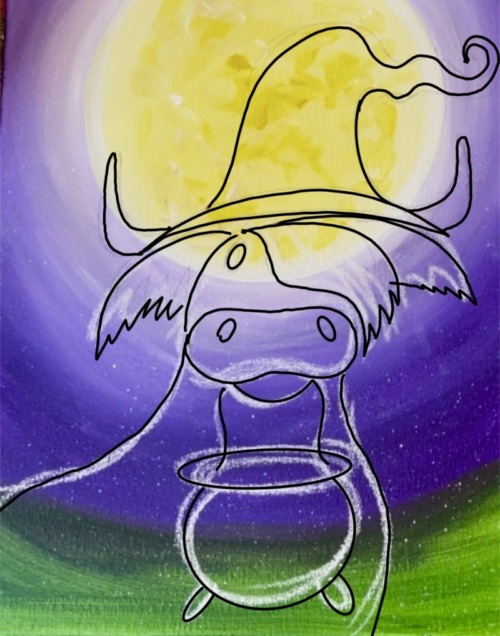
It’s okay if the drawing looks messy! We can adjust the shapes and lines as we paint the highland cow in.
3. Paint Highland Cow Dark Layer
Use the #4 round brush and the color “Burnt Umber” (dark brown) to paint the dark areas of the cow. Start by painting around the snout and mouth area (basically outlining it). Then paint a semi-circle shape above the snout for the cow’s head. Paint the chest area below the mouth (above the cauldron). Don’t paint over any of the cauldron area.
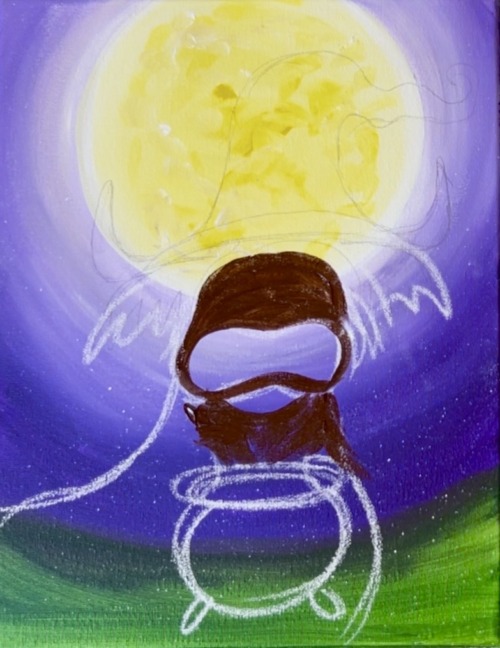
Next, use the dark brown to start painting the fur texture on the cow’s back and front area around the cauldron. When you paint this in, use large, wavy brush strokes that go around the cauldron and along the back. When you paint the left area, drag brush strokes downwards from the back to the bottom edge of the canvas. It will look messy and textured in this area and it’s okay that some of the background color is showing through.
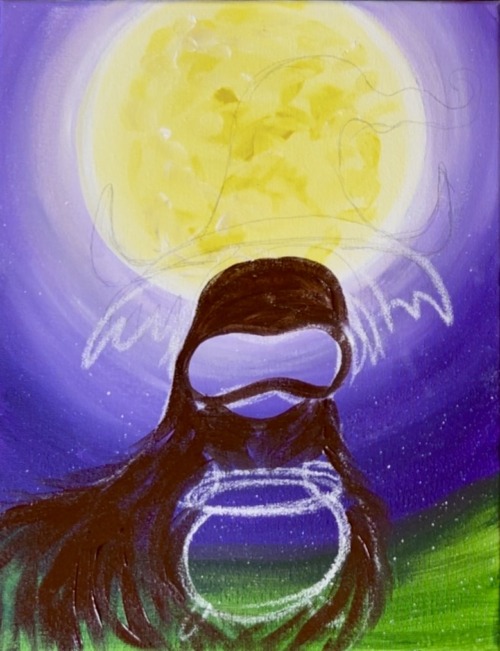
Paint the ears by outlining the top curved edge of the ear. Then drag brush strokes downwards to form fur texture that hangs downwards from the top of the ears. It’s okay if chalk lines are still showing. They will erase as we paint and can be erased completely when the painting is done.
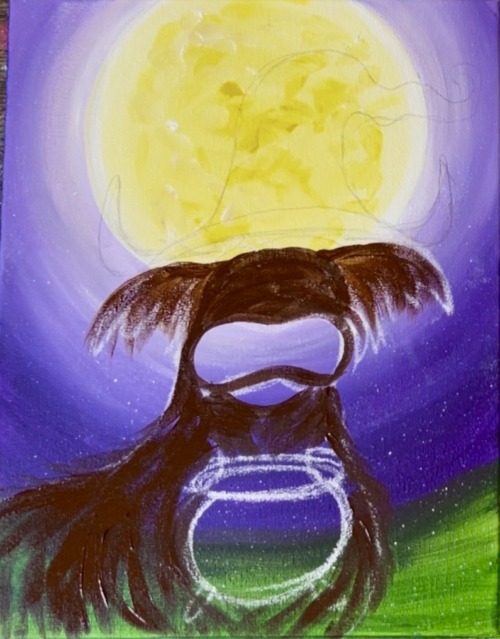
4. Paint Snout & Next Light Layer Of Fur
Rinse the brush. Use the color “Raw Sienna” (light brown) to paint the snout and mouth. Leave the outline of it dark brown.
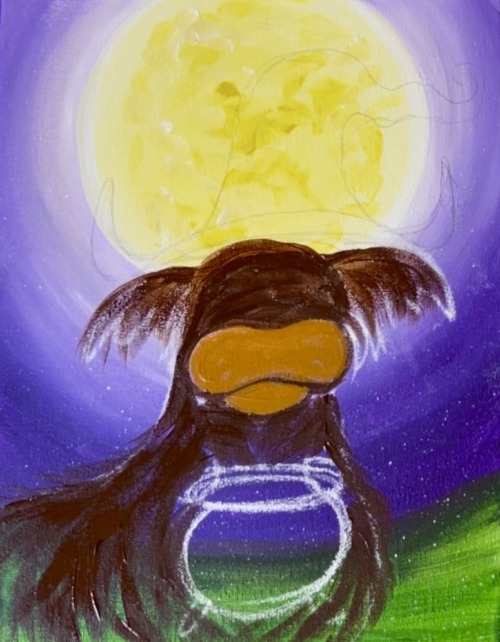
Then use the light brown to paint a layer of fur. Start by painting a very distinct hair part but leave an opening for the eye on the left. Paint curved brush stroke that form around the snout. Paint the ears (same direction you painted the first layer of dark brush strokes). The key is to not cover all of the first layer of dark brown.
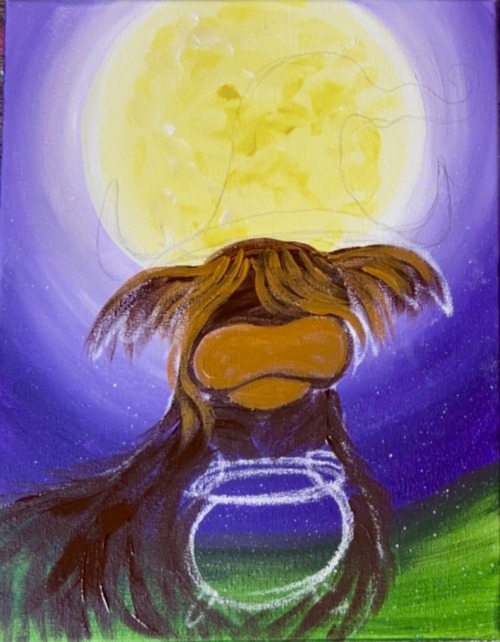
Continue to paint these lighter brown fur strokes around the cauldron and along the back and left side of the cow. You can add long wavy brush strokes that go off the bottom edge of the canvas. Make some of the brush marks along the back and right side of the cow go off the edges of the shape of the cow to create fun fur texture edging.
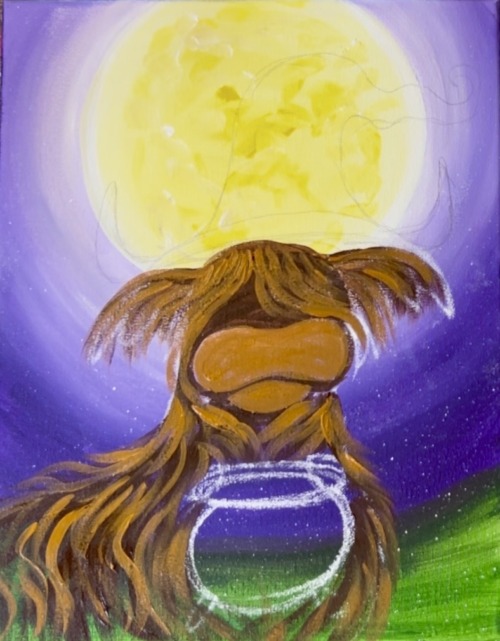
5. Paint Horns
Use titanium white to paint the horns. Then blend a little bit of gray towards the bottom edges of the horns for shadowing.
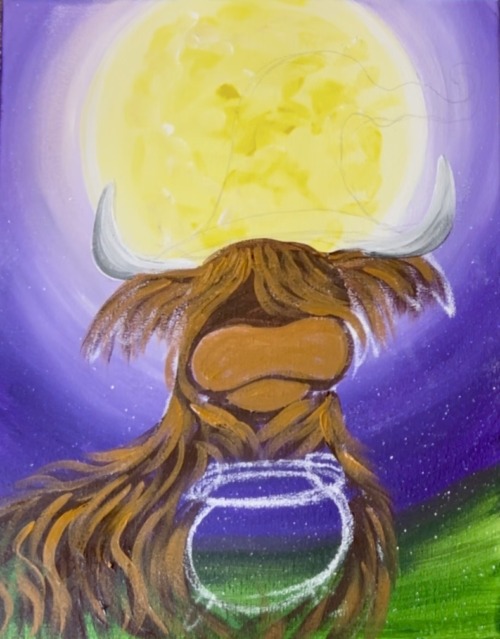
6. Paint Witch Hat
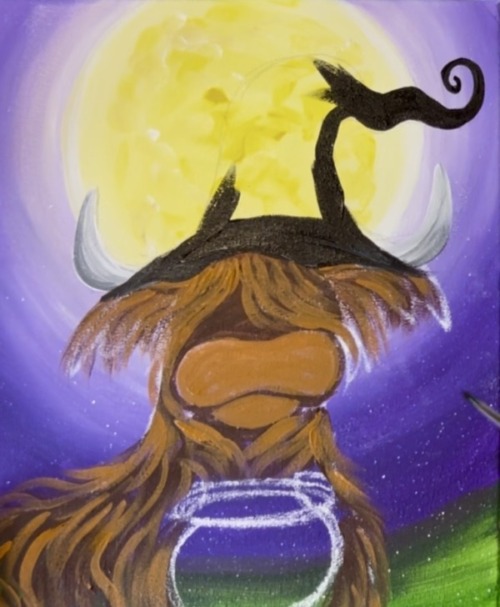
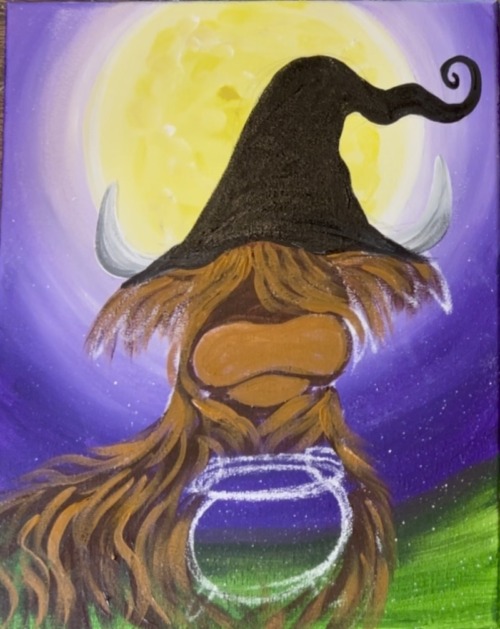
Use the #4 round brush and “Mars Black” to paint the hat. Start with the bill of the hat that slightly overlaps the top of the head and the horns.
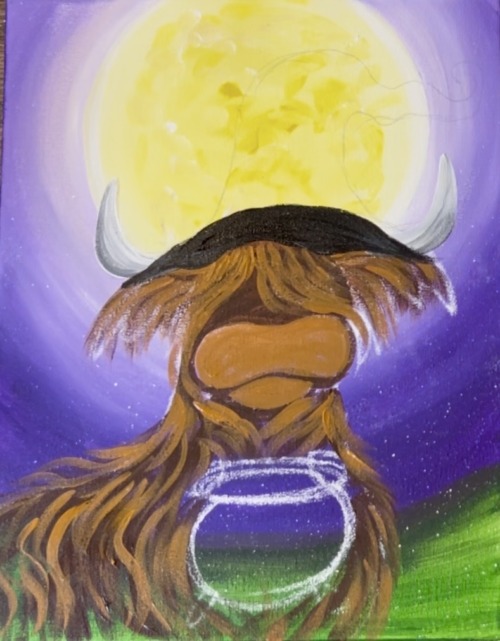
Then outline the shape of the rest of the hat and fill it in.
7. Details On Snout
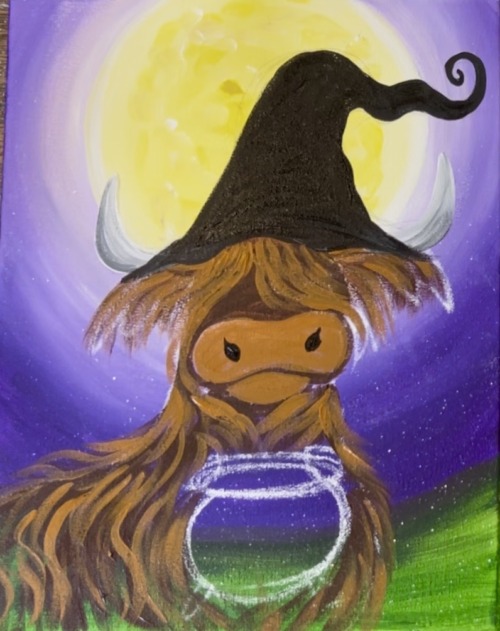
Paint the nostrils black.
Rinse the brush. Then create a “golden yellow brown” on your paint palette by mixing equal parts: “Raw Sienna”, “Primary Yellow” and “Titanium White” (light brown, yellow & white)
Load the brush into this light yellow brown and wipe off excess paint. Then “Dry Brush” this light golden brown on the top of the snout, bottom of mouth and on the center of the nose around the nostrils.
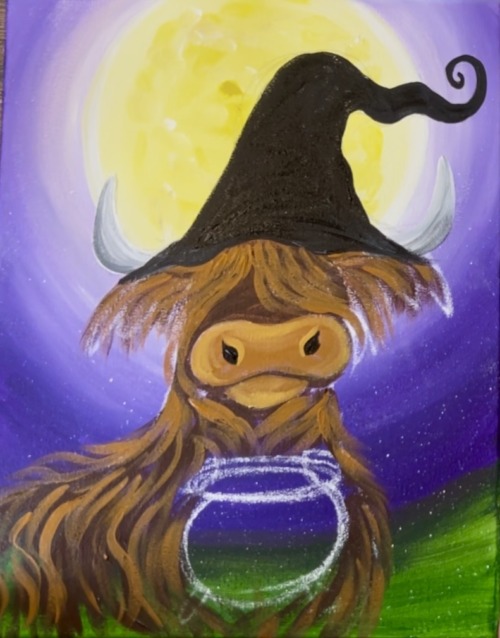
Wipe the brush but do not rinse. Then load it into white. Dry brush white on the center of the snout and just on the outside of the black nostrils.
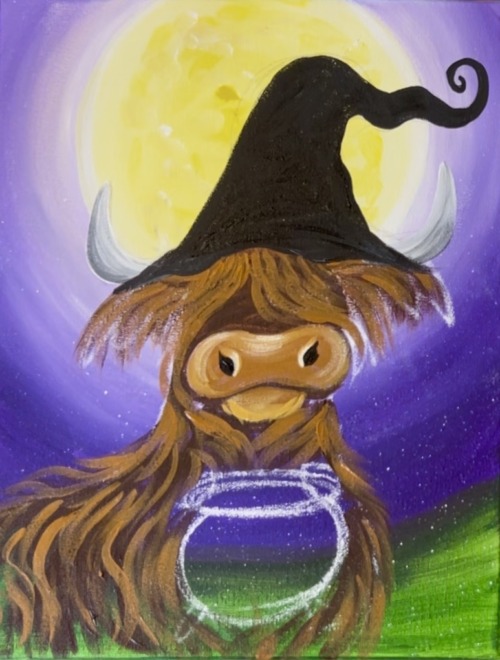
8. Next Light Layer Of Fur
Use this same light golden brown colors to paint another layer of fur texture on the highland cow. Follow the same hair direction pattern as your previous layers. This time, do not cover all of the darker layers, let it show in between the brush strokes.
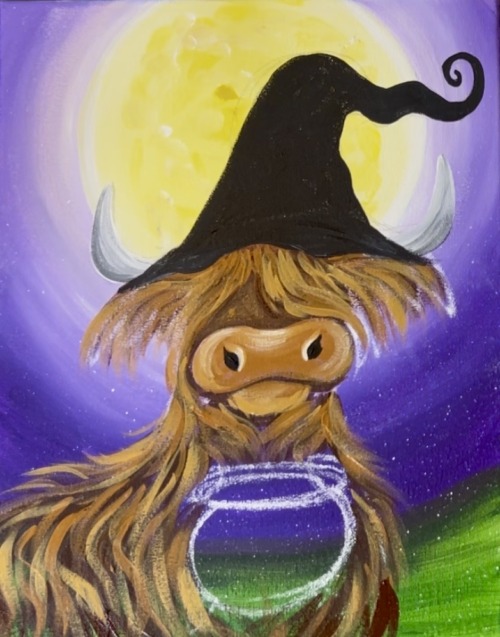
9. Paint Cauldron
Use black to paint the shape of the cauldron. If needed, go back with the dark brown and fill any leftover fur areas around the cauldron.
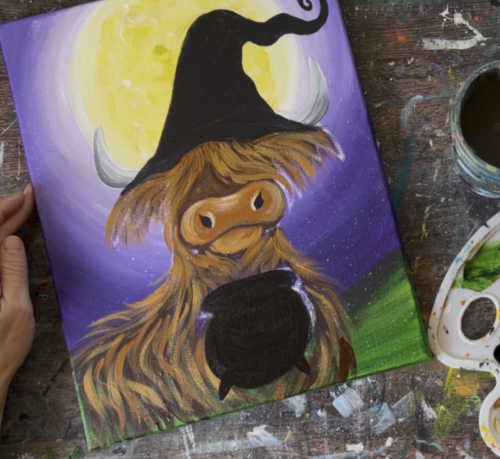
Use titanium white mixed with a little black (mix light gray) to paint the handle of the cauldron. Outline the rim with the same light gray. Then lightly outline the outer edge of the cauldron with a very thin white line. When you outline the cauldron with white, it helps it to stand out against the dark background of the highland cow’s fur.
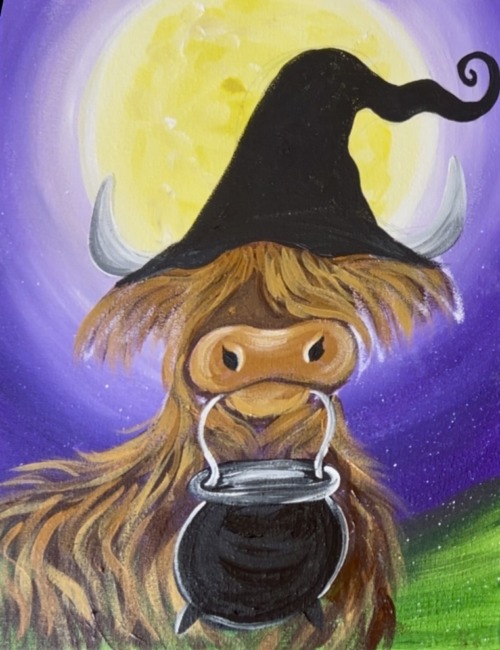
10. Paint Eye
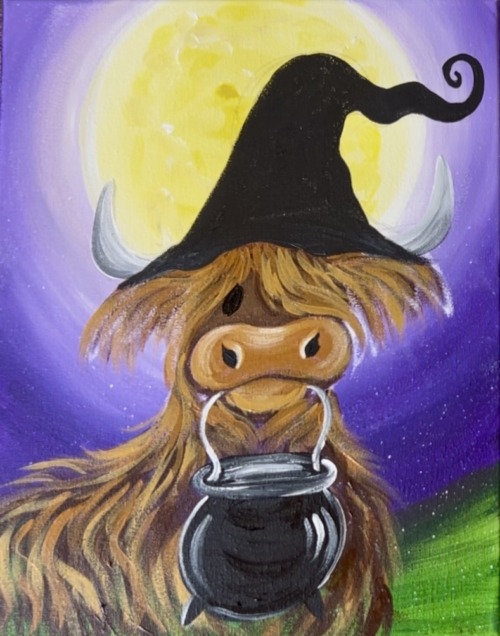
Paint a slated black oval in between the hair part.
11. Next Lighter Layer Of Fur
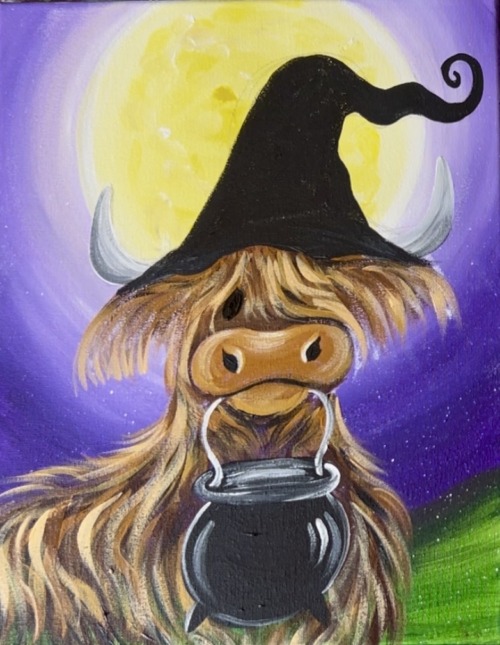
Mix white into the light golden brown color you mixed earlier. Then paint a final fur layer for the cow. Since this is a lighter color, you don’t need as many brush strokes. Try not to cover all of your dark layers.
12. Detail On Eye & Cauldron
Paint a single white dot in the upper right part of the oval. Then paint a single curved mark on the lower left part of the oval.
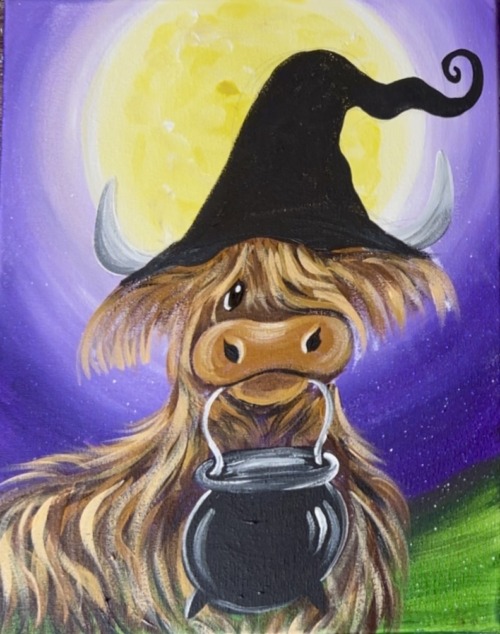
Then use the white to paint highlights on the cauldron. Paint a single long curve on the left side of the cauldron and three small curved lines on the right side. Then paint a set of sparkle stars on the lower left and three little white marks. This will make the cauldron look sparkly!
13. Detail On Witch Hat
Paint a white band across the bottom part of the hat.
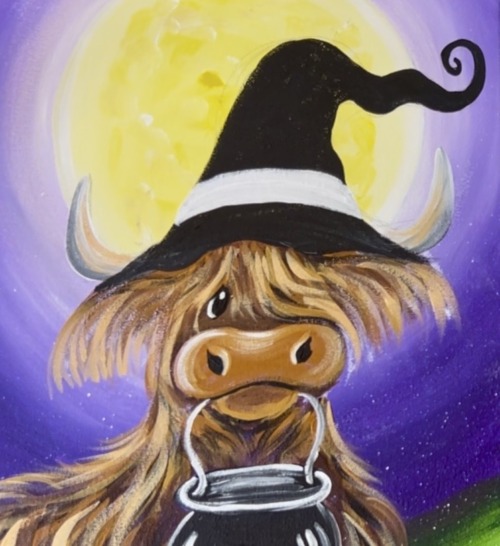
Then “dry brush” white on the left side of the witch hat. Paint the dry brush marks as curved brush strokes and leave the far right side of the hat dark. Then lightly outline the very bottom of the brim of the hat with white.
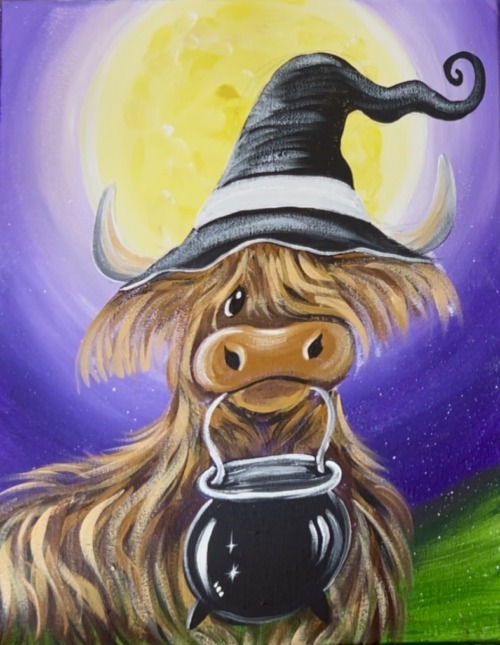
Paint glitter/ sparkles on the hat next. Use the round brush to paint tiny white dots mostly on the far right side of the hat. Some of the dots can turn to sparkle/diamond star shapes.
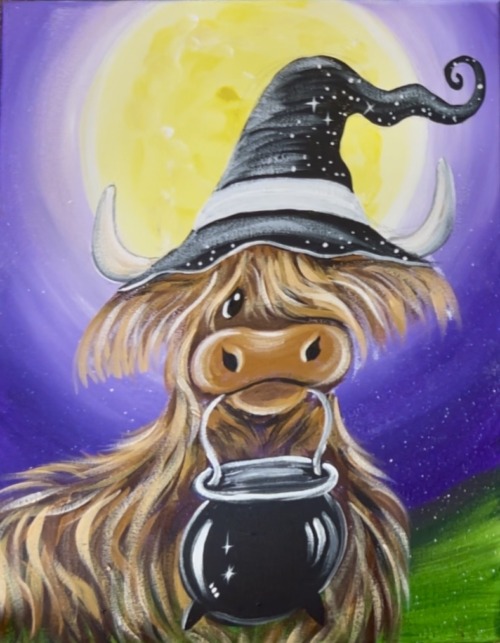
Paint the band of the hat purple.
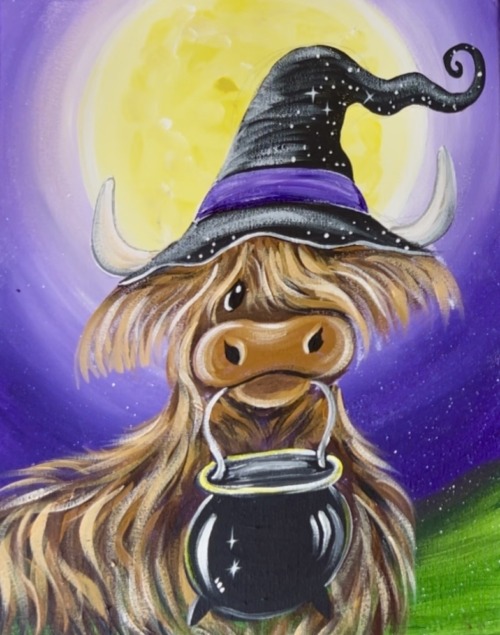
14. Paint Bats
Use the round brush and black to paint bats. Paint a pointed oval shape for the body, a small circle for the head and two pointed ears. Then outline the shape of the wings. Paint a large set of cured lines for the top of the wings.
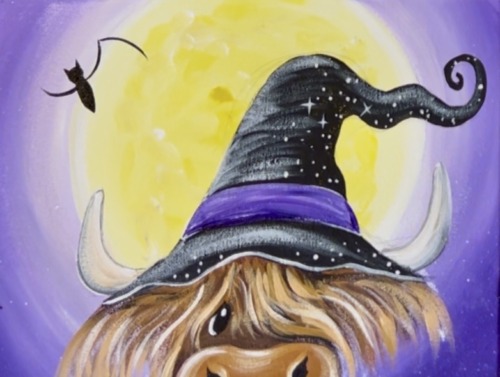
Then paint a set of 3 webbed lines for the bottom of the wing. Do this on both sides. Then fill the shapes in solid black.
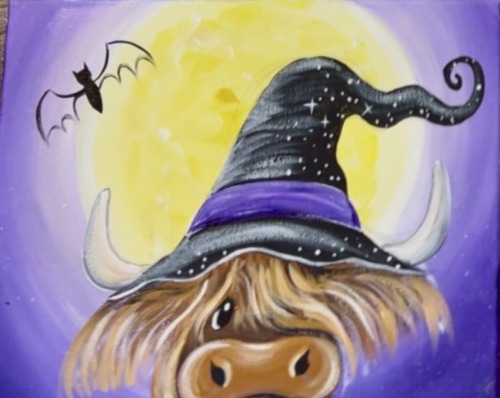
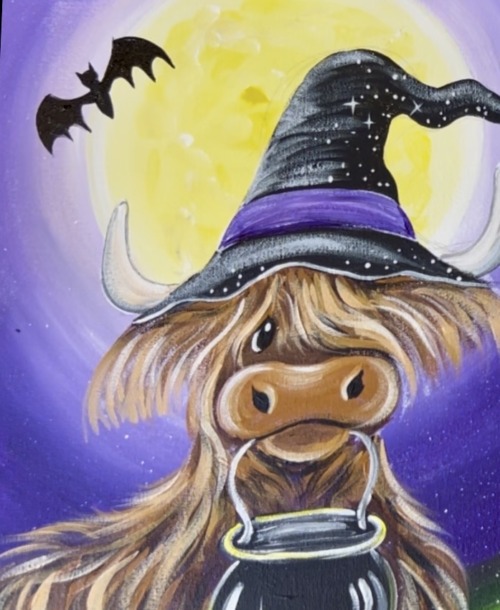
Repeat this to create several bats of different sizes going at different angles. It’s best to paint the bats on the brighter parts of the sky for better contrast.
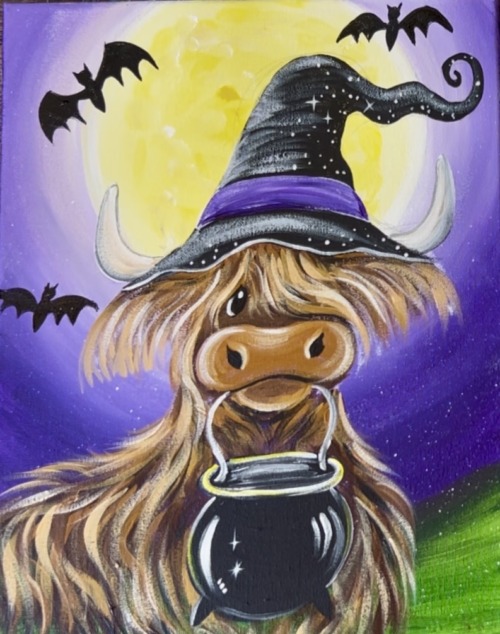
15. Buckle On Hat & Final Details
Use white to paint a square buckle shape on the hat’s band. Paint a few more twinkle stars all around the sky background.
Then when the white dries, paint it yellow.