Would you like to save this?
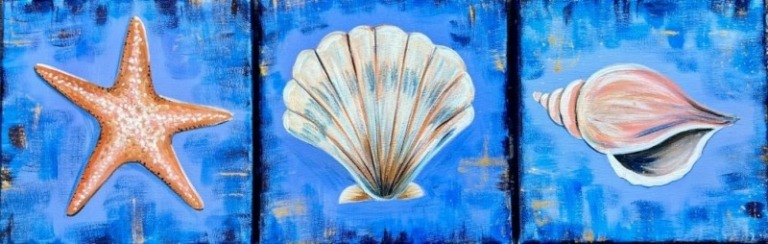
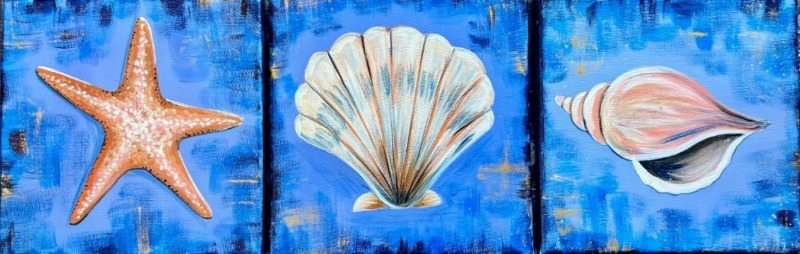
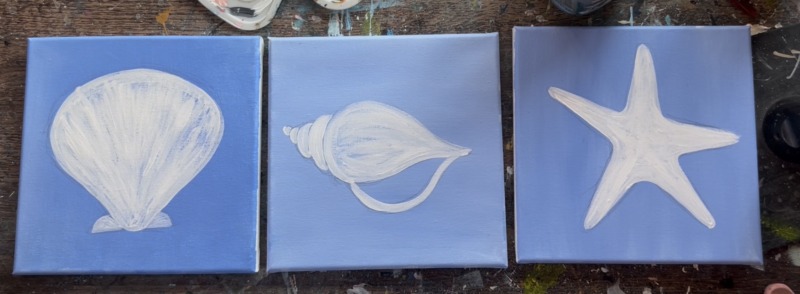
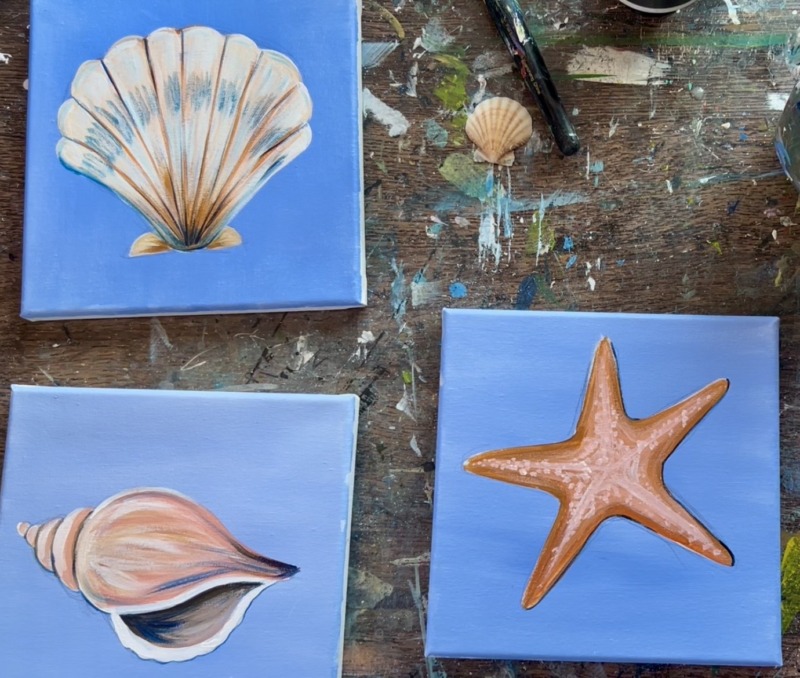
In this tutorial, we will be painting three different ocean items with an abstract blue and gold background. The paintings are done on three 8×8 canvases!
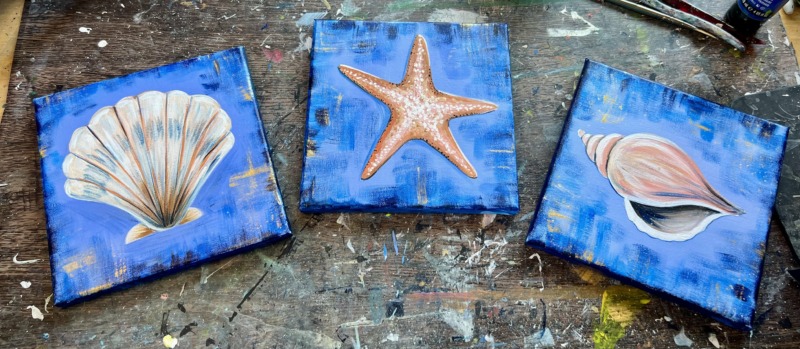
This tutorial is versatile in that you can paint them individually, all together, paint these with a partner or even a group! You can even change the background color.
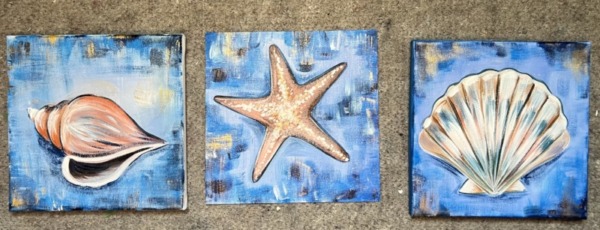
There are optional templates for this as well as instructions for how to draw each of the shells.
Enjoy and happy painting!
Materials Needed:
- *8×8 Canvas (Three)
- Optional Templates
- Optional Graphite Paper (for templates)
- Brushes (see sizes below)
- Acrylic Paint (see colors below)
- Pencil & Eraser
*Note: you can do this on a rectangular canvas but there may be leftover space around the items.
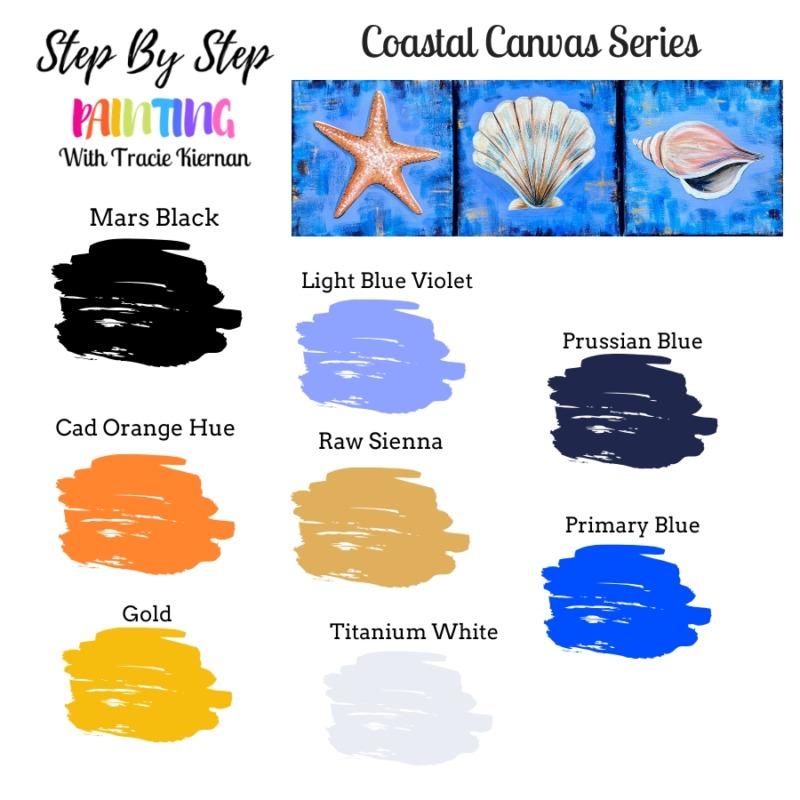
Colors Needed:
- Cadmium Orange Hue
- Raw Sienna
- Prussian Blue
- Primary Blue
- Light Blue Violet
- Gold (optional)
- Titanium White
- Mars Black
Brushes:
- 3/4 Flat
- 12 Bright (1/2″ flat)
- 4 Round
- 8 Long Round
- Any Fan Brush (optional)
- Toothbrush (optional)
Color Palette:
Traceables (optional)
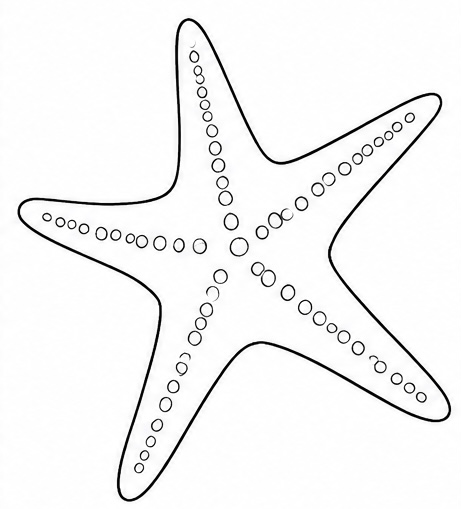
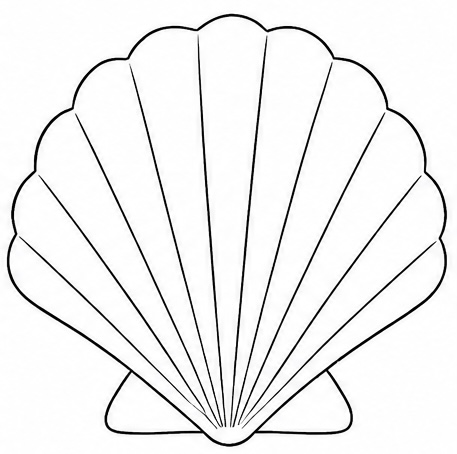
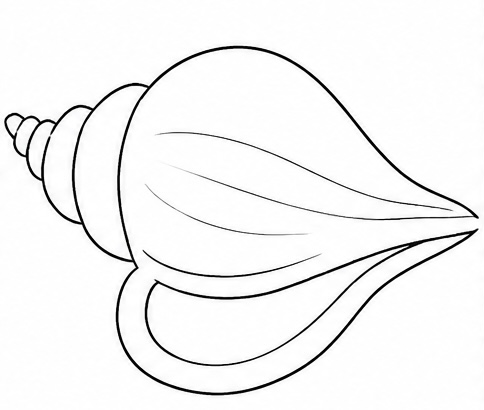
In the video I will be drawing this! However, you are welcome to use the templates I have below sized for 8×8 canvases!
Step By Step Instructions:
1. Paint Canvases Blue
Use a 3/4″ flat brush (or any size large flat brush) to paint all three of the 8×8 canvases “light blue violet”. Optional: mix in a little white into this blue color to lighten it. This will help create more contrast in the end product!
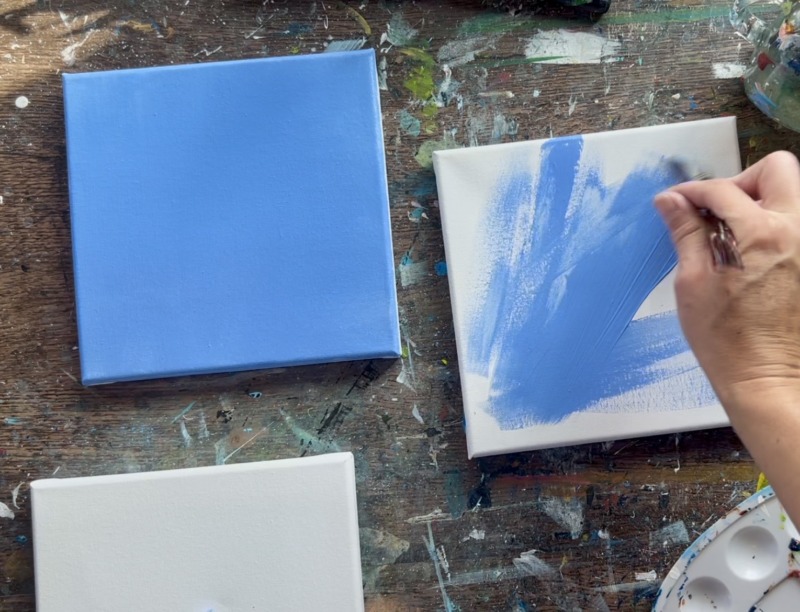
Wait for the canvases to dry before going onto the next step.
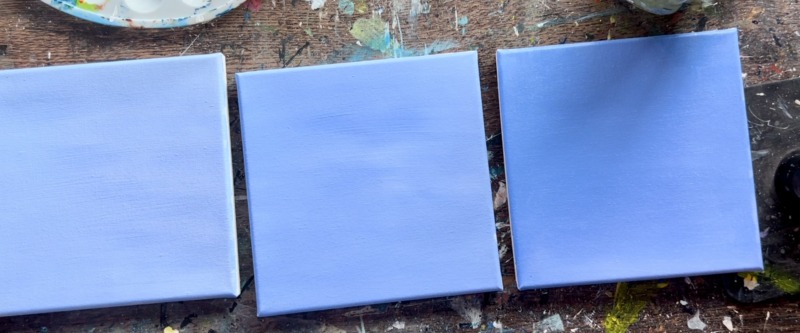
2. Draw or Transfer Templates
Print each template and transfer to the canvas using graphite paper between the traceable and the canvas. Firmly transfer the three designs to each canvas.
You can also hand draw each of these items. They are simple shapes and you can follow the pictures step by step below. Note: this is how I sketched each of the objects. The templates are more refined.
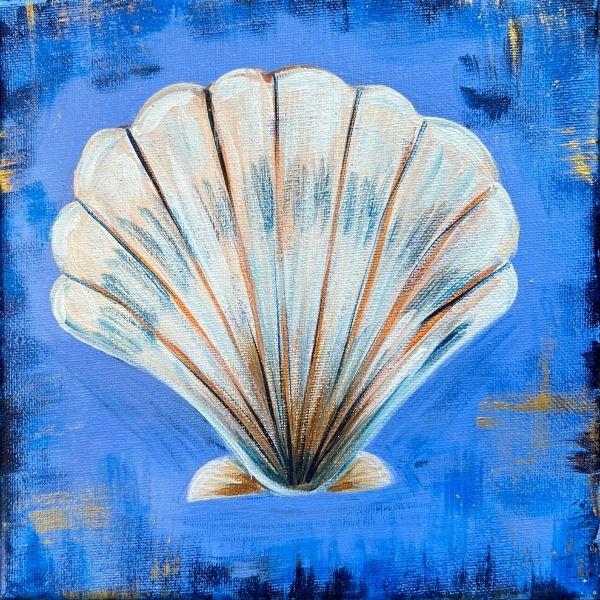
How To Draw The Seashell:
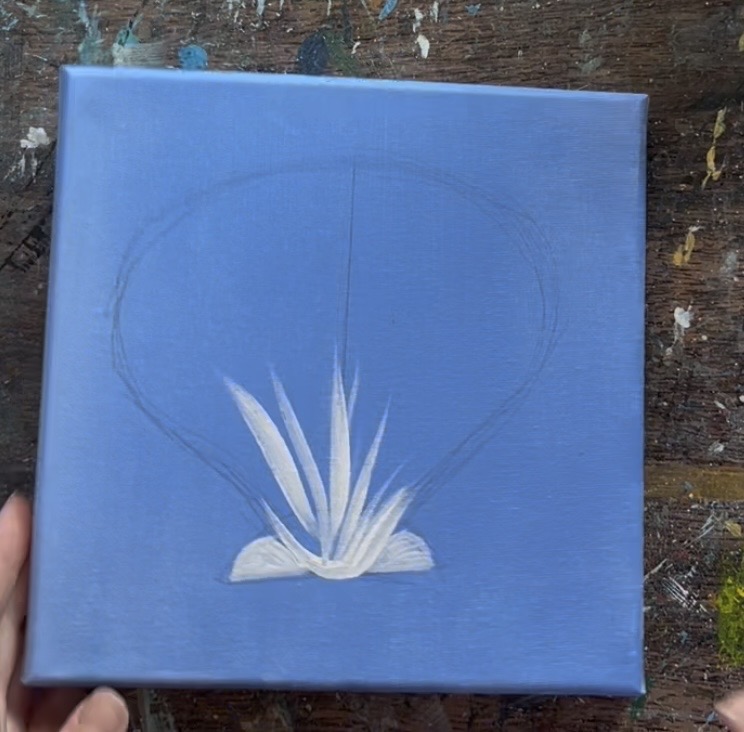
- Start by drawing a simple upside down T.

2. Note the curve on the bottom of the T (this will be the bottom curve of the shell where the “bowtie” is). Draw a set of diagonal lines
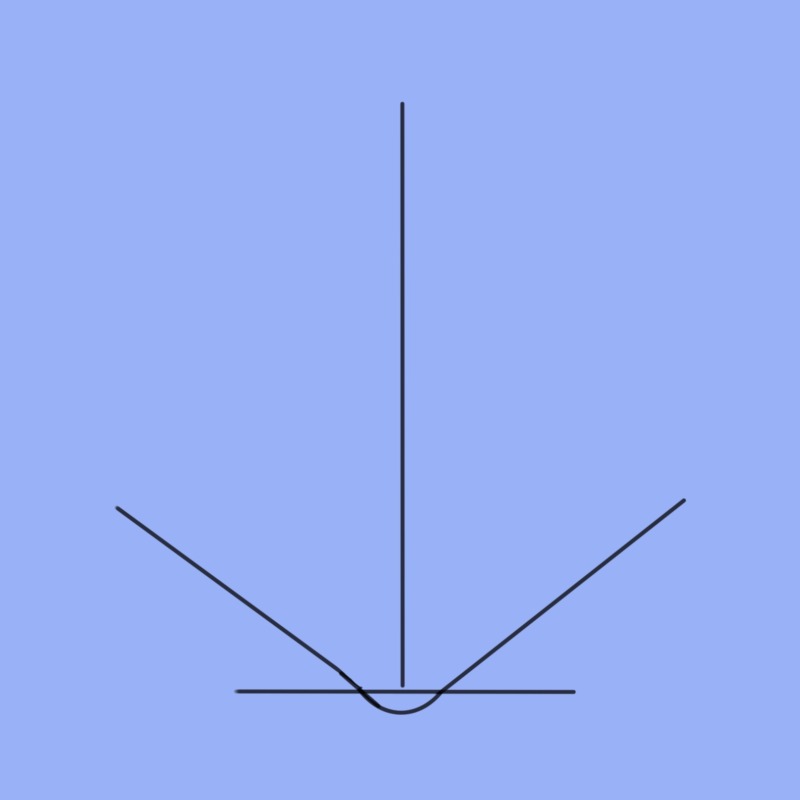
3. Draw a large curve connecting the two diagonal lines (note: we will paint the “scallop” edging in later).
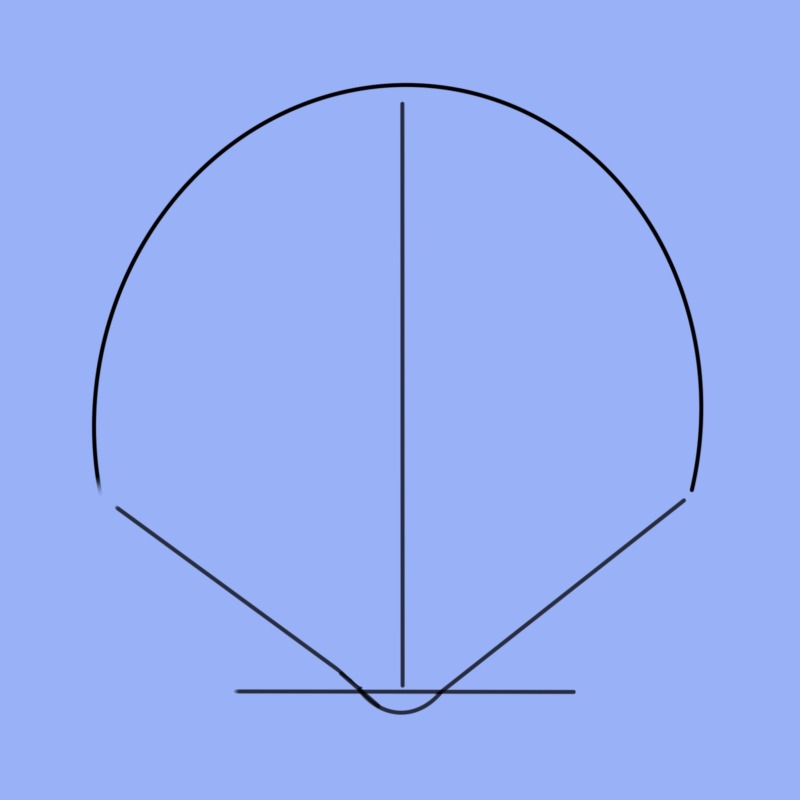
4. Draw the “bowtie” at the bottom of the shell and erase the T guidelines. Then slightly curve the bottom two angles to be slightly curved inwards.
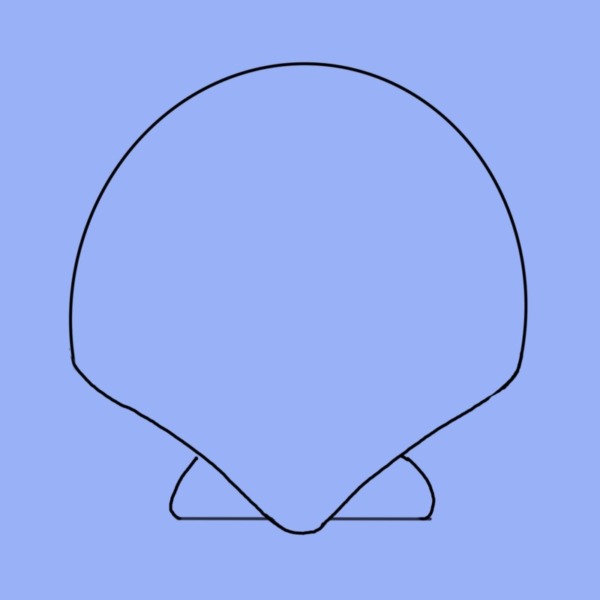
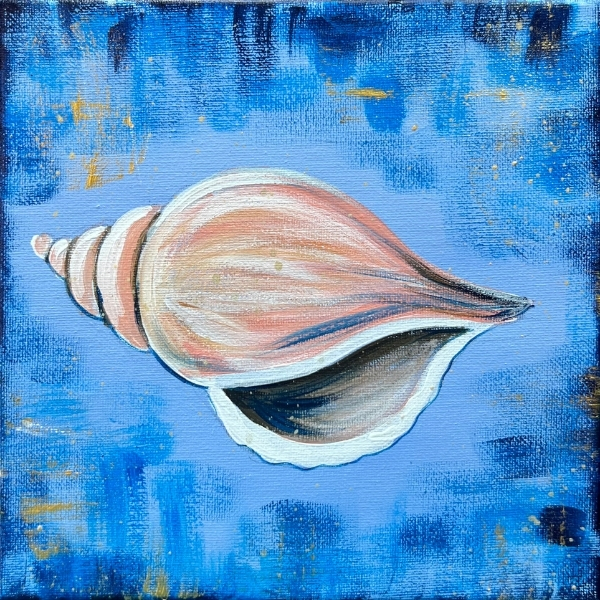
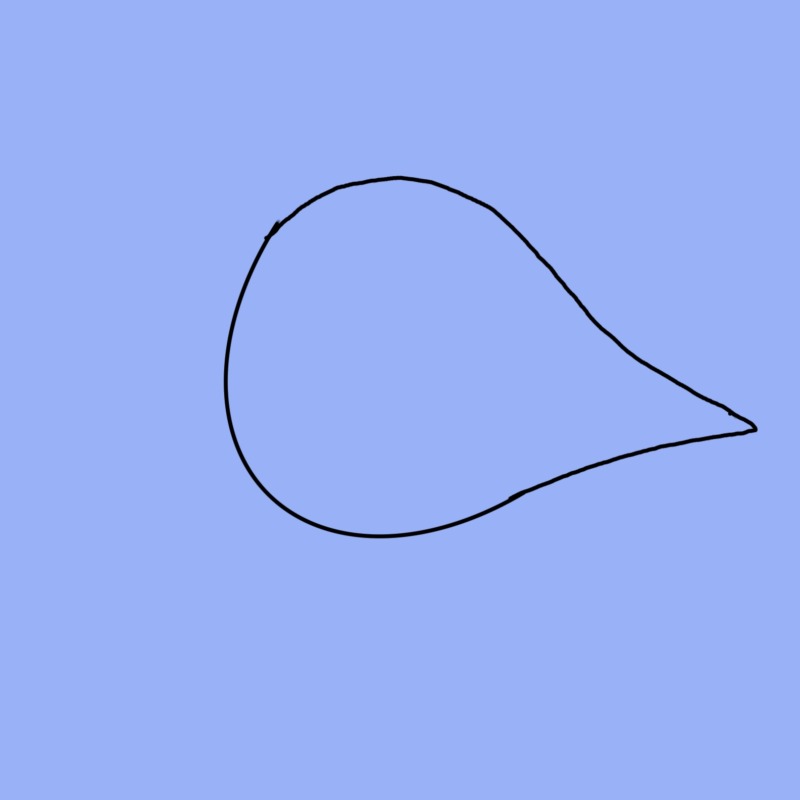
How To Draw The Conch Shell:
- Draw a large teardrop/ horn shape slightly off center on the canvas (leave room for the left spiral part of this shell).
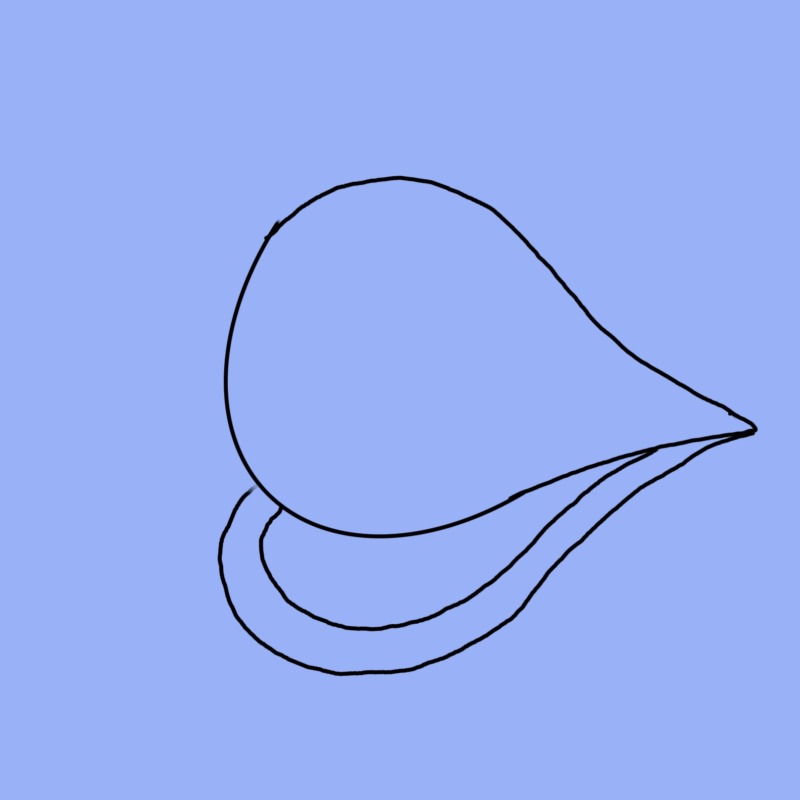
2. Draw what seems to be a “half heart shape” on the bottom of the shape you just drew. This is the opening of the shell. Draw two lines for this that are parallel to each other.
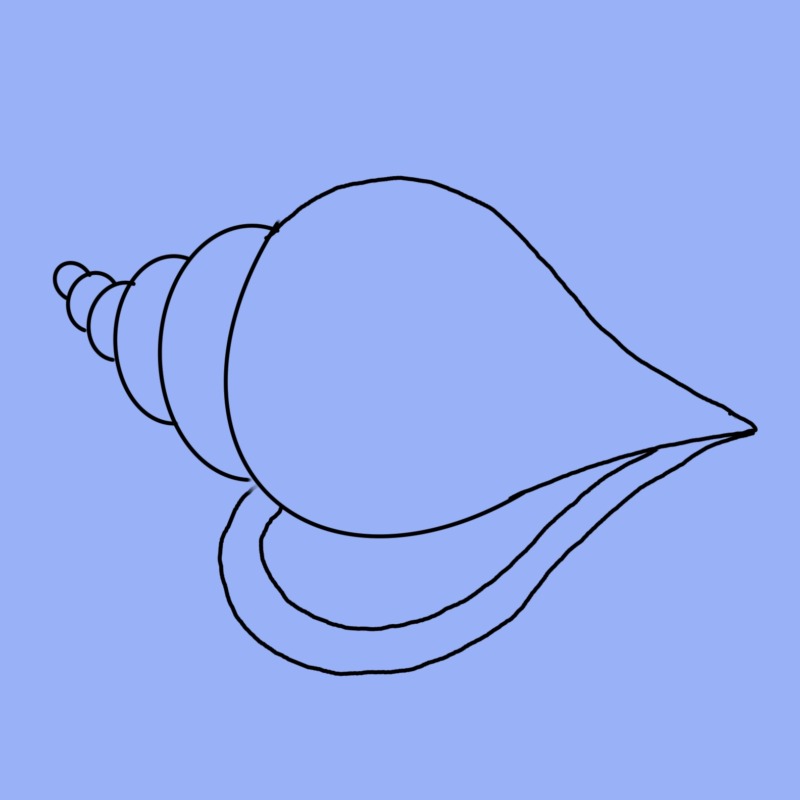
3. Draw a set of “crescent moon” shapes/ curve shapes from the left of the shell and gradually make them smaller.
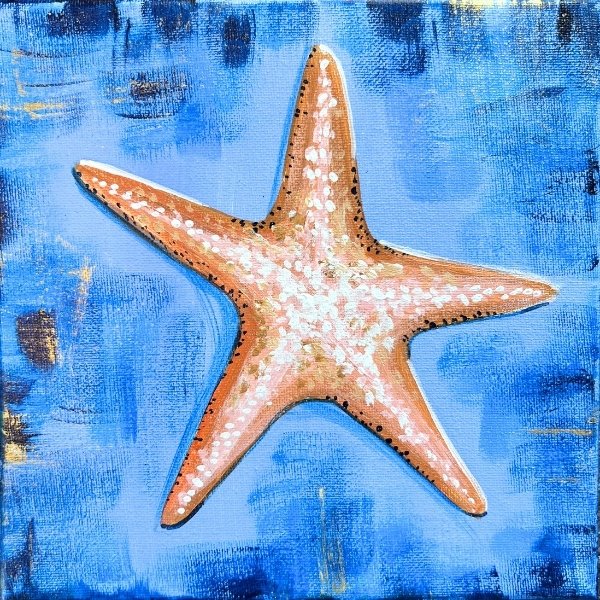
How To Draw The Starfish:
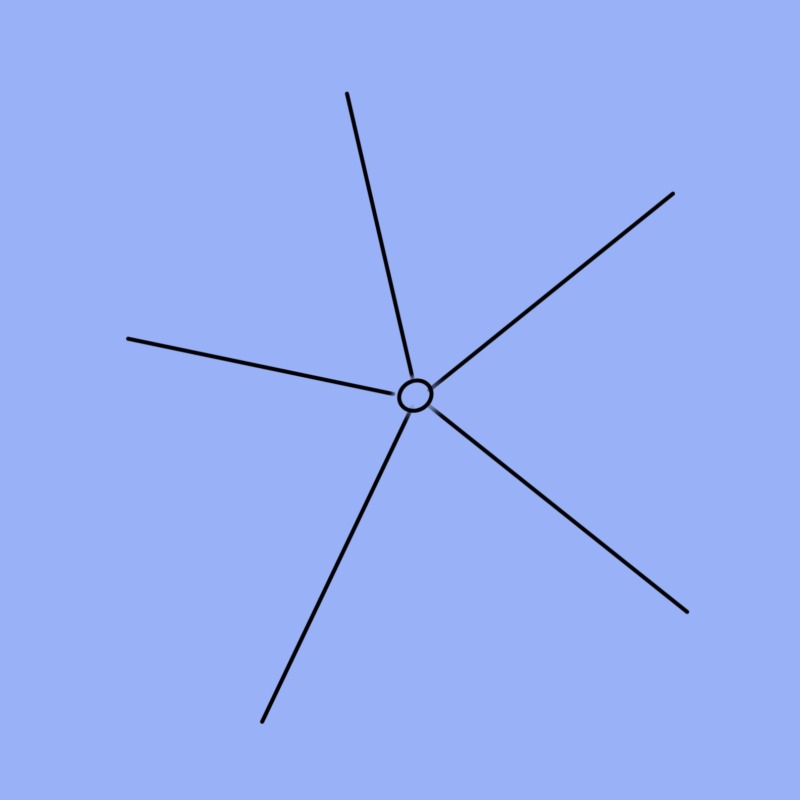
- Draw a small circle in the center of the canvas. Then draw 5 lines extending out from the circle for the center of the starfish’s arms. Notice the angle of these lines, especially to top left and right and how they are extending out an an angle and not going horizontal.
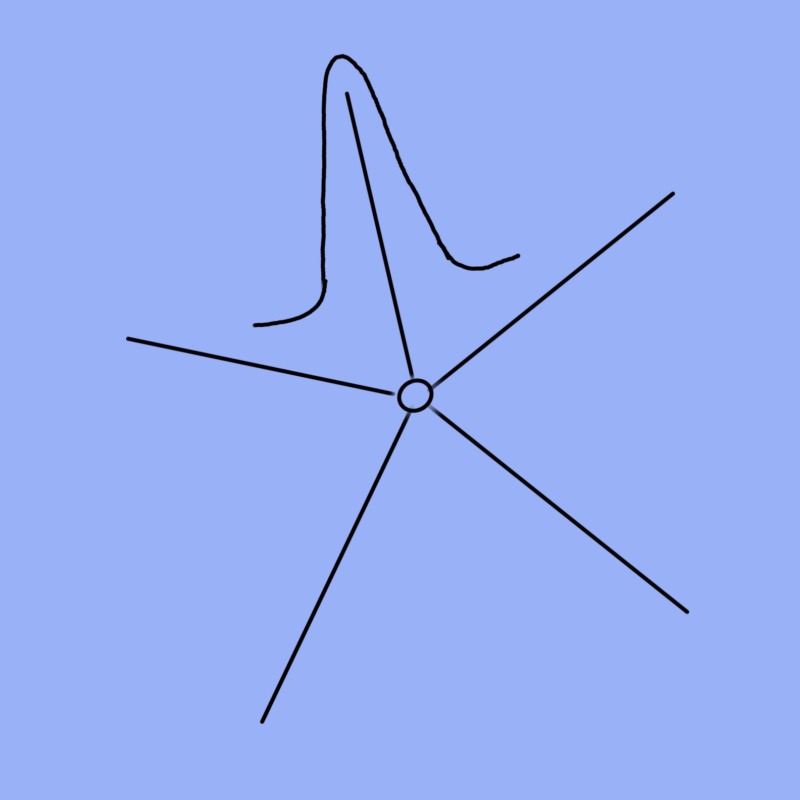
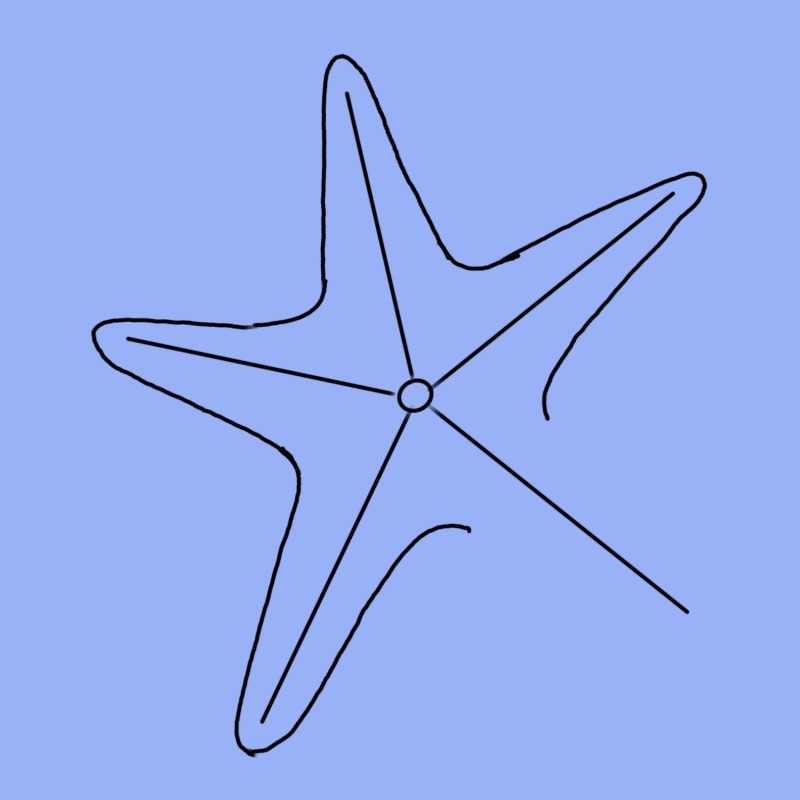
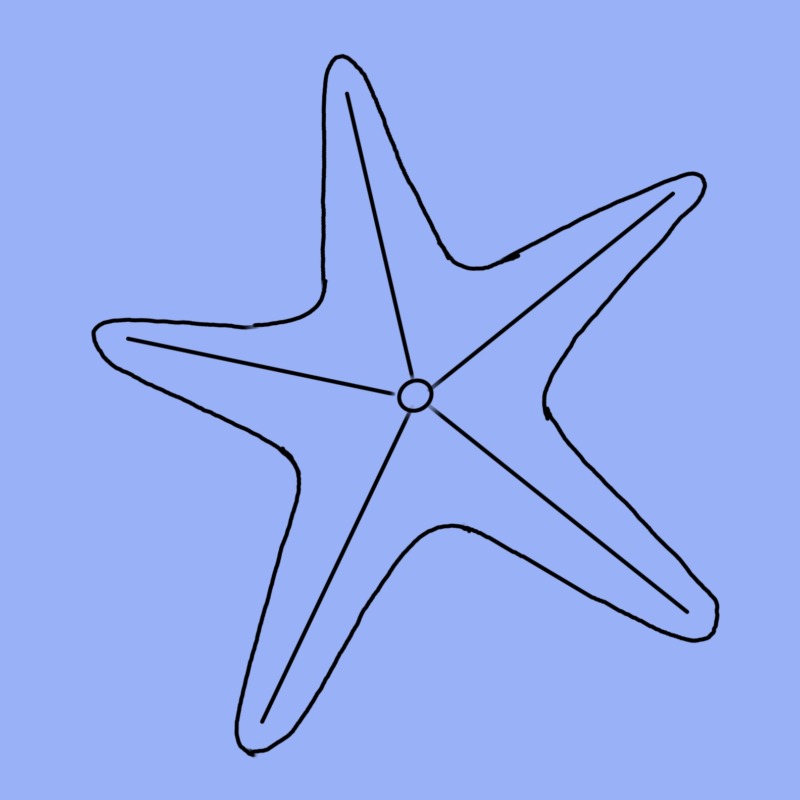
2. Draw the arms going around each of the lines and meeting as a curve towards the center without touching the lines or that center circle.
3. Paint Each Item White
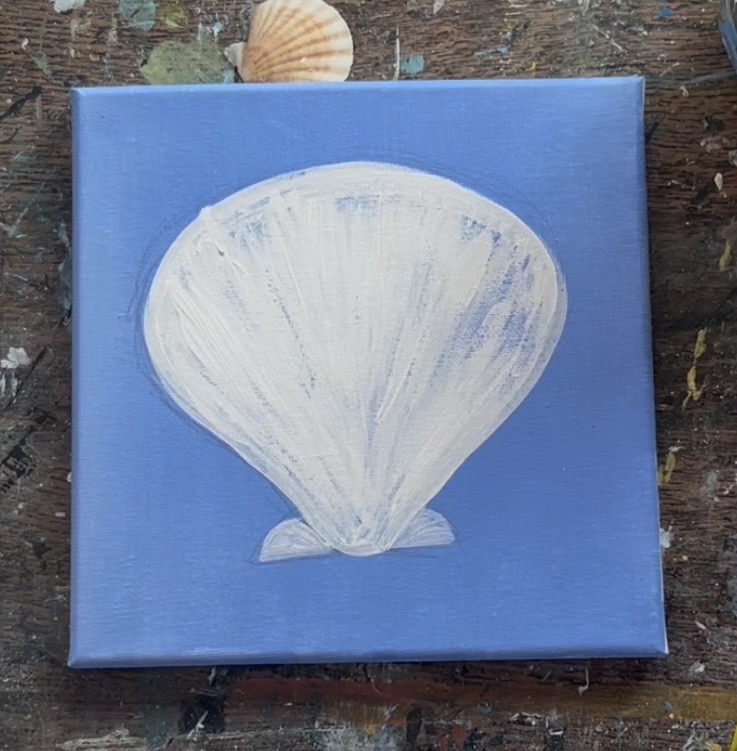
Use a #4 round brush and paint each of your ocean items white. This white coat should not be solid. In fact, we want a little bit of the blue background still showing through! When you pain the seashell, make your paint strokes go in lines like the ribs of the shell.
The lines array outwards and you can see some of the background color showing through.
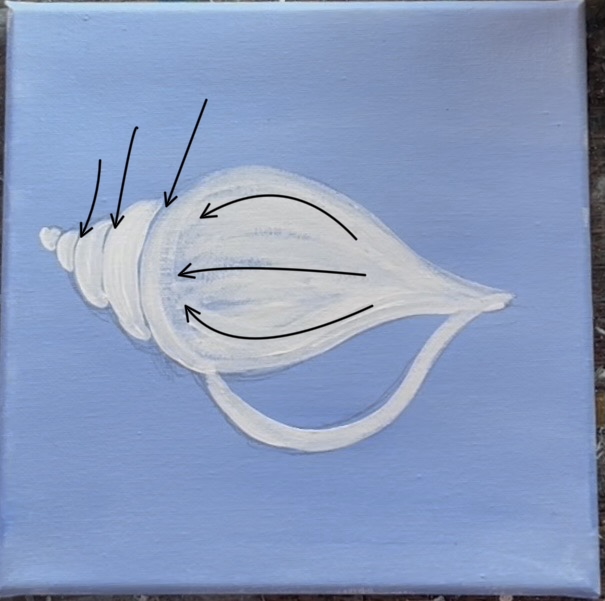
When you paint the “conch shell”, leave the opening part of the shell blue and unpainted. Also, make your paint strokes on the main body of the shell, curve and contour in the shape. This will create some “form” and dimension in the shell. When you paint the “spiral parts” on the left, leave a little slither of the background blue to show division between each of those shapes.
You can paint the starfish solid white and either leave some of the background showing through or make it solid and opaque (either way is fine).
4. Let’s Detail The Seashell!
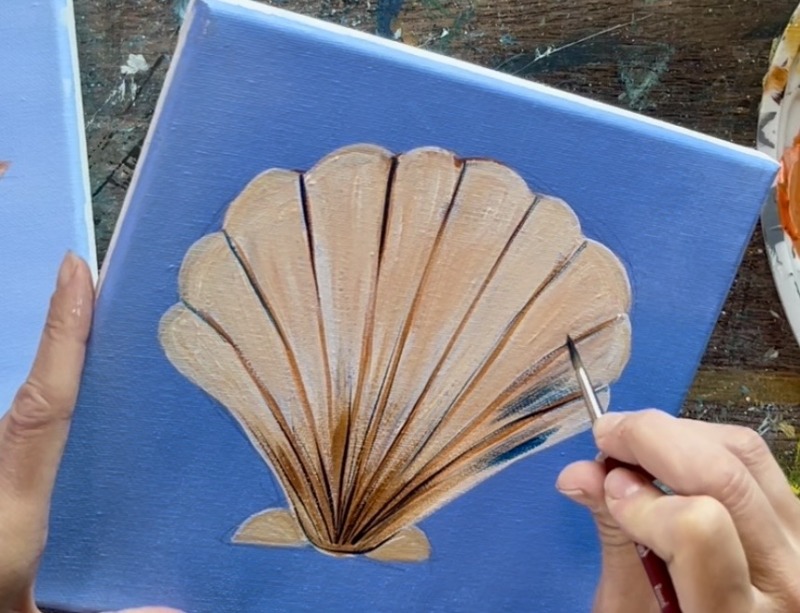
On your paint palette, mix equal parts “raw sienna” with “cadmium orange hue”. Use the #8 long round brush (or a tiny detail brush) to paint lines on the shell. Start by painting one thin line down the center of the shell.
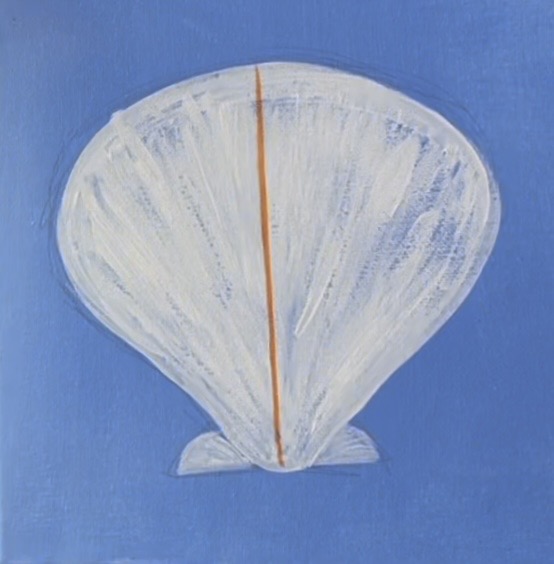
Then do a set of lines on the outer part of the shell. Paint another set of diagonal lines in between those outer lines for a total of 5 lines so far.
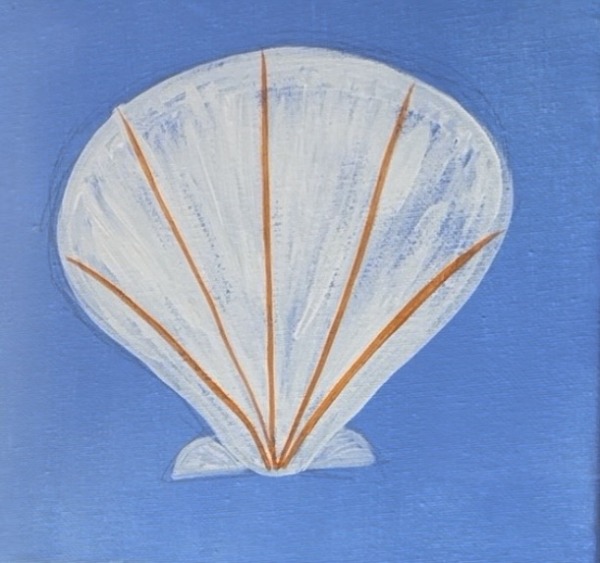
Continue to paint more lines in between to divide the shell up for the “ribs” of the shell.
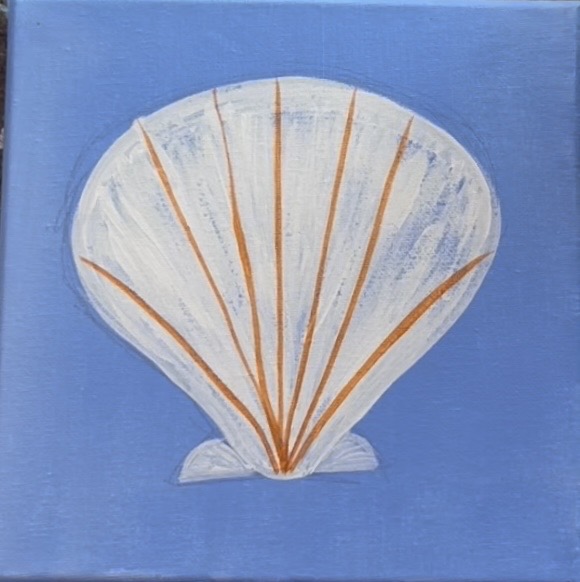
After painting division lines, paint the “scallop” edges at the top of the shell. Double load the round brush into both the brown-orange color and titanium white. Paint curved marks in between each of the lines that you painted.
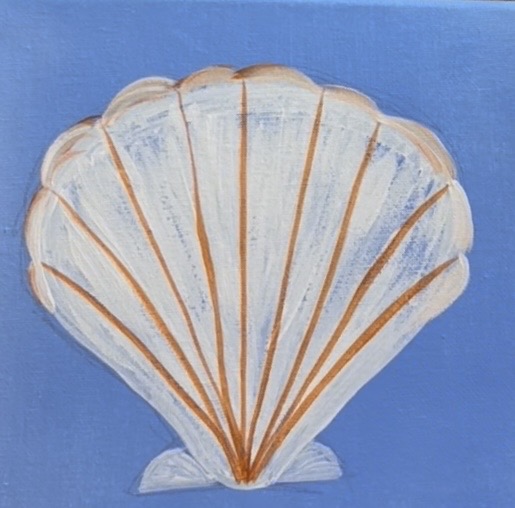
Then paint over your white areas of the shell using that same color (white mixed with brown and orange). Use the #4 round brush to drag your paint downwards to paint the shell this light coral color. Don’t paint over the dark lines.
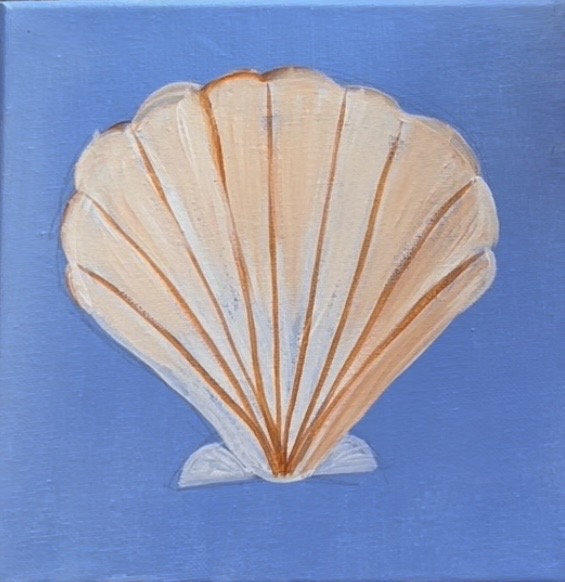
Then wipe off the brush and load it into a small amount of “raw sienna”. Drag these darker brown paint strokes on the bottom of the shell upwards and then let the brown sort of fade out. This is to make the bottom of the shell darker. You can paint over your dark lines for this step.
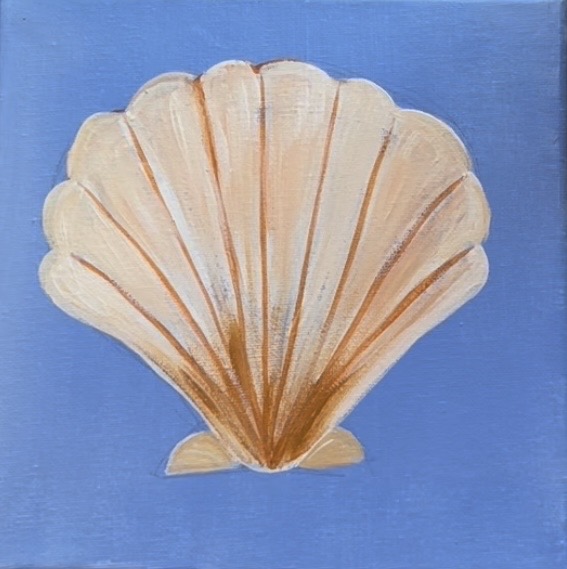
Let this layer dry and work on the next shell details!
5. Let’s Detail The Conch Shell!
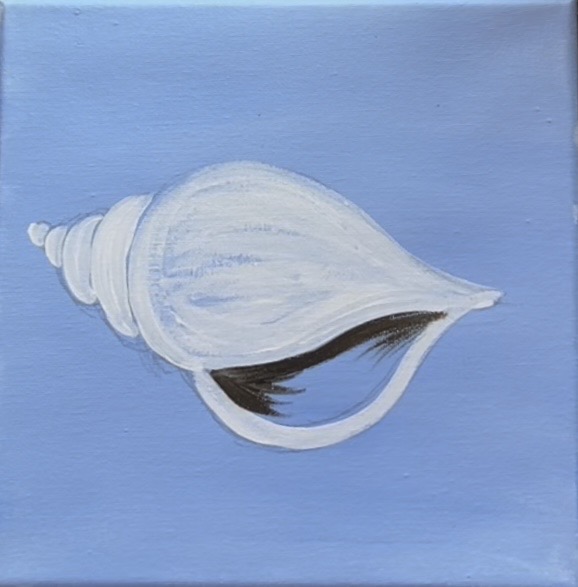
Load your paint palette with “mars black”. Mix equal parts “mars black” and “raw sienna” together to make a really dark brown. Use the #4 round brush and paint the shadowy area on the inside opening of the shell. Paint the far left and far right corners of the opening and drag your paint strokes inwards and faded out into the rest of the blue. Paint the dark also on the top edge/ outline of the opening as shown in the picture below.
Next, blend a lighter brown/ coral color into the rest of the shadow so the bottom part of the opening becomes lighter. This is orange, brown and white all mixed together (equal amounts). Apply it lightly in the middle area of the opening and blend it with the dark colors on the sides.
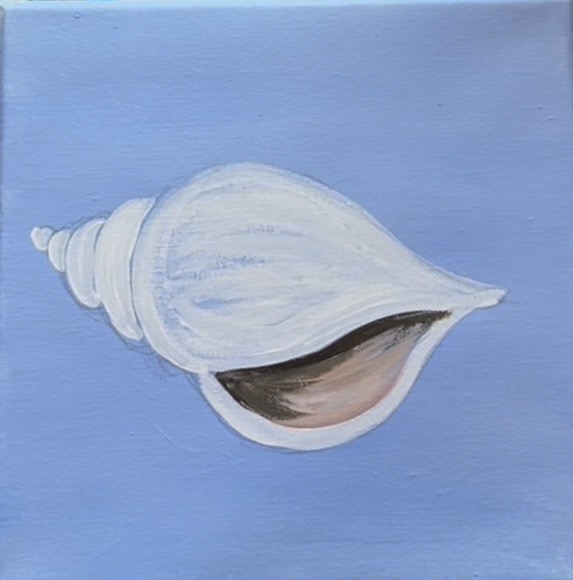
Try using a dry paint brush (dry the round brush you are using) to blend the dark with the light. The shadow should fade to the lighter color in the middle bottom of the opening but become very dark on the edge and corners. Add just a little bit of pure black on the corners.
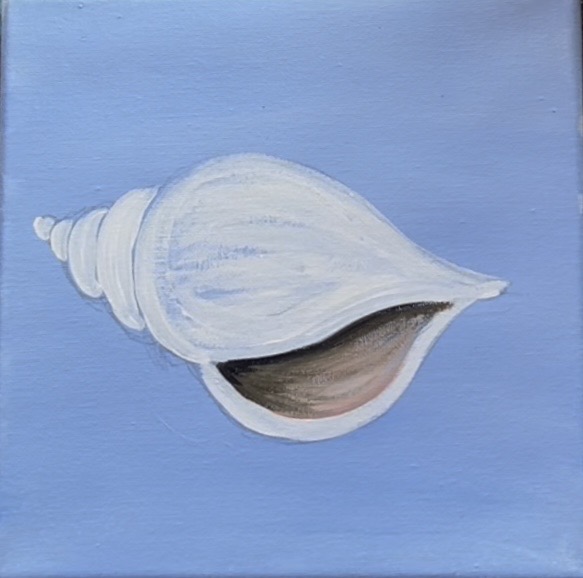
Next mix a “coral” color by mixing equal parts “cad orange hue” and “titanium white” together (no brown). Use the #4 round brush to paint the main part of the shell. Make your paint strokes go in the same direction that you applied the white paint strokes. Leave white or a “lip” just above the opening of the shell so the opening has a white outline around it.
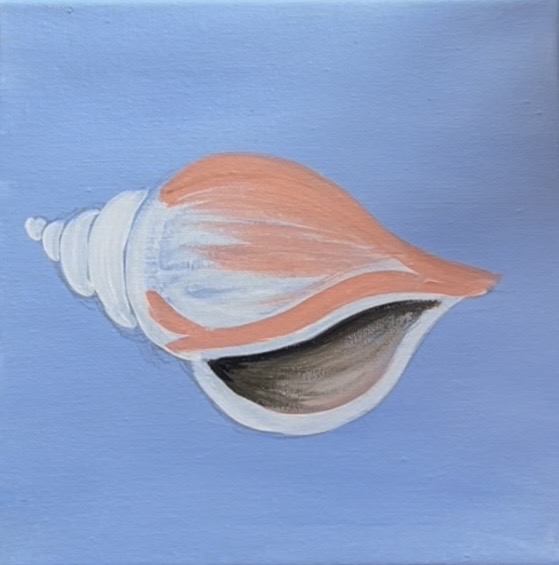
You can experiment by blending in little bits of white and/or “raw sienna” into your coral color. Make sure your paint strokes curve/ contour with the shape of the shell.
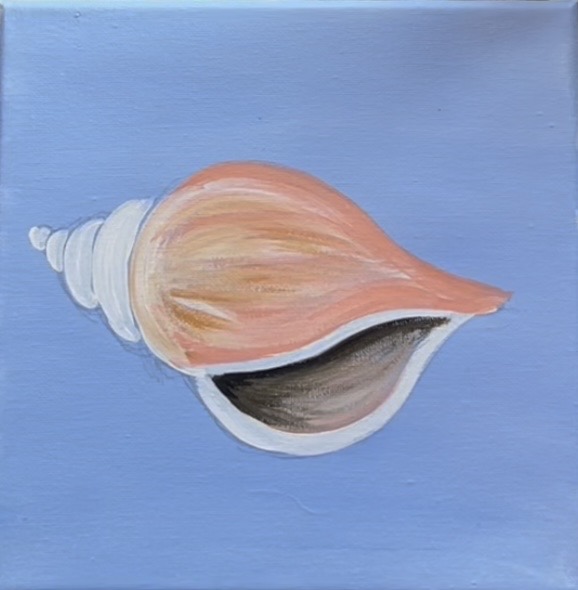
Paint the other curved segments to the left of the shell. Use the base color “coral” and blend a little white on the left sides of each of the segments.
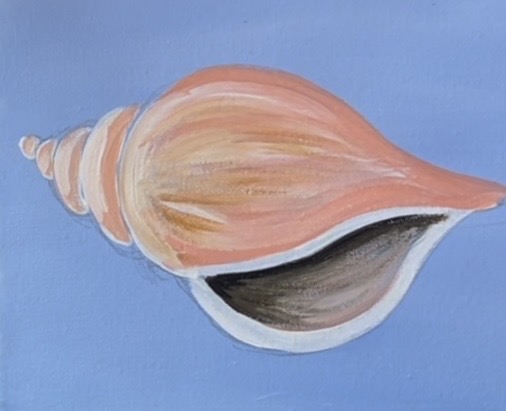
Then outline the in between cracks of each of those segments using the round brush and the dark brown color (black mixed with raw sienna).
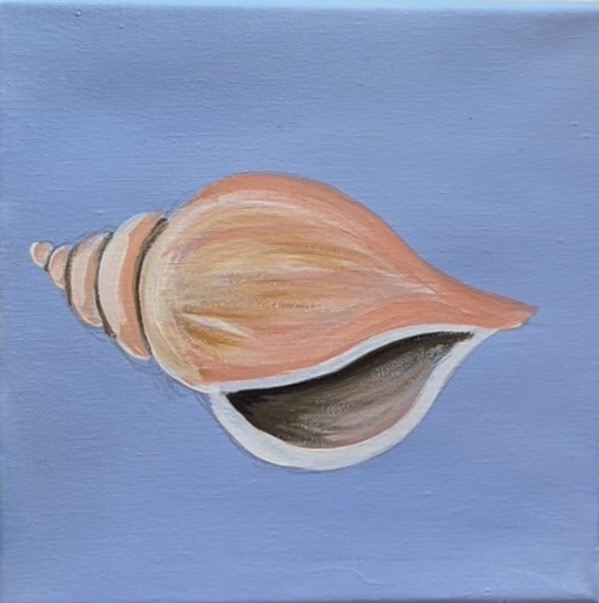
Let this dry before detailing it further.
6. Let’s Detail The Starfish!
Start by painting a dark orange/brown layer for the starfish. Mix equal parts orange and raw sienna together. Paint over the starfish with an even layer. It’s okay if it’s not a completely solid coat/ some white or even some blue is still showing through.
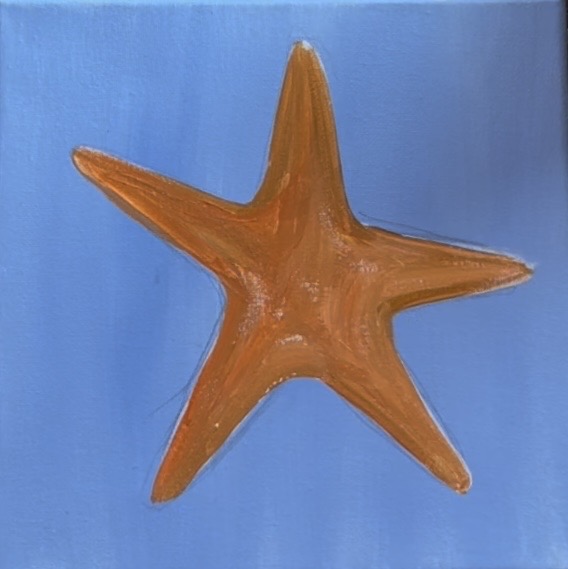
Then paint a second layer with a lighter version of that dark orange color. Use equal amounts of white and orange (that coral color) and use the round brush to paint a “starfish within a starfish”. Leave the edges of the star dark for shadowing.
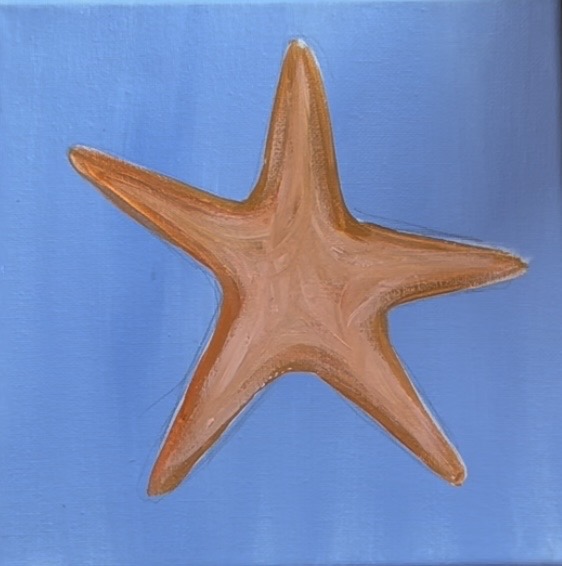
Let this dry before detailing it any further.
7. More Layers On The Seashell
In this next step, we will be adding dark blue as an accent color to our shell. I will be using “Prussian blue”, however, you can use any dark navy blue color for this. Use the #8 long round brush and the color “Prussian blue”. Lightly paint over your brown lines between the ribs of the shell but don’t cover all of the brown.
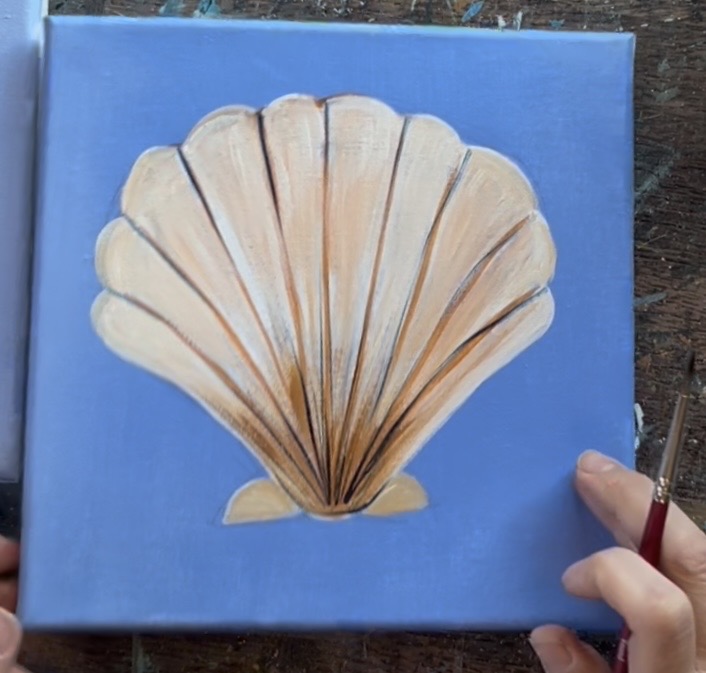
Then use the #4 round brush. Load it into “Prussian blue” but wipe the brush off. Dry brush this dark blue and create little vertical marks towards the top third of the shell. These marks form an arc shape along the shell.
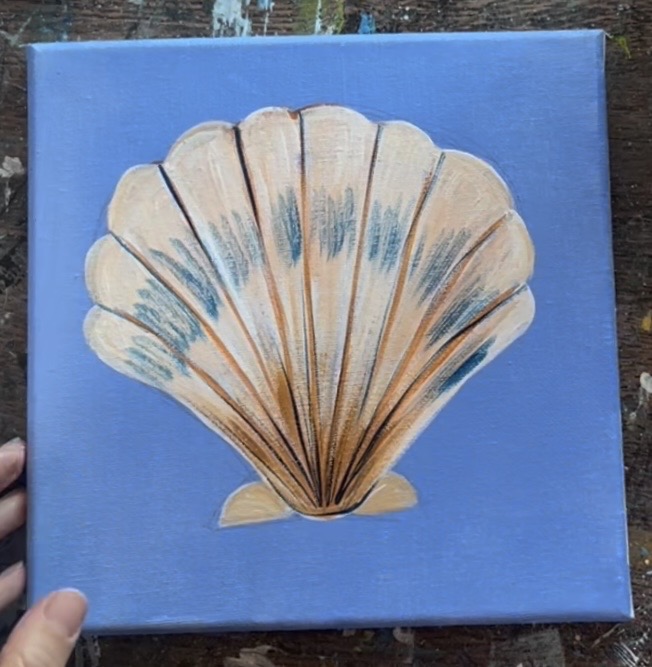
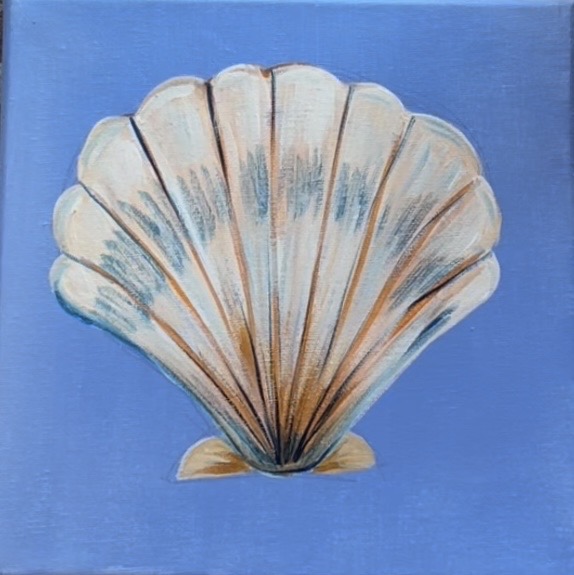
Next, lightly dry brush coral+titanium white (to make a light coral color) over each of the sections of the shell. You can also lightly brush over the dark blue to dampen the color a bit. Leave the bottom of the shell darker and more shadowy.
8. More Layers On The Conch Shell
Use titanium white and the #4 round brush to paint a second coat of white around the opening of the conch shell.
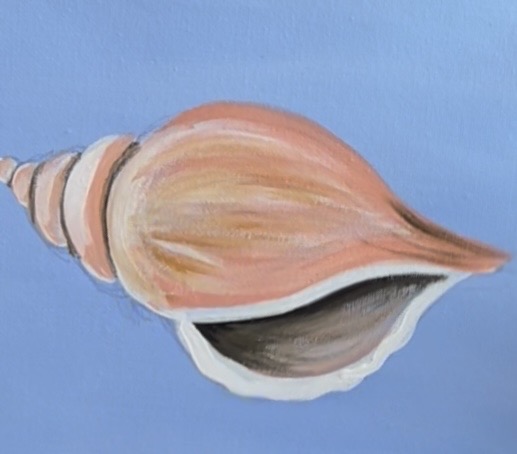
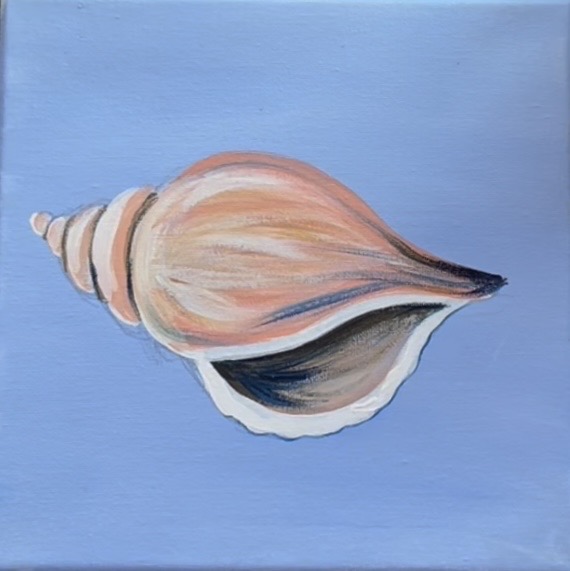
Then (optional) use the Prussian blue to add a few dark blue accents on the shell. I went over the dark brown lines between the segments on the left of the shell and also dry brushed some dark blue on the far right corner of the shell.
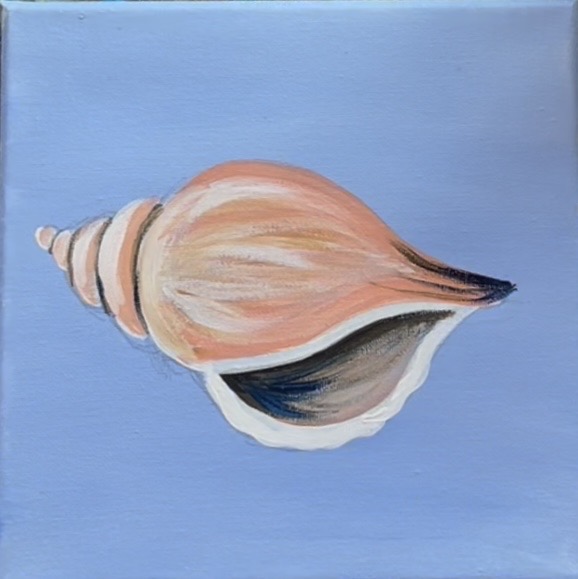
Add some dark blue in the opening on the far left of the shell.
9. More Layers On Starfish
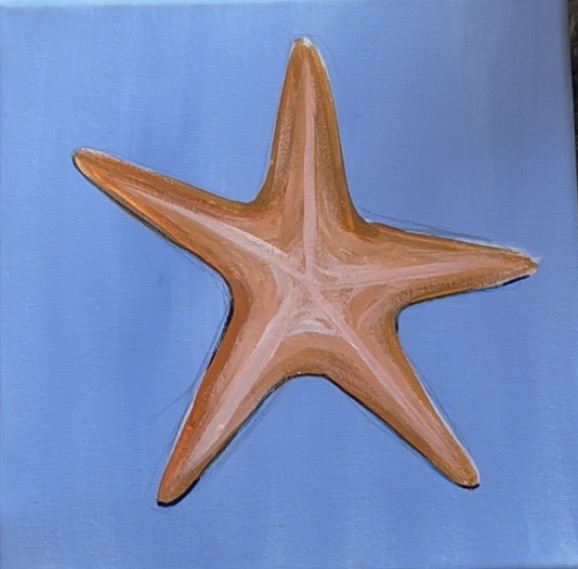
For the starfish, we want to build up lighter colors just in the middle of the starfish’s arms but leave the edges darker. This will create more of a three dimensional effect.
Use your coral color (orange and white) and add a little more white to it so that it becomes lighter. Then use the #4 round brush to paint lines from the center of the starfish through the middle of each of the arms.
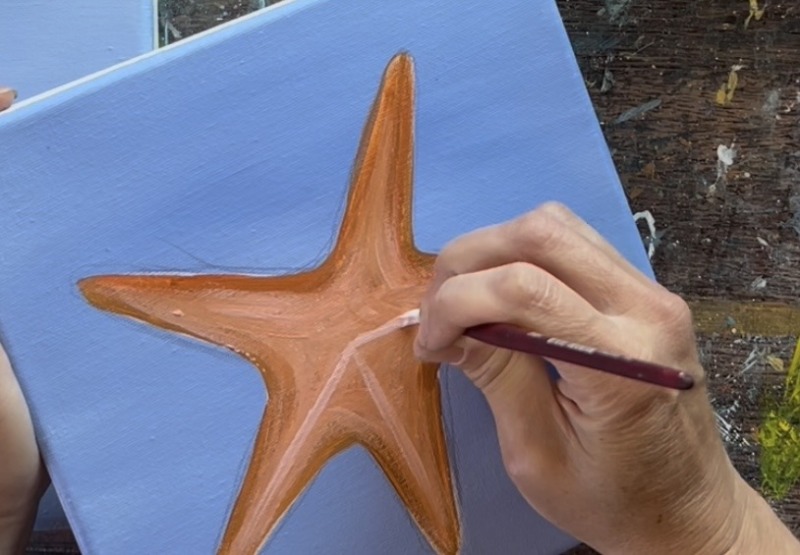
This starts a lighter area in the center of the starfish. You can see the three different layers of dark, medium and light.
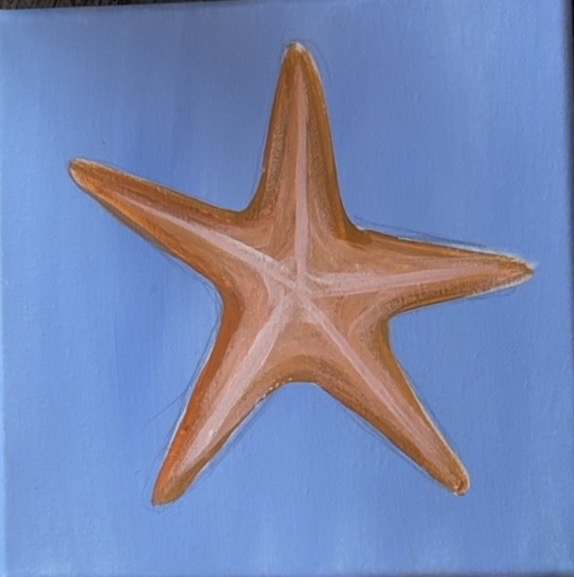
Then gradually add some lighter color outwards from the center of the arms.
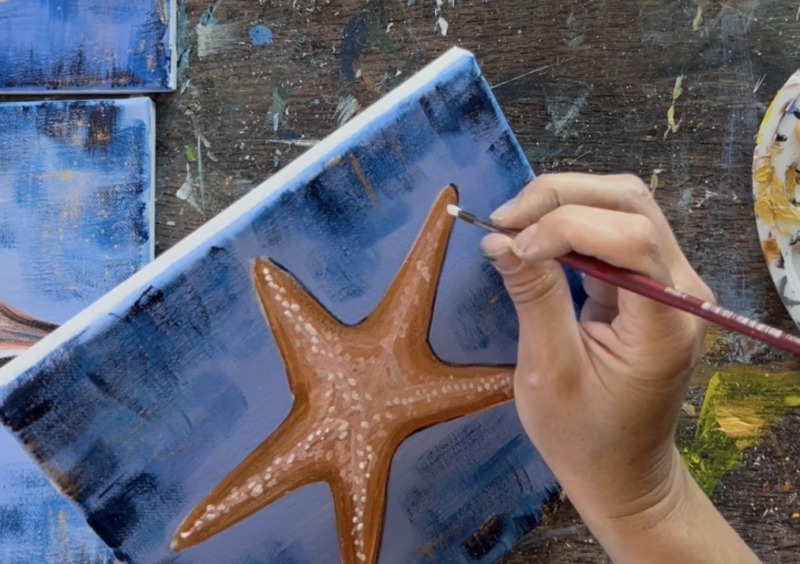
Next we are going to “stipple” texture to give the starfish that bumpy texture. Use that same light coral color on your brush. Go over just the middle parts of the arm and paint little dots.
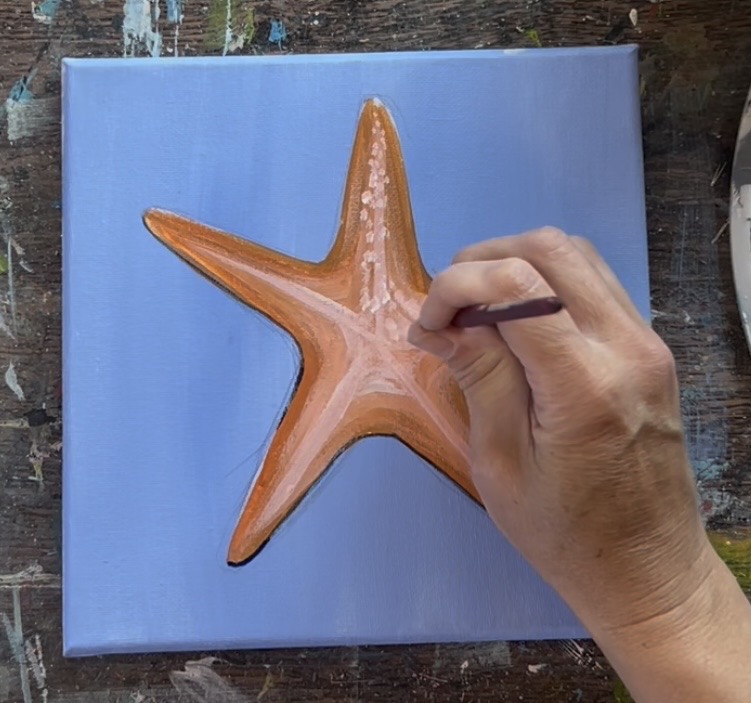
Don’t paint any dots on the darker edges. Do this on each of the arms (just in the middle parts) and go towards the center of the starfish.
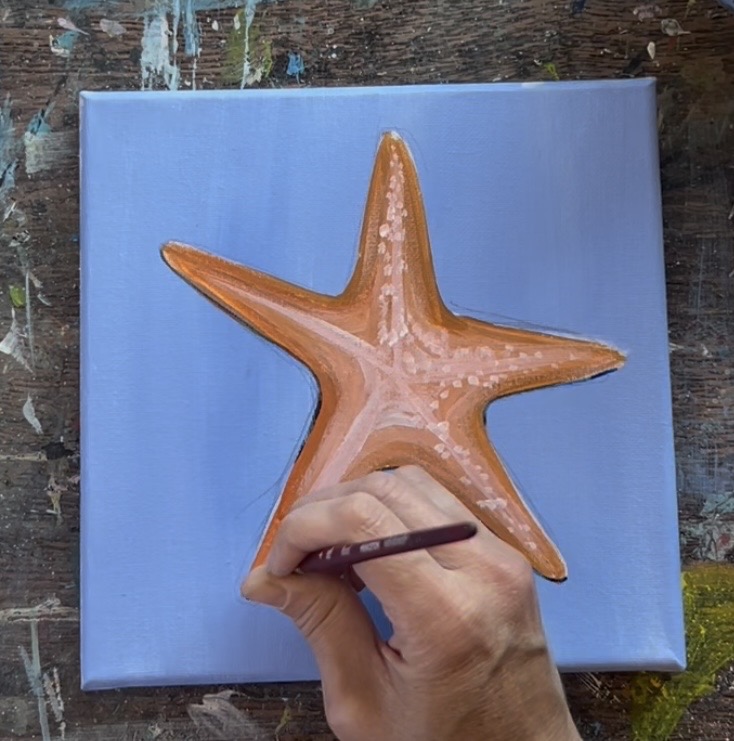
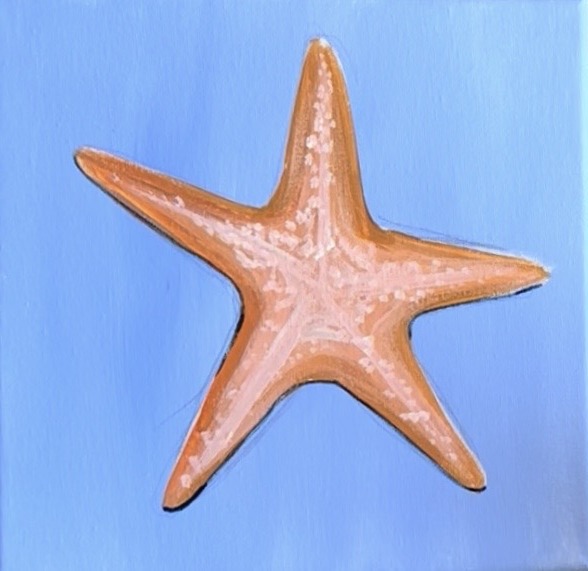
Let this dry before adding more layers to it! We will be painting the abstract backgrounds next.
10. Abstract Background Fun!
For this background, we will be layering on darker blues over our already dry lighter blue background. Use the #12 bright brush (1/2″ flat) for this step. First load into the color “primary blue”. Wipe the brush off so that only a small amount is left on the brush. Then dry brush little vertical and horizontal marks that cross-hatch each other. Do this just on the edges of the canvas but not close to the shell.
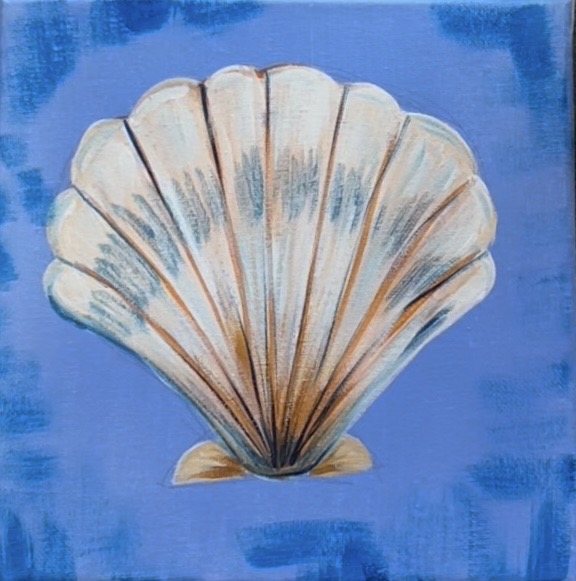
Next, load into “Prussian blue” and wipe the brush. Dry brush this very dark blue just on the edges of the canvas and go slightly over your “primary blue”. The concept is to make the edges of the canvas very dark and the middle parts lighter.
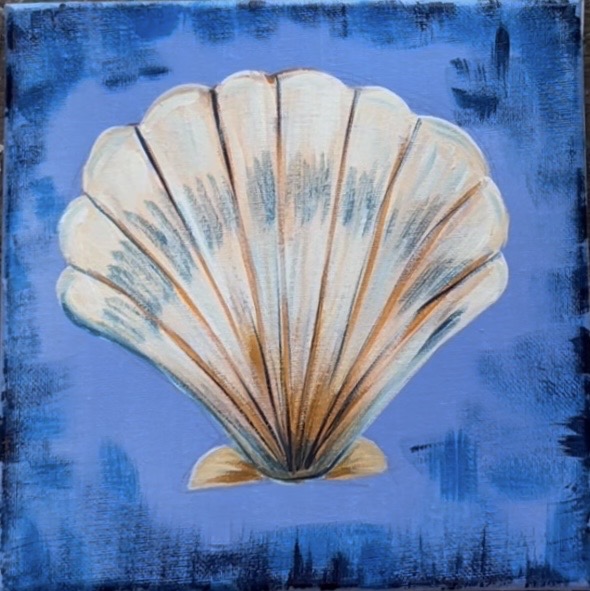
Repeat this technique for the other shell paintings.
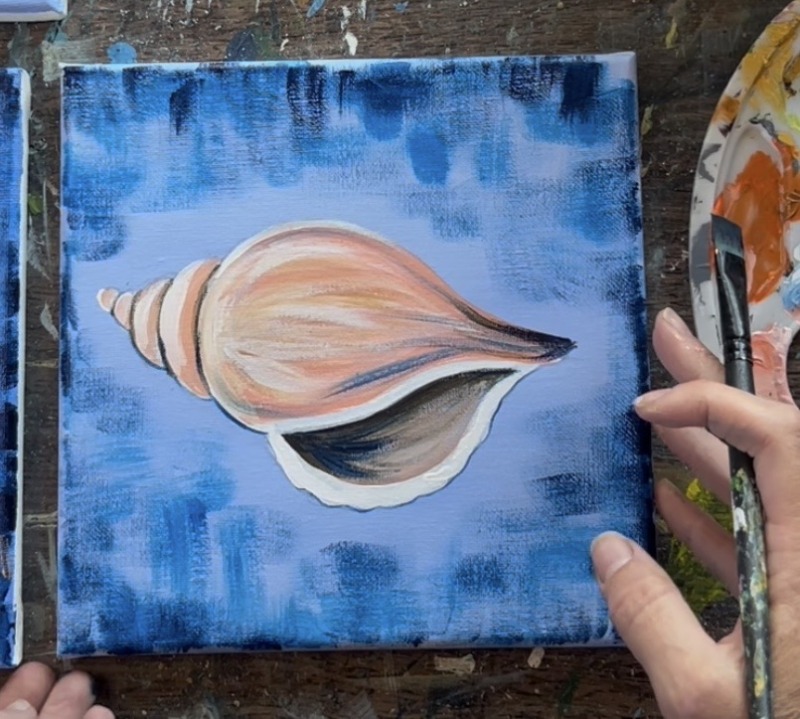
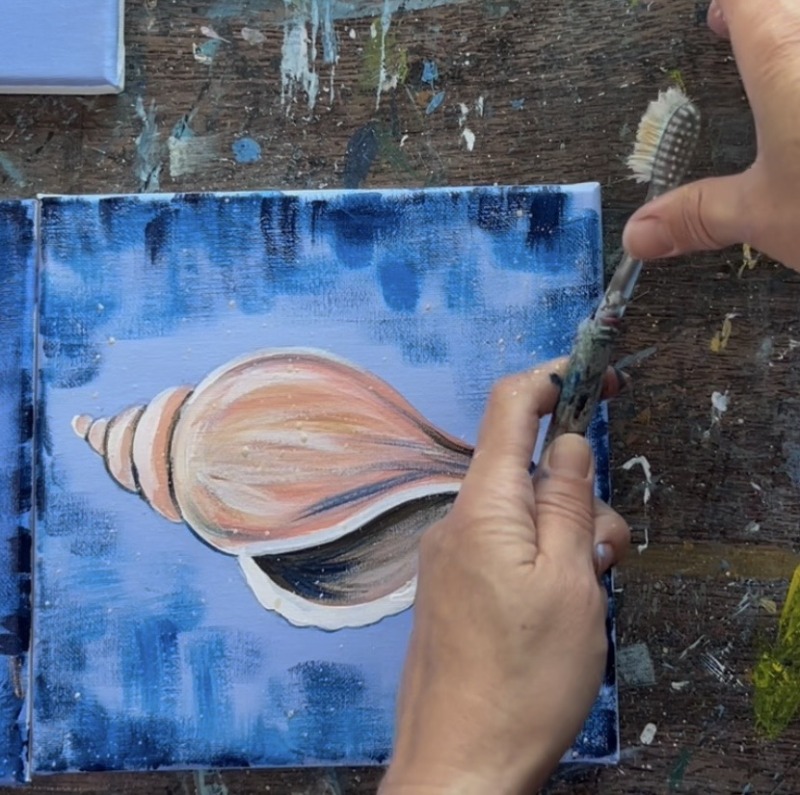
Then we are going to splatter on a little gold paint. This is an optional step but it adds to the fun abstract background we are painting. Use a toothbrush loaded into slightly watered down gold paint. Flick the brush to create little flecks of gold all over the canvas.
After this, use a fan brush to apply a dry brush layer of gold throughout the background. Load only a small amount of the gold onto the dry brush and drag it in different vertical and horizontal directions. This will create splotches of gold throughout the canvas background.
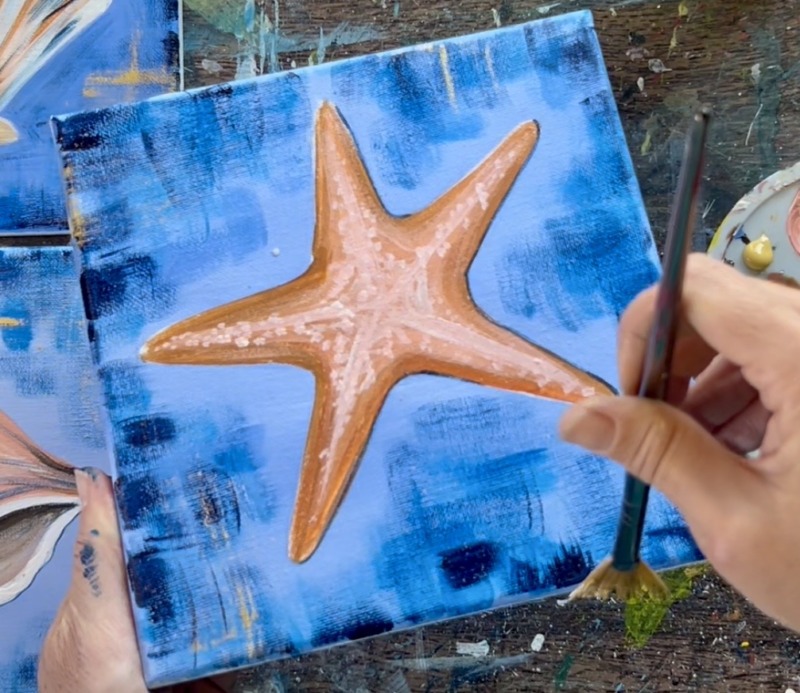
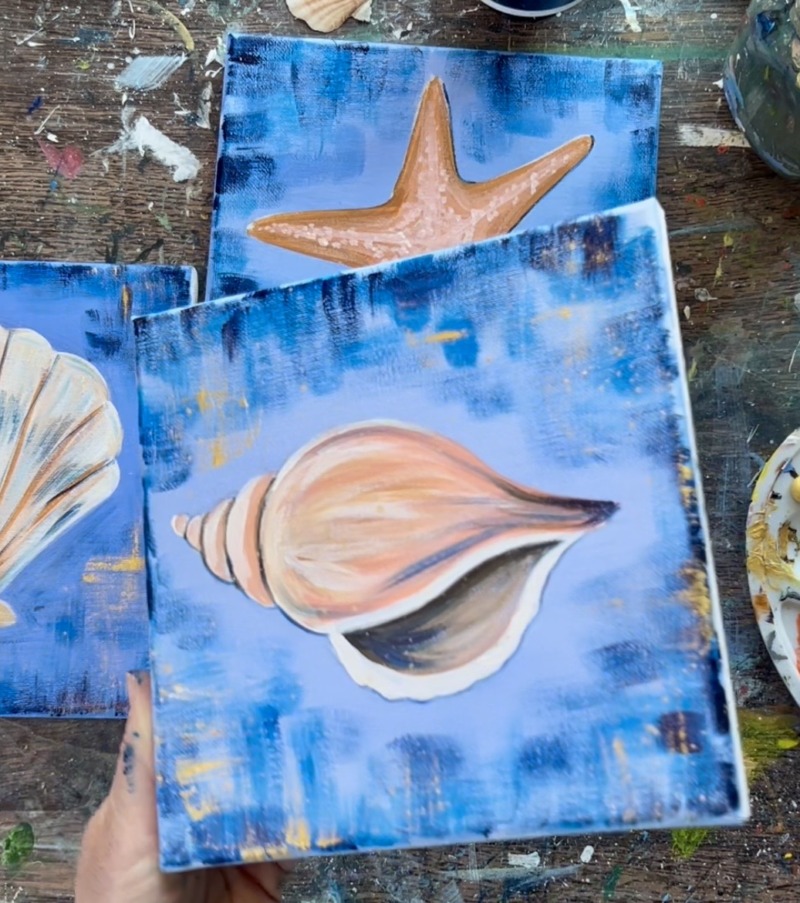
Repeat this technique for the background of each painting.
11. Final touches
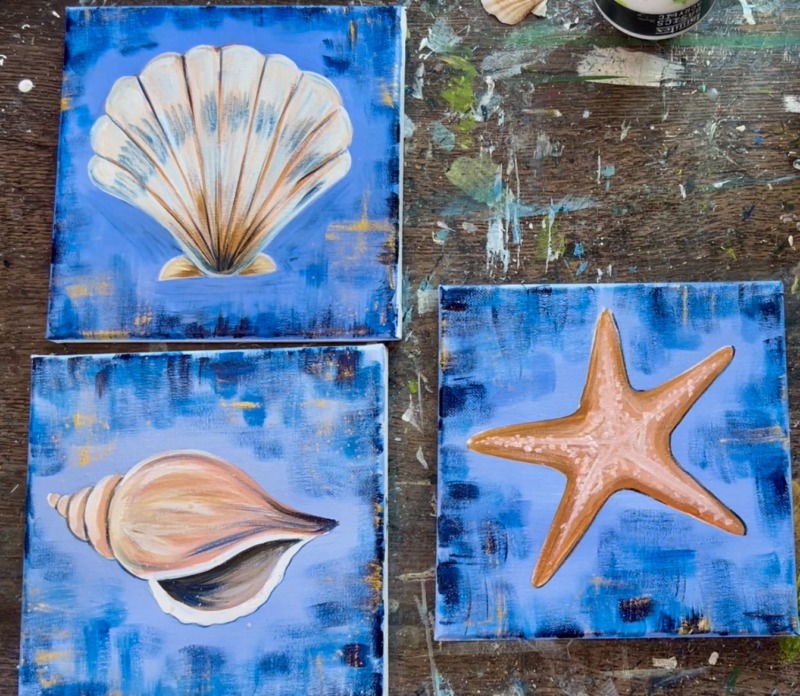
To make the starfish “pop” even further, use pure “titanium white” and the #4 round brush to paint little dots just in the center of each of the arms (meeting in the center). This bright white adds an extra bright layer to give the starfish more of a 3D look!
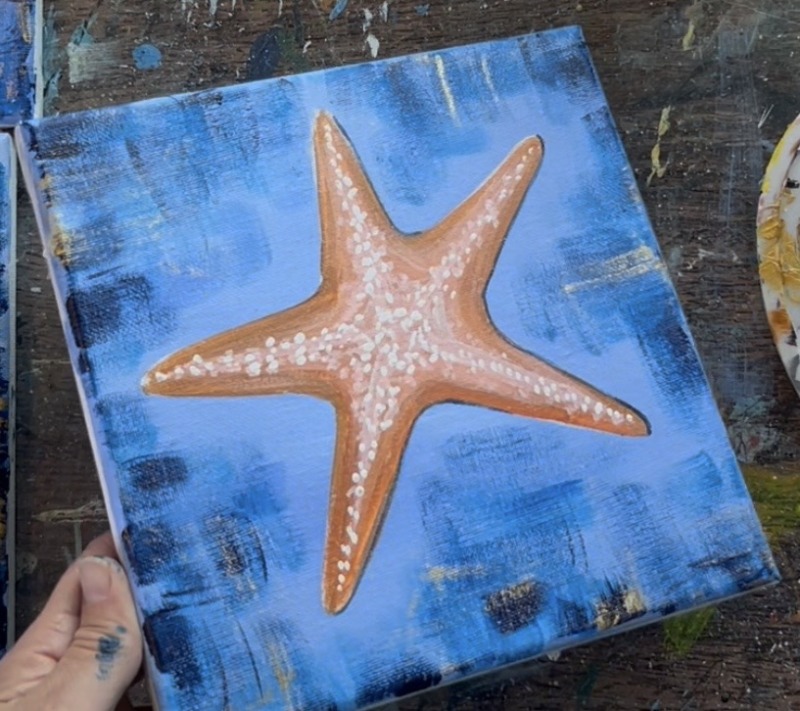
Then you can add a few darker dots on the far edges of the arms. I used “Prussian blue” for these dots since the other sea objects also had navy blue accents. These are tiny dots just along the edges.
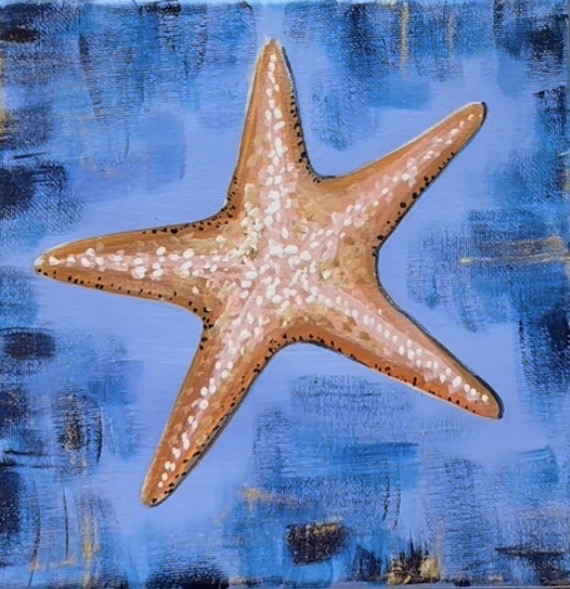
You can choose to add some shadowing behind your objects in the background! I added just a little bit of shadow below the starfish using the “Prussian blue” and dry brushed it below the bottom parts of the arm.
Another final touch you can do is paint the sides of the canvas. I painted the sides with that dark navy blue color.