Would you like to save this?
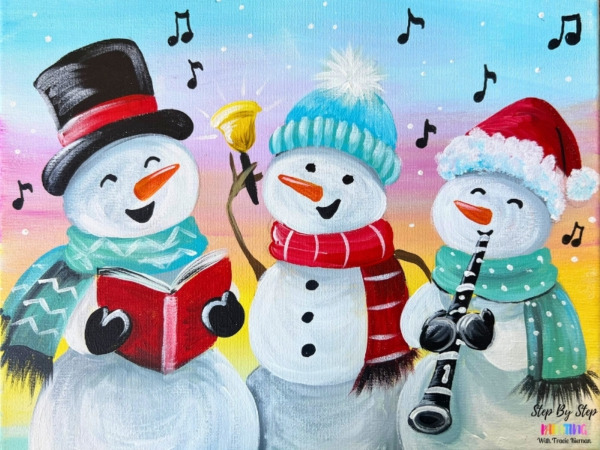
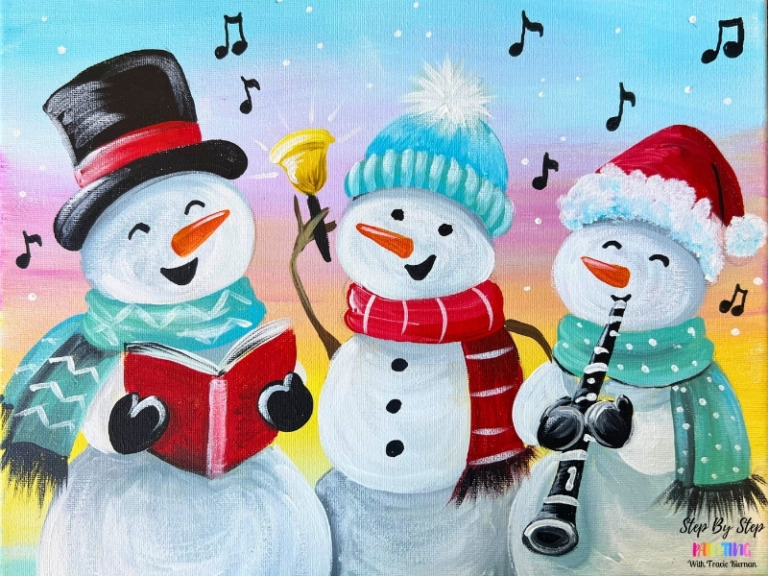
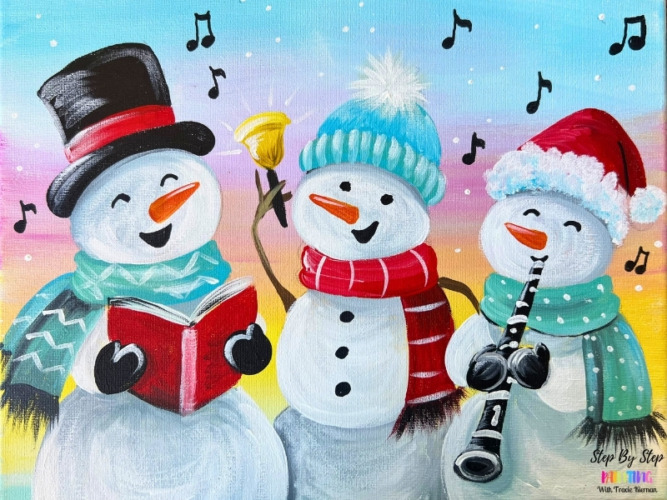
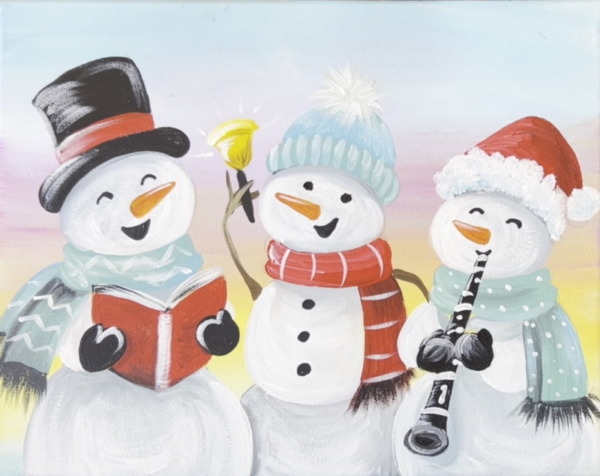
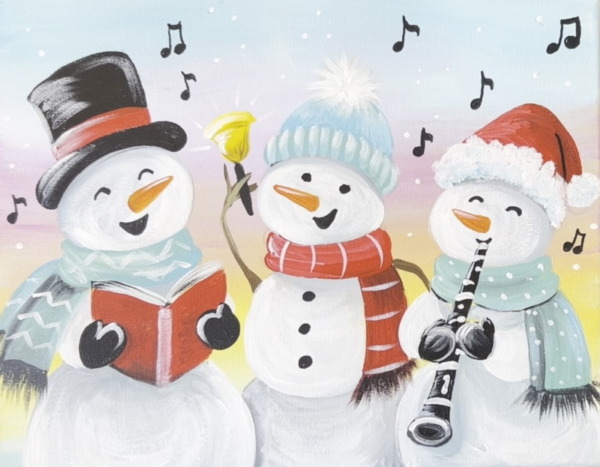
The arts are a major part of my family, including music! Two of my sons are really into music right now. One sings in the choir and the other is a talented clarinetist! My third son doesn’t play an instrument but he’d probably jump at the opportunity to play the bell! Thus the inspiration for this year’s snowman painting!
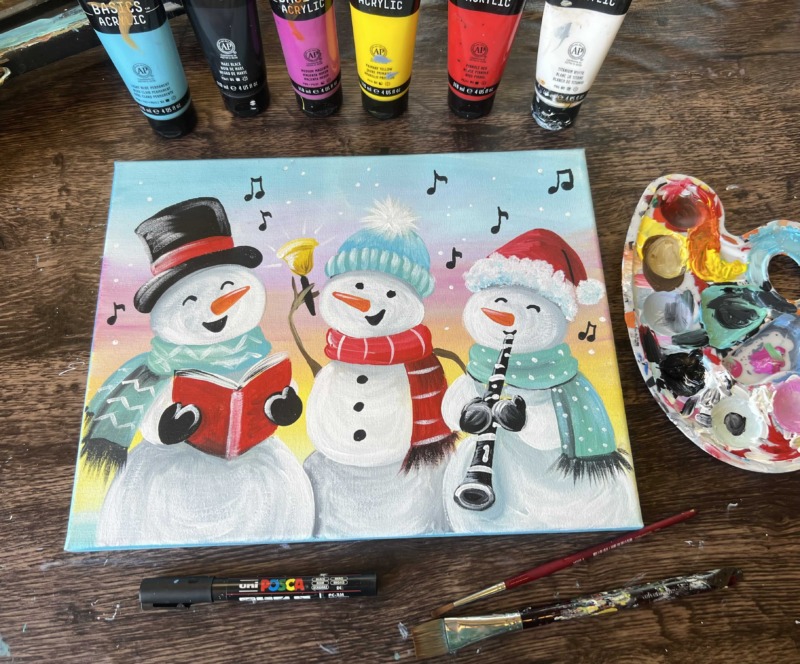
This tutorial includes a traceable for the drawing of the snowman. You are welcome to hand draw this if you prefer and even customize the instruments! A guitar playing snowman? A drummer? There’s a lot of creative directions you can go!
As with all of my snowman painting lessons, I’ll show you how to shade and highlight the snow to make the snowmen look three dimensional! We’ll also be using a black paint pen for some of the small details for the expression on the faces.
Enjoy and happy painting!
How do I view the tutorial?
There are several ways to enjoy this painting tutorial!
🎨 Picture Instructions: Follow along with the step-by-step photos in this post.
🎥 YouTube Video: Watch the full video tutorial on YouTube, posted this weekend!
✨ Member Access: Members can log in to the member portal to enjoy the tutorial ad-free and download it for easy access anytime.
🛍️ Digital Download: Prefer a convenient, downloadable version? You can purchase this tutorial for just $5 in my digital shop.
Materials You’ll Need:
Carols In The Snow
Learn how to paint this adorable three snowman band playing carols in the snow.
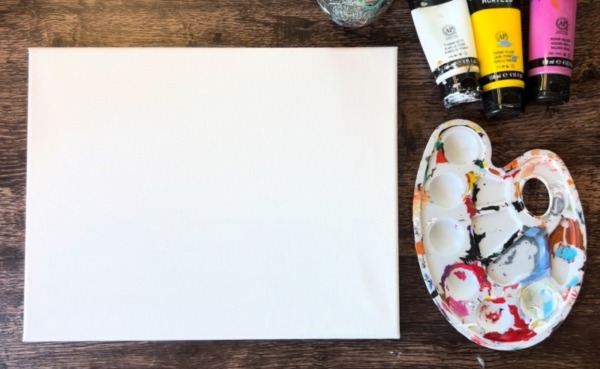
Materials
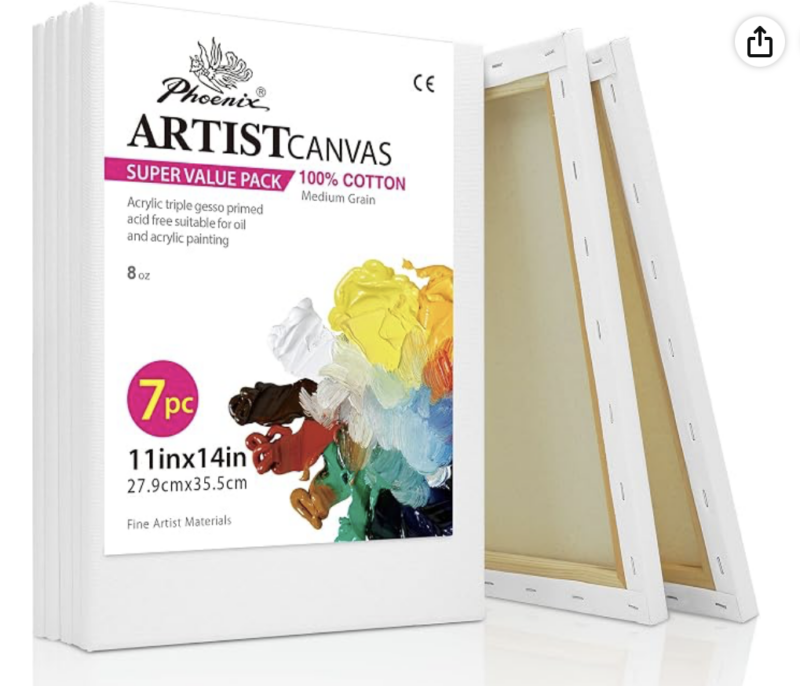
- 11x14 Canvas
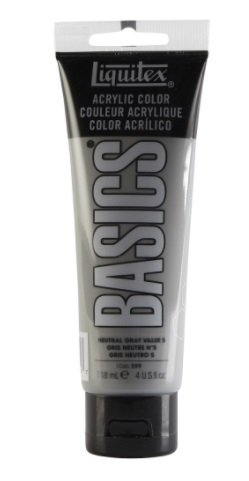
- Acrylic Paints (I use Liquitex BASICS)
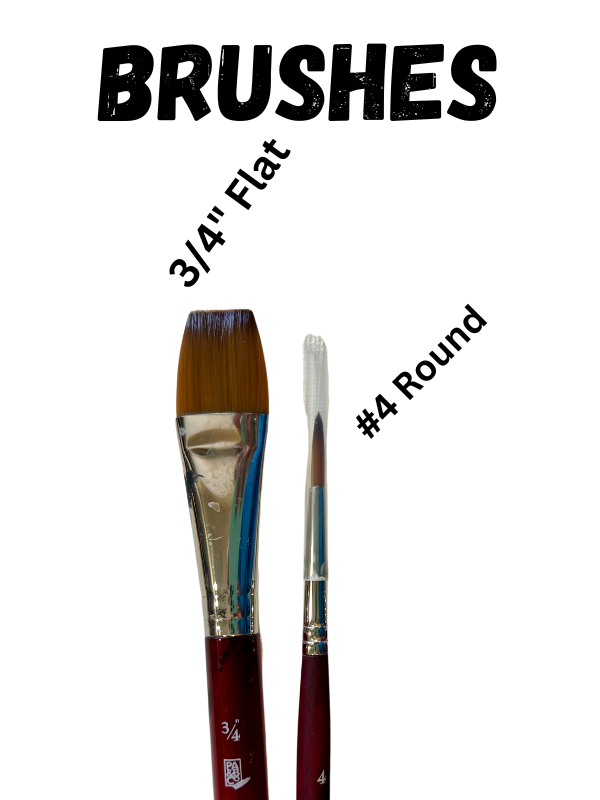
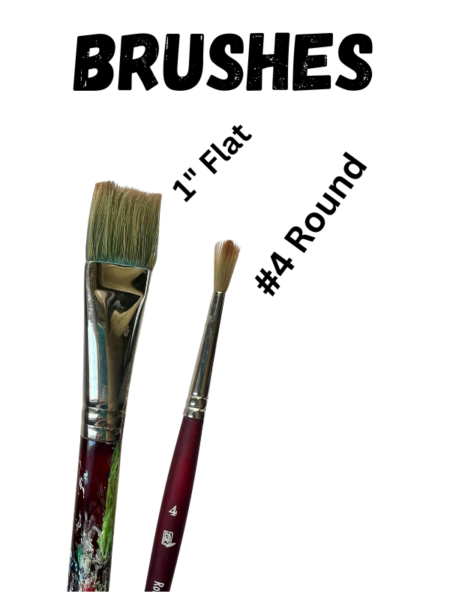
- Brushes (Princeton Velvetouch)
- Traceable
- Graphite Paper
- Pencil
- Black Paint Pen
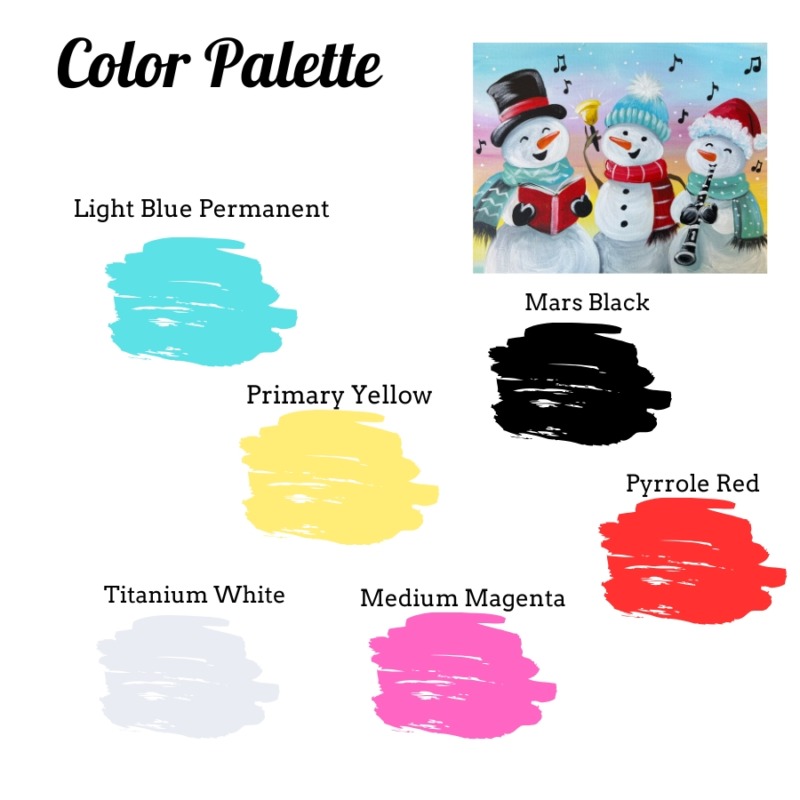
Colors
- Titanium White
- Mars Black
- Light Blue Permanent
- Medium Magenta
- Primary Yellow
- Pyrrole Red
Brushes
Recommended Products
As an Amazon Associate, Michaels Affiliate and a member of other affiliate programs, I earn from qualifying purchases.
Traceable
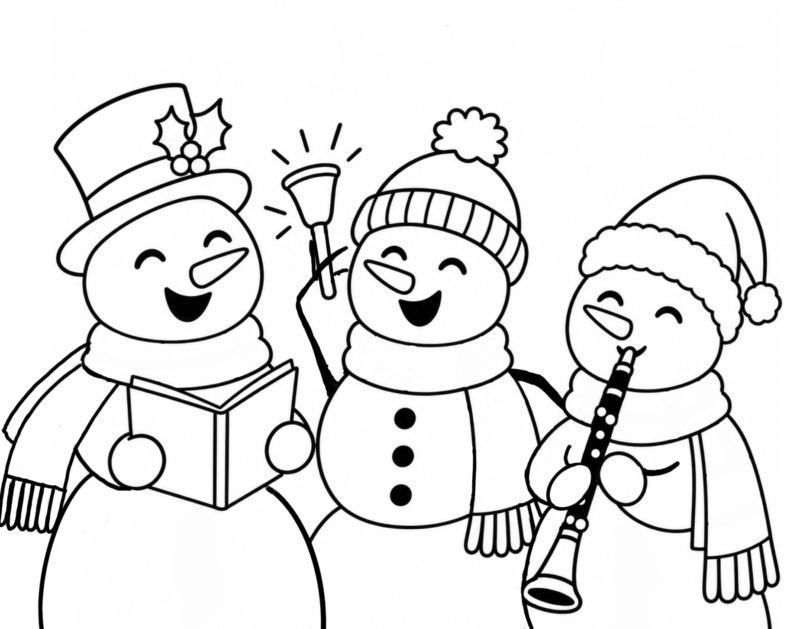
For other sizes, you can purchase this $5 lesson download from my digital shop!
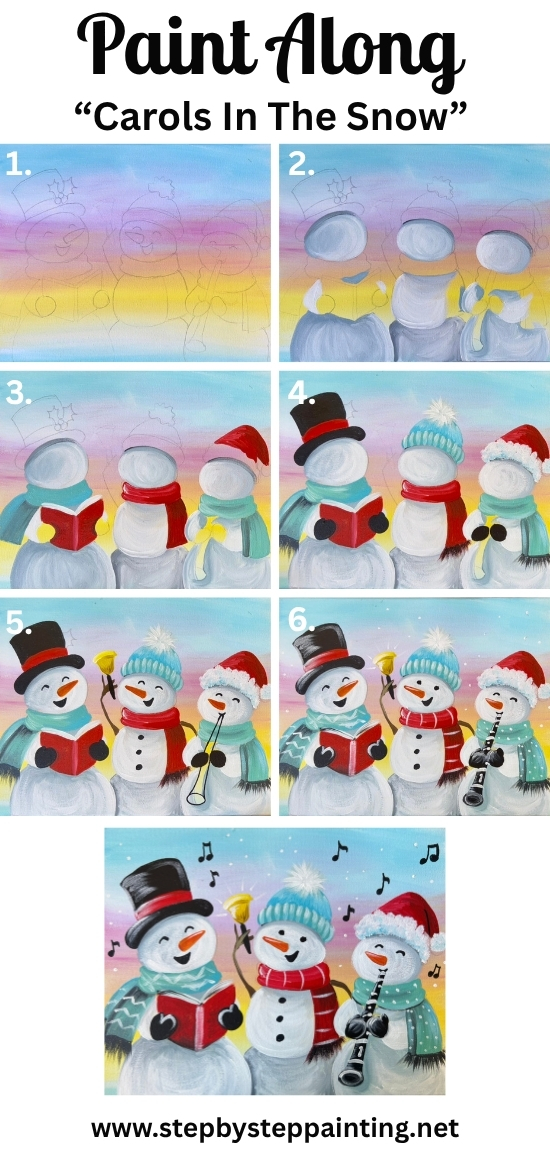
Directions At A Glance:
Video:
Coming soon!
Step By Step Instructions:
1. Paint The Background
The background of this painting includes the following colors: light blue, titanium white, primary yellow and medium magenta. Position your canvas in a horizontal direction.
Mix on your paint palette equal amounts of light blue and titanium white. Use your 3/4″ flat wash brush and paint horizontal brush strokes across the canvas. Go a few inches down and then load the brush into just white. Blend white into the blue to create a lighter tint of the blue on the bottom of this area of the sky. Go down about 1/4 to 1/3 of the canvas and stop.
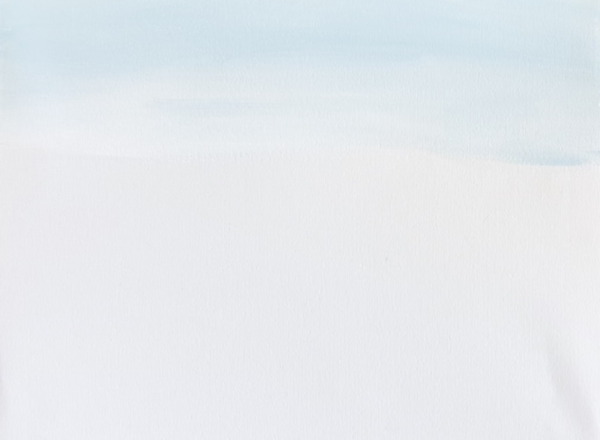
Tip: ensure the entire background is very light and pastel (a lot of white mixed with the colors!). This will help the bright, bold colored snowmen to pop better as the end results of the painting.
Wipe the brush but don’t rinse. Mix on your paint palette about equal amounts of magenta and white. Blend this light pink color below your blue and lightly brush it up into the light blue. You’ll get mixes of light purple in the sky.
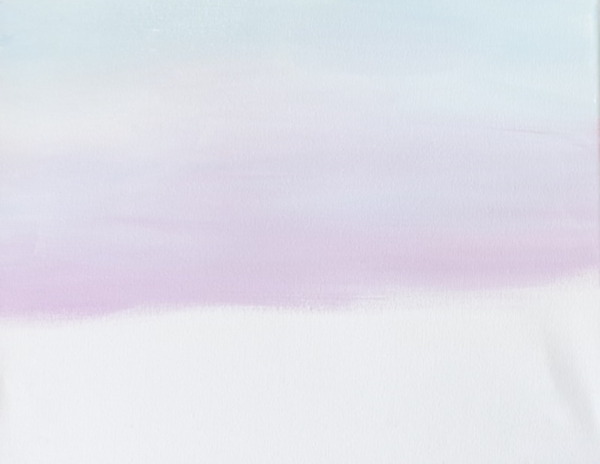
Continue to paint this light pink with left and right brush strokes and go past the halfway point down the sky. Then rinse the brush. Mix equal amounts of yellow and white together. Then paint left and right brush strokes to blend this up into the pink. This will create a little bit of orange in the sky. Then go almost all the way down with your yellow.
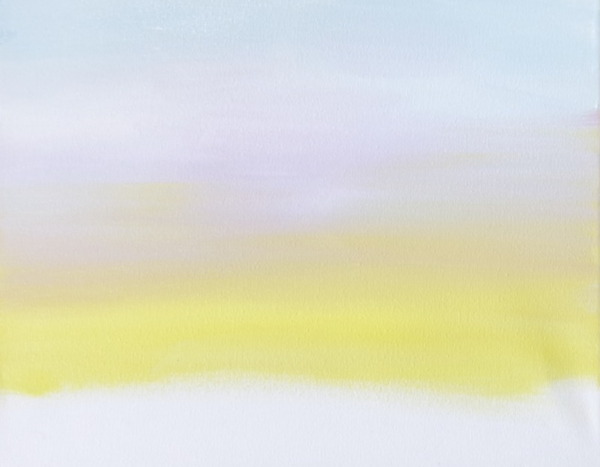
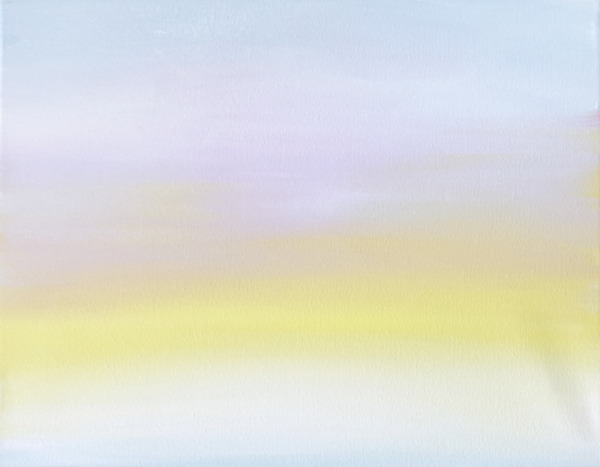
When you have about 1-2″ of a gap on the bottom of the canvas, rinse the brush. Then load it into just white. Paint the bottom gap with white and blend that up into the yellow. Add just a very tiny bit of light blue at the very bottom edge of the canvas and blend up.
2. Draw/ Transfer The Design To The Canvas
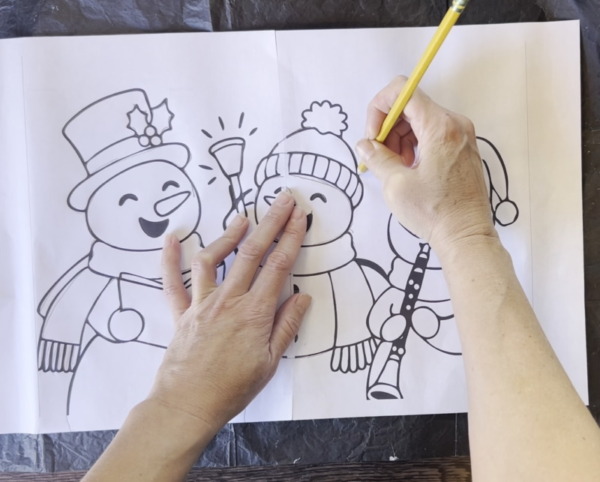
Print the tracer template on two papers and tape together. Place a piece of graphite paper below the template (shiny side down) and trace the design onto the canvas.
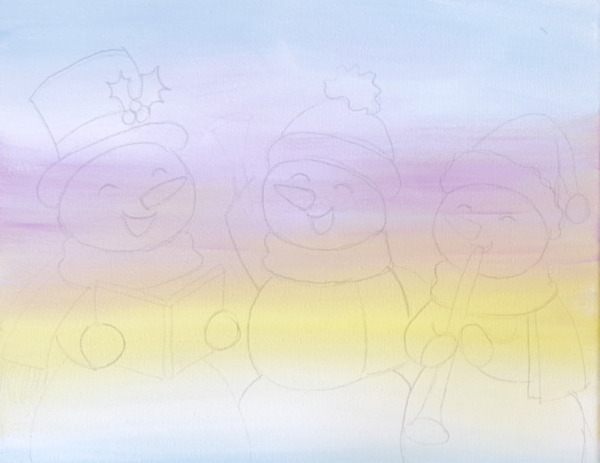
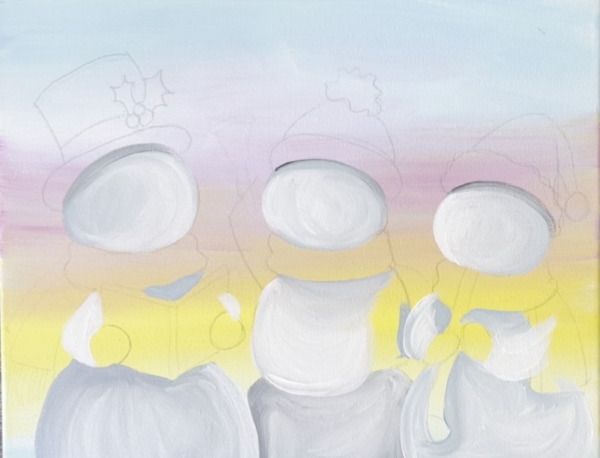
3. Paint Dark Shadow Layers Of Snowmen
In this next step we will be “blocking in” a grayscale of color on all of the snow areas of the snowmen. It will look darker than it needs to be because in a later step, we will be adding a white layer over it. Observe where the shadows would be. This includes: under the book, under the scarfs, under the hats and next to areas that are overlapping.
To mix the “shadow color”, mix about 4 parts white, 1 part black and 1 part light blue. Start with the snowman on the left and use the #4 round brush to paint the bottom snowball. Paint this shadow color under the arms and book and on the left and right edges of the curve.
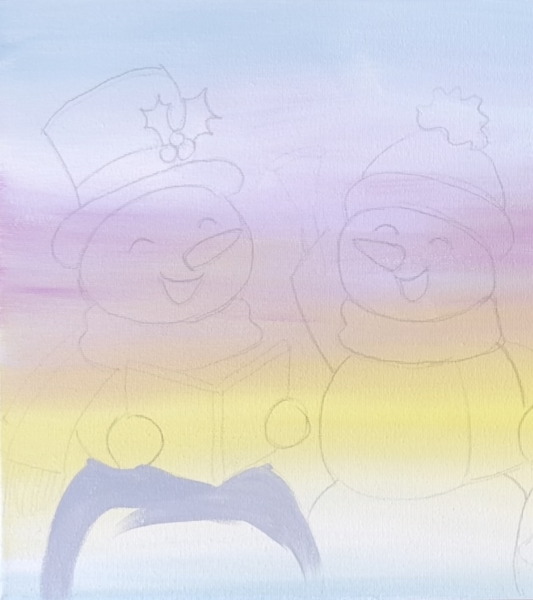
Then double load the brush into your gray shadow color and just white. Blend the middle part of this circle with this lighter color. (Note: if too dark, wipe brush and add more white to the brush). It should show up more as a lighter gray and not a pure white yet. Paint in curved directions to form the shape of a snowball.
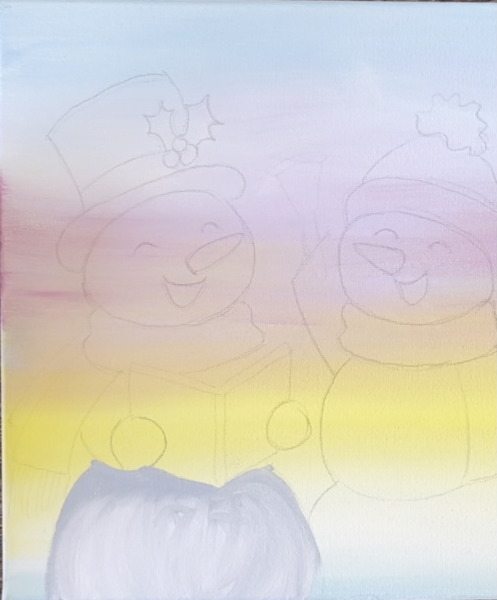
Repeat this for the next bottom snowball. Note the shadowy area that goes behind the snowball on the left. Continue to blend the light color in the middle of the snowball with the darker shadowy areas.
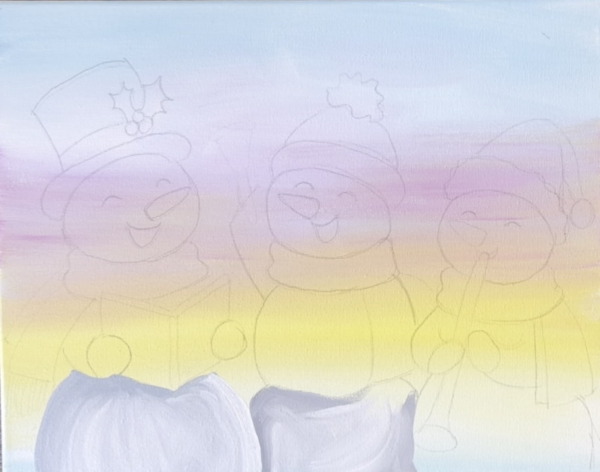
Continue to paint each of the snowballs with this technique of painting the shadow first and then blending in the light gray color. Note that the heads each have shadowing at the very top where the hats will be overlapping in that area. Shadowing goes around the clarinet and under the scarfs.
4. Paint Accessories
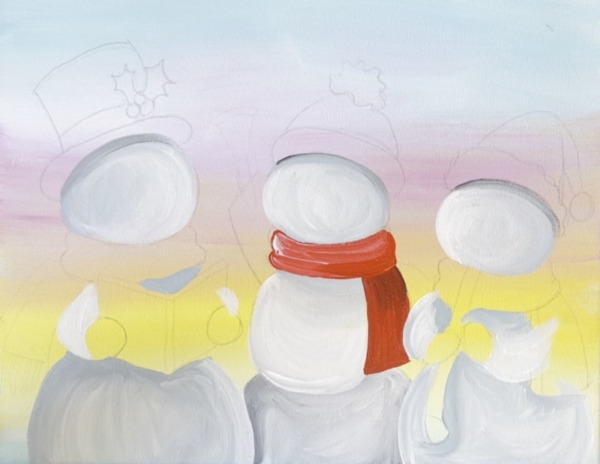
Use pyrrole red to paint the scarf on the snowman in the center. To shade the scarf, add the tiniest dot of black in the red on the top part of the scarf that folds under. To highlight the scarf, blend a small amount of white into the scarf that wraps around the neck areas.
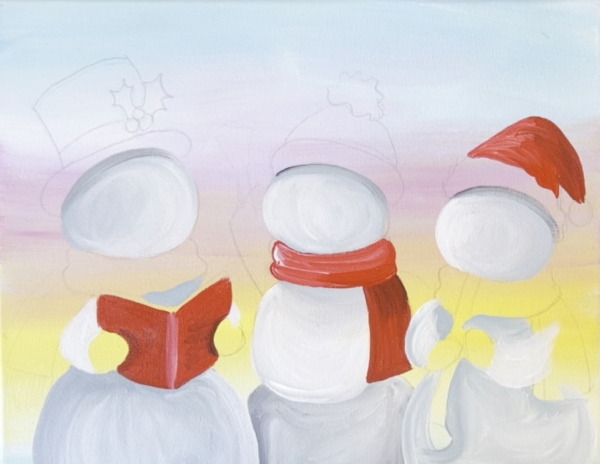
Repeat this shading and highlighting technique for the Santa hat on the right and the book on the left. Note the shadowing that goes behind the snowman hands and the highlighting along the spine of the book.
Mix an aqua color for the other two scarfs and knit hat. Mix about 3 parts “light blue”, 1 part “primary yellow” and the tiniest amount of magenta (optional). Then mix a little bit of titanium white into it to create a light aqua-mint color. Use this color to paint the scarfs. To shade the scarfs/ create shadowing, mix the tiniest amount of black into the aqua color.
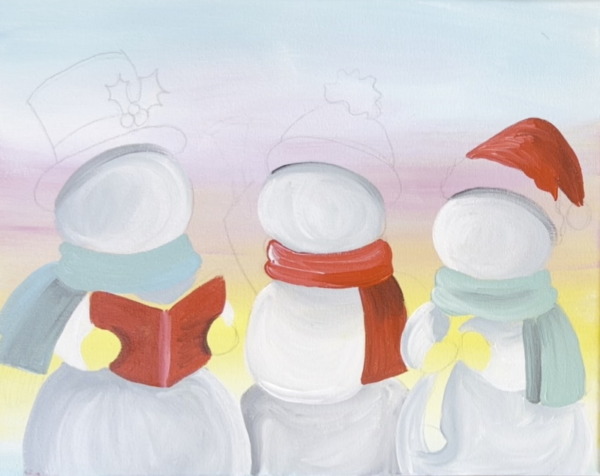
Use the aqua color to paint the knit hat on the snowman in the middle. Then use black to paint the hat and mittens on each of the snowmen.
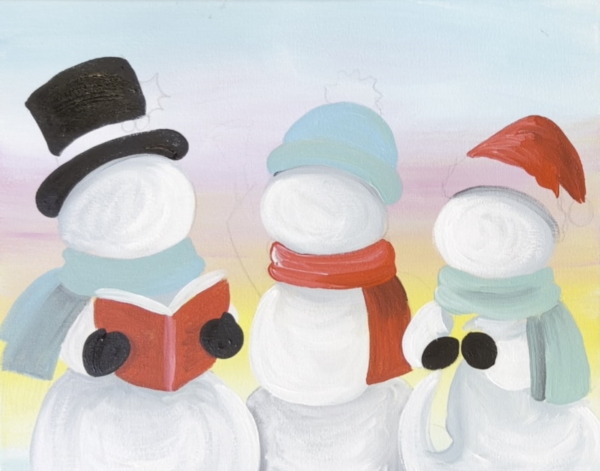
5. Paint Second Layer Of White On Snowmen
In this next step, you will be adding a second coat of white to the snowmen in all of the snowy areas. The goal is to not cover the shadows and to brighten the sides of the snowballs that would be bright white. This makes the snowmen look more three dimensional.
To do this, “dry brush” or “glaze” the white over the first layer without completely covering it up. To try the dry brush method, load the round brush into white and wipe off excess paint. Then paint the white over the bright areas of the snowball. Apply very little white in the shadow areas and leave the darkest shadowy parts alone without anymore layers of paint.
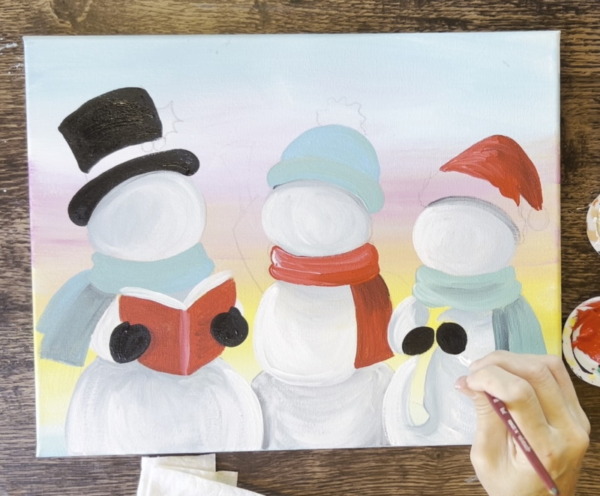
If you want to try the “glaze” method, slightly water down the white paint to a thin consistency. Then apply the white to only the bright areas of the snowmen and leave the shadowy areas alone.
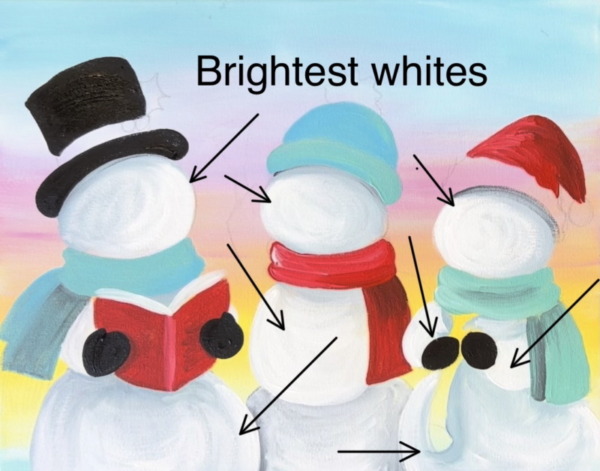
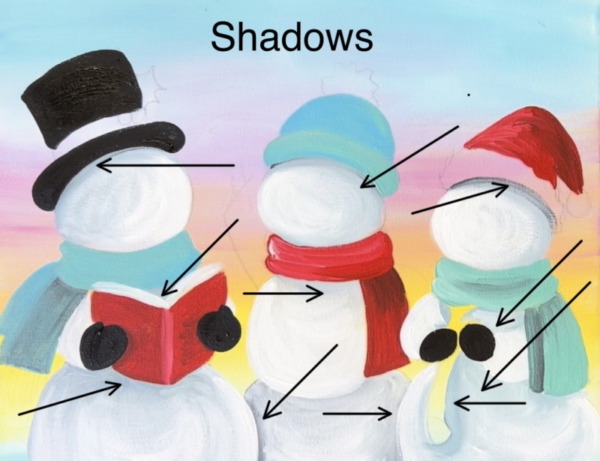
With both techniques, you want to make sure shadowy areas are still visible.
6. Texture Details On Hats & Scarfs
Use the round brush to “stipple” white dotted texture for the bottom of the Santa hat as well as the circle at the end of the Santa hat. To create the “knit pattern” on the middle snowman’s hat, mix white with the aqua color to make a lighter version of that color. Then paint little vertical marks along the bottom lining of the hat but leave a dark gap between each of the marks. Then paint the fuzzy ball on top by painting little light gray diagonal marks that go outwards to form a circle. Layer on bright white over it to create a brighter color. When you drag the little paint strokes outwards, release the pressure quickly to create a thin/ wispy edge.
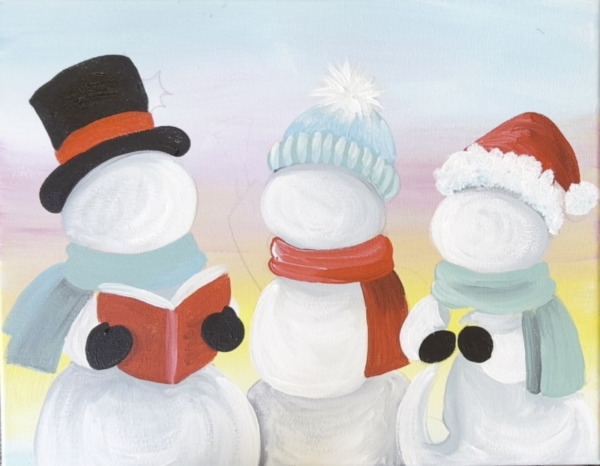
Paint texturing on the ends of all of the scarfs. Mix a tiny bit of black into either red or aqua to create a dark color. Use the end of the round brush and brush downwards to create thin/ wispy edges for the tassels on the scarfs.
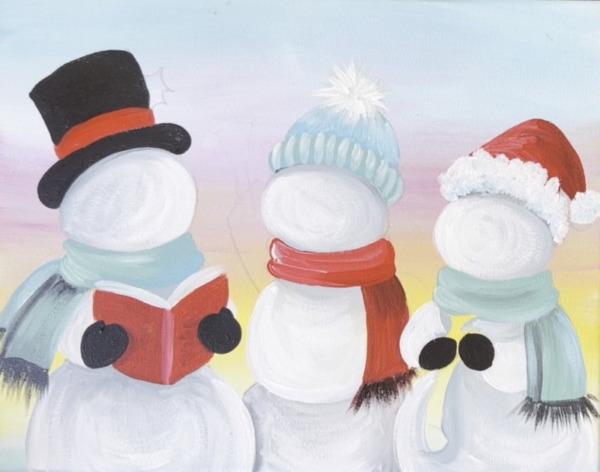
7. Paint Facial Features
Mix orange on your paint palette by mixing 3 parts yellow to 1 part red. You can pre-draw the noses with a pencil if it helps! Paint carrot noses in the center of each of the snowman heads. Each carrot is curved on the bottom and just slightly pointed at the end. The direction of the nose goes in the direction that the snowman is looking.
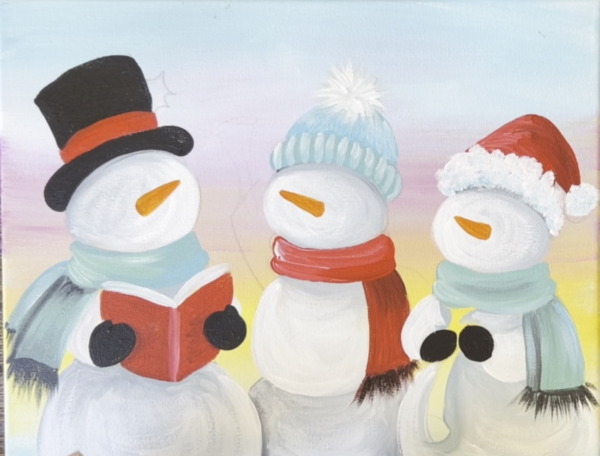
Use a paint pen to draw the eyes and mouths.
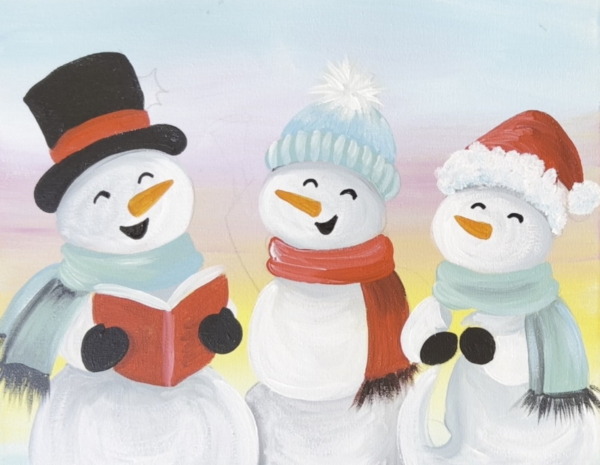
Draw buttons and clarinet outline.
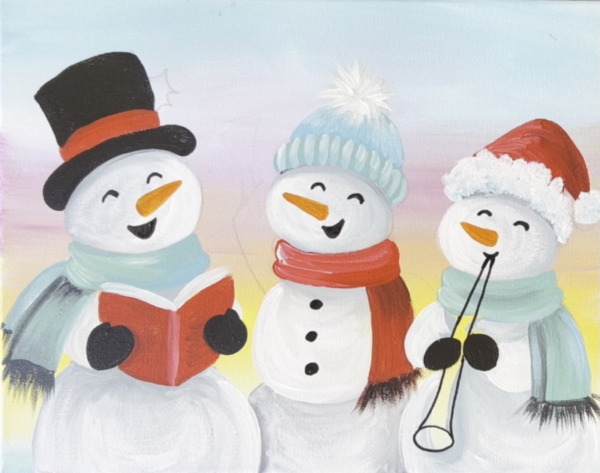
8. Bell and Clarinet
Paint the stick arm of the snowman in the middle. Mix a brown on your paint palette by mixing equal amounts red, yellow and blue together. Add just a tiny bit of black into the color to darken it. Then paint the stick arm going upwards to prep for it holding the bell.
Then paint the shape of the bell yellow.
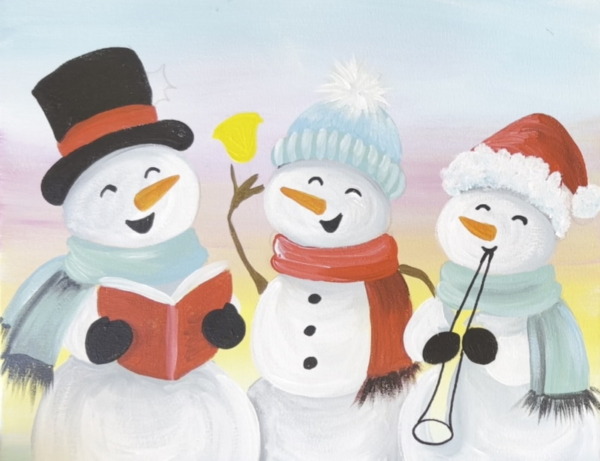
Use black to paint the handle of the bell. Then use brown to very lightly shade the bottom of the bell.
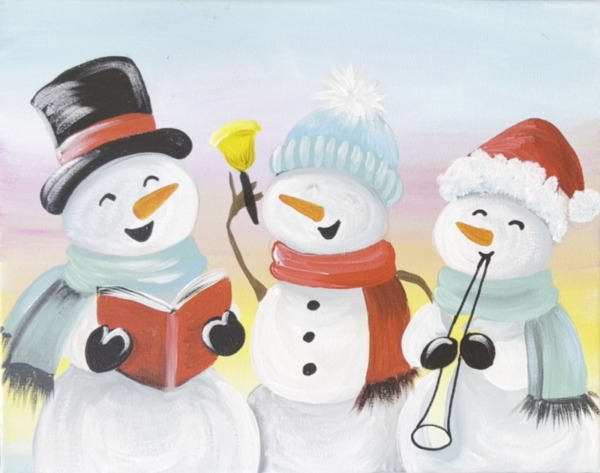
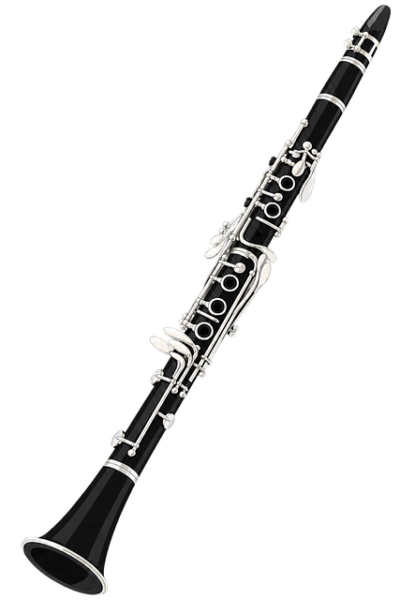
Use white to “dry brush” highlight the black hat on the left. Highlight all of the mittens with a very light brush stroke of white. Then paint the clarinet black.
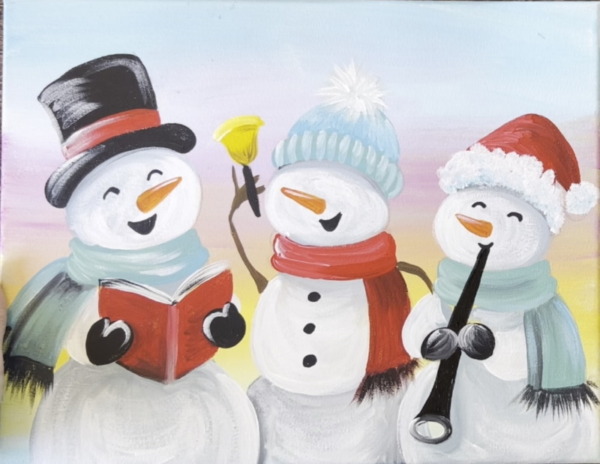
After the black dries on the clarinet, paint a combination of white rounded circles and a few horizontal/ vertical marks for the keys of the clarinet. You can be very abstract about this! Paint the bottom horn opening of the clarinet a light gray color and paint a few light gray/ white bands.
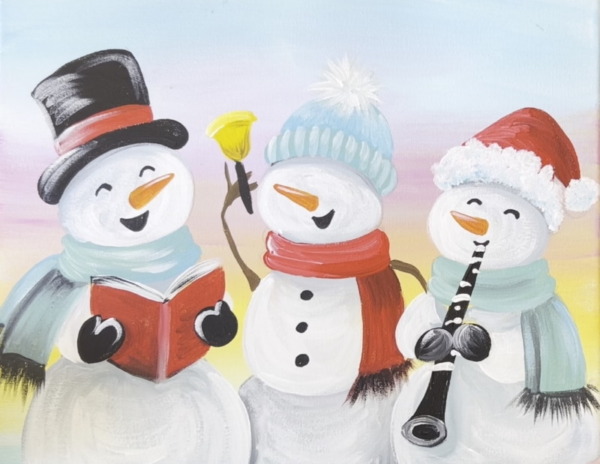
Adjust the mittens if needed to overlap the clarinet. If needed, paint the mittens a lighter gray color and add thumbs.
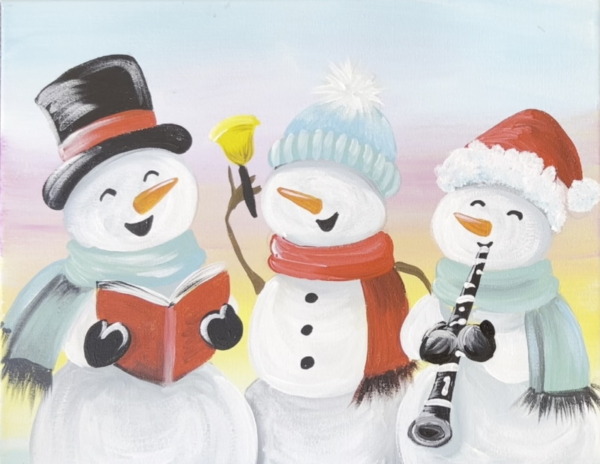
Highlight the left side and top of the bell with white. Then paint a few “motion lines” with white above the bell.
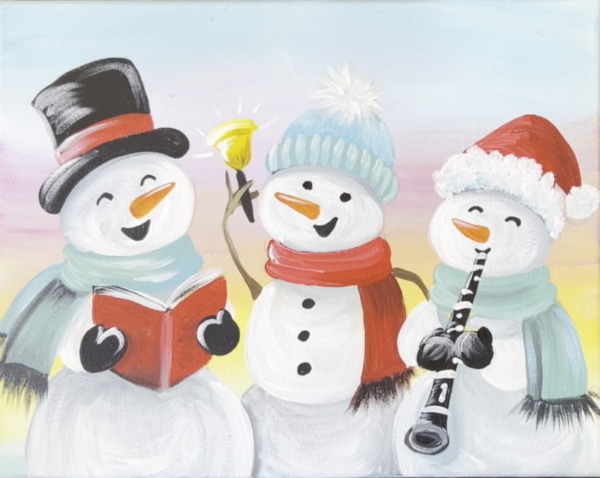
Note: I changed the eyes on the center of the snowman to be circle eyes instead of curved!
9. Scarf Designs
Paint scarf designs such as zig-zags, stripes and dots. Use just white to do this! They don’t need to be intricate designs because the painting already has a lot of busy details!
10. Snow Dots and Music Notes
Use a paint pen to paint music notes. Use white on the paint brush to paint simple snow dots in the sky.
Finished!