Would you like to save this?
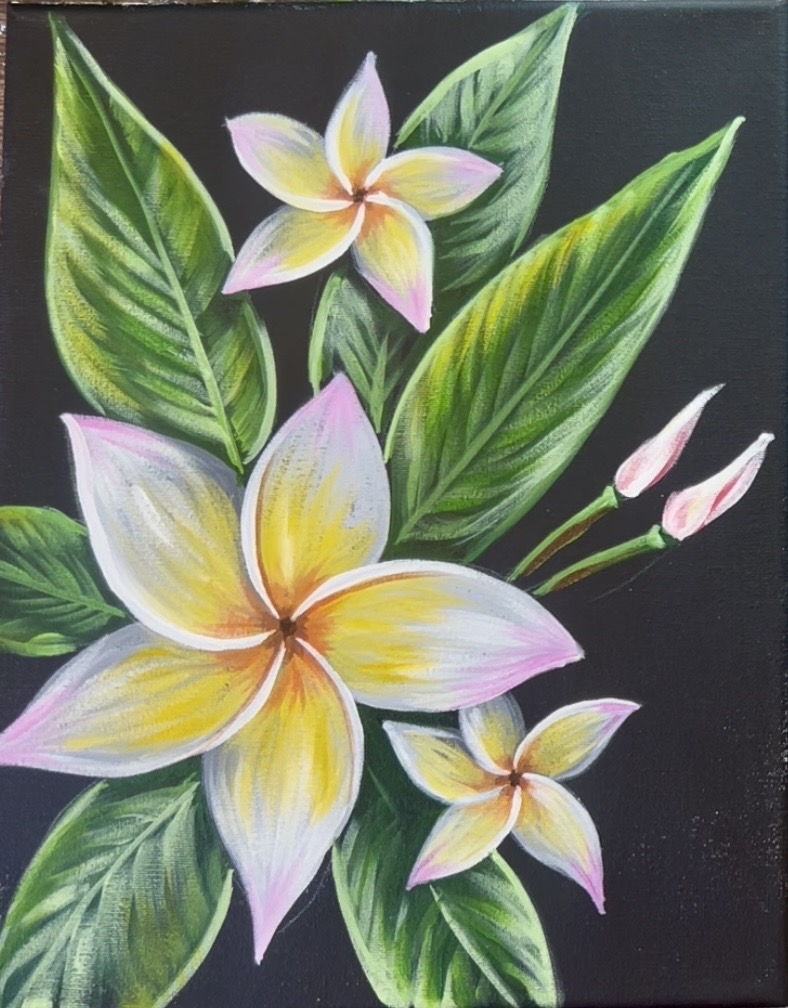
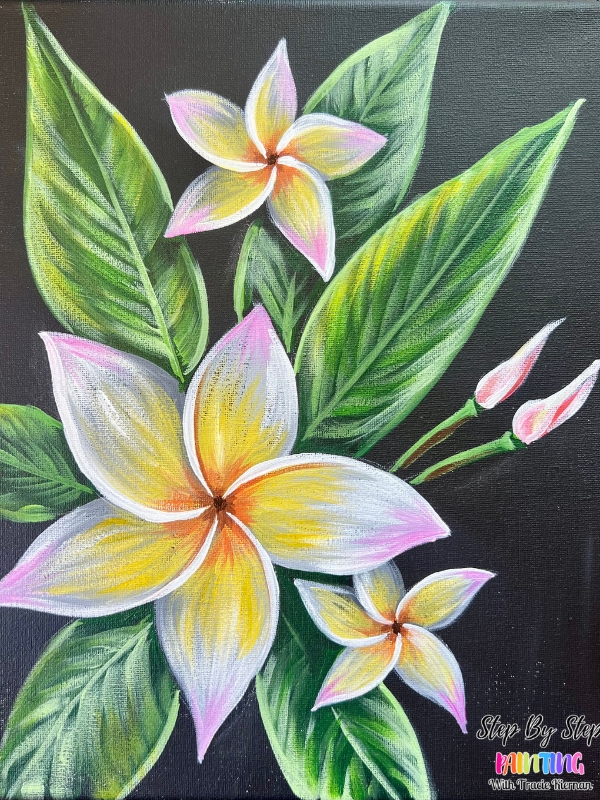
In this tutorial we will be painting a simple tropical composition featuring one of my favorite flowers, the plumeria! I love plumerias for their scent and bright yellow/ pink colors blended on delicate white petals. Plumerias have five petals, all of white slightly overlap each other. The leaves of a plumeria plant are long, dark green and narrow.
This painting is done on a black canvas background. Drawing instruction is provided.
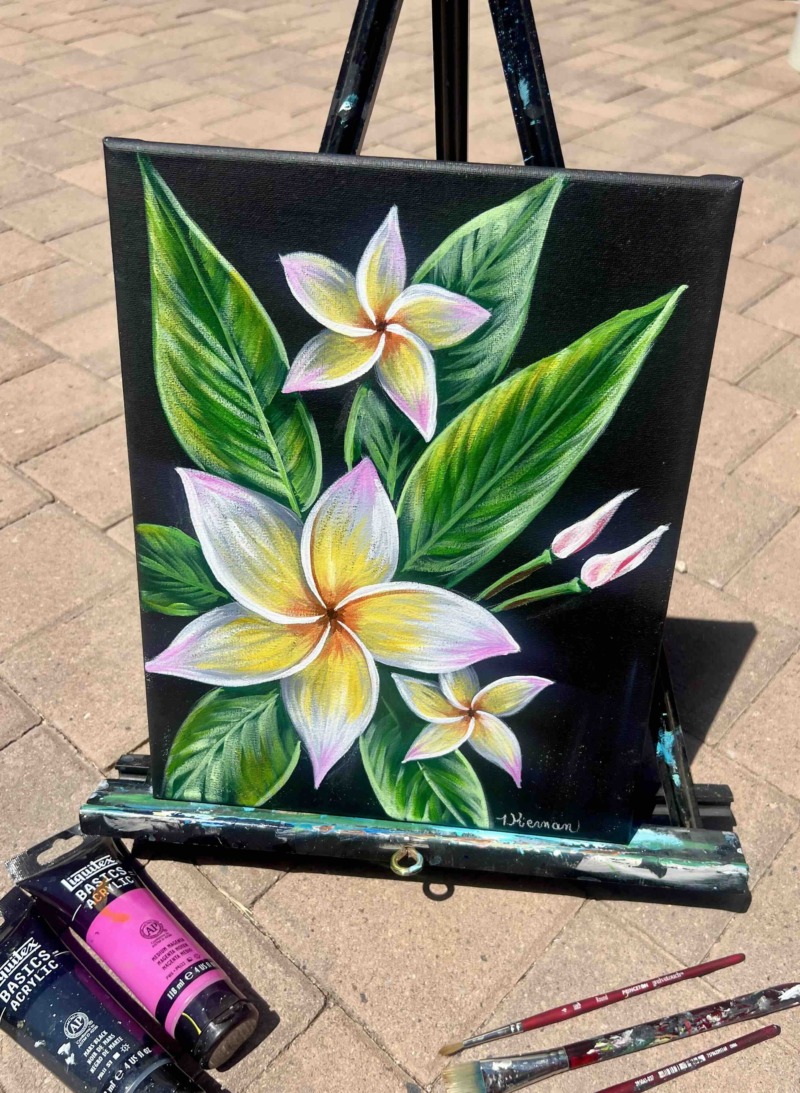
Enjoy and happy painting!
Want to view this ad-free? All-Access members can see this in the member login area as well as download the lesson to view offline. You can also purchase this as an individual $5 tutorial download with bonus traceables. Find out more here!
Materials:
- 11×14 Canvas Painted Black
- Acrylic Paints (Liquitex BASICS is what I use)
- Paint Brushes (Velvetouch Princeton)
- White Chalk Pencil
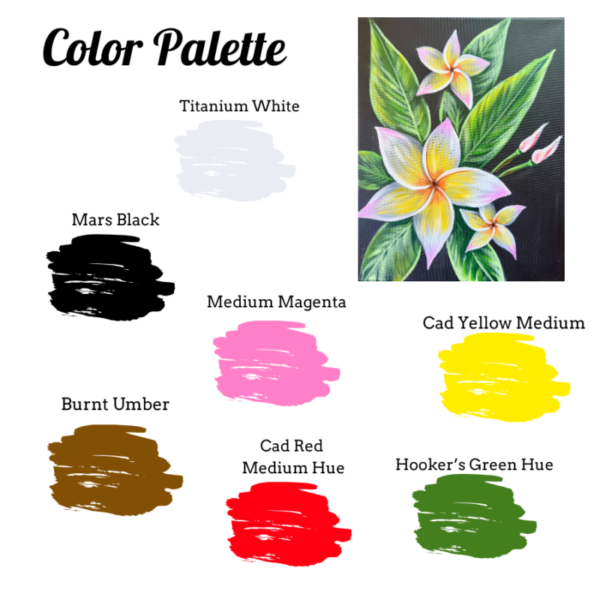
Colors:
- Mars Black
- Titanium White
- Cadmium Red Medium Hue
- Cadmium Yellow Medium Hue
- Hooker’s Green Hue
- Burnt Umber
- Medium Magenta
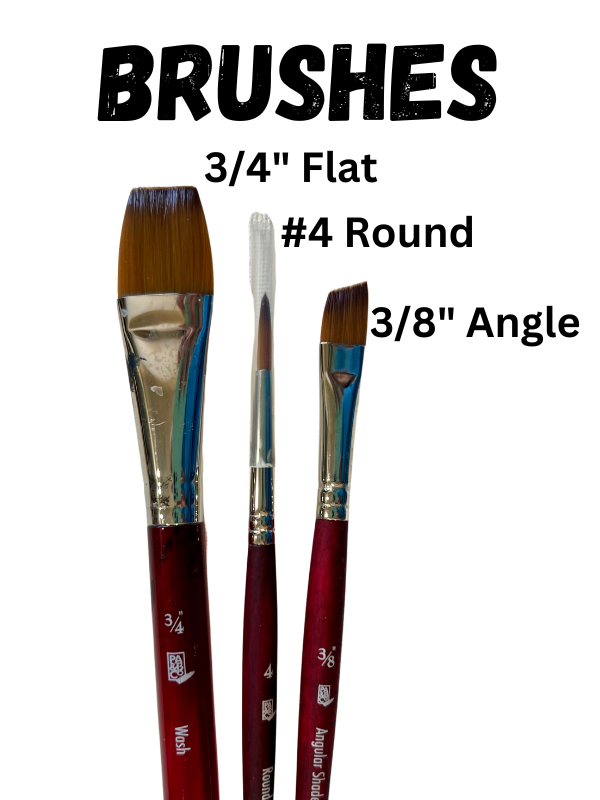
Brushes:
- 3/4″ Flat Wash Brush
- 3/8″ Angle Brush
- #4 Round Brush
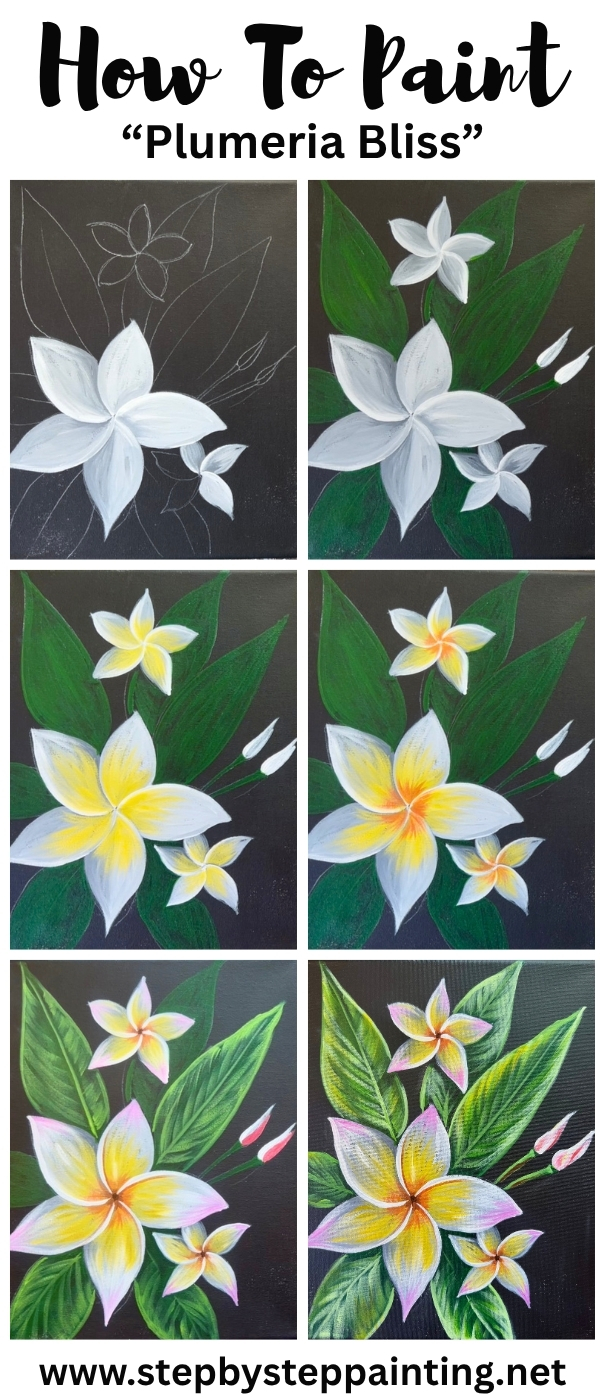
Directions At A Glance:
Video:
Step By Step Instructions:
1. Draw Plumerias & Leaves
First, paint a canvas a solid coat of black paint. I used Mars Black by Liquitex BASICS but you can use any brand of paint to paint a canvas black. Let this dry before going onto the drawing.
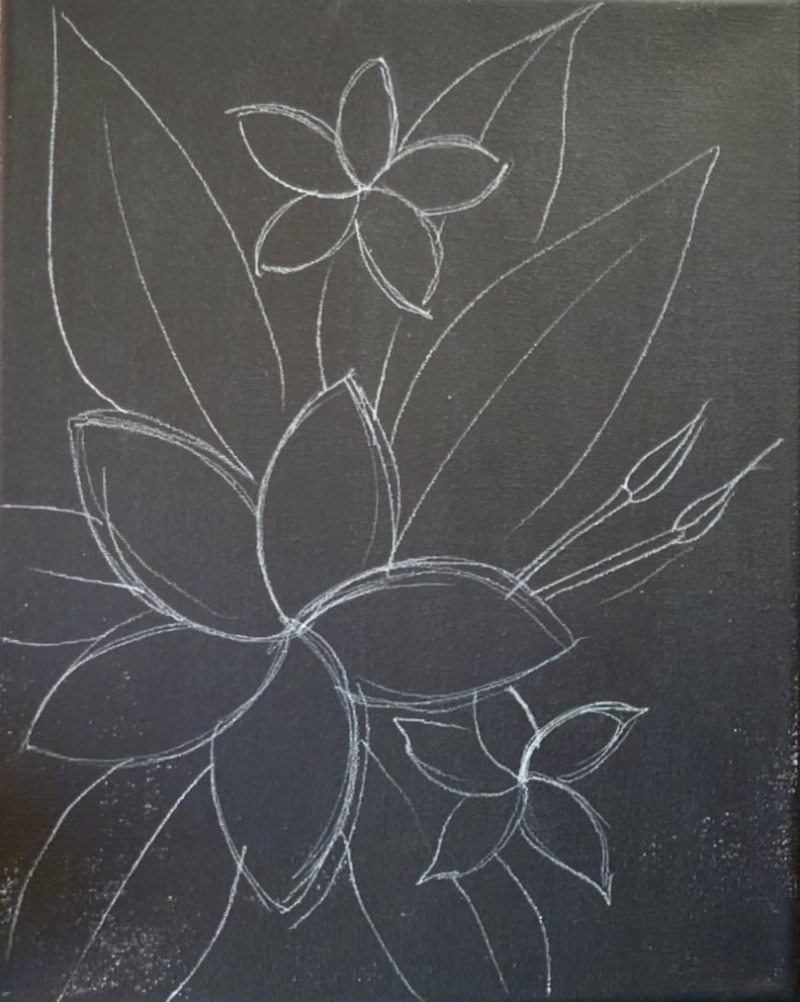
Use a white chalk pencil or piece of white chalk for the drawing. Start with the larger plumeria on the bottom left of the canvas. Plumerias have 5 petals that each overlap each other. The left edge of each petal kind of forms this twisted star pattern. To replicate this, draw 5 curved edge lines that radiate out from a central dot. Make each of these curved lines relatively even and spaced apart, although they don’t all have to be perfect.
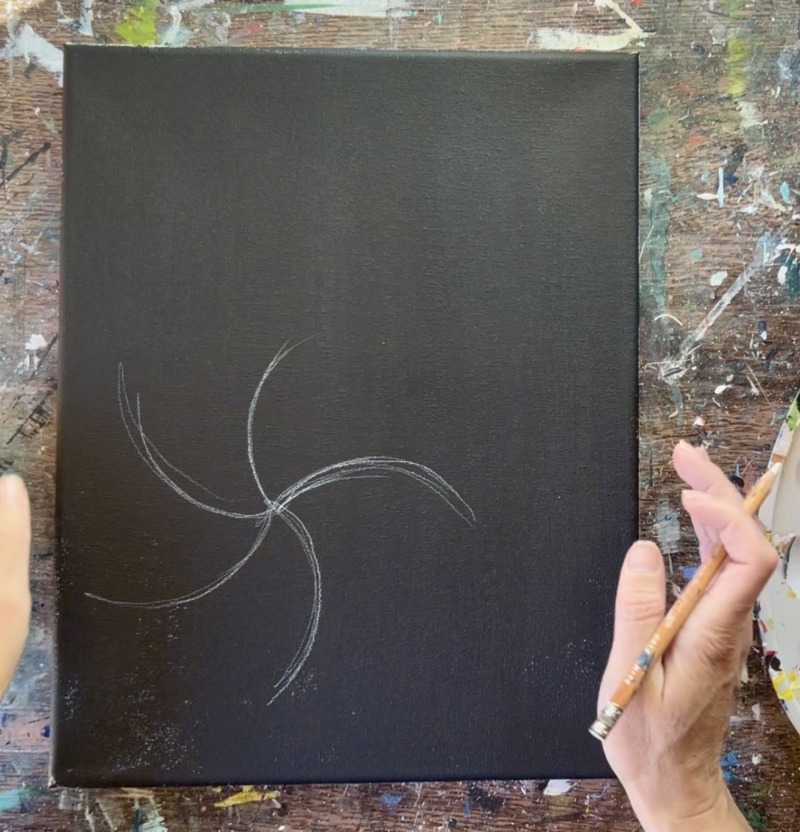
Then complete the petal shape by drawing the opposite end of the curve and have it connect to the petal next to it. By doing this, you create five petals that are overlapping each other.
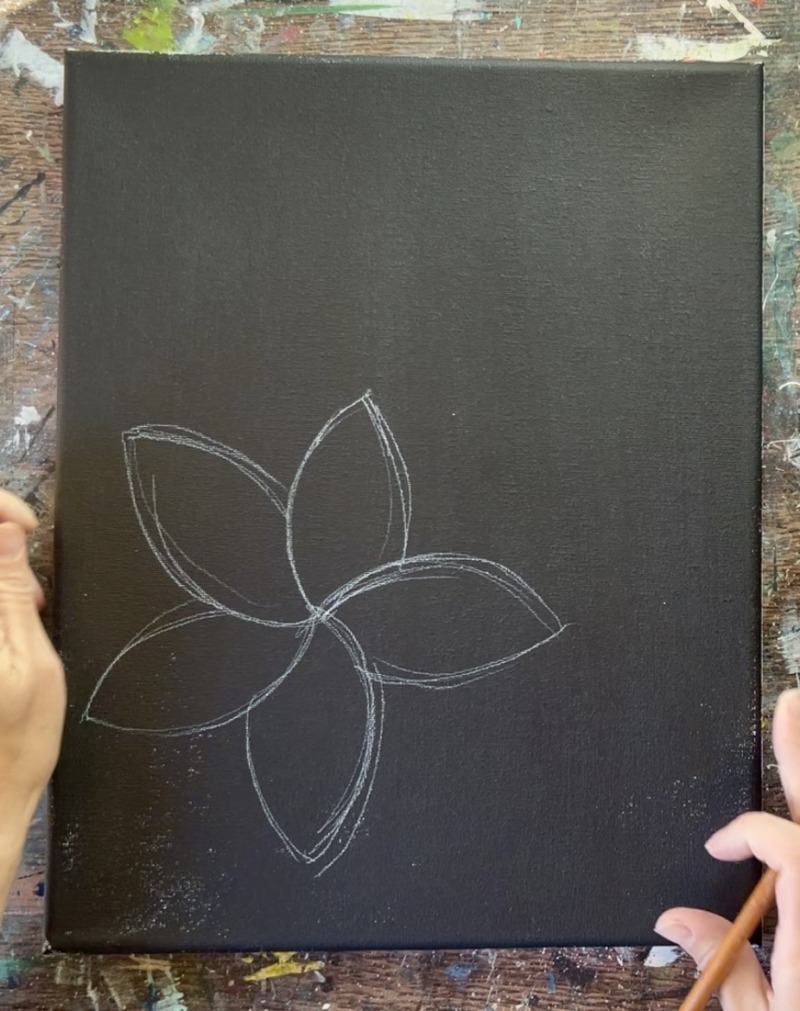
Repeat this step to create two smaller flowers above and below the large flower.
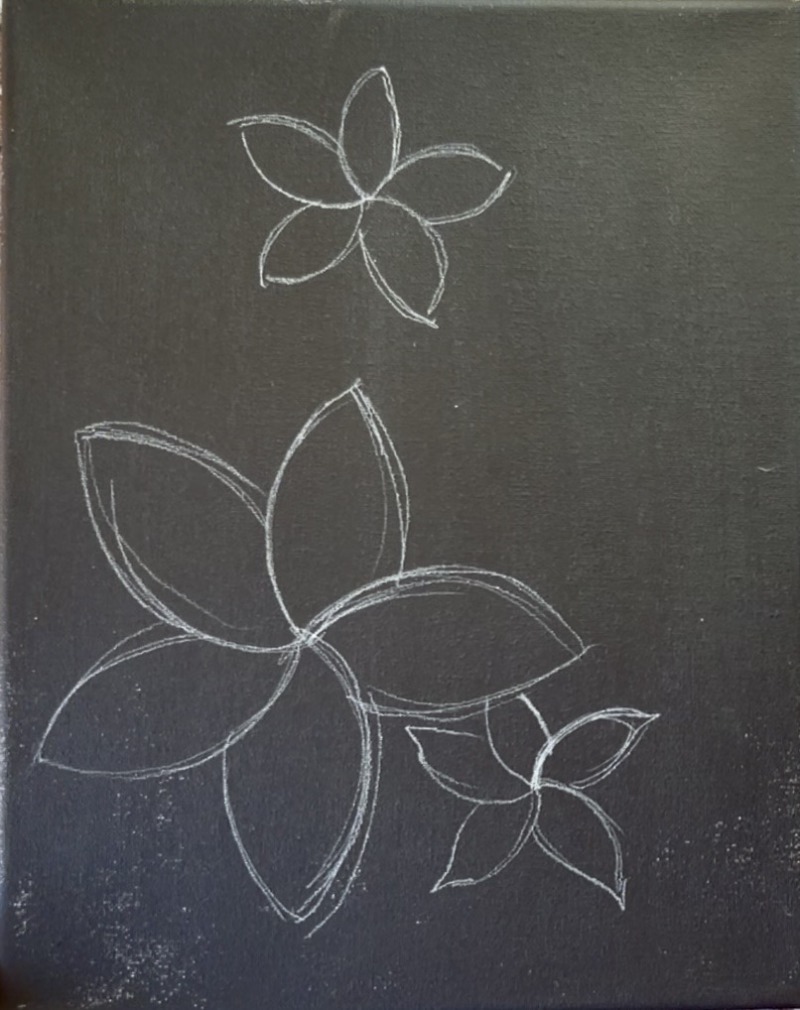
Next draw the leaves. Plumerias have very long and narrow leaves that are pointed at the tips. Draw a set of elongated leaves between the petals of the large plumeria.
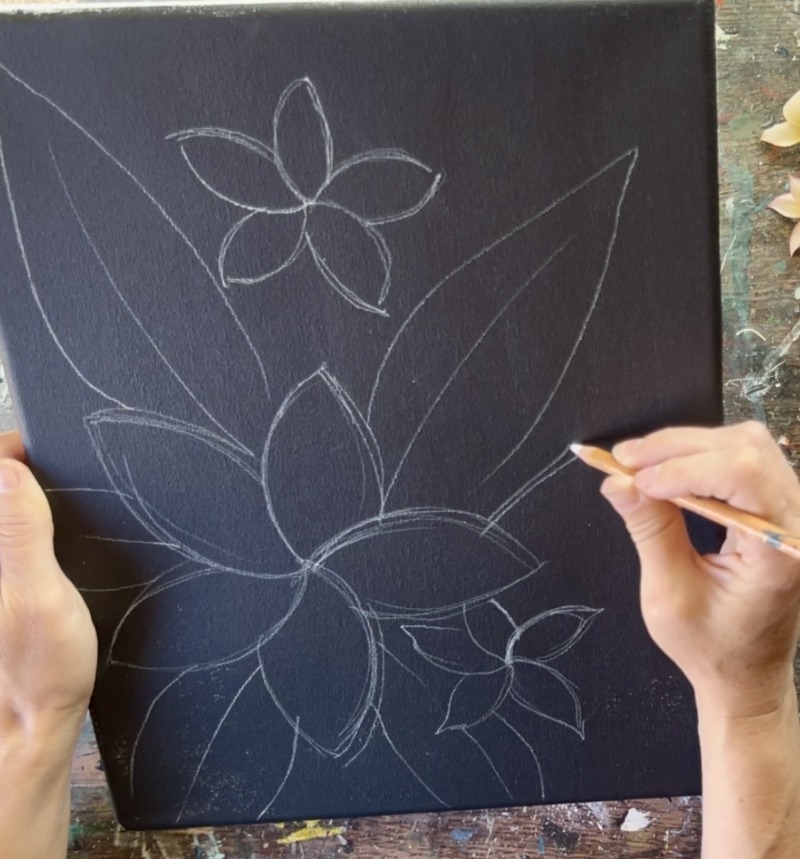
Draw three more leaves on the bottom left of the large flower that extend and go off the edge of the canvas. Draw another large leaf that goes behind the small flower on the top. Then draw a set of blooms. Plumeria blooms show up on single stem “inflows”. The bud starts as a narrow cone shape attached to the end of the stem. I did two buds on the right side of the canvas.
2. Paint Petals Shades Of Gray
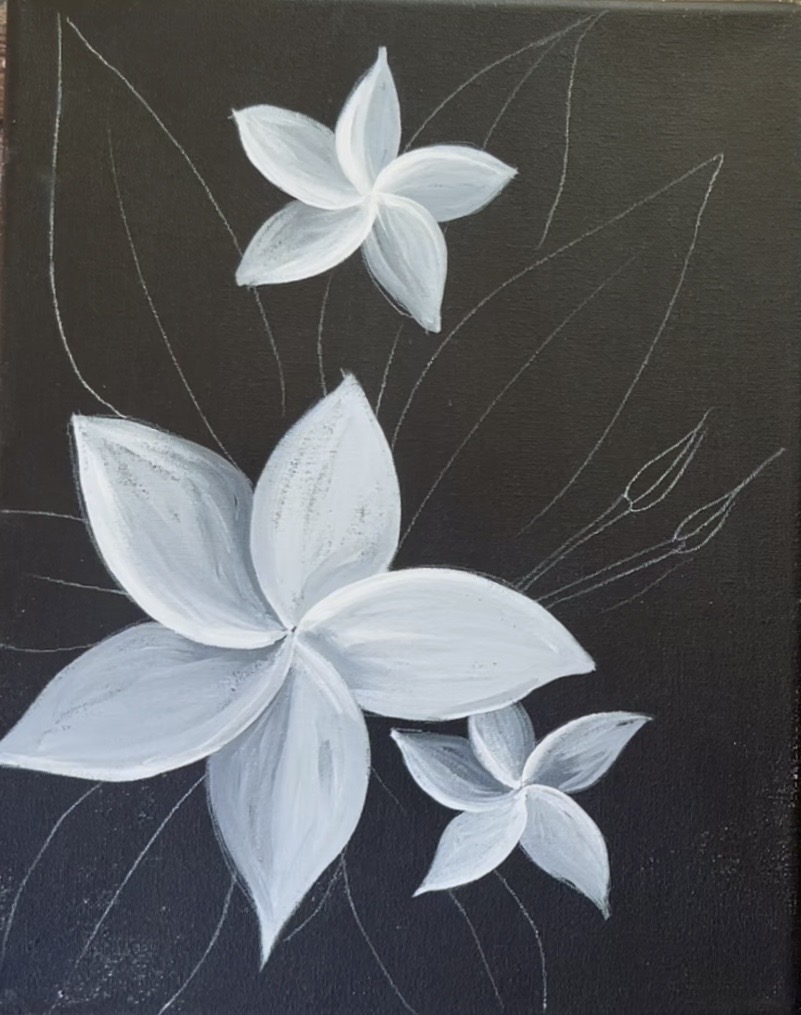
The first layer of the plumerias will be shades of gray. We don’t want to paint the petals pure white first because we are saving that bright white color for later when we brighten the flower!
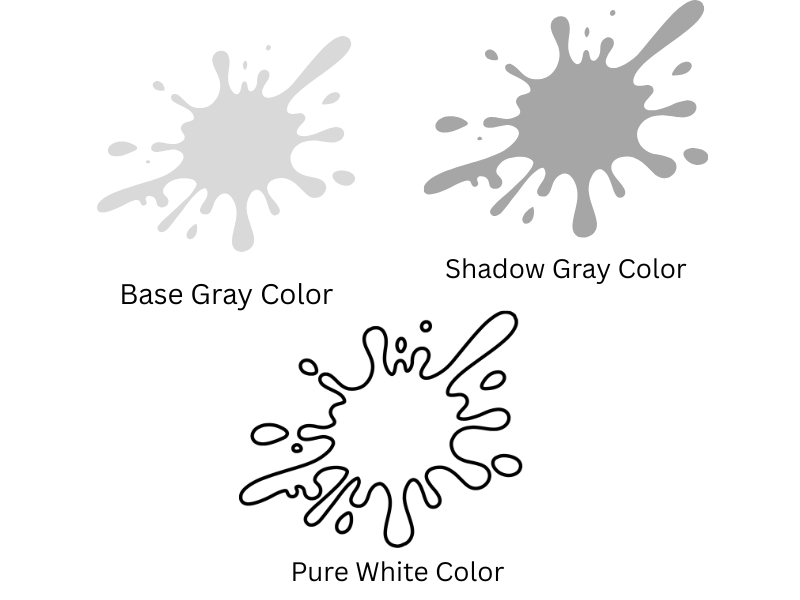
Start by mixing a light gray on your paint palette by mixing 3 parts “titanium white” to 1 part “Mars Black”. This will be the “base gray” color that all the petals get painted with. Next to that color, mix a darker gray by adding just a tad bit of black into it. This darker gray will be our “shadow gray color”. Basically, your palette should have a light gray, medium gray and pure white.
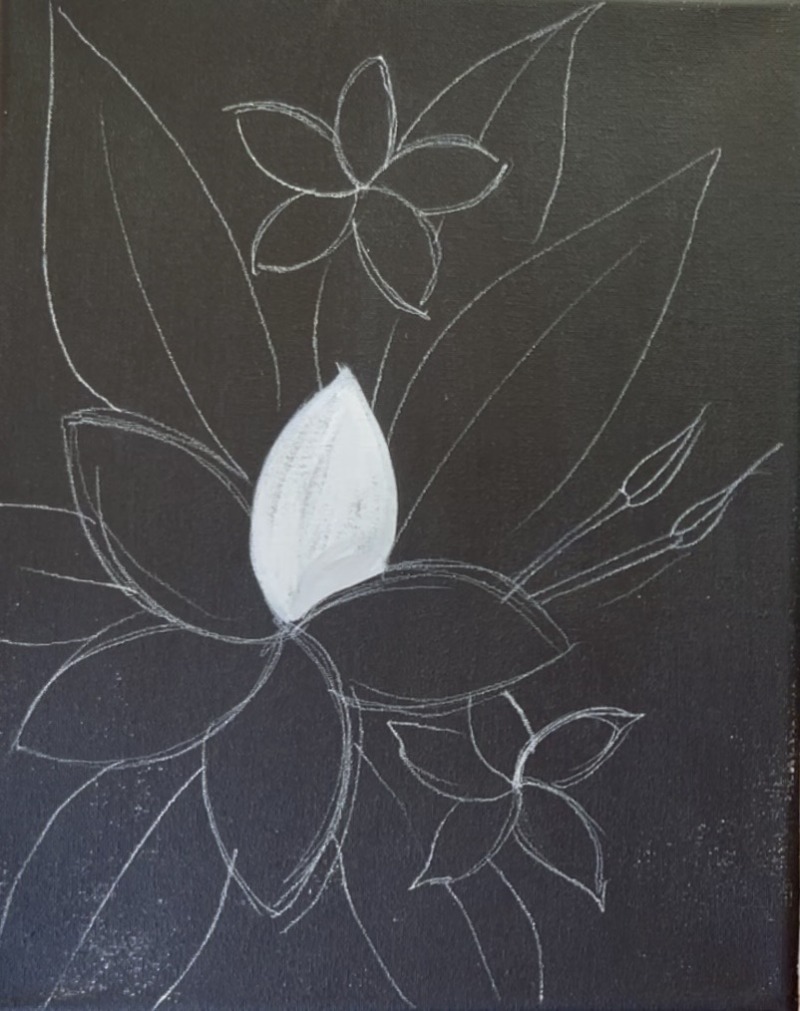
Paint the first petal of the large flower with the base gray color (your lighter gray). Use the #4 round brush for this step.
Then, blend a little bit of the “shadow gray” color on the right side of it where the next petal will be overlapping it. This will create the illusion of shadow when we paint the next petal to the right. Paint the next petal to the right with the base gray color again.
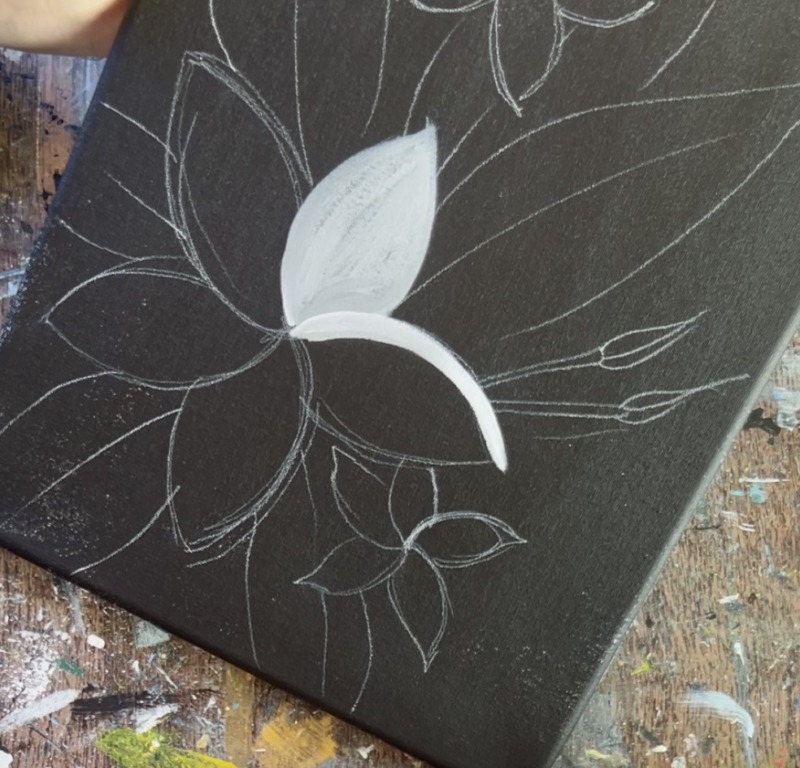
Repeat this step for each of the petals. Make your darker gray shadow color on the opposite side of the overlapping petal.
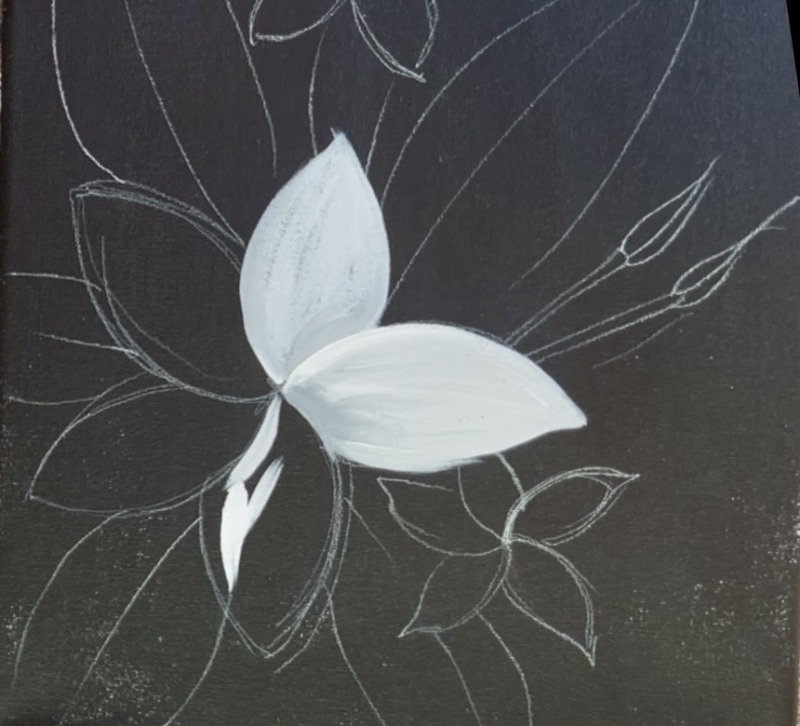
As you do this, you can dip the tip of the brush in a little bit of “pure white” and blend the edge of the petal with white (the part of the petal that overlaps).
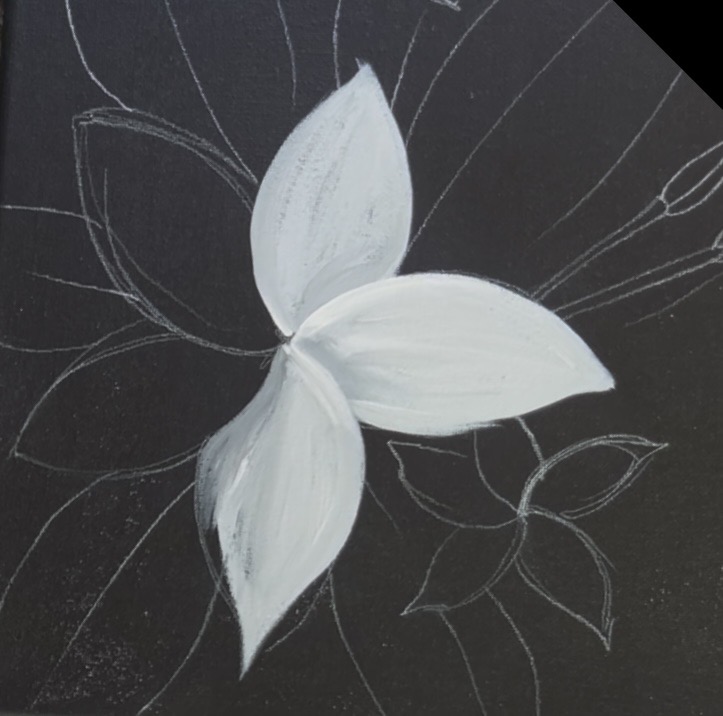
Essentially each petal has a gradient of light to dark with the lightest part on the edge of the petal that’s on top and the darkest part next to the petal that overlaps.
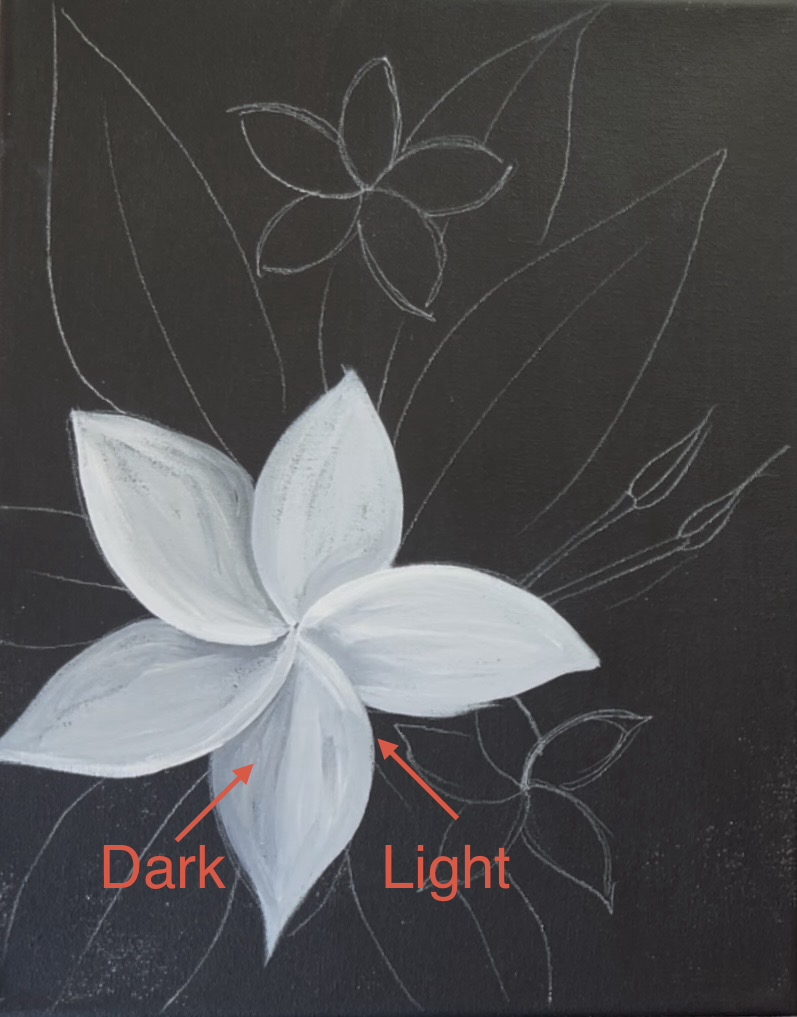
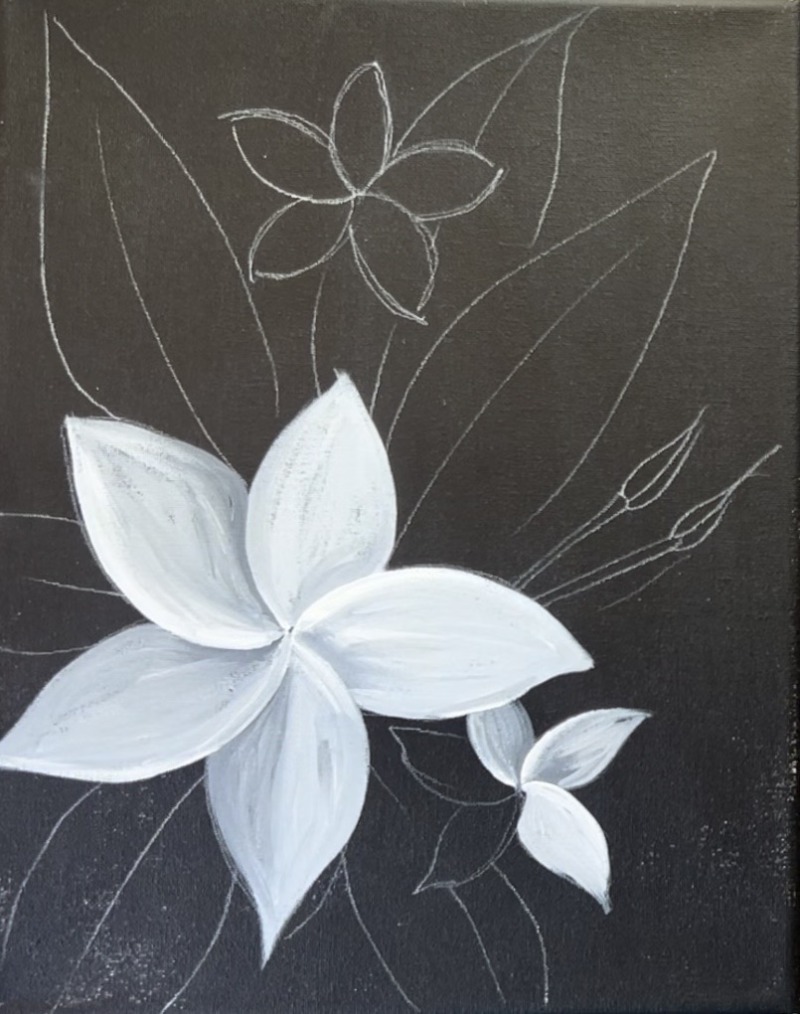
Repeat this gray technique for each individual flower.
3. Paint Leaves
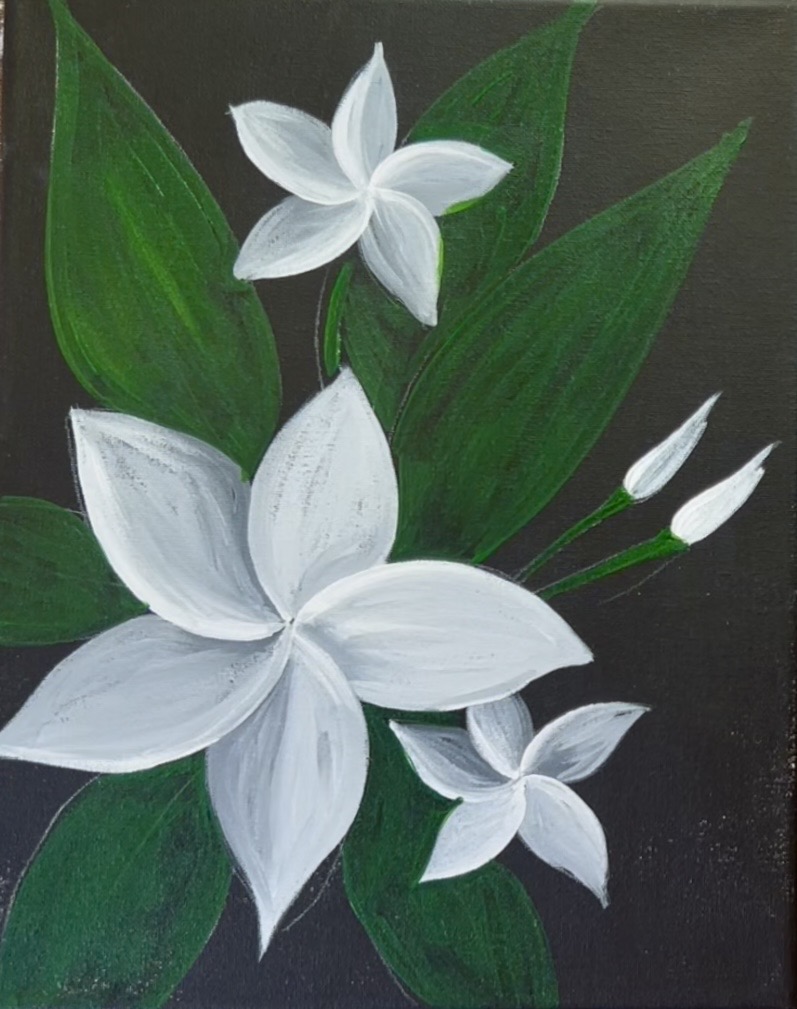
Use the 3/8″ angle brush to paint each of the leaves a solid coat of “Hooker’s Green Hue”. You don’t need to apply multiple layers, in fact, it’s expected that a lot of the black canvas will show through because this color is semi-transparent. It will not show up bright and we will add layers of lighter green color later.
4. Paint Yellow On Middle Parts Of Petals
Use the #4 round brush and the color “Cadmium Yellow Medium Hue” mixed with “Titanium White” (equal parts). Lightly brush yellow from the center of the flower and outwards in the direction of the petal shape. Brush the yellow up only halfway up the petal and release the pressure of the brush so the yellow fades away into the rest of the white/gray. Leave the upper half of the petal that white/gray.
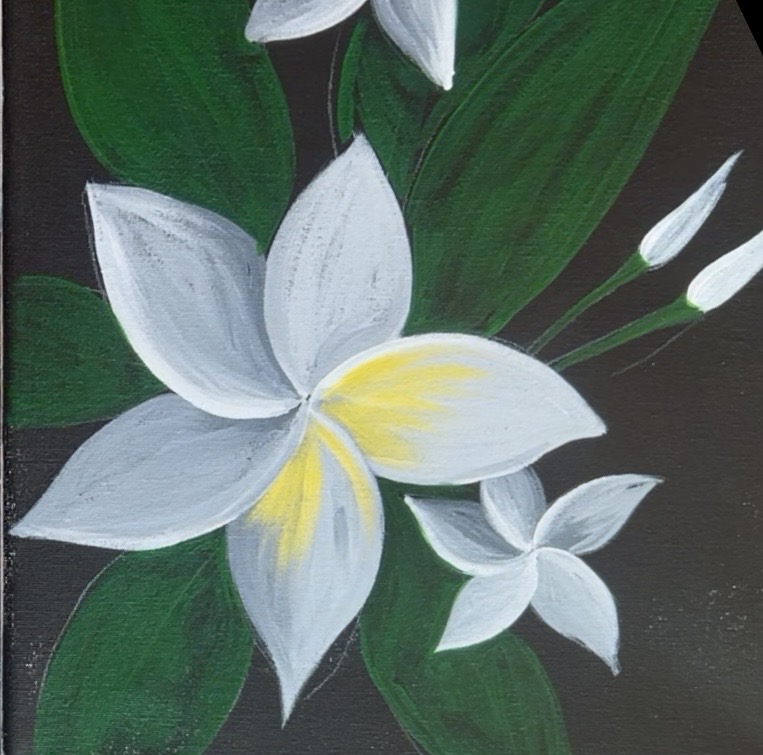
Repeat this for each of the petals on each of the flowers.
5. Paint Orange In Middle Of Flowers
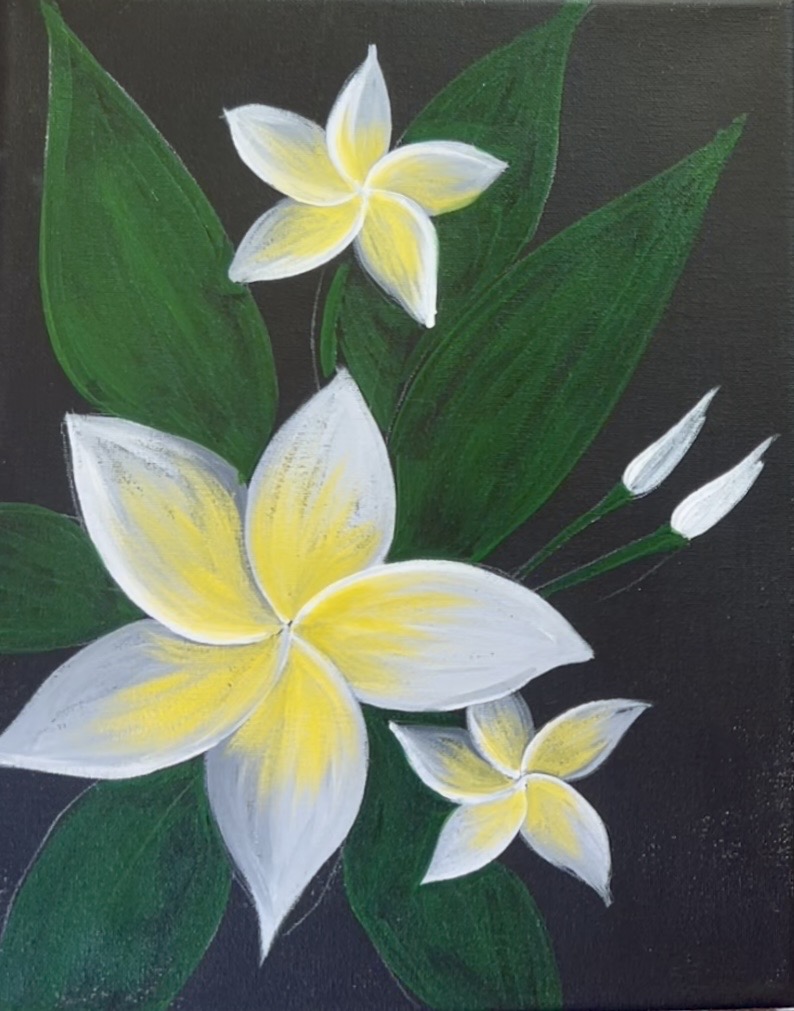
Mix on your palette 3 parts “Cadmium Yellow Medium Hue” and 1 part “Cadmium Red Medium Hue”. Use the #4 Round Brush and lightly brush the orange in the very center of the flowers. Go out about a quarter to a half of the way and let the orange fade out into the yellow. Do this to each of the flowers.
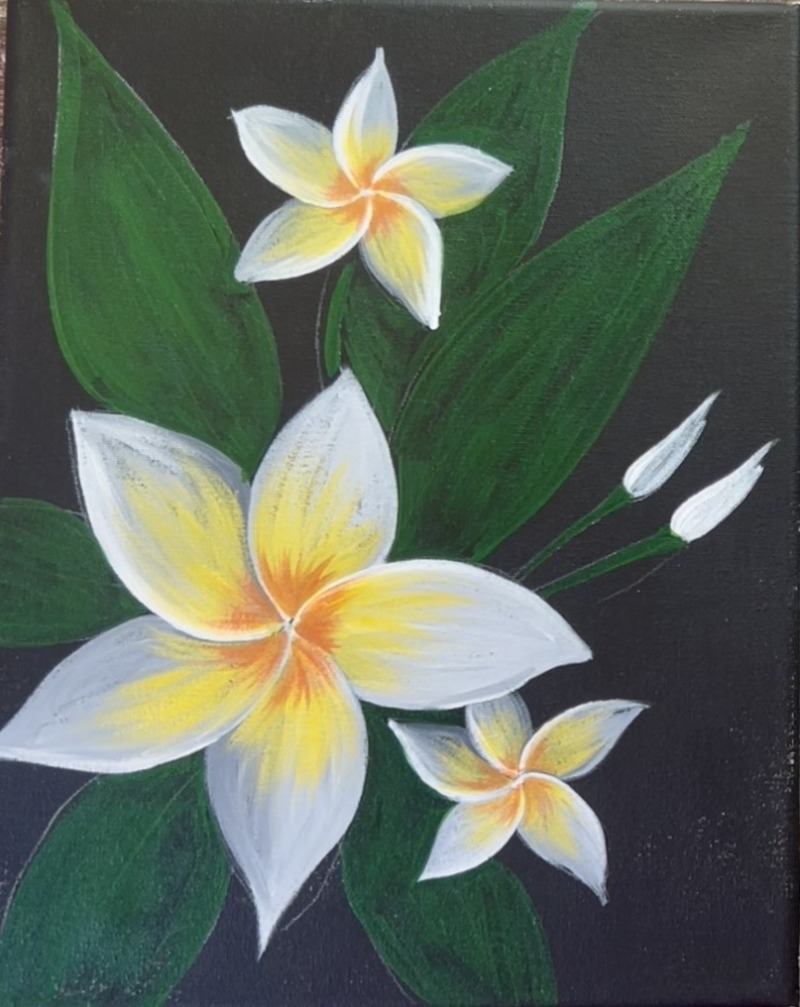
6. Paint Brown In Very Center Of Flowers
Use “Burnt Umber” mixed with your orange mixture (you can mix brown and orange equally). Use the #4 round brush and drag short paint strokes out from the very center of each of the flowers and bring it out about 1/4 to 1/2 the way over the orange layer.
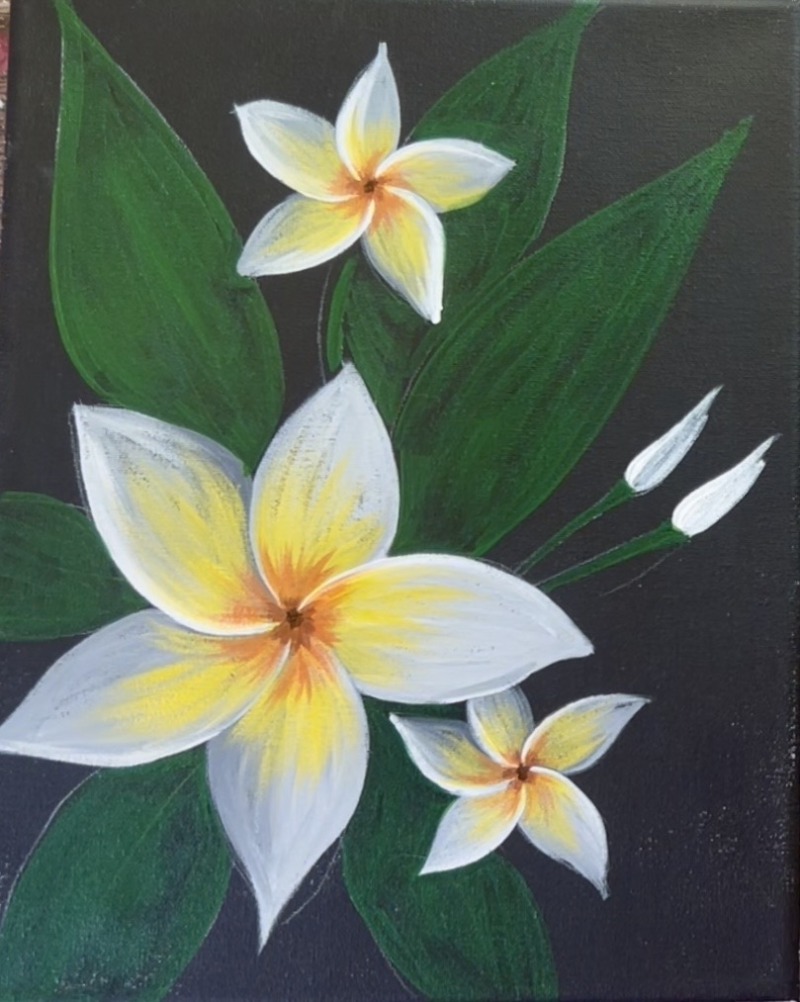
Then use just “Burnt Umber” and paint a single dot in the very center of each of the flowers.
7. Paint White Edge Of Petals From Center Outwards & Add More White On Edge Of Petal
Note the white edge of the petal that spirals out from the center of the flower to the edge of the petal. If you lost this edging, you can use the round brush to paint that thin white line. This line is only on one side of each of the petals. Optional: to give that line some “shadowing”, paint a tiny slither of dark orange right next to your white edging. This will make the petal look like it’s slightly curled on the edge. Note: I only added that dark orange shadow line on the large plumeria and not the two smaller ones.
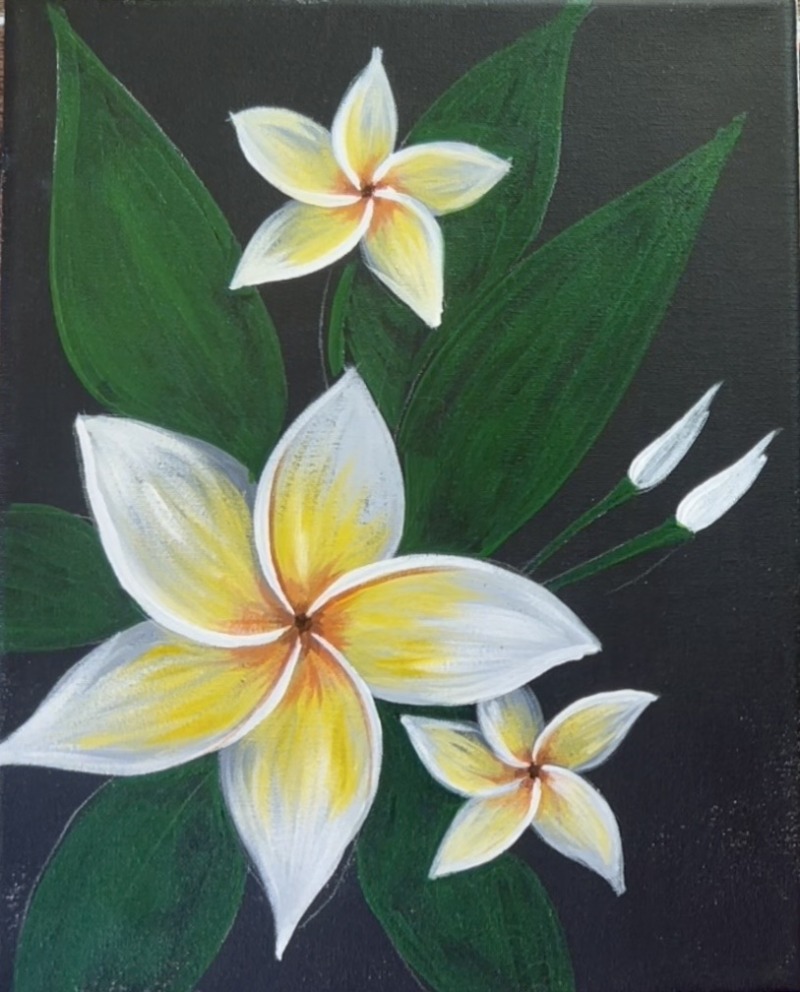
After outlining one edge of each of the petals with white, lightly add white on the end of the petal and drag it towards the yellow.
8. Lightly Add Pink To Ends Of Petals
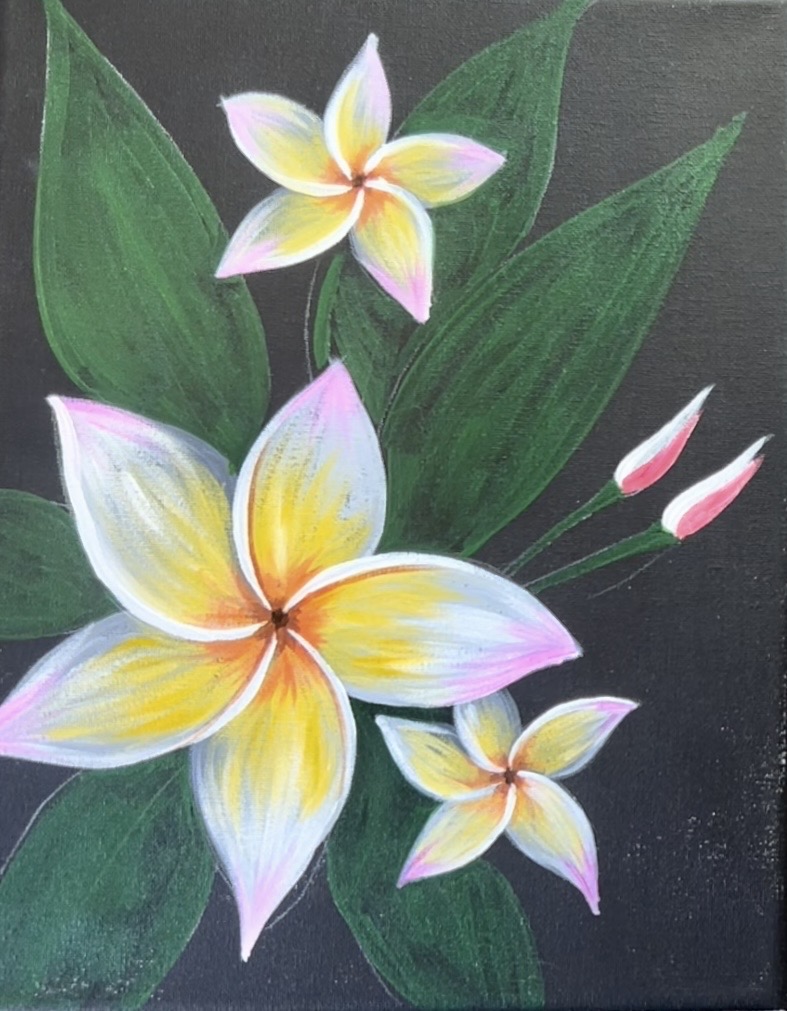
This is optional! Plumeria flowers often have a little pink on the petals. Use the color “Medium Magenta” and mix white into it (about 1 part magenta to 3 parts white) to make a very light pink. Use the #4 Round brush and very lightly brush pink on the edges of the petal towards the yellow (but leave a white gap between the yellow and the pink). This should be very light, like a blush pink color! Then on one side of the “buds”, paint (Red mixed with Pink) paint stroke for half of the bud.
9. Details Leaves
Use the 3/8″ angle brush for this step. Mix a light green on your paint palette by mixing one part “Hooker’s Green Hue”, one part “Cadmium Yellow Medium Hue” and one part “Titanium White”. Use the edge of the angle brush to paint a line down the center of each of the leaves. Then lightly outline the edges of the leaves with this light yellow green color. Next, “Dry Brush” angled marks going from the center of the leaf line outwards to the edge of the leaf. When you “Dry Brush”, you load the brush into the color but wipe the brush off so only little paint remains. When you brush the color, it shows up more translucent.
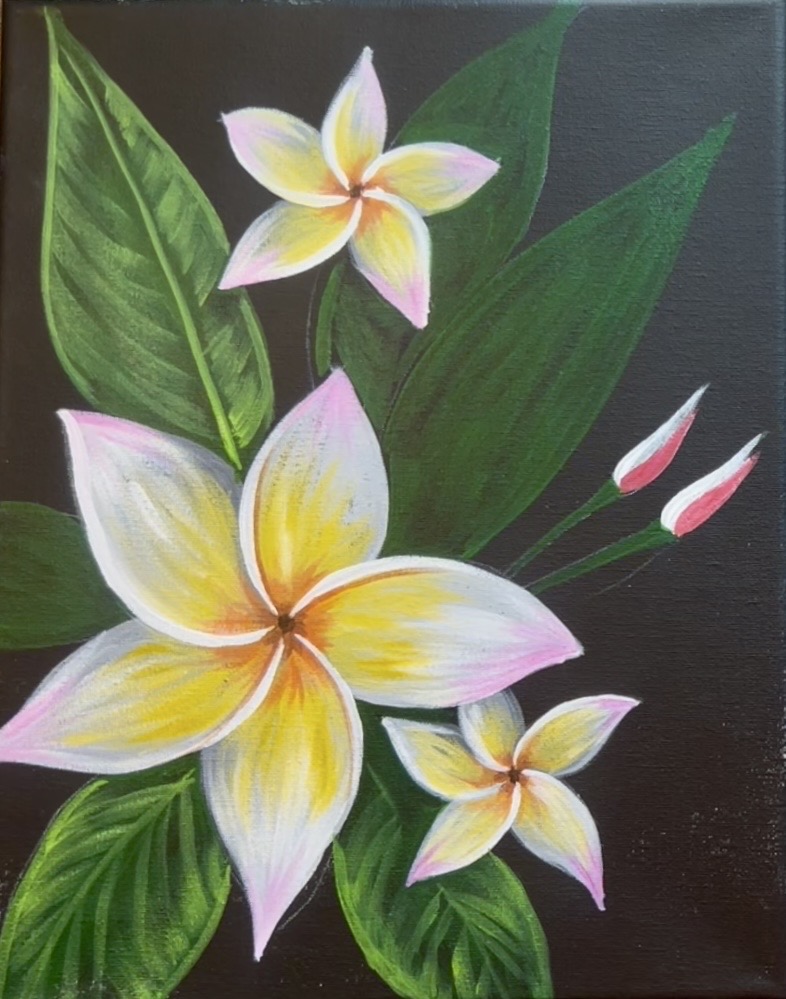
Repeat this for each of the leaves. Note: we will brush on another lighter layer later so if it doesn’t look super bright yet, that’s okay!
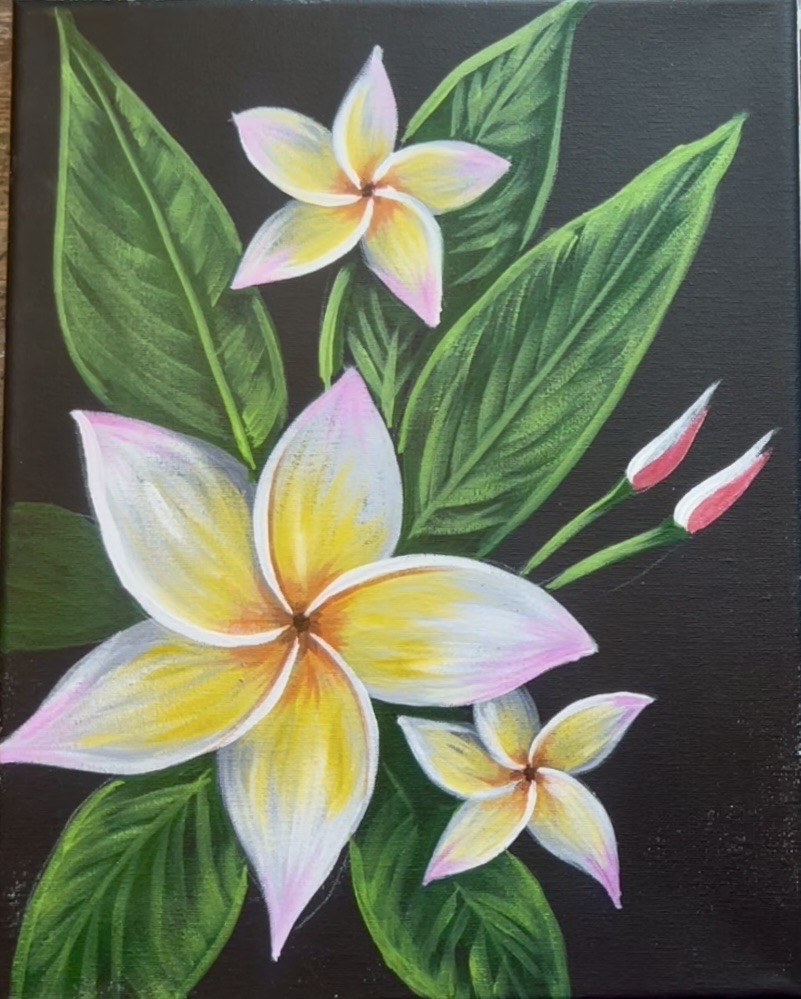
Let it dry a bit. Then add more “Titanium White” into the color you just used. Brush on this white on the outer edges of the leaves and towards the center but leave the center darker/ don’t go all the way to the center. You are eventually highlighting the outer edges of each of the leaves. Make sure a lot of dark still remains between your angle lines.
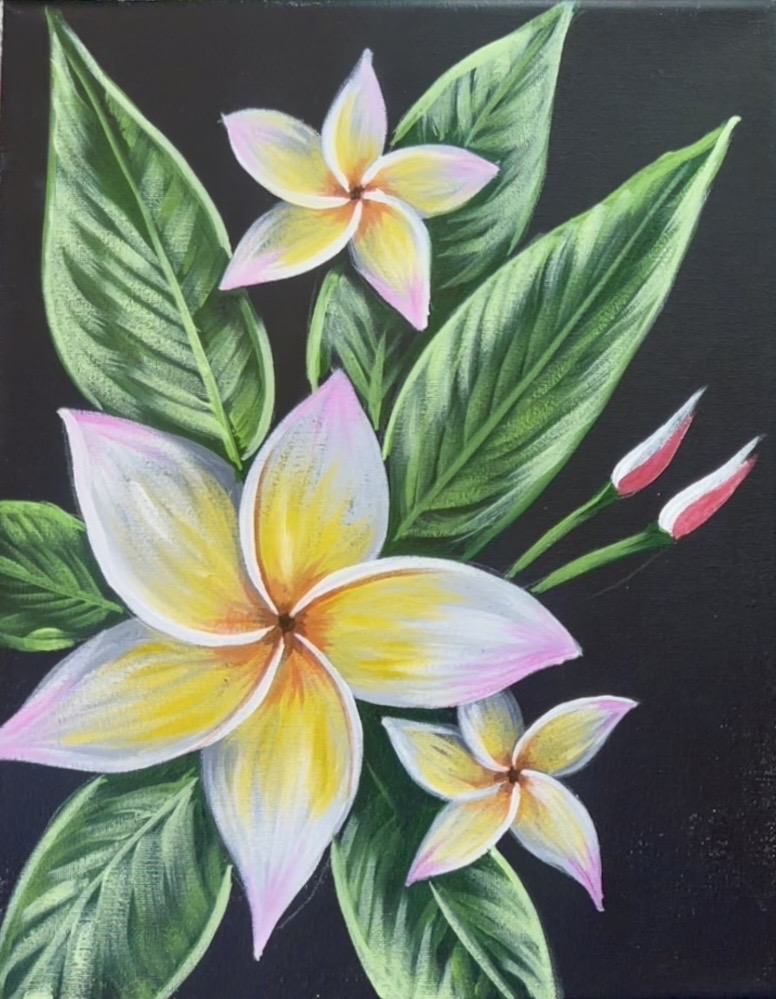
10. Final Details
A final layer for the leaves is a little bit of bright yellow (but optional). Add more yellow into your light green mixture or just mix yellow with some of the green. Then dry brush some yellow onto some of the edges of the leaves and go in the same angle lines. This gives some color variation to the leaves. Then finish the buds by painting light pink and white on the left side. Paint the stems of the buds using light green and then add brown on the right side of each of the stems.