Would you like to save this?
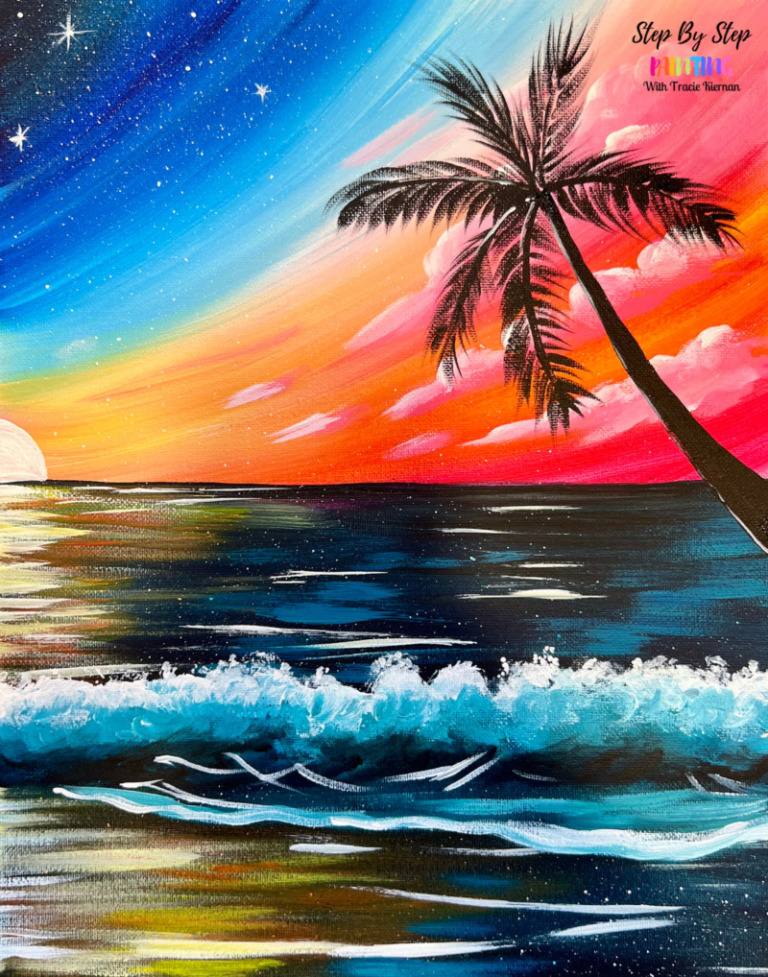
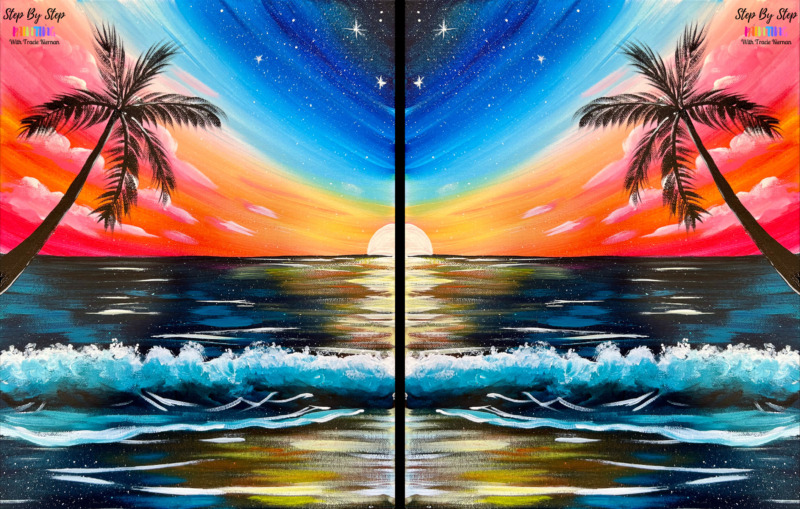
This acrylic painting can be done on one canvas or you and a partner can both paint a canvas and match your paintings in the middle!
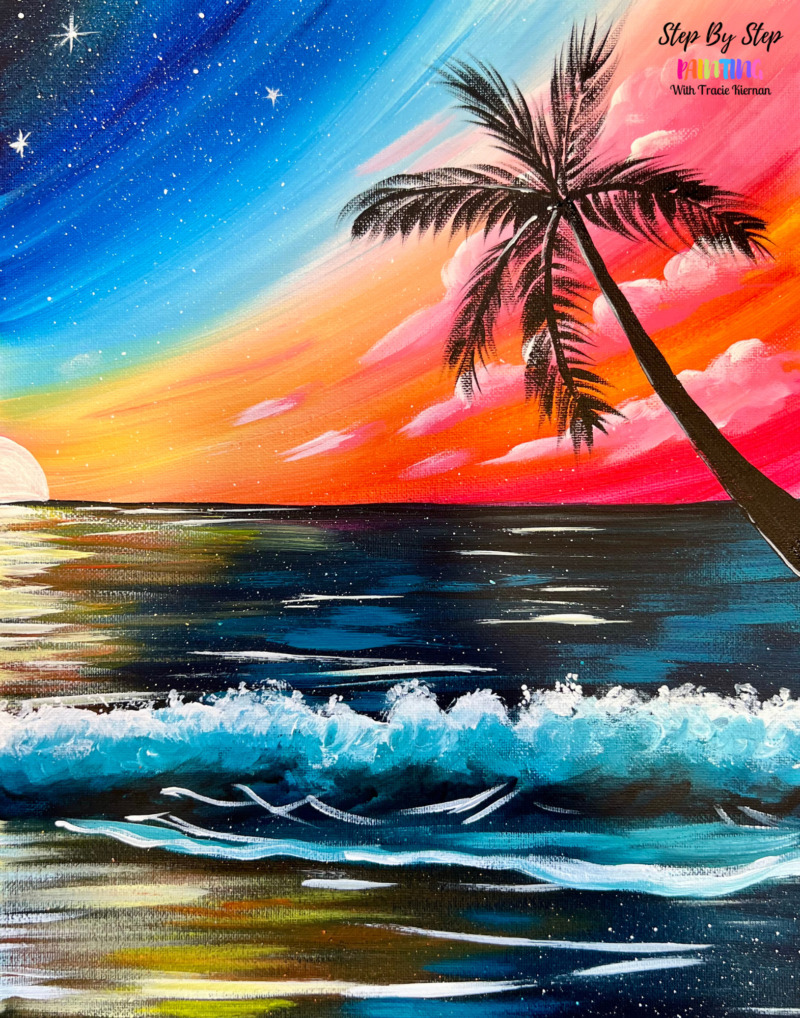
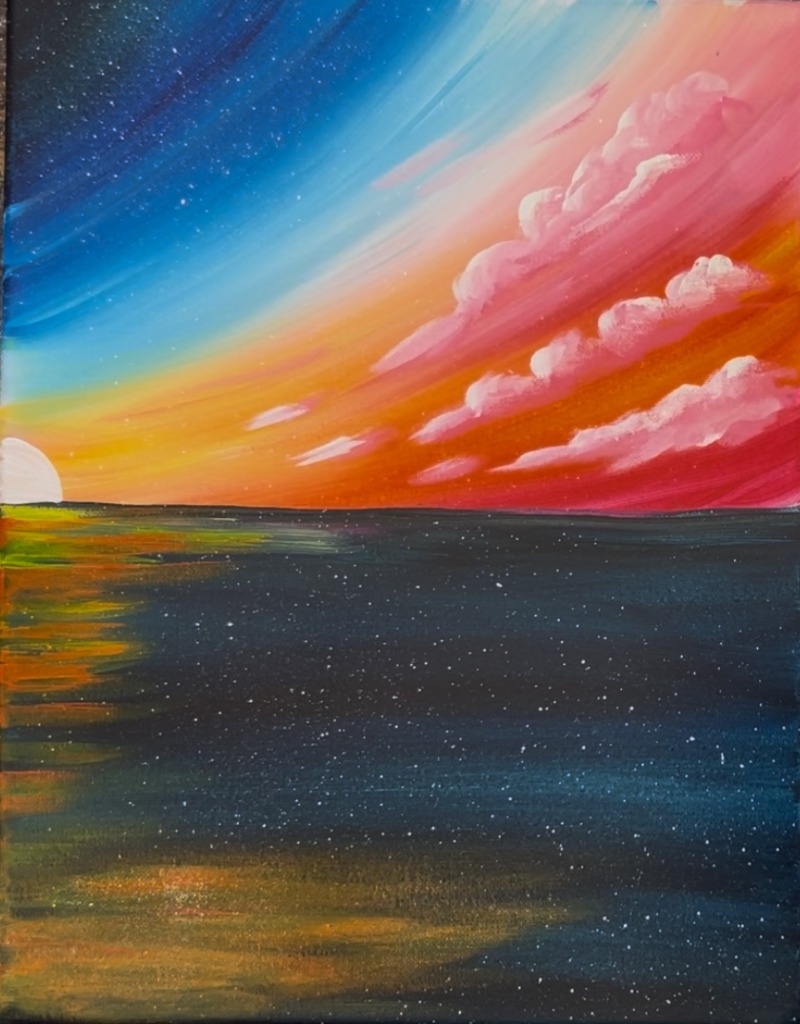
We will be learning how to paint this vibrant sunset ocean scene with a wave rolling in. This painting lesson demonstrates basic techniques for painting a wave on an ocean shore.
Enjoy and happy painting!
Materials
How To Paint "Twilight Tides" - Acrylic Tutorial
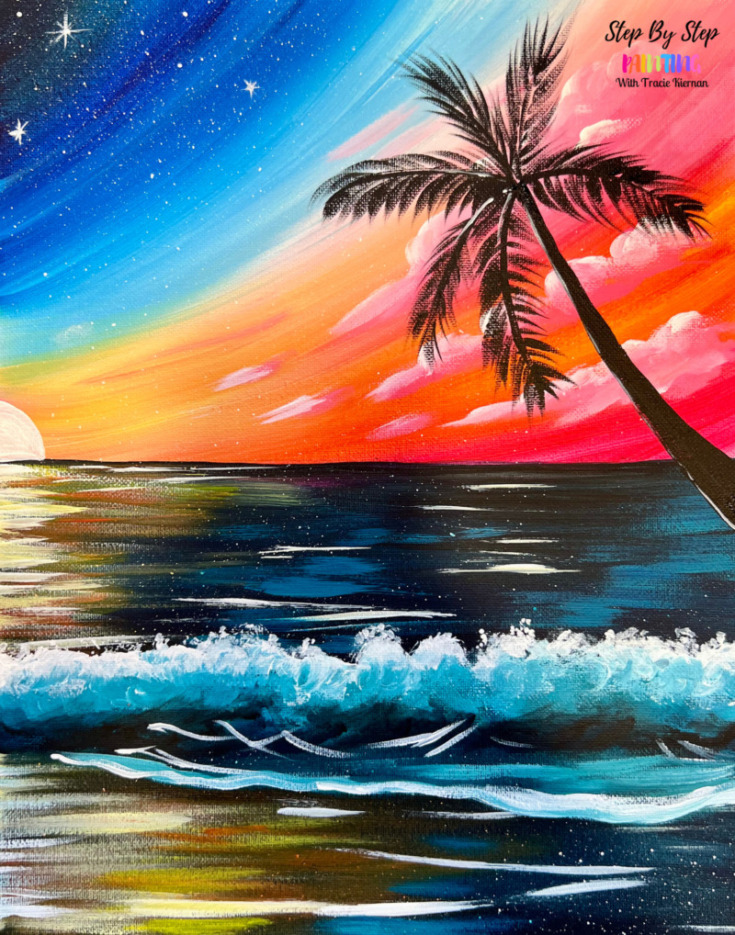
This ocean sunset landscape painting can be done as a single or couples painting.
Materials
- 11 x 14 Canvas
- Acrylic Paint
- Brushes
- Ruler
- Pencil
- White Chalk or Chalk Pencil (optional)
- Toothbrush for splatter (optional)
Colors
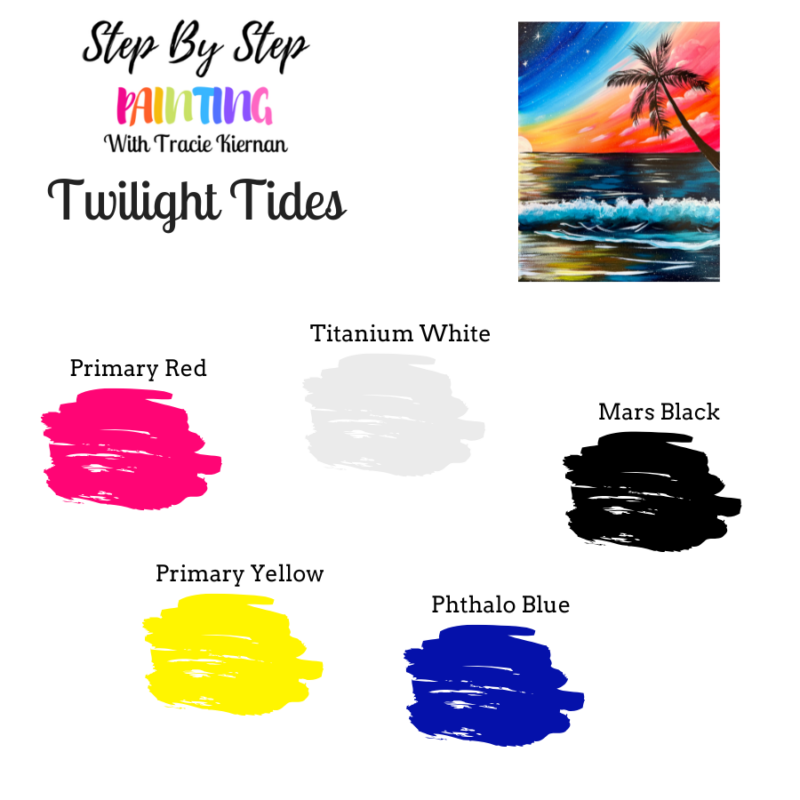
- Titanium White
- Mars Black
- Primary Red
- Primary Yellow
- Phthalo Blue
Brushes
- 3/4 Flat
- 12 Bright
- 4 Round
- 8 long round or liner brush (optional)
Color Palette
Note: if you don’t have “primary red”, I recommend a dark magenta color. You need a cool red color so that you can add white to it to make pink. If you use a red that “pulls orange”, you won’t get the same pink hues in the painting.
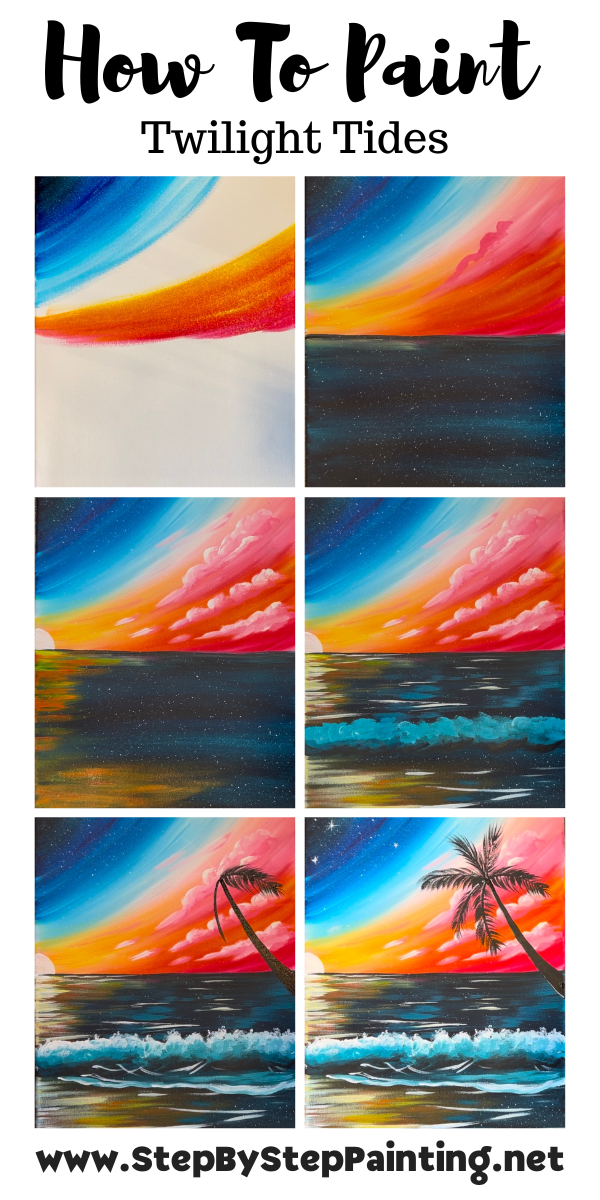
Directions At A Glance
Video
Step By Step Instructions
1. Draw Horizon Line/ Paint Sky
If you are painting this with a partner, he or she would be doing the opposite mirror image (so start in the upper right corner instead of the upper left corner). The steps are the same but opposite direction.
Place your canvas in a vertical position. Locate the center of the canvas and draw a horizontal line that goes all the way across the canvas. I recommend you do this with a ruler or straight edge! For an 11 x 14 canvas, I measured 7″.
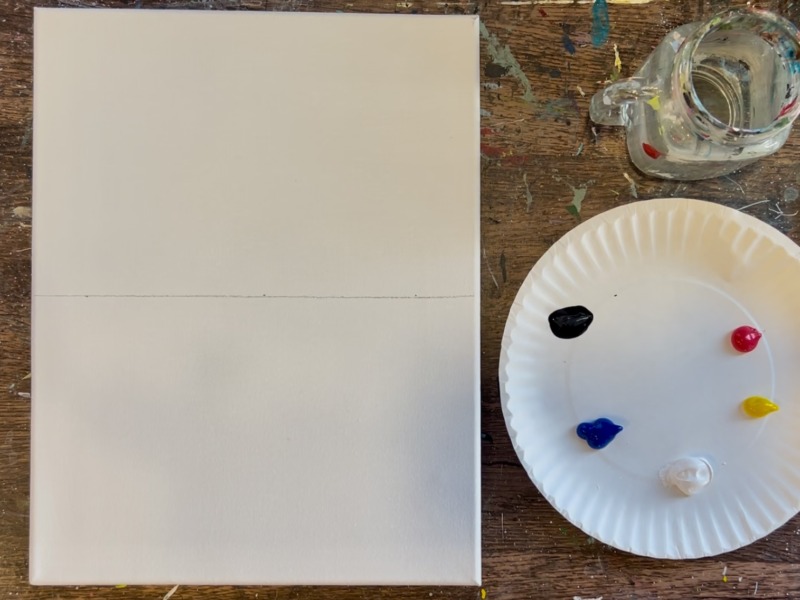
Next, load your paint palette with the five colors: mars black, titanium white, phthalo blue, primary red and primary yellow. Use the 3/4″ flat brush. In the upper left corner, paint a diagonal area that goes in a curved direction. Note the direction of the strokes in the sky! They will all be going slightly curved and we will be working our way from the top left corner to the bottom right corner above the horizon line.
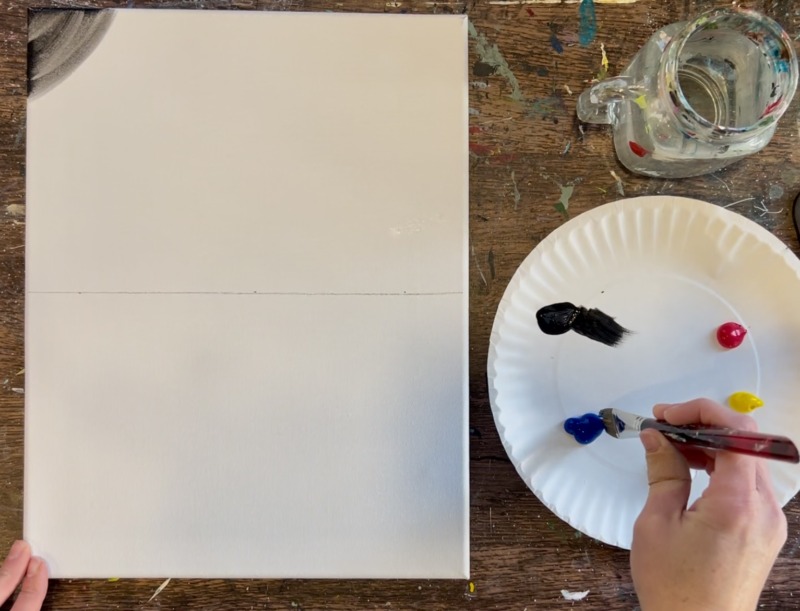
Go down an inch with the black. Then load your brush into “phthalo blue”. Blend the blue into the black. Make sure you are using the full width of your brush and going from one edge of the canvas to the other. Don’t stop your paint strokes in the middle of the canvas, brush it all the way. Also, make sure your paint strokes are going in a curve as we blend this gradient in the sky.
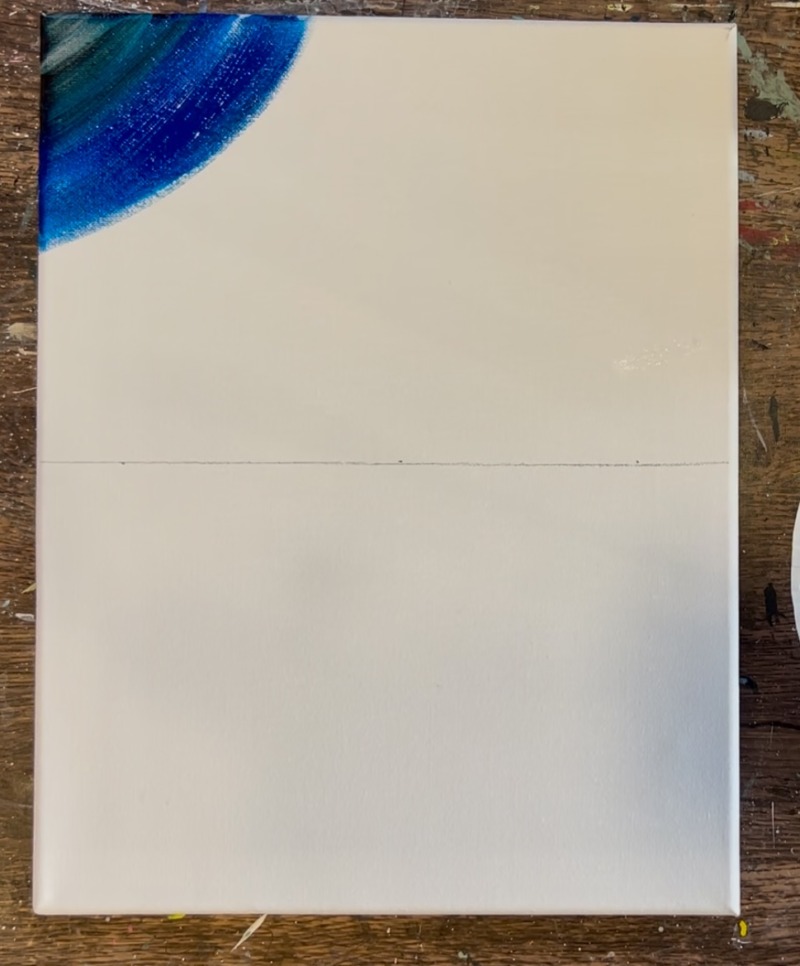
Go about halfway with your blue and stop (about 3.5″ on the edges of the canvas). Note the amount of blank canvas left over. We are going to be blending white into our sky next. Rinse your brush and dry.

Then load your brush into titanium white. Blend white into the blue by brushing over it several times. You should now have a gradient of black that blends to blue and then blends to light blue. It’s okay if your colors get “streaky”.
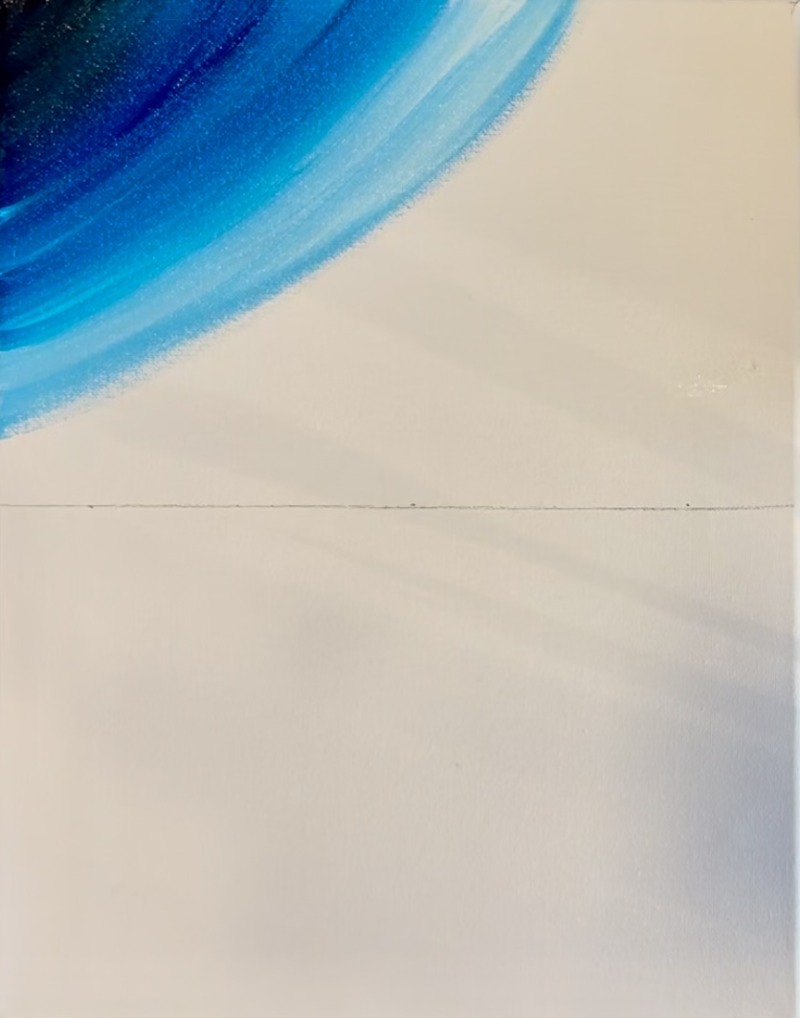
Next, we will be transitioning to the warm colors in our sky. Completely rinse your brush. Then use the 3/4 wash brush and load it into “primary red”. Start on the opposite corner of your sky. Paint the lower right corner area and paint curved paint strokes.
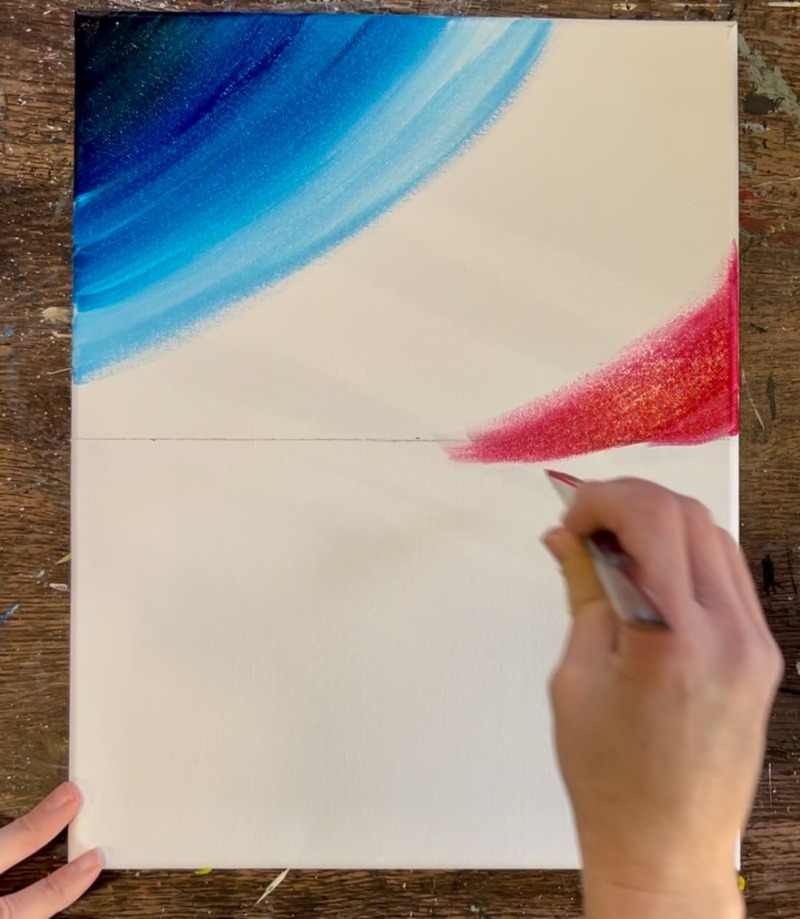
Bring this all the way across the top of the horizon line by painting a “slither” of this pink all the way to the left edge of the canvas. It’s okay to paint over the horizon line/ go outside of the lines.
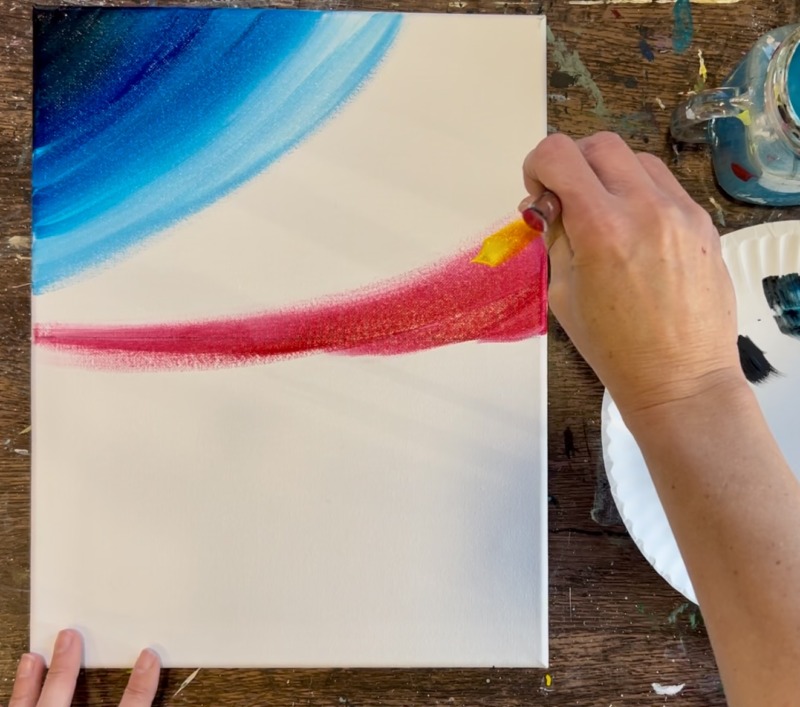
Then, wipe the brush off but don’t rinse it. Load “primary yellow” onto your brush. Blend this yellow above your “primary red”. Blend over it several times where the yellow meets the red and you will achieve a vivid orange color.
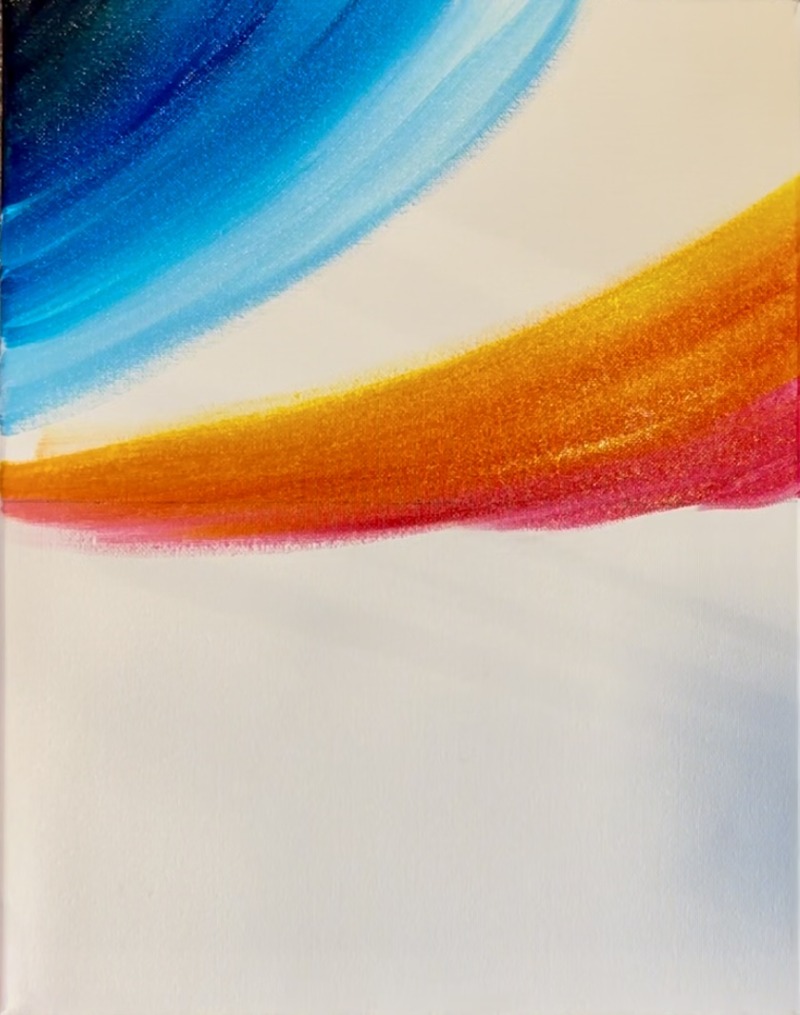
Next, rinse your brush. Load equal amounts of “titanium white” and “primary red” onto your brush. Then paint the “in between” area of the blue and the red/orange. You will achieve a light/ medium pink color. If needed add more white into it and blend into your orange/ red zone. Leave a little slither of space between your light blue and light pink.
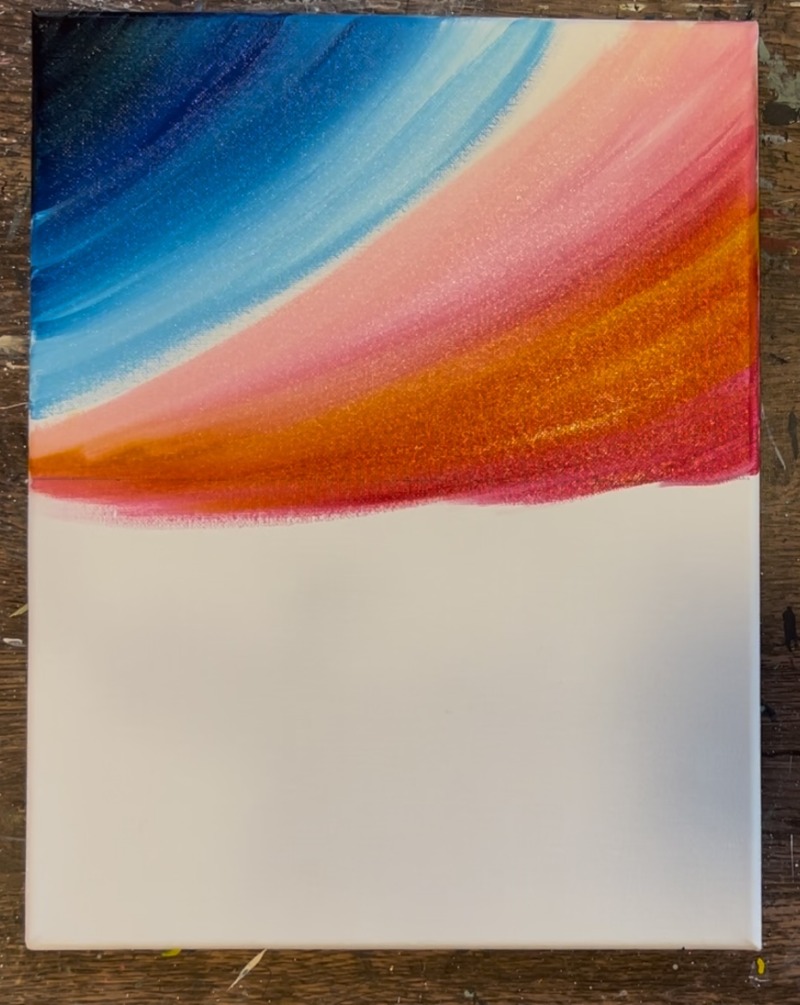
Then rinse your brush completely and add just “titanium white” to your brush. Paint the in between area with this bright white and you will achieve this light color that blends your light blue and light pink zone in the sky.
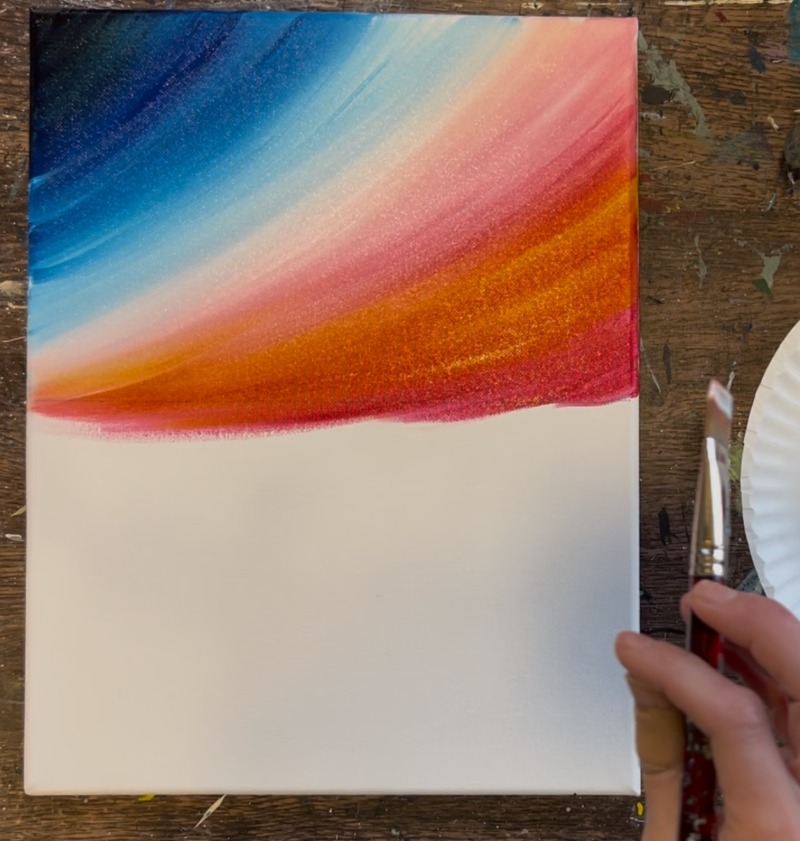
Optional: I opted to add just a bit more yellow in the lower left corner area where the sun will be. Blend that into the orange/ white color in the sky.
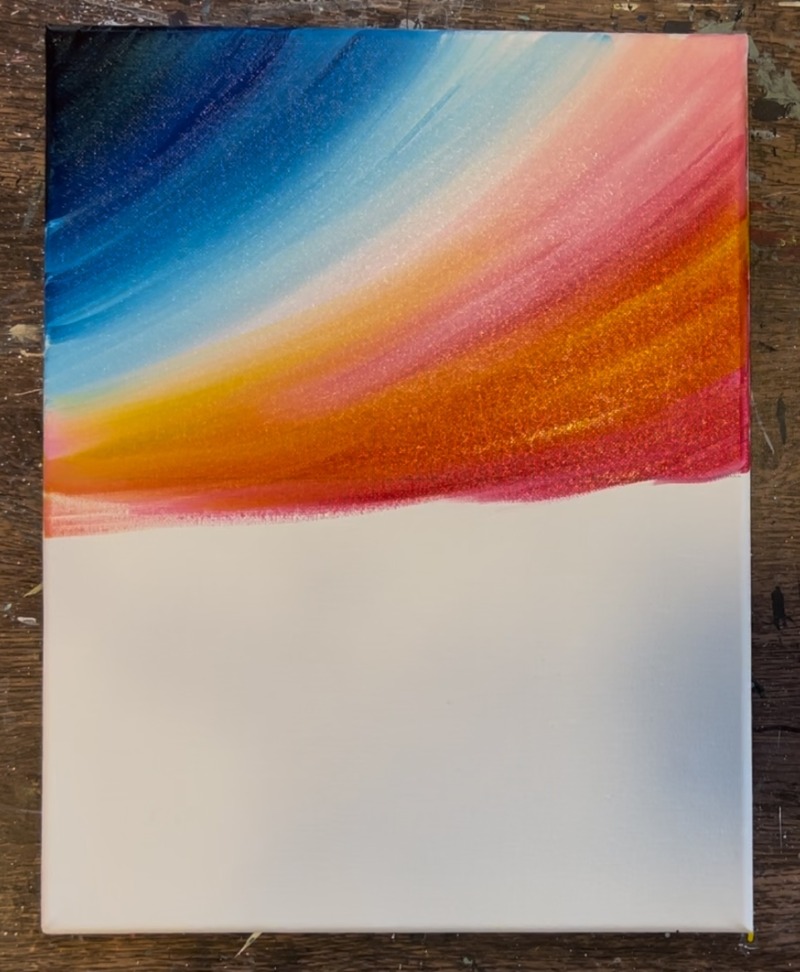
2. Paint the base layer for the ocean
Use your 3/4 wash brush and double load it into “phthalo blue” and “mars black”. Slightly water it down. Then paint left and right paint strokes to fill the entire lower half of the painting with this very dark blue color. It needs to be thinned down and it’s okay if you get some different variations of the color with the black and blue.
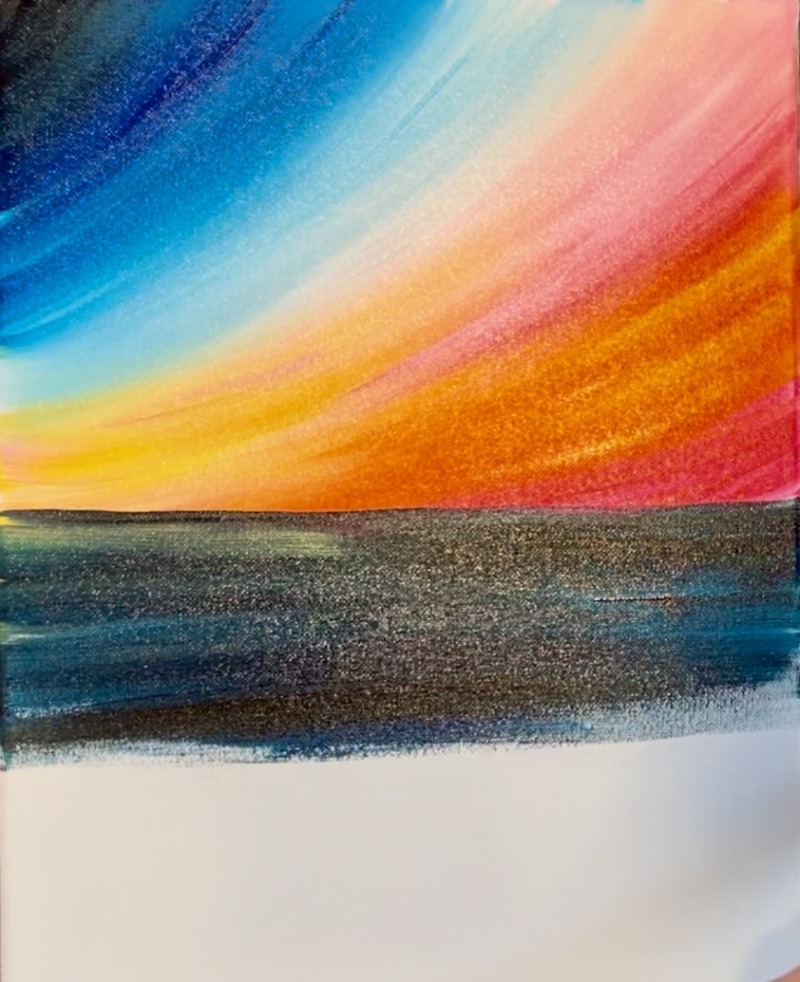
Paint as close as possible to your horizon line so your edge is a nice straight line. Note: I accidentally got some yellow in my dark water area towards the horizon line on the left.
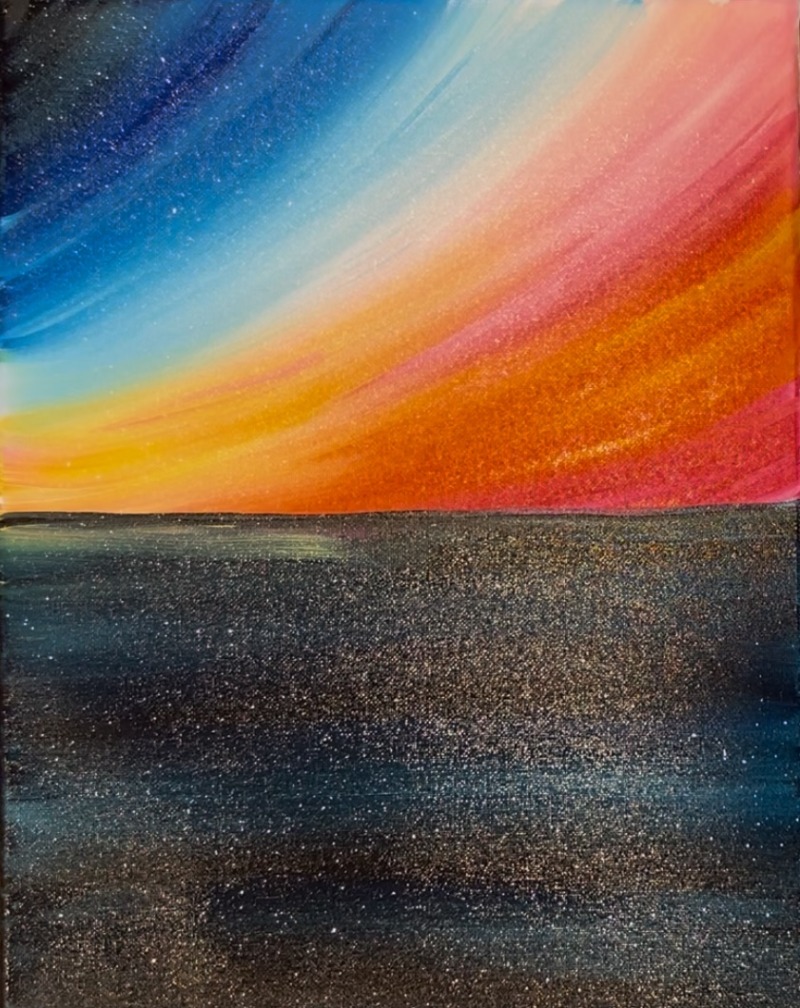
Then splatter stars all over! I used a toothbrush for this step and slightly watered down white paint. Flick the brush everywhere to get little white specks all over the painting. You can also do this with a flat brush by flicking the brush. Just be careful not to water your white paint down too much.
3. Paint Clouds
Use the #12 bright brush (1/2″ flat). Mix “primary red” and “titanium white” together (about 2 parts red to 1 part white). You will make a medium pink color.
These clouds are going to go in a diagonal direction and they only show up in the pink/ orange area of the sky.
Use the #12 bright brush to form the shape of the clouds. Pay particular attention to the curved edges. In that area, paint rounded paint strokes to form the shape.
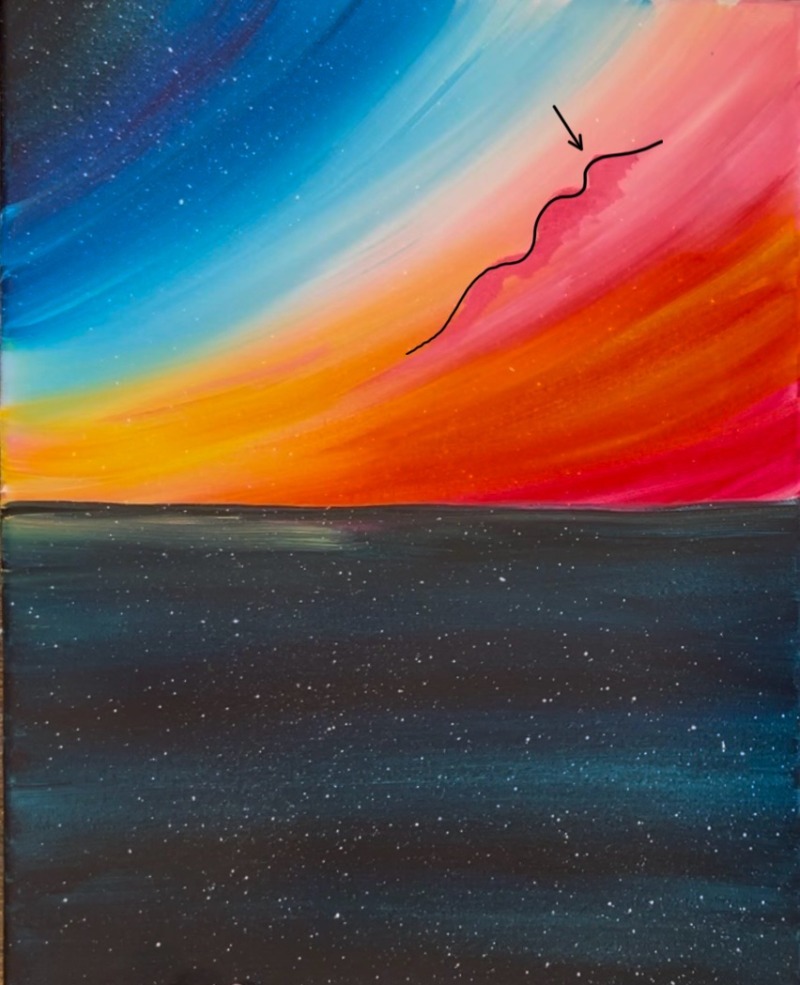
Form three sets of clouds with each one slightly smaller and the smaller one on the bottom. If needed, add a small amount of white into the primary red to make it slightly lighter so it shows up.
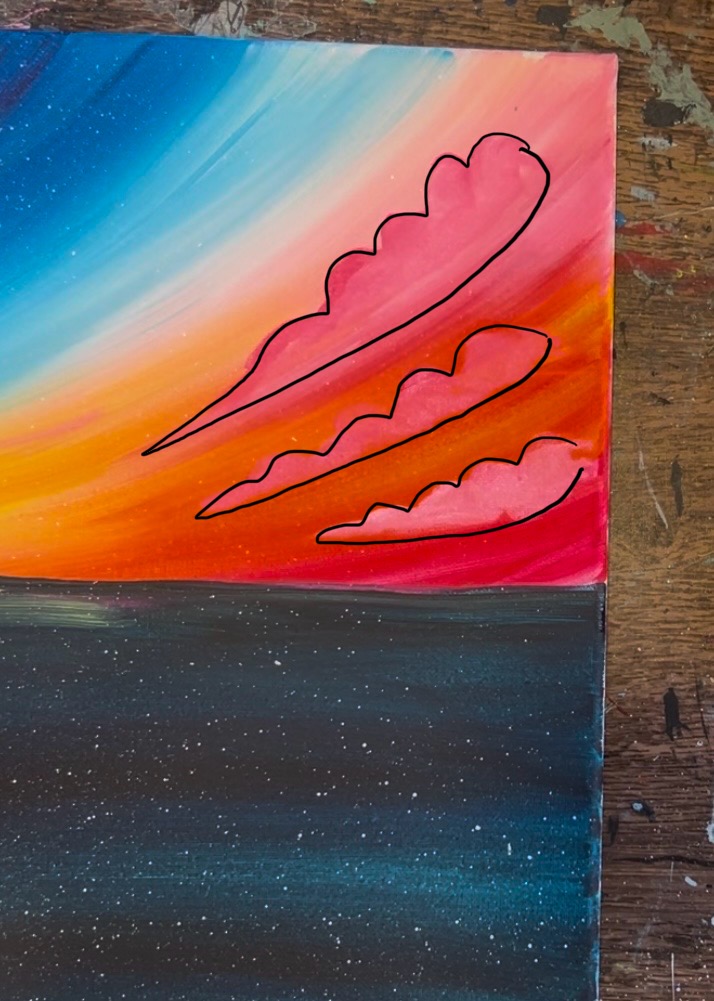
Tip: try wiping off excess paint. Less paint on the brush makes it easier to paint clouds.
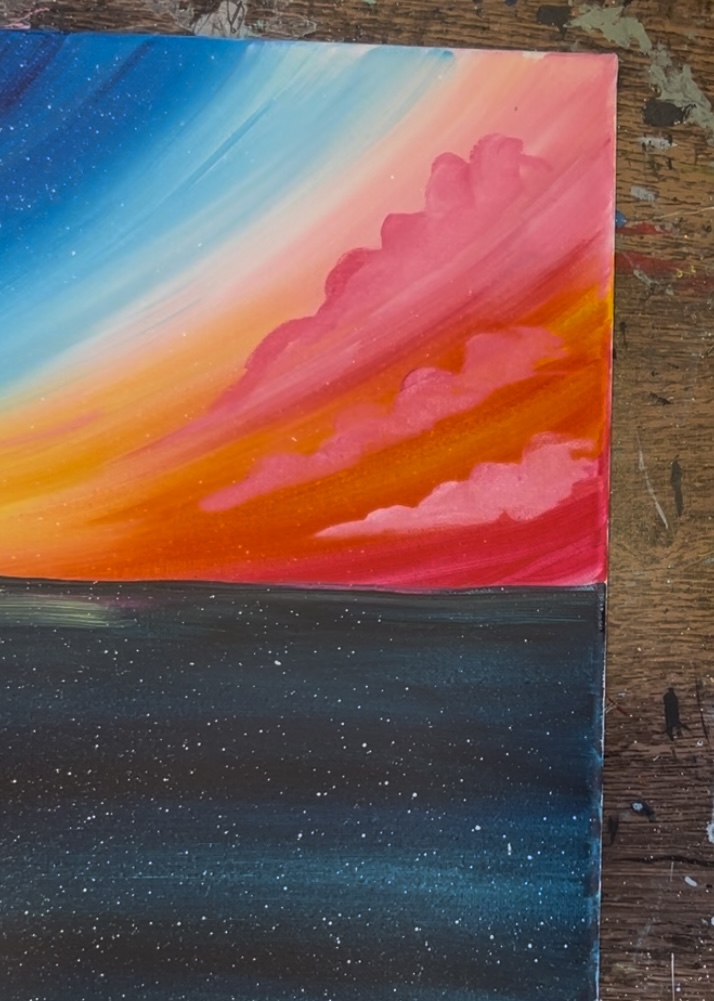
After this first layer of the clouds dry, you will be adding a lighter color to the top rounded edges of the clouds. Mix a little white into your medium pink color that you used to paint the clouds. Then “re-paint” just the edges so the top edges of the clouds are lighter. This highlighting will give the clouds some depth.
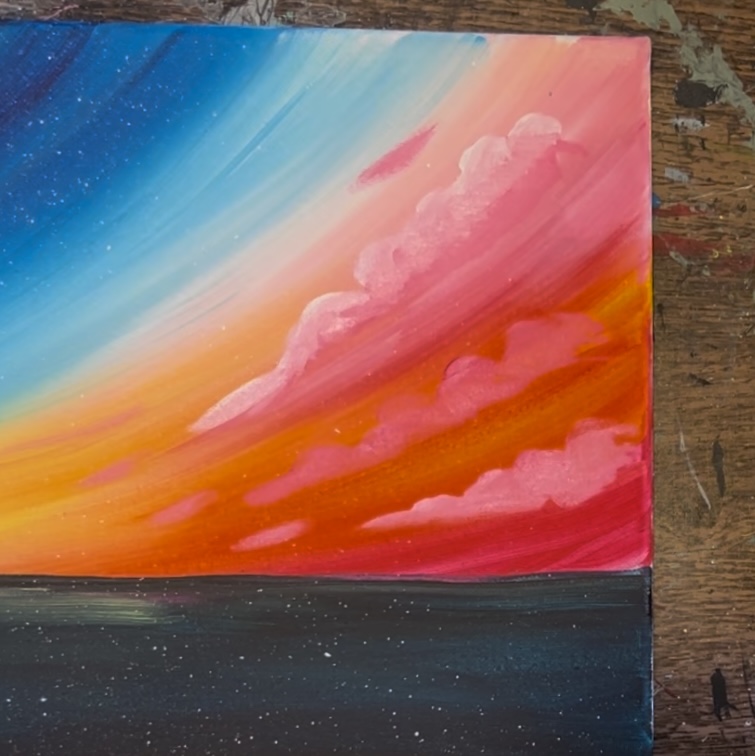
You can also use your finger to blend the lighter color down into the rest of the clouds.
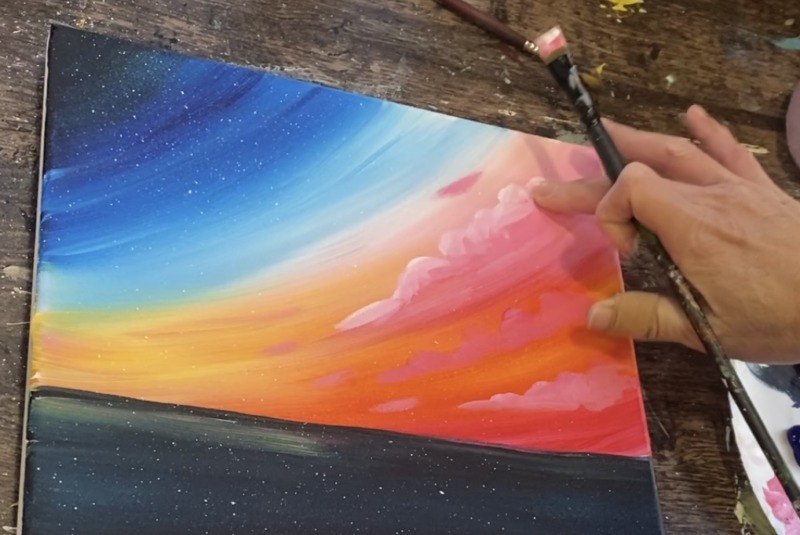
Add another pure white layer to the edges of the clouds and that will really brighten them up and add more depth. Blend with your finger in circular strokes.
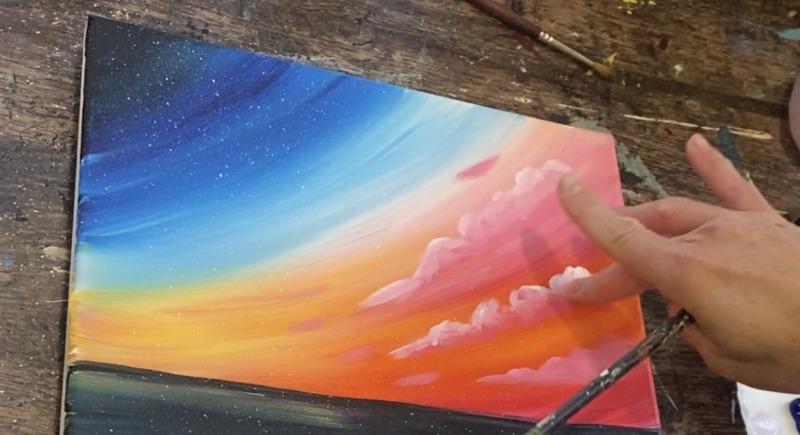
Add a few flat clouds above and below your puffy clouds. Do this with the medium pink color and add a little white on top of those too. You want to paint very thin “wispy lines” that still go in that diagonal direction.
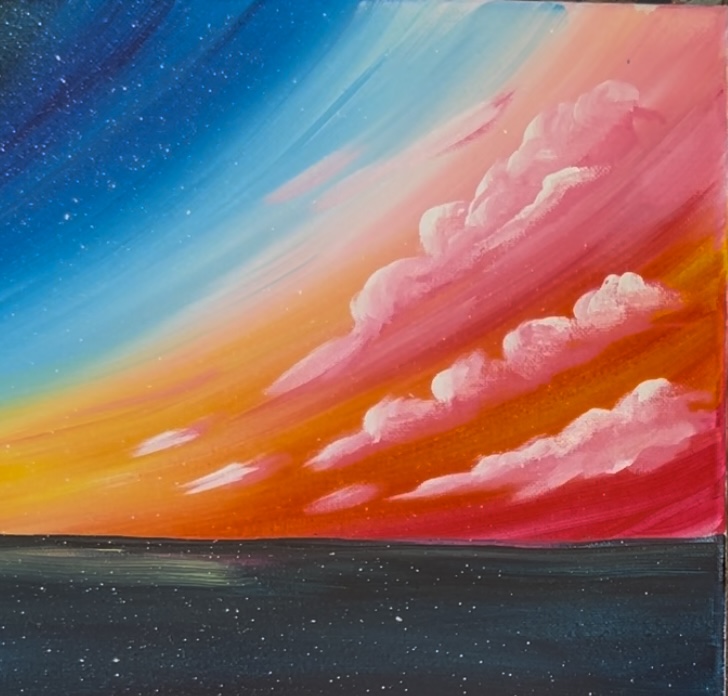
4. Paint the sun
Use a #4 round brush and titanium white to paint half a sun on the lower left of the horizon line. If you are painting with a partner, he or she would match the other half of the sun.
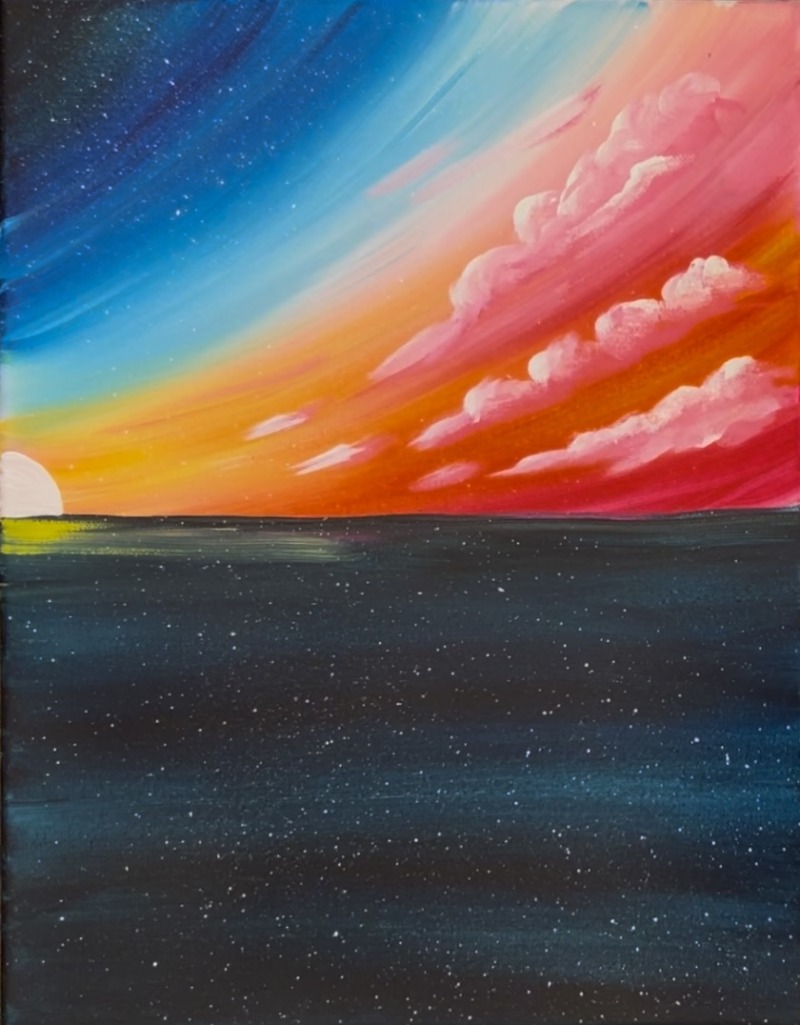
5. Paint first layer of reflection in water
Use the #12 bright brush and “primary yellow”. This first reflection layer will show up “dull” and that is what we want. We don’t want this first layer to be bright because we will be layering on lighter layers after this dries.
Use the brush to gently paint left and right paint strokes with the yellow under the sun but leave some streaks of dark from the dark water layer showing through.
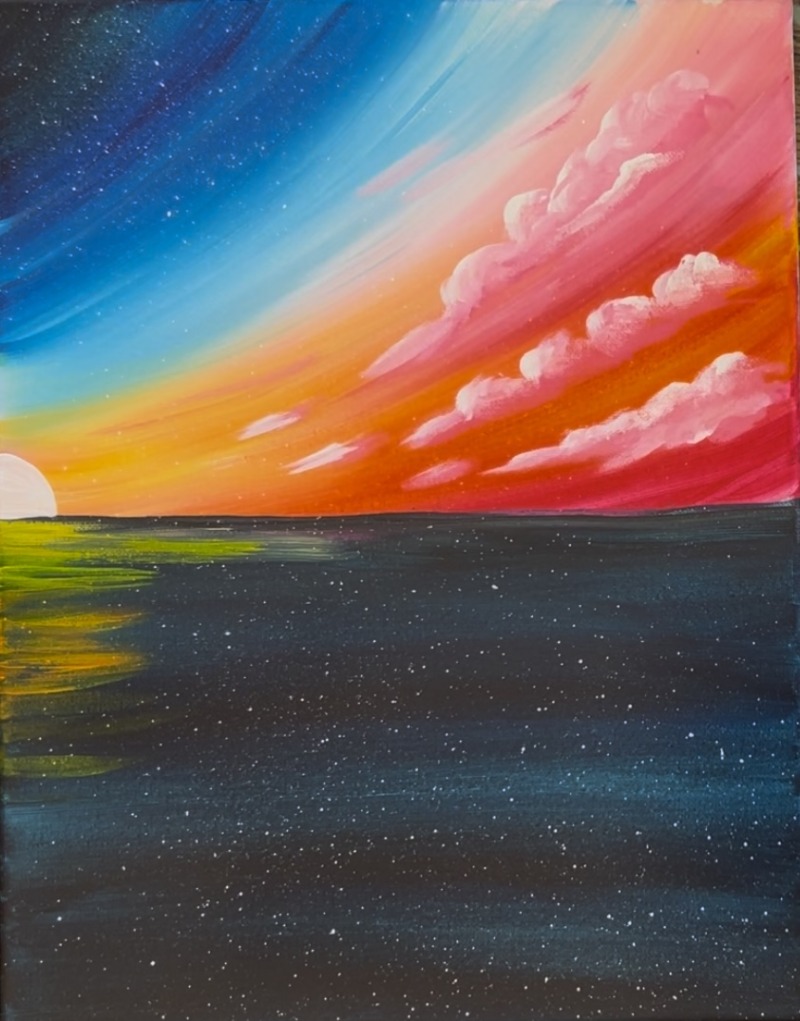
Go all the way down but don’t go all the way across to the right side of the ocean. On the bottom of the painting, paint a wider area with this yellow color.
Tip: make these very “dry brush style” or “watered down”. You want this paint to be thin and you want to still see your dark color through the paint. If you are using opaque paints such as craft paints, this may be harder to achieve so I recommend watering it down to make it a little more “see through”.
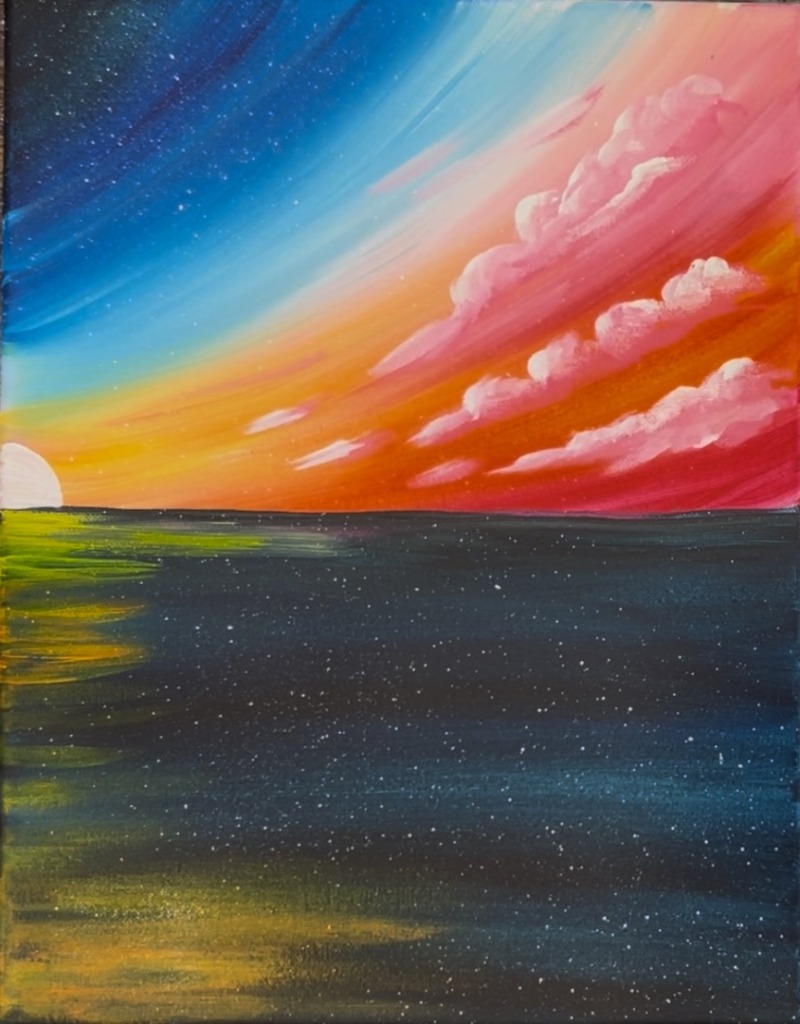
Go back and add some orange into your reflection (mix primary red and yellow together to make orange). Gently blend some of this orange into your yellow reflection.
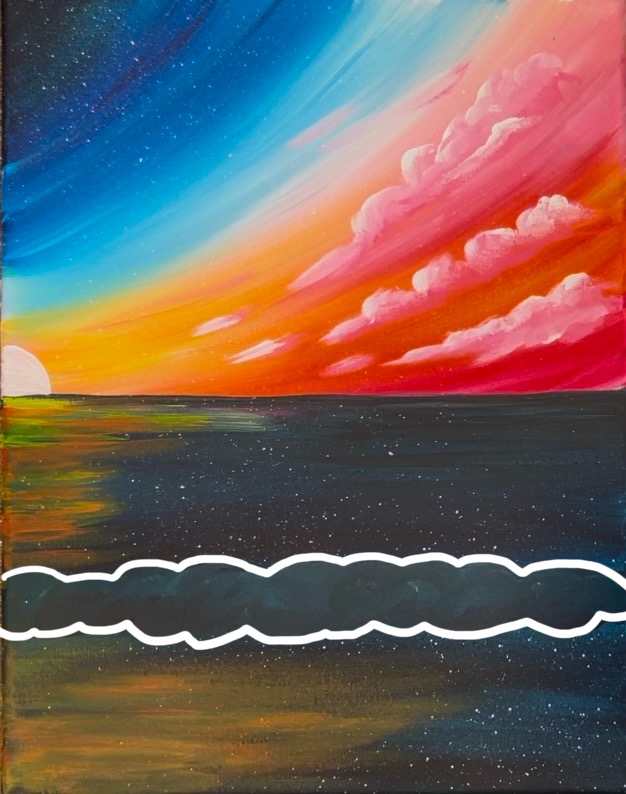
6. Paint wave
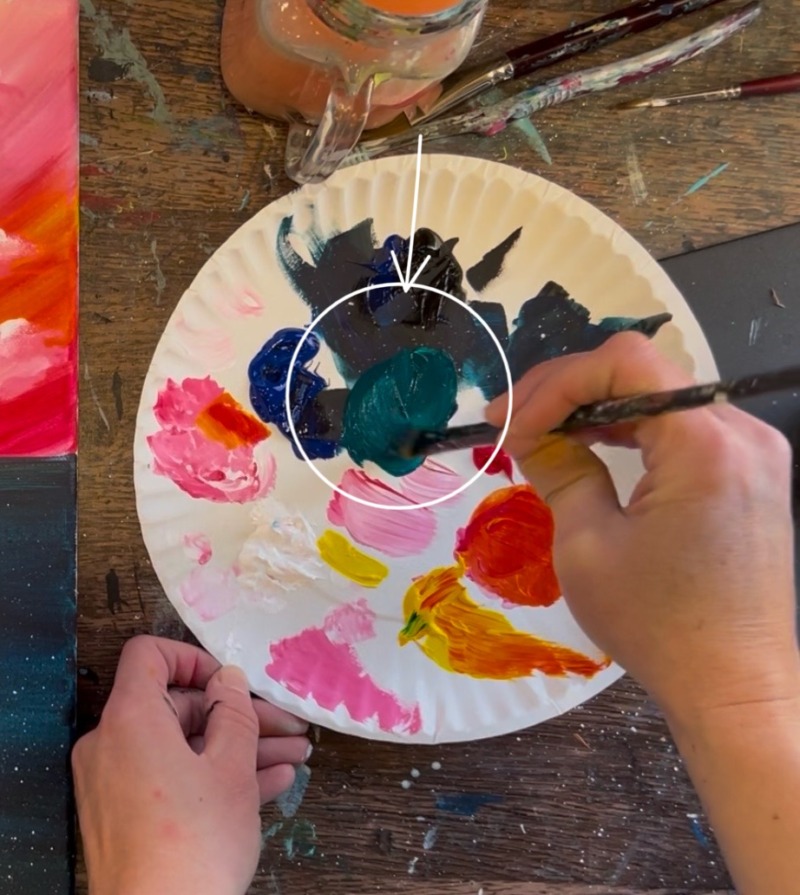
We will be painting this wave very dark at first and layering lighter color on it later! On your palette, mix a “dark blue green” color. Mix about 1 part black, 1 part white, 4 parts yellow and 4 parts blue. If needed, add a bit more blue to it to make sure it looks more teal than green.
Then use your 12 bright brush to paint a rolling wave that extends from one end of the canvas to the edge. If you are painting with your partner, make sure your waves line up.
Paint rounded/ circle paint strokes to form the shape of this wave. It will only barely show up against the dark and that is okay!
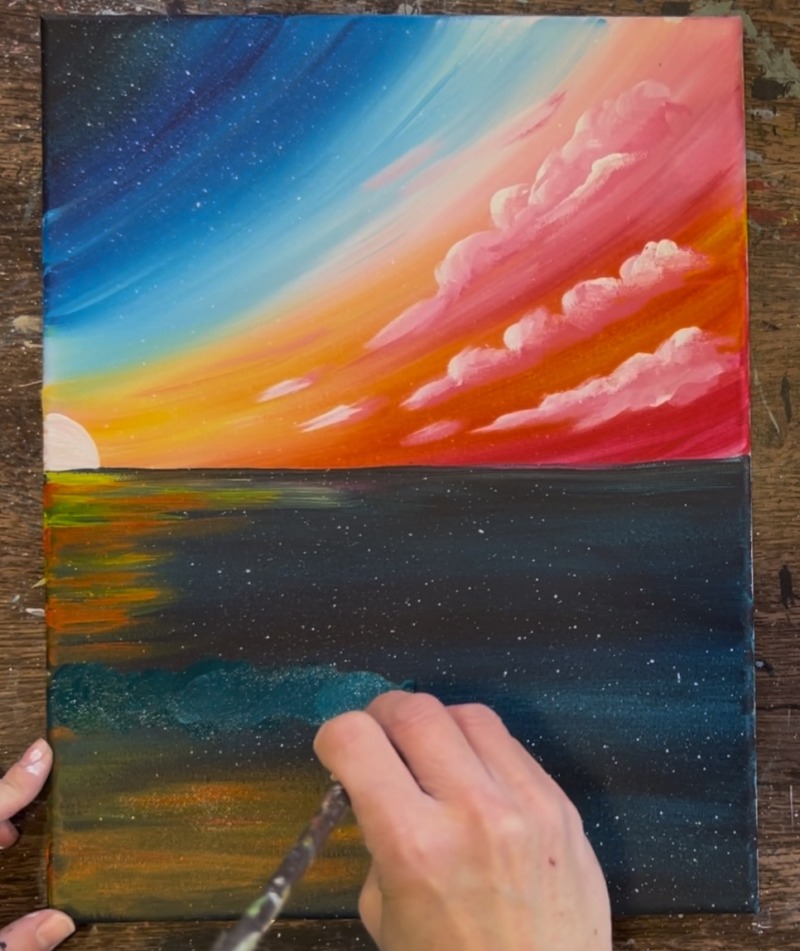
Let this dry before adding the next lighter layer to it.
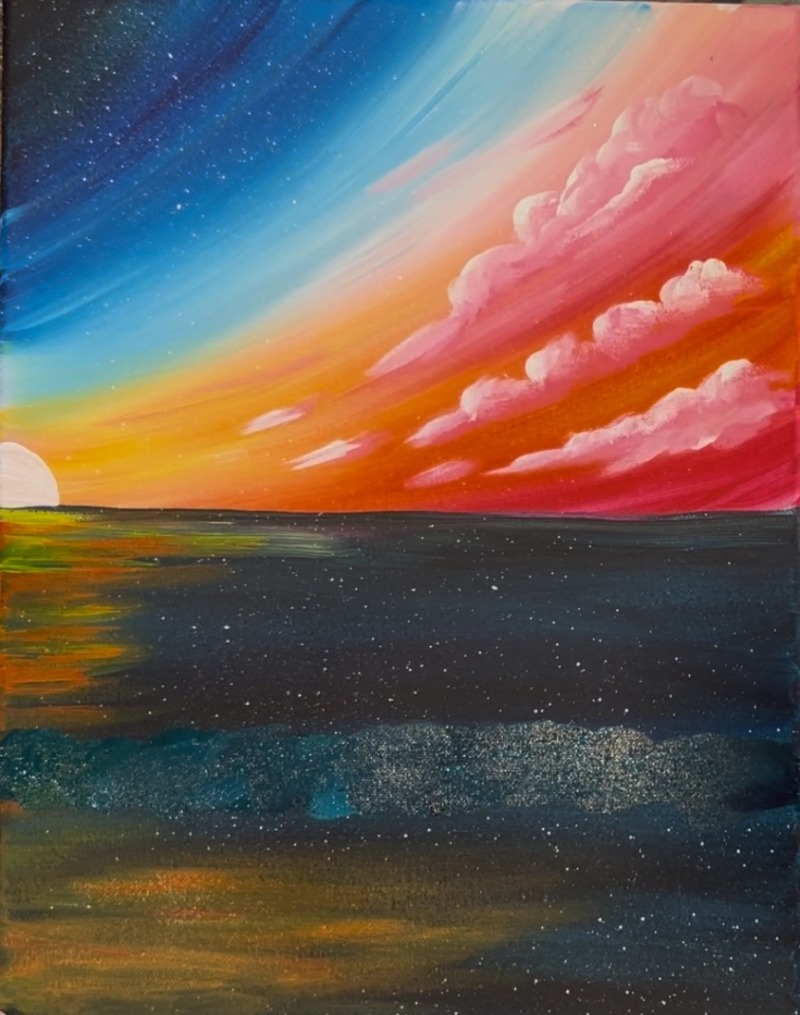
Below is an image of the shape of the wave outlined in white so that you can see the shape. It looks like a long extended cloud.
7. Paint second layer of reflection in water
Make sure everything is dry before doing this step. Use the #12 bright brush. Mix white and yellow together to make a bright yellow color. Gently paint left and right strokes over the reflection you painted earlier but don’t cover all of that first layer. In fact, paint less of the area with this brighter color.
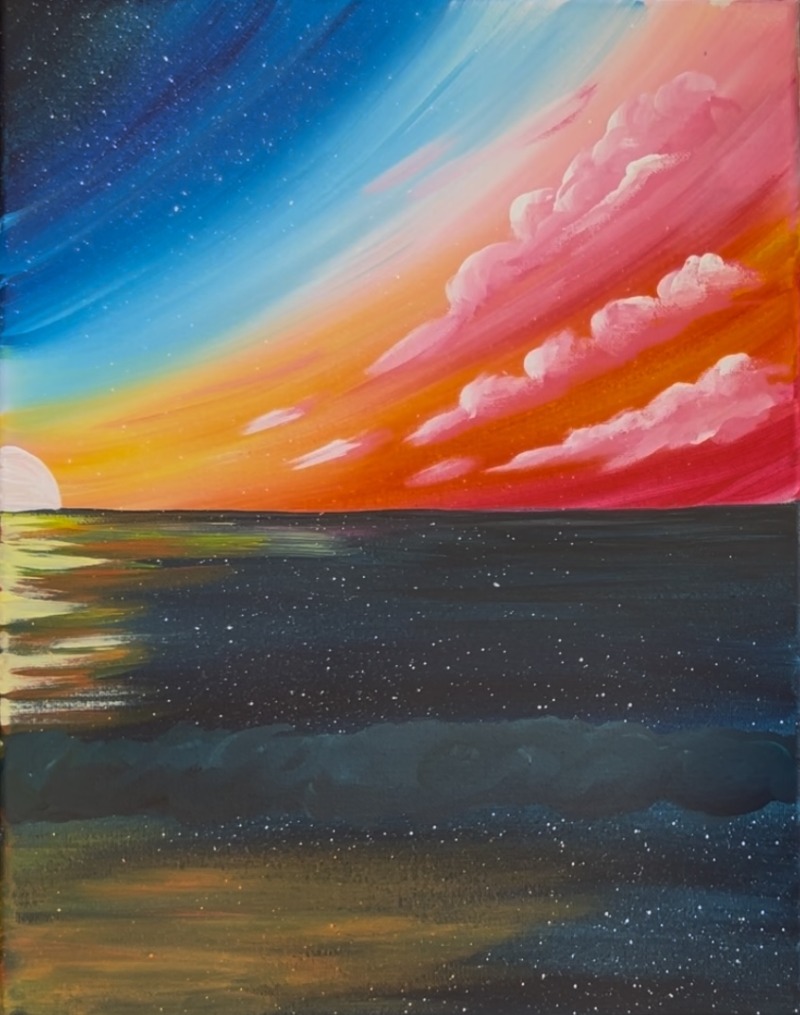
Bring this all the way down but don’t paint over your wave. Paint the larger reflection area on the bottom of the canvas with your lighter color too.
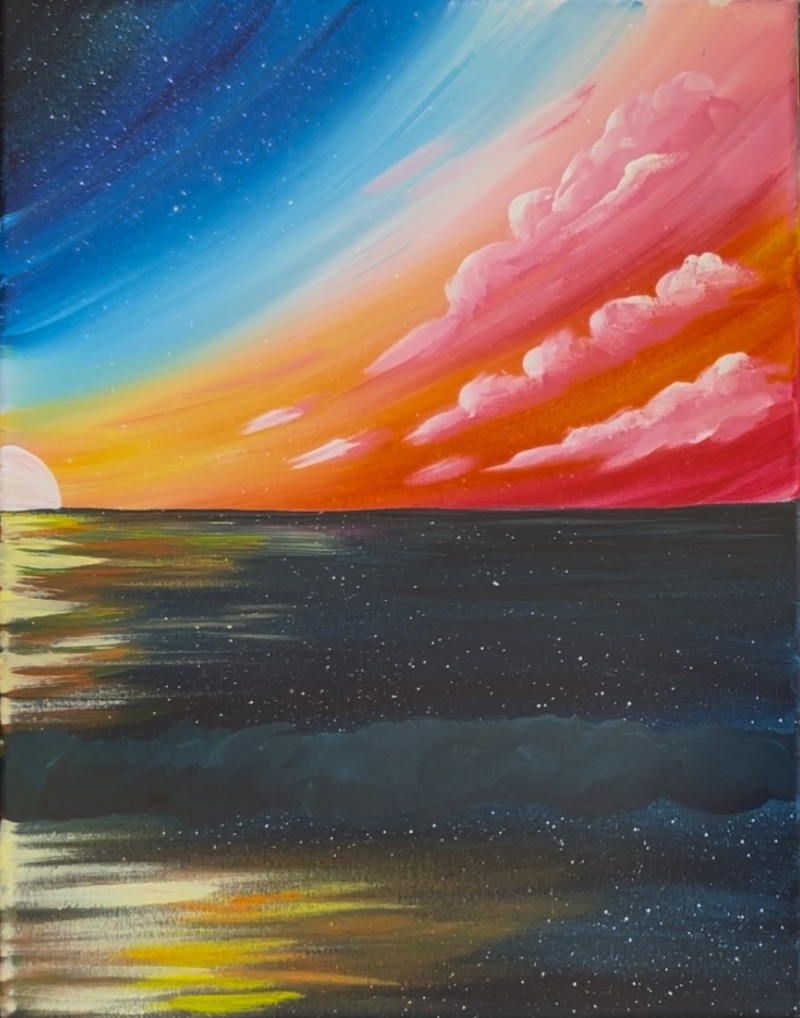
Rinse the brush off. Use the edge of the #12 bright brush OR the #4 round brush and titanium white. You will be painting loose, white thin water lines throughout the ocean area.
Start by painting thin and short lines way in the distance below the horizon line. Paint longer and more stretched lines further down the horizon line. Then paint a few larger, sort of curved lines below the wave on the bottom of the canvas.
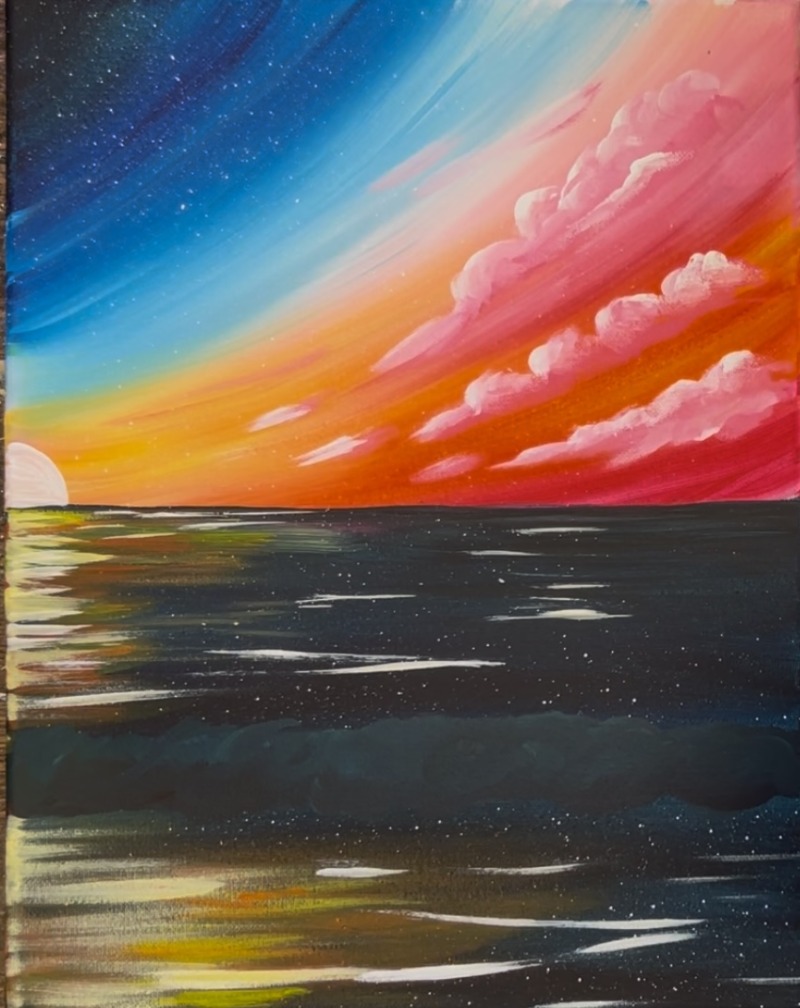
Optional: I wanted a little more birther color in the dark area on the top right of the ocean. I used the same teal color I used to paint the wave but added a little white to it. Use the #12 bright brush to paint a few horizontal marks throughout the ocean area. Leave a lot of the dark still there and don’t cover all of the dark.
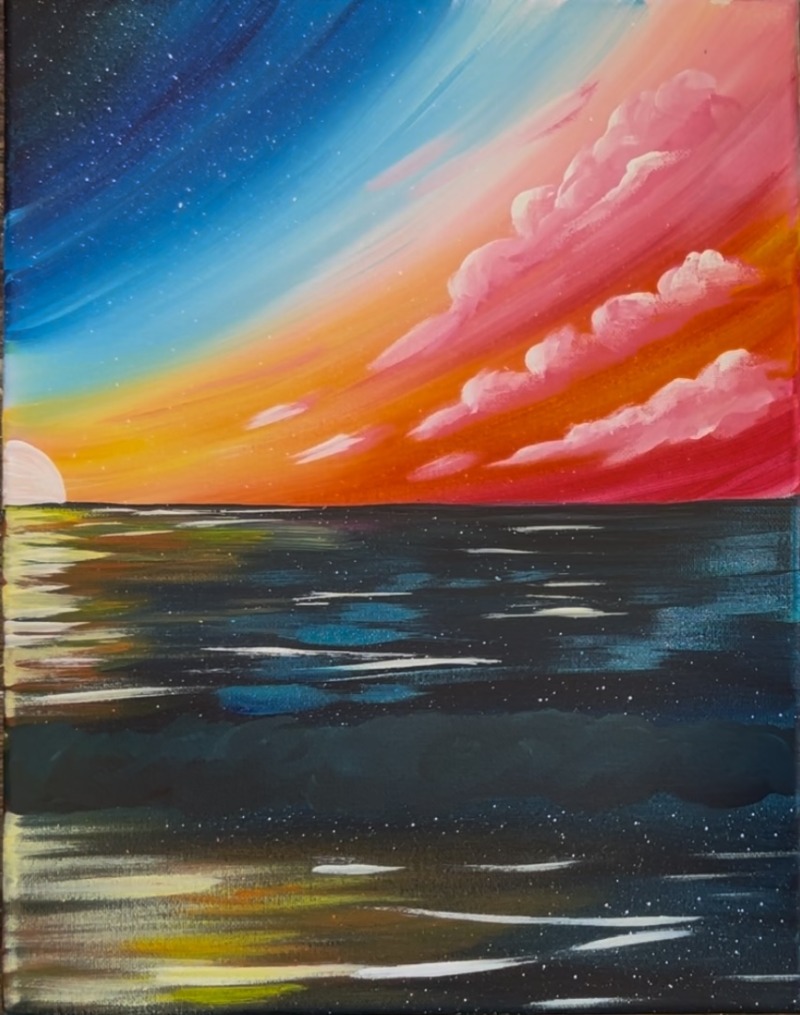
8. Paint second layer on wave
Use the same color as you used to paint the first layer of the wave but add some white into it to lighten it up. Use the #12 bright brush and paint circular/ rounded paint strokes only on the top 3/4 of this wave. Leave the bottom of the wave dark.
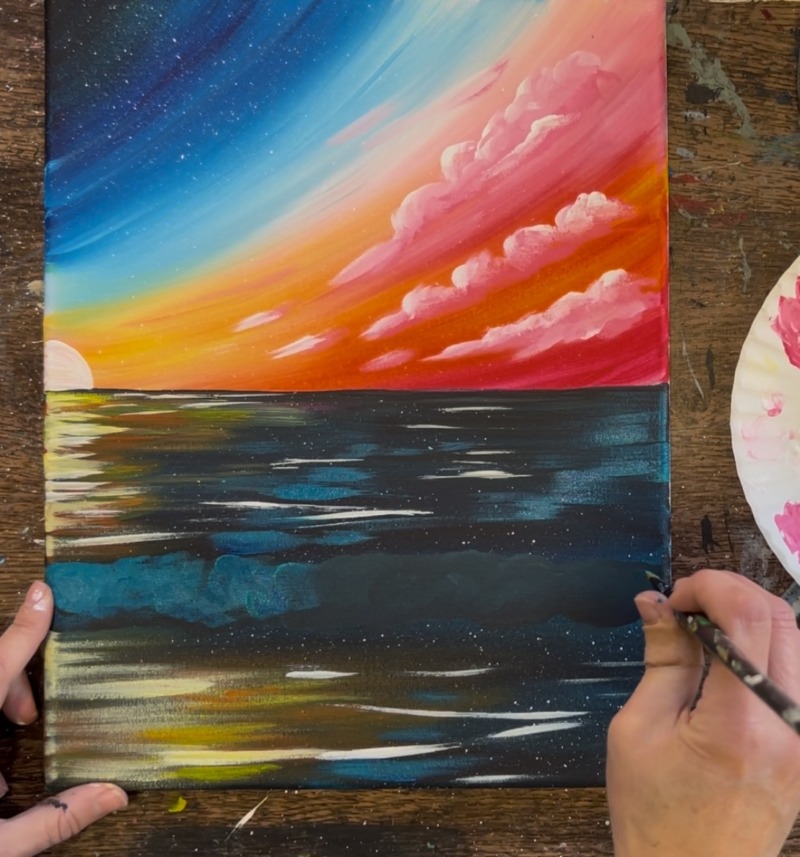
You can also use your finger to help smear the paint downwards. I added a little bit of black on the bottom of the wave and blended with my finger. You want to make sure the bottom of your wave is still very dark. It’s not going to look quite like a wave yet! We will layer on lighter colors next…
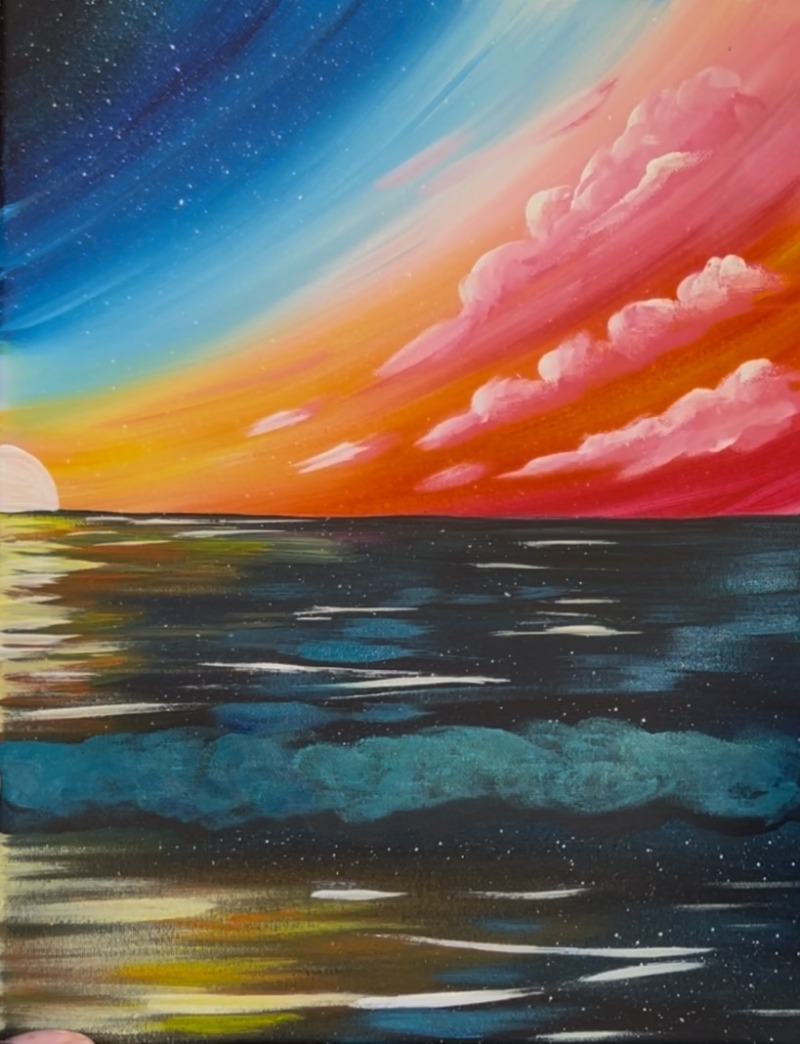
Add more white to your teal color you are working with and add another layer on the top of your wave. This time, do not cover all of your second layer, only paint towards the top and blend it down either with the brush or your finger. You want to still do rounded/ choppy paint strokes.
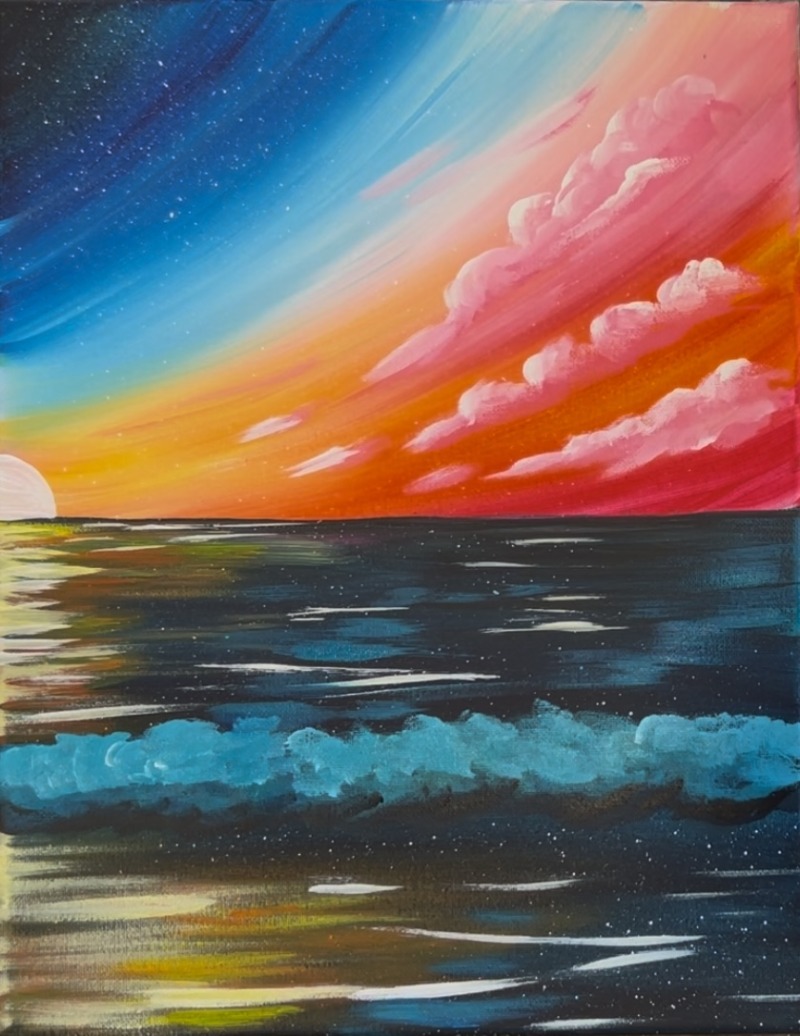
Wipe the brush and add just white to it! Add white to the very top of your wave with the same type of paint strokes. You will now have a wave that is very light at the top and dark on the bottom. We are going to let this dry before doing the final layer/ details on it.
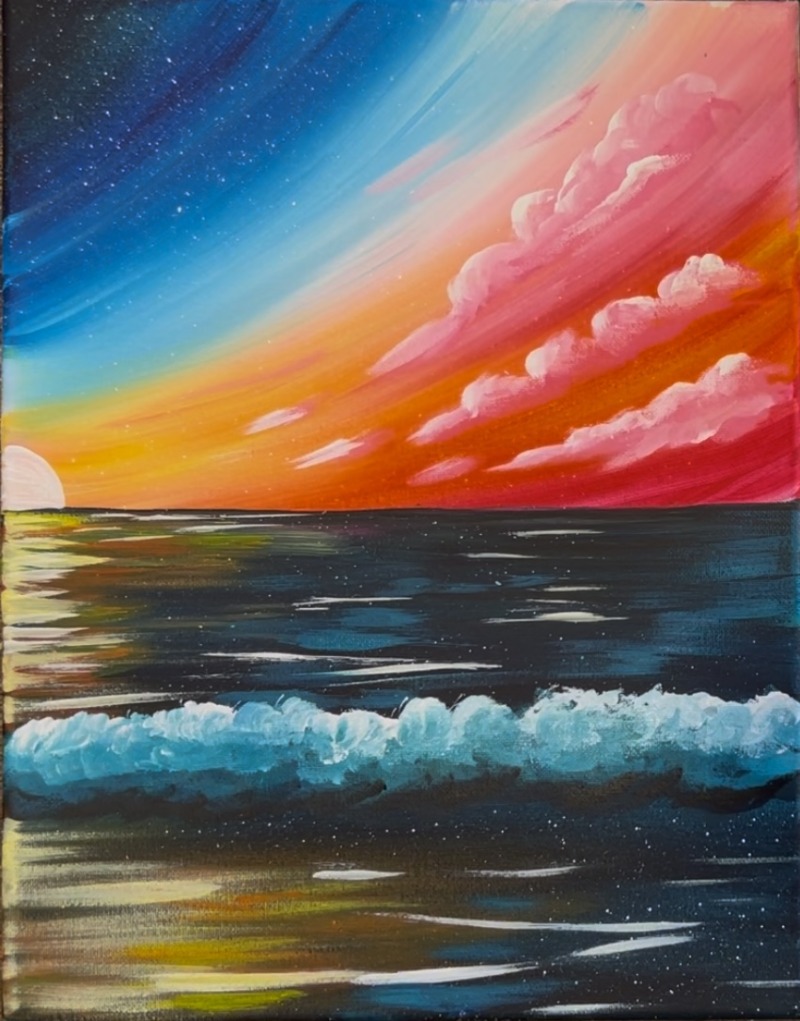
9. Paint soft wave under large wave
There is a soft and shallow wave under our large wave. Use the #4 round brush to define this area. Use the dark teal color (from the first layer of the wave) with a little white added to it. The red line below in the image shows where that line is.
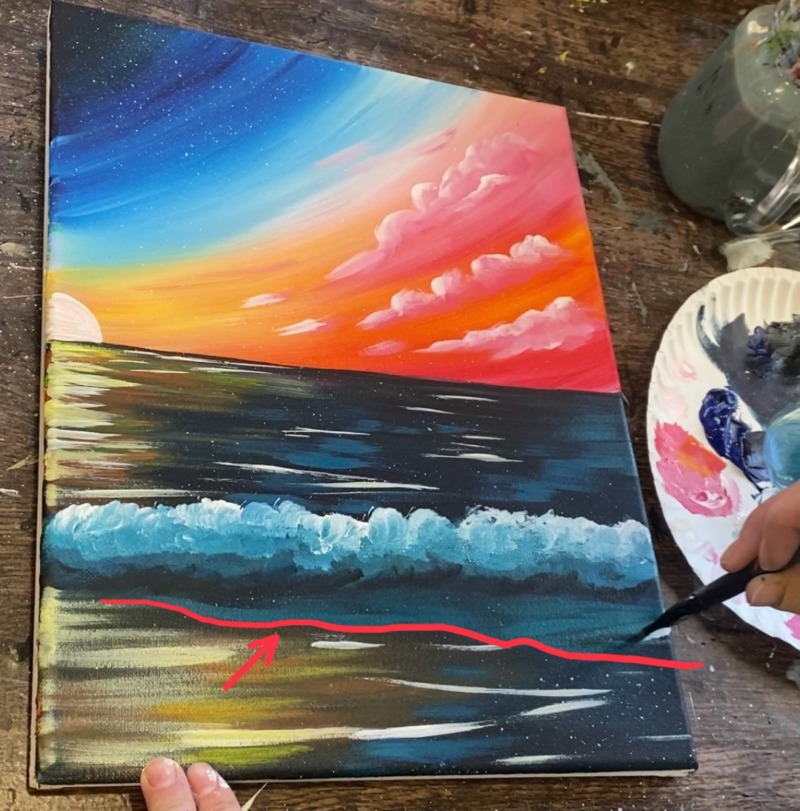
After you define the line, paint left and right paint strokes in that area. You don’t need to fill it in solid, leave a lot of dark showing through.
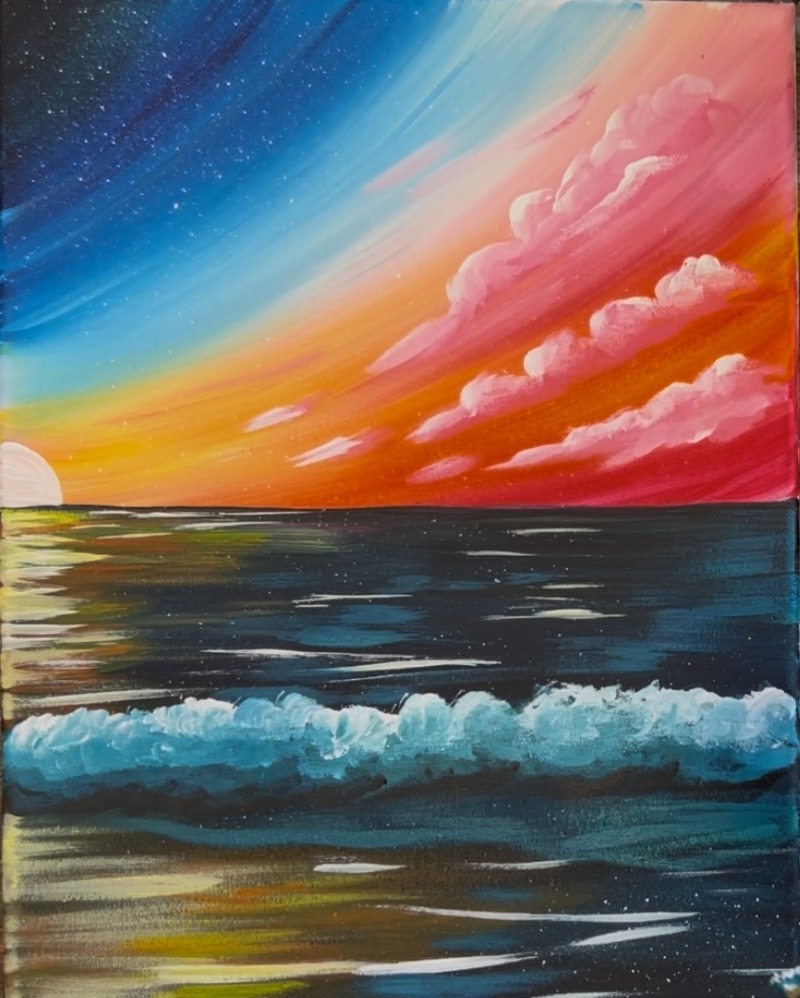
Then, line the edge of this soft wave using the #4 round brush. Add white into the teal to lighten it up (it’s not a pure white but a light teal color).
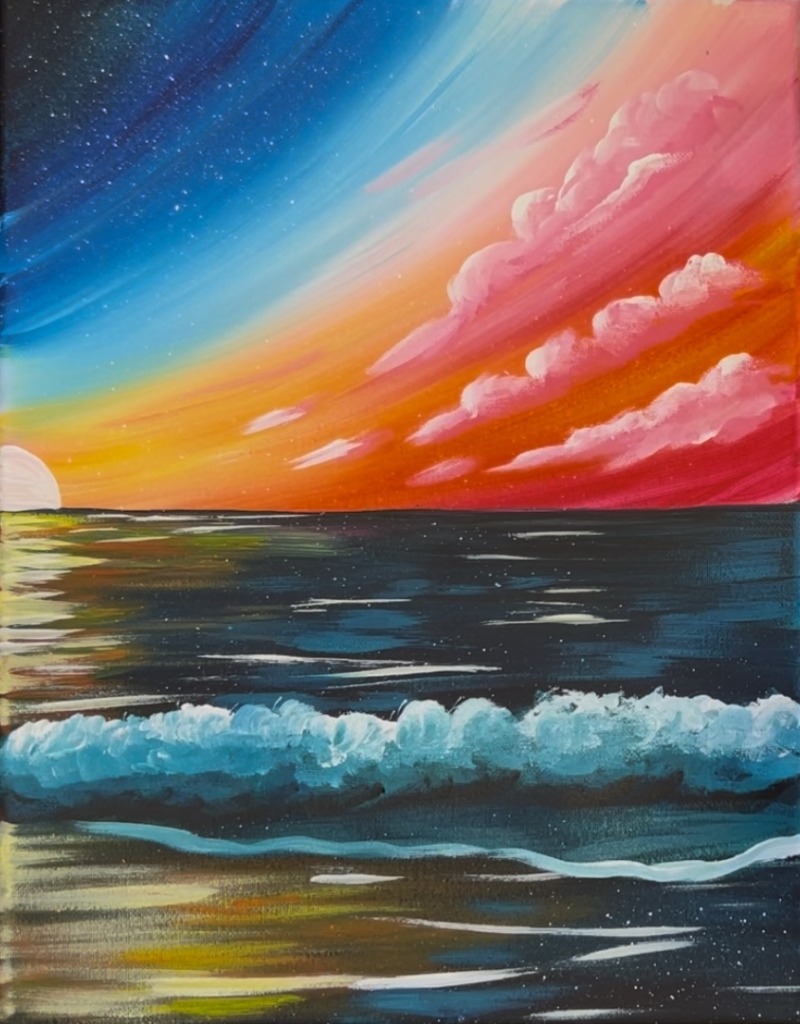
Then add a few loose paint strokes using this same light teal color. Paint left and right inside this wave area but don’t cover all of your dark layer.
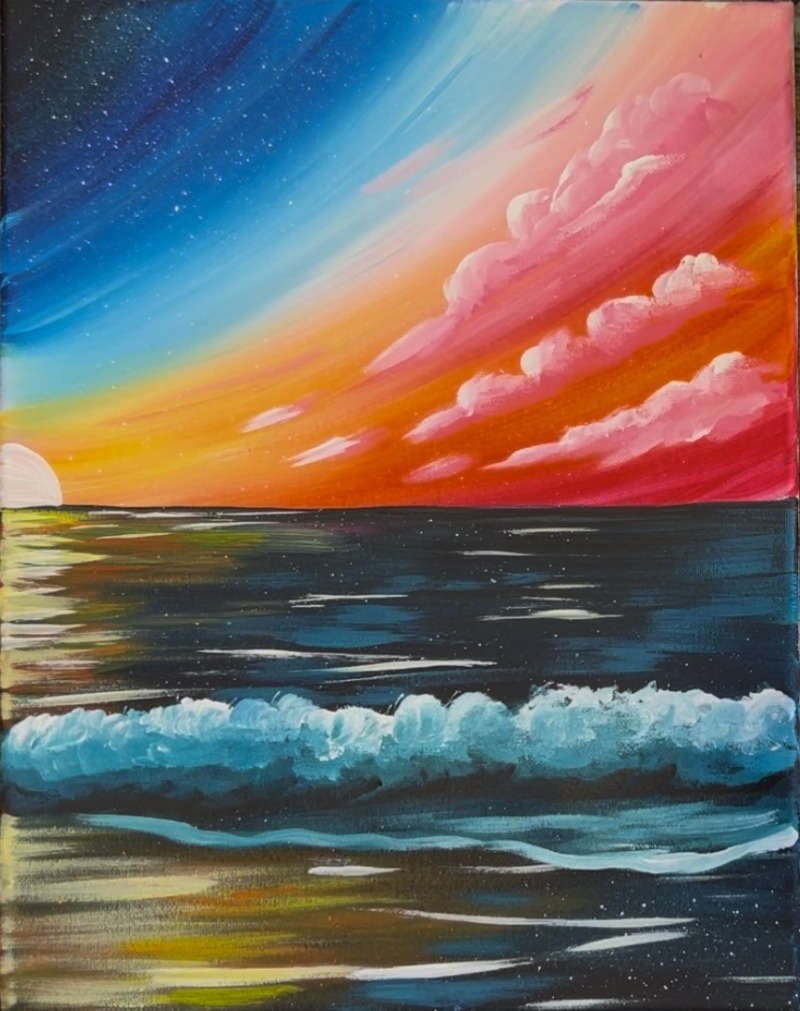
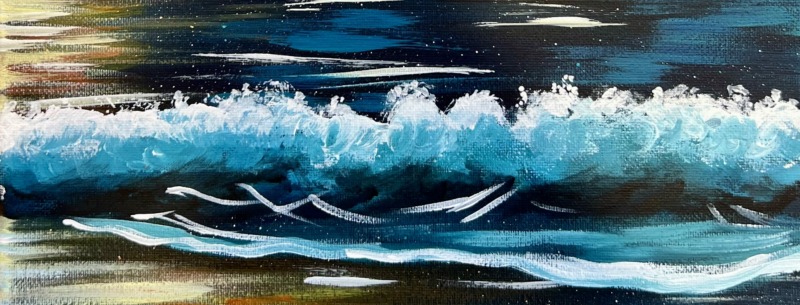
Then use pure titanium white and the #4 round brush. Paint “wave lines” under your rolling wave. This is to show that the water rises up in this dark area.
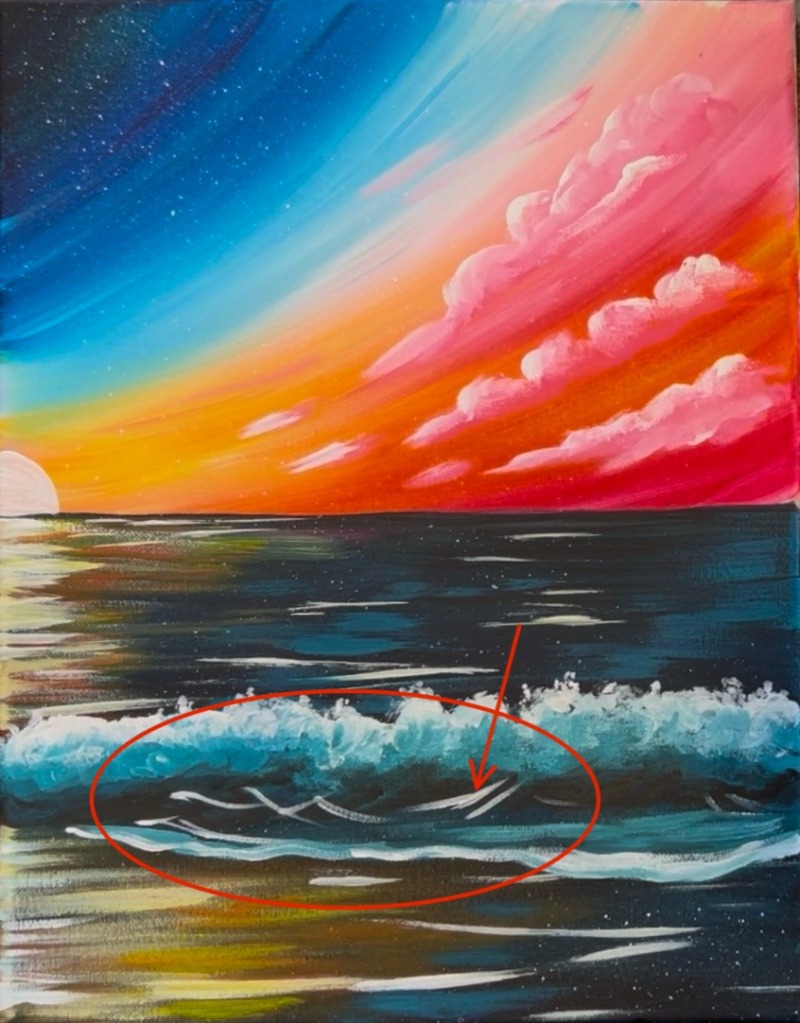
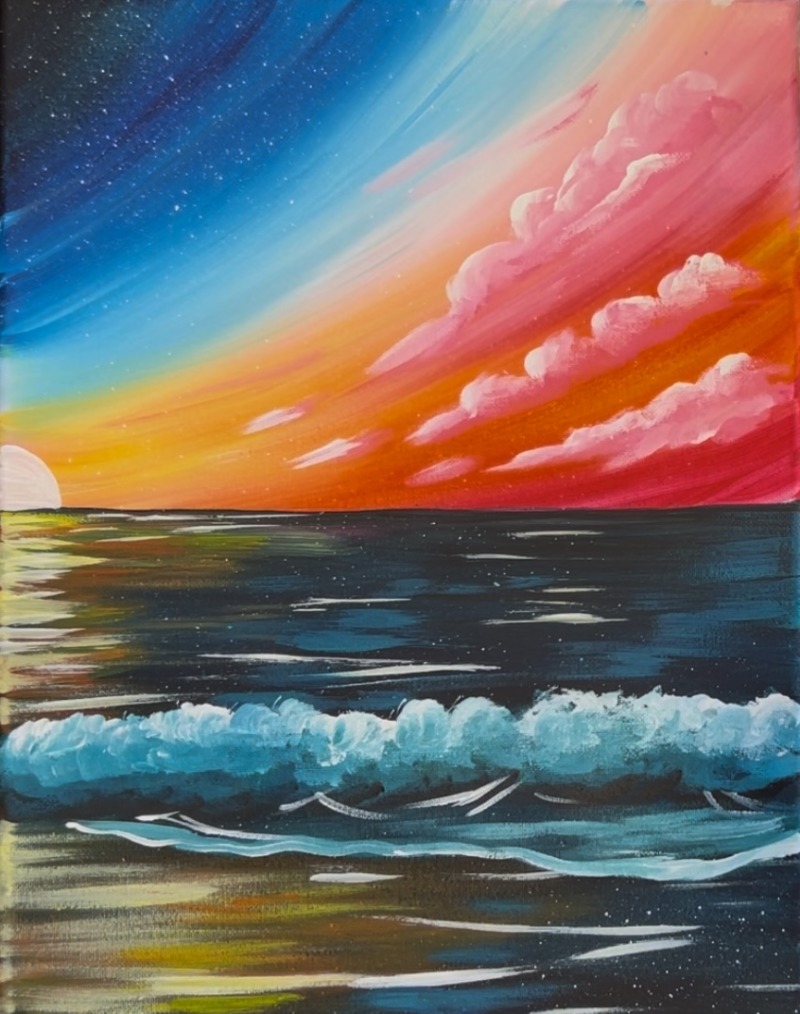
10. Paint more splash marks on wave
Use a #4 round brush and “titanium white” to paint little white dots to create some more detail in the splash of the wave. You can make it look “higher” in some areas.
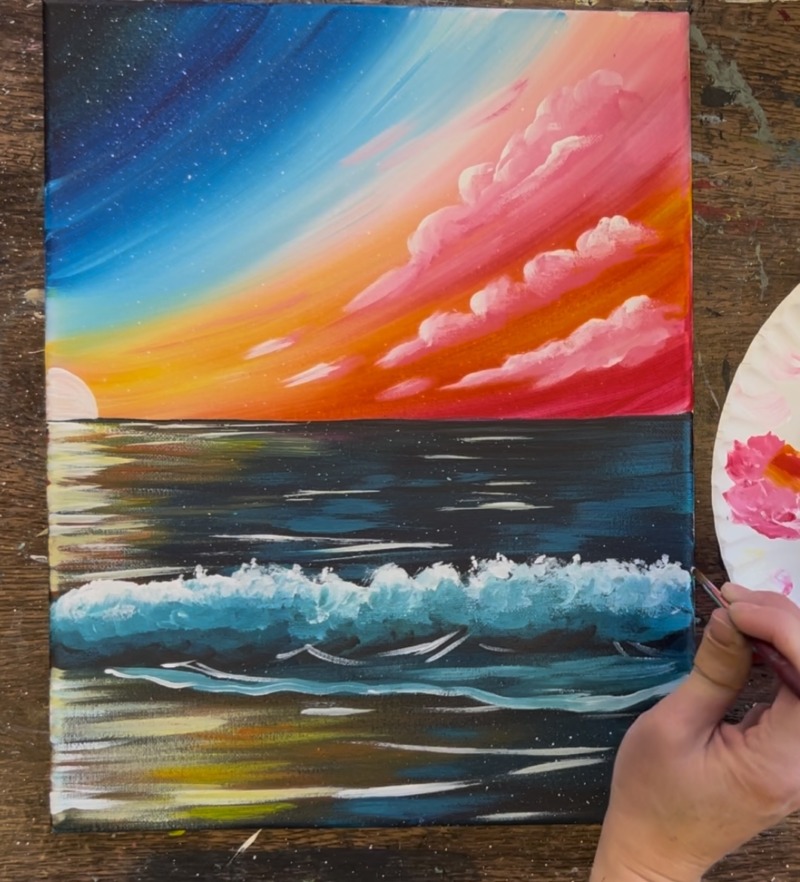
11. Draw/ Paint Palm Tree & Paint Twinkly Stars
Use a piece of chalk or white chalk pencil to draw the outline of the palm tree. Your partner will do the tree on the opposite side of their canvas. I started my line about a half inch below the horizon line on the far right edge of the canvas. Draw a diagonal/ slightly curved line. Then draw a few “palm frond” lines on the top of the trunk. My palm tree only covers the warm color area of the sky and did not extend to the blue area.
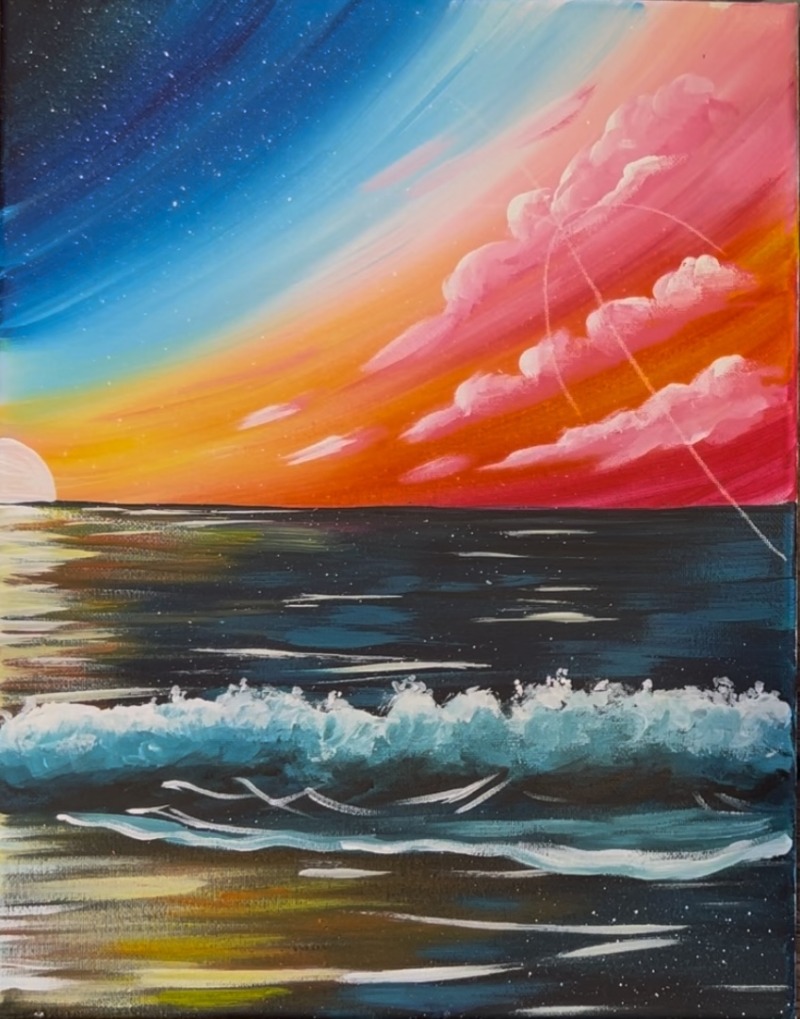
After drawing the basic lines of the tree, paint it in black. Use the #4 round brush and “mars black”. Slightly water the black down. Paint the trunk so that it is slightly thinner at the top and becomes wider on the bottom.
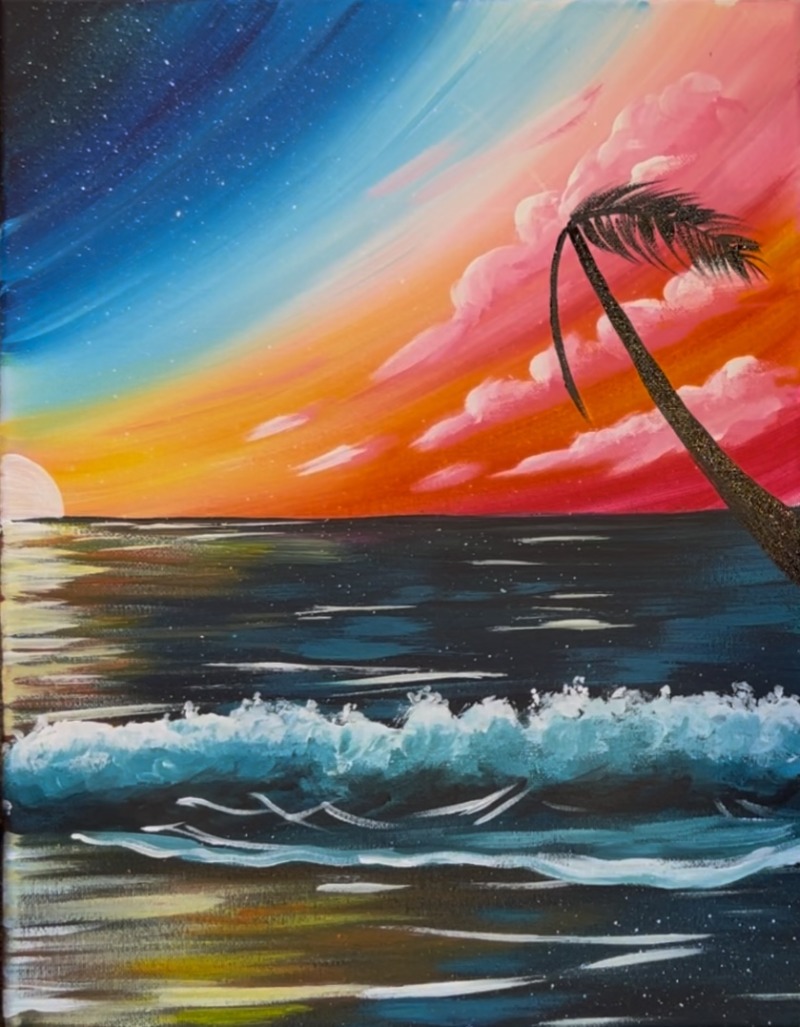
Paint each of the palm fronds by painting one line down the center of the palm. Then paint each individual leaf by stroking outwards with your round brush to paint thin and curved lines that point outwards. I did 6 palm fronds but you can paint more or less.
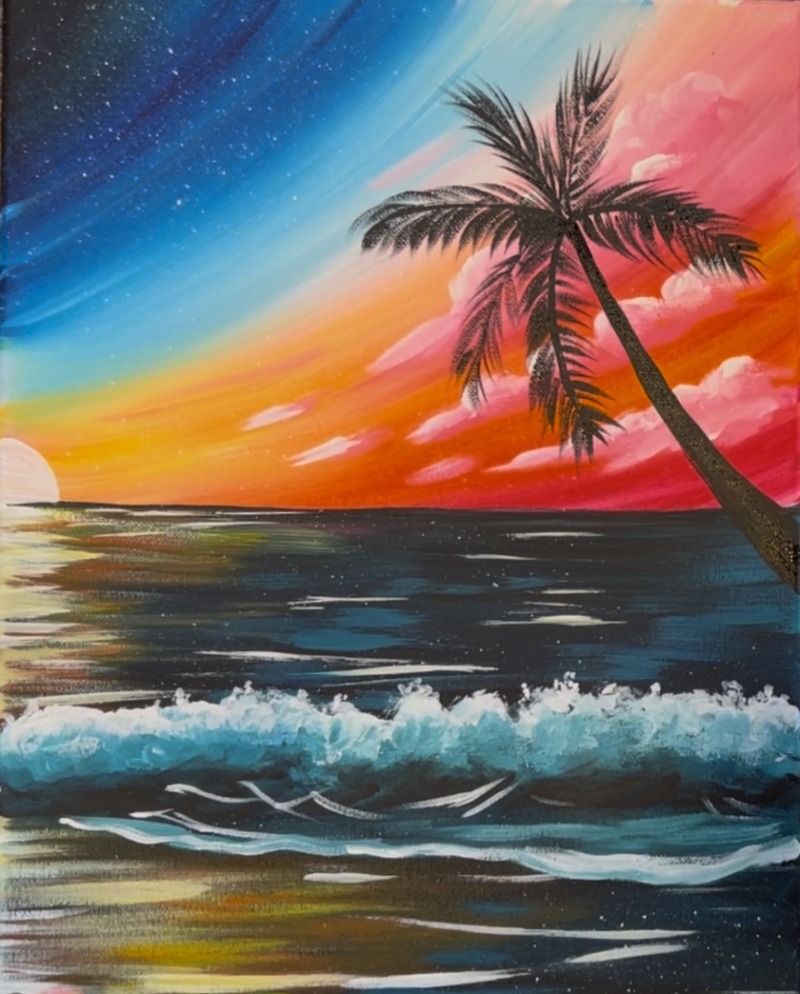
Optional: As an added detail, you can add a little “back lighting” to your silhouette by taking “titanium white” and loosely outlining the outer left edge of the trunk. Do the same for the frond lines on the palm tree.
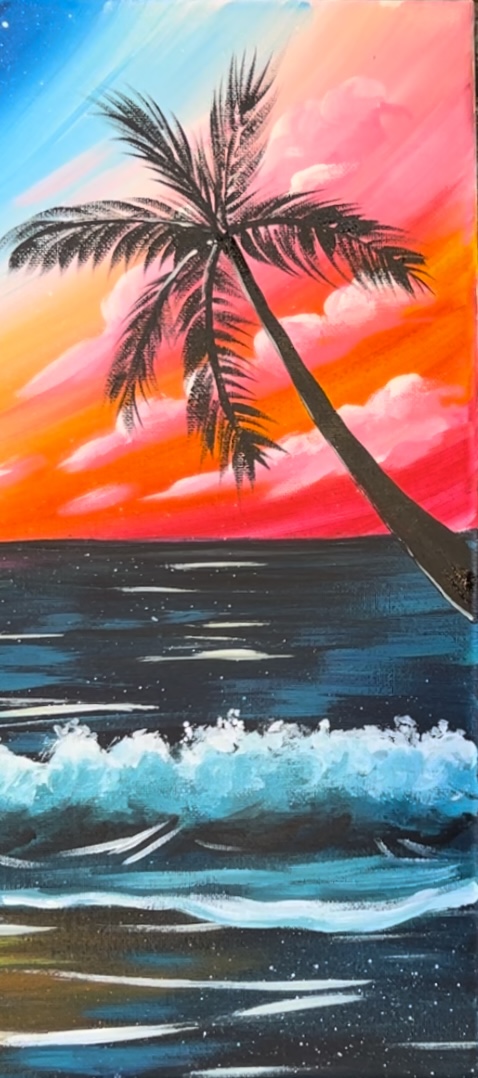
As a final detail in the painting, I painted a few “twinkling stars” using the “long 8 round brush” and titanium white. You can also do this with a “liner brush” or even a white paint pen! The long round brush has a fine tip to it and allows for painting of very thin lines.
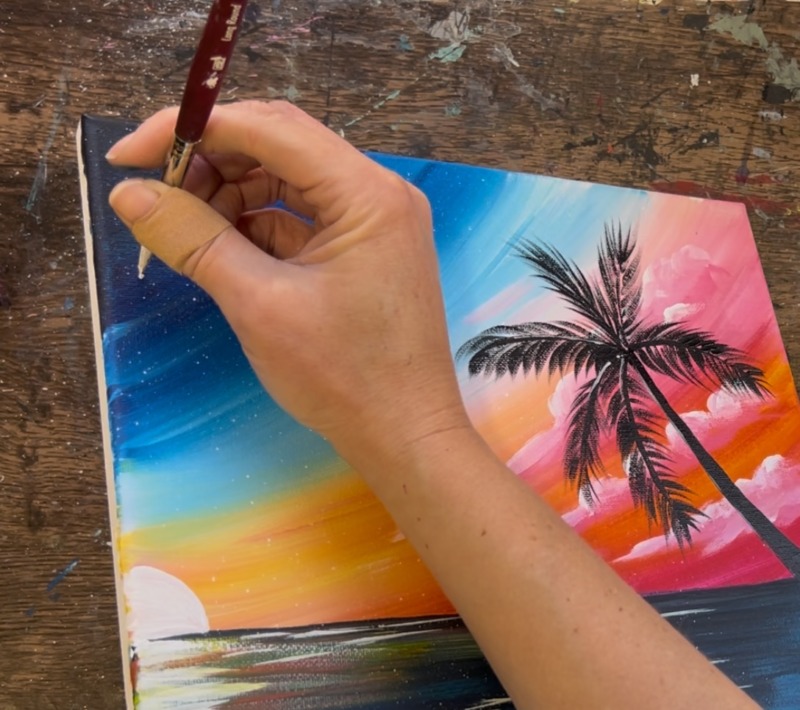
I start my star by painting one small dot and then dragging the lines vertically and horizontally as well as diagonally. Paint several twinkling stars in the dark blue area of the sky.
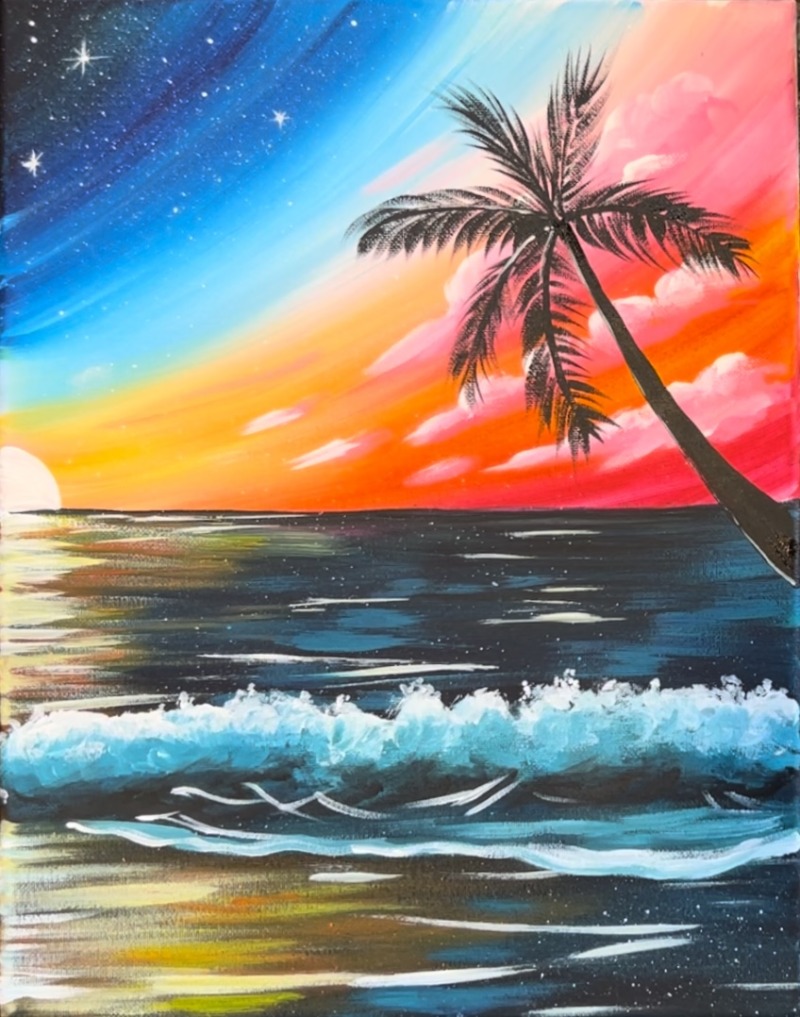
And you are finished!

