Would you like to save this?
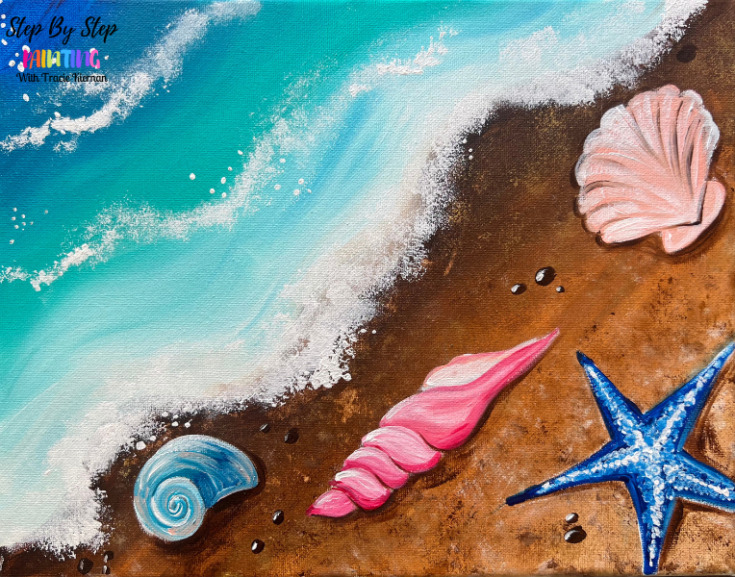
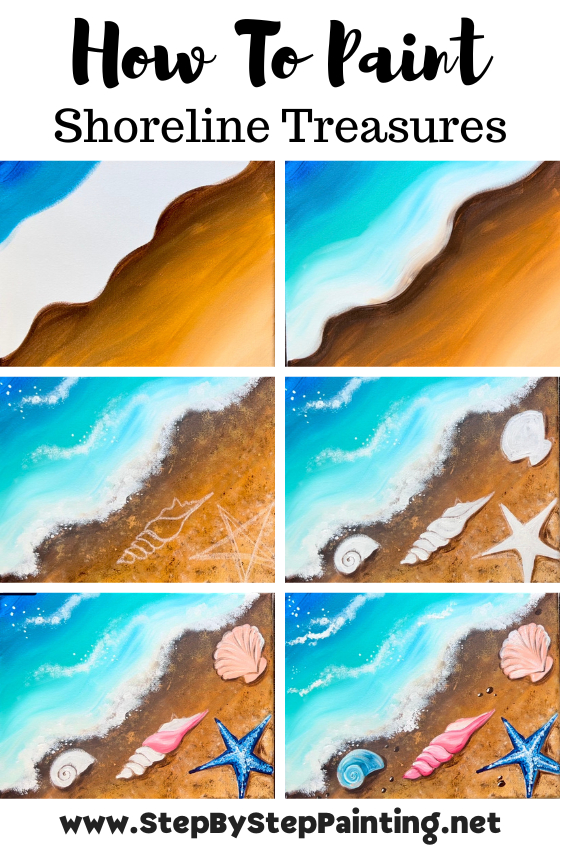
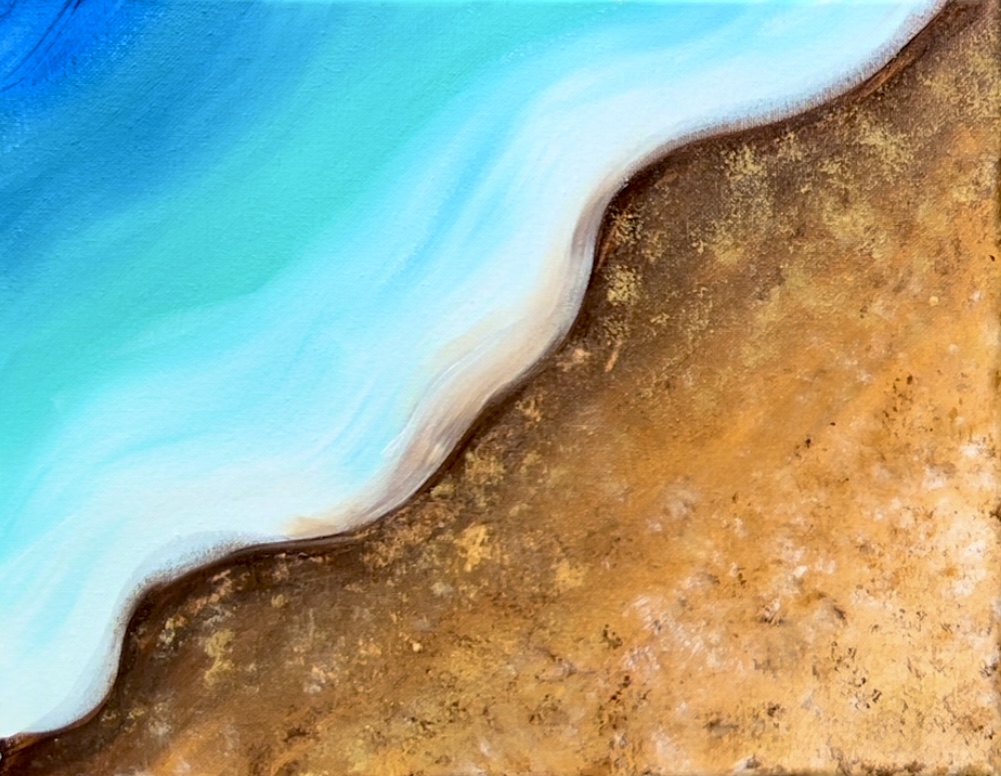
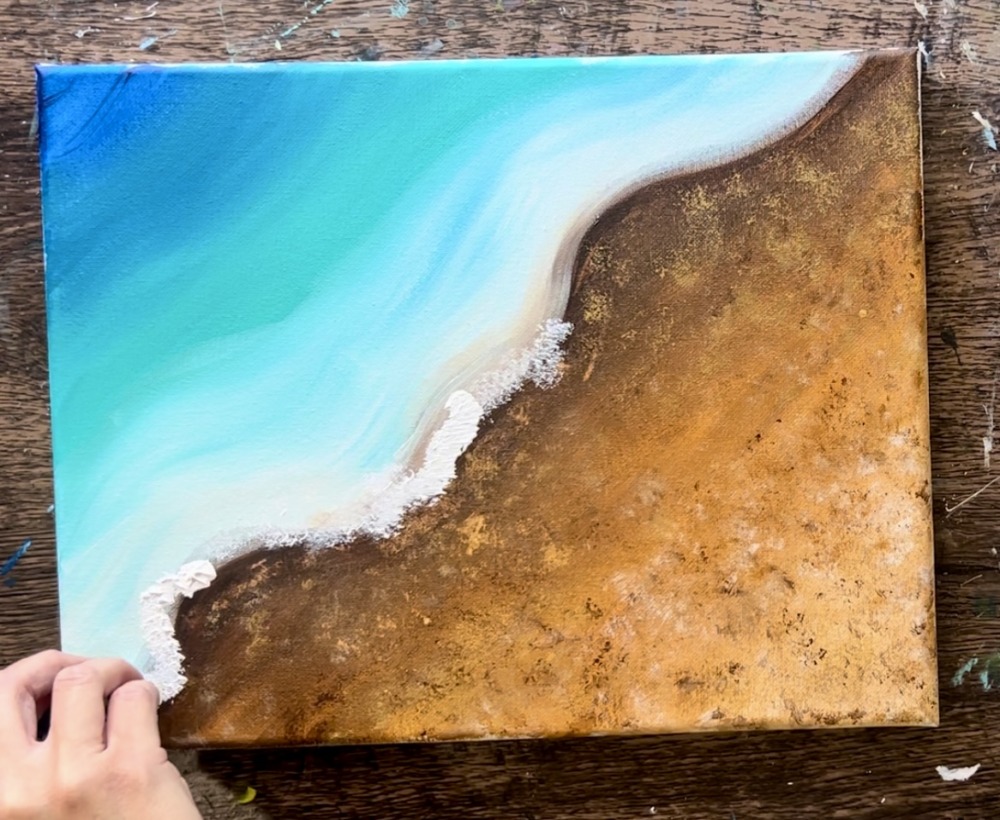
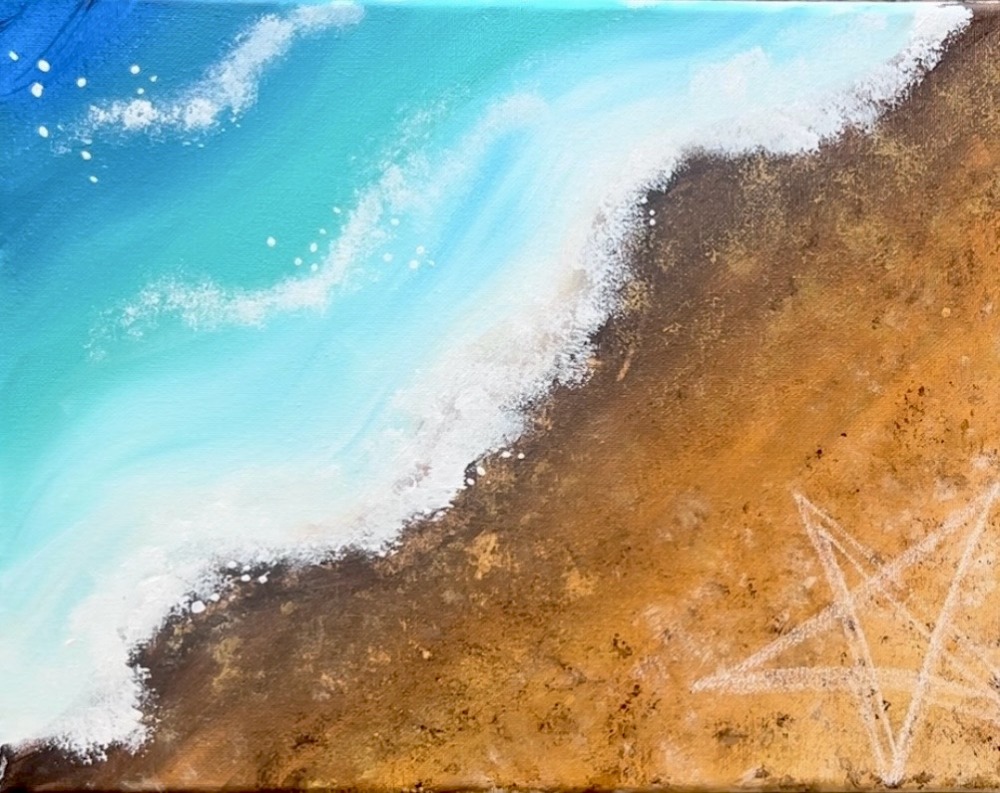
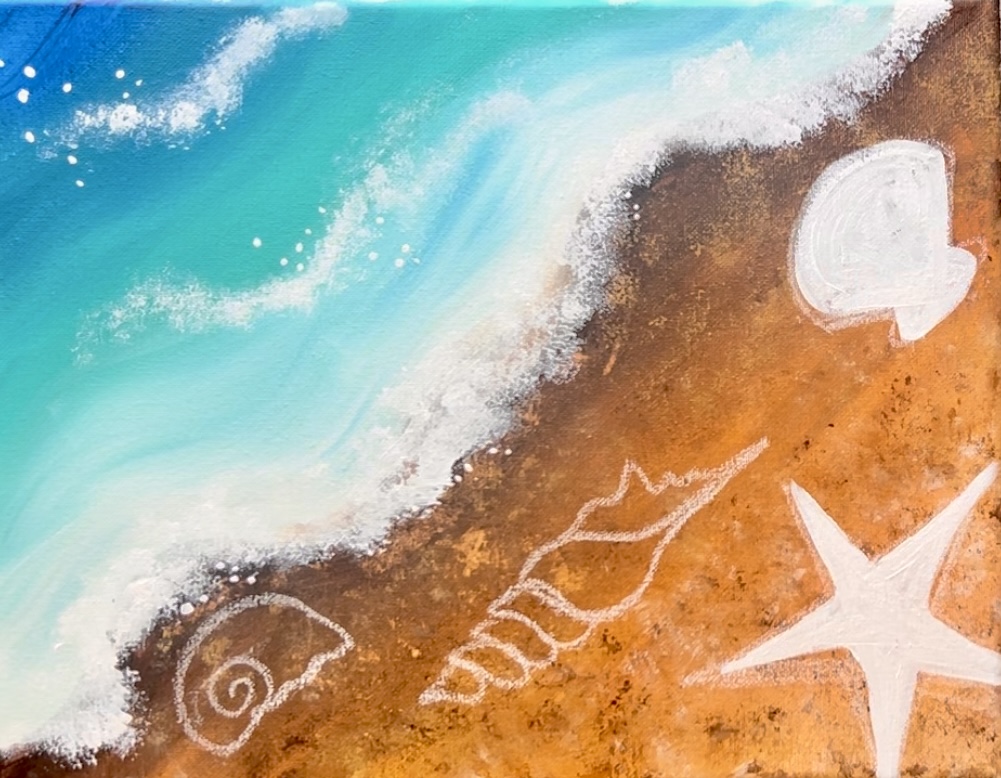
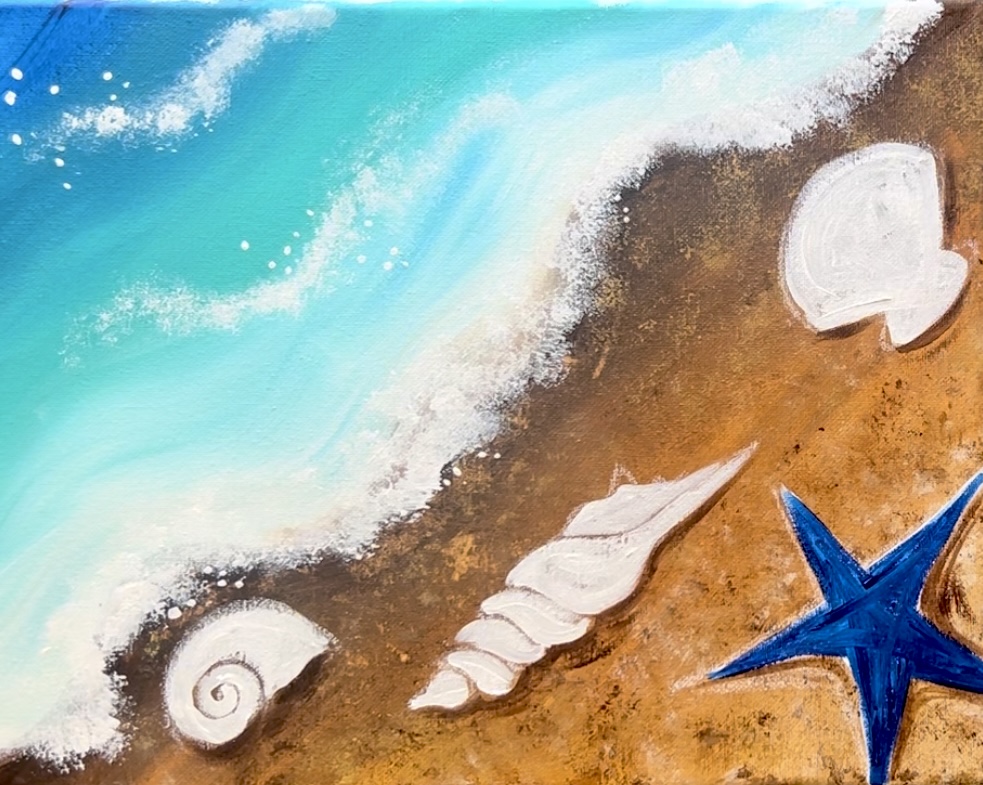
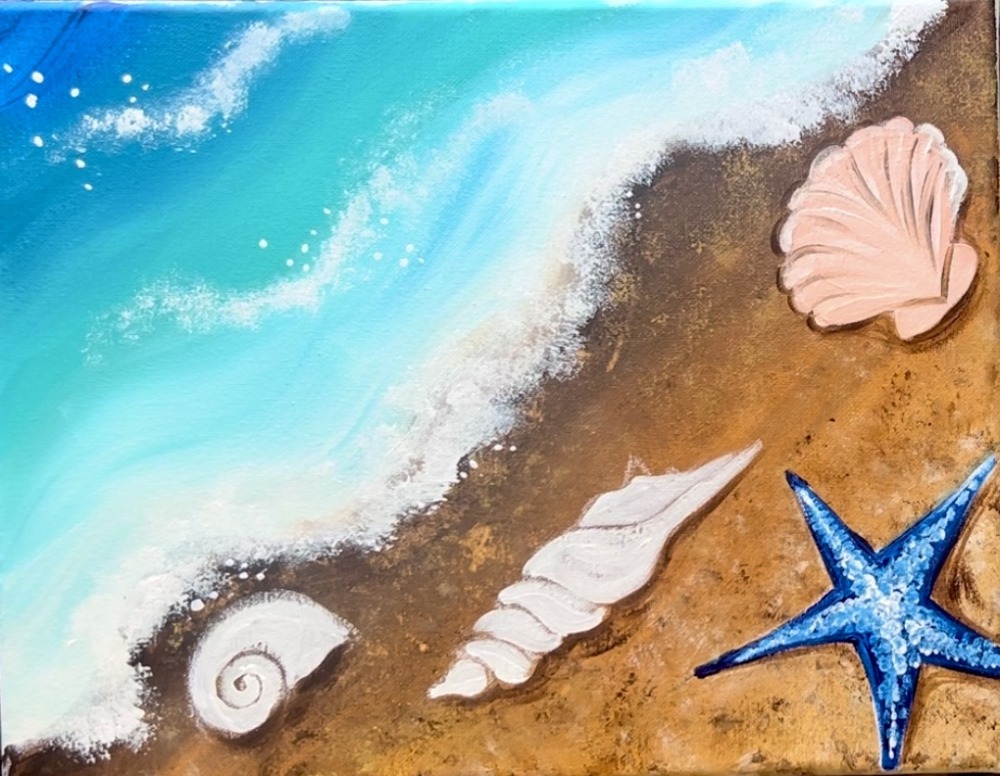
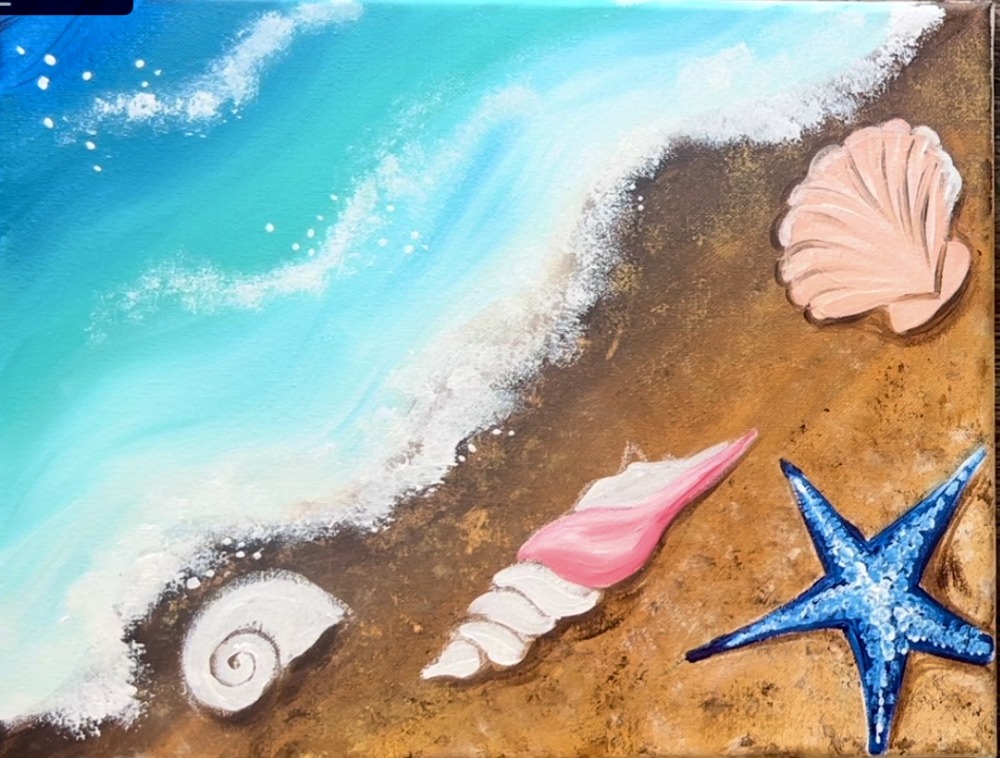
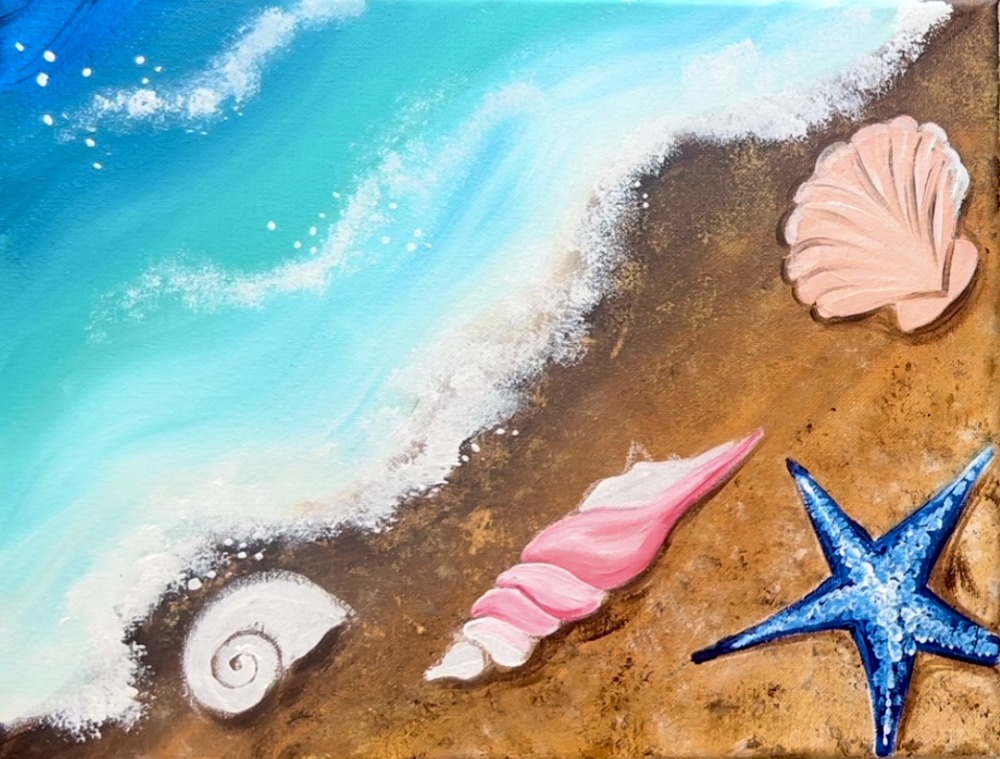
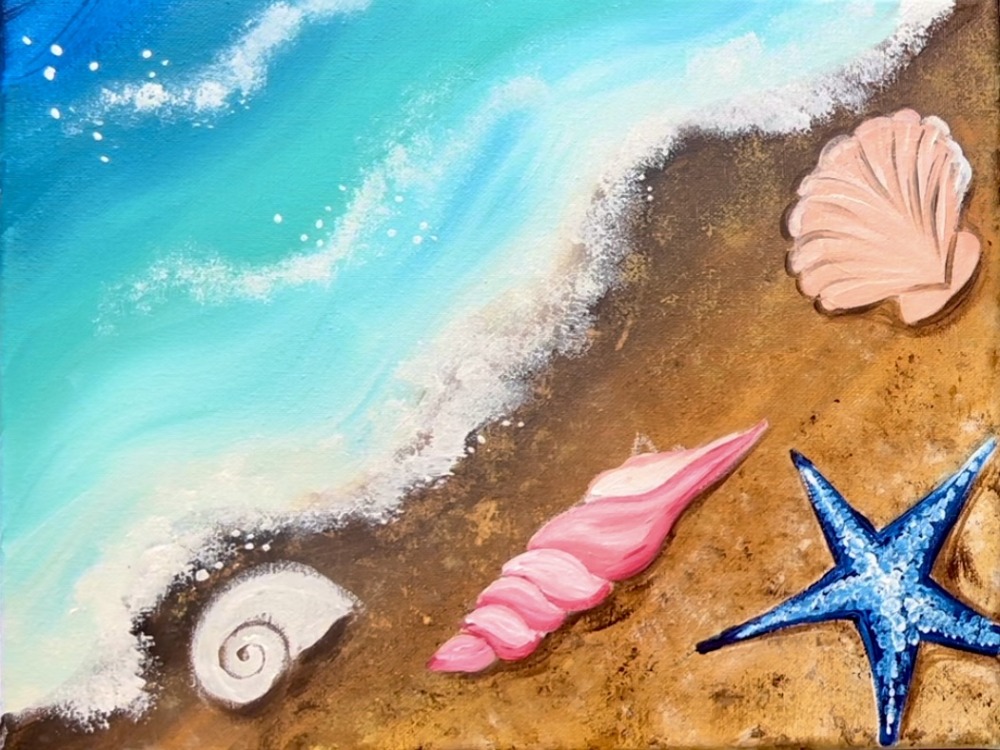
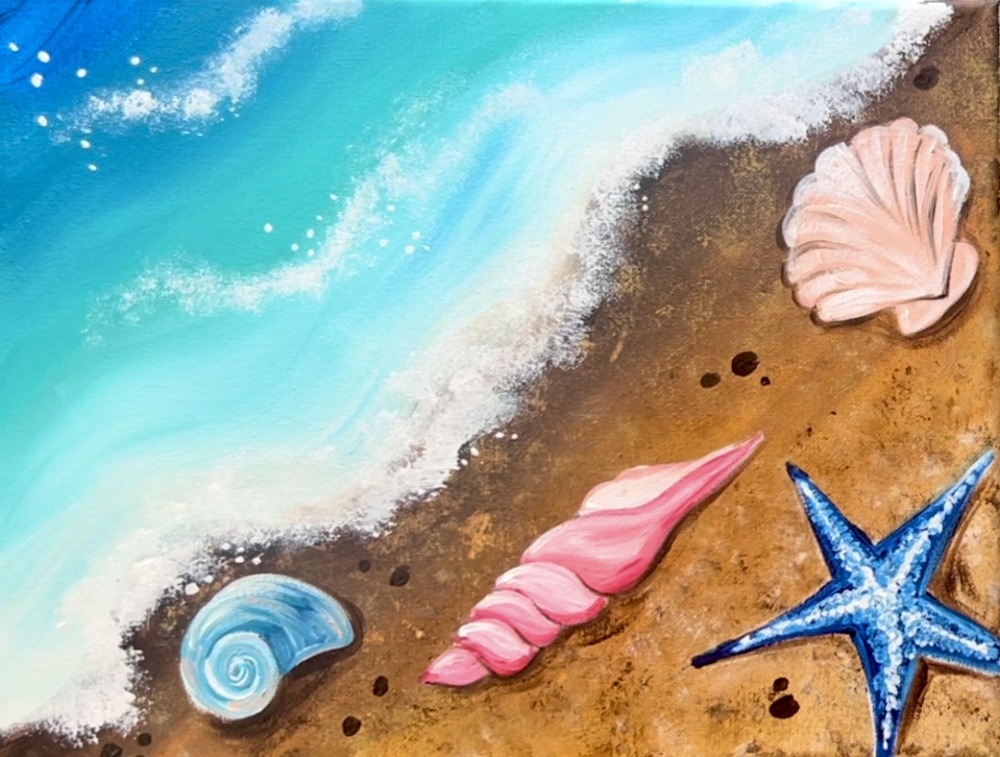
This is an easy level painting that can be customized with different shells (a sand dollar maybe?) and colors. You can also glue real shells to this painting for a collage style painting!
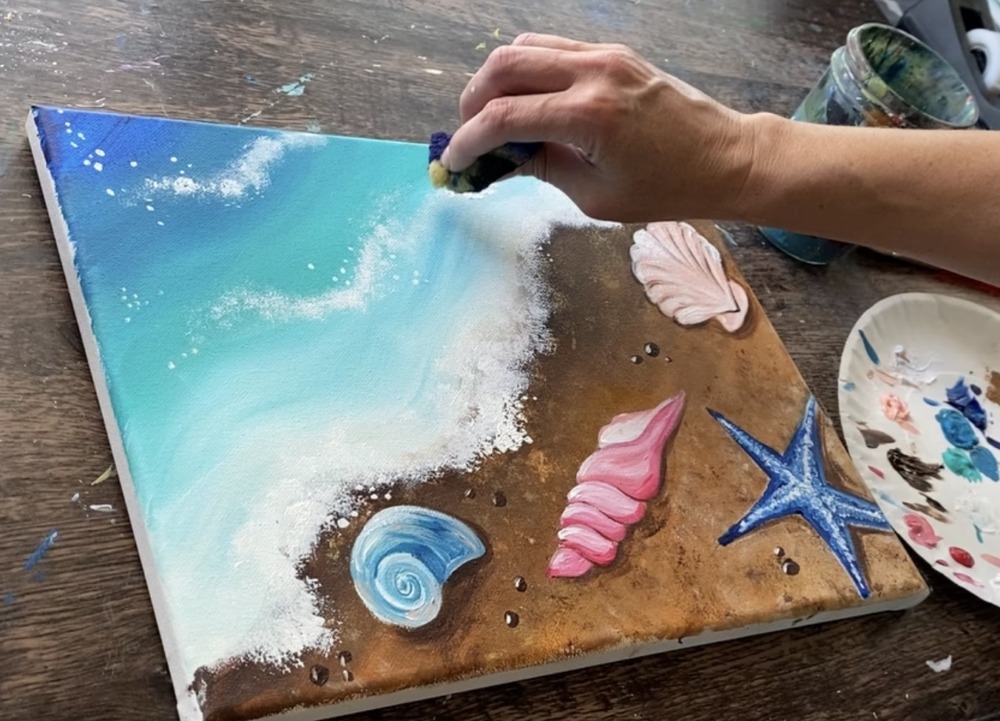
The waves in this painting are done using a texturing technique with a sponge. This particular sponge I used was actually a large bath sponge that I tore up into smaller pieces. You can also get art sponges on Amazon and at craft stores such as Michaels for relatively cheap.

Enjoy and happy painting!
Materials Needed
How To Paint "Shoreline Treasures"
Materials
- 11 x 14 Canvas
- Acrylic Paint (I use Liquitex BASICS)
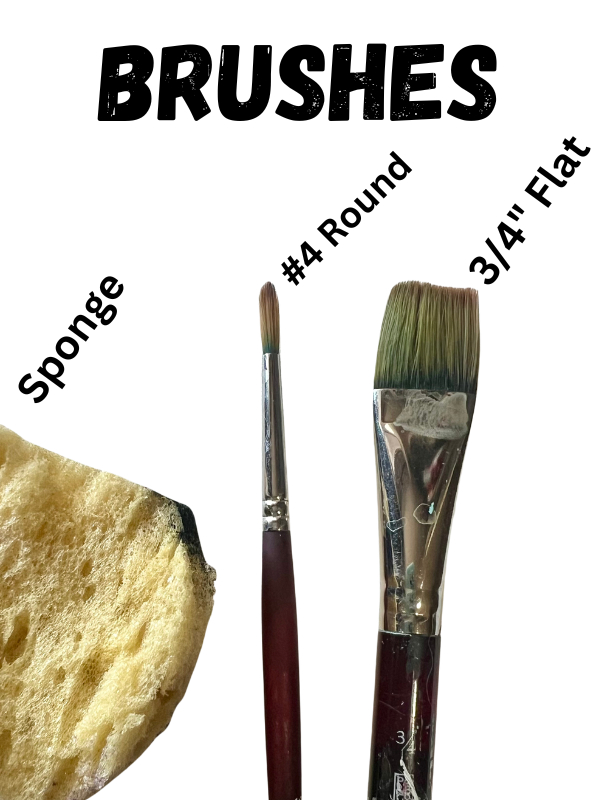
- Brushes (I use Princeton Velvetouch)
- Art Sponge (optional)
- Pencil
- Chalk
Colors
- Titanium White
- Raw Sienna
- Primary Red
- Light Pink
- Phthalo Blue
- Bright Aqua Green
- Turquoise Blue
- Burnt Umber
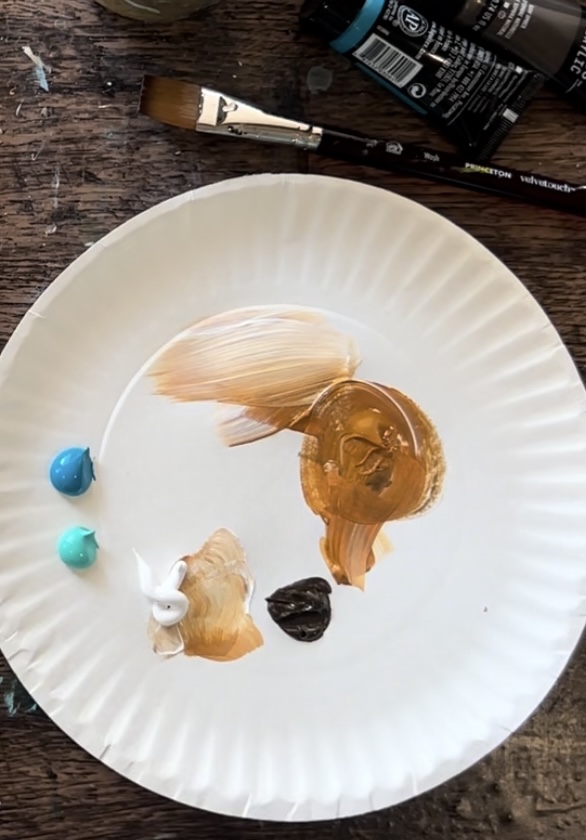
Brushes
Color Palette
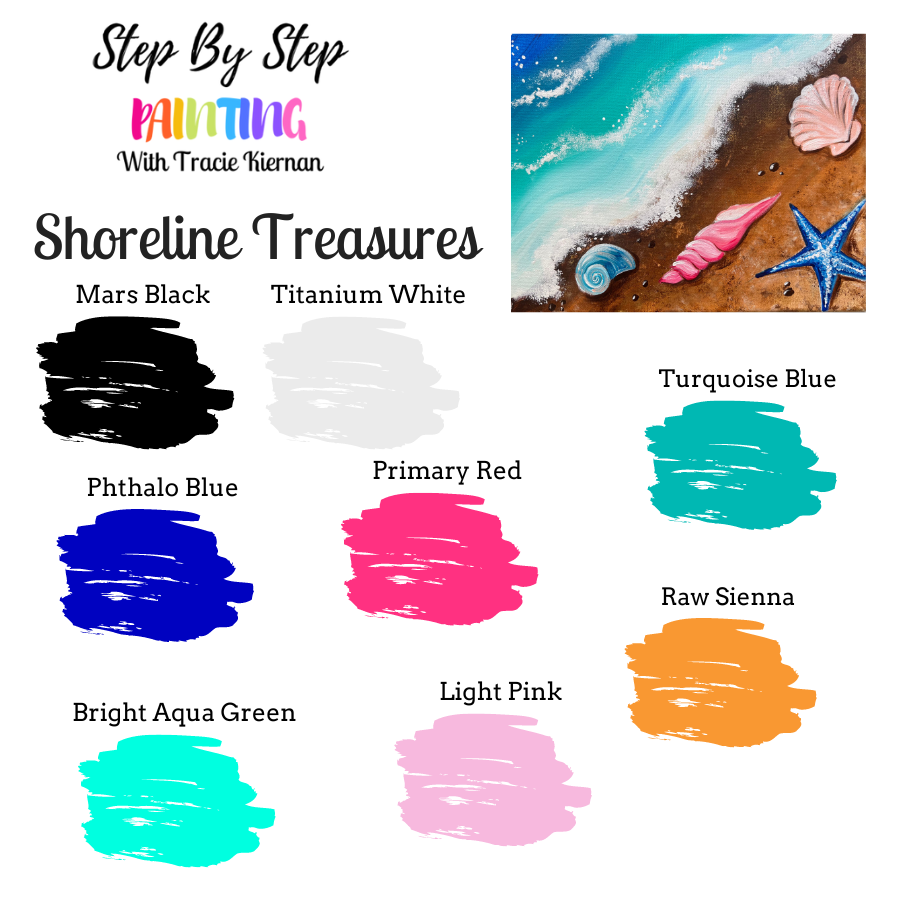
*Also not pictured: gold (which is an optional color only used a little bit in the sand texture).
Brushes
Directions At A Glance
Video
Step By Step Instructions
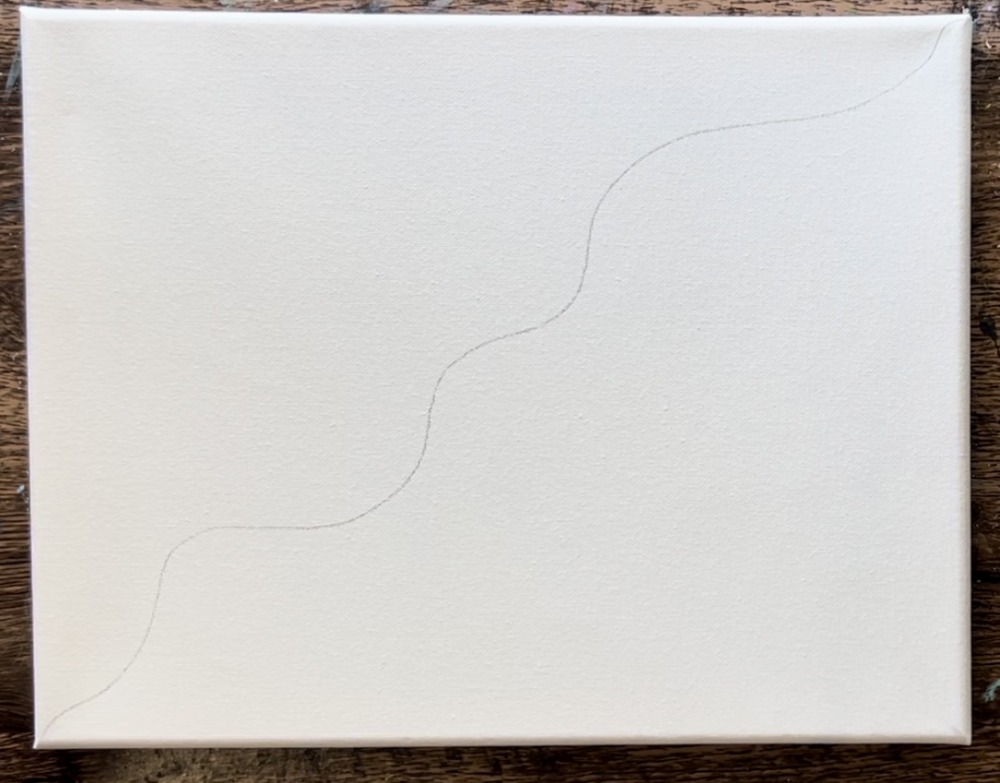
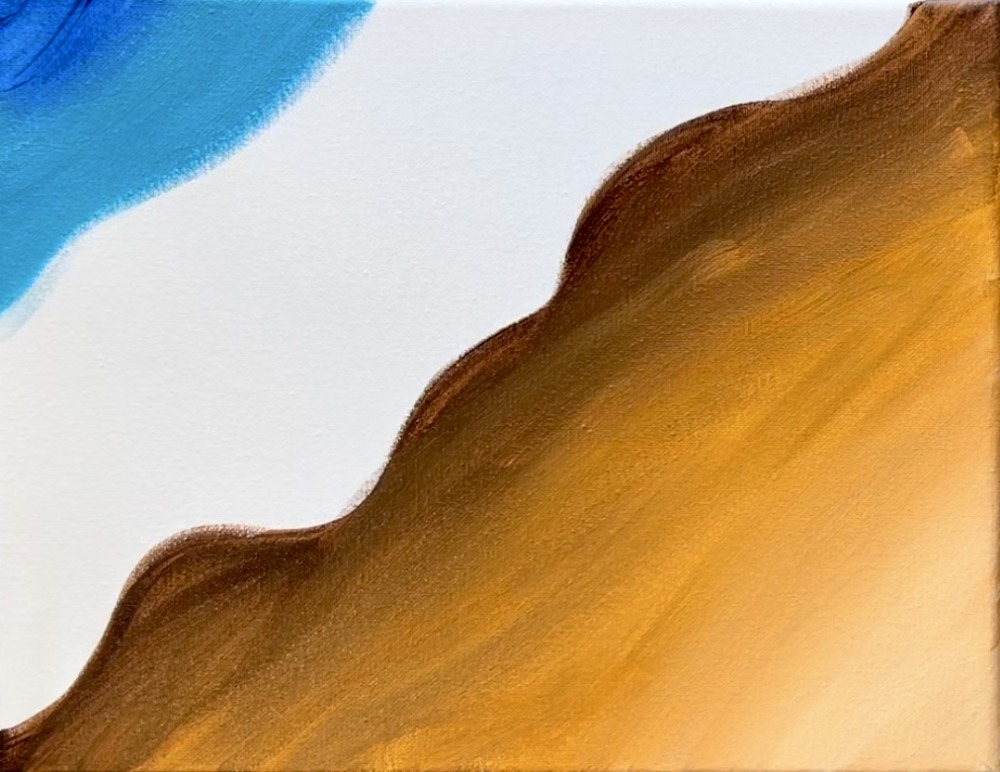
1. Draw shoreline
Use a regular pencil to draw a wavy line from the top right corner to the lower left corner. This will divide the water and the sand.
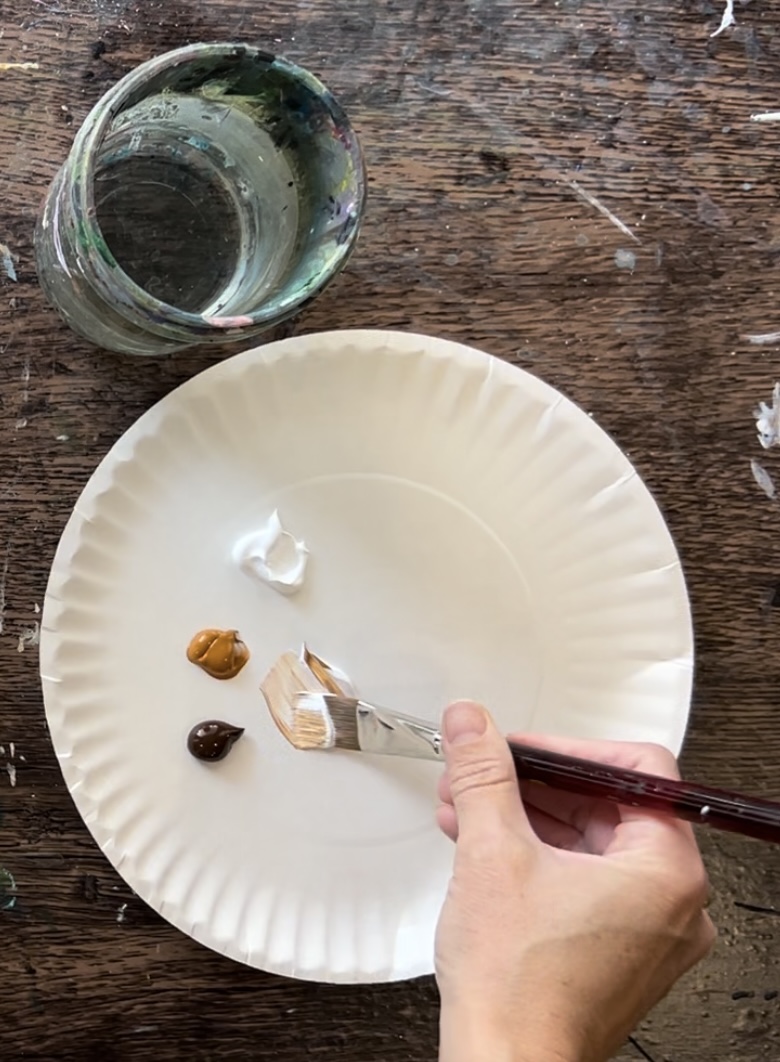
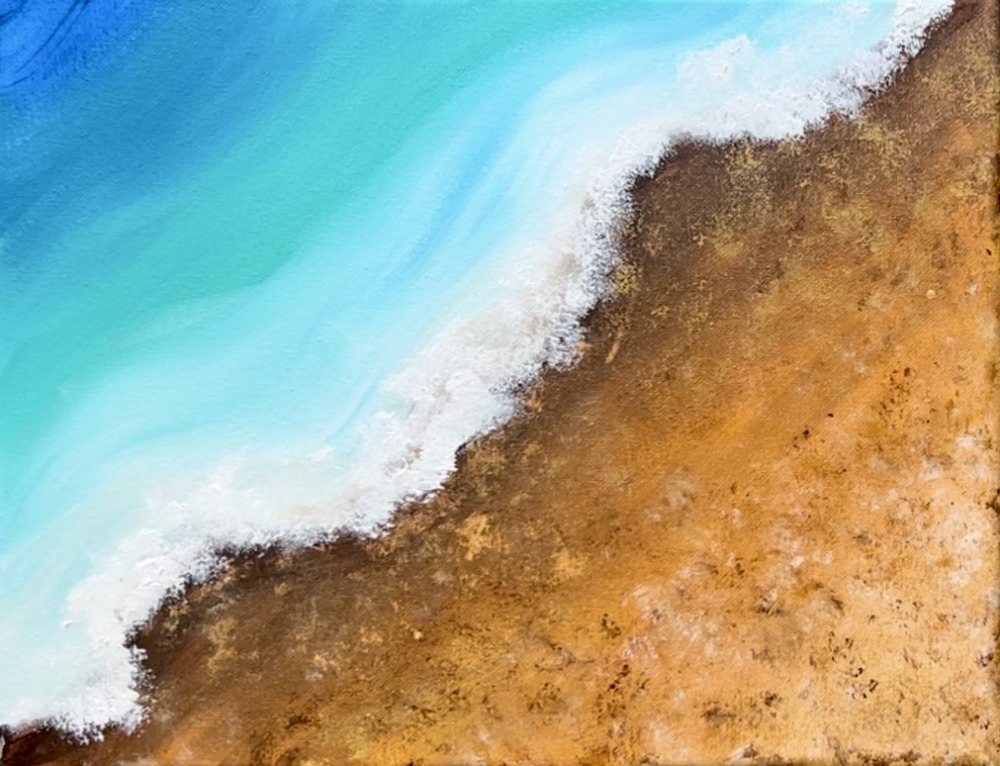
2. Paint Sand
Load your paint palette with: raw sienna, titanium white and burnt umber.
Mix equal amounts of titanium white and raw sienna on your palette using the 3/4″ flat wash brush.
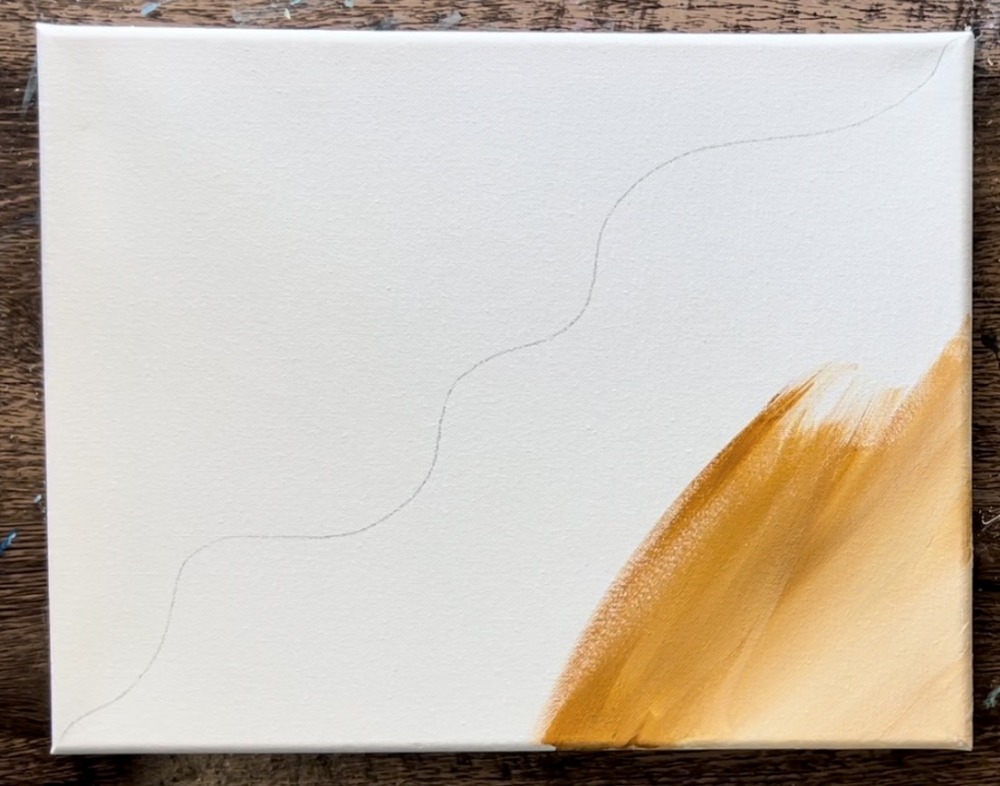
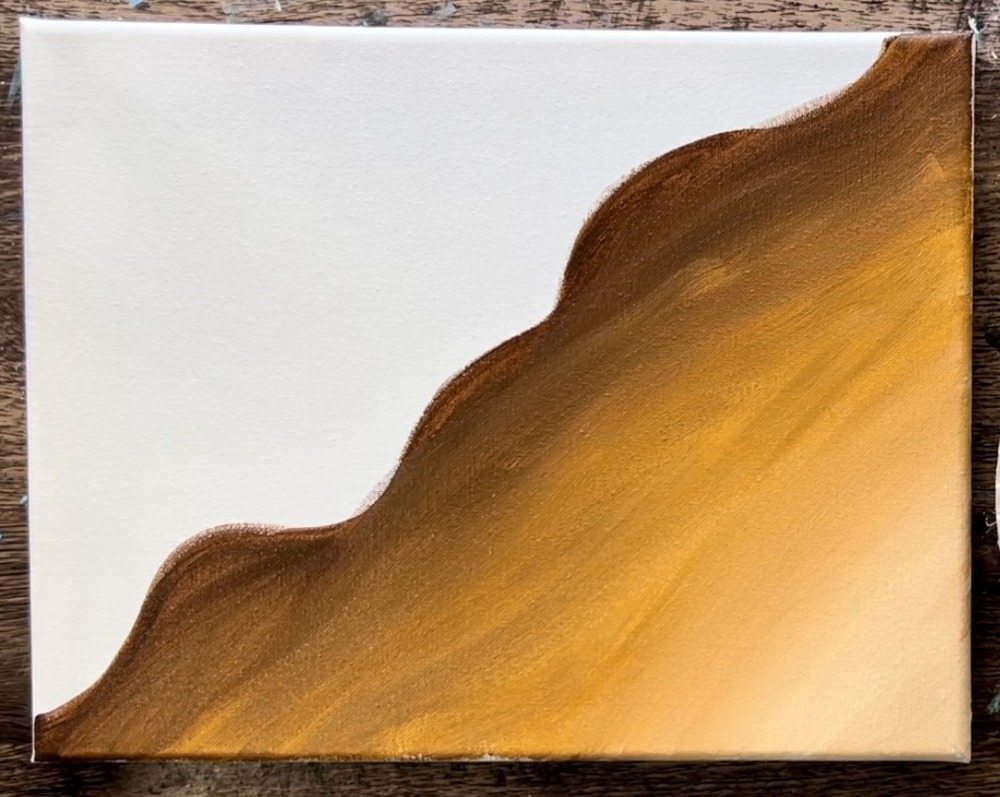
Stare on the lower right corner of the canvas. Paint diagonal paint strokes using the full width of the paint brush. Then blend more raw sienna into the white so that the sand starts to get darker as it approaches the shoreline.
Stop when you get to about halfway on the sandy area. Then, without rinsing the brush, load it into the burnt umber. Paint the edge of the water line with this dark brown.
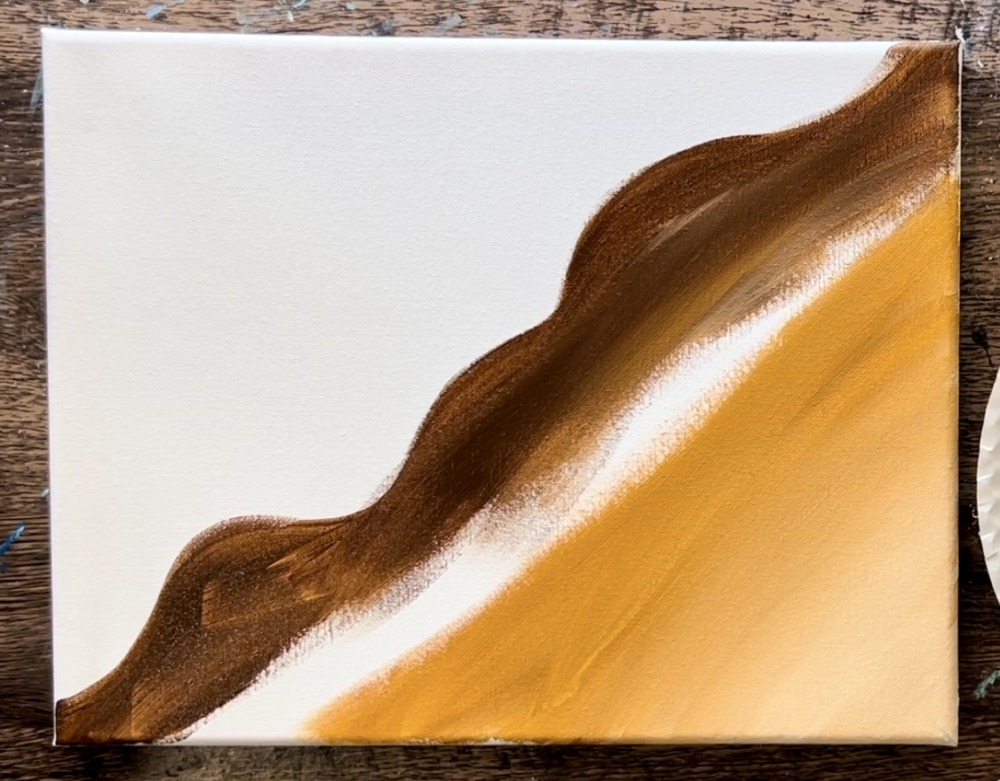
Bring the dark brown to the lighter brown in the middle and blend it. Your sandy area will look like a gradient blend of dark brown on the left to light brown on the lower right corner.
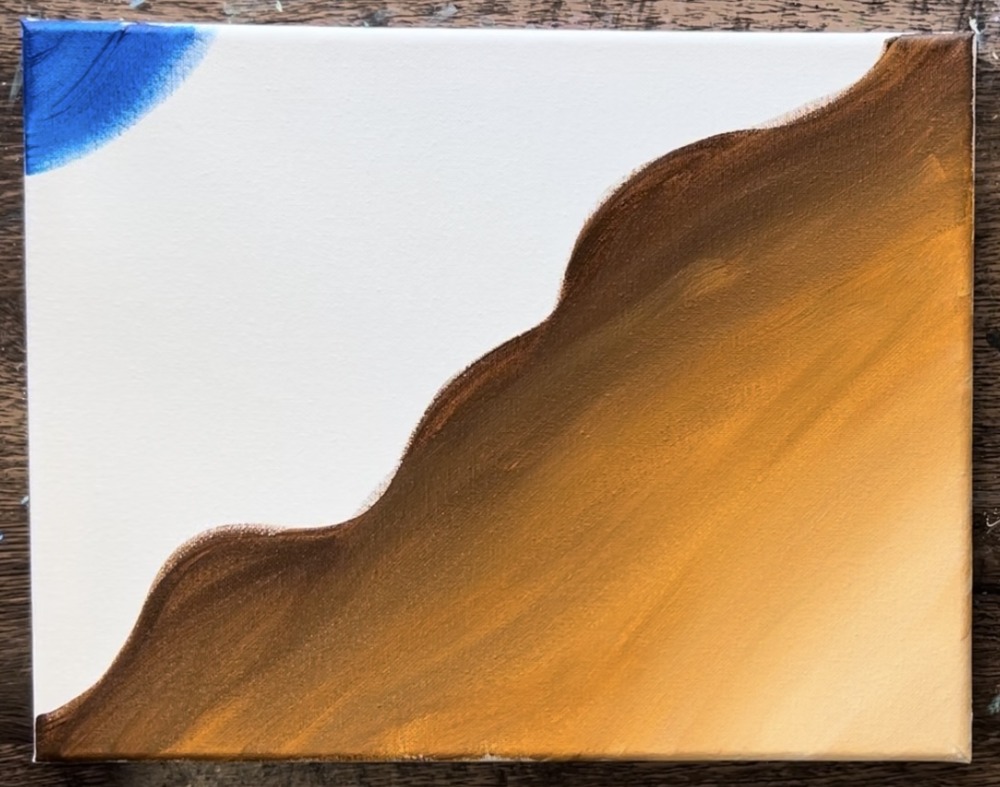
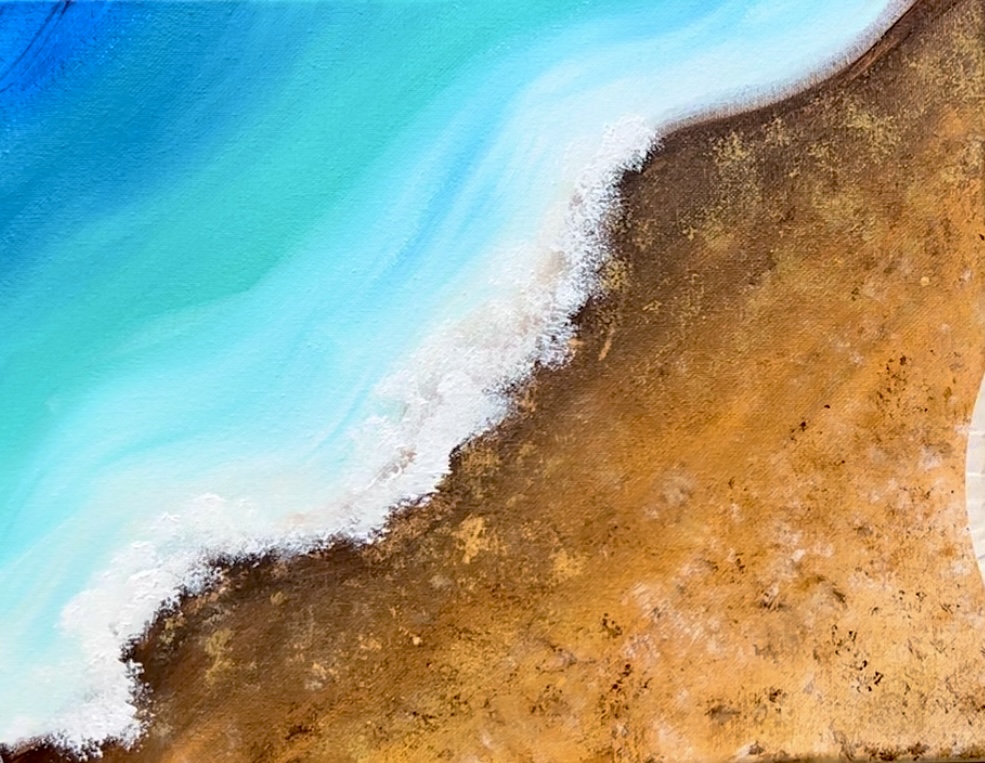
3. Paint Water
Rinse your brush. Then load your paint palette with: titanium white, bright aqua green, turquoise blue and phthalo blue.
Use the 3/4″ flat brush to paint the upper left corner with phthlao blue. Make your paint strokes go in a wavy direction parallel to the shore.
Then blend the turquoise blue with the phthlao blue. You can load your brush with the turquoise without rinsing the phthalo blue off your brush. Then blend “wet on wet”.
Next, without rinsing the brush blend the “bright aqua green” with the turquoise. Go down a little further closer to the shoreline. Then load the brush with “titanium white”. You will achieve your lightest color turquoise closest to the shore.
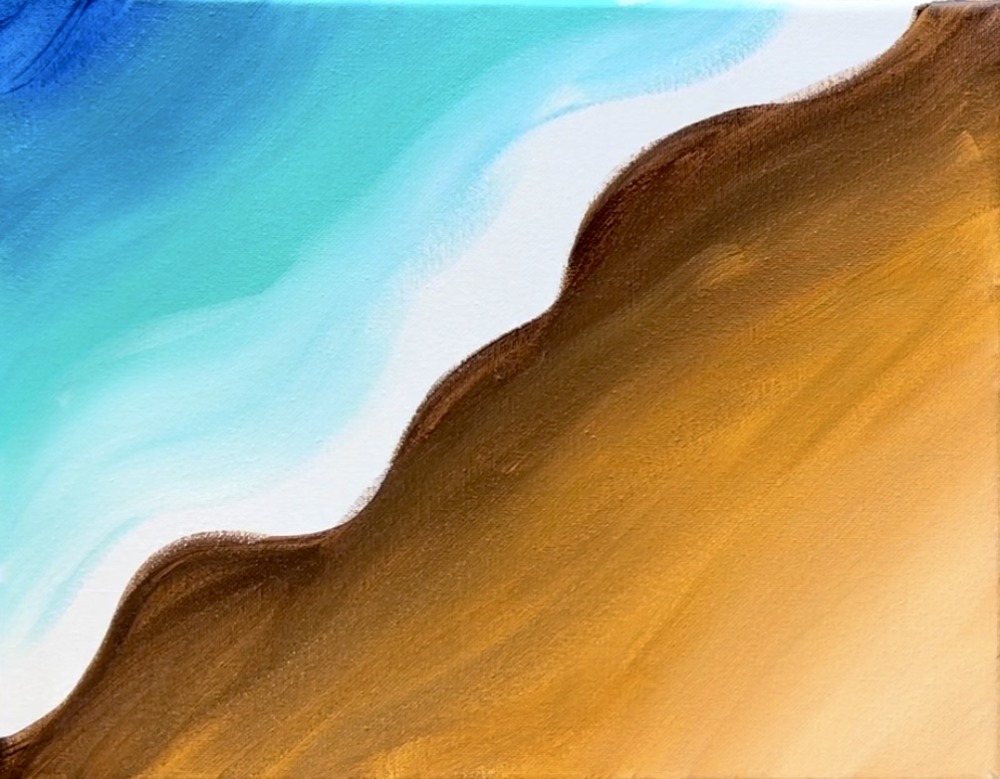
As you get to the very edge of the shore, rinse the brush. Then load it into just “titanium white”. Paint the edge of the shoreline white and allow your white to go over some of the dark brown slightly. Just don’t allow the white to blend too much with the brown.
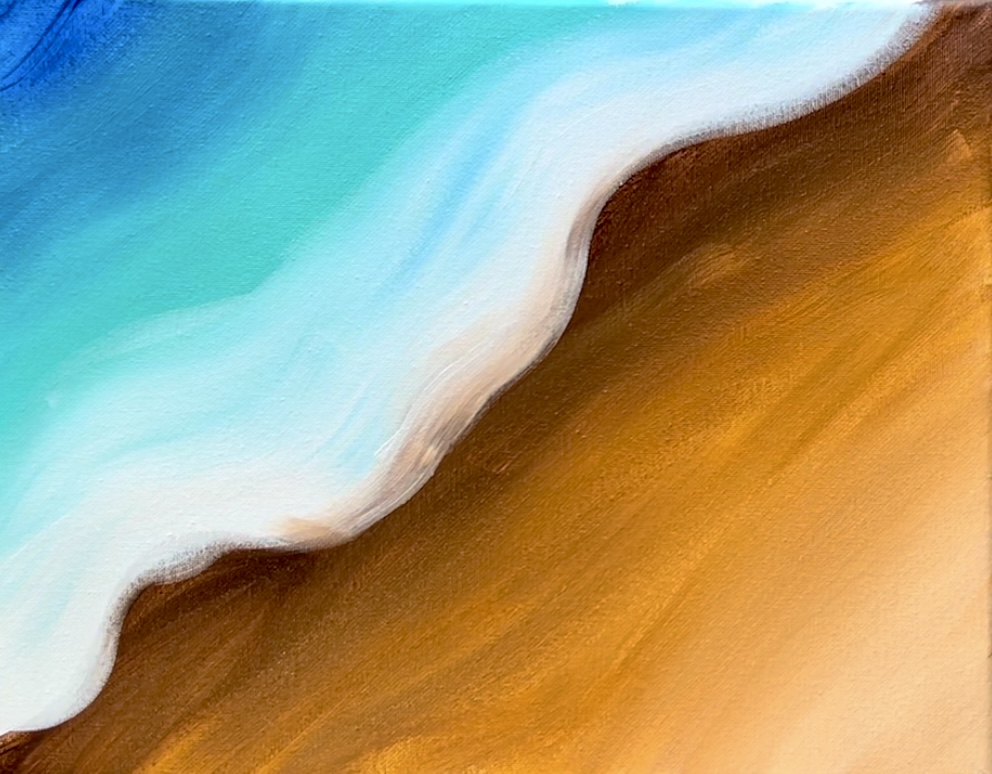
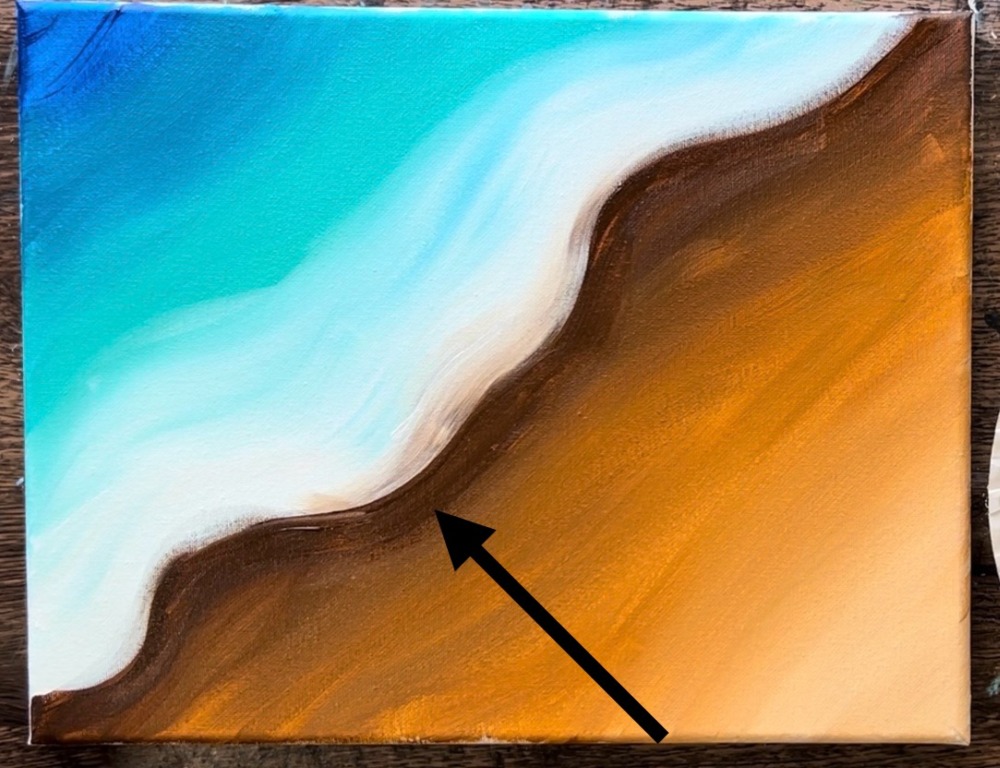
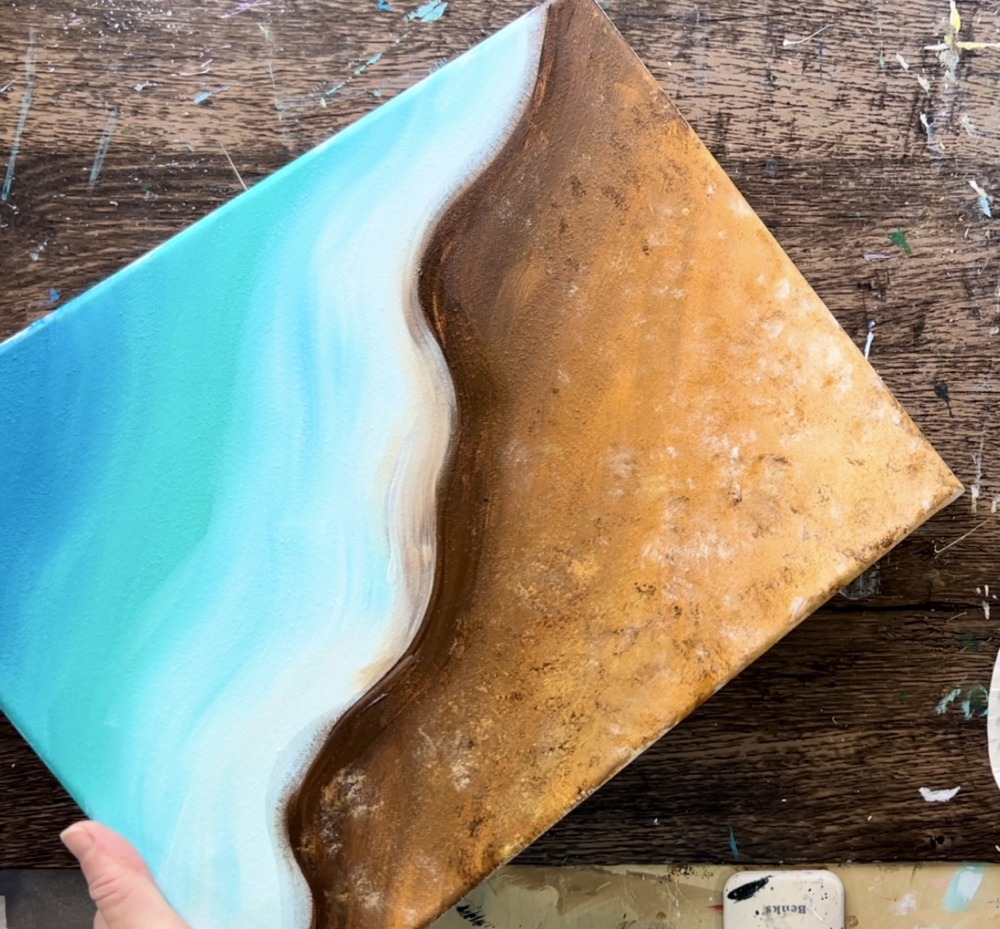
4. Paint an extra “shadow line” next to the water line
Use a clean 3/4 wash brush to paint another layer of “burnt umber” next to the very edge of the white water line. This is simply to add a darker shadow in that area so when we paint the “wave texture” over it,
5. Texture Sand With Sponge
Use a sponge to stamp texture in the sand area. Load “gold” onto your palette and lightly add gold sponge texture all throughout the sand.
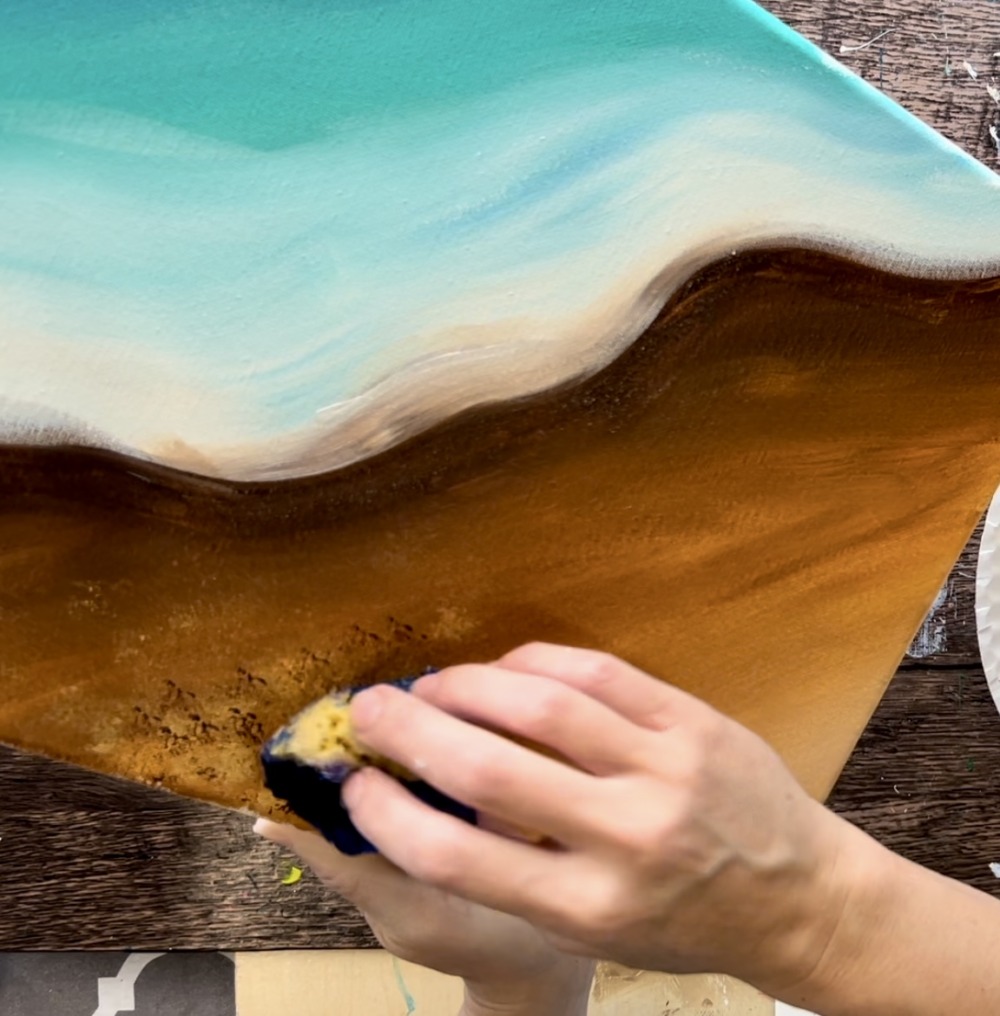
Then add a combination of the “burnt umber”, “raw Sienna” and “titanium white”. When you add this texture, be sure to keep the area on the lower right of the sand “lighter” in color” and the area closer to the water “darker” in color. You don’t want to lose that color gradient.
This means you are adding lighter sponge texture on the lower right corner and darker sponge texture on the upper left closer to the water line.
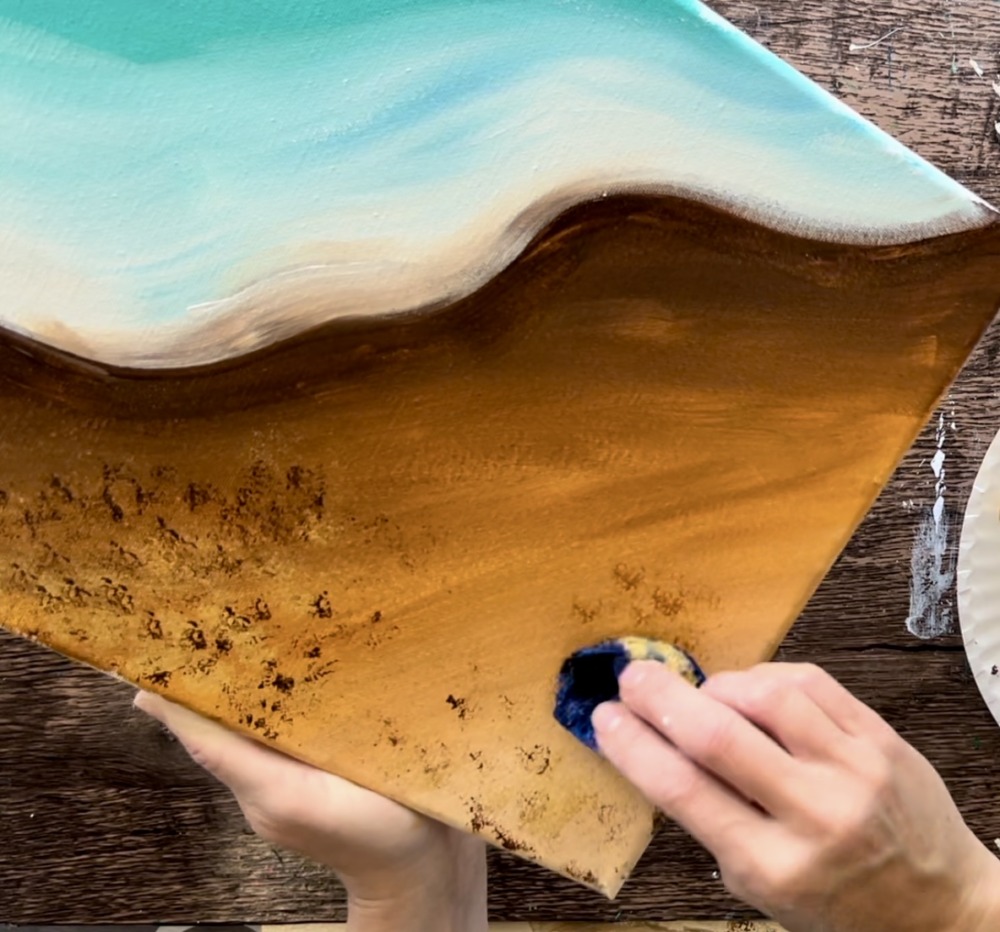
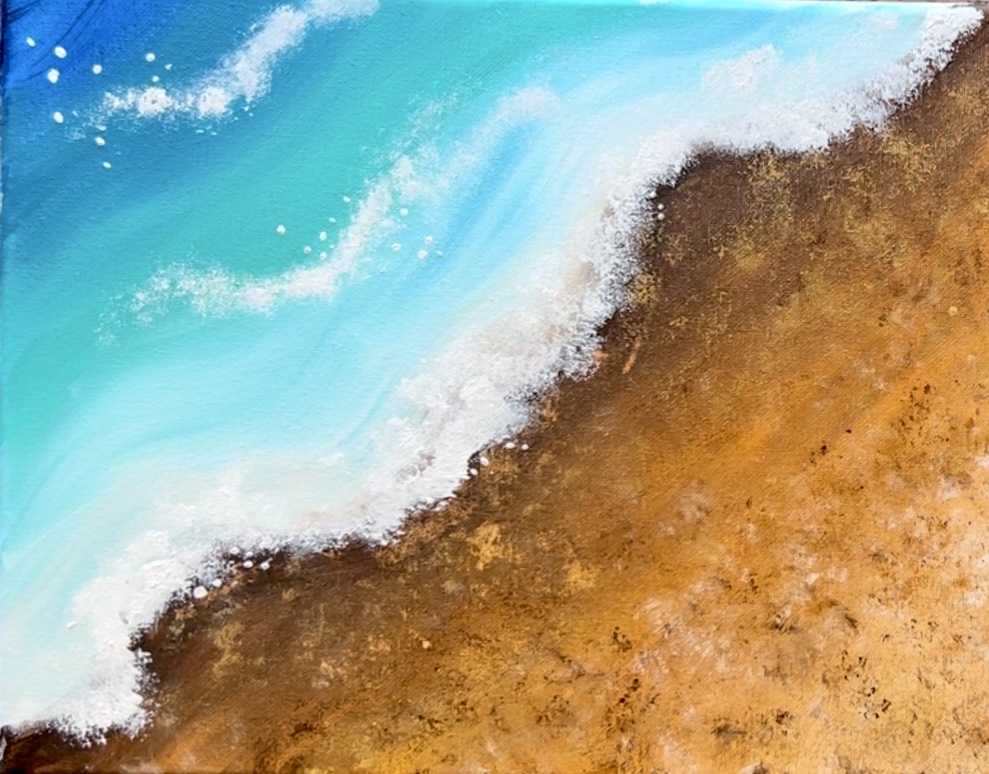
6. Texture Waves With Sponge
I recommend rinsing the sponge before doing this step so none of the brown gets onto the white. Use just “titanium white” to sponge the wave texture along the shore line.
Allow the sponge texture to go over parts of the dark brown slightly.
Next, paint a few more wave lines in the turquoise area.

7. Paint little white bubbles with brush
Use the #4 round brush and titanium white to paint little circles for bubbles. Do this in various areas by the waves. Paint them in little clusters.

Some of the little white dots overlap some of the dark sand along the shore water line.
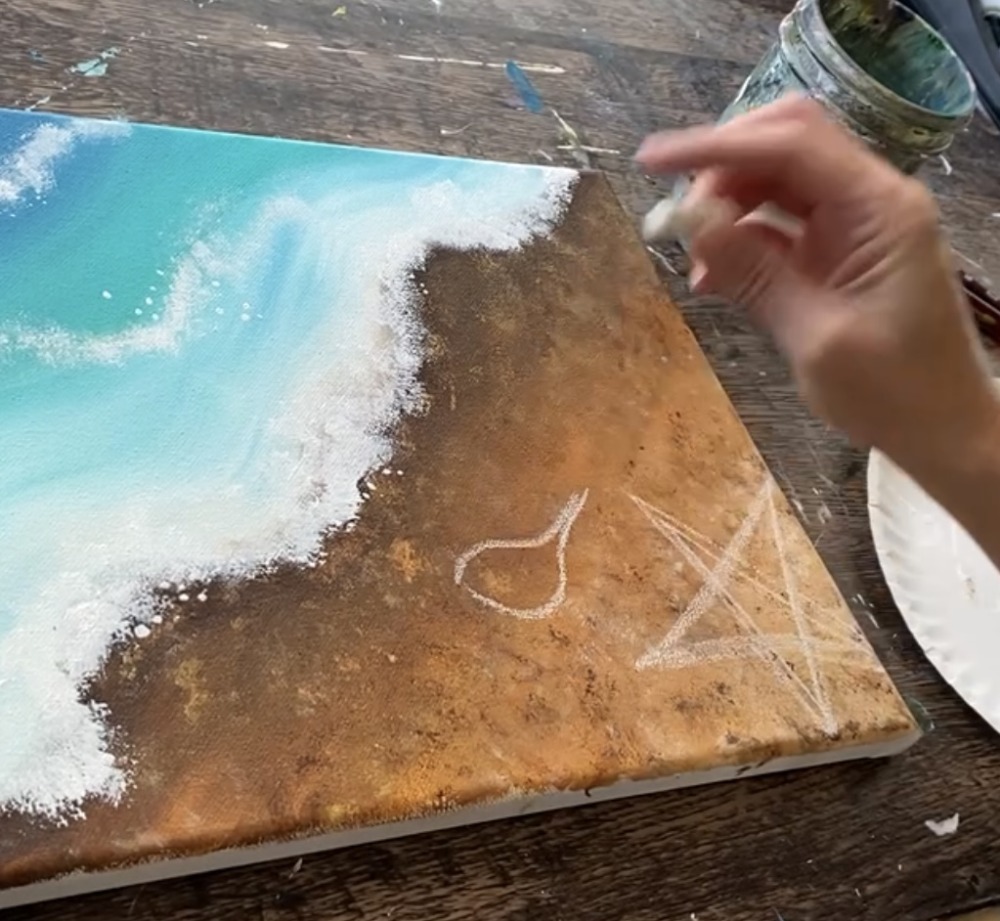
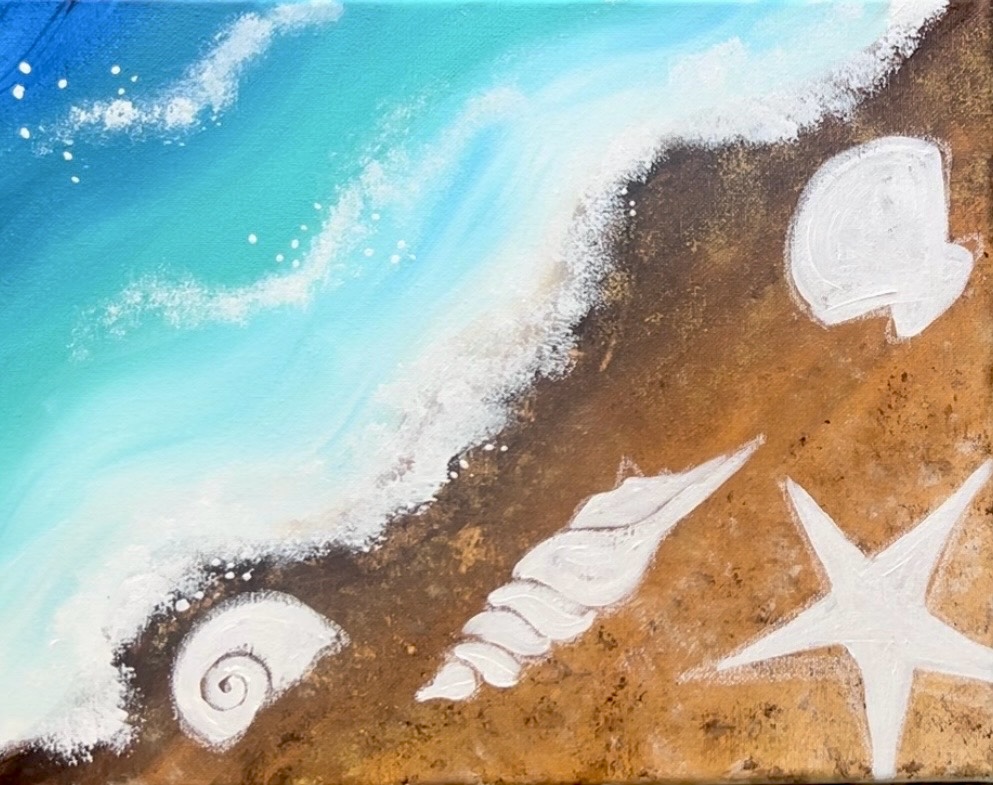
8. Draw Shells and Starfish With Chalk
You are welcome to change the shells and placement of these! You can even glue real shells onto your painting!
Use a piece of white chalk to draw a star for the starfish in the lower right corner.
Draw shells of various shapes and styles. I did the next shell with twists and you can see the opening on the top.
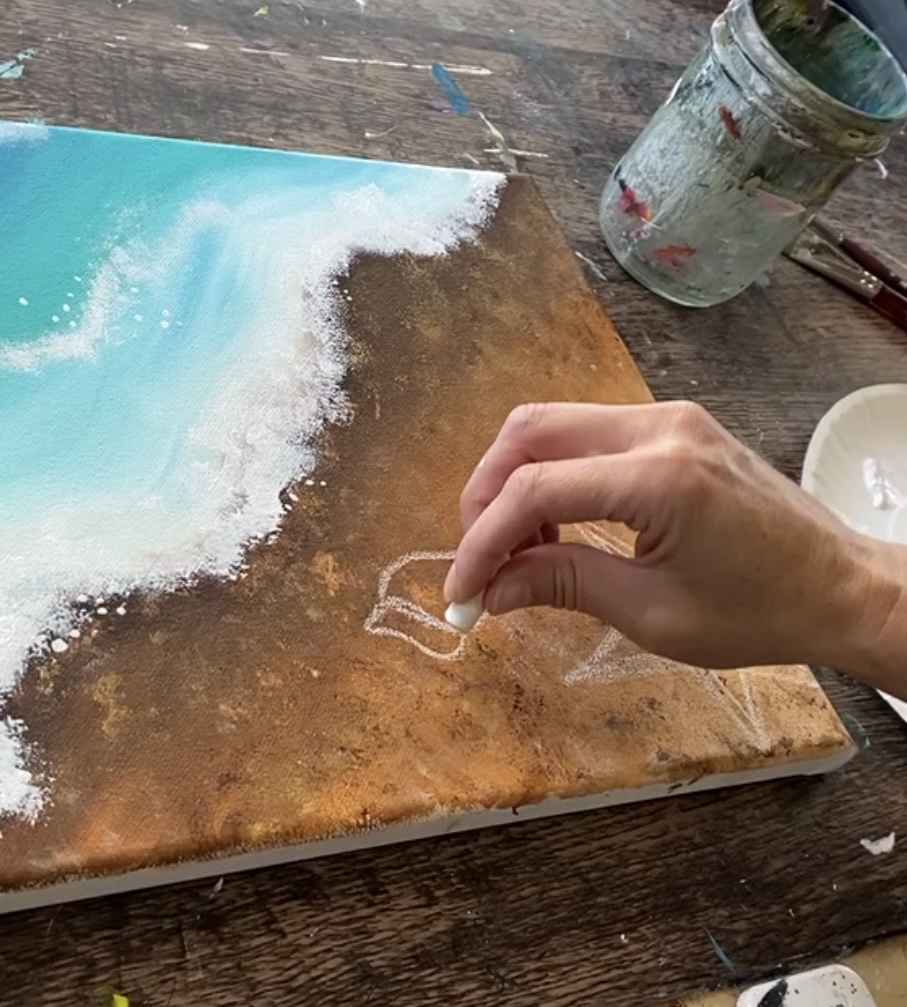
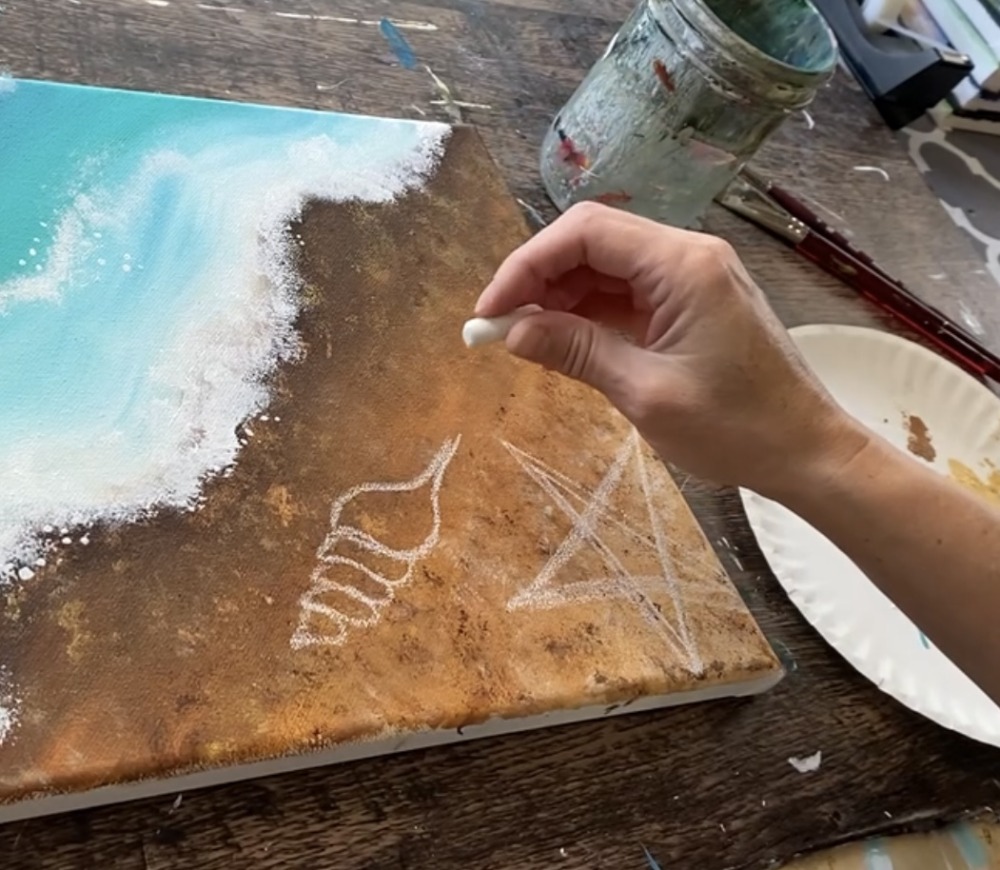
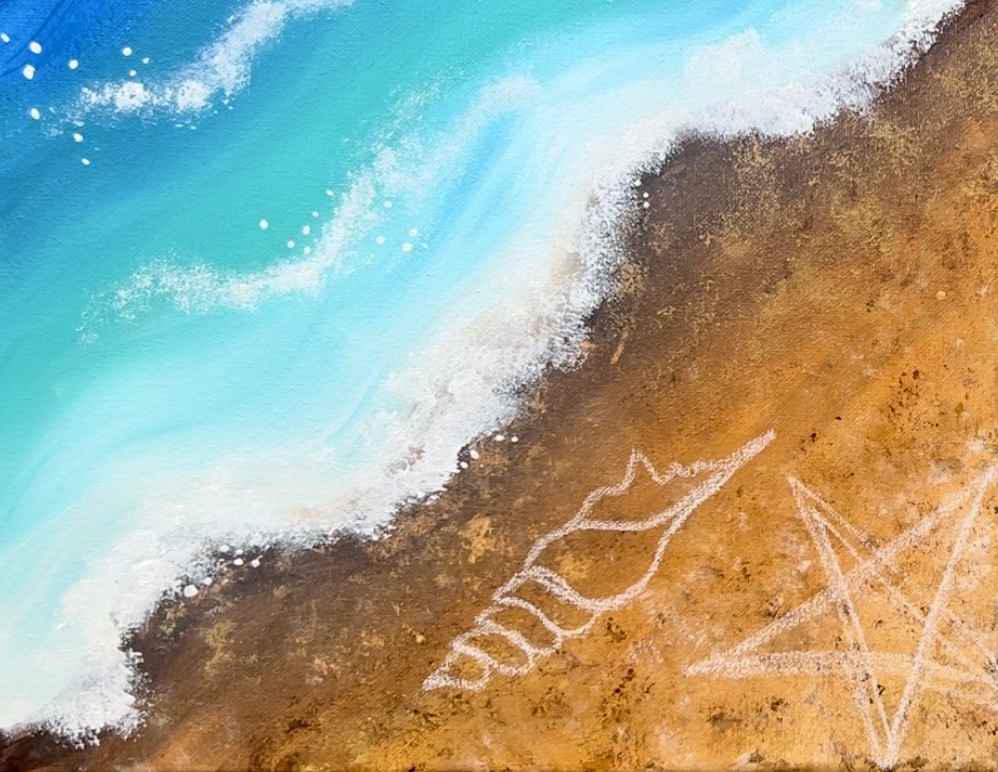
The clam shell is a simple arc/fan shape with two little notches on the bottom.
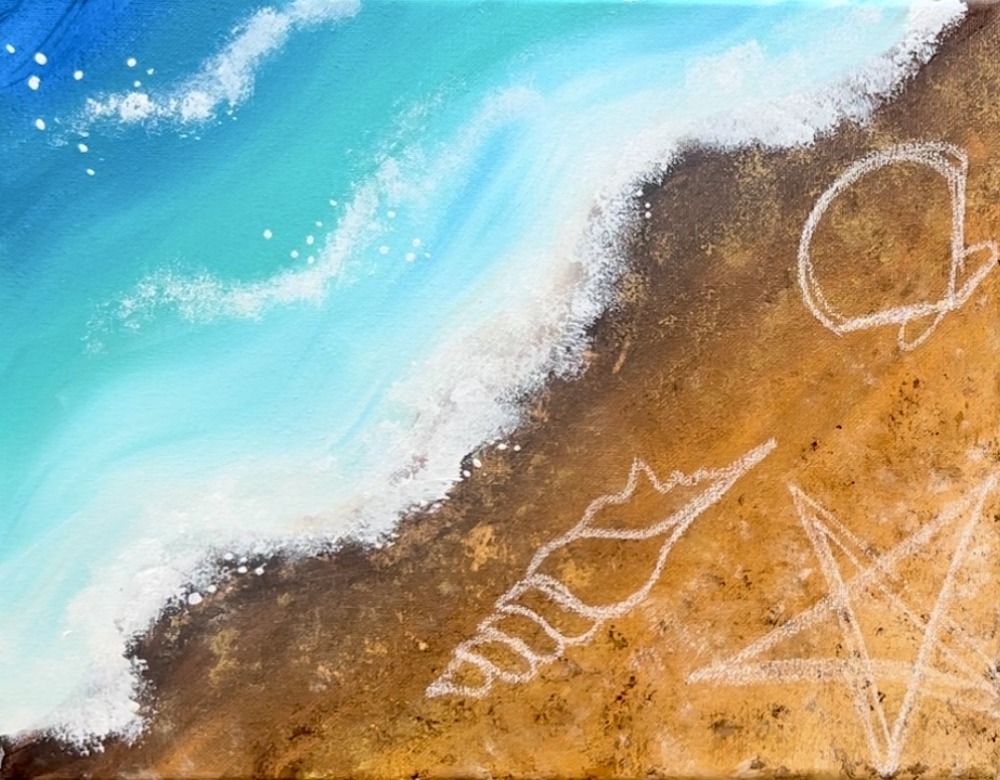
Finally, the fourth object on the lower left is a snail style shell. Draw a spiral that has a larger opening on the right.
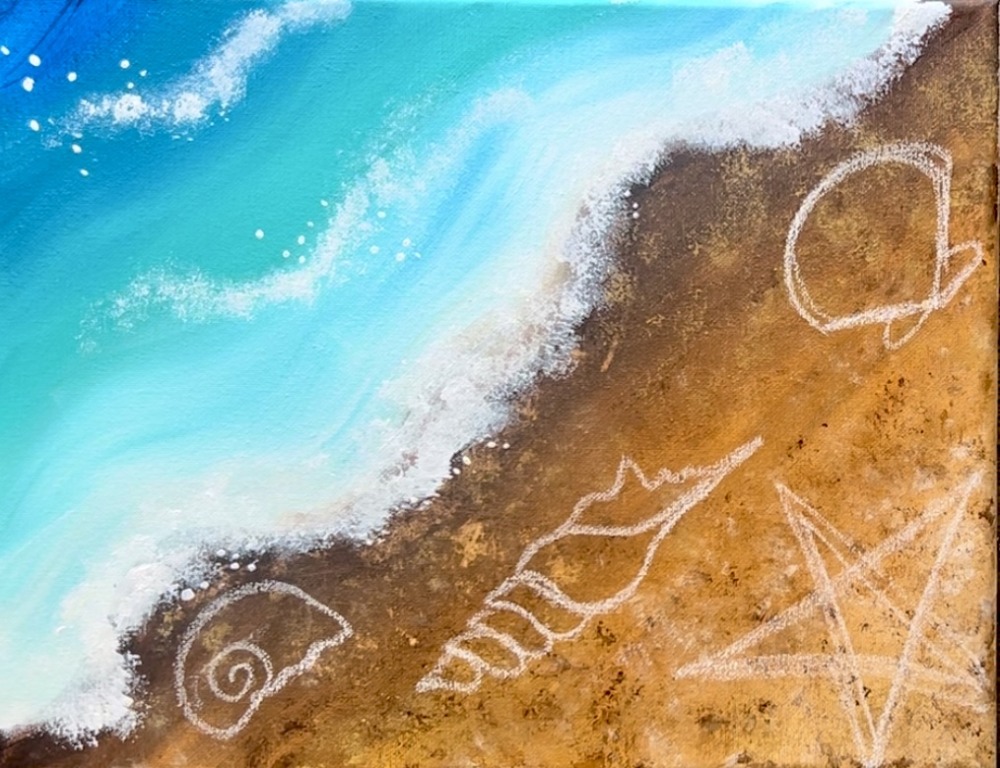
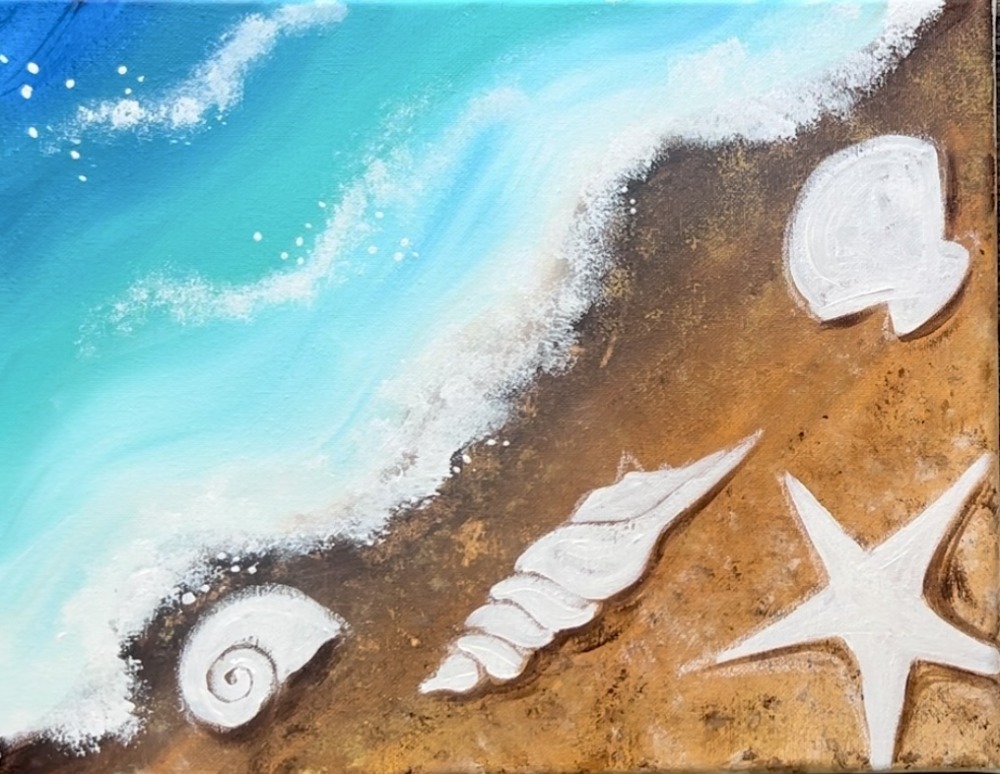
9. Paint shells and starfish white
It is recommended that you paint the shell/ star drawings white first before painting the colors on them. This ensures good coverage over the dark background.
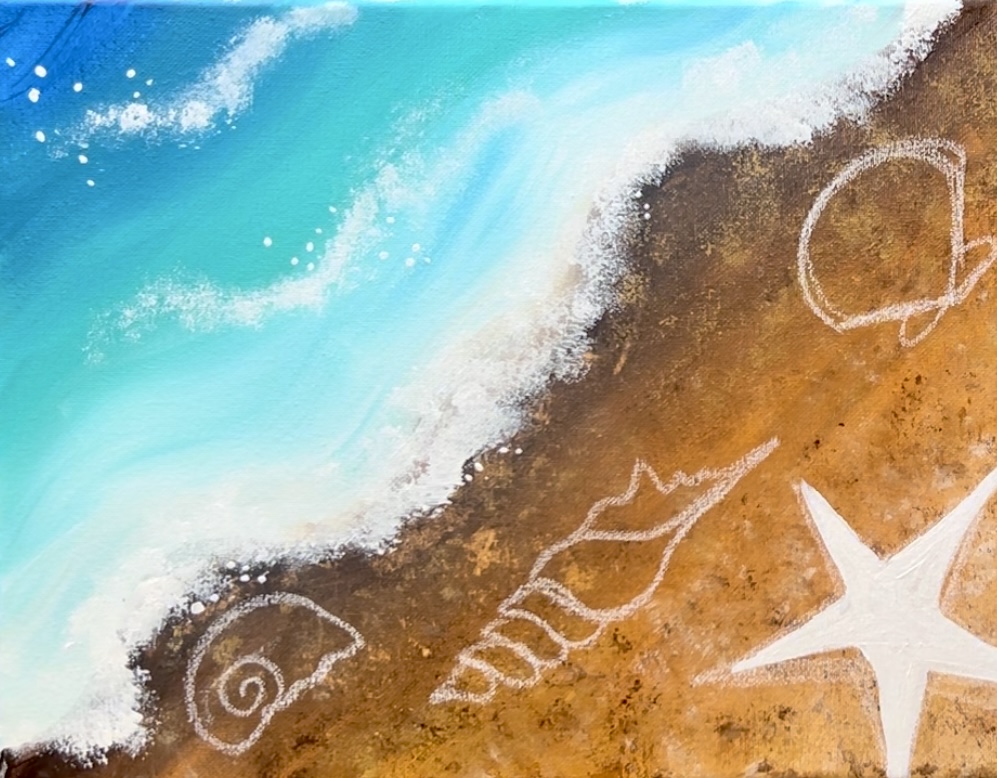
Use a #4 round brush and titanium white to paint all the objects white.
When you paint the “twisty shell”, leave some of the dark showing through between each of the twist shapes so that you don’t loose the shape.

Leave the spiral showing through on the snail by not painting the spiral part as you paint it in.
10. Paint shadows under shells and starfish
Use the #4 round brush and the “burnt umber” to paint shadows under all of the objects. You want to do this on the lower right of all the edges of each object. Don’t paint shadow all the way around the shell or on the left and top edges.
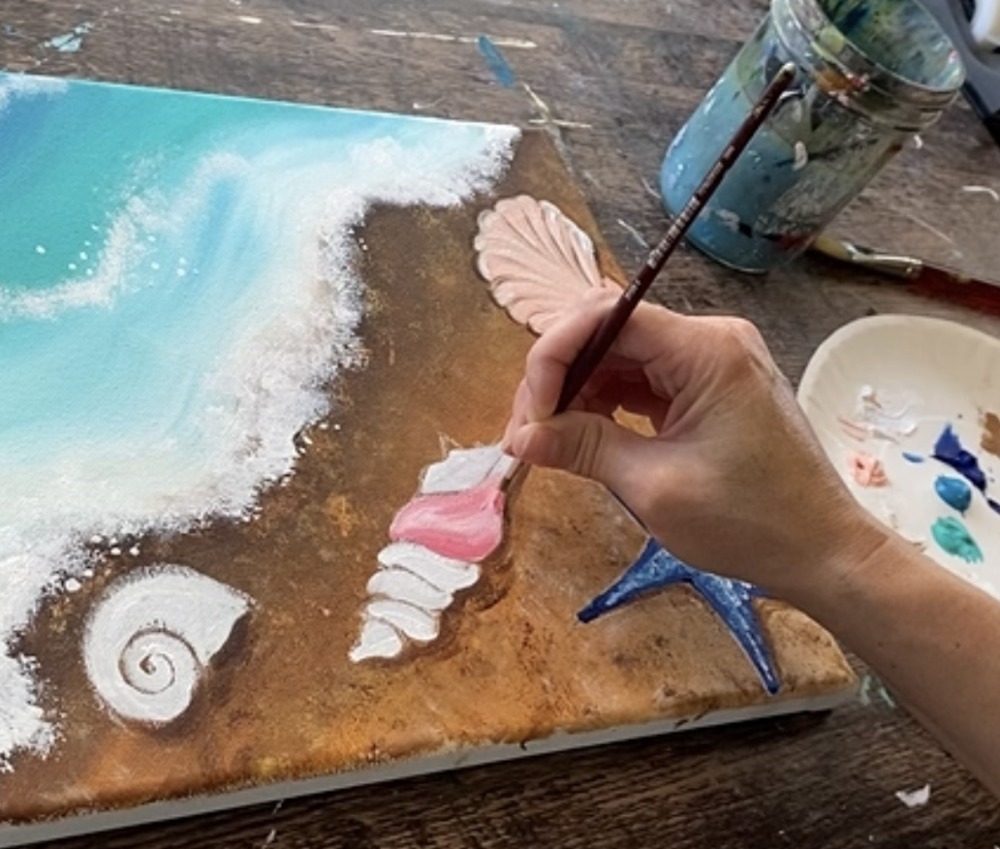
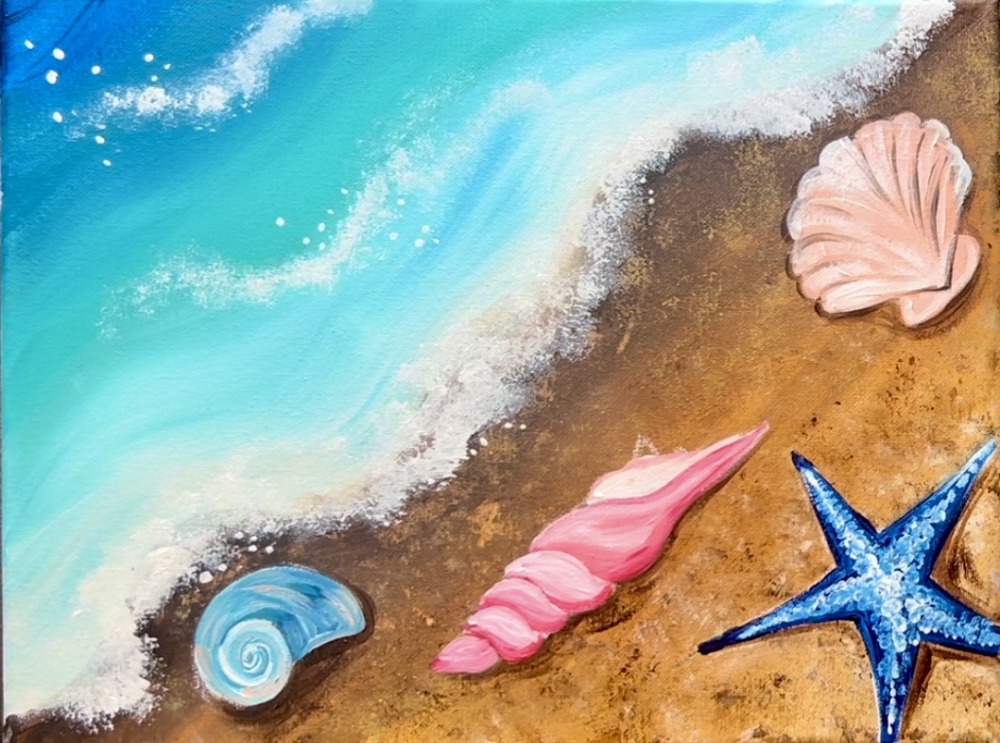
11. Paint starfish
Use the #4 round brush and phthalo blue to paint the star a solid coat of blue paint.
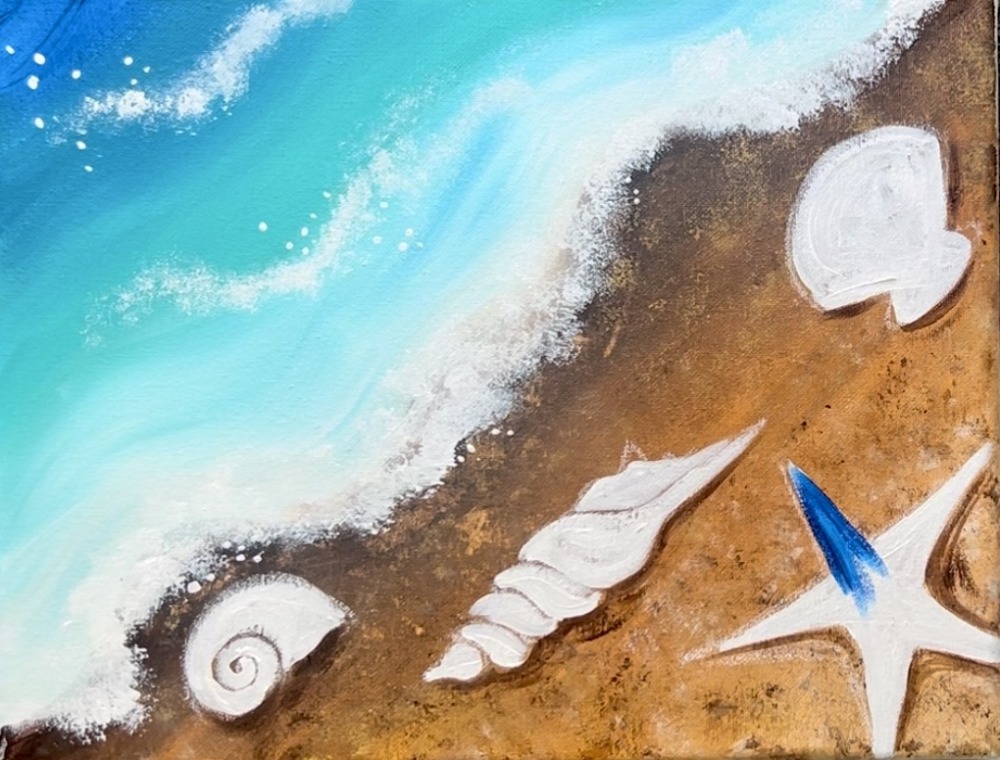
Next, load your #4 round brush in titanium white (without rinsing the brush). Paint little white dots in the center of each of the points of the star. This will create texture on the starfish as well as lightening the color. You want to do this before the dark blue layer dries so some of it can blend with the dark blue.
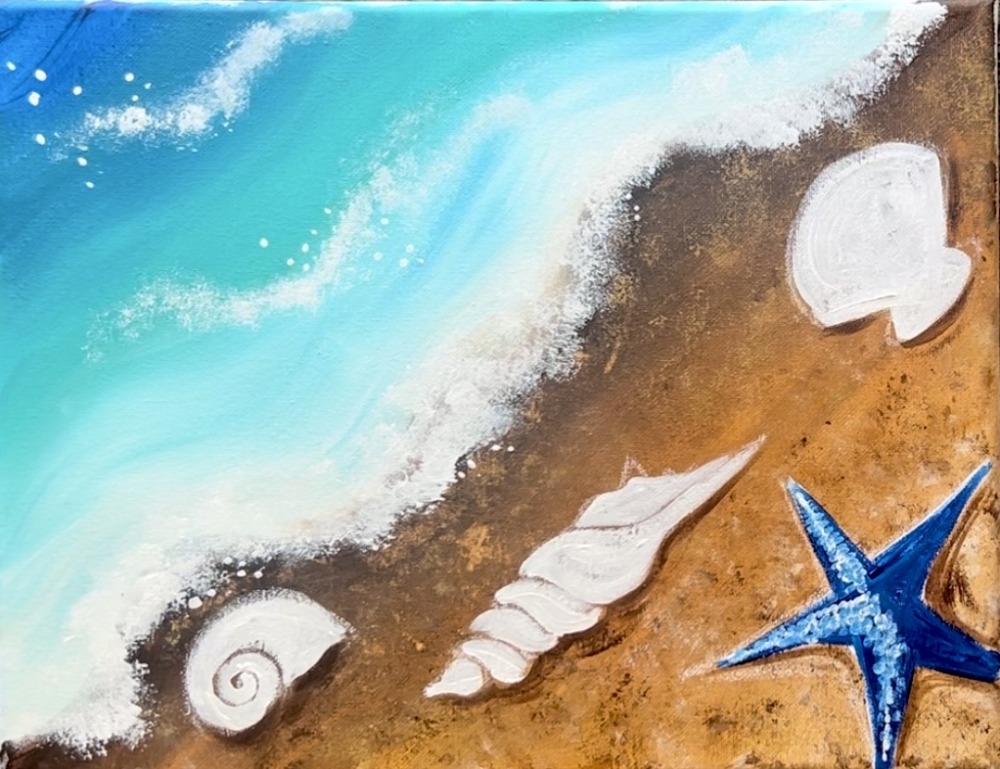
Do this just in the center of each of the points and the very center of the starfish. Leave the far edges dark blue.
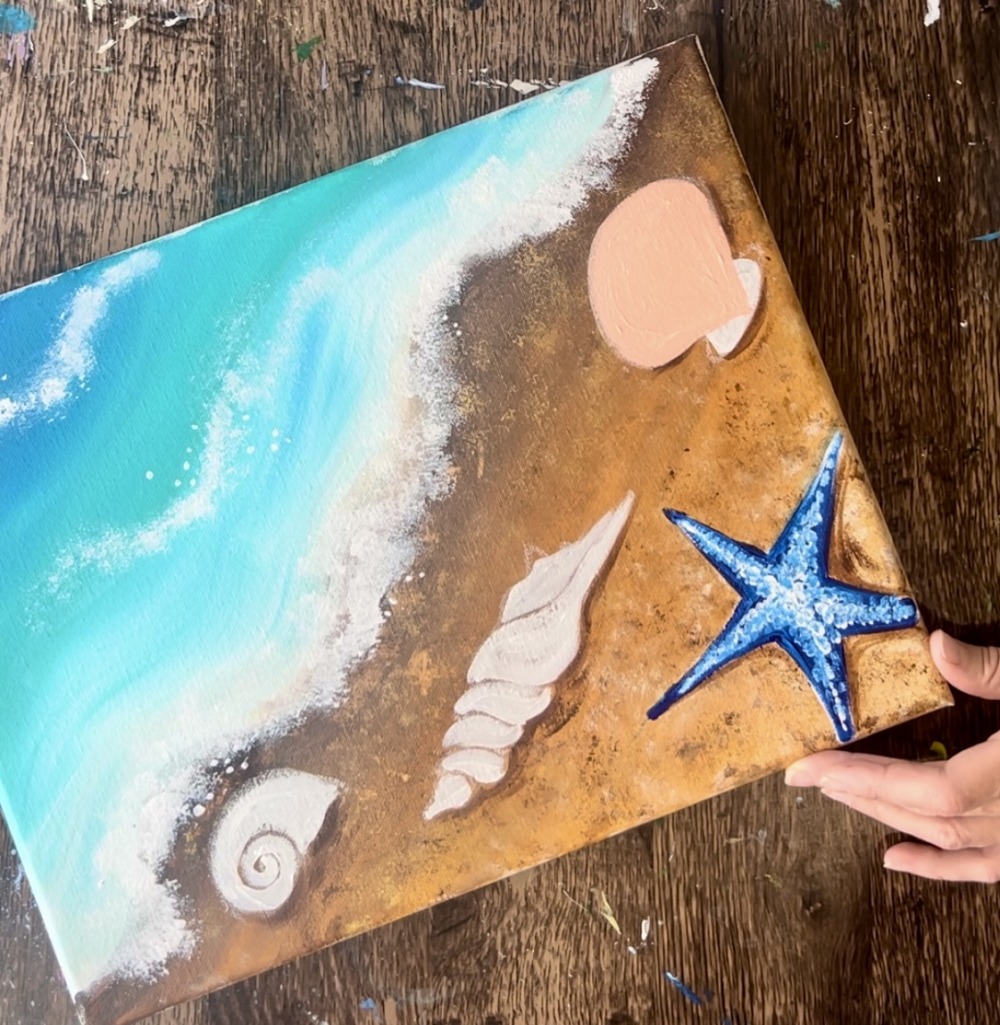
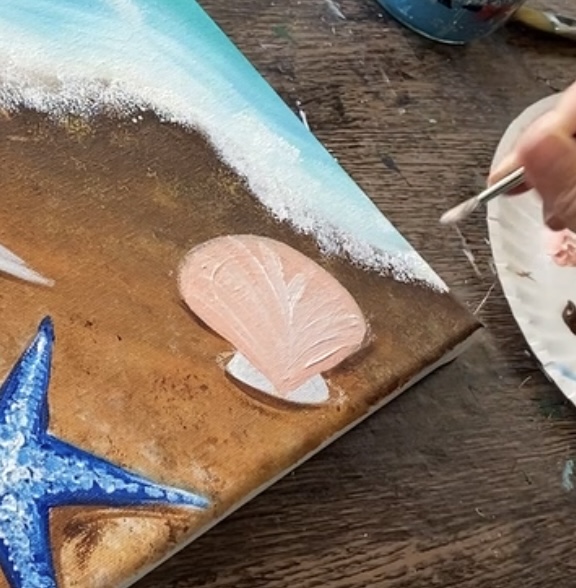
12. Paint upper right shell
Load your paint palette with light pink. Use the #4 round brush to paint the clam shell a solid coat of pink.
Next, load your brush in titanium white and paint lines on the shell. These are curved lines that start on the bottom middle of the shell and fan out in curved directions.
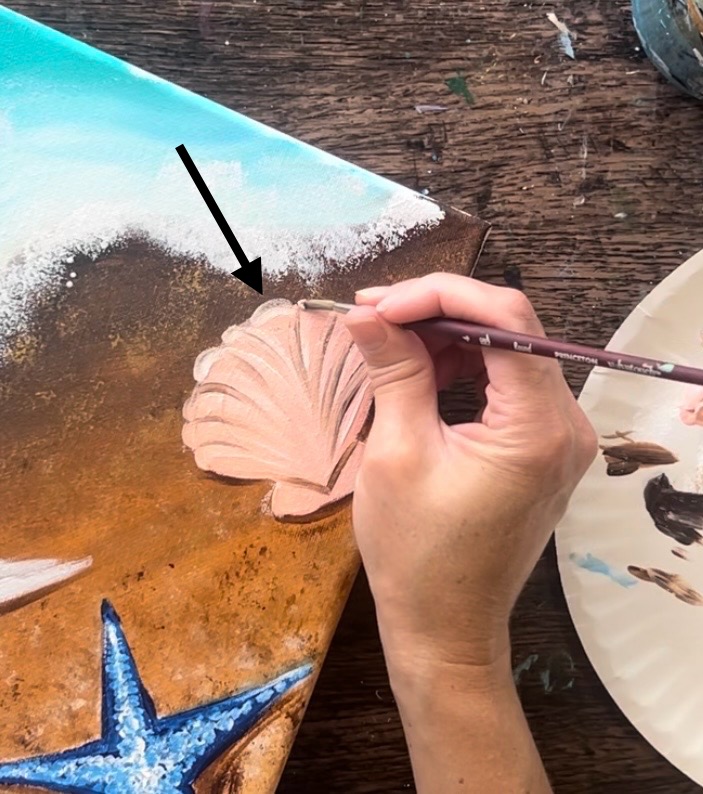
Then rinse the brush. Load it into “burnt umber”. Loosely outline the “fan lines” on the inside of the shell and also the diagonal lines on the bottom of the shell.
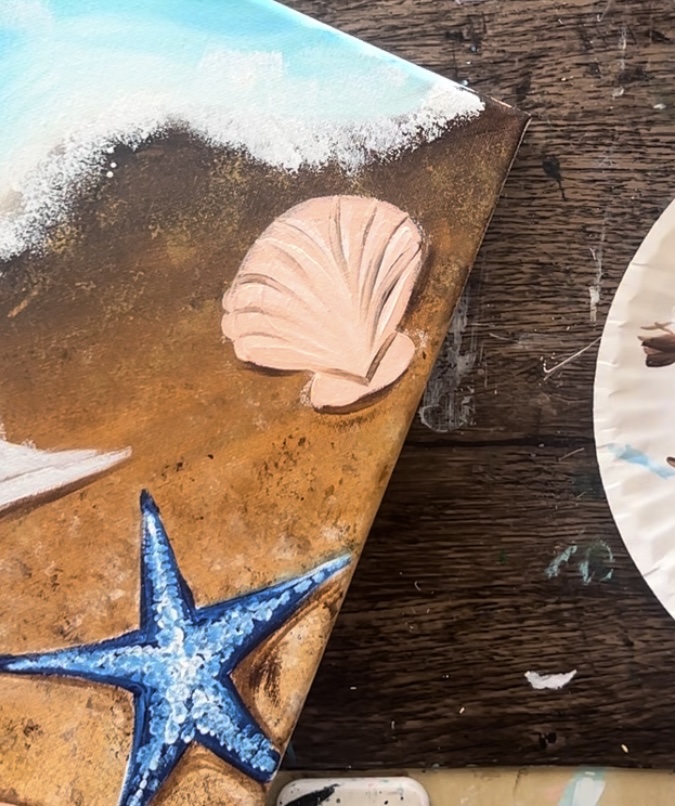
Next, focus on the edge of the arc/ curve of the shell. Use the round brush to paint small curved strokes using pink and white to create a more “scalloped” edge for the shell.
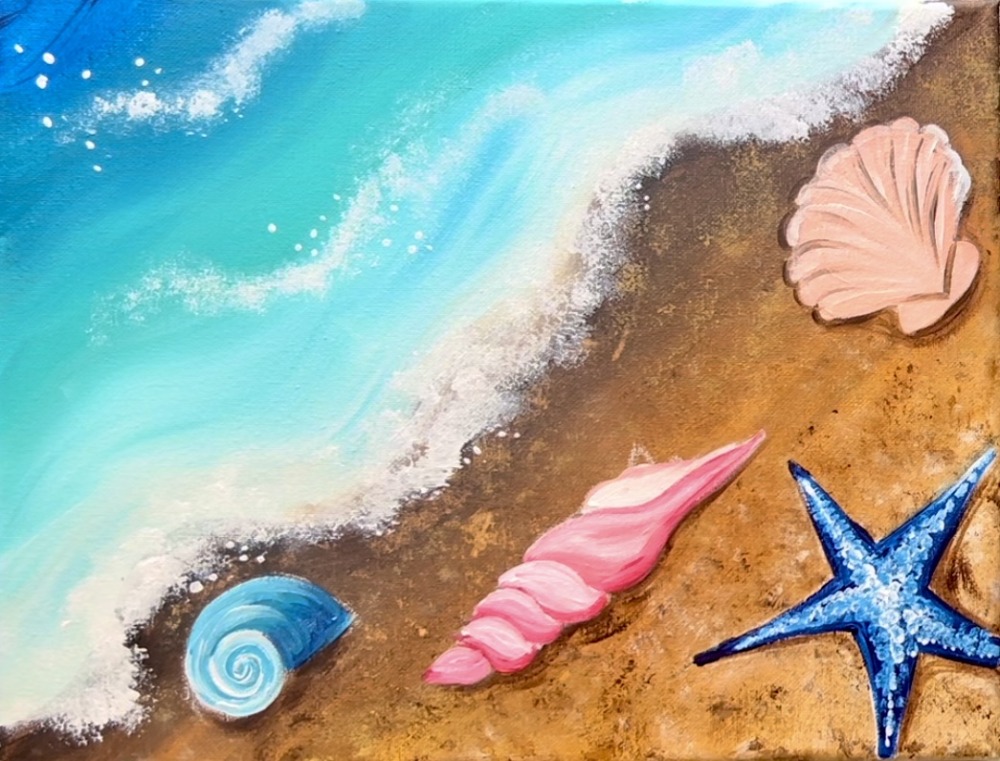
13. Paint middle shell
Use the #4 round brush and a combination of “primary red”, “light pink” and “titanium white” to paint the shell. Start by mixing primary red and light pink together to get a coral color.
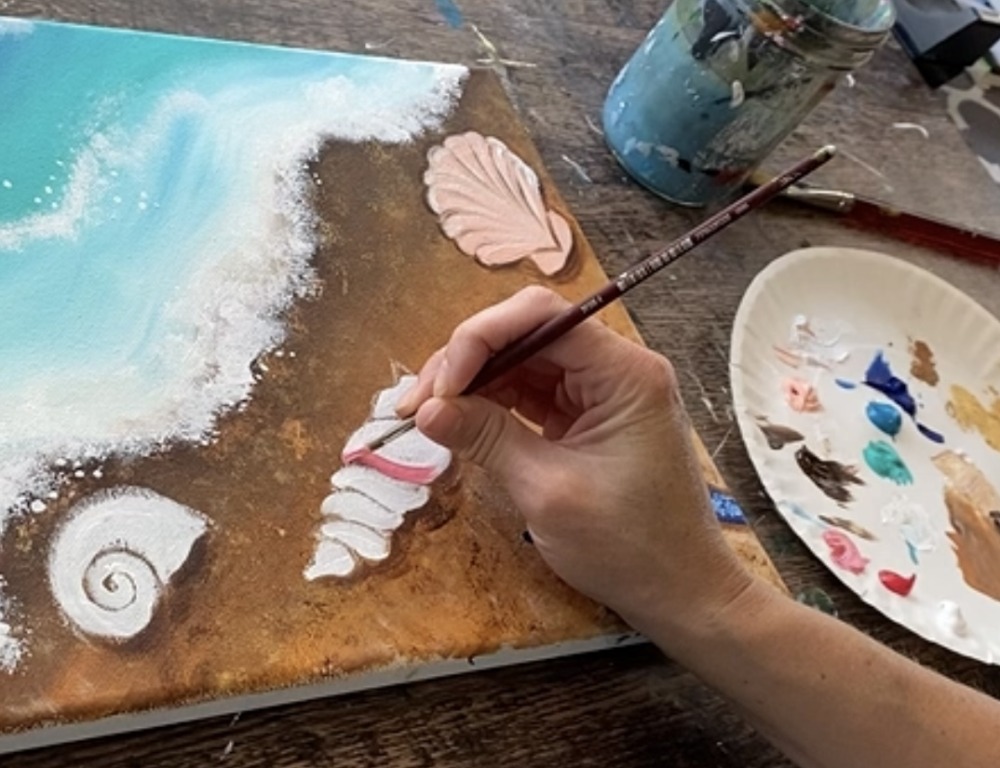
Paint the sheep one little “twist” at a time. Shade it so the bottom of each twist is darker and the top is lighter (with titanium white to lighten it).
The inside of the shell opening, I kept mostly white but slightly outlined the edge. Also, if needed, touch up the shadow of each of the objects with more burnt umber.
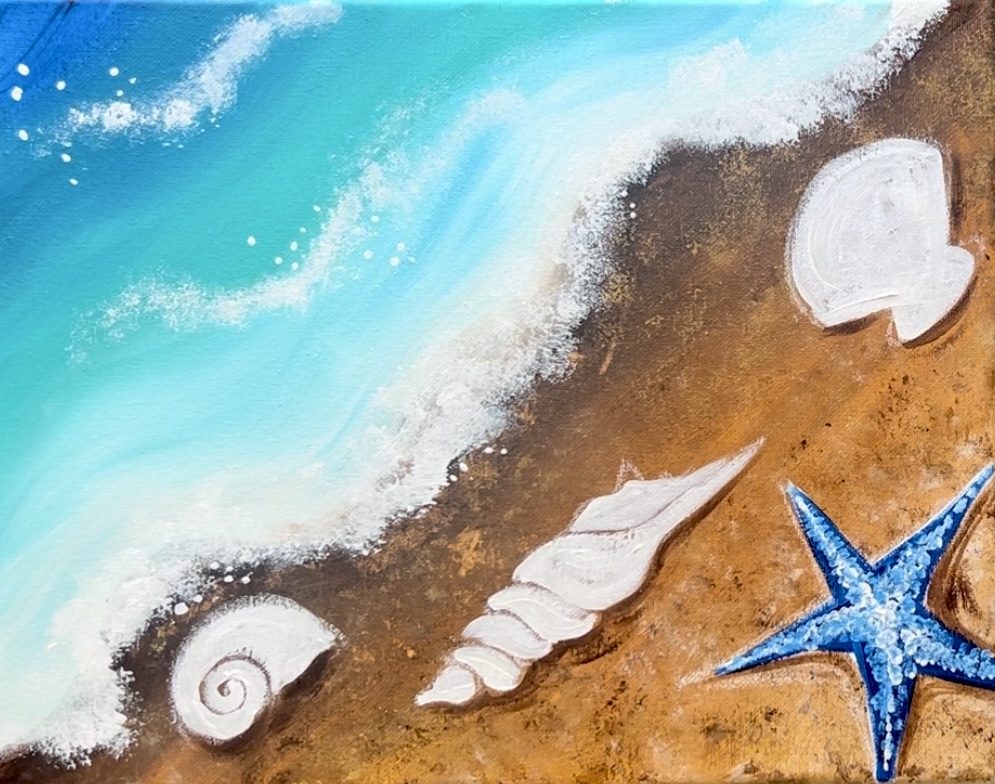
14. Paint left shell
The left “snail shell” was painted using a combination of turquoise, phthalo blue and little bits of pink mixed into it. Start by painting the “spiral” of the shell.
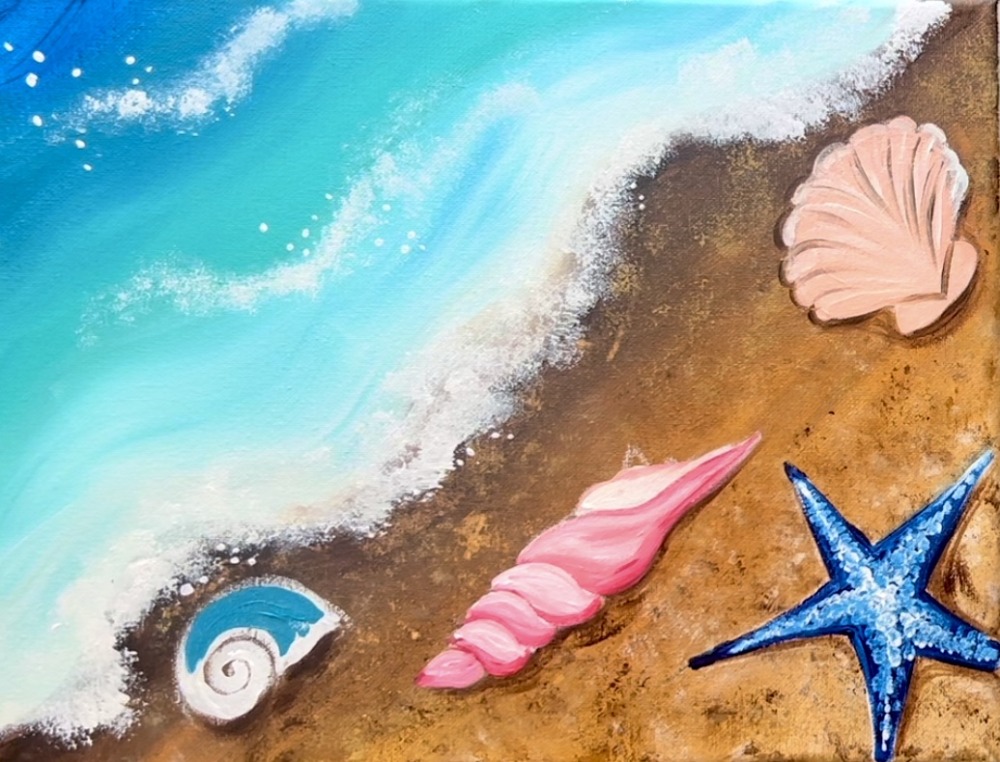
Blend in some blue on one edge and blend white on the other edges. Paint this in a “spiral” direction and keep the dark outline of the spiral line. If needed, you can go back and re-outline that line.
I blended little bits of pink into the shell as well.

15. Paint little pebbles
Use the round brush to paint little dark brown pebbles throughout the sandy area.
Then when they dry, paint a white highlight on the left side of each pebble.

Another touch up you can do is add more white sponge texture on the shore/ wave.