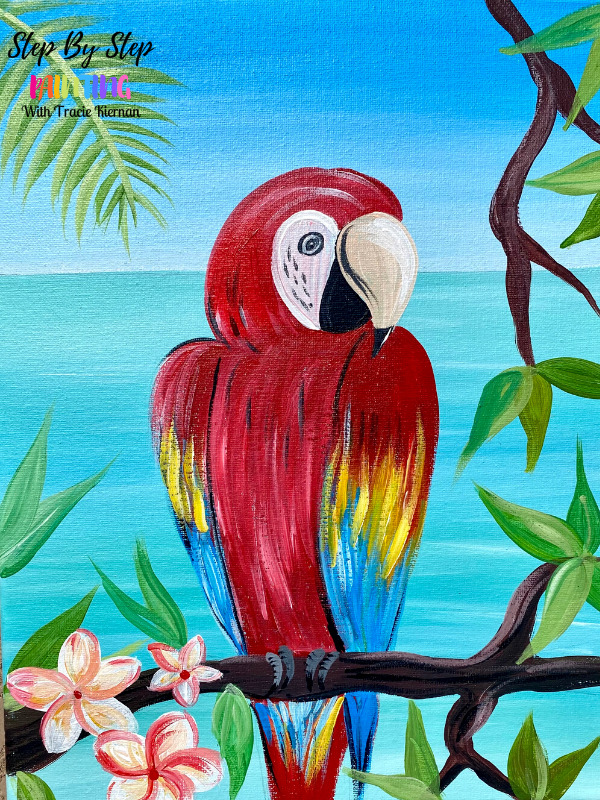
Would you like to save this?
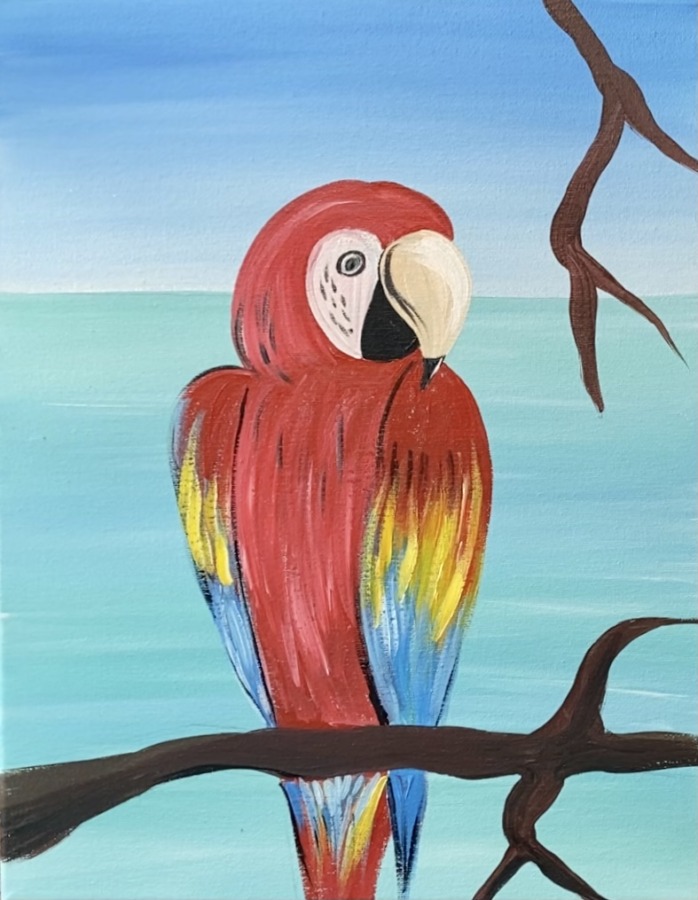
This acrylic painting tutorial will show you how to create a colorful macaw parrot painting with acrylics on canvas.
Materials
Tropical Macaw Parrot Painting
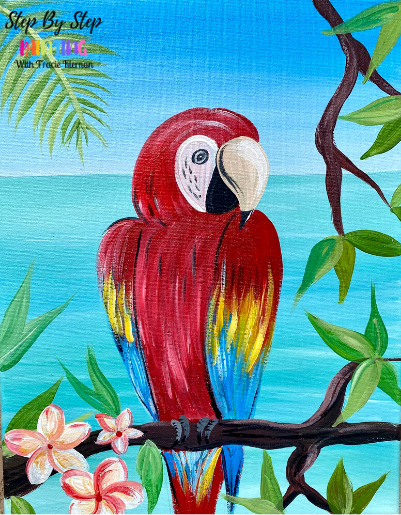
Learn how to paint a tropical macaw parrot with acrylics on canvas.
Materials
- Acrylic Paint
- Paint Brushes
- 11 x 14 Canvas (or any size)
- Optional Traceable
- Optional Transfer Paper
- Drawing Pencil
- T-Square Ruler Or Straight Edge
Colors
- Bright Aqua Green
- Cerulean Blue
- Titanium White
- Mars Black
- Primary Yellow
- Cadmium Red Medium Hue
Brushes
Instructions
- See tutorial on www.stepbysteppainting.net for instructions!
Color Palette
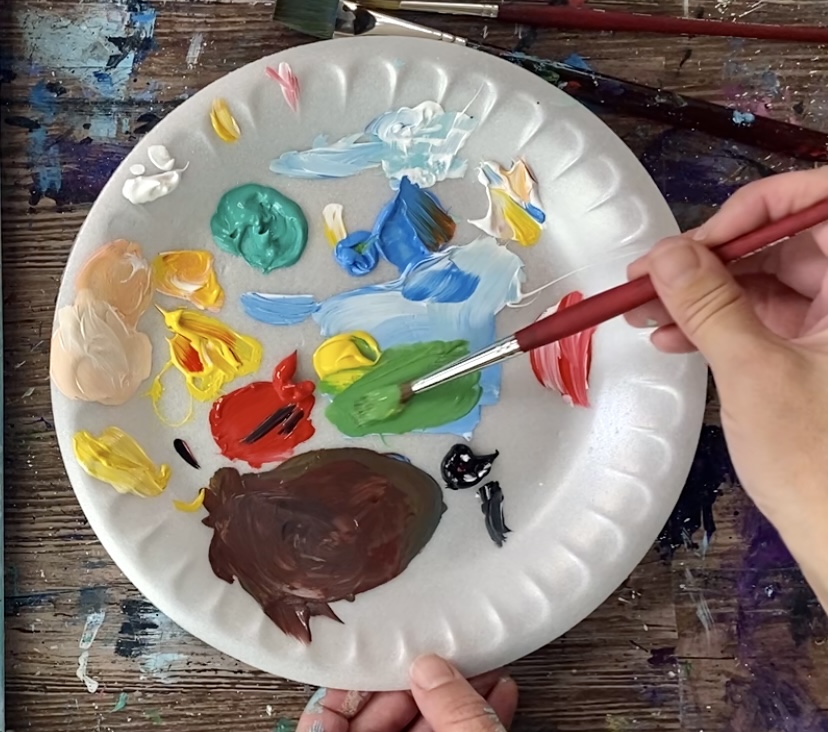
Note: this tutorial has you mixing your own green and brown. If you prefer not to mix colors, you can use brown paint and green paint.

Traceable
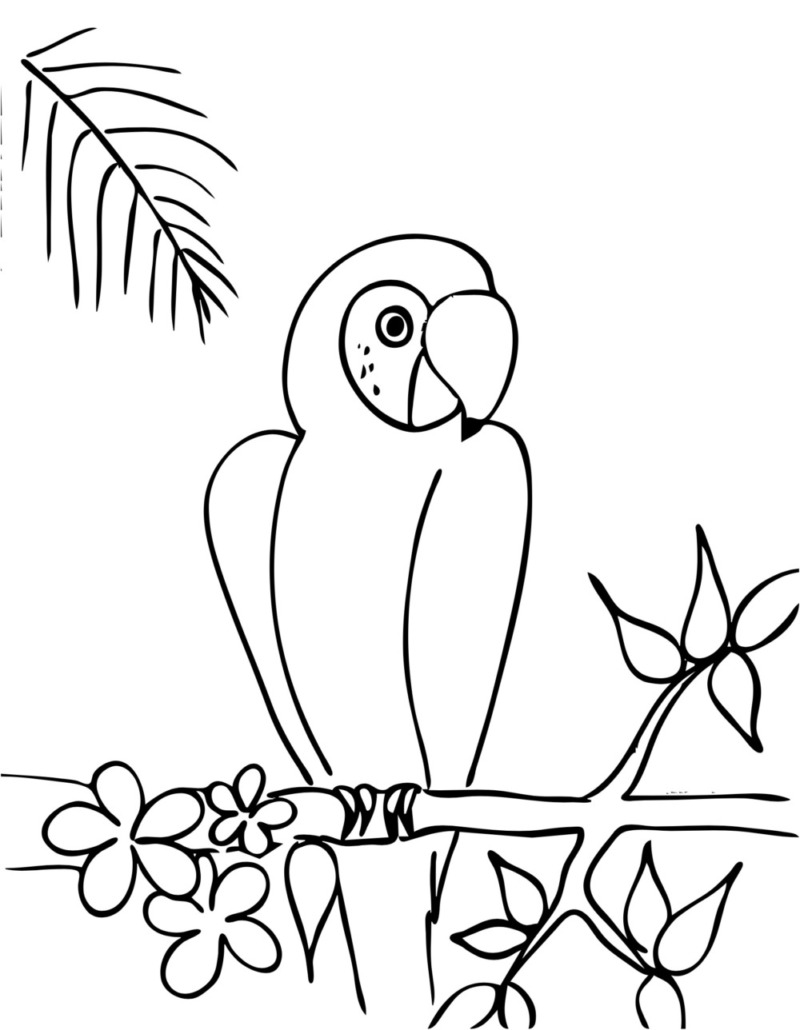
Click the image of the macaw or the download button to get the traceable.
Directions At A Glance
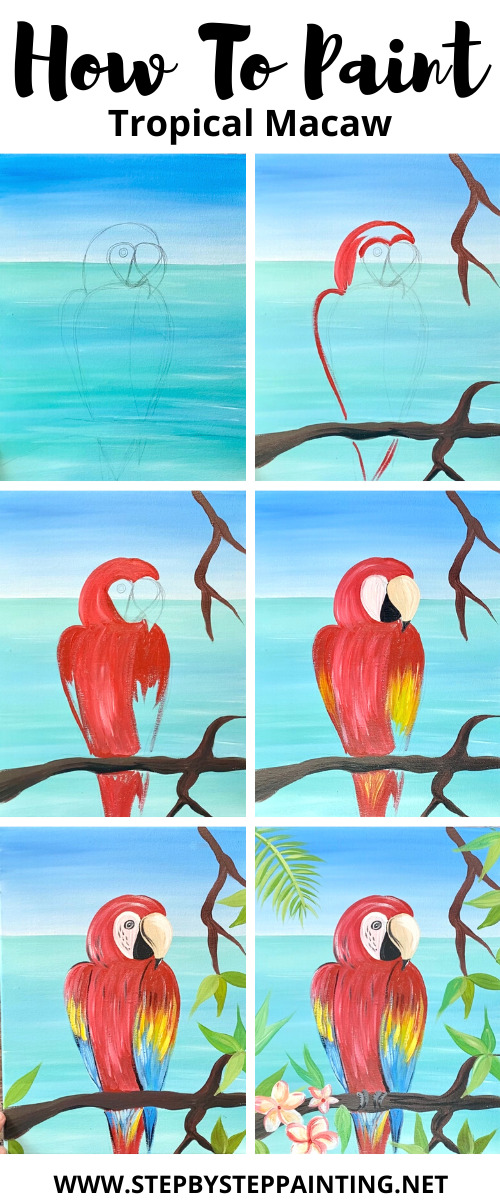
Video
Step By Step Directions
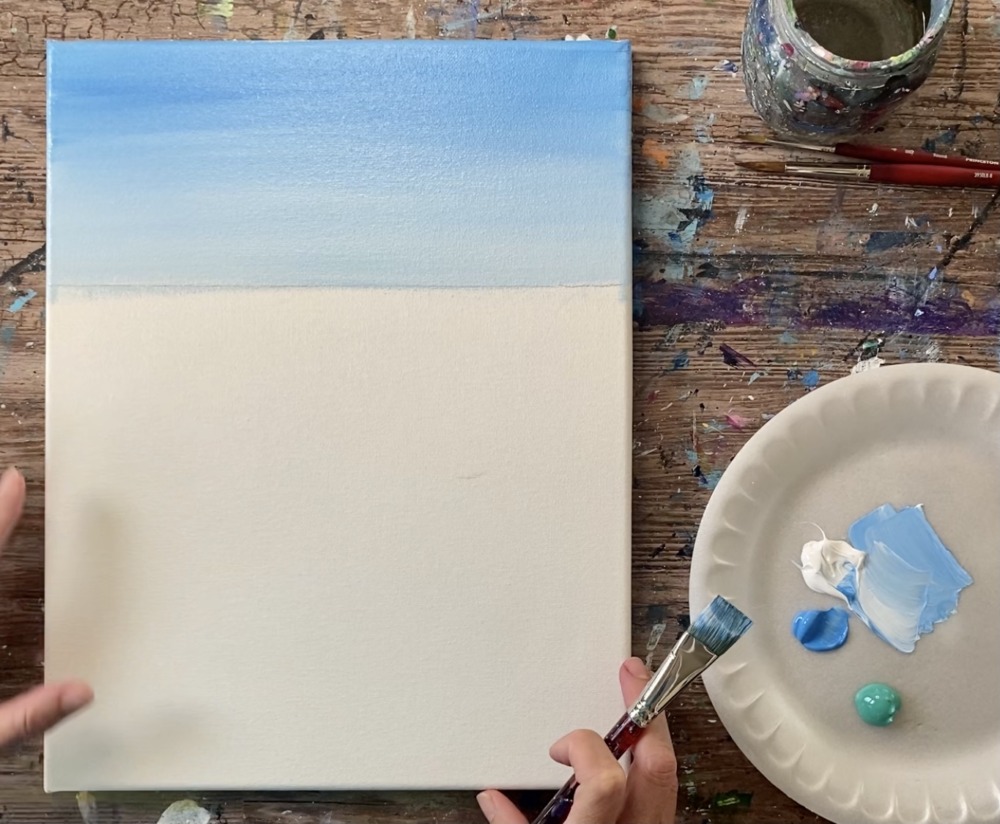
1. Paint The Sky
Load your palette with: cerulean blue, titanium white and bright aqua green.
Use a 3/4″ flat wash brush to mix equal parts cerulean blue and titanium white. Start at the top of the canvas and paint left and right strokes across the canvas. Then gradually blend in more titanium white as you approach the horizon line. The sky will look like a gradient of the light blue to a lighter blue.
2. Paint The Ocean Water
Then wipe off brush. Mix about 3 parts titanium white to 1 part bright aqua green. Start below the horizon line with the 3/4″ wash brush and paint left and right strokes.
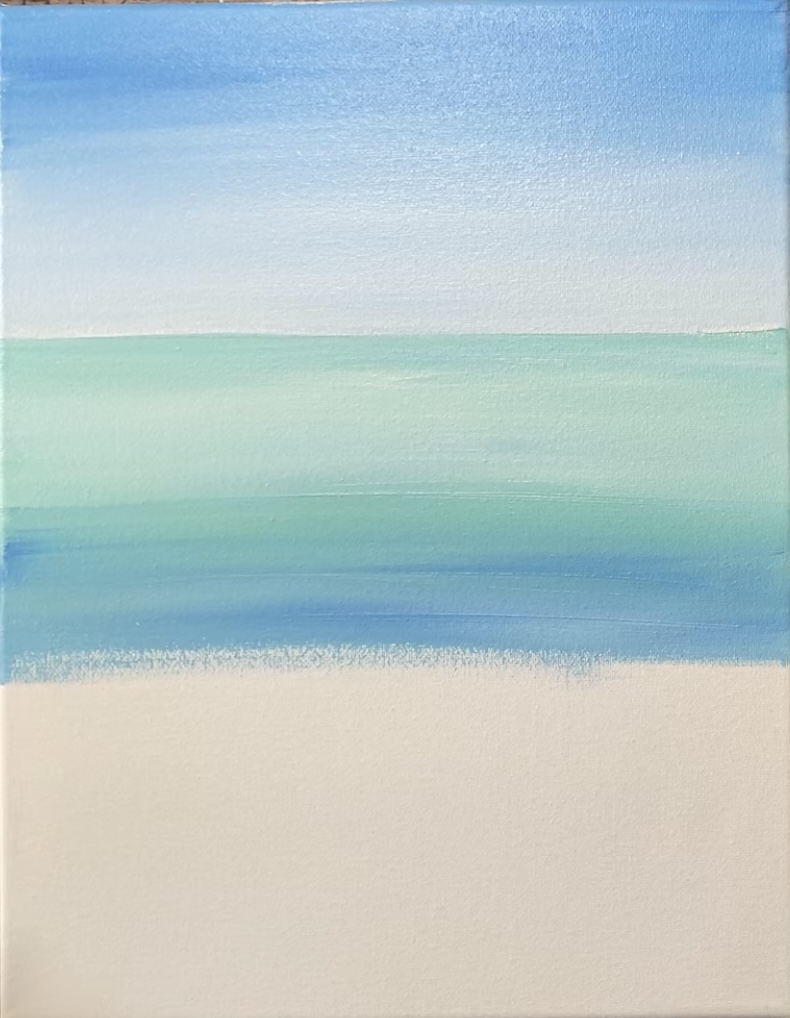
Then gradually add more bright aqua green so that it slightly gets darker as you work your way down the canvas.
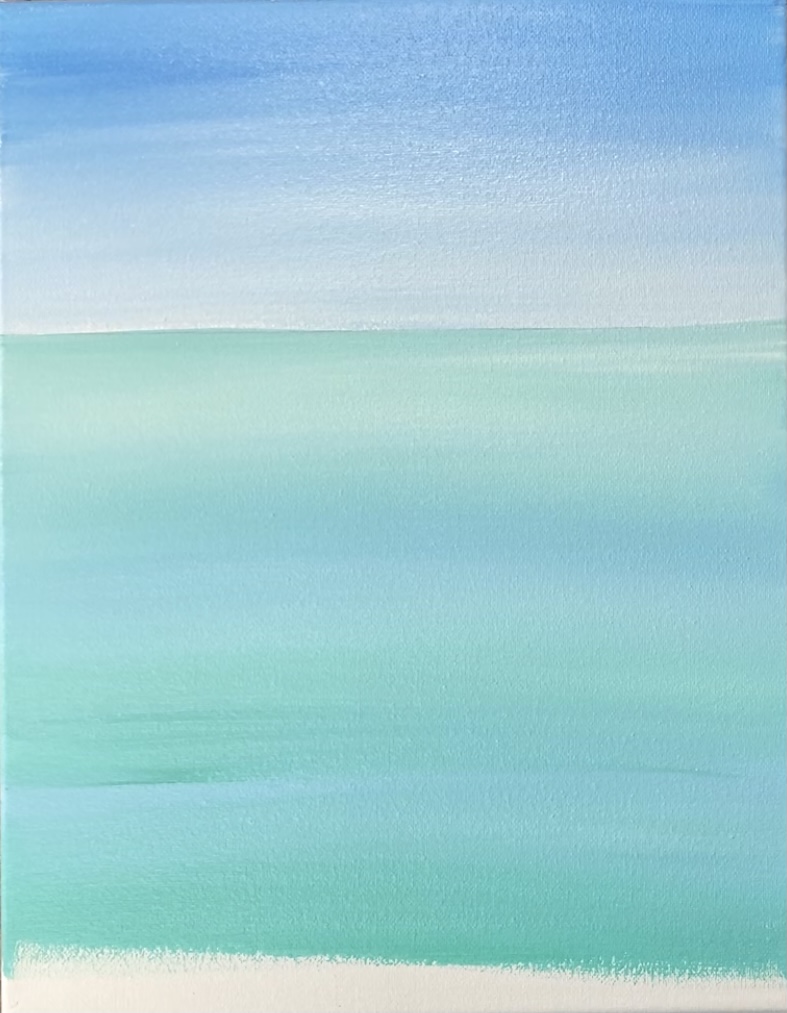
Blend cerulean blue into the water so that some parts of the water are slightly darker. Then blend some white in other parts. Your ocean does not have to be a perfect gradient of light to dark, you can have fun and mix the blues and whites so there is color variation.
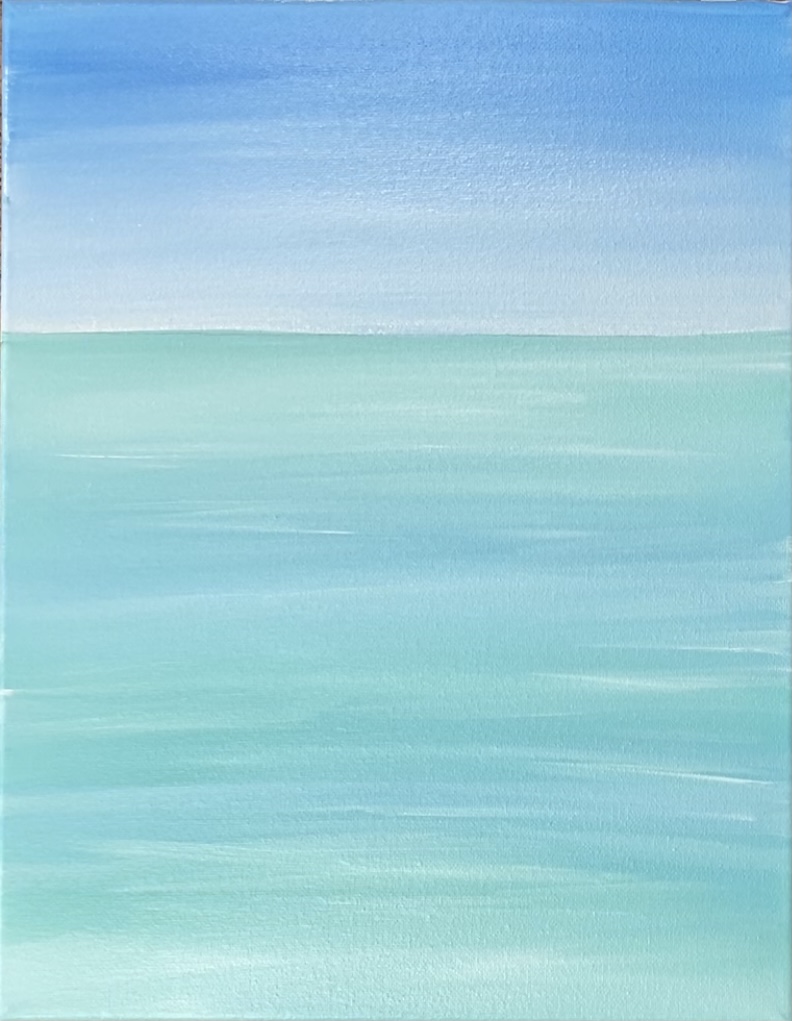
Then add some titanium white to the tip of your brush and paint thin horizontal white lines throughout the water that blend slightly with the ocean color.
3. Draw The Parrot
Wait for the painting to dry before moving on to the next step of drawing the parrot. Use a pencil to lightly draw the parrot on the canvas or use the traceable template to transfer it to the canvas.
Start by drawing the branch on the bottom of the canvas. It starts one inch from the bottom and goes across the canvas horizontally.
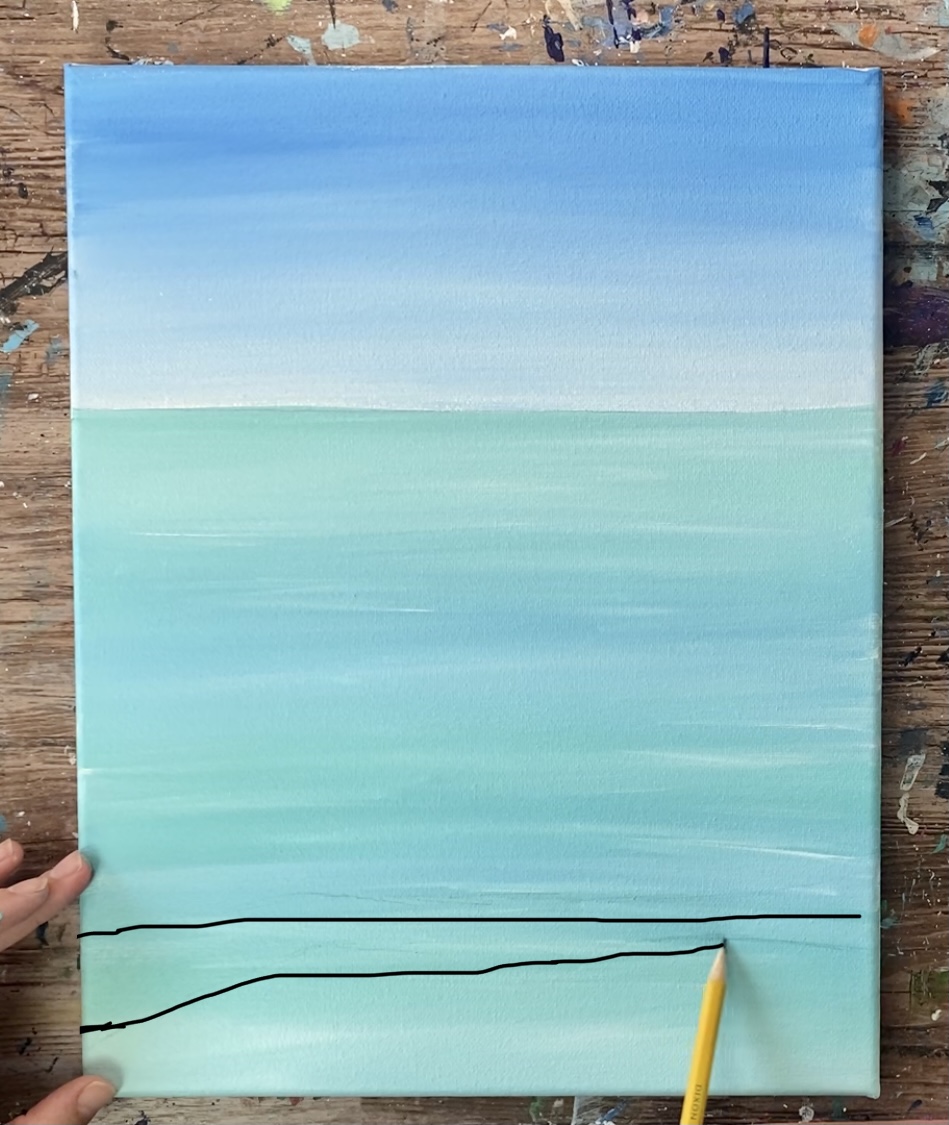
Note: I drew this parrot lightly and adjusted the photos below so you can see the pencil drawing.
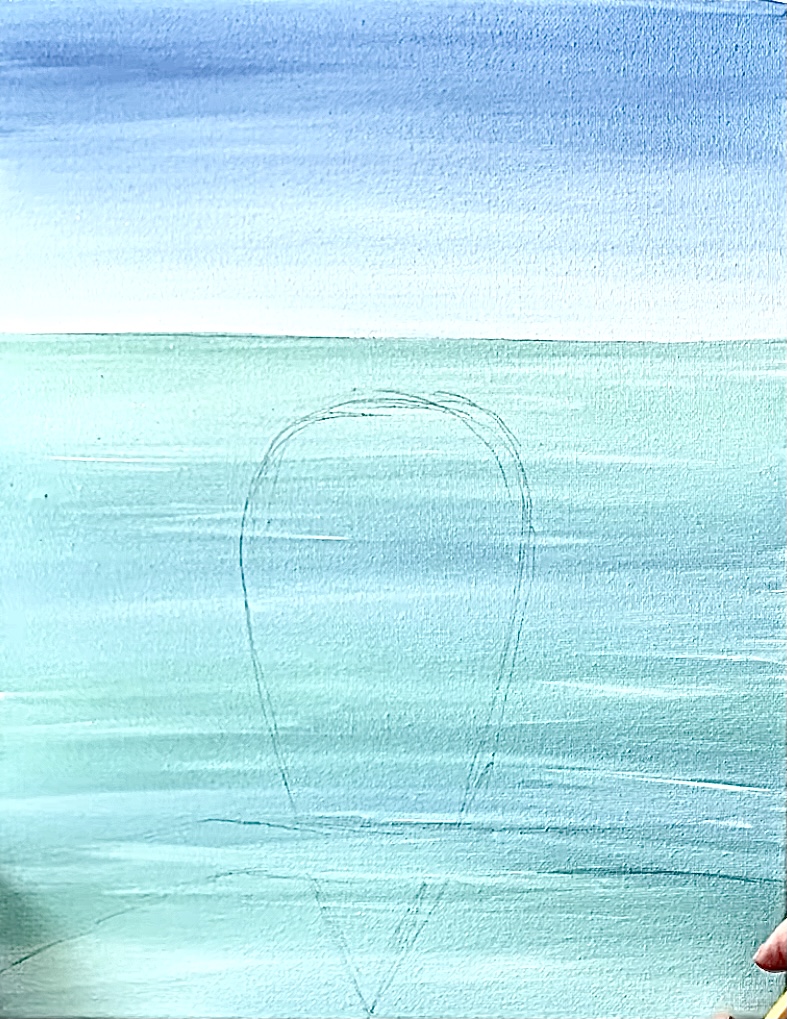
Then draw the body of the parrot. This is an upside down teardrop shape that goes to a point under the branch. The top is about 1/2″ below the horizon line. Sketch this out very lightly with your pencil.
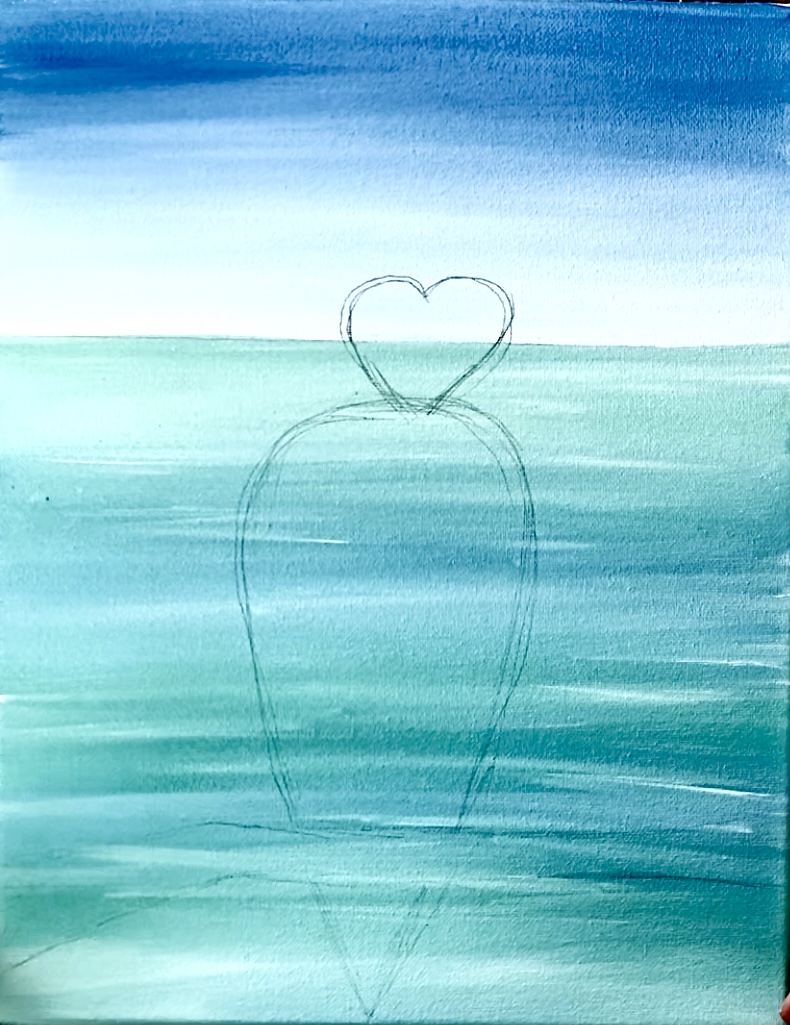
Then draw a heart shape onto of the body slightly offset to the right. The bottom of the heart does not go to a point. Top of the heart goes above the horizon line.
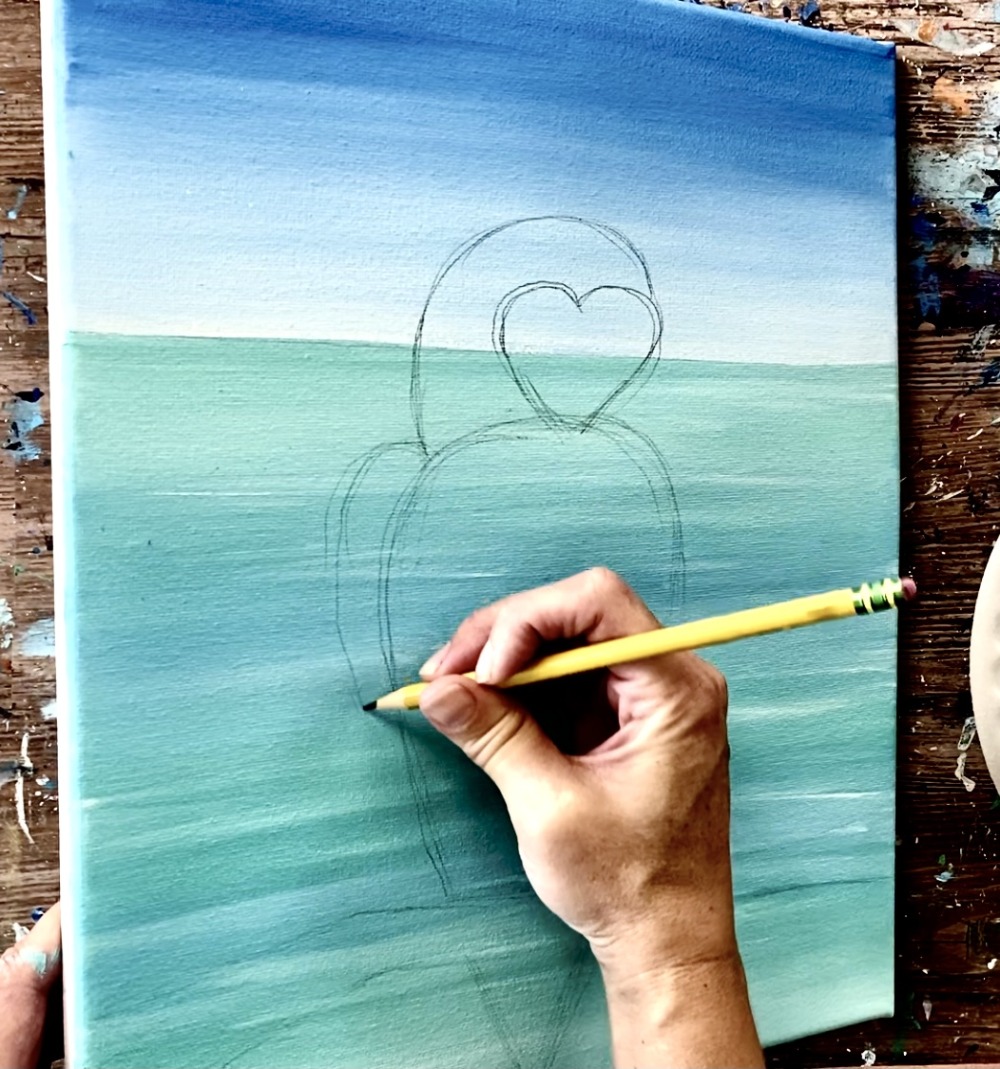
Then draw the left wing. It slightly curves up and then hugs the teardrop body shape as it reaches the branch.
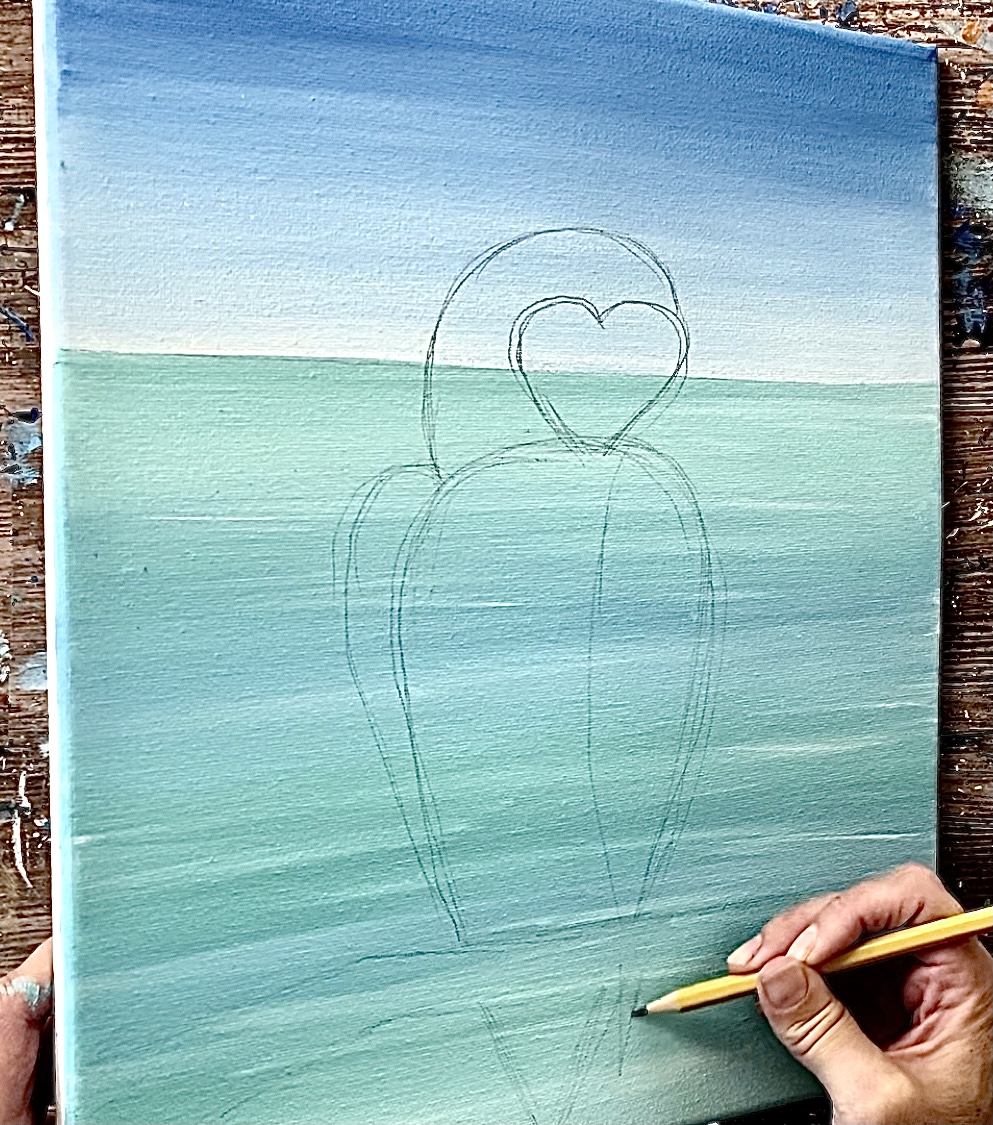
Draw the right wing so the left part of the line is on the inside of the body. Then it goes to a point under the branch.
Next draw the beak. The top right curve of the heart is the top of the beak. It curves down to a point that overlaps part of the top of the parrot’s body.
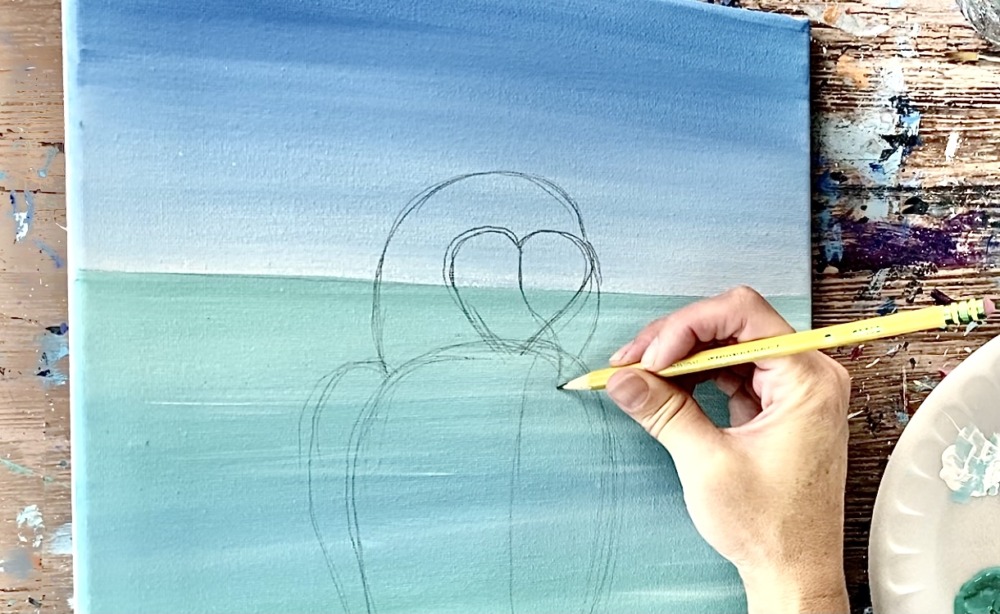
Then on the left part of the heart shape draw a circle. Then draw another circle inside for the eye.
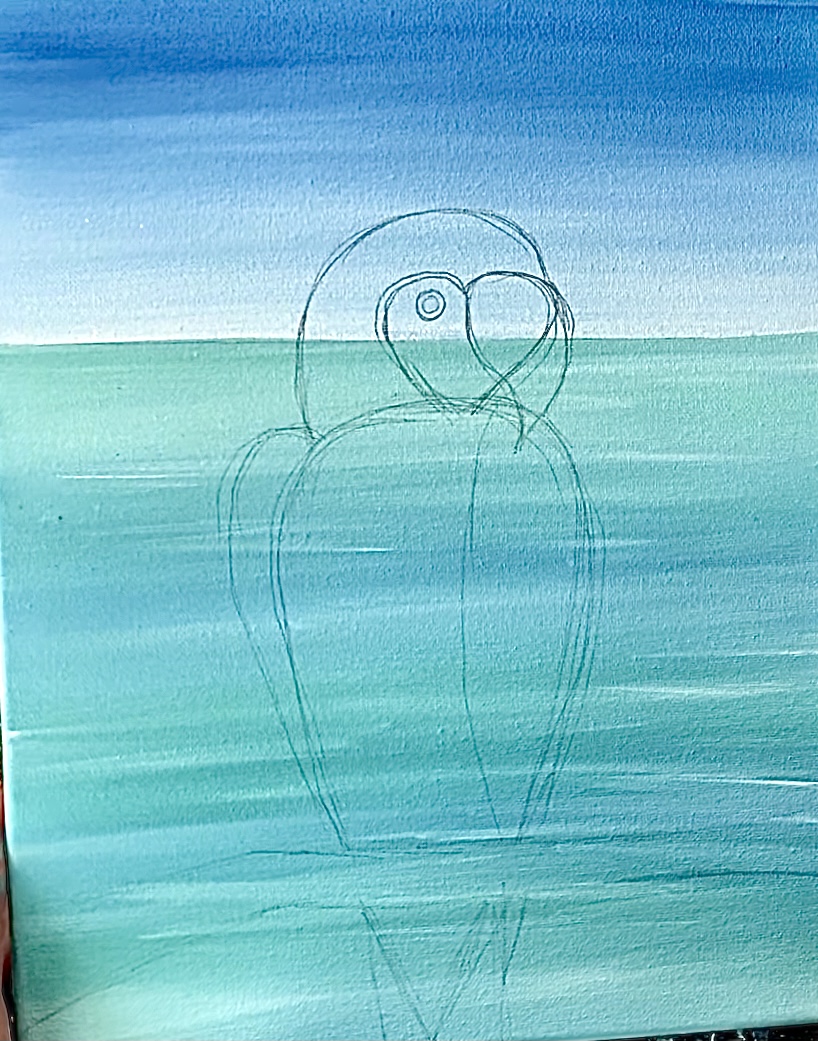
Next draw the lower part of the beak by drawing a diagonal line on the left of the top beak and have it curve slightly up on the right.
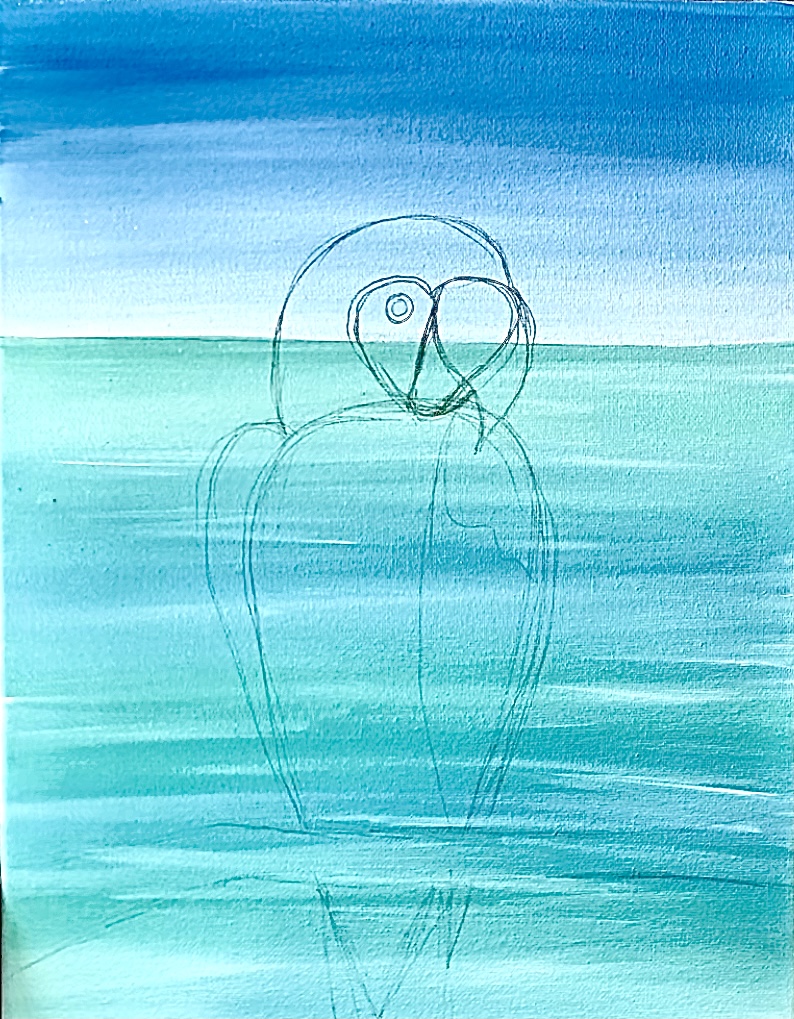
4. Paint The Branches
On your palette, mix a dark shade of brown. Do this by mixing about equal parts of yellow, red & cerulean blue. Then add a small amount of black into the brown to darken it.
Tip: to make your brown more “warm” add some more red to it. Also, it helps to slightly water the brown down so it will flow when you paint the branch.
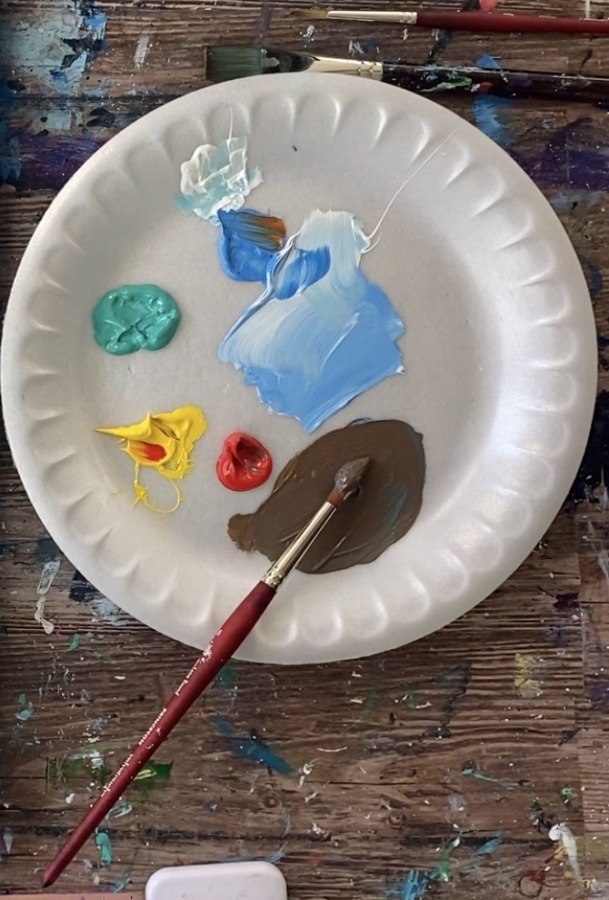
Then use your #8 round brush to paint the brush.
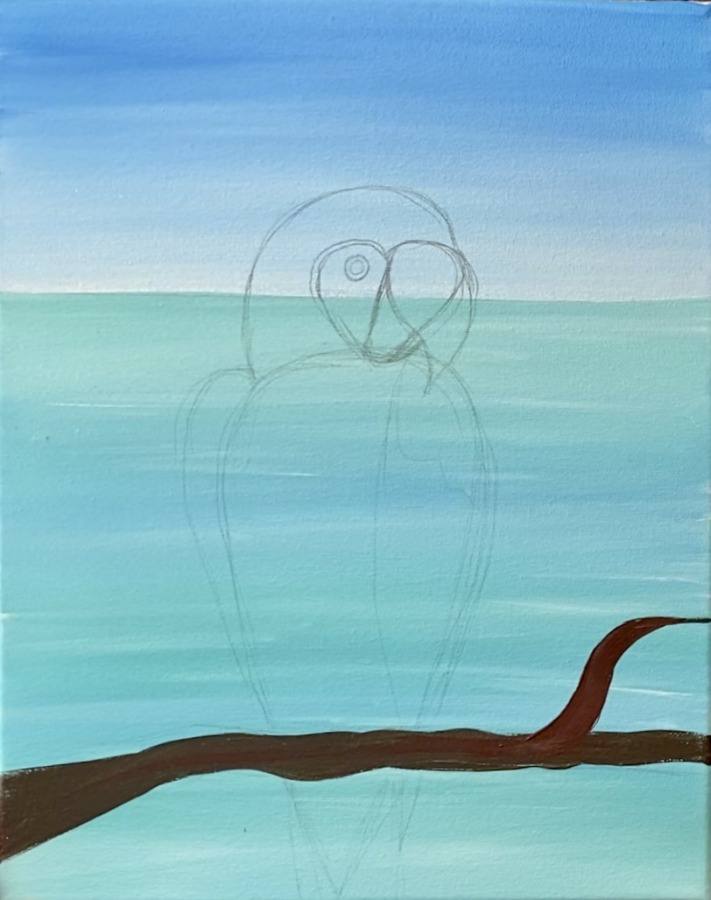
Then paint another branch in the upper right corner.

5. Paint Red Part Of Parrot
Next use your #8 round brush to paint the parrot. Start with cadmium red medium hue. Outline the shape of the parrot including the head, wings, tail and body.
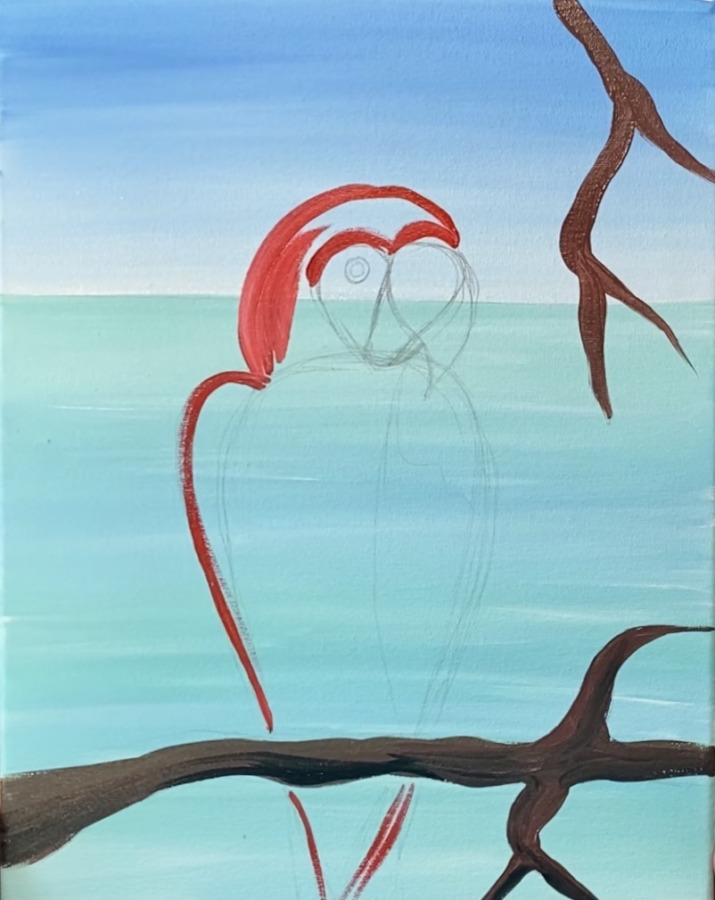
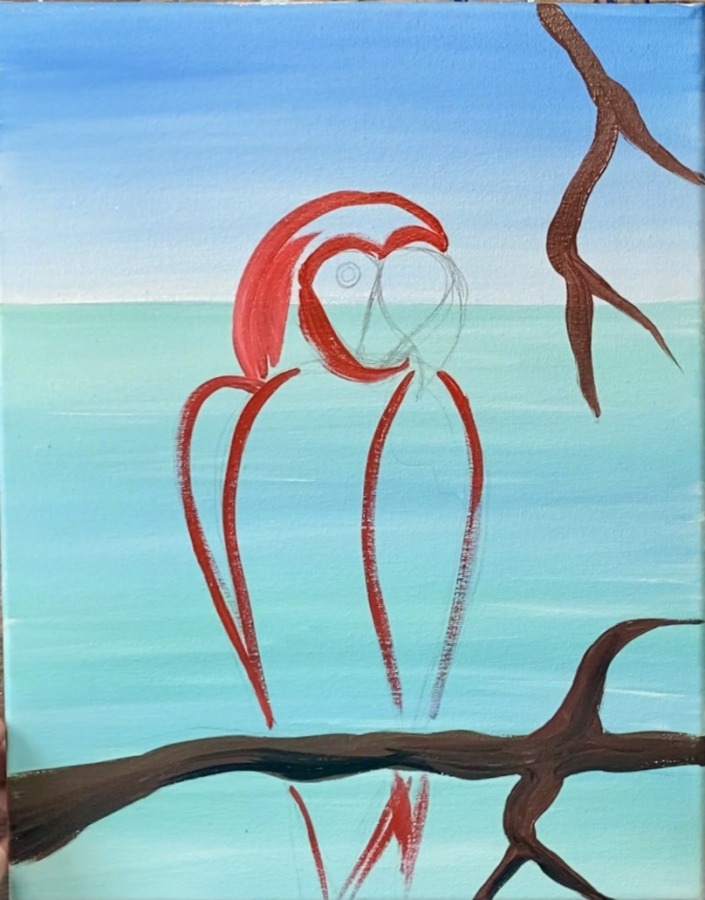
Next fill in the red part of the parrot using the #8 round brush. Paint your strokes so they go in contouring strokes in the direction of the shape of the bird.
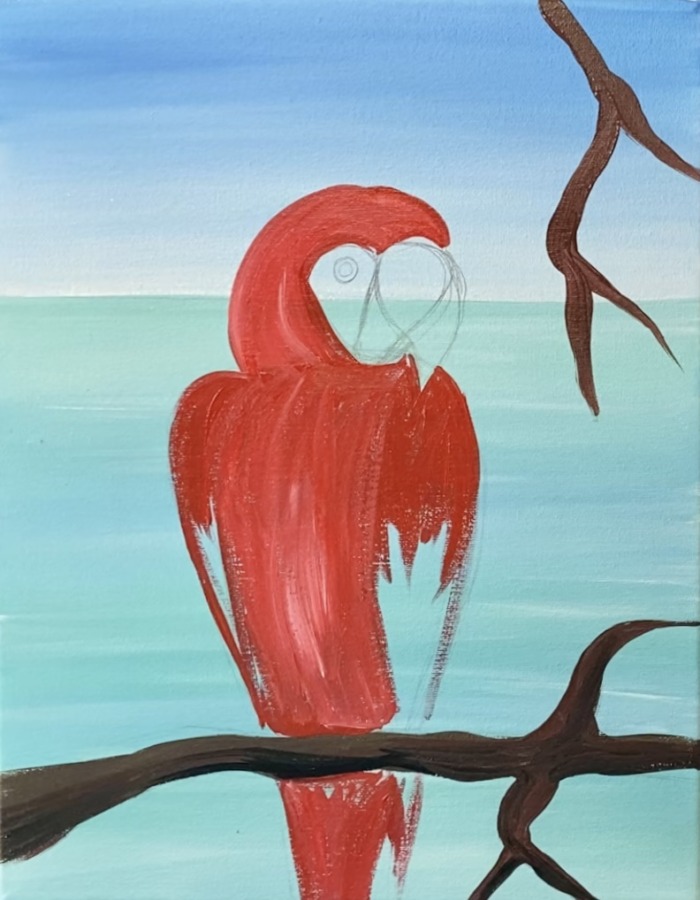
Add small amounts of white to your brush and blend the white with the red to give the feathers some color variation and highlight. Let the white gently blend with the red.
6. Paint Yellow Part Of Wings
Rinse your brush and load it into primary yellow. Add a small amount of white into the yellow to make it brighter. Then gently paint the yellow feathers on the parrot’s wings. Paint small amounts of yellow on the tail as well.

7. Paint Side Of Face & Bottom Of Beak
Use your #8 round brush to paint the side of the bird’s face white (left side of the heart). Then paint the bottom of the beak black.
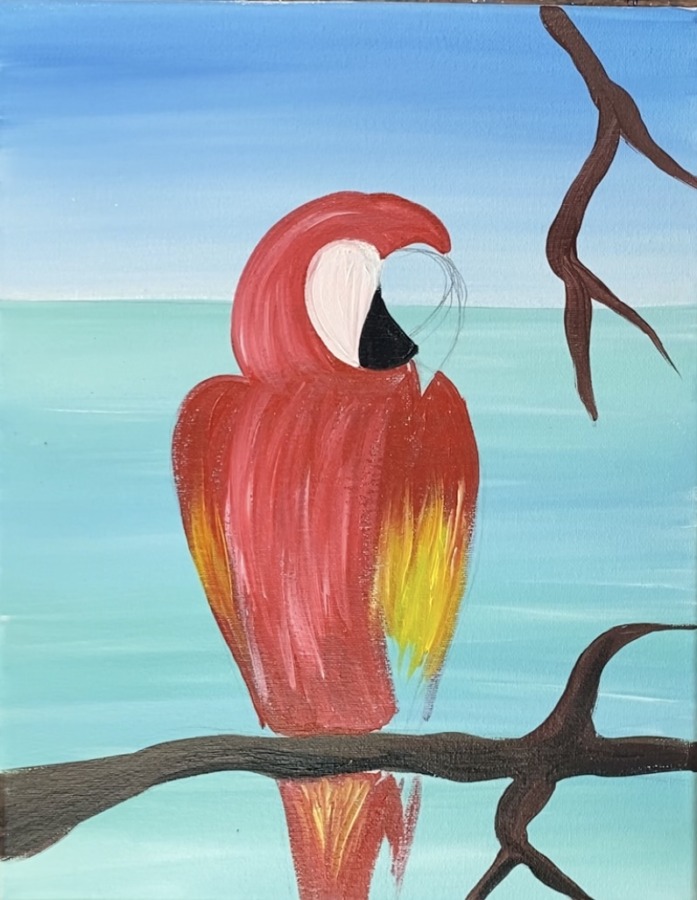
8. Paint Beak
Then make a cream color on your palette by mixing about 5 parts titanium white, 1 part yellow and 1 part red. Use your #8 round brush to paint the parrot’s beak.
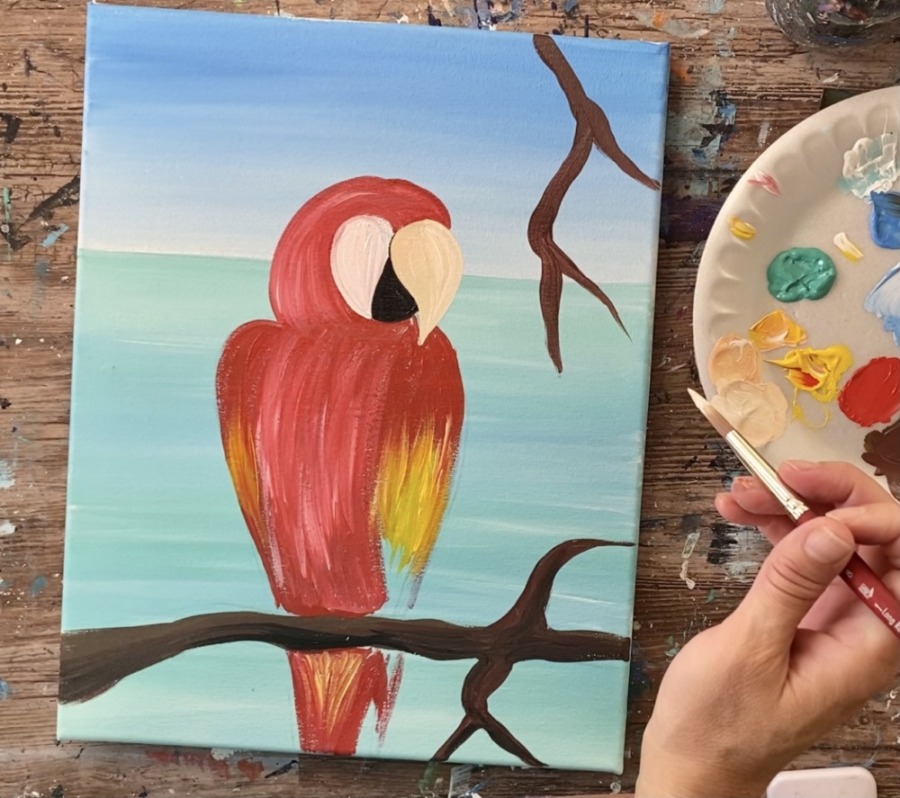
Then paint the bottom tip of the beak with mars black.
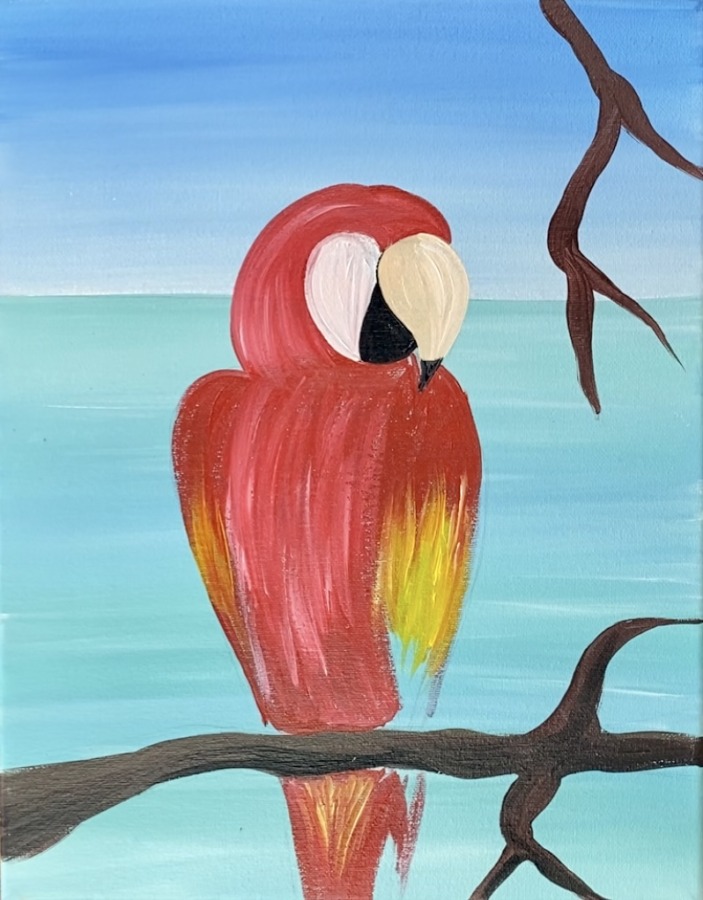
9. Paint Blue Feathers & Light Outlining/ Feather Texture With Black
Then rinse your #8 round brush and load it in cerulean blue and titanium white. Paint the blue feathers on both of the wings. Then paint a small amount of blue on the tail.
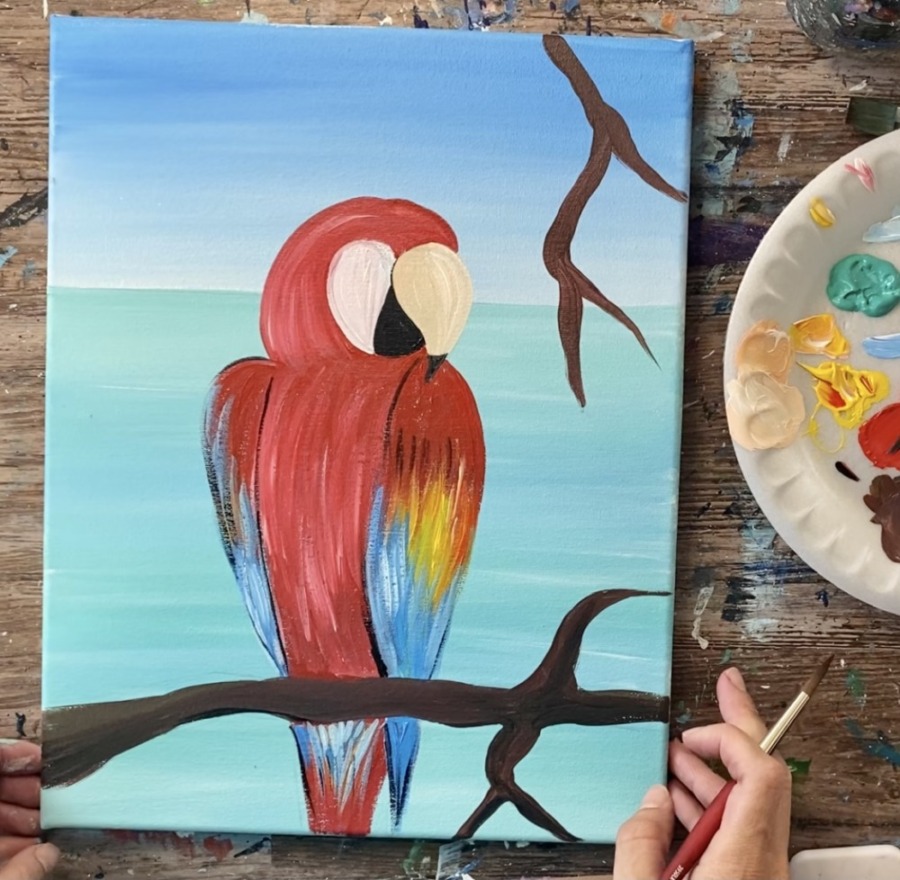
Loosely outline some of the parrot with mars black. Load only a small amount of black on the tip of the brush and loosely outline the wing shapes. You can also add a few strokes of feather texture on both of the wings.
10. Paint Details On Eye & Beak
Then use the same brush to paint the eye. Paint a small black circle. Then mix a light gray on your palette by mixing 5 parts white to 1 part black. Paint a gray circle inside the black circle. Then paint a small black circle inside of the gray circle for the “pupil”.
Use the black on the tip of your round brush to paint some feather marks on the white part of the parrot’s face. Then add some black marks on the left part of the black and some more feather marks on the head.
11. Paint Leaves & Palm
The leaf colors were created with different variations of green. On your palette, use the bright aqua green, cerulean blue and primary yellow to make a green. When you mix the aqua with the yellow it makes a bright green.
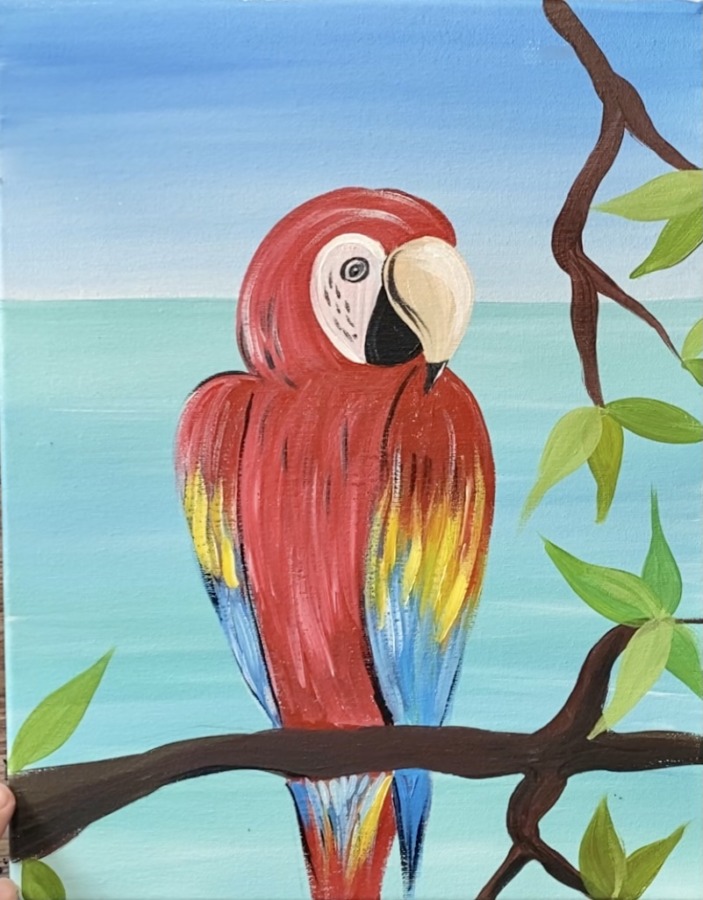
Paint oval elongated shaped leaves that go to a point.
Make different greens on your palette by mixing some white into the green. You can even add a tiny bit of red into the green to make it more of a warm green.

Paint these different shades of green leaves in bundles all around the branches.
Then paint the palm tree frond using the same green as one of the greens you made on your palette. Use your #8 round brush. Start with your center line. Then paint individual palm leaves stemming out from the center line.
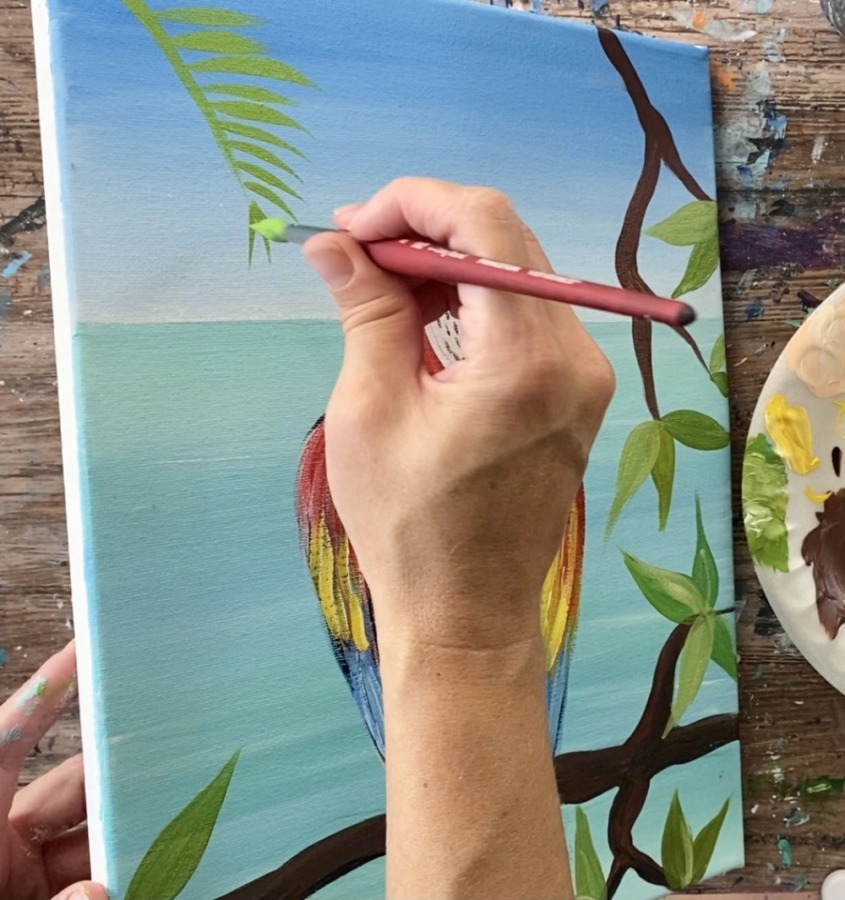
Optional: then add highlight to the palm by mixing white into the green to make it lighter and loosely painting over the center line and some of the palm leaves.
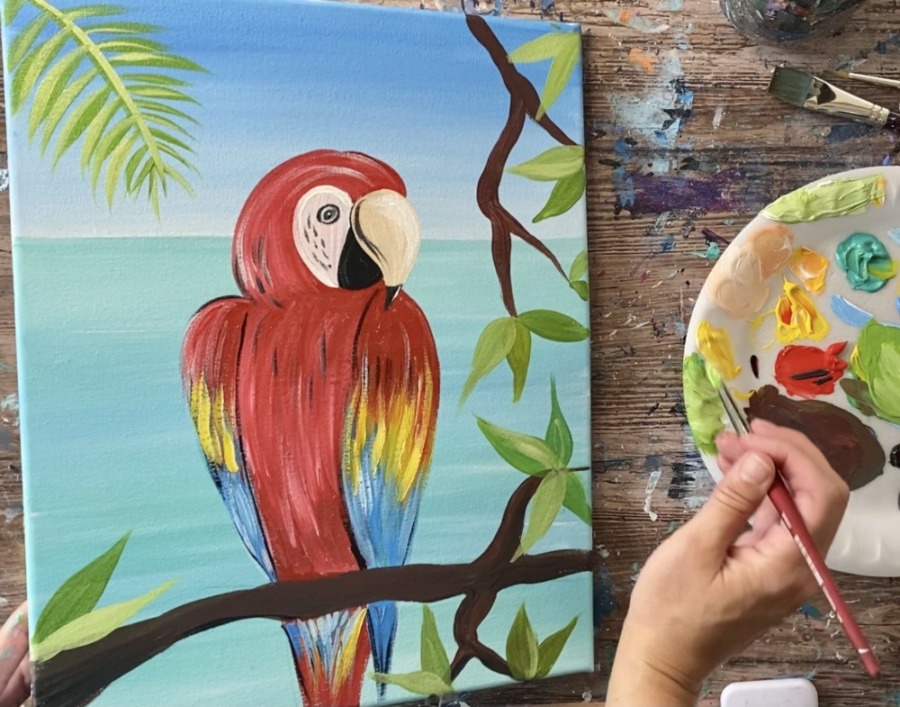
12. Paint Claws
Mix a tiny bit of black into titanium white to make a light to medium gray.
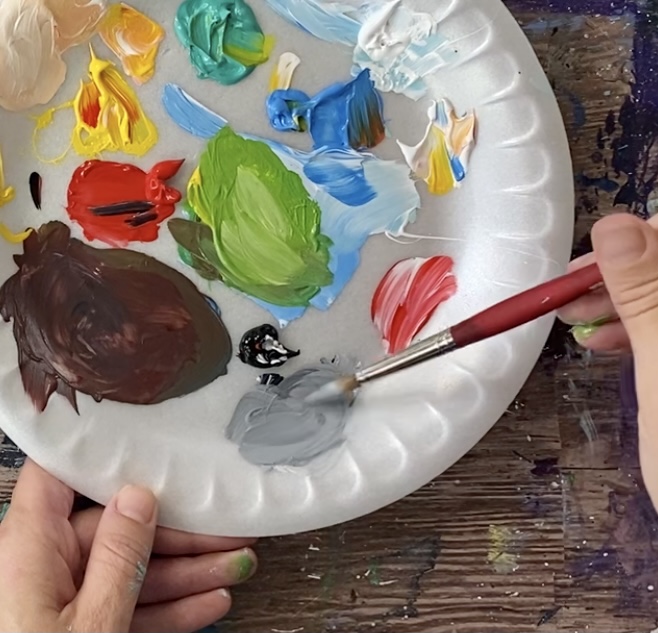
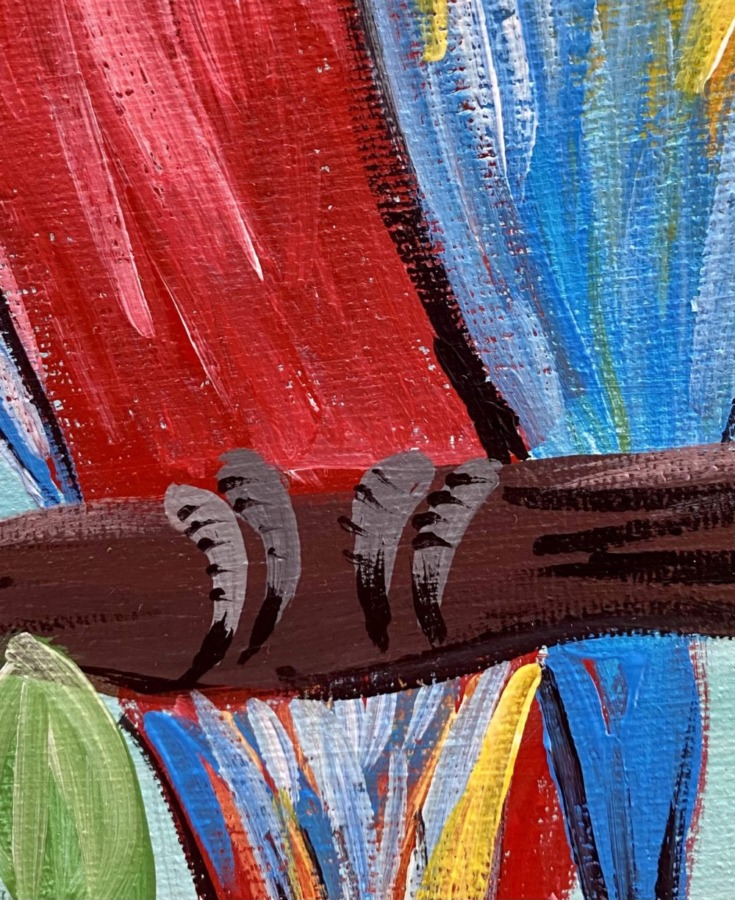
Then paint the claws on the parrot so they curve around the brown branch.

Paint black on the tip of each of his claws. Then paint some small black curved marks on his claws for texture.
13. Paint Tropical Flowers
Use a #8 round brush to paint the basic shape of the three tropical plumeria flowers. Paint five petal flowers in the lower left.

Then mix a light red color on your palette by mixing 1 part red and 5 parts white. Paint one side of each of the petals starting from the center and going outwards.
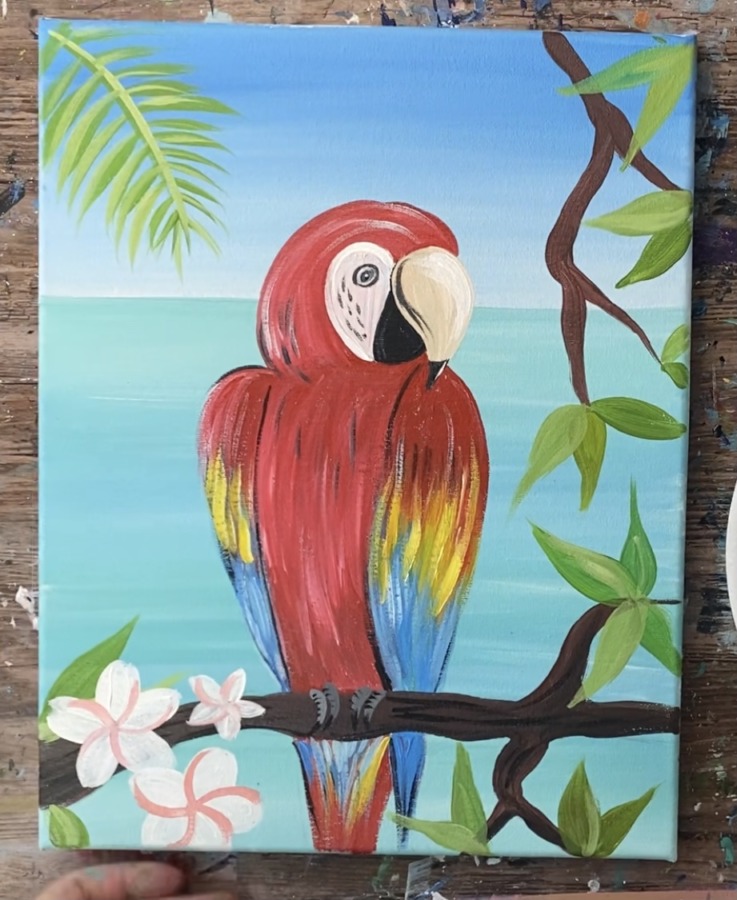
Then add a little yellow to the tip of your brush and paint some yellow in the center of the flowers blending with the white.

Then paint some more light pink on the ends of the petals. Re-outline one side of each of the petals. Then paint a small red dot in the center of each of the flowers.

Tip: these flowers do not need to be realistic because they are a small accent to the painting!
Finished!




Thankyou so much for this Tutorial ! I used this tutorial for my art competition and it turned out awesome !!!!!!!