Create, Print & Transfer Text To Your Canvas Paintings! + 3 Free Printables
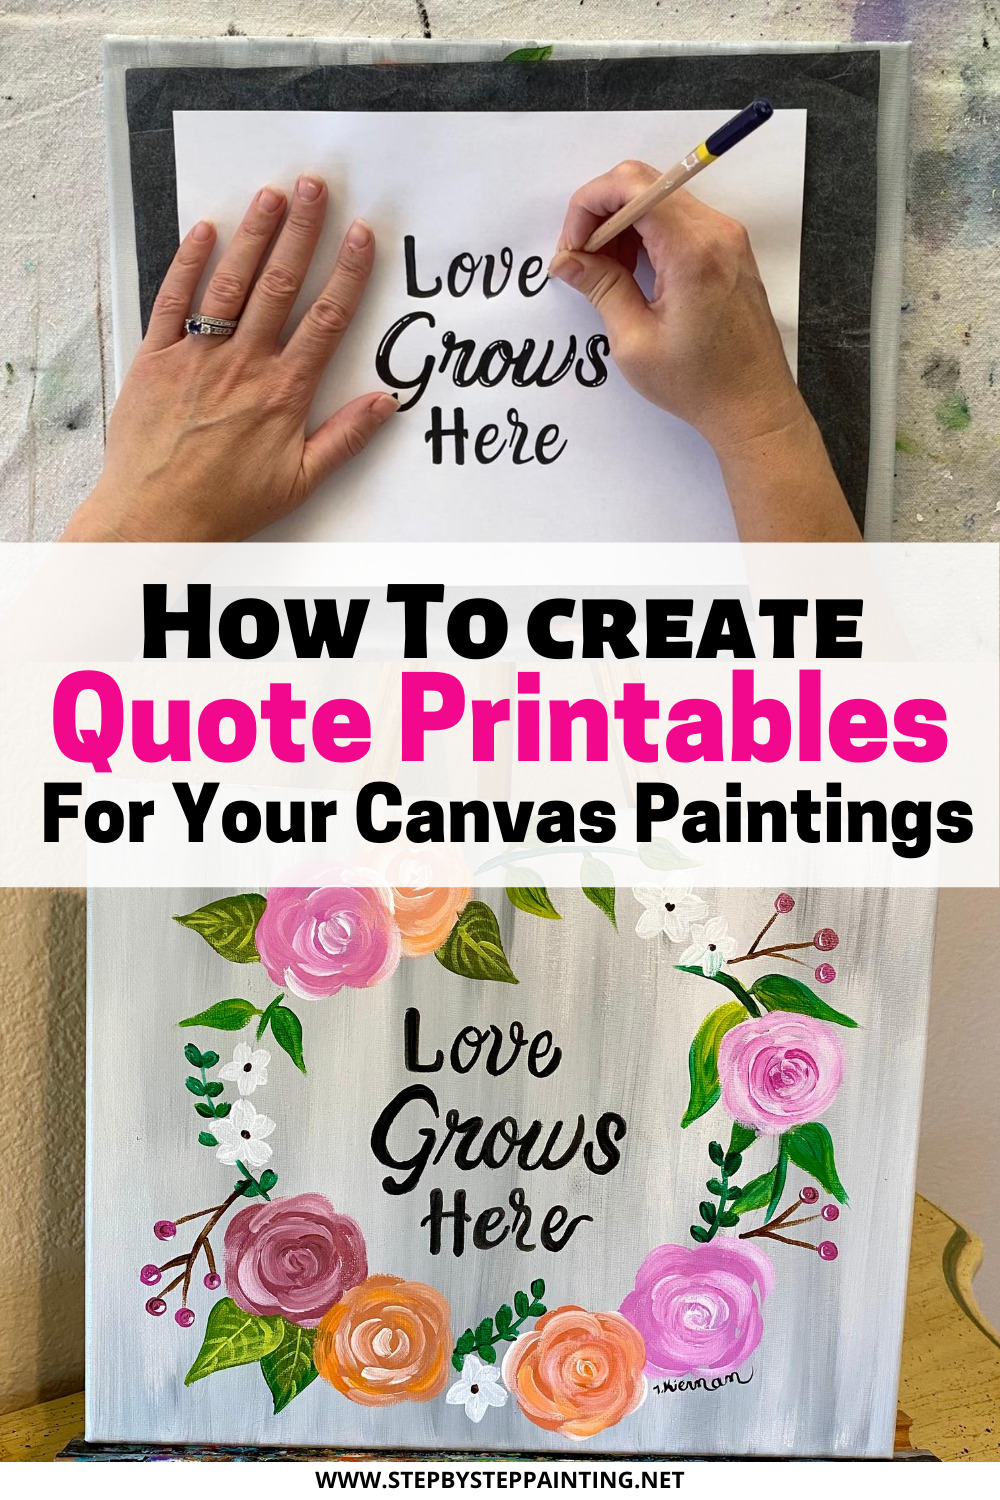
Would you like to save this?
Do you ever want to add pretty text to your canvas painting or other craft projects but you’re not so confident in your calligraphy skills? Same!
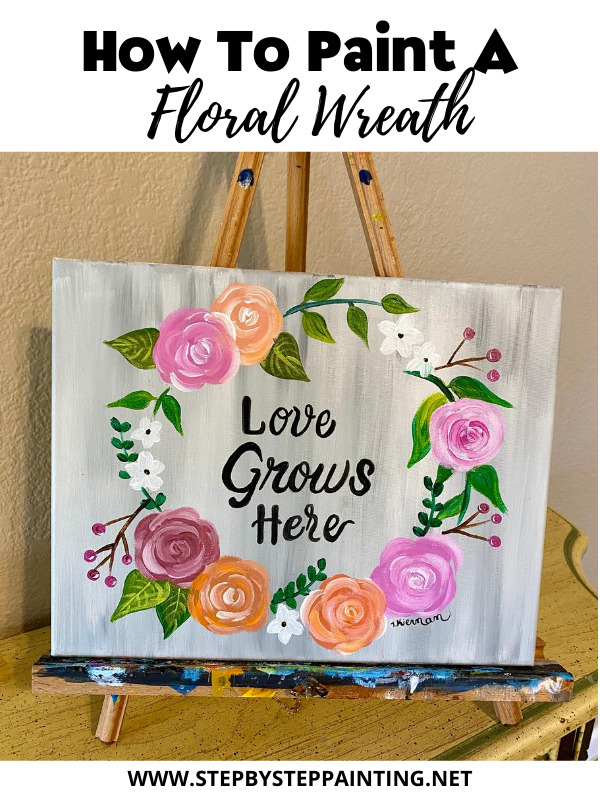
This tutorial, is actually an extension of my How To Paint a Floral Wreath Tutorial! In that painting, I created a printable of customizable pretty font text that fits exactly the size and area I needed it to be! I also mentioned that you will be able to customize that text.
In this tutorial, I am going to show you how to create and customize a quote or monogram. It’s super easy and you can use a free online software called Canva to do this!
If you are not interested in creating your own you can SCROLL DOWN to the end of this post to grab THREE FREE PRINTABLES for your own projects!
This blog post contains affiliate links.
What is Canva?
This is an online graphic editing software that I use constantly to make all the graphics on my website, Pinterest and social media interfaces. There is a free version, however, I use the pro version because I get access to extra fonts, graphics and added features!
Here is how you use Canva to create printable text for your canvas paintings, craft projects and anywhere else you want to add a fun quote or monogram to!
How To Create Your Design Using Canva
1. Decide the size of your project.
I measured my canvas painting and the area inside of the wreath was approximately 6” x 4.5”.
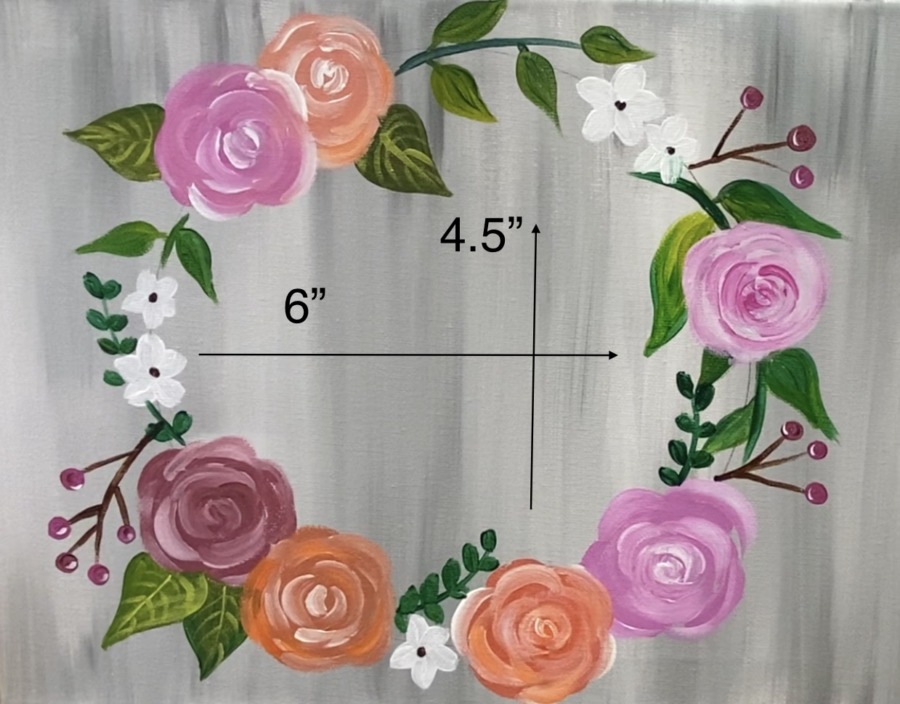
2. Specify the size on Canva.
Once you sign into canva, simply click “create a design” and then click on “customized dimensions”. Enter the size into the boxes. 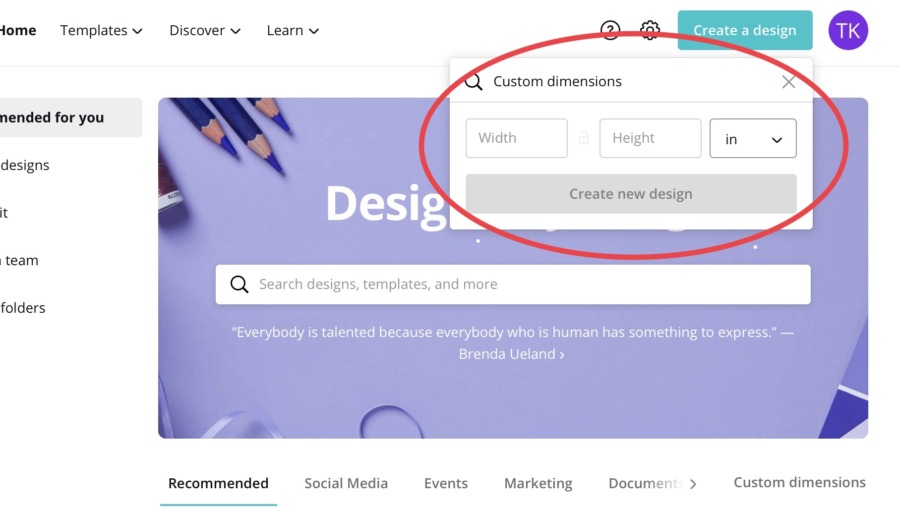
3. Create your design!
You will be taken to a screen with a blank white box! Here is your canvas for creating the text design you want.
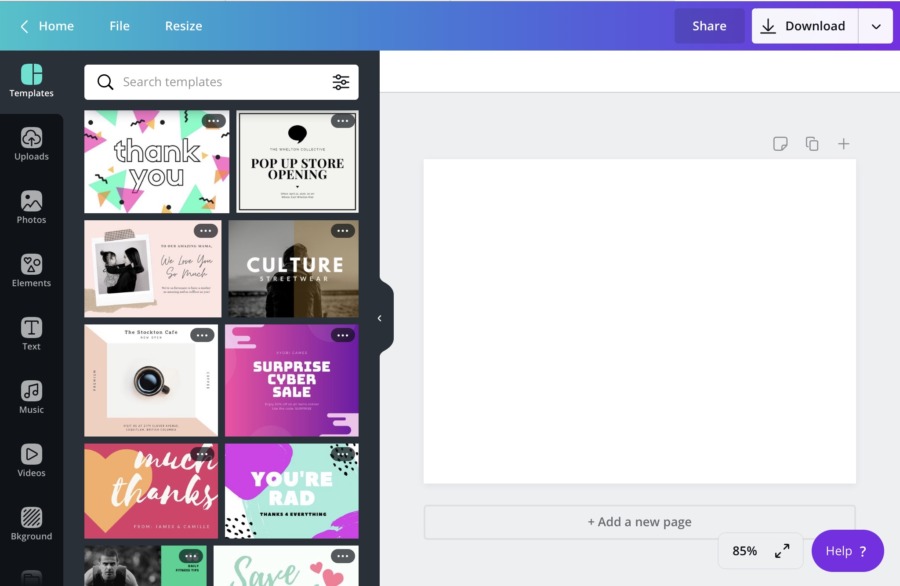
If this is your first time using Canva, you may want to click around and see all the fun graphics they have!
4. Type your quote in
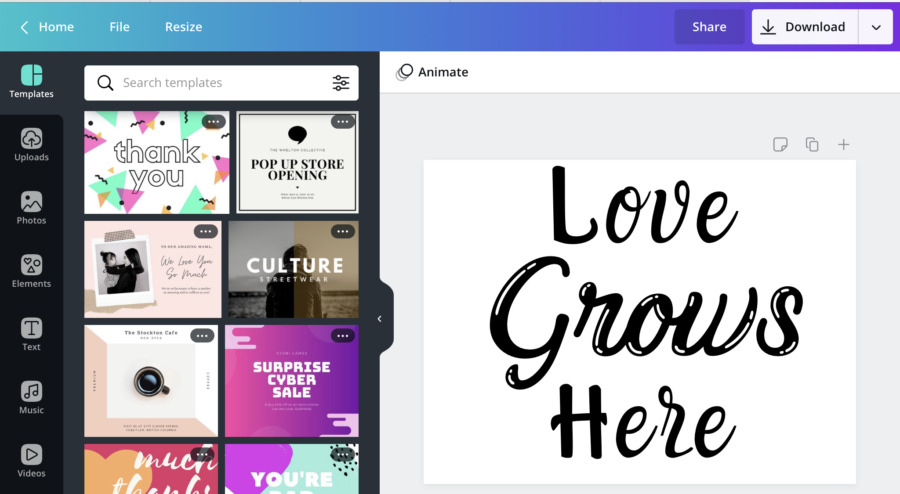
Click “Text” and then click “Add A Heading”. From here, you simply type the quote or monogram in.
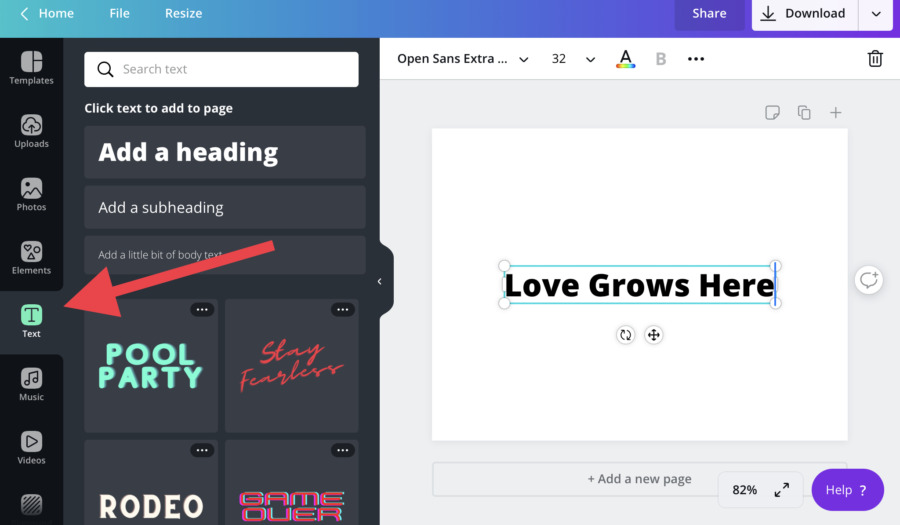
5. Decide your font.
Here is the fun part! Canva has sooo many beautiful fonts to choose from! You can also filter by style such as “handwriting”. You can even have different words have different fonts.
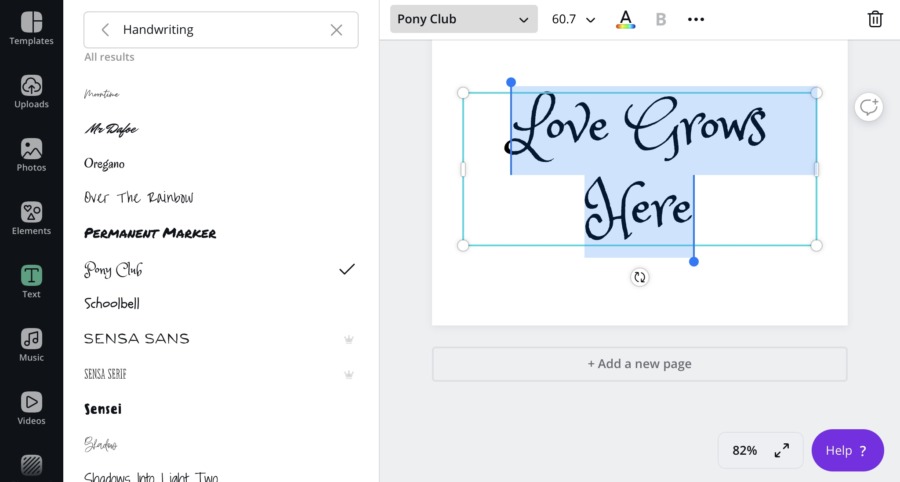
Note: the ones with the crown are only available for pro members, however, there are many beautiful free fonts to choose from.
6. Adjust the spacing
You will need to make it as large as the area of the white box.
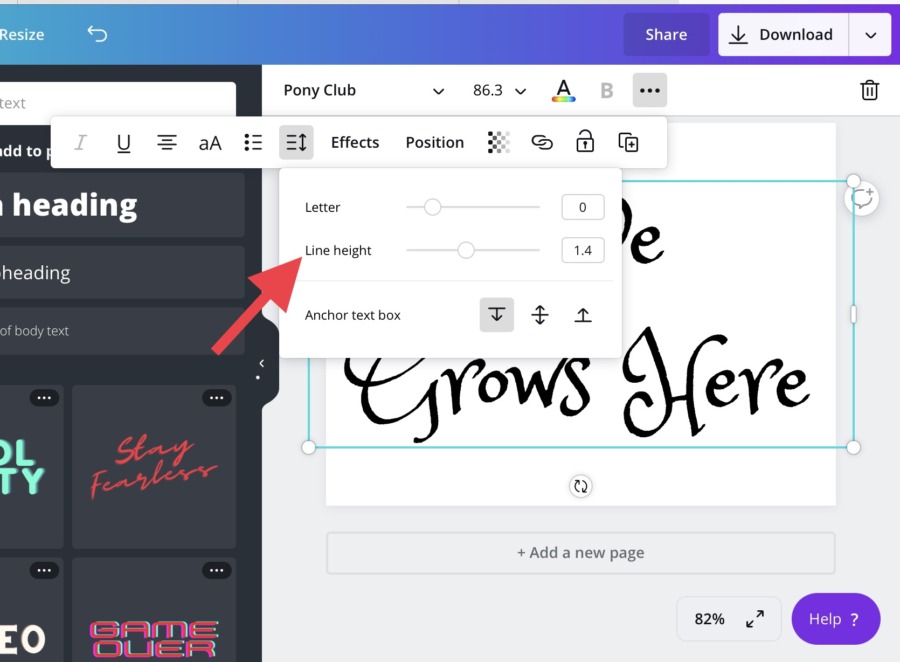
You also need to play around with the spacing of the lettering. If you want your words to be closer, adjust the spacing by clicking on the light height button. You can also adjust how close your letters are to each other.
7. Save your design.
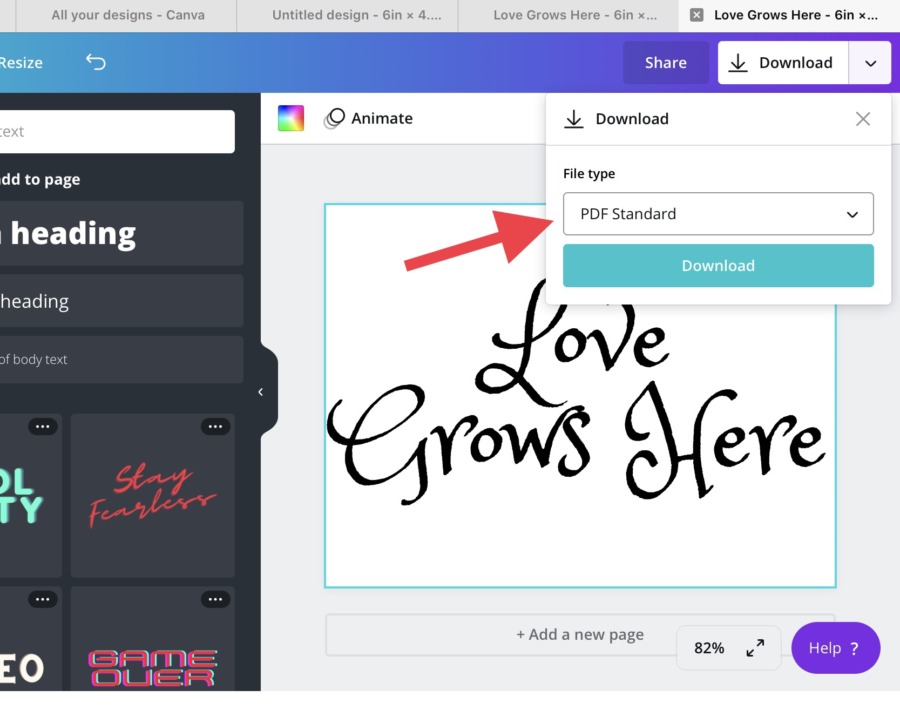
I recommend saving it as a PDF file so your measurements will stay intact.
8. Print your design.
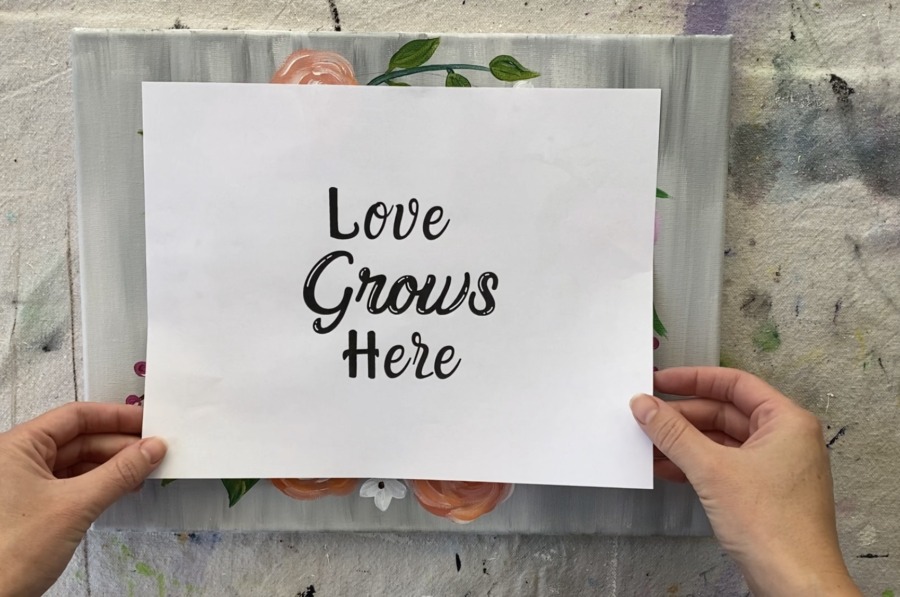
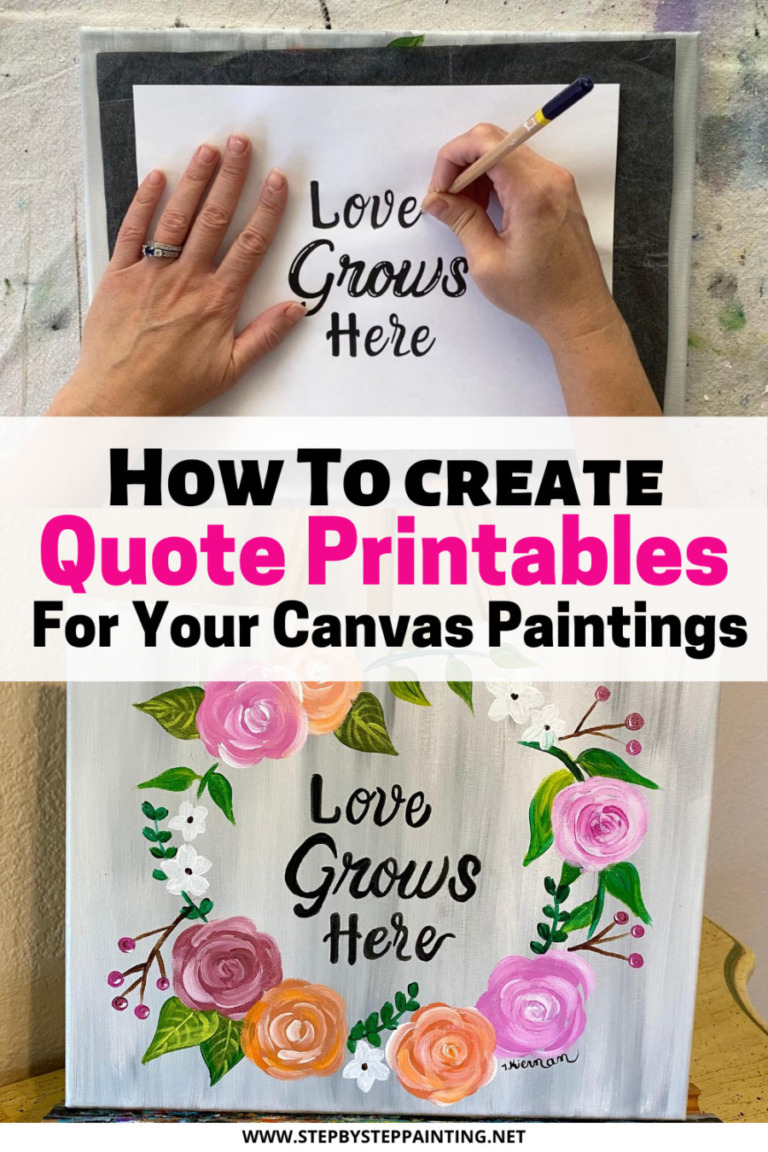
Open the PDF file that you just saved and then click print. Then position it onto your canvas.
9. Transfer your design to your canvas.
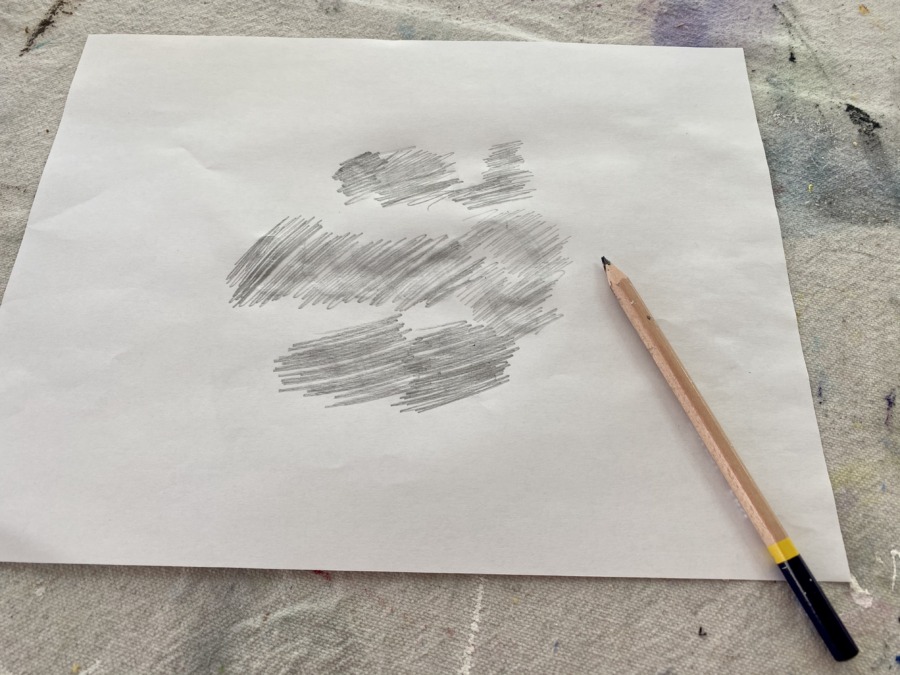
You can do this with a sheet of graphite paper and any writing utensil. You can also rub pencil on the back of your printable and use that to transfer.
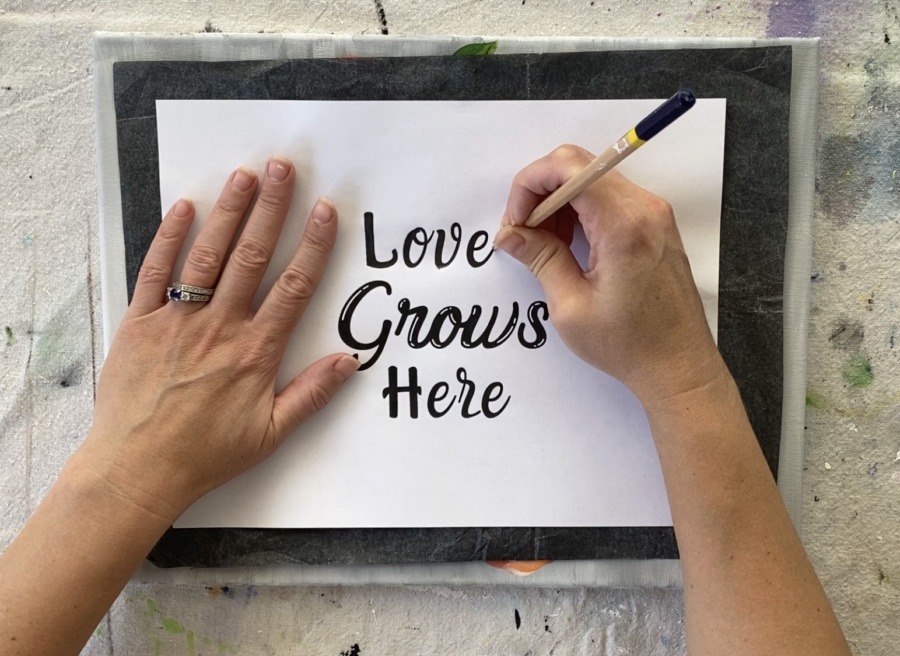
After tracing the design, I like to use a POSCA paint pen for more precise control, however, you can also paint with a paint brush and some black paint.
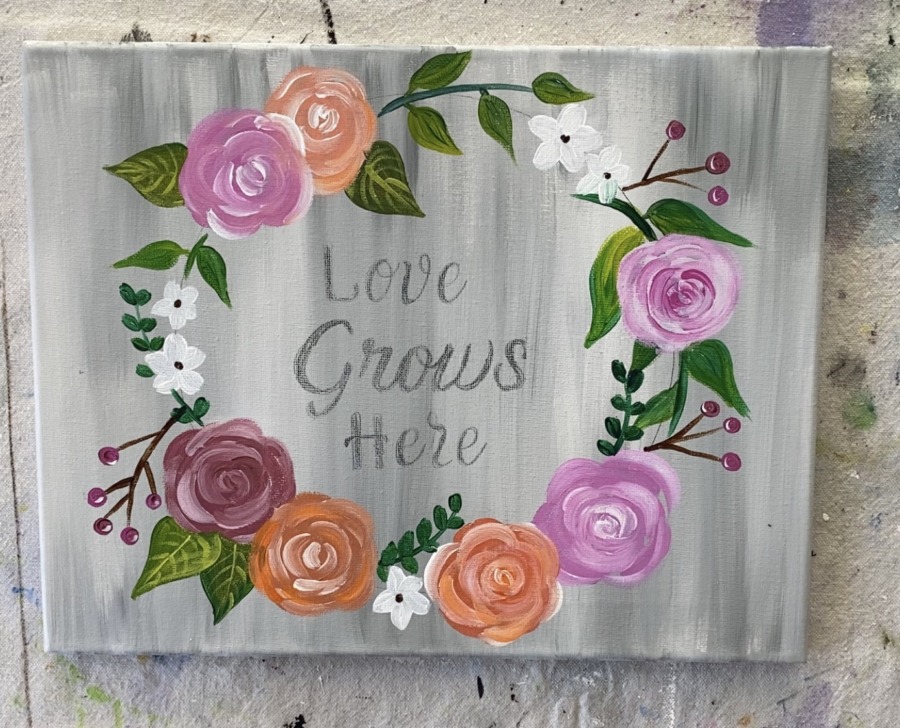
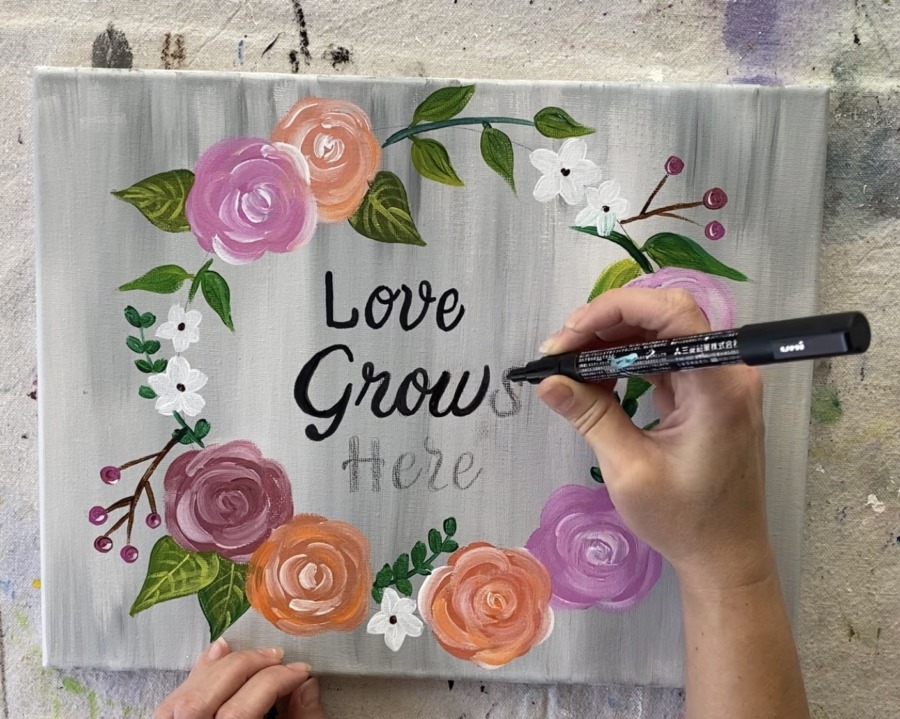
That’s it!
I love using Canva for this sort of thing! Think of all the fun possibilities for adding text to your canvas paintings, signs and all your crafts!
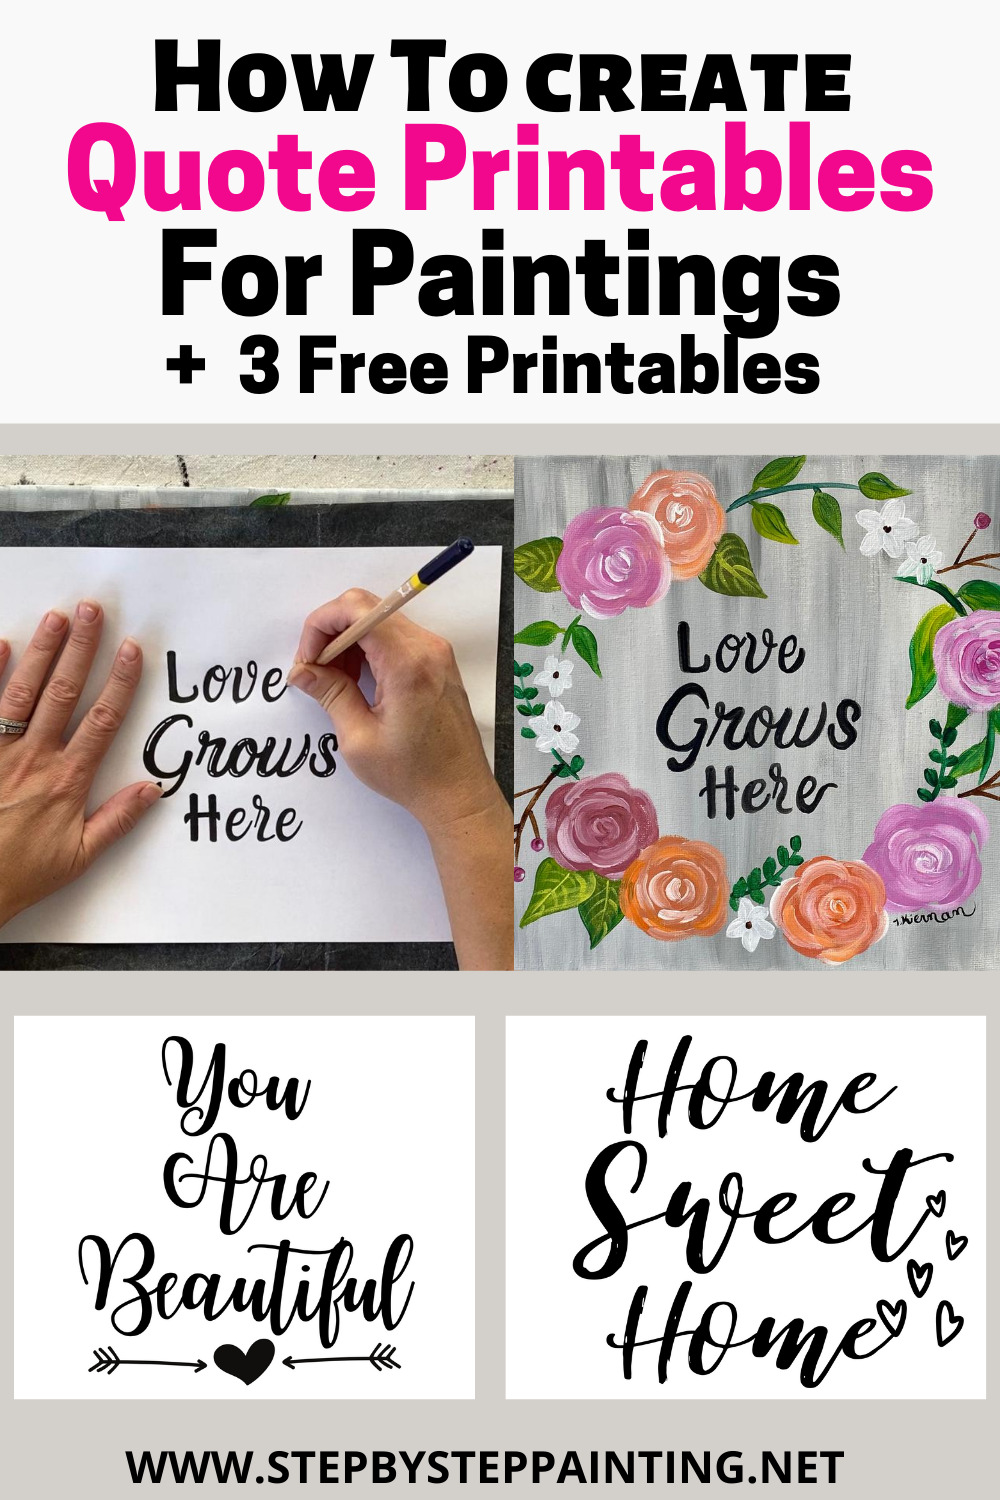
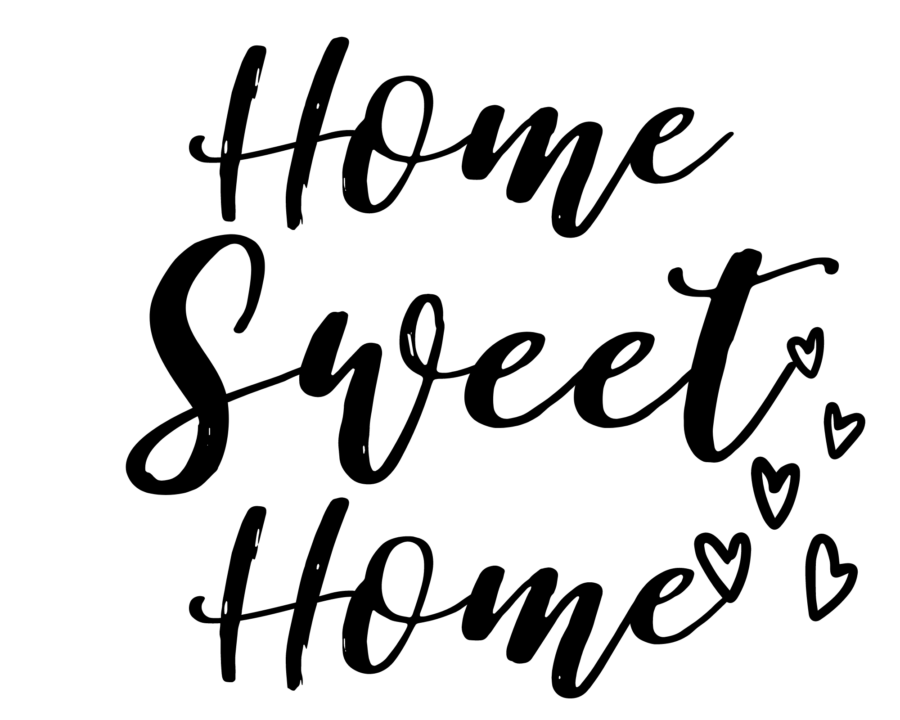
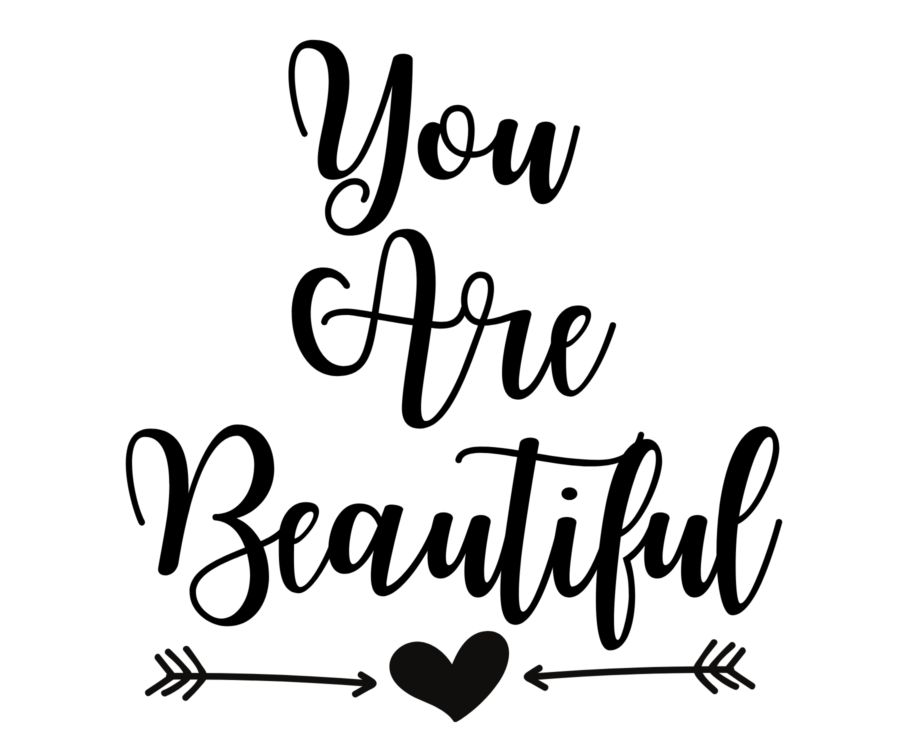
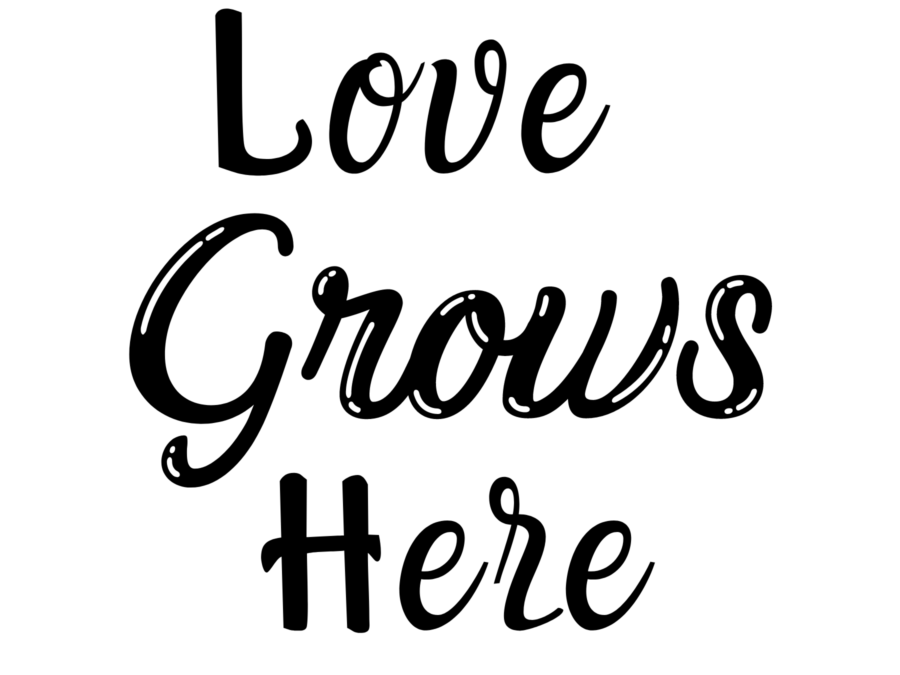
If you are not ready to design your own printable text, I have created three that you can download below. Simply click on the image and save!
Share this post!

Thank you. Had not thought of canva for this and don’t have a cricut yet. So this provides an option for specific names on designs I’ve been doing.
You are a lifesaver! I have been wanting to paint some smaller canvases with short Bible verses on them to sell at our church’s mission fundraiser. My calligraphy also needs a lot to be desired. Which tip of the paint marker do you like best? Thank you!!