

Learn To Paint A Spring Truck
Would you like to save this?
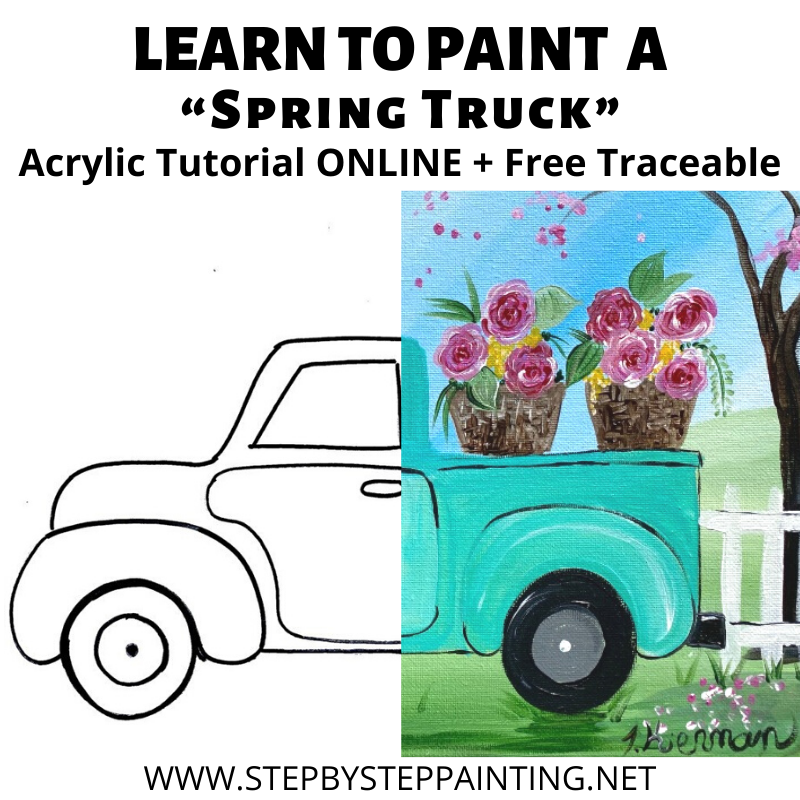
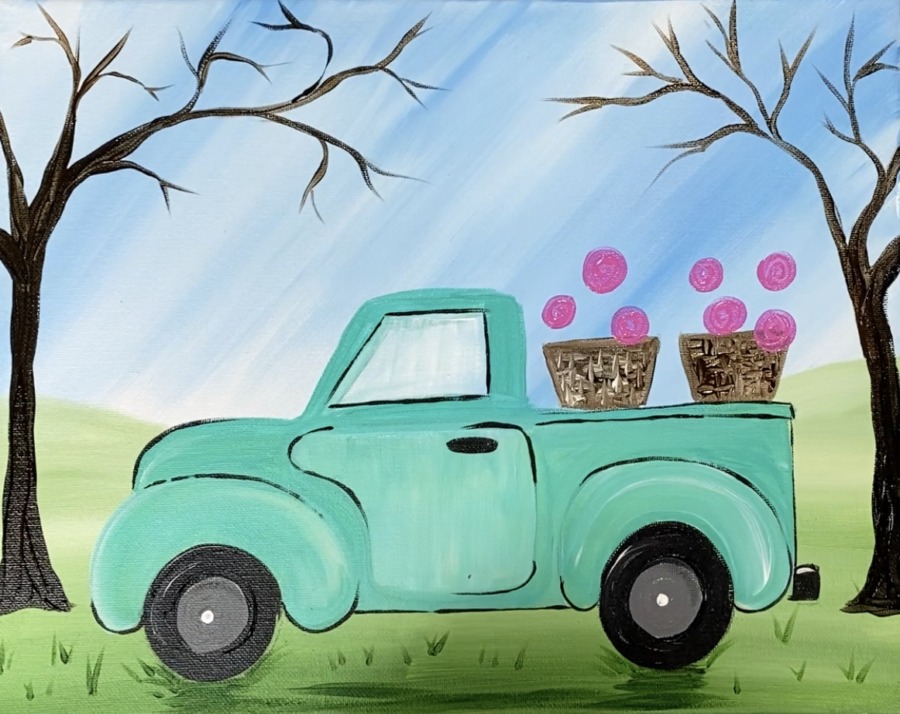
This tutorial of a spring themed truck is for the beginner acrylic painter!
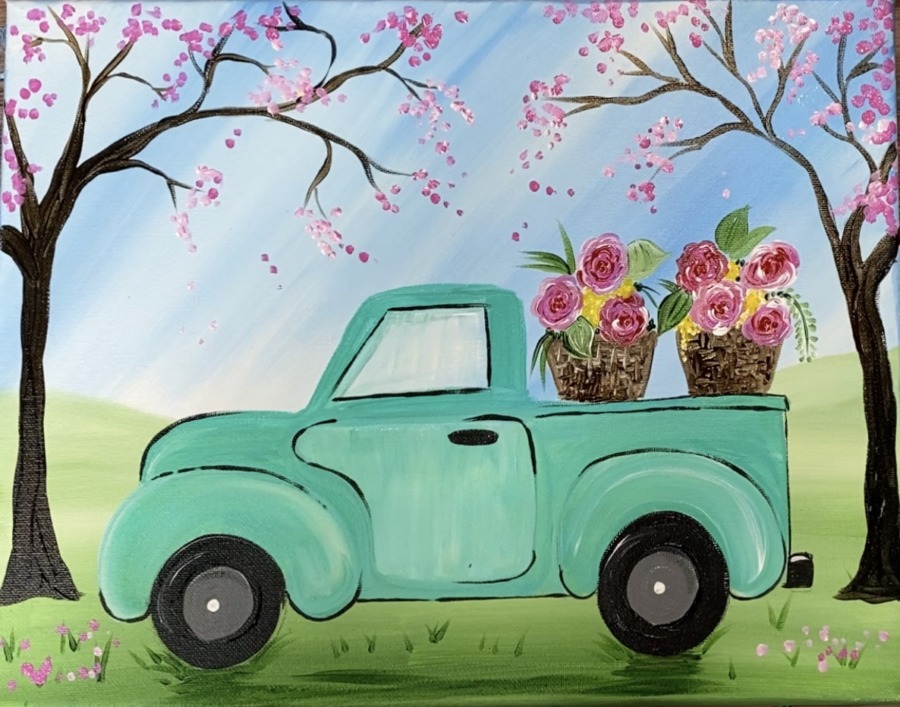
Learn to paint an aqua colored truck with baskets of roses in the bed. In the background are lovely cherry blossom trees and a white picket fence.
There is a free printable of this truck that you can download and trace onto the canvas.

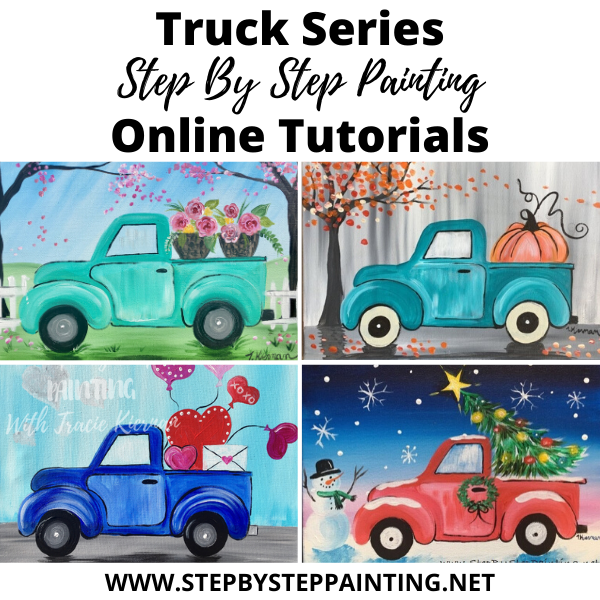
Love truck paintings?
You can see a full series of all my truck paintings here!
Enjoy and happy painting!!!
This post contains affiliate links.
Materials Needed:
Spring Truck Painting
Paint a beautiful aqua colored spring truck with bundles of roses in the bed. This tutorial has a printable and will guide you through each of the steps.
Materials
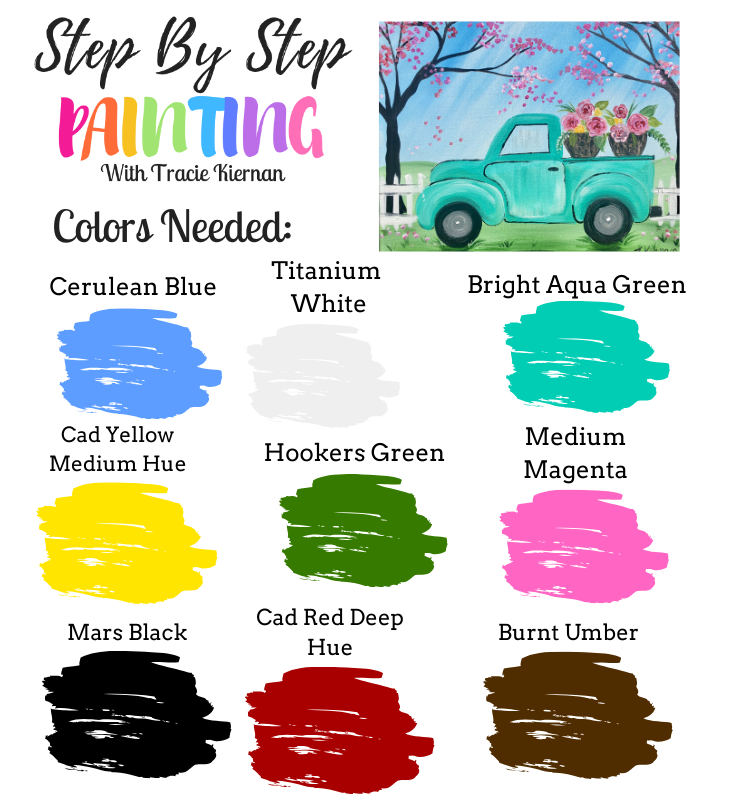
Colors
- Titanium White
- Mars Black
- Cerulean Blue Hue
- Cad Red Deep Hue
- Cad Yellow Medium Hue
- Hookers Green Hue Permanent
- Medium Magenta
- Bright Aqua Green
- Burnt Umber
Brushes
Instructions
- Scroll down in this post to see full detailed instructions.
Notes
Looking for printable instructions? Head over to my PDF shop to see how you can get a printable PDF of this tutorial!
Color Palette:
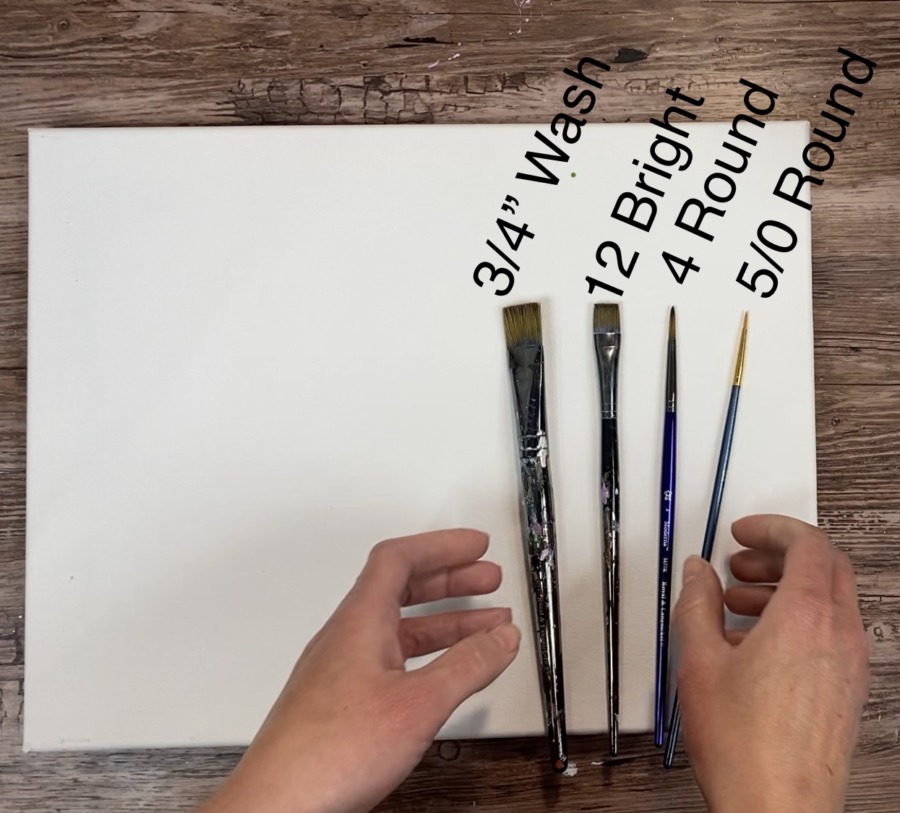
Brushes:
- 3/4 Wash Brush (This is a large flat brush)
- 12 Bright Brush (This is about a 1/2” flat brush with short bristles)
- 4 Round (A basic small/ medium round brush)
- 5/0 Round (This is a tiny round brush used for detailed work)
Traceable:
If you are tracing this onto the canvas, use a sheet of graphite paper underneath the traceable.
Note that the truck does not get traced until the background is painted in. Grab the PDF here.
Directions At A Glance:

Video:
Step By Step Directions:
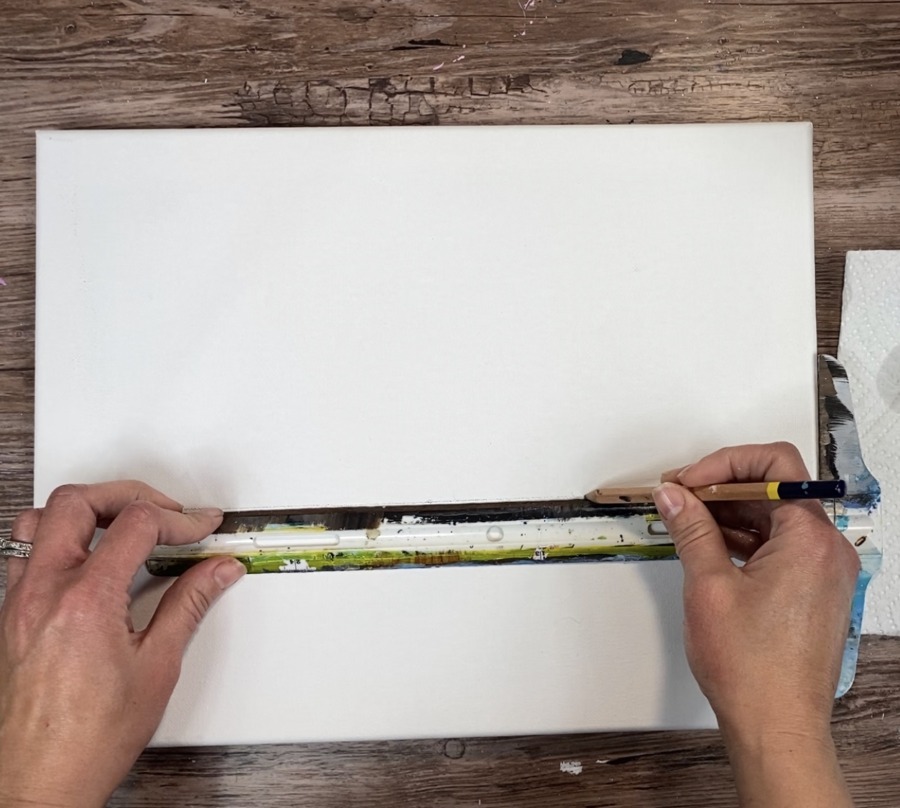
1. Draw Your Horizon Line
First lay your canvas horizontally. Then mark 3” up from the bottom.
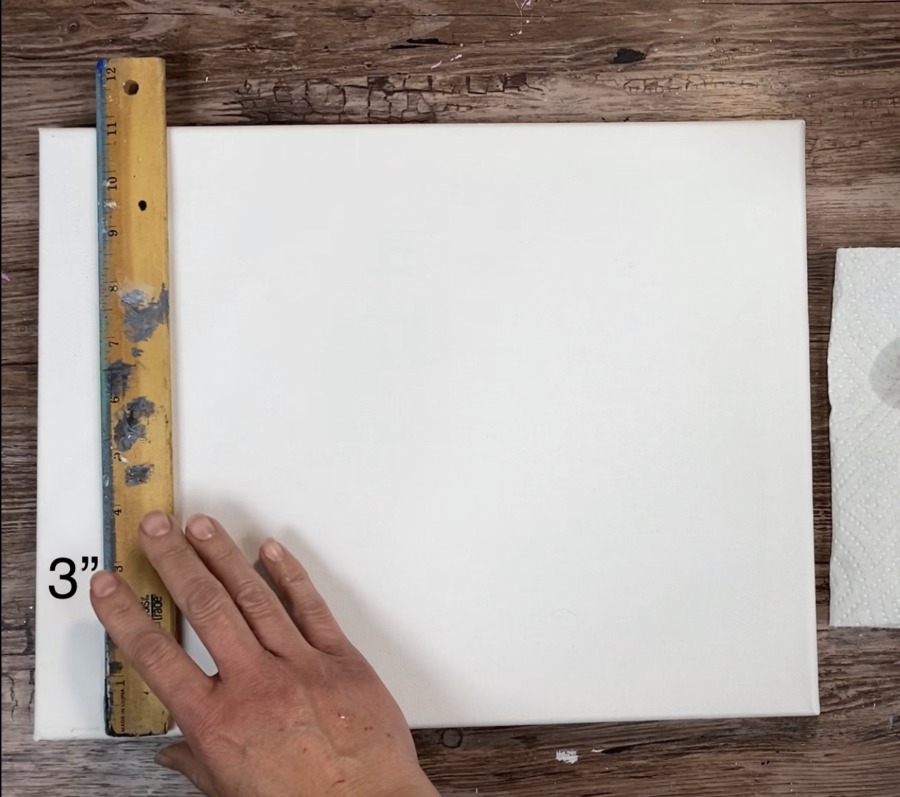
Then draw your horizon line. Using a t-square ruler helps it to be nice and horizontal.
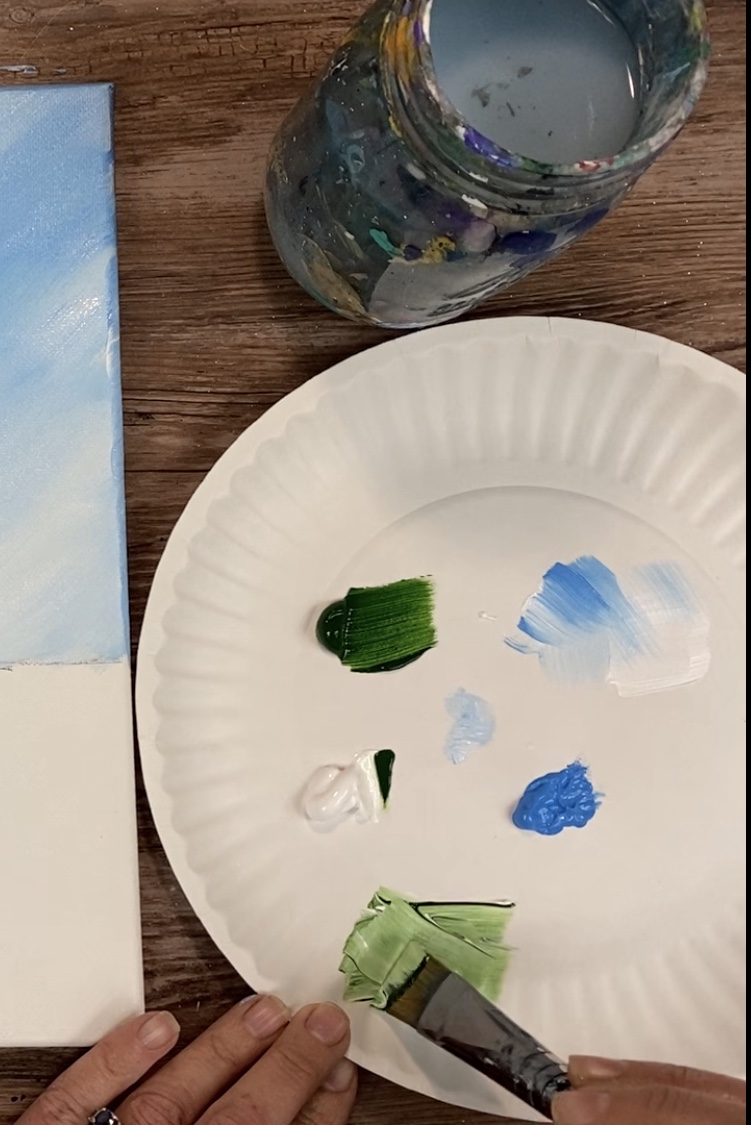
2. Paint The Sky
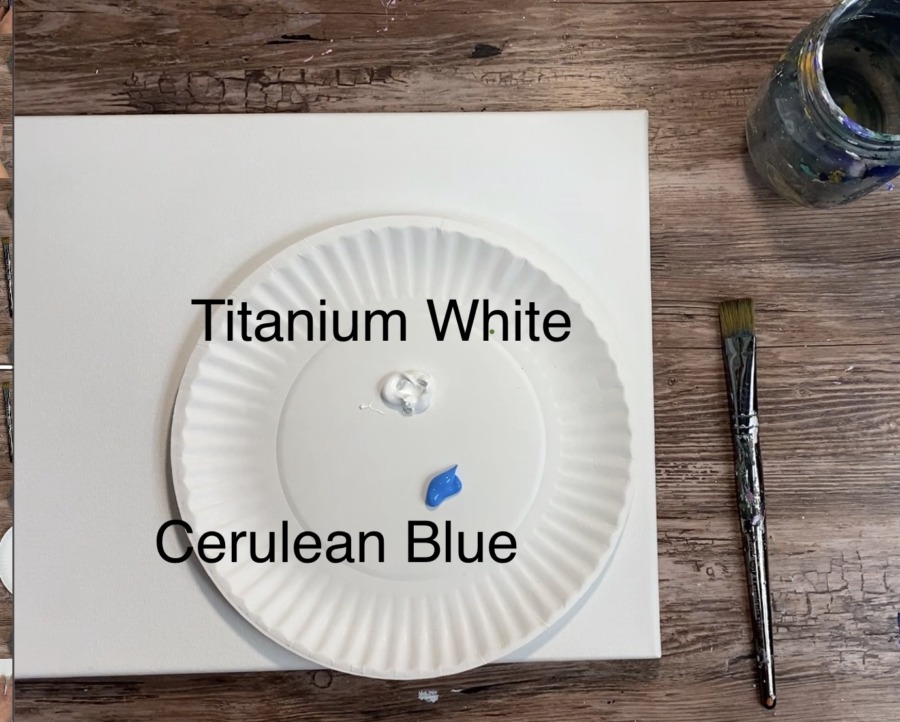
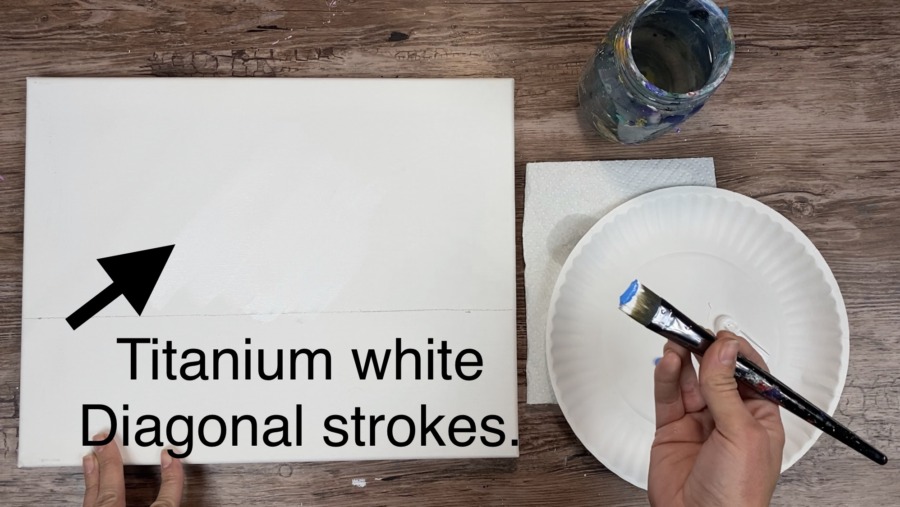
You will need titanium white and cerulean blue as well as your 3/4” wash brush.
First add some diagonal strokes to the middle lower area of the sky.
Then load your brush in some cerulean blue hue without rinsing the whit off.
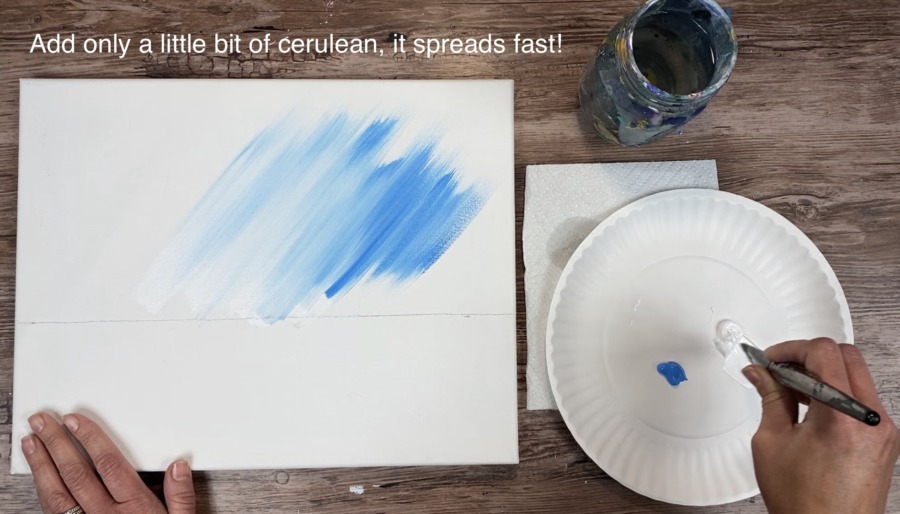
Continue to paint the sky using diagonal strokes. Allow the white and blue to blend together to make a slight blue.

Use mostly white to create this effect. The cerulean is a strong color and spreads fast, so you only need a little bit.
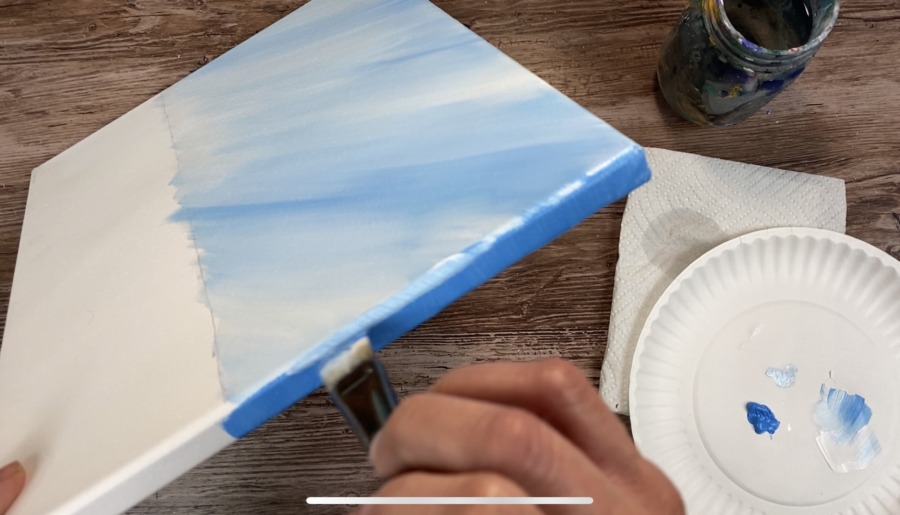
Try to make your sky “unblended” so the white and blue do to completely blend to one color.
Paint the sides of your canvas too!
3. Paint The Green Ground
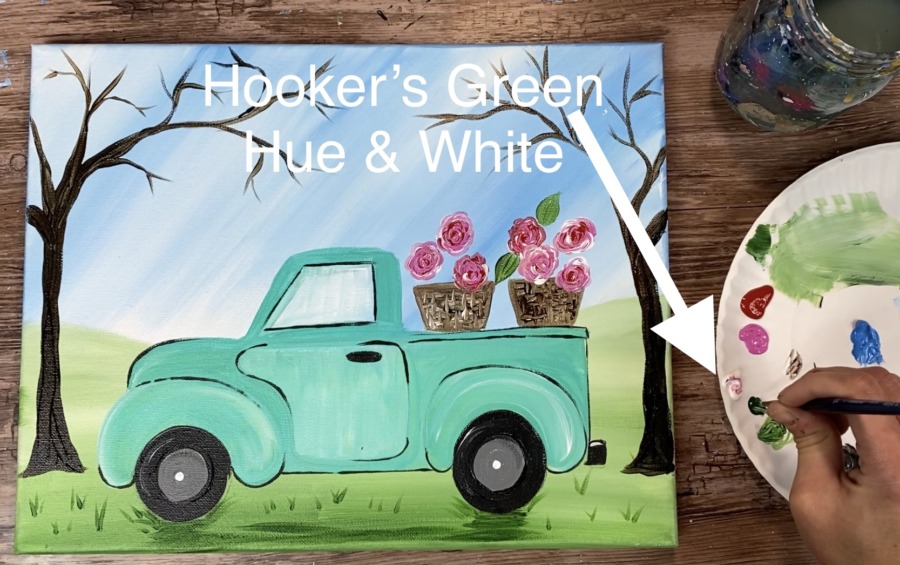
For the ground, I used the colors Hookers Green Hue Permanent and Titanium white. I also used my 3/4 Wash Brush (rinsed off and dried).

Mix the green and white together to get a medium tint of green (about equal amounts 1:1)
Then start at the bottom of the canvas and paint the green ground.
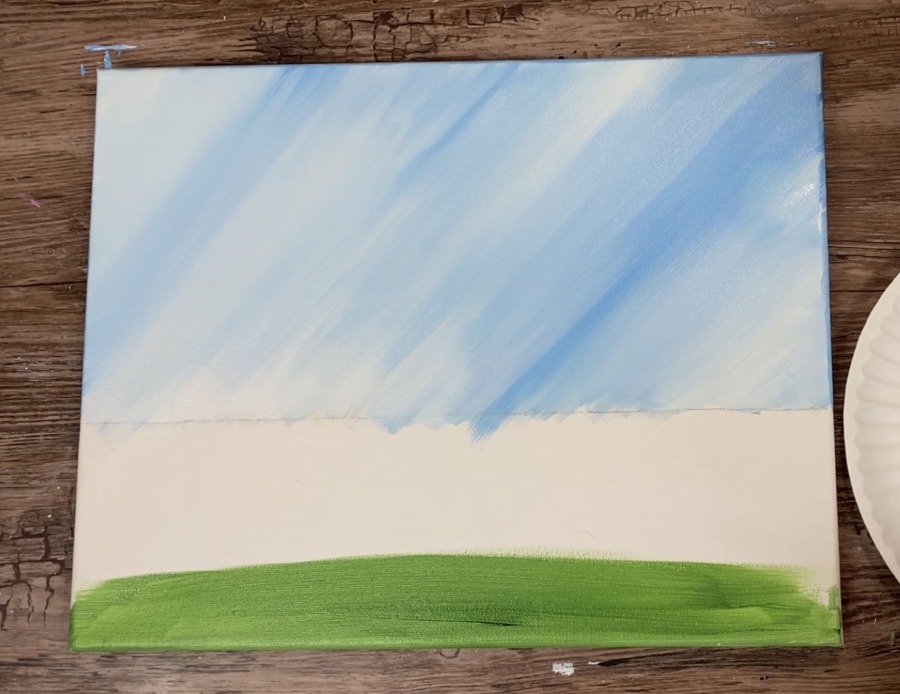
Then paint upwards towards the horizon line, adding more white to the green so the color gets lighter.
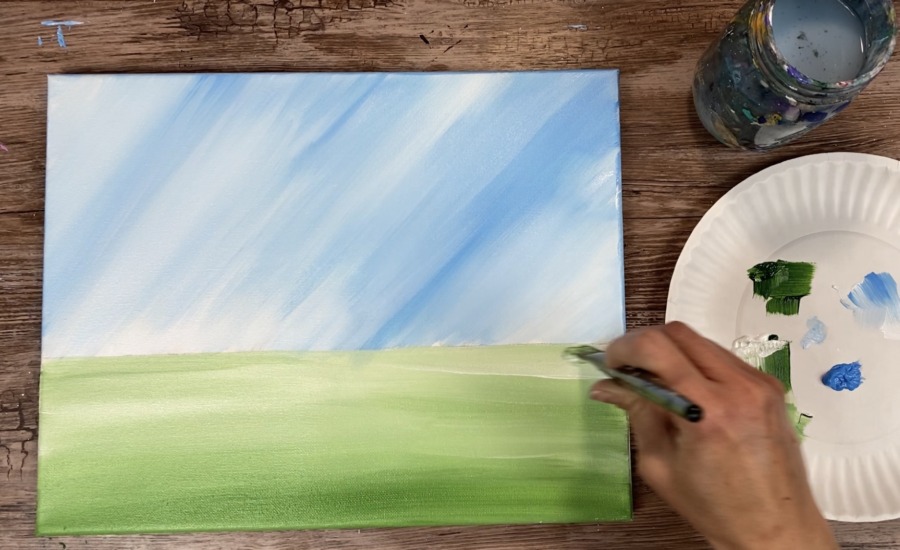
Ideally it should be darker at the bottom and lighter at the top. However, you don’t have to perfectly blend the colors.
Then paint some hills above the horizon line so the horizontal line looks more like an un-even lumpy line.

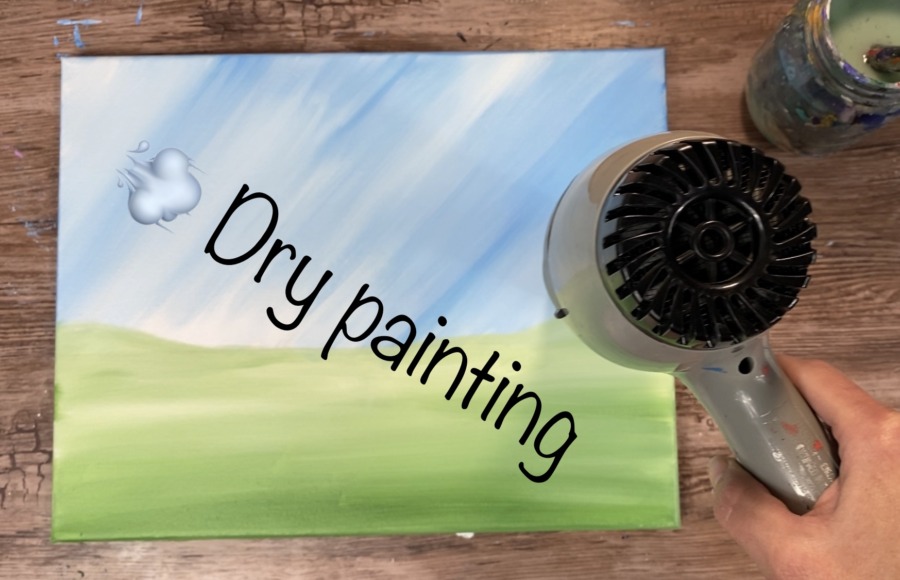
4. Dry Your Painting
Use a hair dryer or take a break and let your painting dry completely.
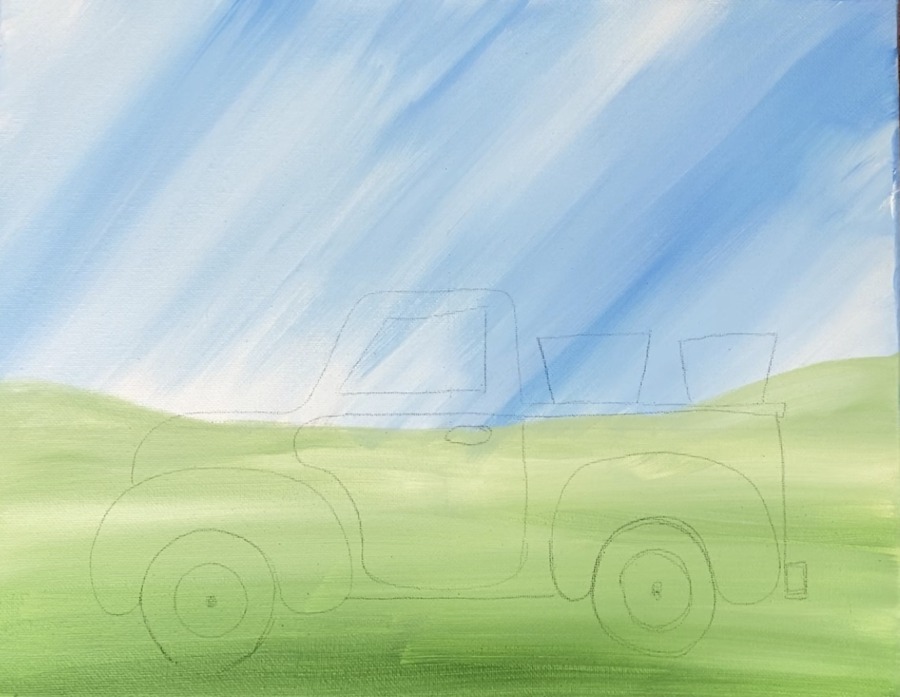
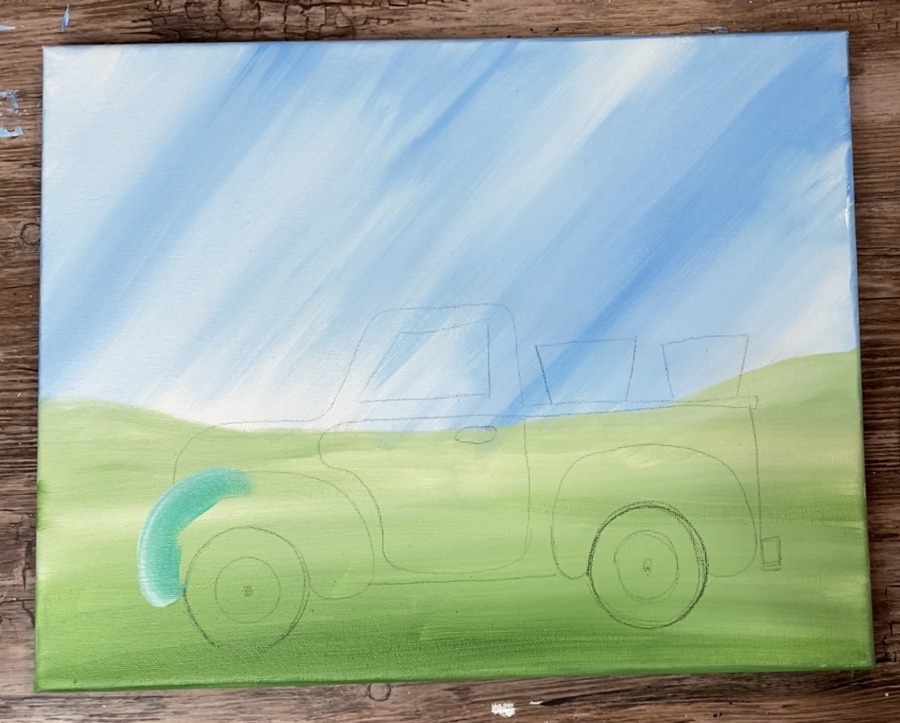
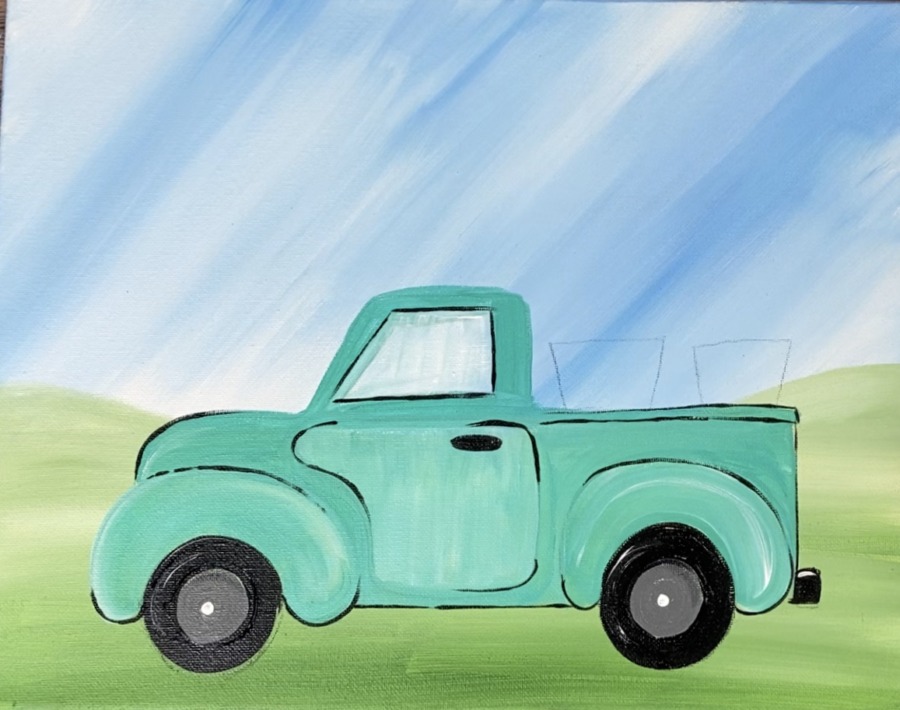
5. Transfer Or Draw The Truck
Next you will need to either hand draw the truck with pencil or use my traceable and transfer paper.
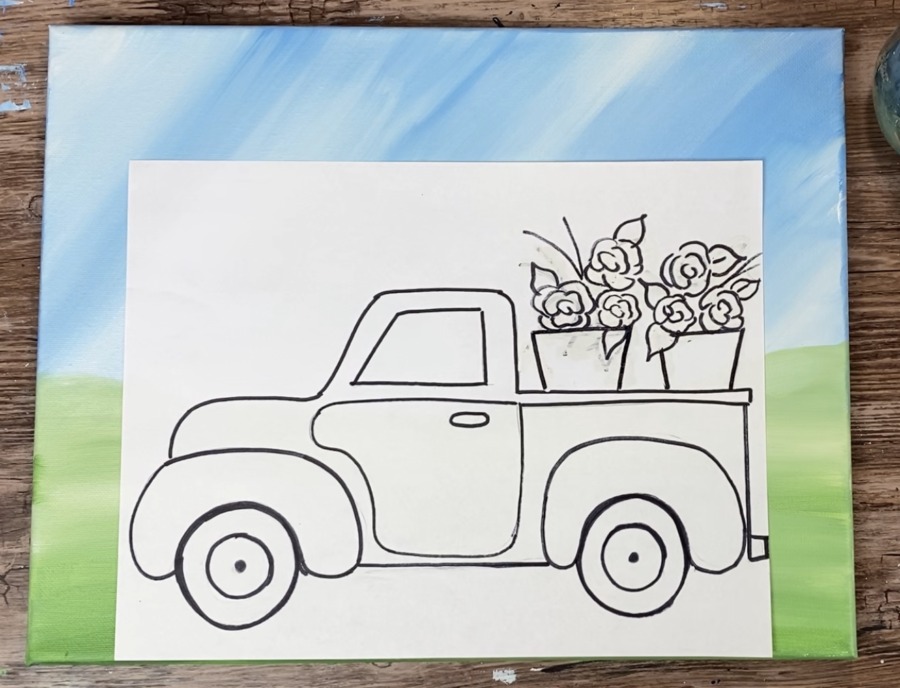
Place the truck traceable on the bottom of the canvas so the edges of the paper line up with the bottom of the canvas.

Note: I did NOT draw the roses. However, you may do so if it is helpful! My technique I will show you later does not require you to draw the roses.
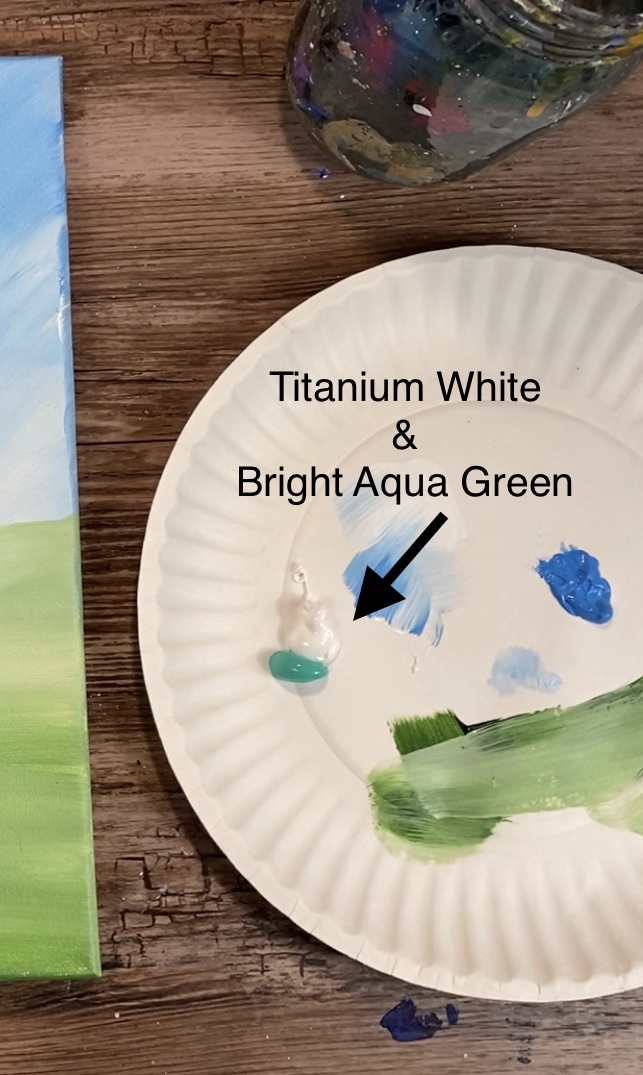
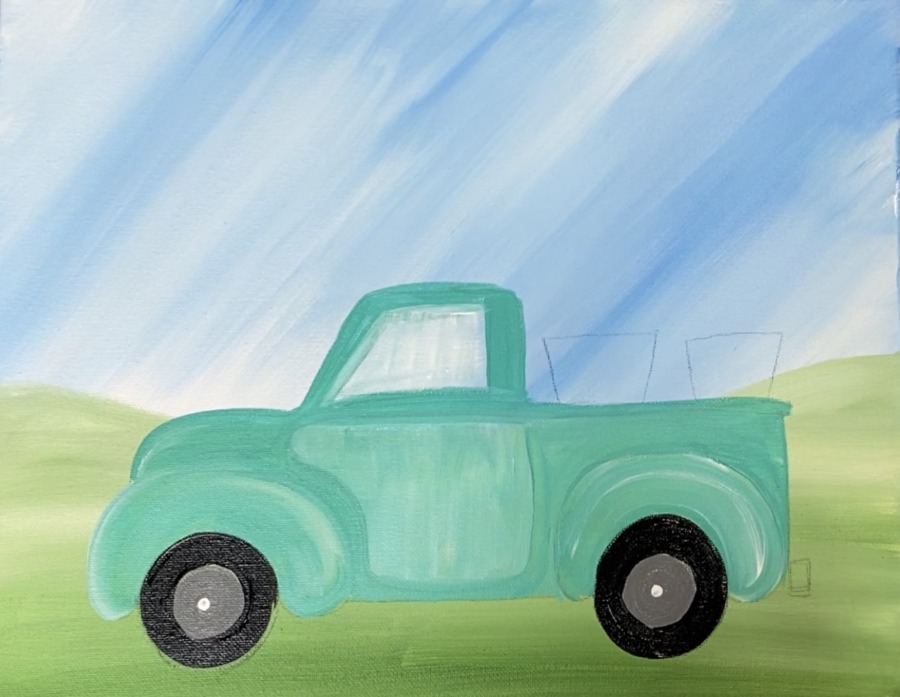
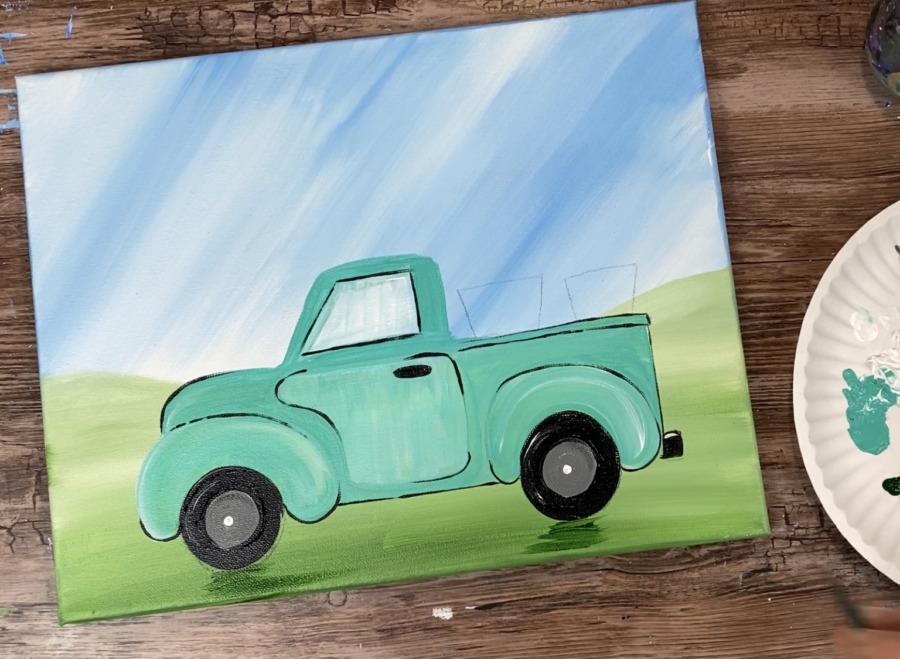
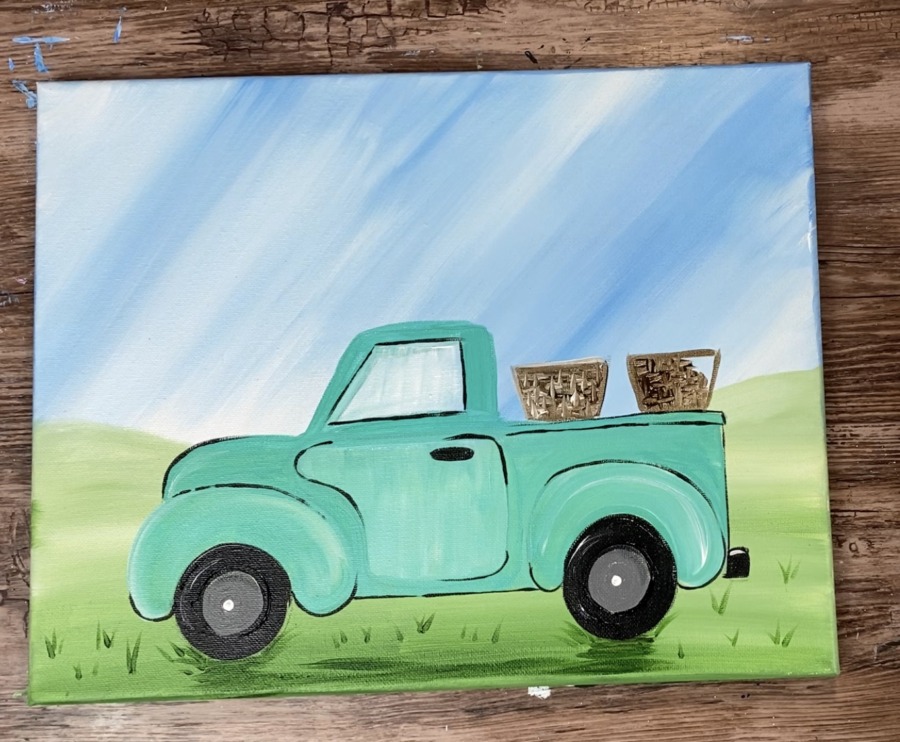
6. Paint The Body Of The Truck
For the body of the truck I used bright aqua green, titanium white and a 12 bright brush.
When you load your 12 flat, dip it in the aqua and dip the corner in some titanium white.
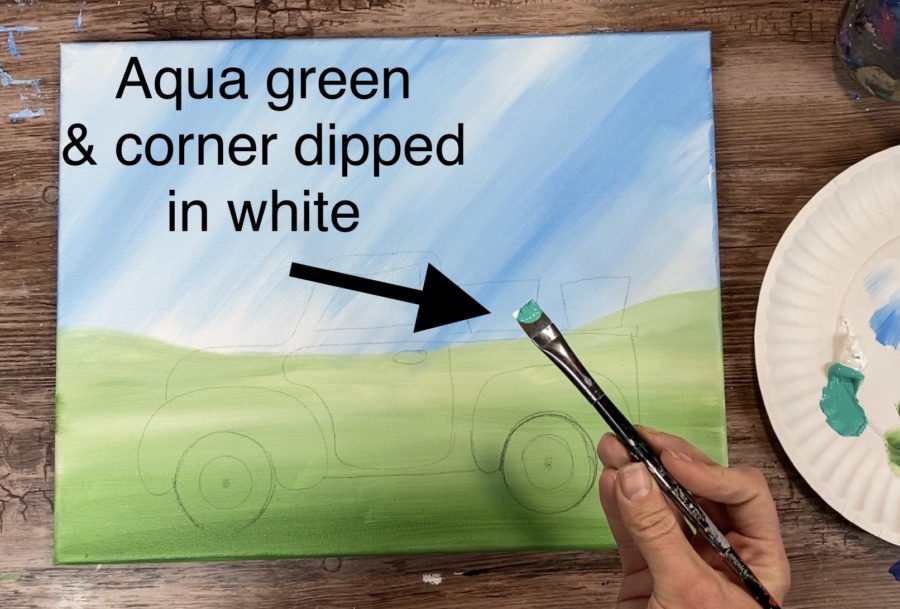
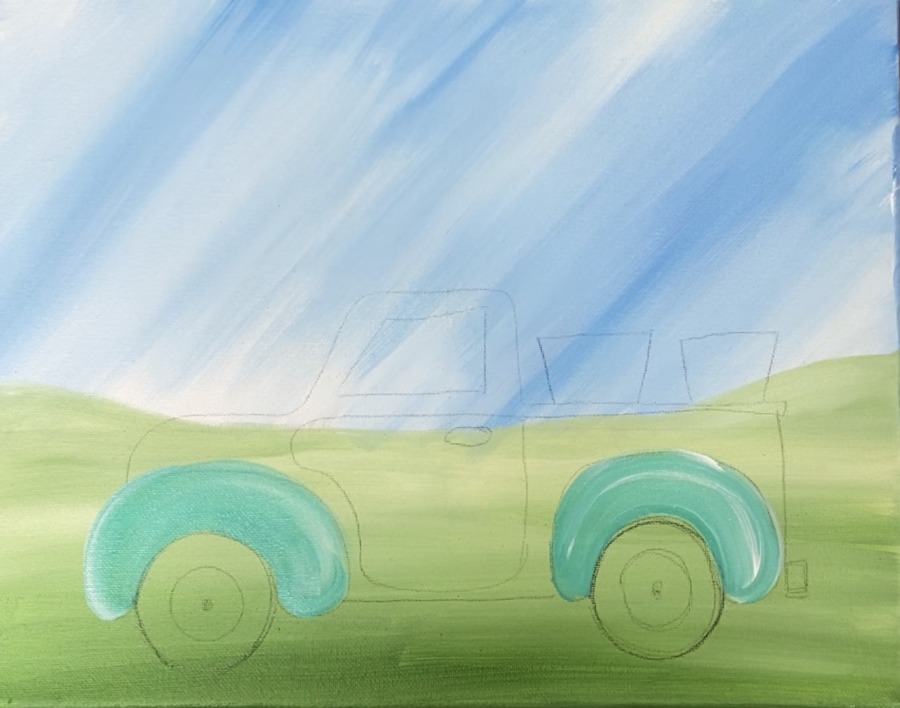
Start by painting the fenders of the truck. Allow the white and aqua to mix on the canvas.
When you go to reload, do so with the aqua and the corner in the white. Let the colors blend to create a nice light aqua color with streaks of white.

Be careful not to over blend as it will all turn the same color.
Next paint the rest of the body. To create “contrast” I just used aqua and no white (but I did not rinse my brush off).
There was still a little white on my brush so there were some streaks of white.
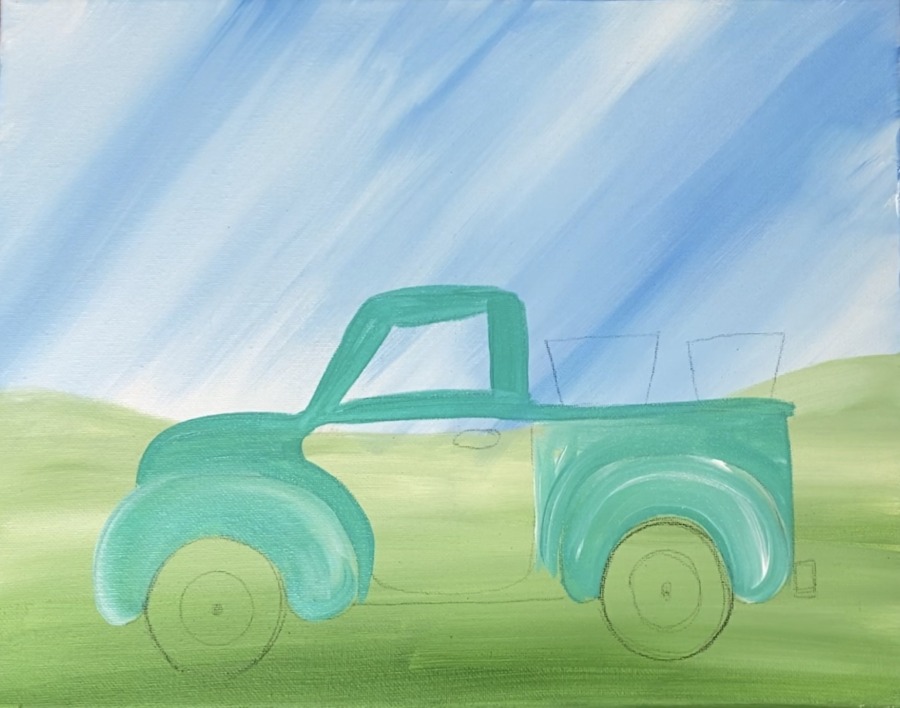
When you paint the body of the truck, do so with contouring strokes. The direction of the strokes go in the direction of the shape of the truck.

To do the door, I used a little more white added to the brush as well as the aqua. Paint up and down strokes for the door.
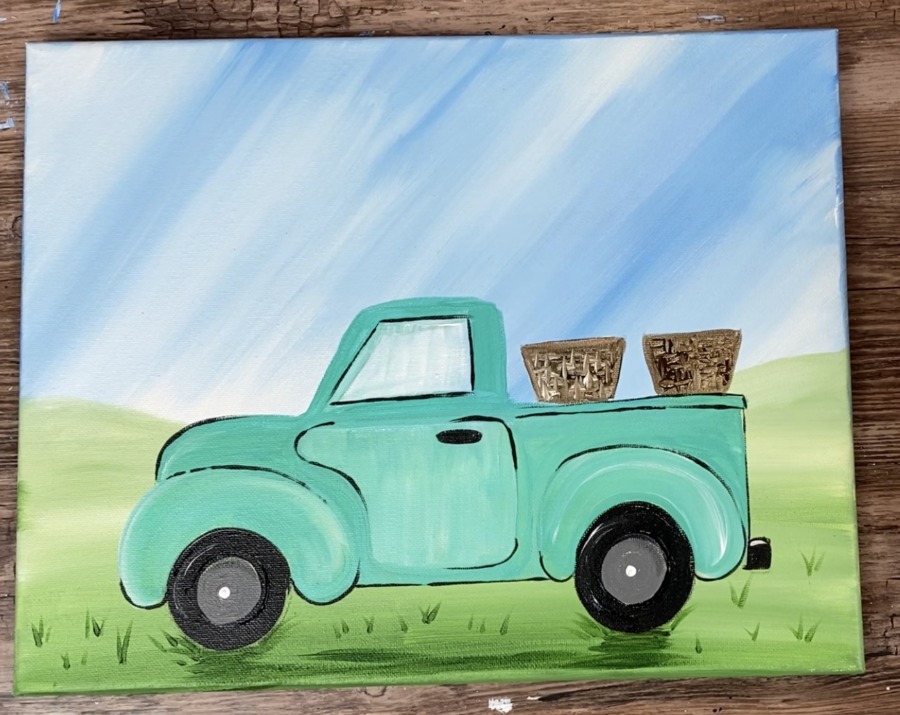
7. Paint The Window & Wheels
For the window, completely rinse your 12 bright brush and pat it dry. Then add some white. Paint up and down streaks of the white but keep it very light, almost dry brush-like so it’s see through.

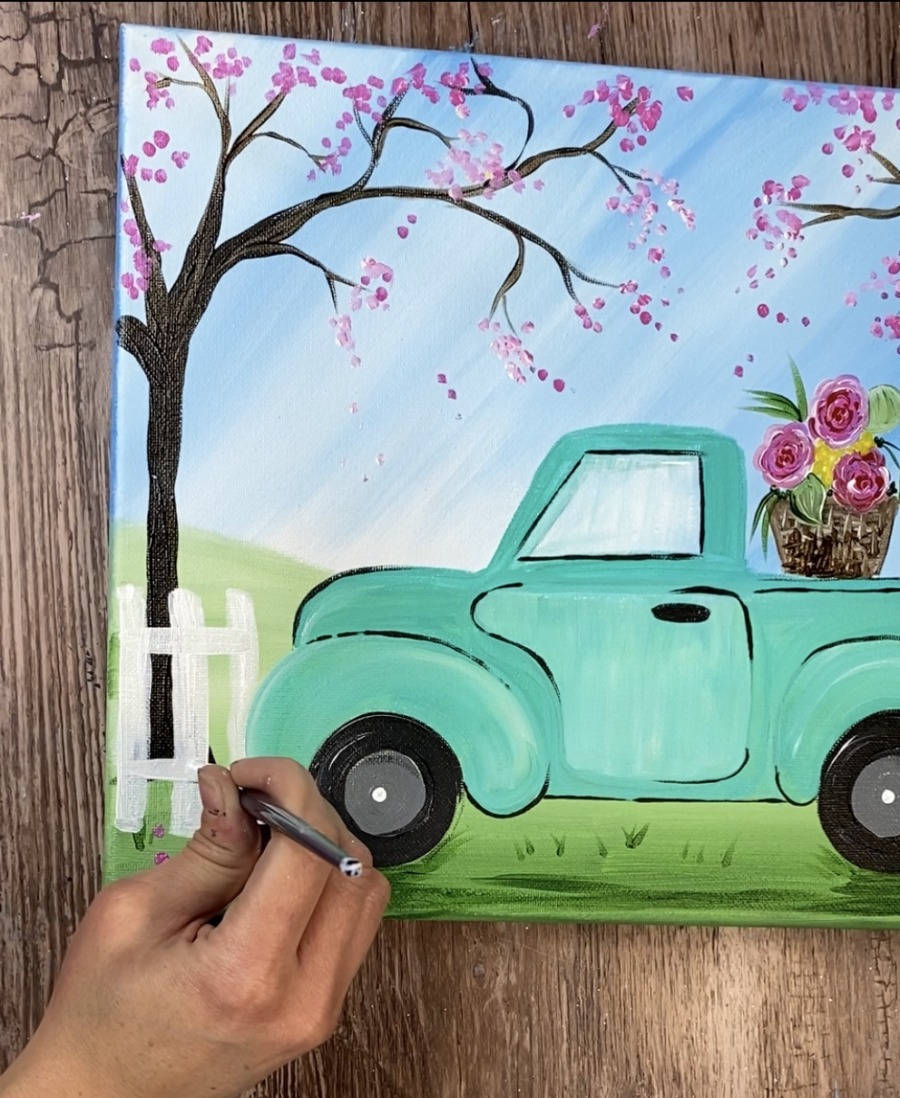
Then do the wheels. You will need your 4 round brush for this step! First I painted the inner part of the wheels.
Mix white and black on your palette to make a gray.
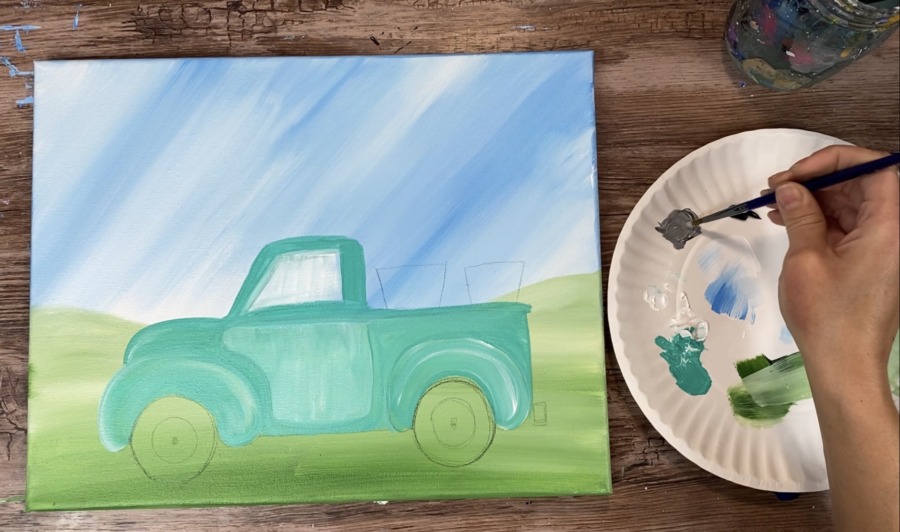

Then I did the outer part of the tires with mars black.

For that white dot in the center, use the back of your paint brush handle to stamp white dots.
Then, if you want, you can add a subtle white highlight on the black area of the tires. It’s so light you can hardly notice! But I did a white streak on the left side of the circles.

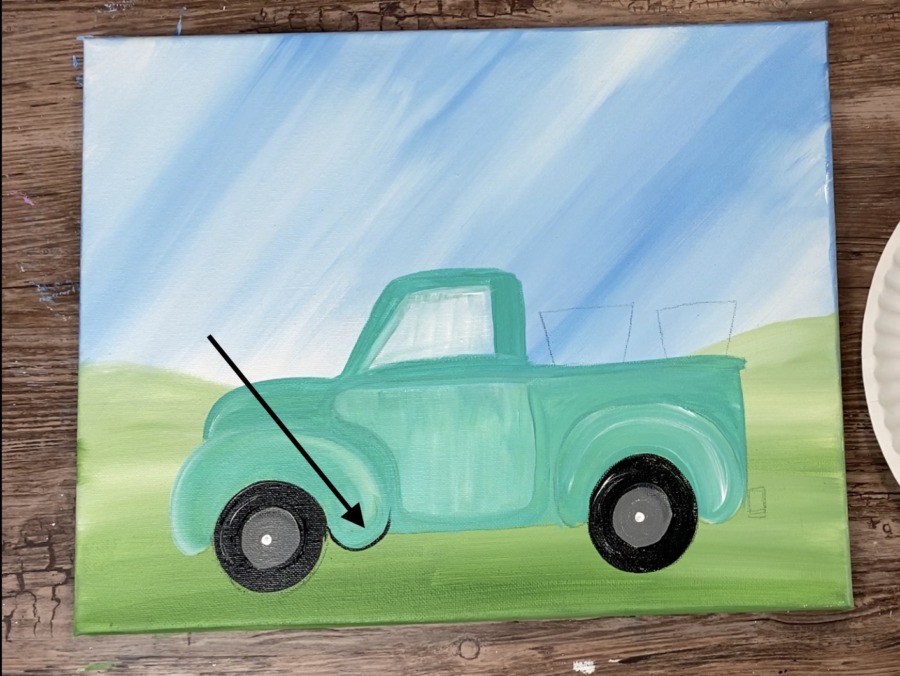
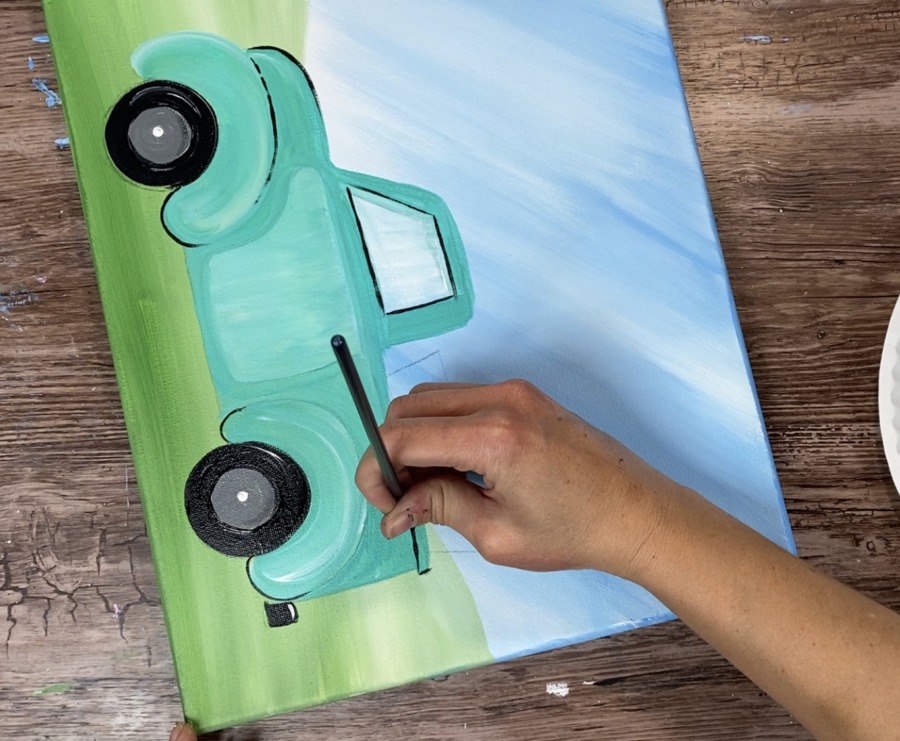
8. Loosely Outline The Truck
You will need a good tiny detail round brush for this step! I used one of my 5/0 rounds.
Loosely outline some areas of the truck with mars black. This gets the truck to “pop” a little.
Start with the bottom curves of the fenders.
Then outline the inner part of the window.
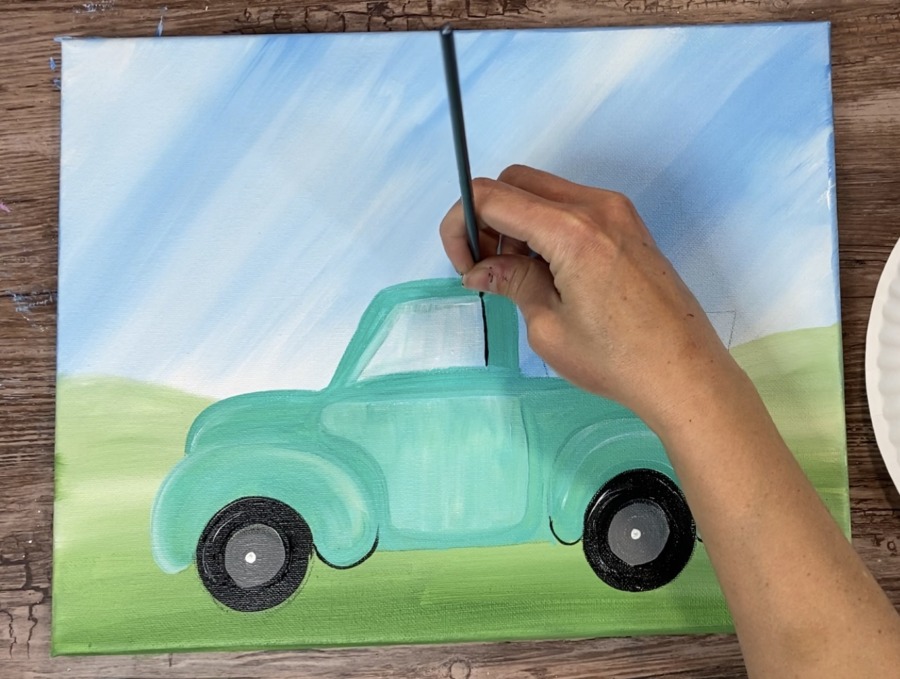
Paint the exhaust and outline the truck bed top rectangular area.
Outline parts of the door, the front of the hood and a little at the top of the fenders.
Note: when you loosely outline something, you are outlining very lightly and not all of the shape. Hold the brush very loosely.
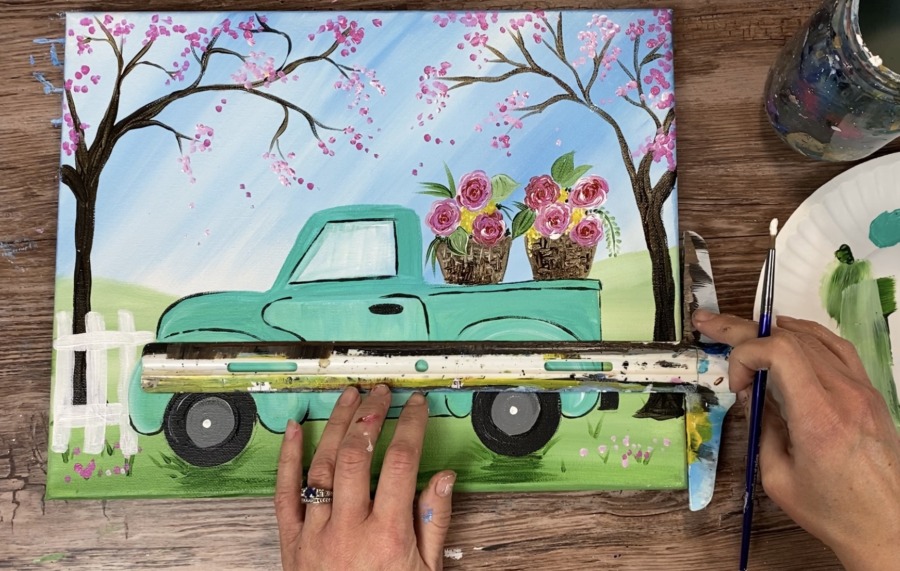
9. Paint some shadow and grass lines
To do the shadowy area under the tires, I used a 12 bright and hookers green hue permanent (not mixed in white). Paint a little blob under the tires using left and right strokes.
Then paint a line area at the bottom of the canvas.

For The little grass lines, use a 4 round brush and the green. Paint little vertical or horizontal clusters of lines everywhere.
10. Paint The Baskets
For the baskets, I used the color burnt umber and white as well as the 4 round brush.
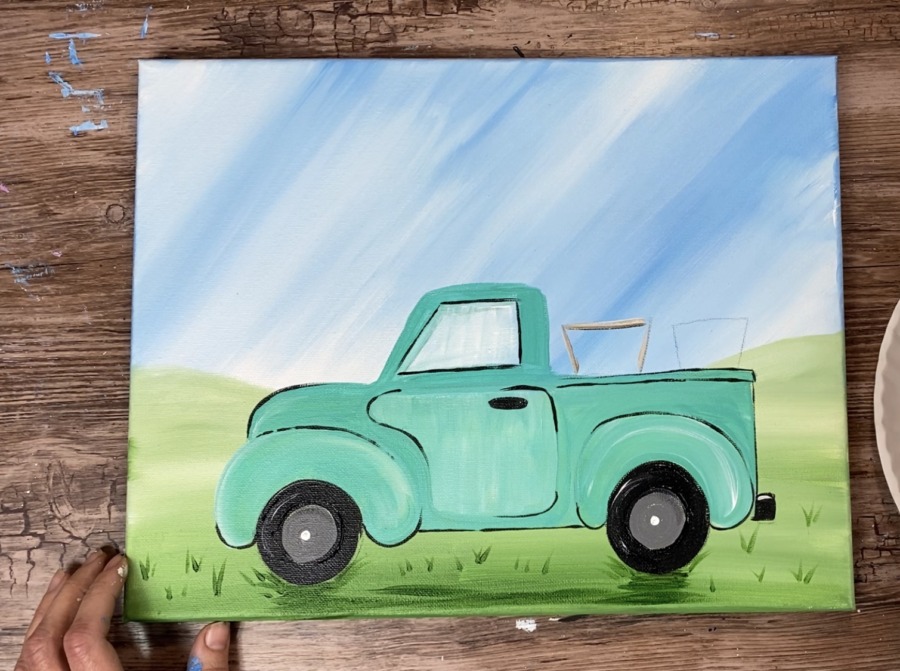
Double load your brush in the brown and the white. Then start by outlining the basket.
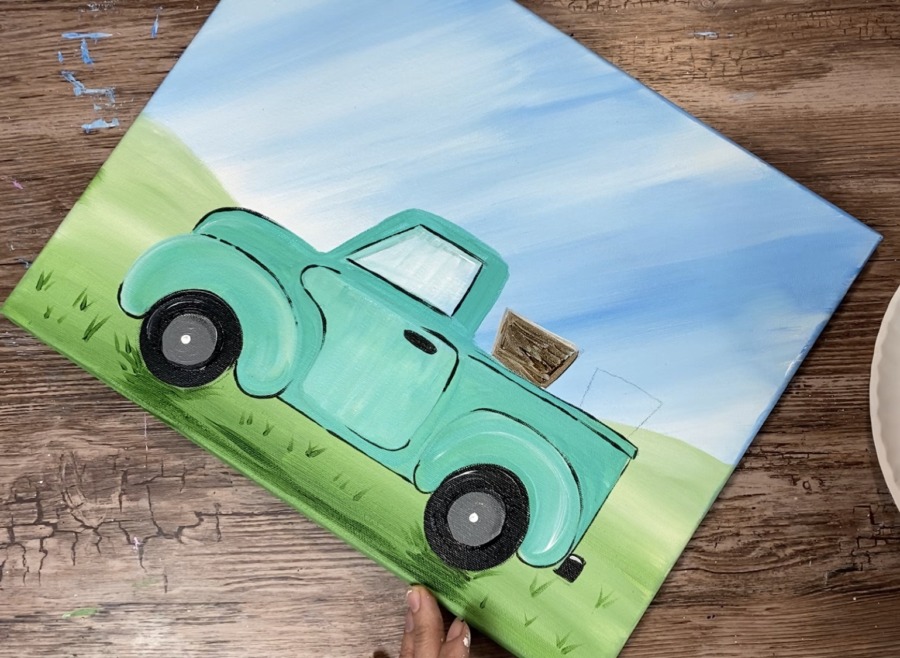
Then fill it in with horizontal strokes so the brown and white blend together.
To get the “texture” go back over the basket with “+” strokes. In other words, paint little plus marks everywhere and the brown and white will blend to make this texture.
11. Paint The Tree Trunks
For the tree trunks, I used a 4 round brush and the colors mars black mixed with burnt umber. When you load your brush, load it in about equal parts black and brown.

Start your trunk so the bottom is higher than the wheels, about at the lever of the bottom of the fenders.
Paint the trunk so that it is thick on the bottom and then gets thin at the top.
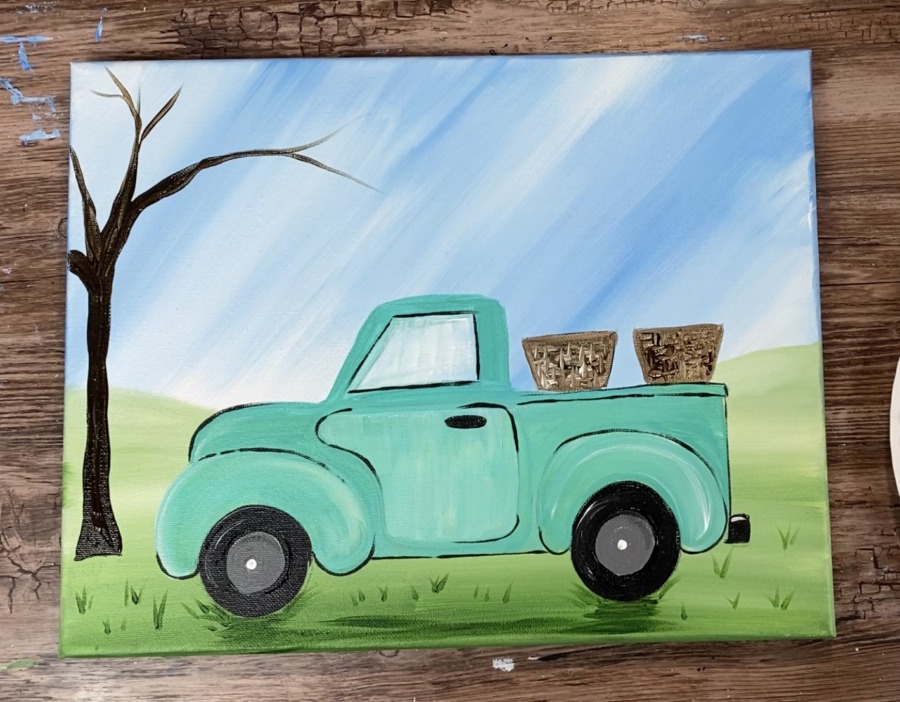
Split your branches as you work your way up. I split mine 4 different directions.

Then paint smaller branches that stem out into “Y”s. Tip: to get thinner strokes, release pressure from your brush so the stroke of the smaller branches get thinner.
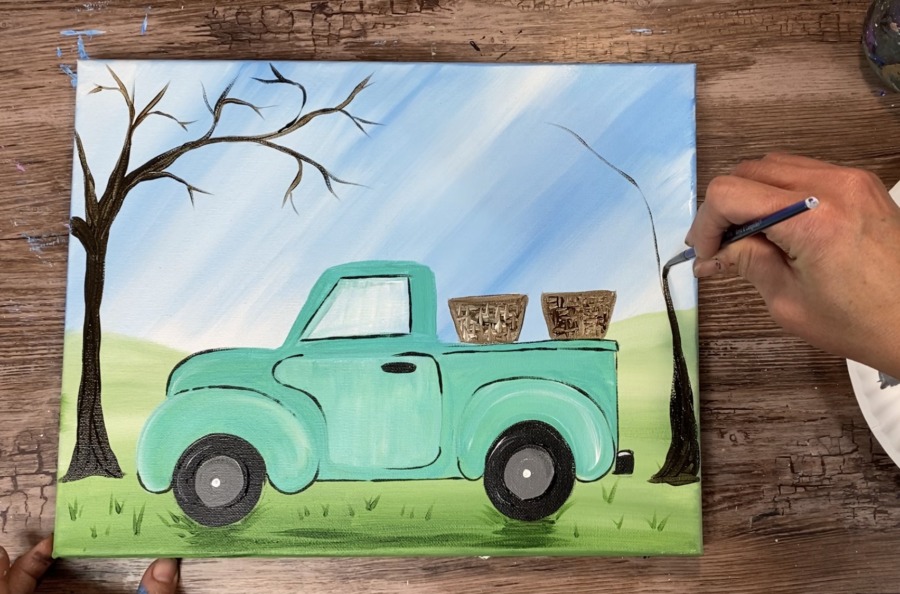
Then paint another tree of the same level and height on the right.
Note: the height of these tree branches go all the way to the top of the canvas. The branches are long and almost meet in the middle with both of the trees.

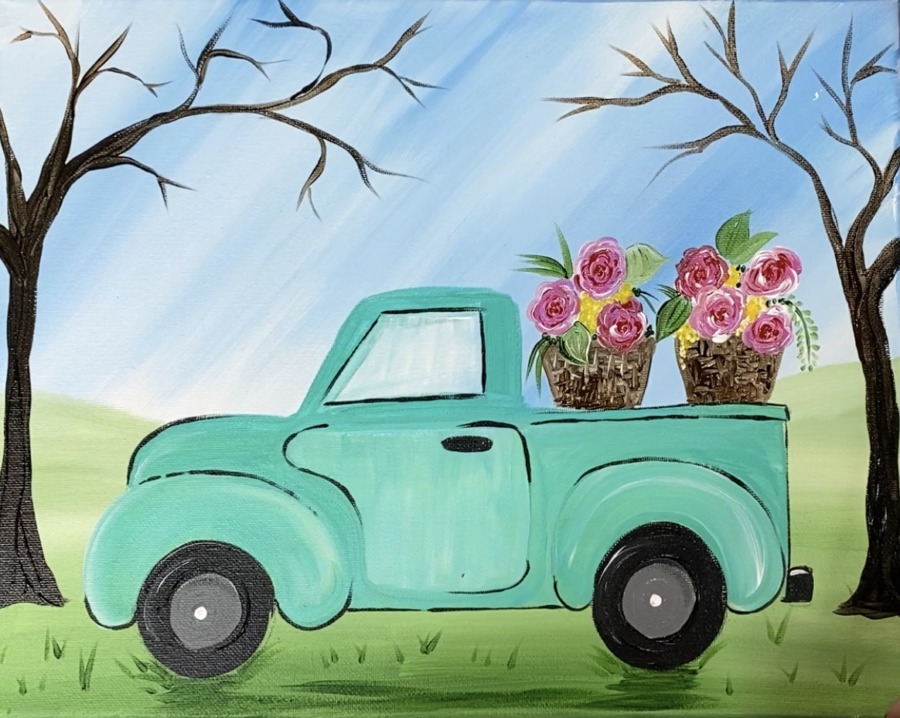
12. Paint the flowers
To do the flowers, use your 4 round brush and the colors: medium magenta, cadmium red deep hue and titanium white.
Start by painting small pink circles. Some are floating above the basket and some are overlapping the top edge of the basket.
Then use the red to paint small “c” strokes that form from the center outwards.

Tips: Do not rinse your brush as you are doing this. If you have excess paint, simply wipe it off. Also, use only the tip of your brush.

Then use titanium white to paint outer “C” strokes of the rose (the white will blend with the pink and red).

Do this with all the circles to form them into roses.

To do the leaves, completely rinse your 4 round brush. Then use Hooker’s Green Hue and titanium white. Double load your brush in green and white to paint leaves.
Use varying amounts of white and green to get different tints of green leaves. Also, paint some stems hanging down.

To do some “fillers” in the basket, use cadmium yellow medium and paint little bunches of dots in between the roses.

Tip: Keep the flowers abstract and don’t fret about them being realistic.
13. Paint the tree blossoms
Use your 4 round brush and double load in medium magenta and titanium white. Paint little clusters of dots on the branches.
Use the tip of your round brush to “stipple” these clusters of dots. Dip in varying amounts of magenta and white to get varied amounts of darks and lights.

You can stop at this point if you like! Or go to the next step to learn how to do the picket fence!
14. Paint the picket fence (optional)
The picket fence is a little tricky. You may want to use your t-square ruler to lightly draw the vertical and horizontal lines out first.
I decided to wing it instead of draw the fence first!
I used my 4 round brush and titanium white. On the left, I painted three vertical posts. Keep in mind this fence is behind the truck so the bottom of the posts should be higher than the bottom of the wheels.

Then paint two horizontal lines, one at the top and one at the bottom.
The t-square ruler helps to line up the horizontal part of the post since it is going behind the truck.
Repeat the picket fence on the right with three more posts and the horizontal beams.
Then add some black outlining on the horizontal beams with a 5/0 round brush and mars black.
Lastly, I did some more little blossoms on the ground in front of the picket fence and added some more hookers green grass blades.
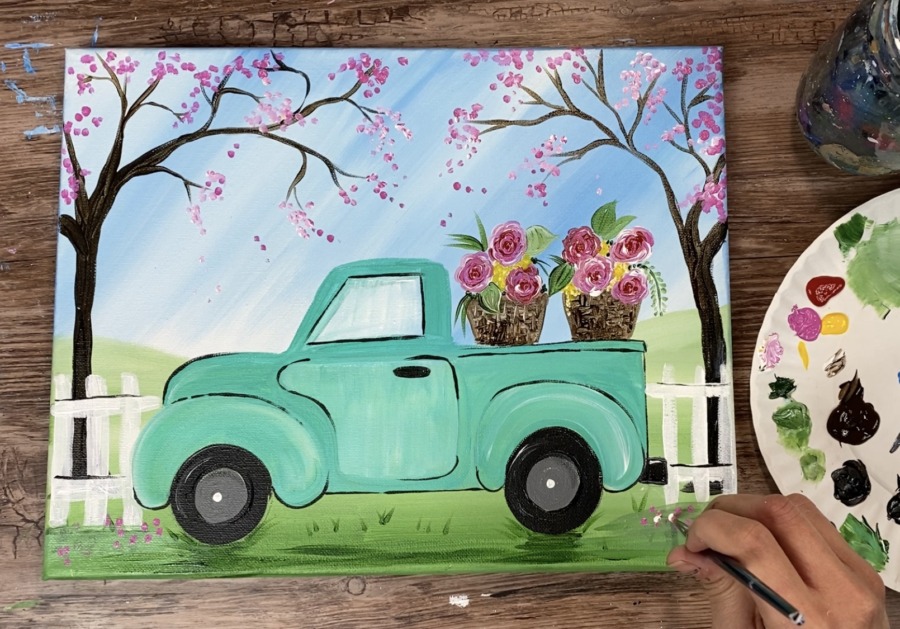
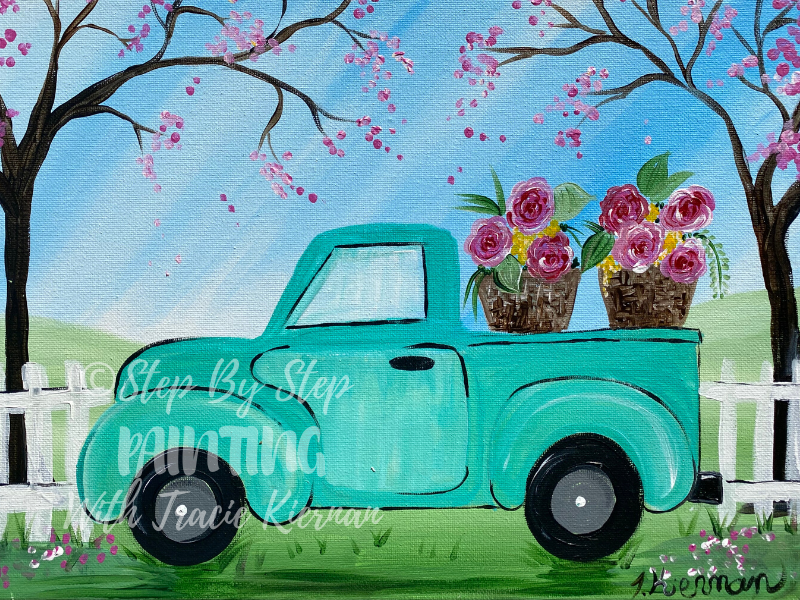
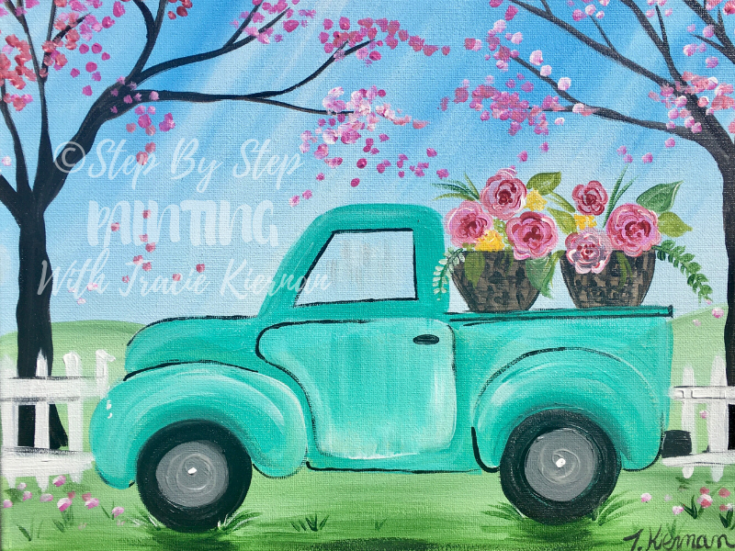
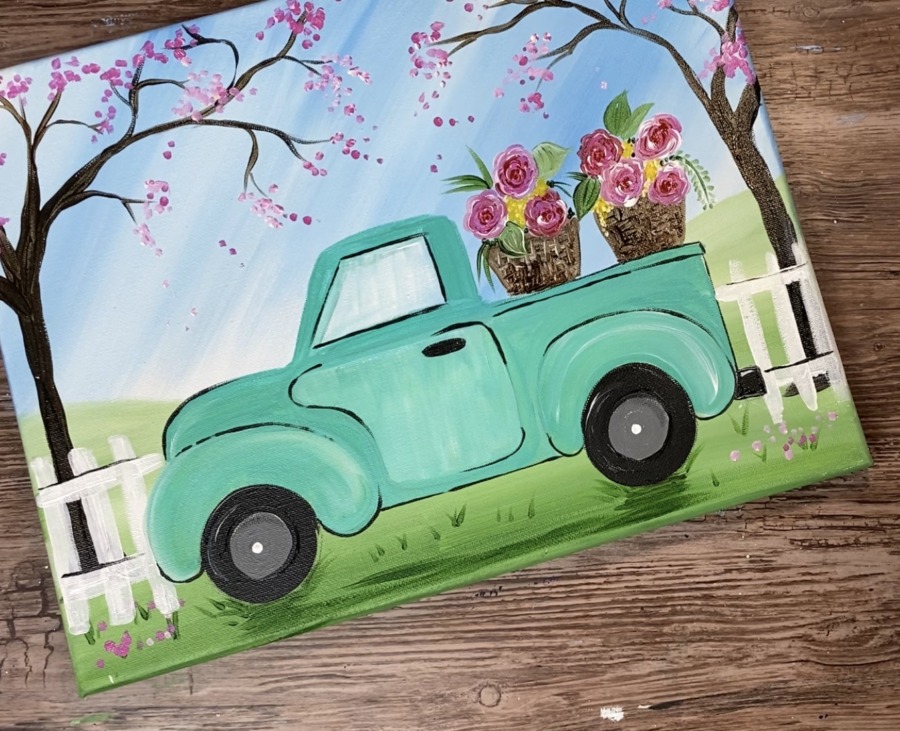
Finished
Hi Tracie!!
I’m so in love with this painting!? I have painted all of your trucks so far, and they all make me happy everytime I look at them. Thank you so very much for all your hard work in bringing us these tutorials. I really appreciate your time spent on teaching us newbies to paint! I do have one question though. In the beginning of the video you say to mark the horizon at 4″, but in the step by step directions, you say to draw the horizon at 3″. Does it matter which one we go by if we stick to the type of tutorial (meaning video or written)? I just didn’t want to mess up the very first step!?♀️
I wanted you to know that you are not only a great teacher, but a perfect counselor (at least to me?)also!! I have discovered that painting something non-stressful helps loads with my anxiety and depression. So, I hope that you know that you mean so much to so many people!
Thank you again!
Julie
Hi Julie! Thank you for this sweet message!
You are right, the directions and video say two different measurements. It should say 4”, not 3”.
And I’m so glad you enjoy the truck paintings and that painting is helping you! You are so very welcome!
Hey I love this one it’s beautiful!! I did it without the traceable and it actually wasn’t to hard!!keep the cool pics coming!!!!!!
Awesome Tabby! I will keep them coming ?
Thank you so much for taking the time to explain every step of this project in such detail. I have never painting anything worth keeping but with your instructions, did it twice and turned out beautifully. Would love to send you a photo. I did the truck only on a pumpkin with mums in the back!
So glad to hear this Tammy! You can email a picture to: hello@stepbysteppainting.net ?
I have just started trying my hand at painting and your tutorials are so easy to follow. I am about to start the spring truck which will be my 3rd one since Christmas Eve! Thank you so much!