
How To Paint An Eiffel Tower – Gray Background With Pops of Red Trees
Would you like to save this?
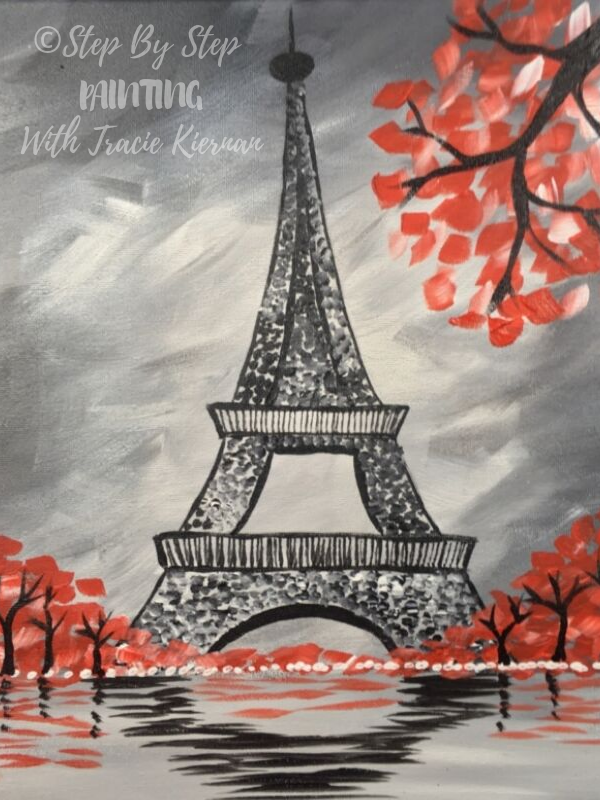
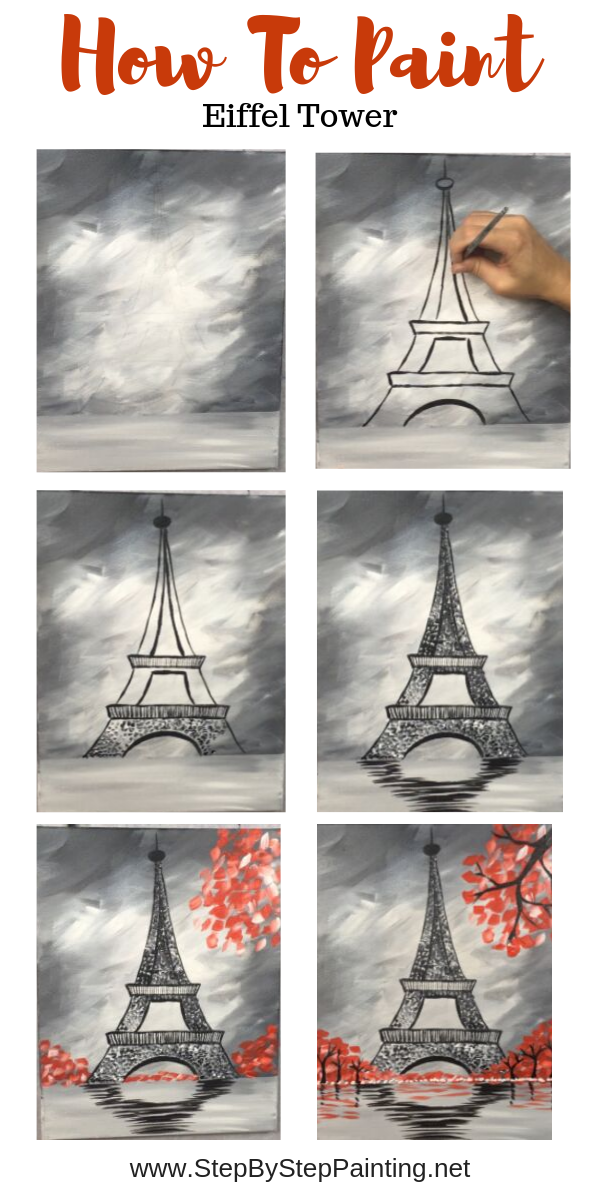
This acrylic painting of the Eiffel Tower was done using only three paint colors! Learn how to paint a very easy Eiffel Tower painting with acrylics on an 11″ x 14″ canvas.
I also created a simple traceable for you that you may use to trace the Eiffel Tower onto the canvas.
I just adore the look of gray and red together! It’s a beautiful color combo. Perhaps it is a rainy day in Paris with the reflection of the tower below.

Enjoy and happy painting!
Materials
How To Paint Eiffel Tower
Only three colors are needed to paint this gray Eiffel Tower with pops of red in the trees! This tutorial comes with a free printable for the Eiffel Tower so you won't have to draw it yourself. It's a simple design that provides stunning results!
Materials
- 11" x 14" Canvas
- Acrylic Paints
- Paint Brushes
- Traceable
- Graphite Paper
- T-Square Ruler (Optional but highly recommended)
Colors
Brushes
- 3/4" Flat
- #12 Bright
- #4 Round
Color Palette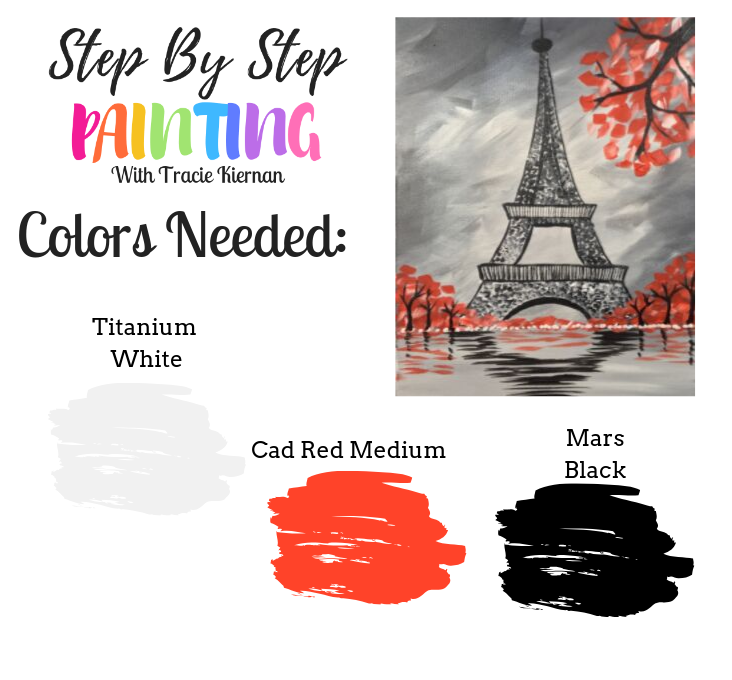

As stated before, there were only three colors used in this painting. The different shades of gray that you see were used by using different amounts of the black and the white. You’ll learn how to blend the gray on your canvas to create just the right contrast.
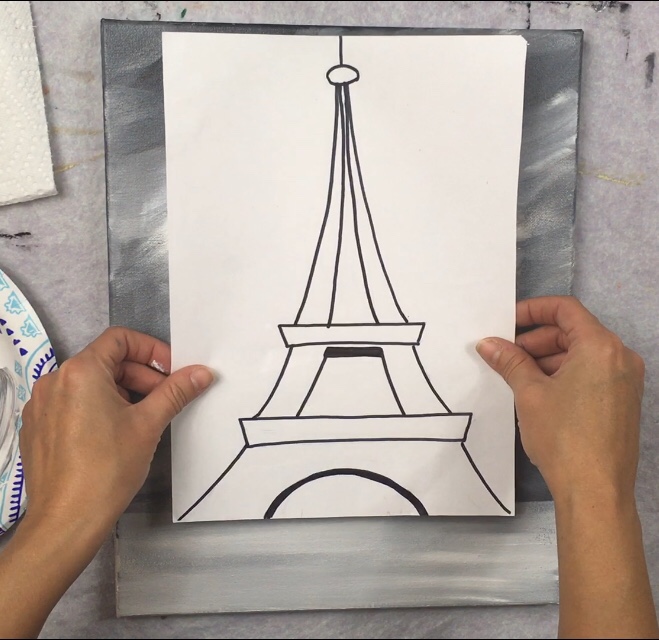
Traceable
Print this out on a standard size 8.5″ x 11″ sheet of paper. Go to the PDF library here for the printable. 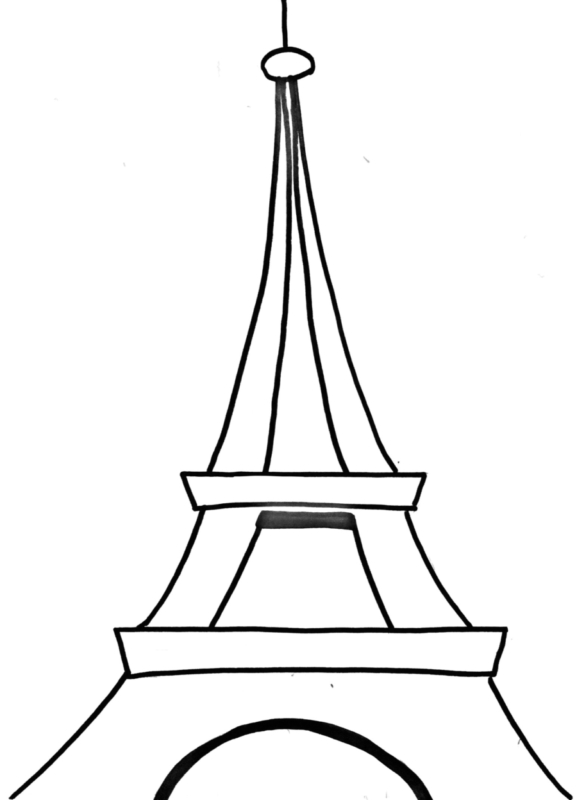
Directions At A Glance

Video
Step By Step Directions
1. Paint The Background
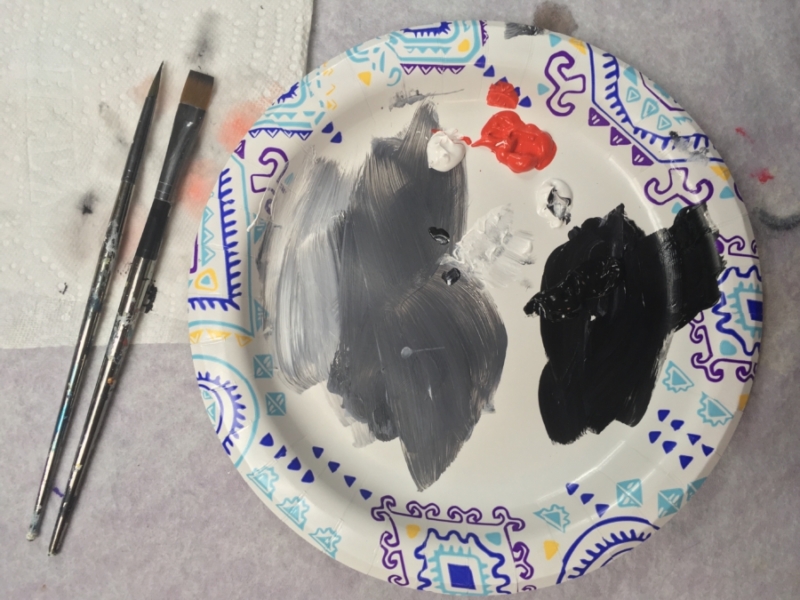
Get your supplies ready! You’ll need cadmium red medium, titanium white and mars black. You’ll also need a 3/4″ flat brush, a #12 flat/bright brush and a #4 round brush. 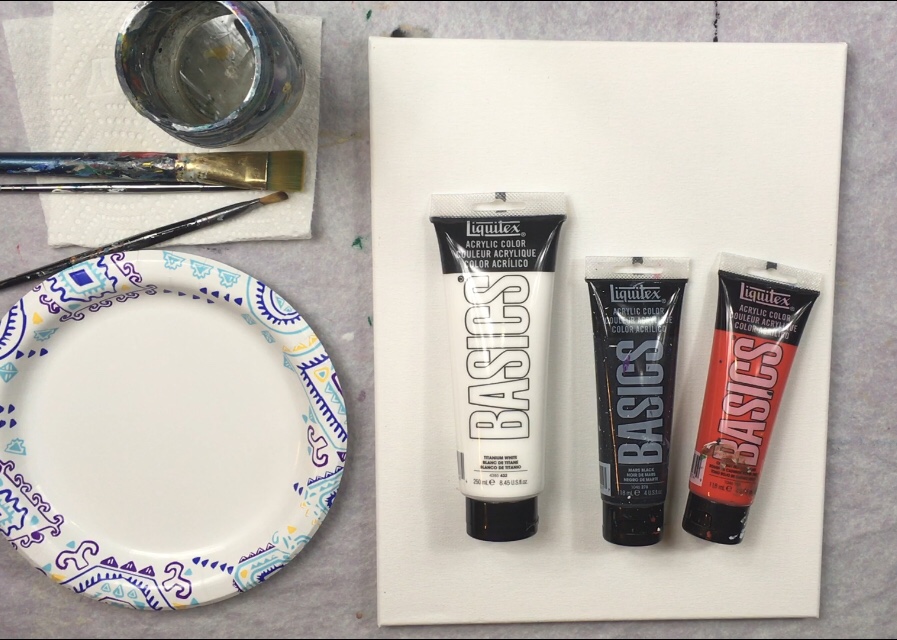
Start with titanium white and your 3/4″ flat brush. Paint a blob of pure white in the middle with “X style” or “flip flop” style strokes. In other words flip your brush from side to side to create expressive strokes. 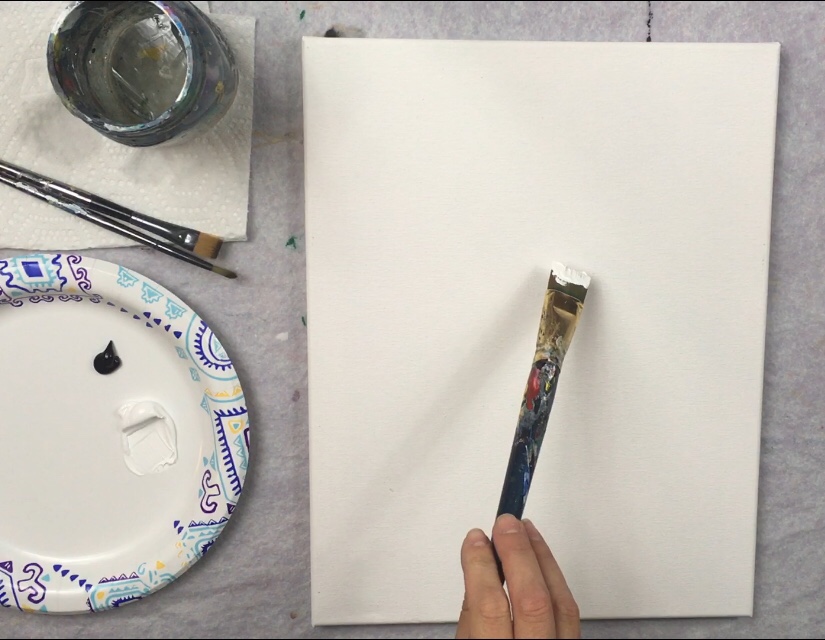
Before anything dries, load the corner of your brush in a little bit of mars black (don’t rinse that white off – double load this brush).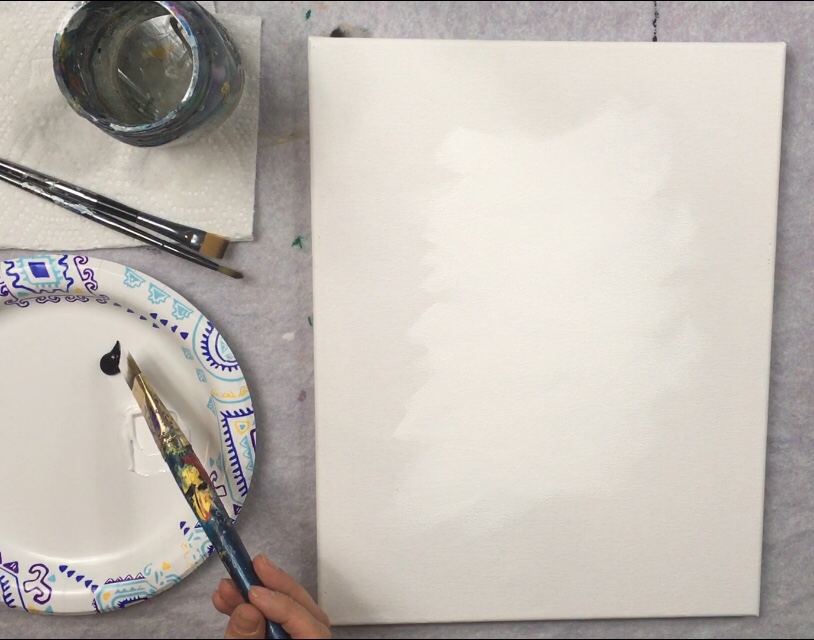
Do the same style of strokes. The bit of black will blend in with the white to create a gray. We want this background to be lightest in the middle and gradually get darker as it reaches the edges. 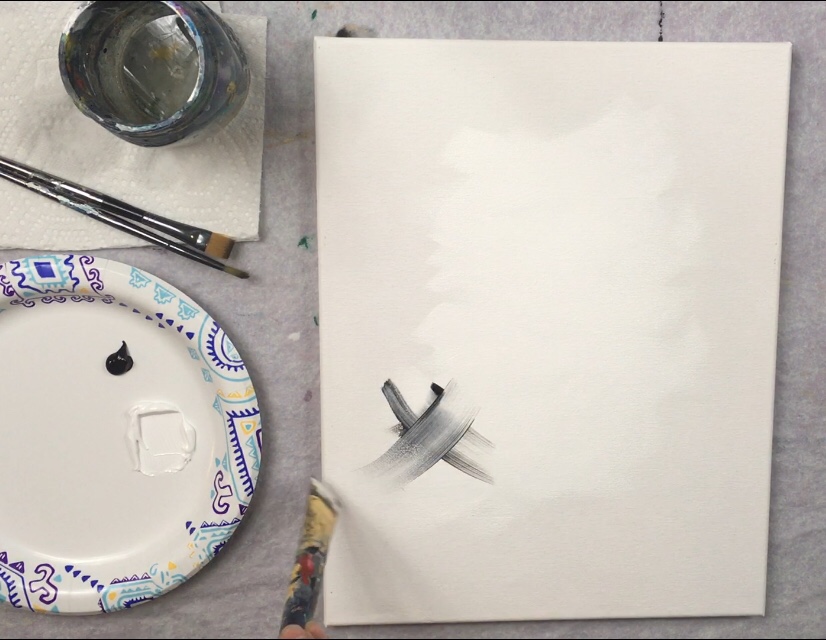
Continue to blend the black and the white to create a light gray. Keep the very center of the painting bright and white (don’t add too much black/gray to that area). 
The edges of the painting are darker gray. To achieve this, add a little more black to the brush. If it gets too dark, you can always add more white to your brush. Be careful not to get the center too dark. Continue to paint these expressive strokes until your canvas is filled (except for a gap on the bottom). 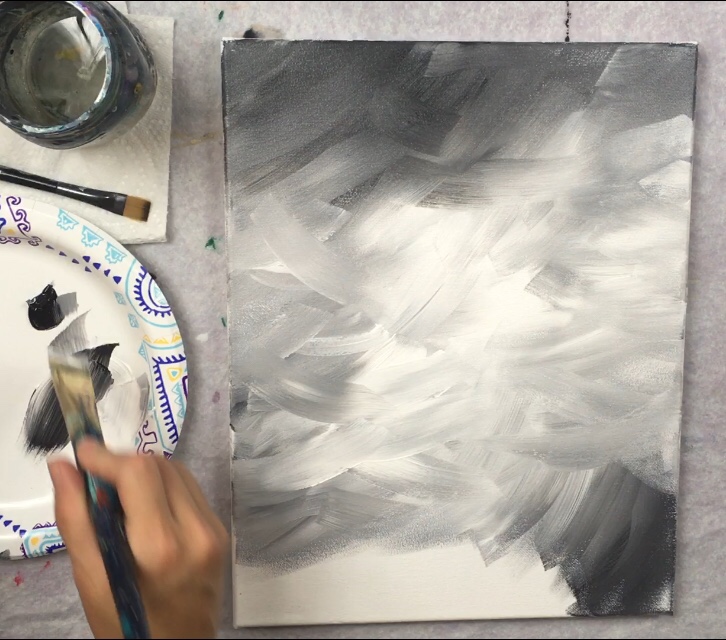
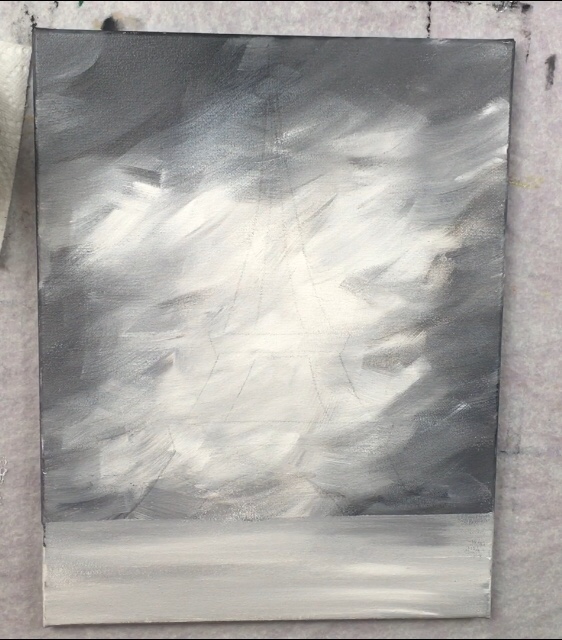
2. Paint The Ground
To do the ground, I first aligned my traceable to see where the bottom of the Eiffel Tower matches up. The bottom edge of the paper will be where your horizon line is. 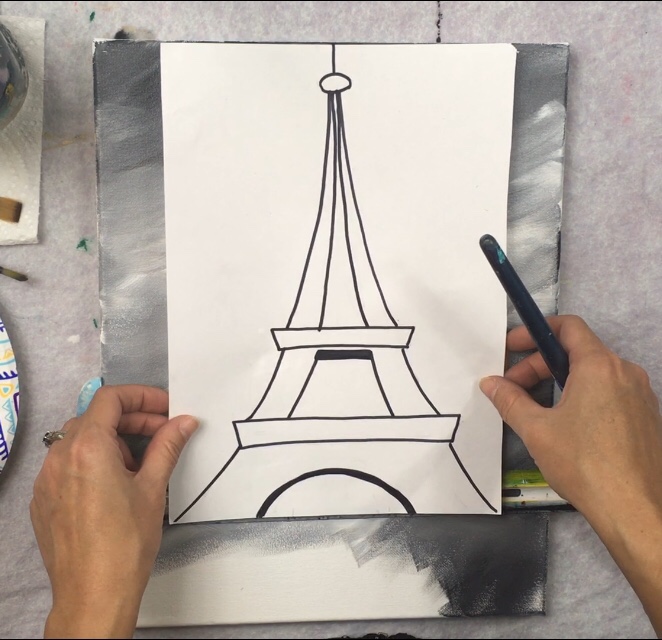
Then use a t-square ruler to lay over the horizon line and help you create a nice straight line when painting. 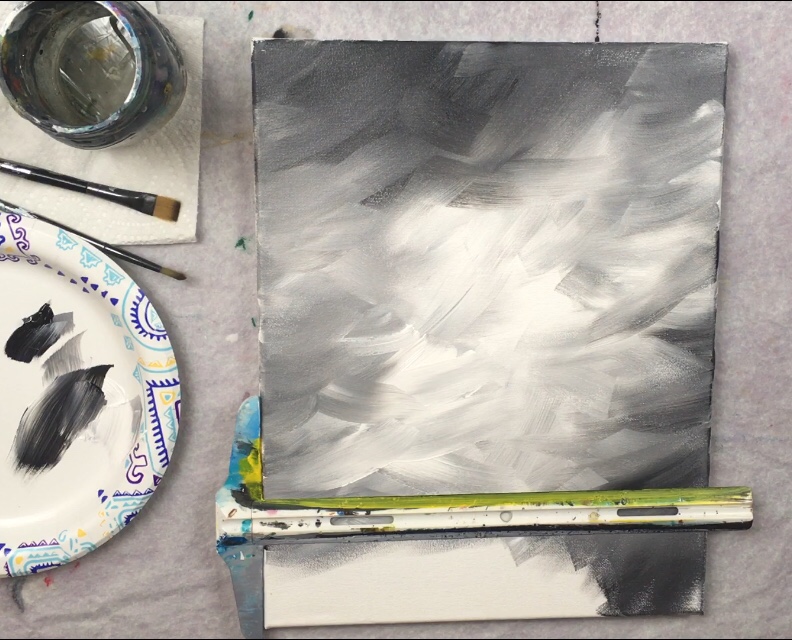
Paint the entire bottom area with a 3/4″ flat brush going left and right horizontally. Paint this area a light gray – so dip your brush in mostly white and a tiny bit of black.
3. Trace The Eiffel Tower Onto The Canvas
Next wait for the background and ground to completely dry. To trace the Eiffel Tower onto the canvas, position the traceable above the sheet of graphite paper so that it aligns with the horizon line. Trace the entire drawing. 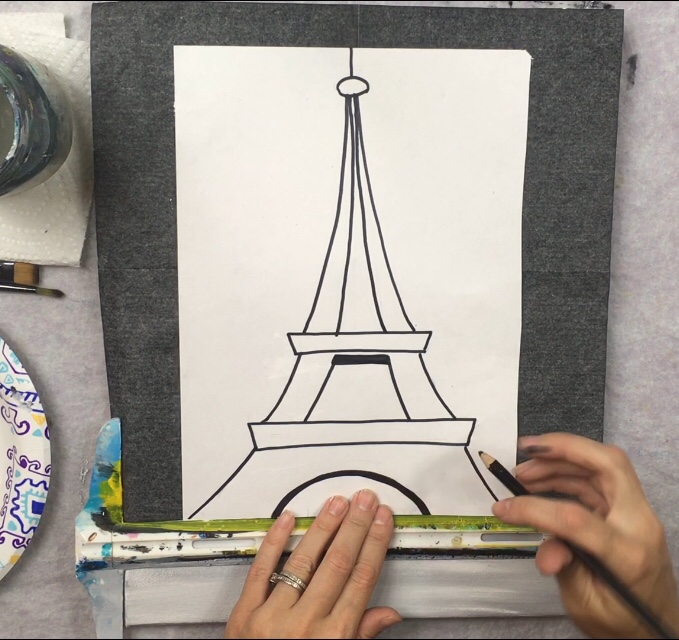
The drawing may come out faint because of the gray graphite paper. If needed, draw over the lines to make them darker.
4. Outline The Eiffel Tower With A Round Brush And Black Paint
Then outline the entire drawing using a round brush and mars black. It helps to water down this black a bit to get it to flow, especially when painting these thin lines. Use a steady hand and mostly the very tip of the round brush to paint these lines relatively thin. 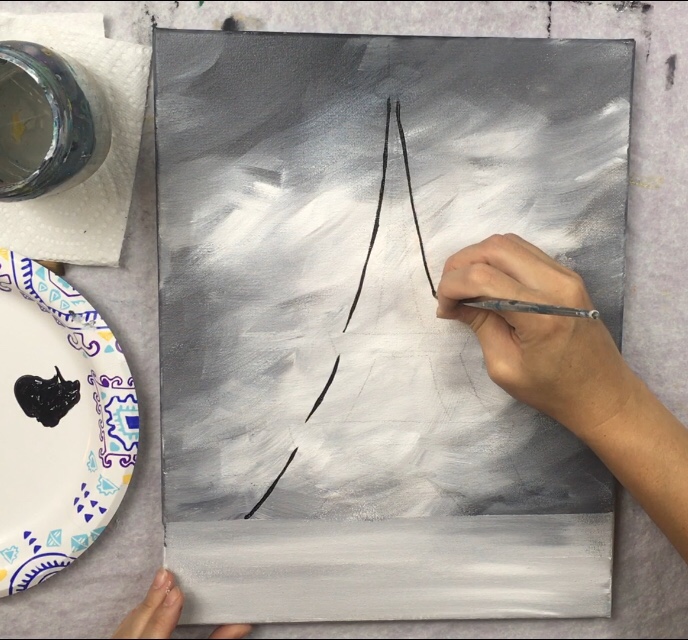
It’s okay if your lines are varied in thickness. In fact, I purposely made the bottom half circle line thicker. 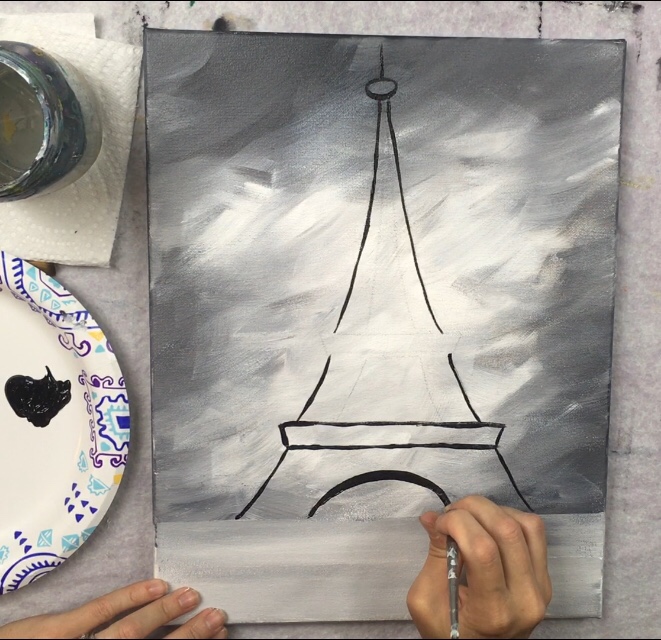
The inside lines were also a little thicker. 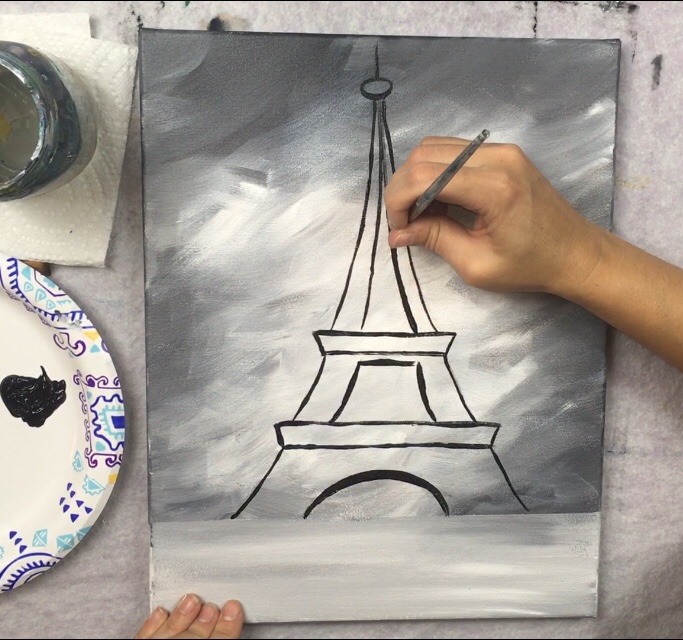
The top oval shape on the tower was painted in solid black.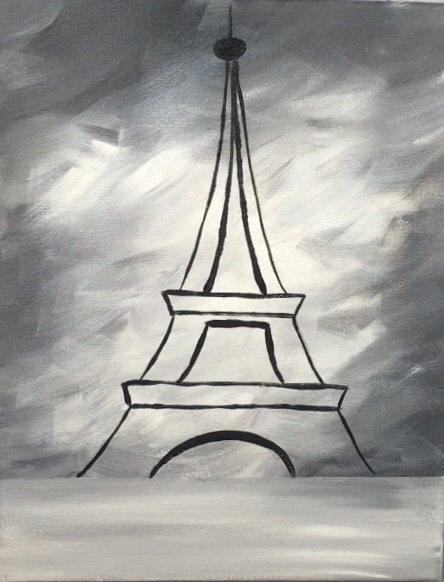
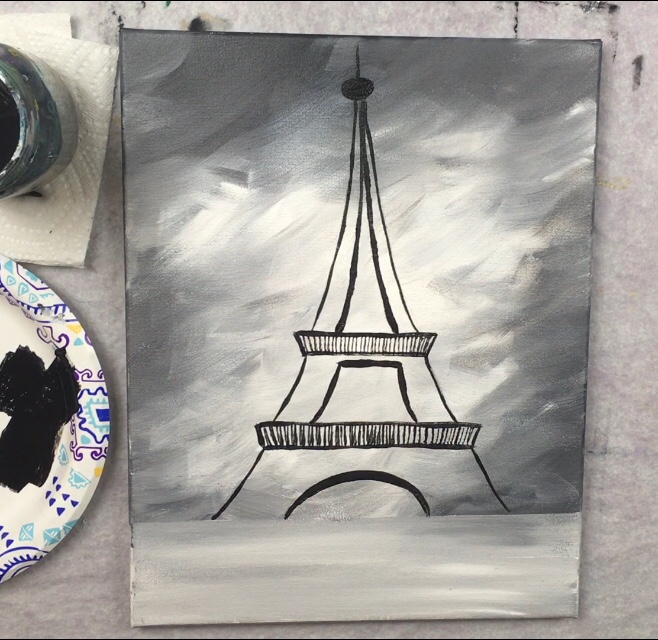
5. Use a 12 Flat Brush To Stamp Lines On The Two Beams
I used the very tip of my 12 flat brush to stamp vertical/diagonal mars black lines on the Eiffel Tower beams. 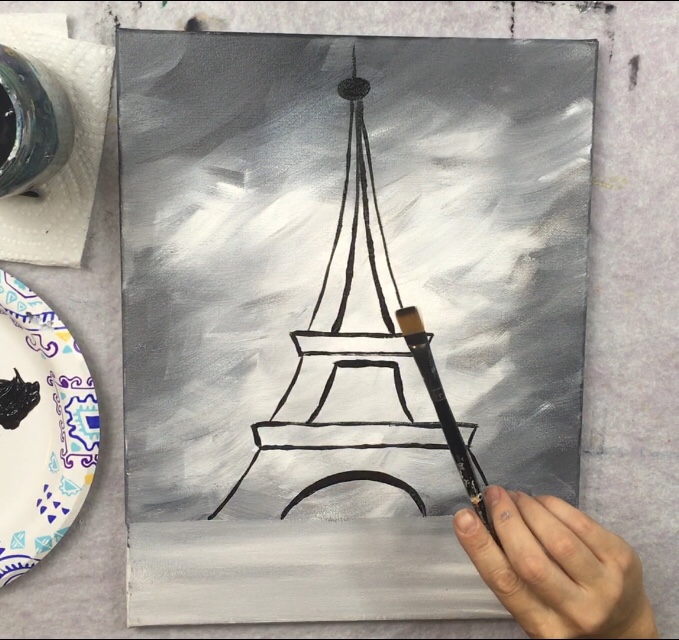
Stamp these lines fairly close together but they don’t have to be spaced evenly. 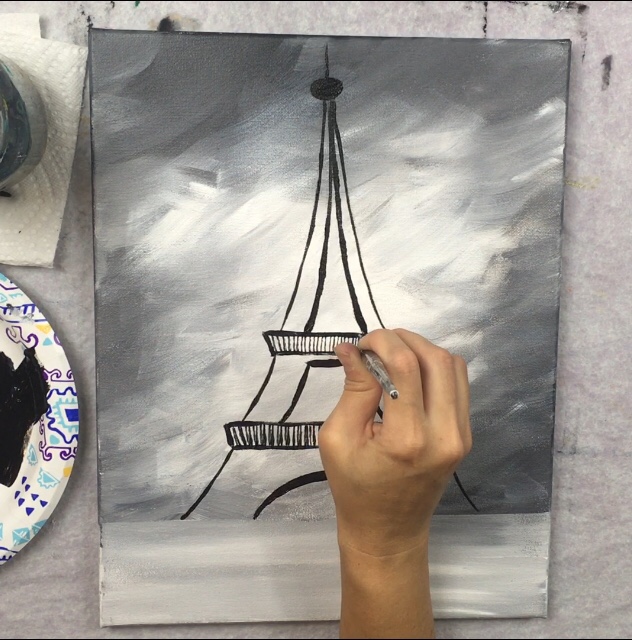
6. Use A Round Brush To Paint Dots All Over The Shape Of The Eiffel Tower
Basically, dip the tip of your #4 round brush in both black and white. Paint little dots of strokes all throughout the inside shape of the Tower. Start on the bottom and work your way up. 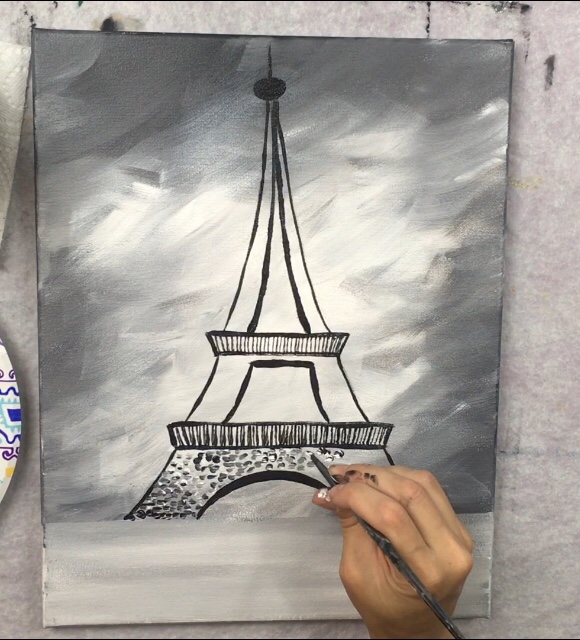
When you paint these dots, the gray will vary with its shade depending on how much white or black you load onto the brush. Try to make areas of the Eiffel tower look darker and other areas lighter. Overall, the tower should be relatively dark compared the the backgound so that there is enough contrast for it to stand out. 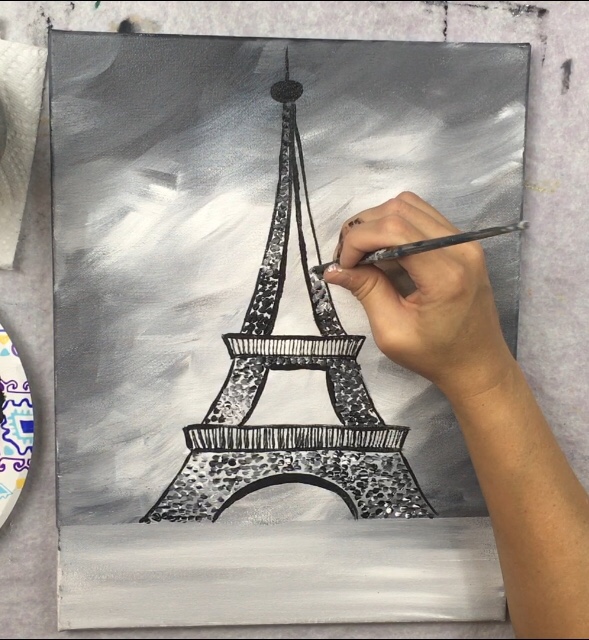
It takes quite a bit of time to do this step but try to fill in as much as possible leaving only a little bit of the background showing through. Don’t paint the bottom opening of the tower. 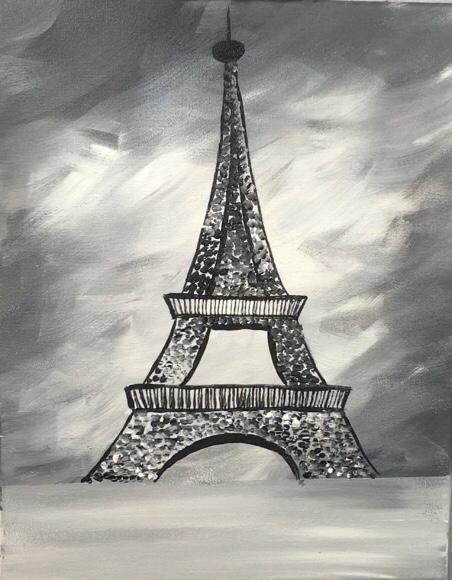
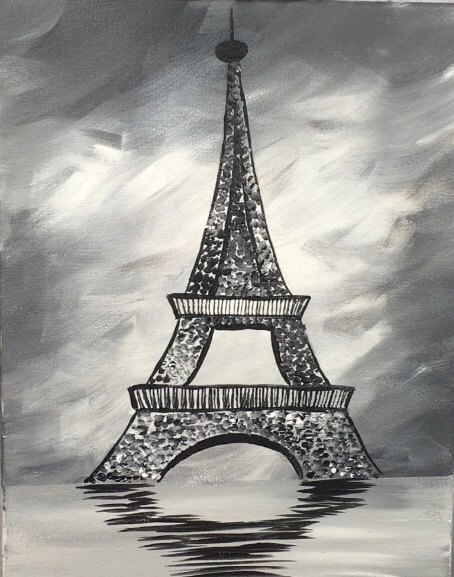
7. Paint The Reflection Of The Tower On The Ground With The 12 Flat
Use the 12 flat and mars black to paint horizontal lines to form the reflection of the tower onto the ground. The reflection should be a mirror image of the bottom arch. 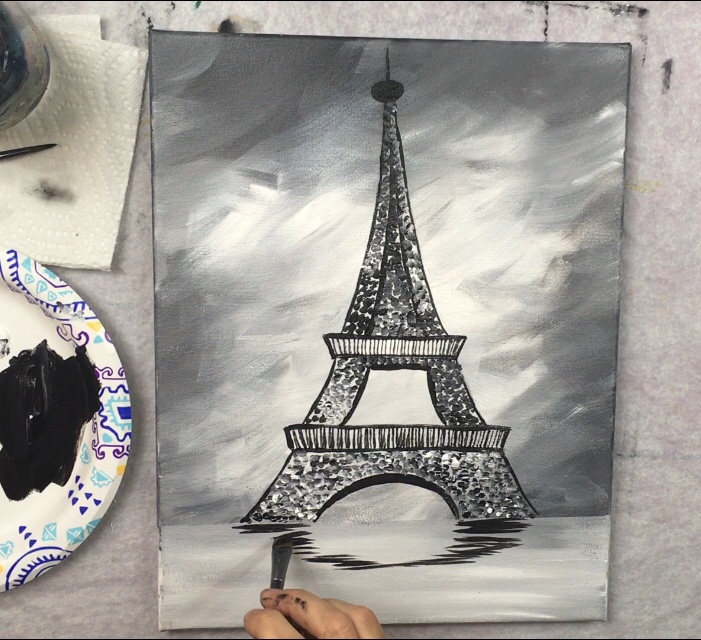
8. Paint The Red Tree Line
The “tree line” goes in sort of a diagonal direction with the highest trees on the left and right and it slants down toward the middle. 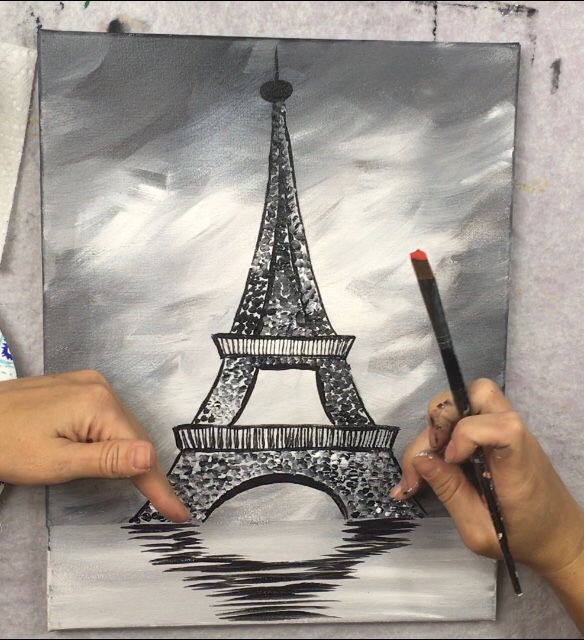
Use the 12 flat brush to paint short rectangular strokes with cadmium red medium. Then double load the brush in cadmium red medium and titanium white and paint more of the same strokes to get a various in the color red. 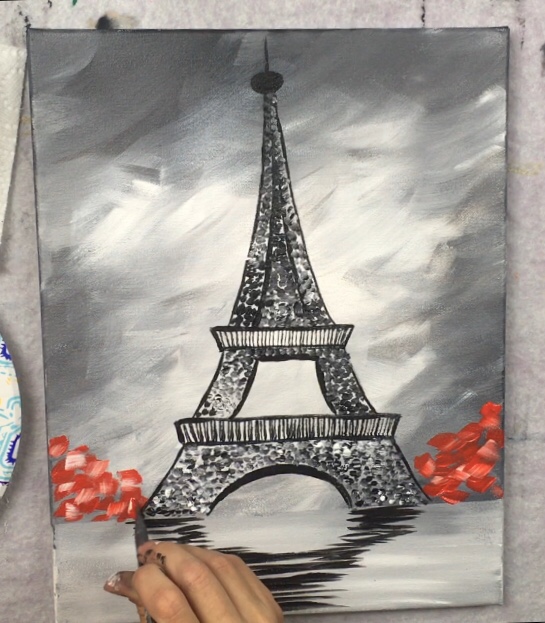
Paint a smaller tree line under the tower using the cadmium red medium and titanium white. 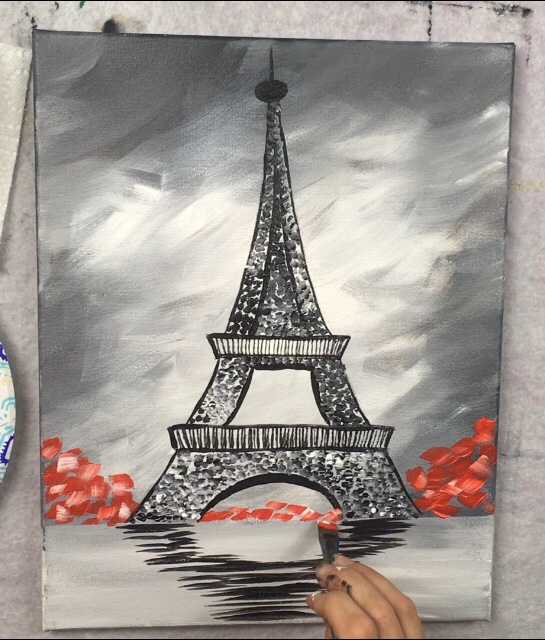
9. Paint The Top Tree And Red Reflections
Do the same style of the strokes with the red and the white in the upper right corner of the canvas. Paint a big cluster sort of cascading down. This will be a tree branch in the foreground. 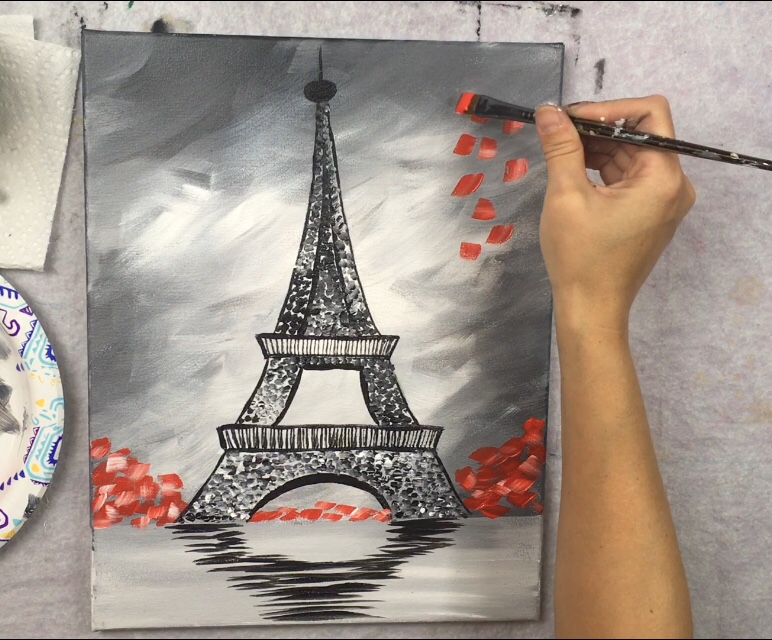
Then use the #12 flat brush to paint horizontal marks under the horizon line to represent the red reflecting on the ground.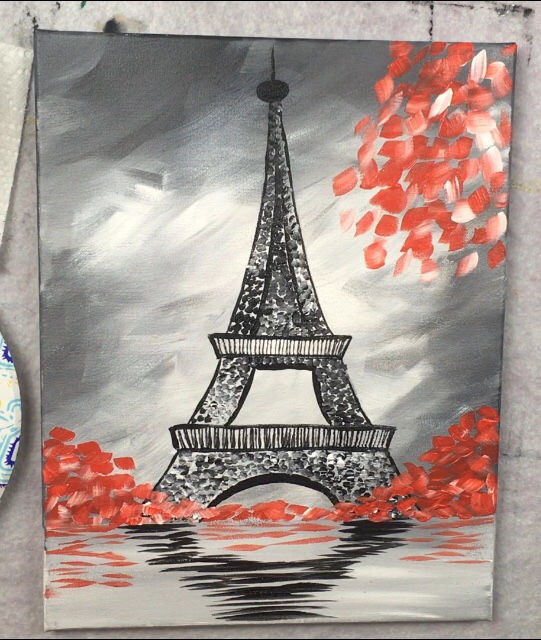
10. Paint Small White Dots All Along The Horizon Line
Then use the #4 round brush and titanium white to paint white dots all along the horizon line. 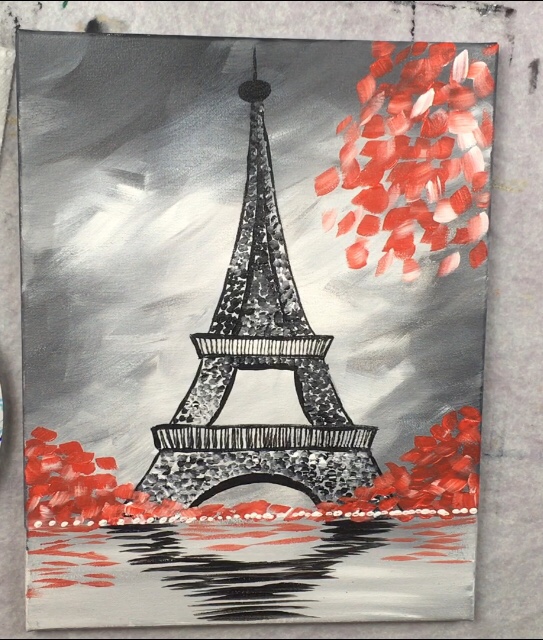
11. Once Dry, Paint The Tree Trunks/ Branches
You’ll need to make sure the red leaves are completely dry before doing this next step. I used the #4 round brush and mars black to paint the branches of the trees. Paint the large brush in the upper right and smaller trunks along the treeline under the Eiffel tower. 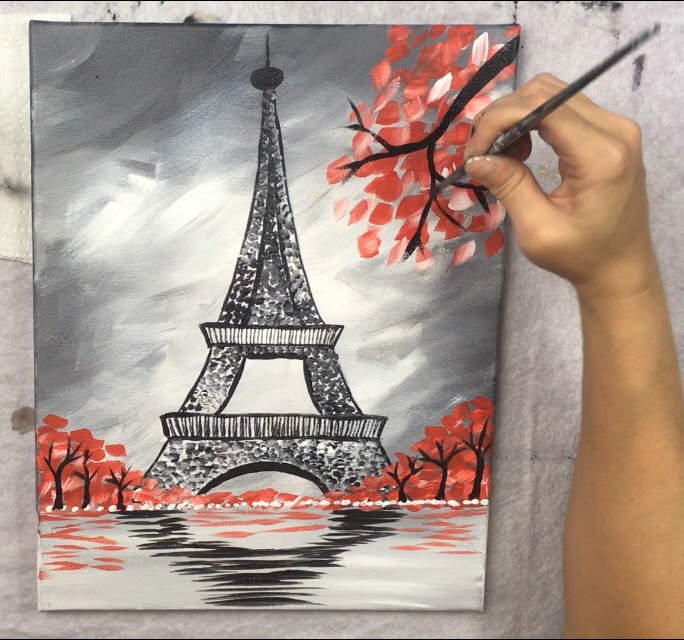
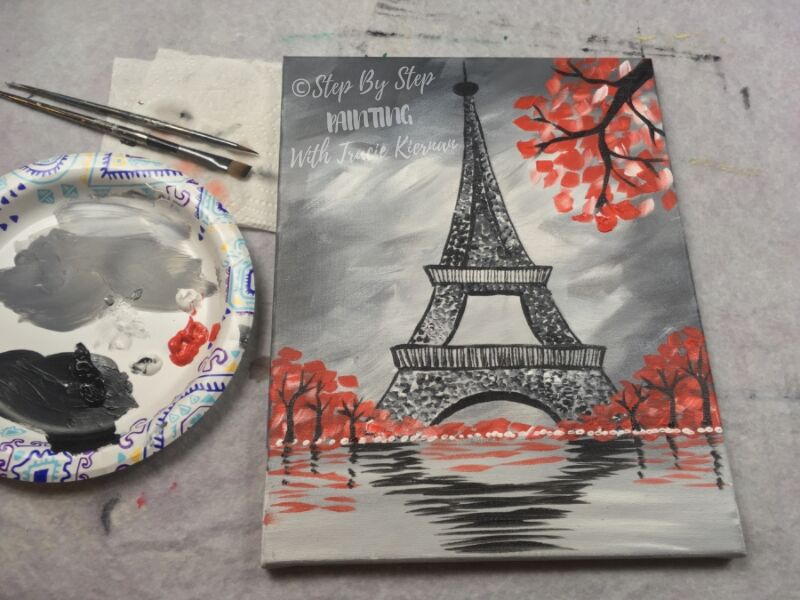
Finished!
As a final touch, I painted the reflection of the tree trunks on the ground too. You’re finished! Sign your name and show it off!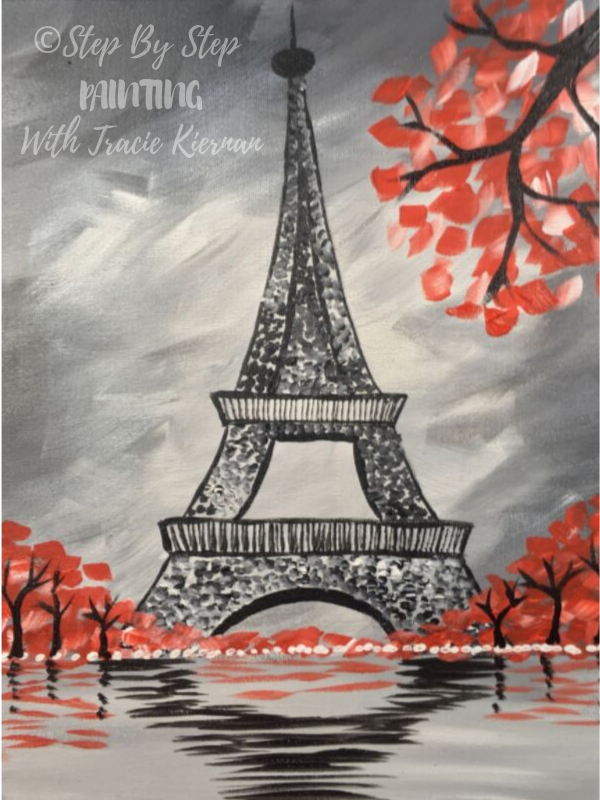


Thankyou for sharing this tutorial. My mom loves all things Paris so I did this for her 78th birthday. Very easy to follow.
You’re welcome Lisa! I hope she loves the painting!!
Thank you so very much for this wonderful teaching tool that even I could have successfully accomplished a very nice picture. Kaye
Thank you for these great tutorials! Very easy to follow and I love that you show both pictures and video. Is it necessary to apply some kind of gloss finish once it’s complete?
Also, what brand of paint brushes do you use? Can you recommend a good starter set?
Thank you 🙂
You’re welcome Heather! If you want to use a varnish, I recommend the Liquitex one in a matte or satin. If you like the look of gloss, you can use semi-gloss. It will help to preserve the painting longer than if it is not varnished. As for brushes, I use Royal & Langnickel Zen Series and a few others in the mix. They are sold individually and in packs at Michaels. There are a few starter sets that come in packs. I use specific sizes as a standard on this website so there aren’t packs that include all the standard sizes I use but some will have a few in them. If you want more info on materials, you can check out this page (I list links to brushes there too). https://stepbysteppainting.net/acrylic-painting-supplies/
Great, thanks so much for the info. I made some purchases through your links. I happen to have Sargent Art Acrylic Gloss and Varnish on hand from a couple years ago, would this work?
Yes that should work!
Do you have step last on how to draw the tower instead of the traceable?
I do not have a how to draw an Eiffel Tower tutorial but there are several elsewhere online. I’m sure you can incorporate one into this painting. Good luck!
Thank you so very much tracie I have done this one now to before I subscribed I did about 4 my husband is a painter an awesome one and also sells paintings so he taught me some and now I’m learning lots of techniques from you also he paints awesome and comes with ideas so if you ever need ideas for some new paintings I would love to contribute to helping you and your family happy new year have a blessed 2021 I can’t wait to see what paintings are next to come this year
I needed to paint a picture for my Aunt for her Birthday. She had requested a picture of France. After my third attempt I followed your directions and your painting came out very nice.
Thank you for your help. The Eiffel Tower was a difficult item to paint but your instructions were very helpful
Glad to hear that Barbara!