Would you like to save this?
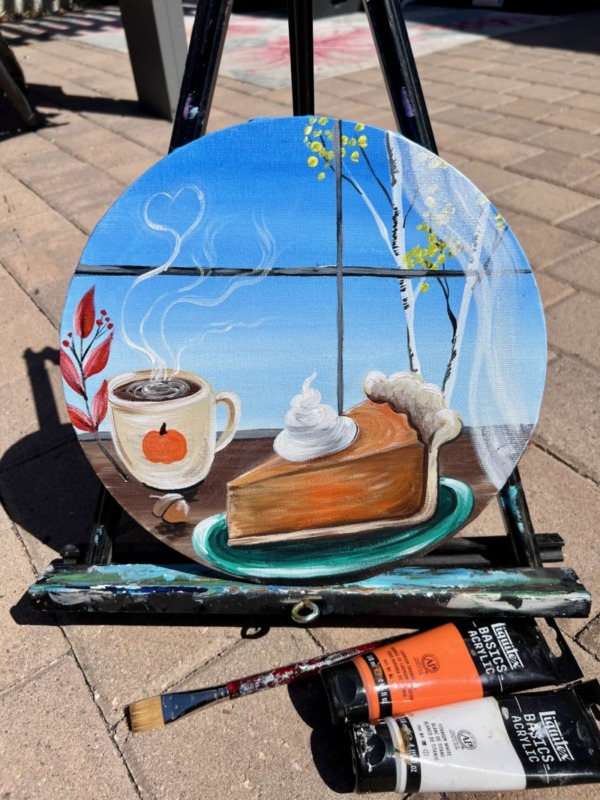
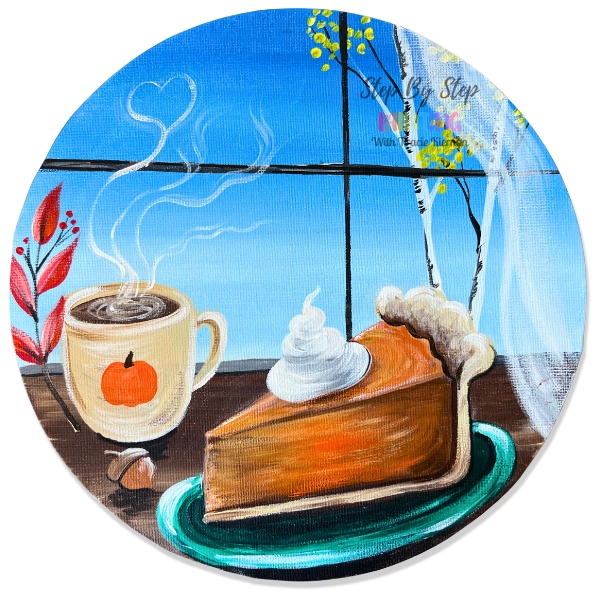
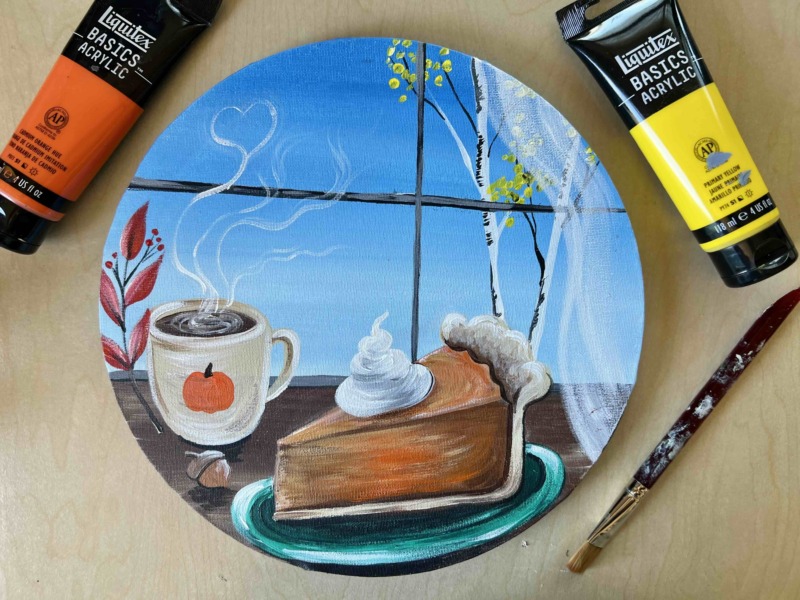
Enjoy a cozy Thanksgiving morning with a warm cup of pumpkin coffee and a delicious slice of pumpkin pie topped with fluffy whipped cream. A simple fall sprig and acorn add seasonal touches, while the birch trees outside the window create a peaceful autumn backdrop. This beginner-friendly painting is all about the warmth and comfort of Thanksgiving without being overly complicated.
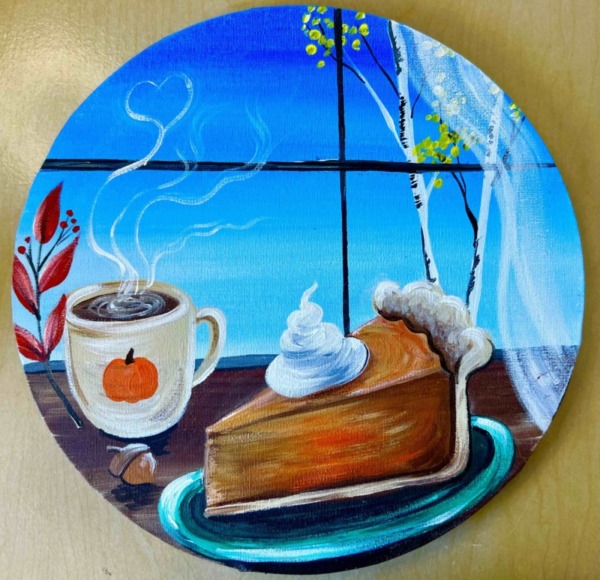
This design can be painted on a 12″ round canvas or larger or smaller circle. You can also do this on a rectangular canvas. Simply extend the design to fill the rectangle instead of painting it on a circle.
Enjoy and happy painting!
Materials
Pumpkin Pie Morning
"Pumpkin Pie Morning" is painted on a round canvas. I specifically chose a 12" diameter canvas, however, you can do this on any size. You can also paint this on a rectangular canvas.
Materials
- 12" Diameter Canvas
- Acrylic Paints (Liquitex BASICS)
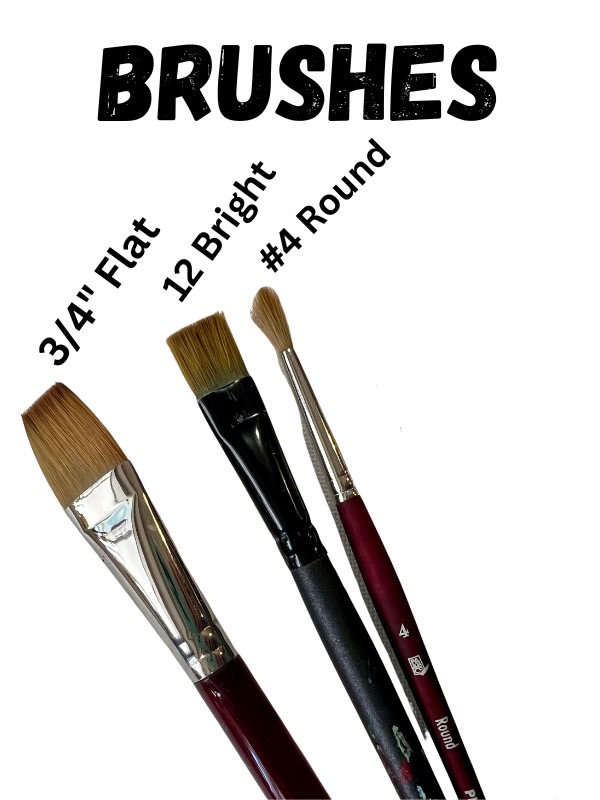
- Brushes (see sizes below)
- Ruler
- White chalk or pencil for drawing
Colors
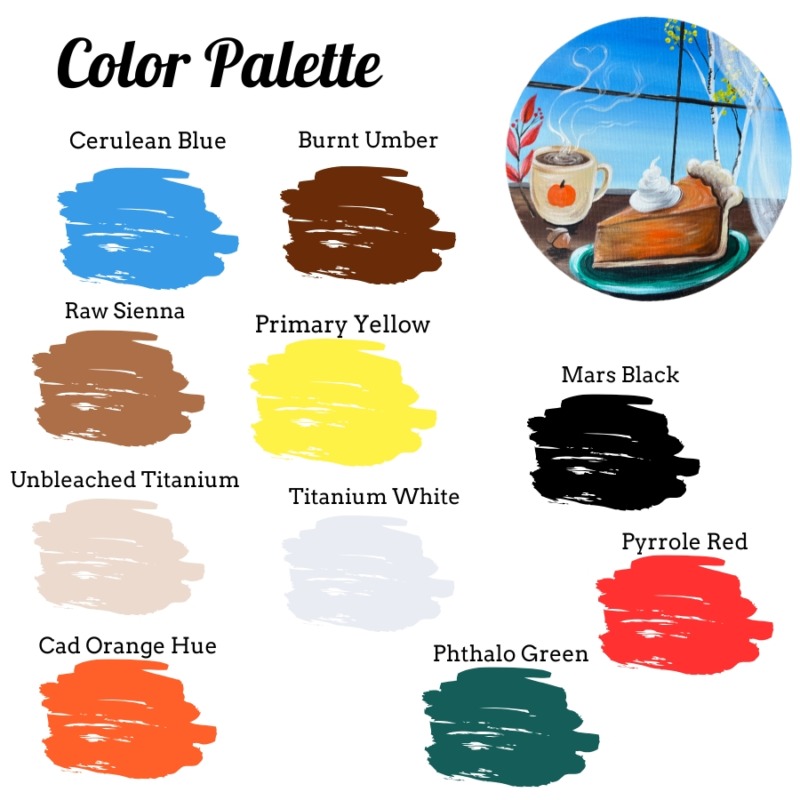
- Mars Black
- Burnt Umber
- Raw Sienna
- Cadmium Orange Hue
- Primary Yellow
- Cerulean Blue
- Phthalo Green
- Unbleached Titanium
- Pyrrole Red (optional)
- Titanium White
Brushes
Color Palette
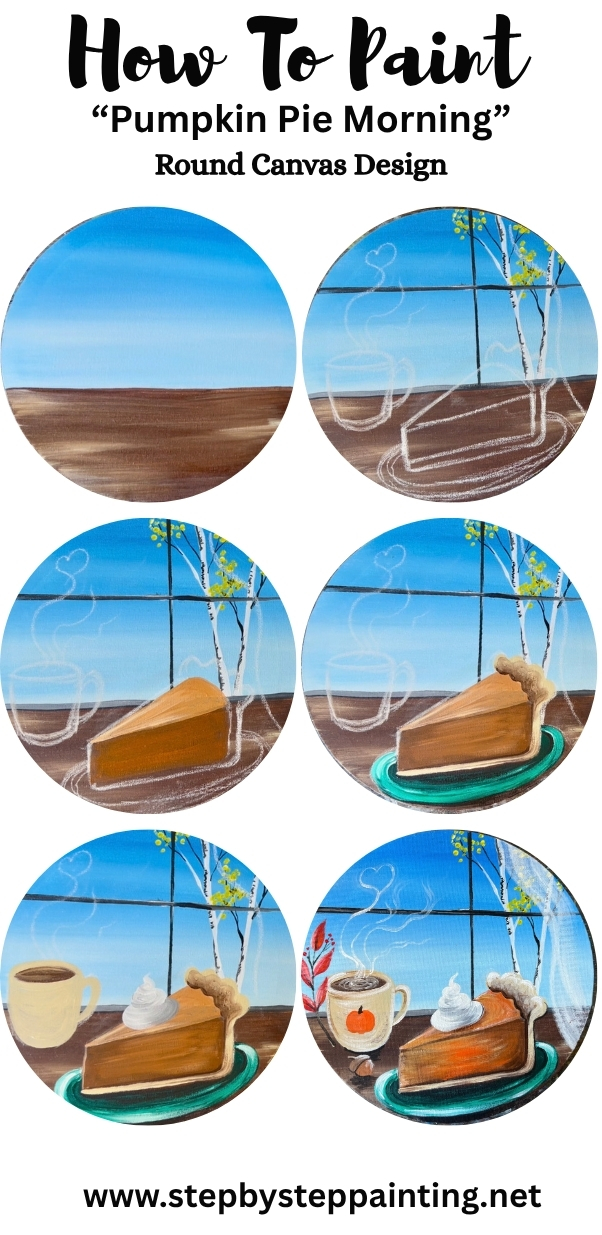
Directions At A Glance
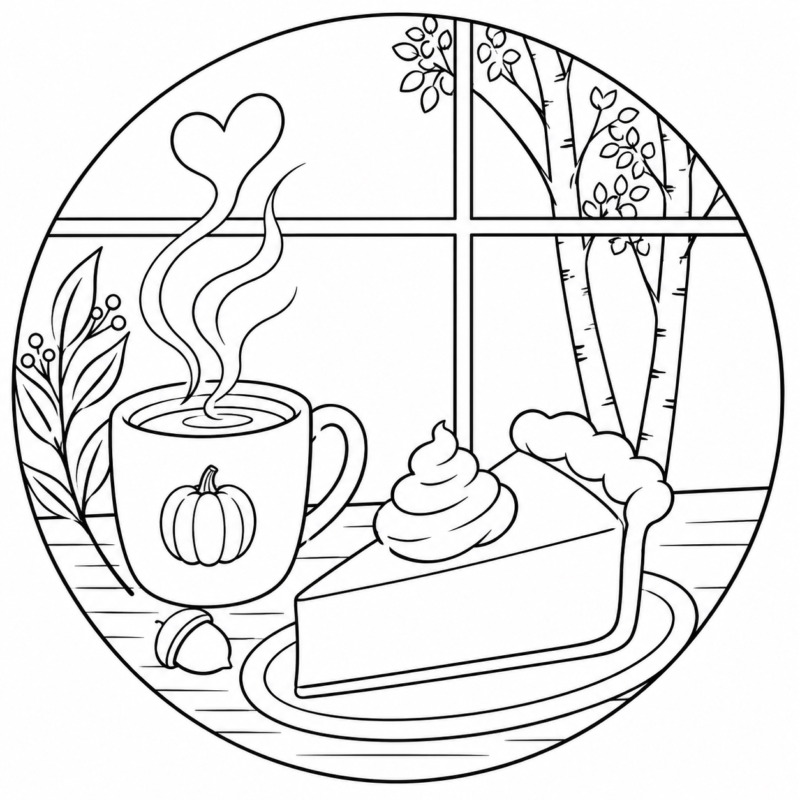
How to download this design & traceables:
The 12″ circle traceable is free! You can download that here.
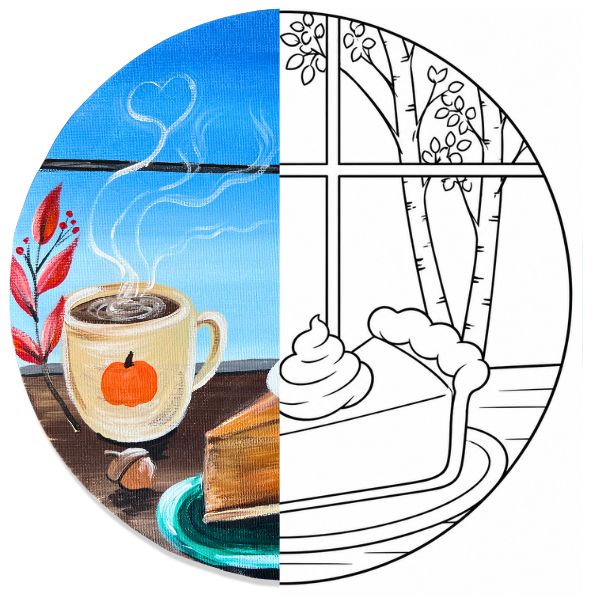
You can also purchase PDF instructions for this design as well as traceables sized for both the round canvas OR rectangular canvas sizes (if you want to paint it rectangular). The circle canvas in this download is also sized for different circle sizes. Find out more!
Video:
Coming soon!
Step By Step Instructions:
1. Paint The Sky & Table Background
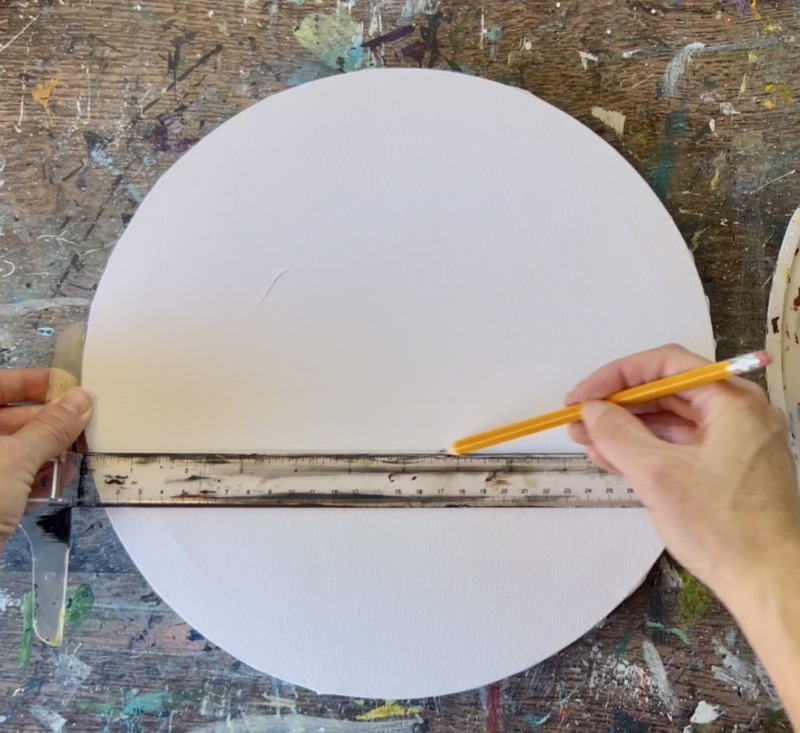
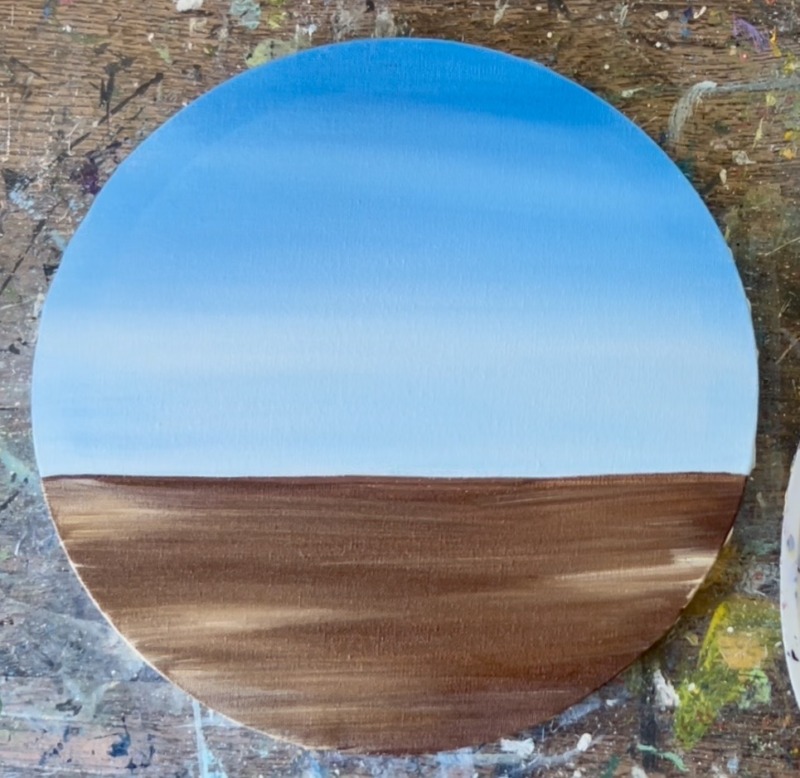
Measure a line at about the 4 o’clock position on the circle. Or measure about 5″ from the very bottom center of the circle and use the ruler to draw a horizontal line. The point is that we don’t want this line going exactly down the center of the circle, it’s a little below the center. Under this line will be the table and everything above the line will be the window.
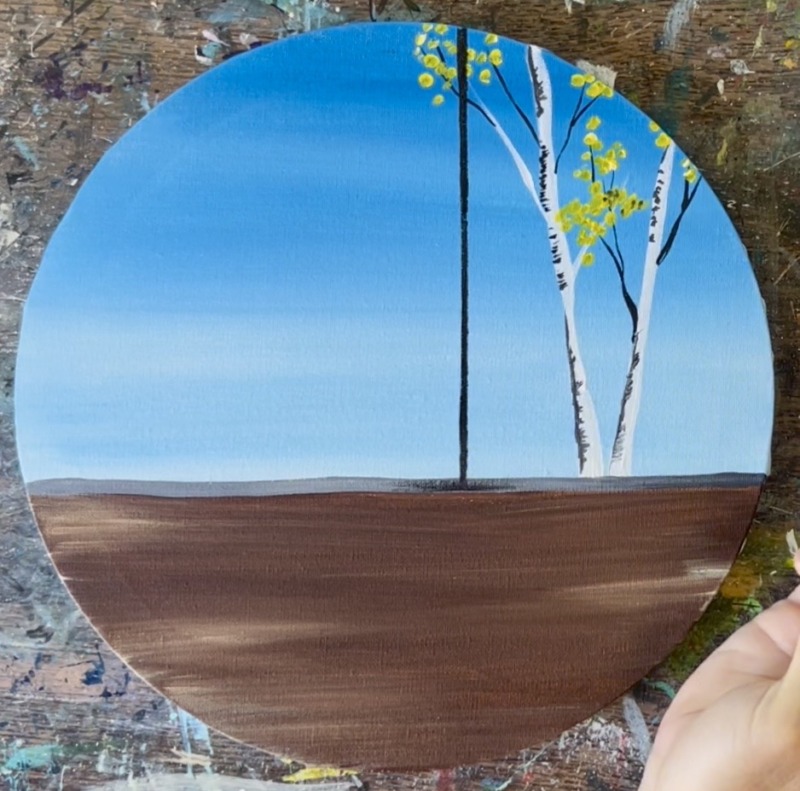
Then paint the sky. Use the color “cerulean blue” and mix about 3 parts blue to 1 part white (doesn’t have to be exact). Use the 3/4″ flat wash brush and paint left and right brush strokes at the top of the circle.
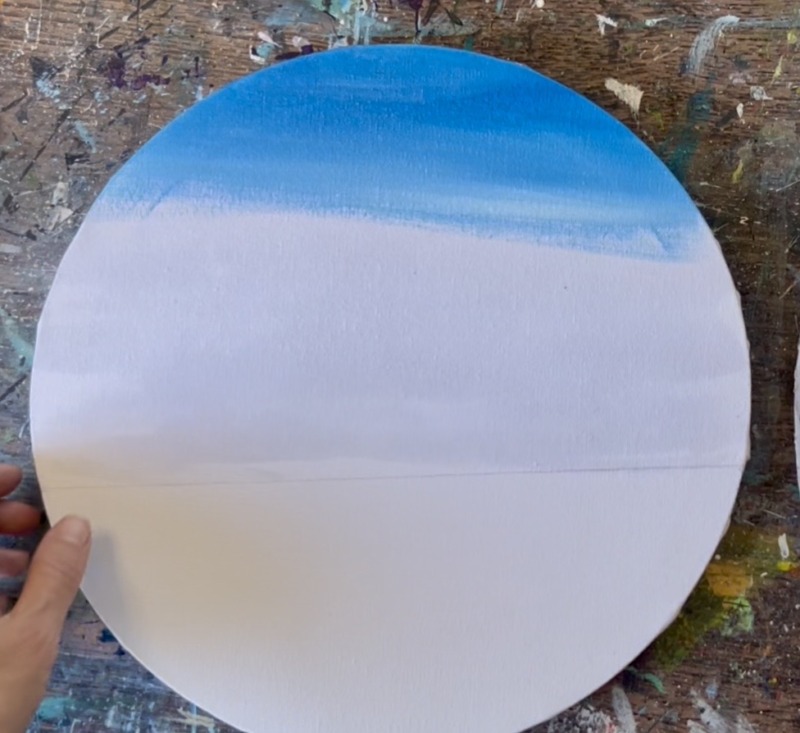
As you work your way down, slowly blend white into the blue so that it becomes lighter and lighter to create a gradient of dark blue at the top and light blue at the bottom.
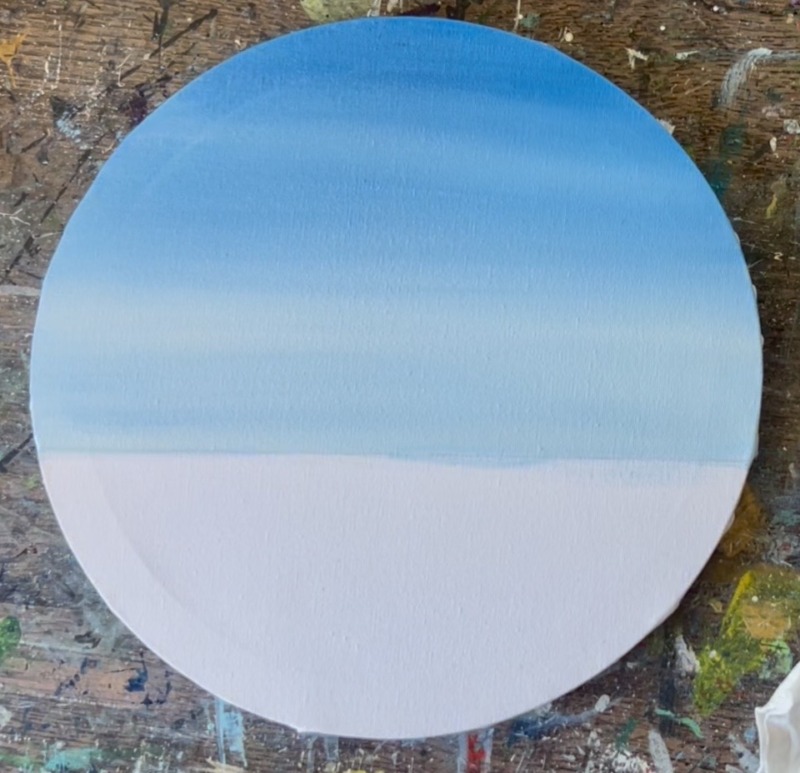
Next, paint burnt umber for the table. Use the 3/4″ wash brush to paint left and right brush strokes. Paint a solid layer of this dark brown on the entire bottom portion of the circle.
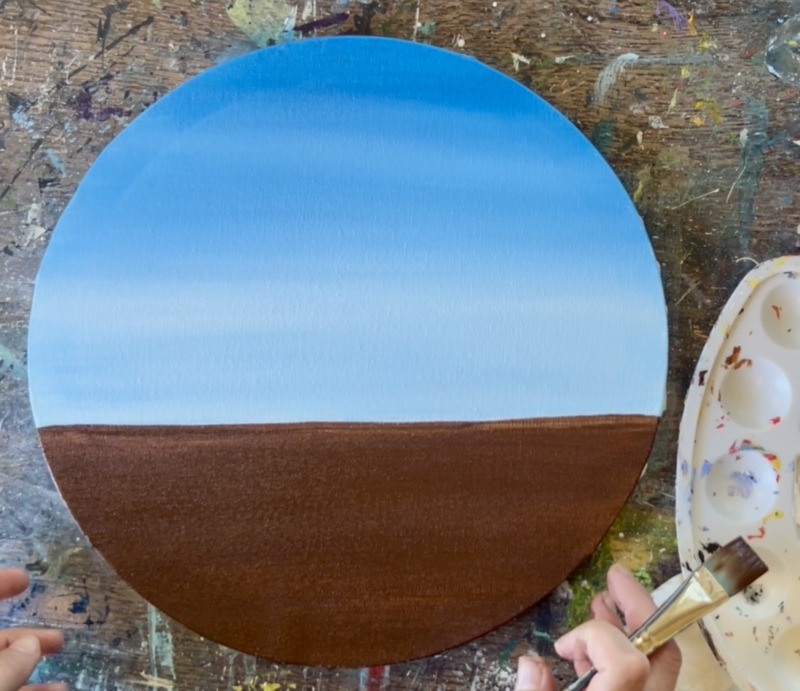
Then, before this brown dries, layer on a little bit of “unbleached titanium” (beige) into the brown. Wipe the brush but do not rinse. Load into a small amount of the beige and lightly blend with the brown. This gives your table a little bit of color variation and slight wood grain look. We aren’t going into much more detail with this table because of all the objects that are going to be on it.
2. Paint Aspen Trees
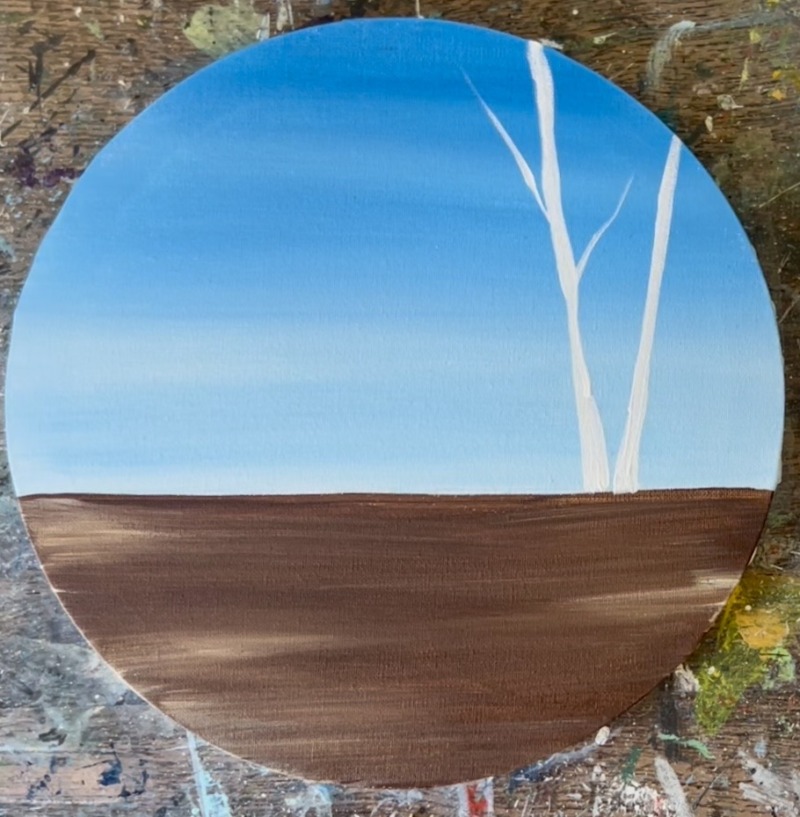
Make sure the sky area is dry. Use a #4 round brush and titanium white to paint a set of narrow tree trunks. Since this is a window view, we don’t see the entire tree! So paint it in a way where the width is nearly the same from top to bottom. I did a set of diagonal trunk lines going in two different directions (making a V). Then paint a few smaller branches with the white.
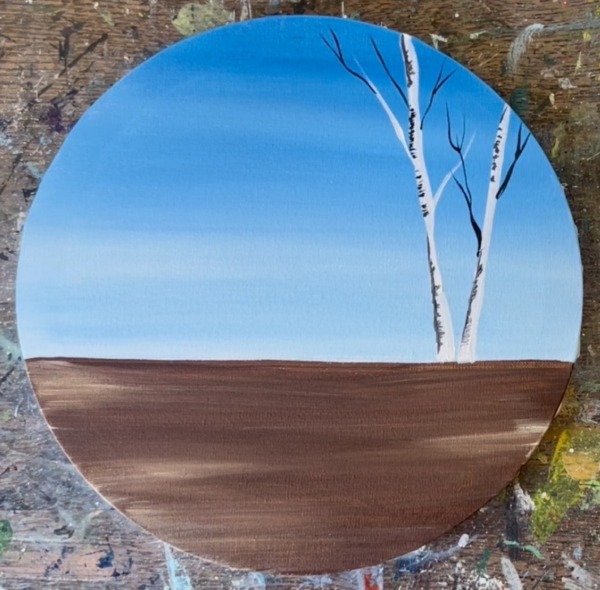
Rinse the brush. Then use slightly watered down “Mars Black” to paint thin branches and markings. The markings are little tic marks on one side of the tree. It’s okay if the white isn’t fully dry when you paint the tic marks, it can blend with the white a little bit.
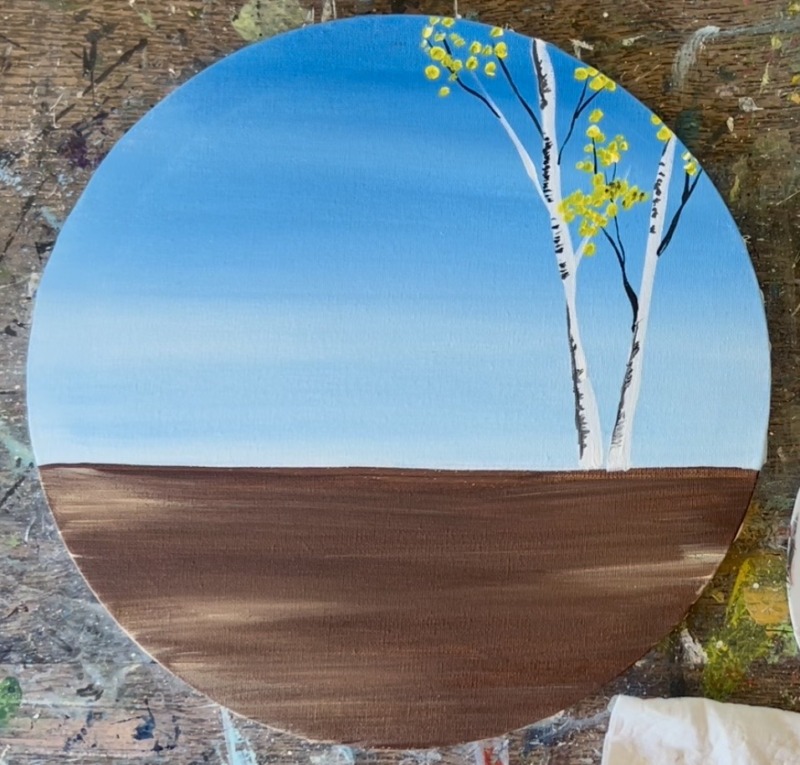
Then mix equal amounts of primary yellow and titanium white. Use the round brush to paint small circles/ dots for the fall foliage on the ends of the branches.
3. Paint Window Pane Lines
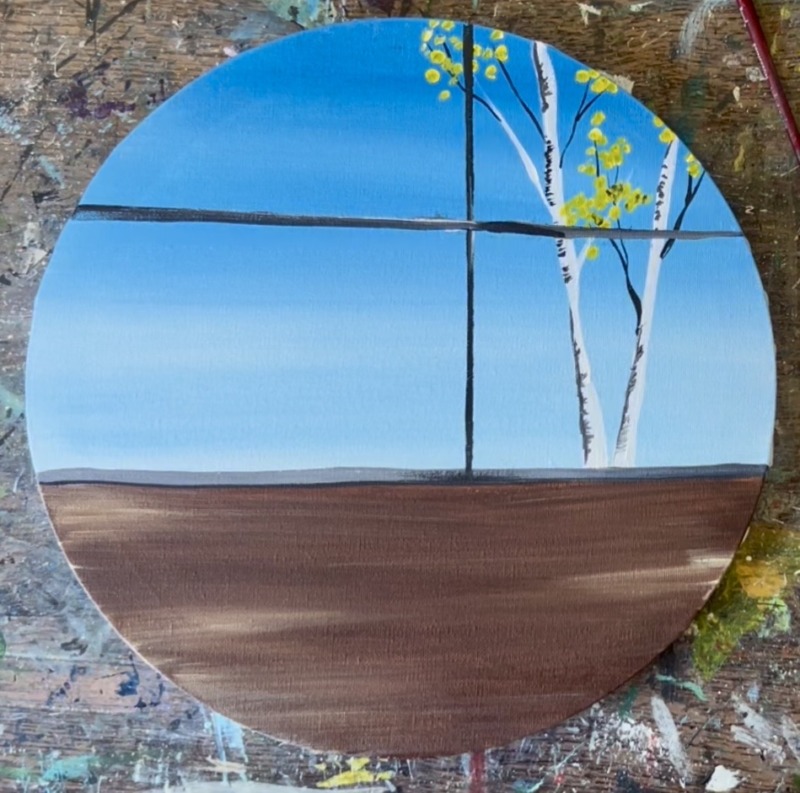
4. Draw Pumpkin Slice, Plate and Coffee Cup
Use a piece of chalk to draw or use the traceable template to transfer the design to the canvas.
Start by drawing a triangle going slightly at an angle. This slightly overlaps the window area. The length of this triangle is about 6″. Draw a slight curve for the right edge of the triangle (this is for the crust).
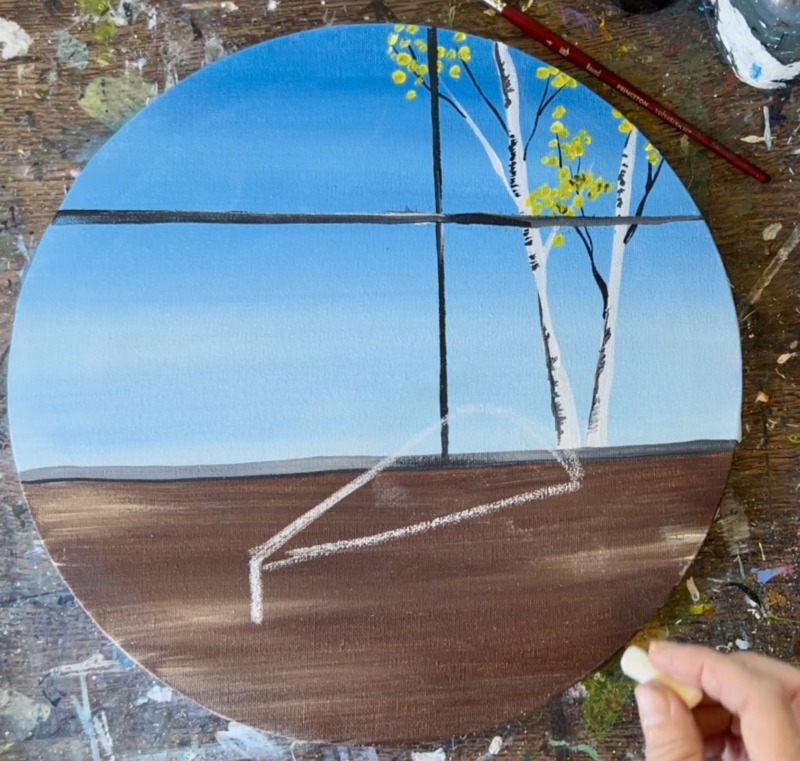
Then draw a set of vertical lines on each end of the triangle. Draw a diagonal line for the bottom of the pie to create a 3D triangular slice.
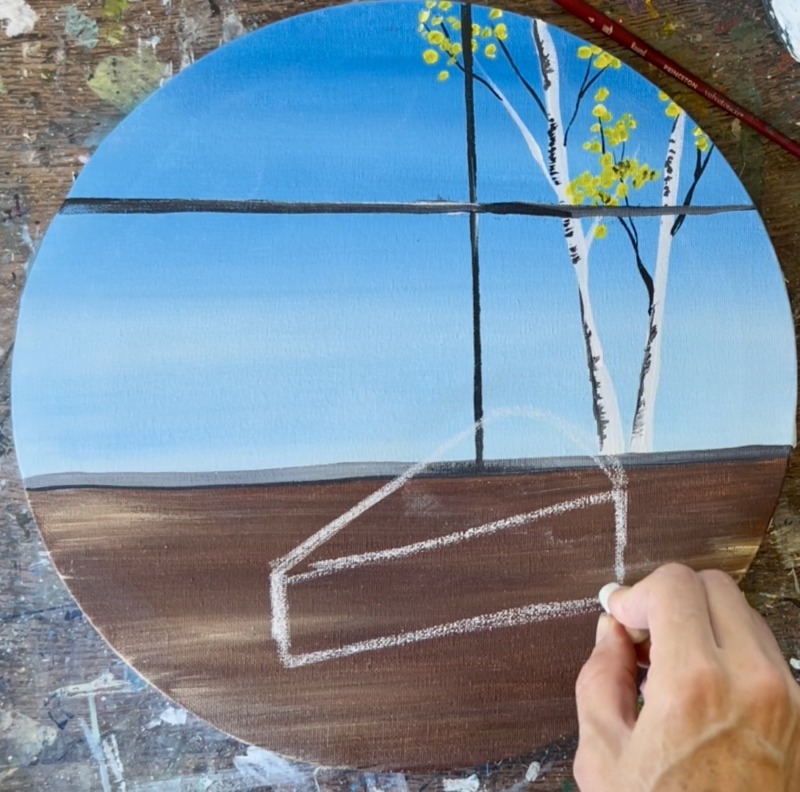
Draw the crust below the slice and to the right edge. Then draw a wavy line to create the crust border shape.
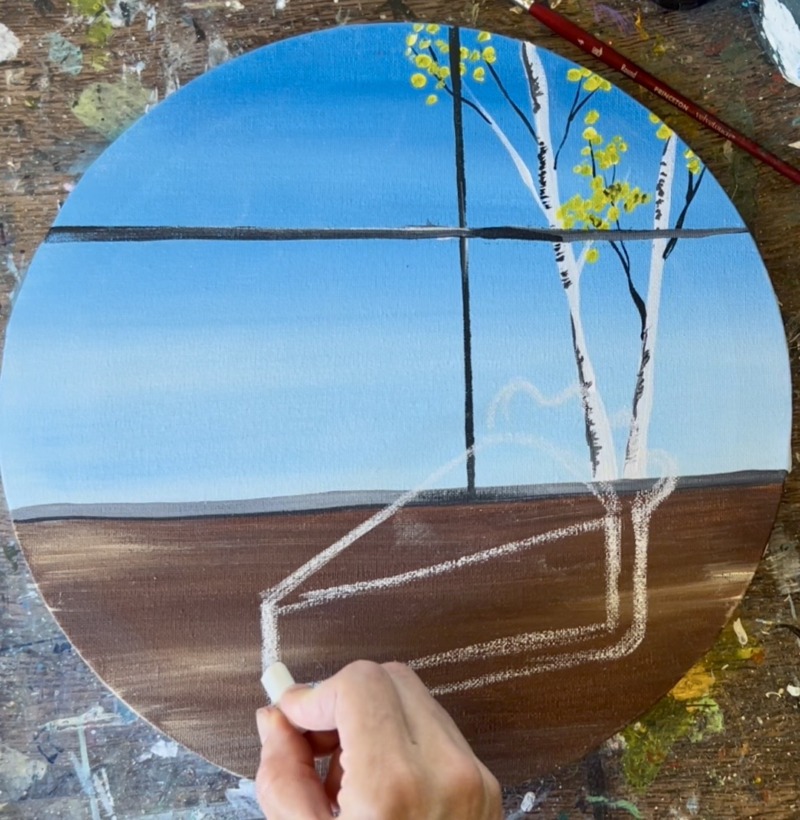
Draw an oval shape around the bottom of the pie slice for the plate. Depending on the placement of the pie slice, you may have to draw some of the plate so it goes off the edge of the canvas/ is not completely visible.
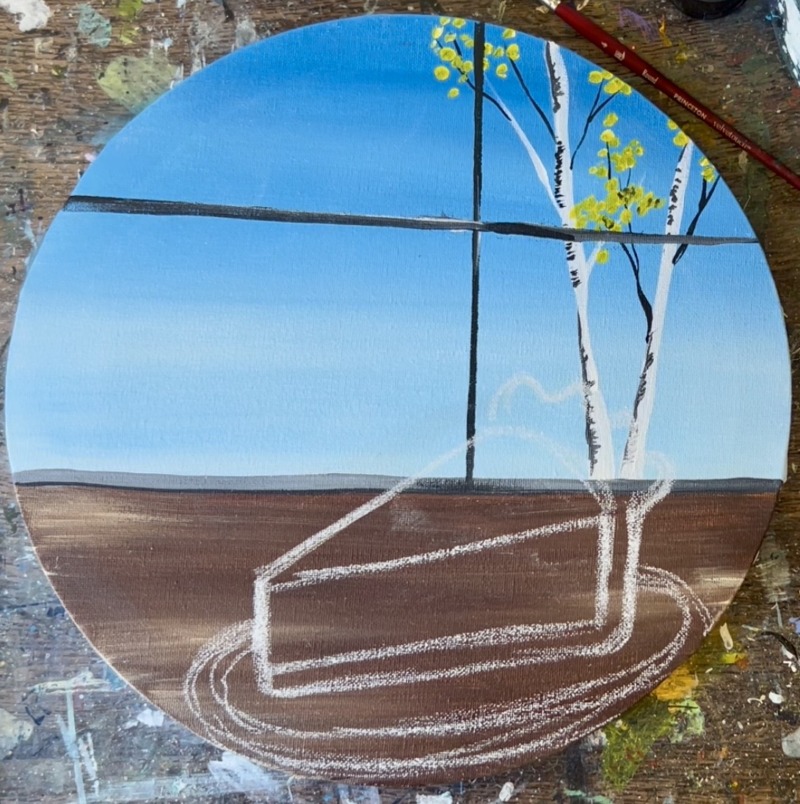
Draw a coffee mug to the upper left of the pie slice.
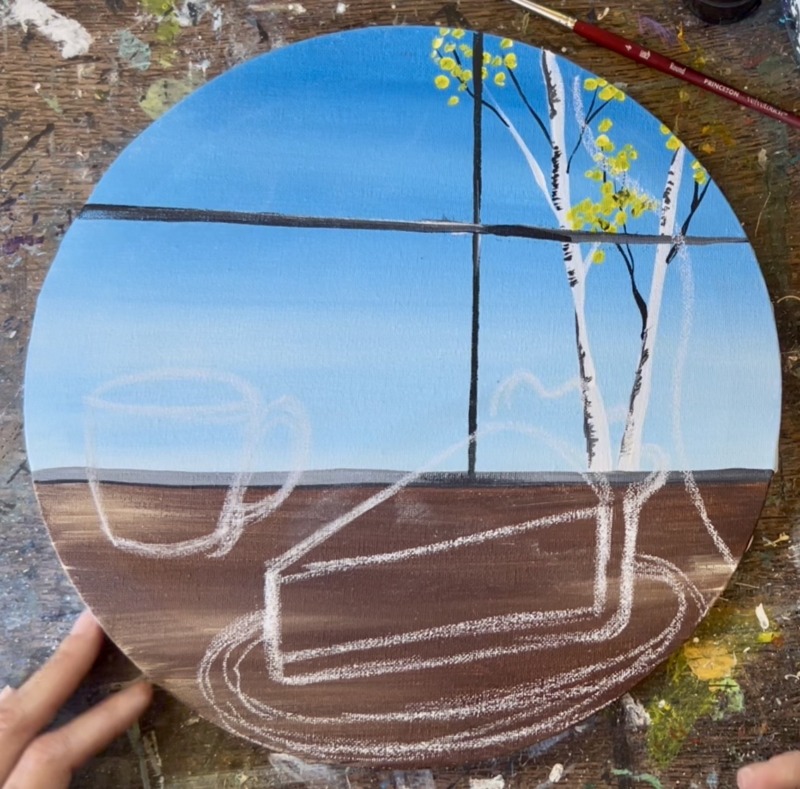
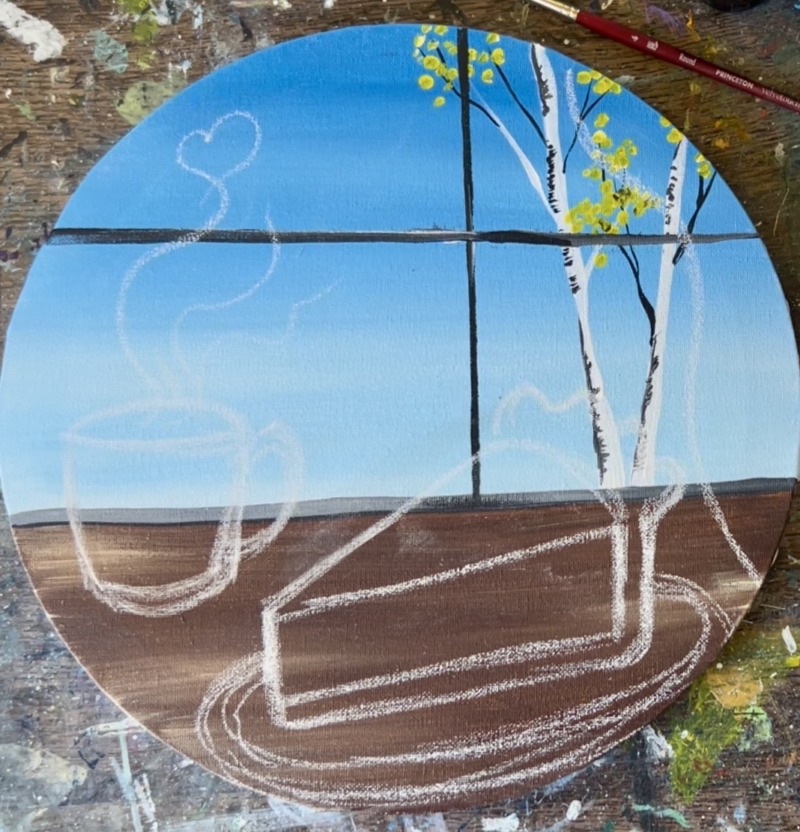
Then draw steam line designs coming out from the top opening of the mug.
5. Paint Pumpkin Slice
The side of the pie slice is slightly darker than the top. Use the 12 bright brush and mix equal amounts of “cadmium orange hue” with “raw sienna”. This makes a dark orange color. Paint the side of the slice using full width brush strokes going parallel to the top edge of the pie.
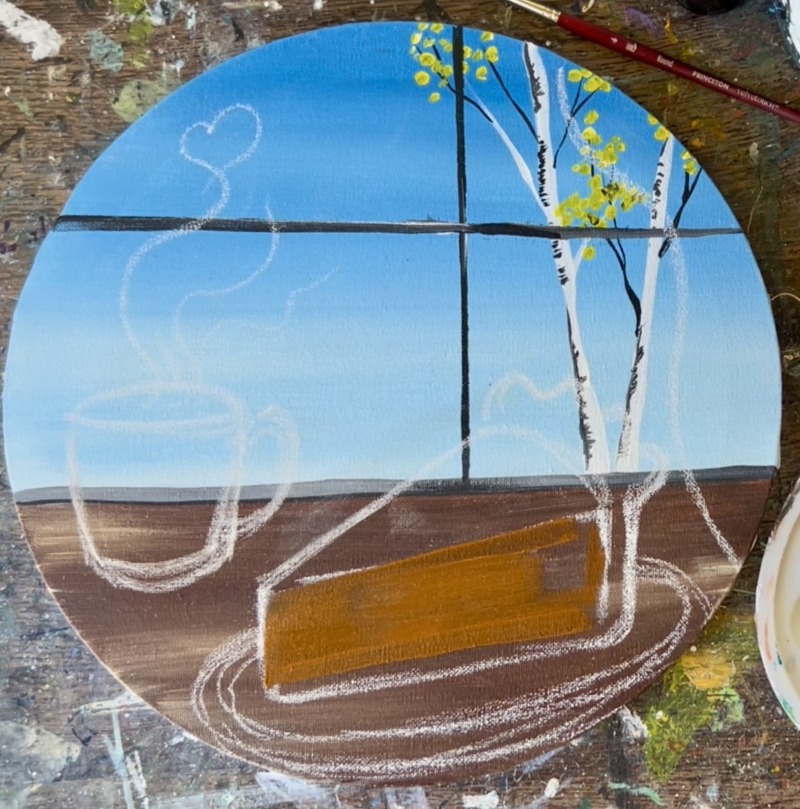
Next, mix a small amount of “unbleached titanium” into the same dark orange color you just used. This will lighten the color. Paint the top triangular shape of the pie slice. You can switch to the #4 round brush at this point.
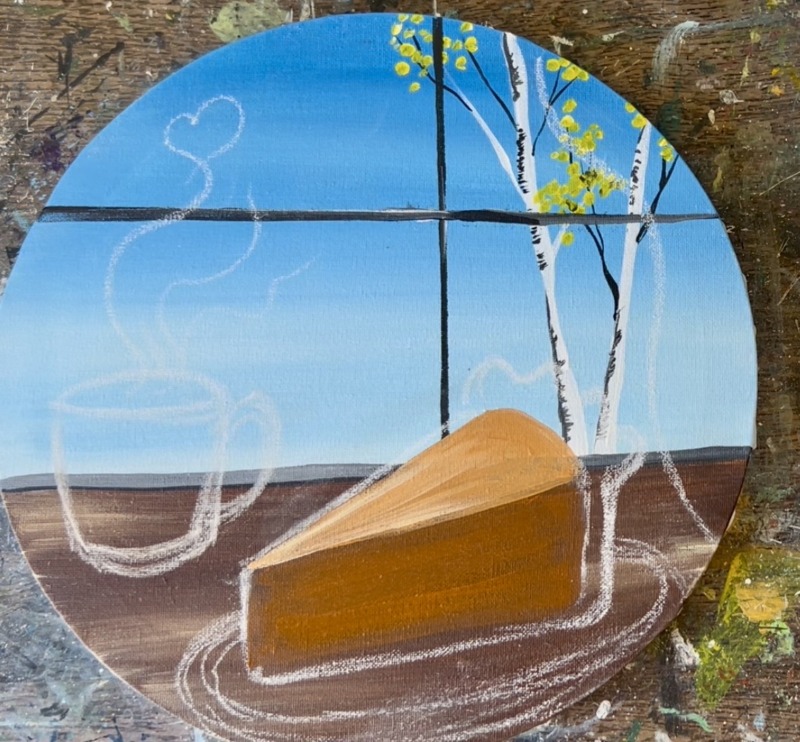
Rinse the brush and use the color “Unbleached Titanium” to paint the crust of the pie. Outline the bottom of the crust and side as well as a thick wavy line for the top of the crust.
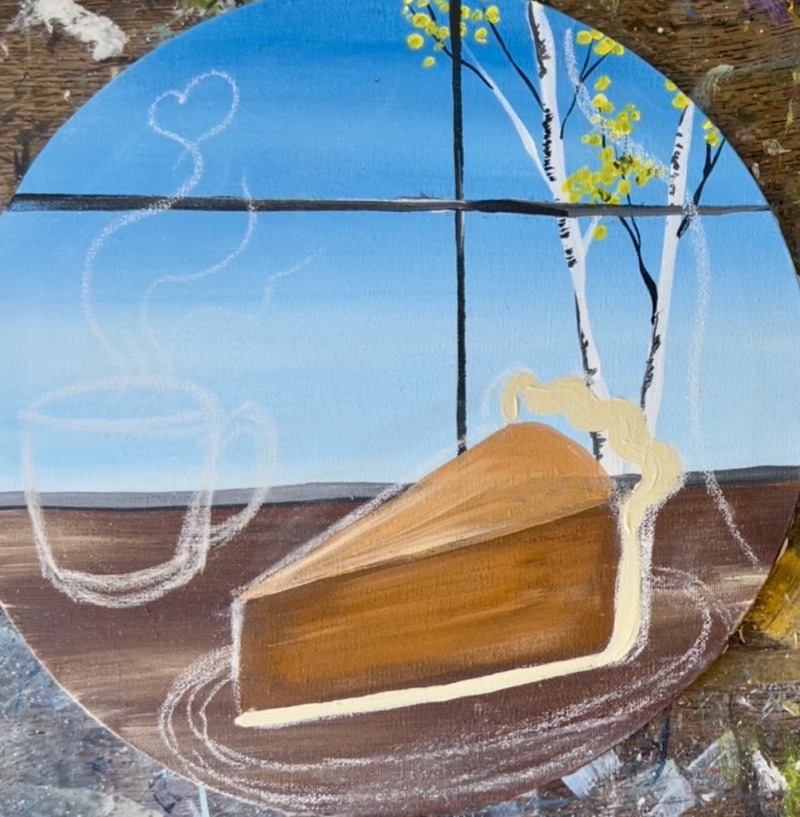
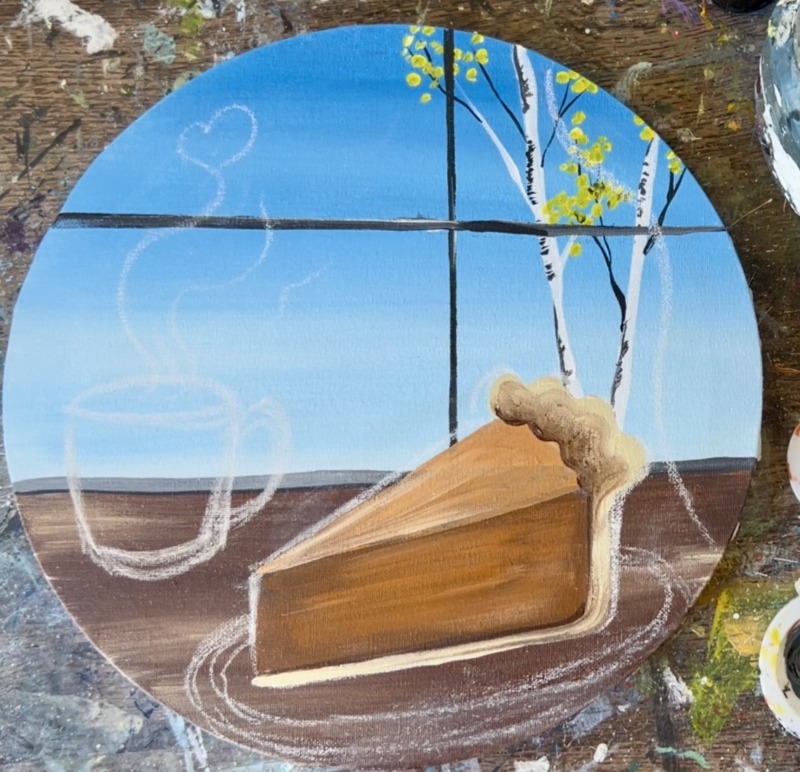
Then use dark brown to blend with the beige on the bottom of the crust. Also, use dark brown to outline the area between the pumpkin custard part and where it meets the crust (bottom and right side of the pie slice).
6. Paint Plate
Use the color “Phthalo Green” and the #4 round brush to paint the shape of the plate. Do a solid coat of this dark green first before painting the border on the plate.
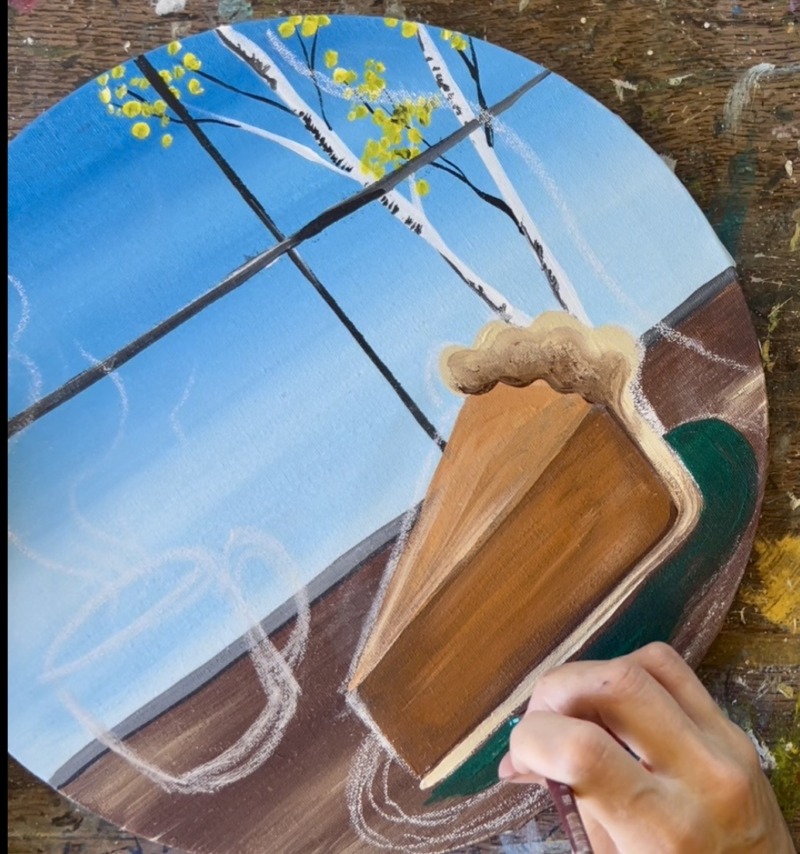
Before the green oval shape dries, double load the round brush into both white and phthalo green. The white will blend with the green to create a border on the plate.
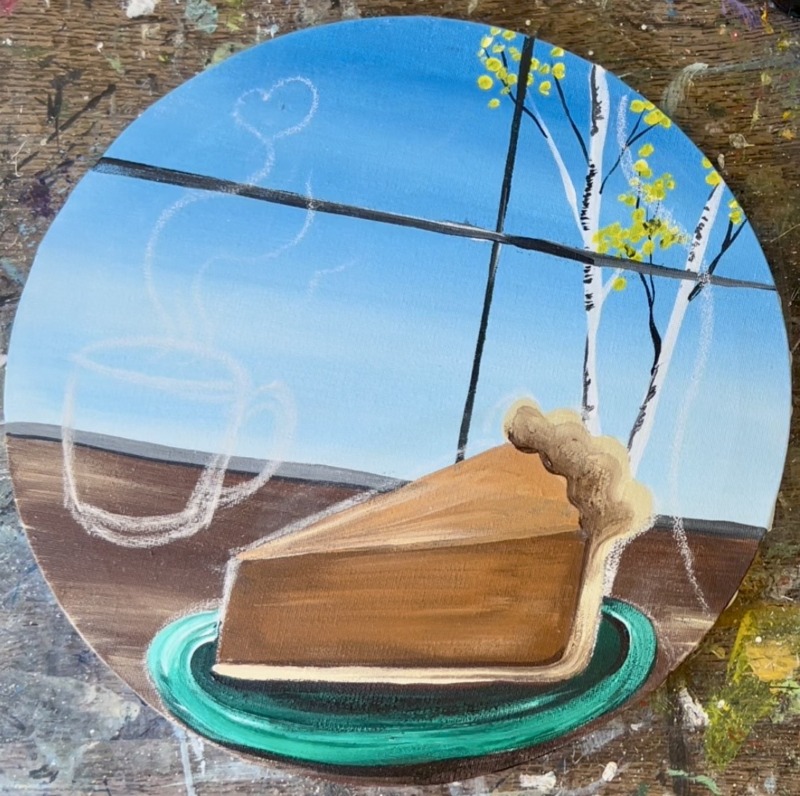
7. Paint Coffee Mug
Use the color “unbleached titanium” and the #4 round brush to paint the shape of the mug.
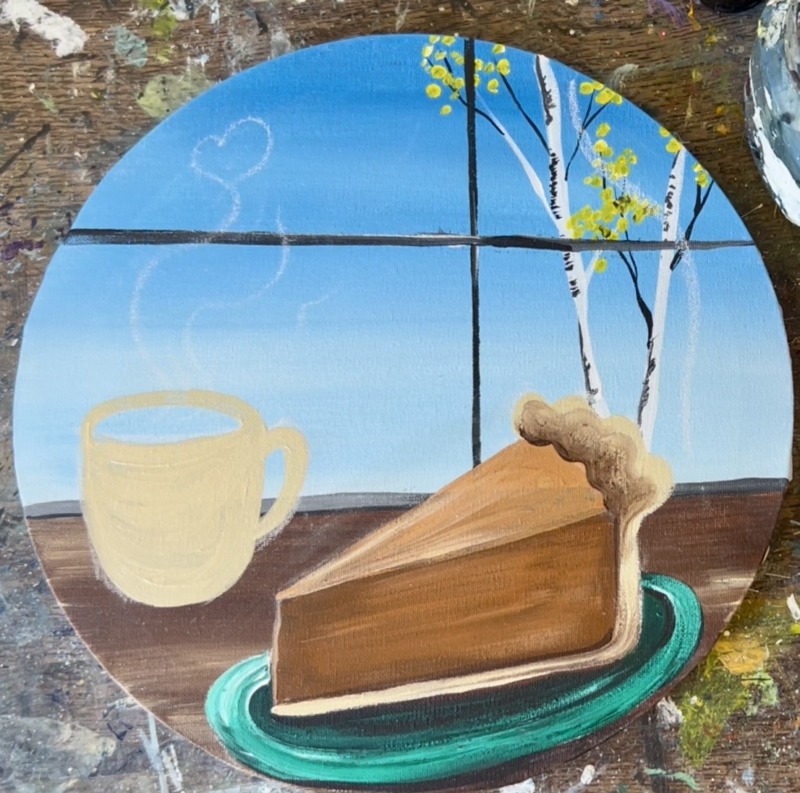
Paint the inside of the mug dark brown (for coffee or hot cocoa).
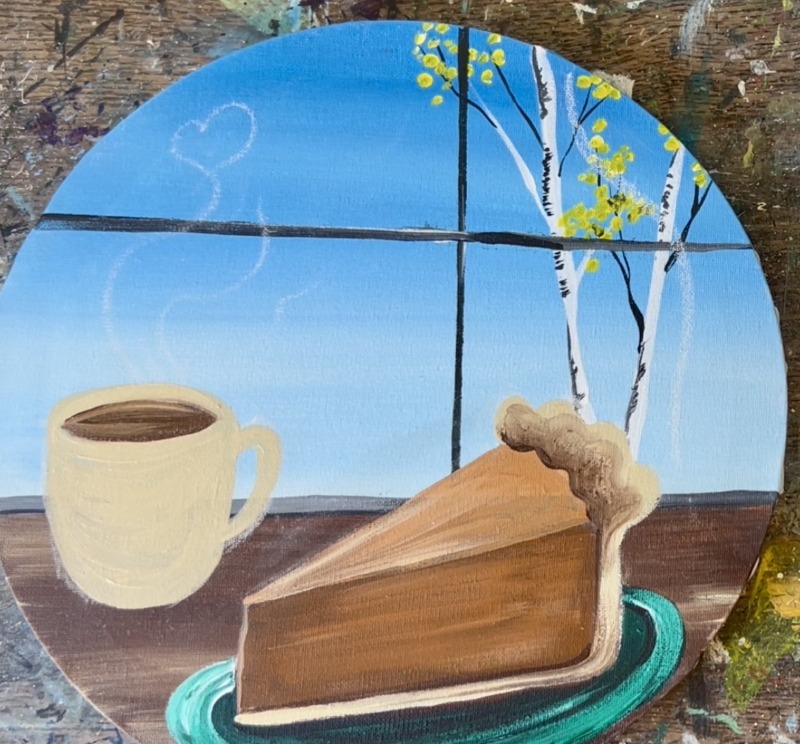
8. Paint Whipped Cream
Mix a light gray on your paint palette by mixing about 4 parts white to 1 part black. Use this light gray to paint the shape of the whipped cream. Start on the bottom with a large oval shape and then paint a small overlapping “dollop” that forms upwards and then goes to a point on the top.
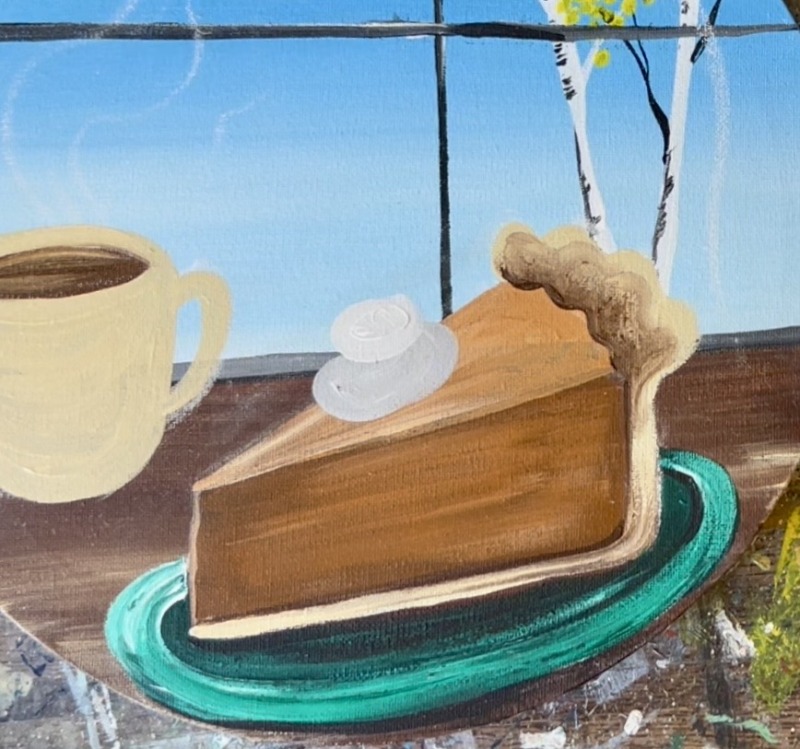
You can create a blended effect by adding a little white to your brush and blending it with the light gray on some of the left and right sides of the cream.
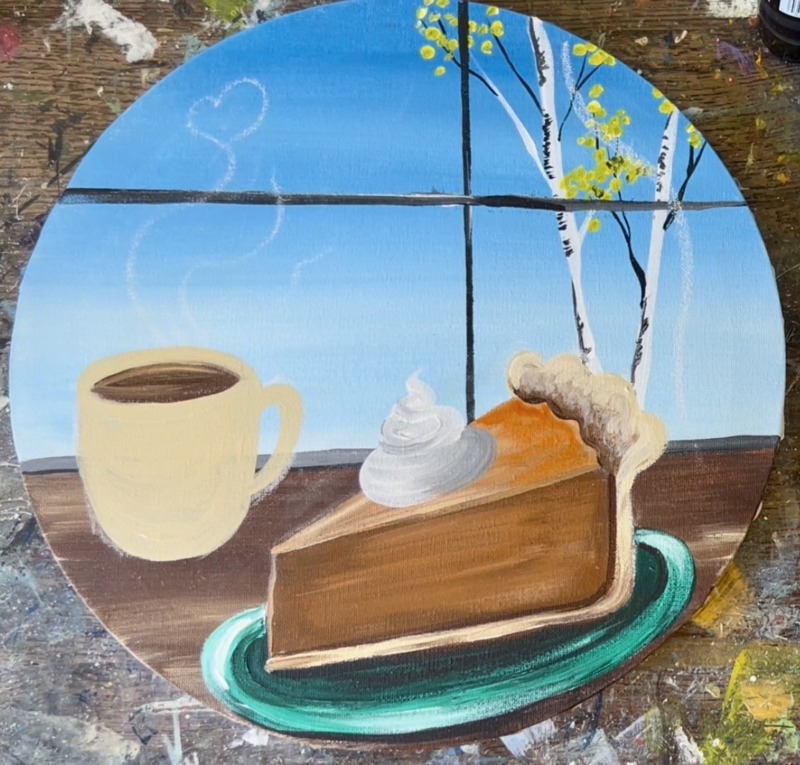
9. Second Coat Of Paint On Pumpkin Pie (optional)
Apply a second coat of paint to the pumpkin pie custard part. Use the orange and lightly apply it around the whipped cream and below the pie crust (just on the top flat part of the pie). Lightly apply this orange (wipe off the brush if needed) so layers below still show through. The point is to add more of an orange tone to the piece slice.
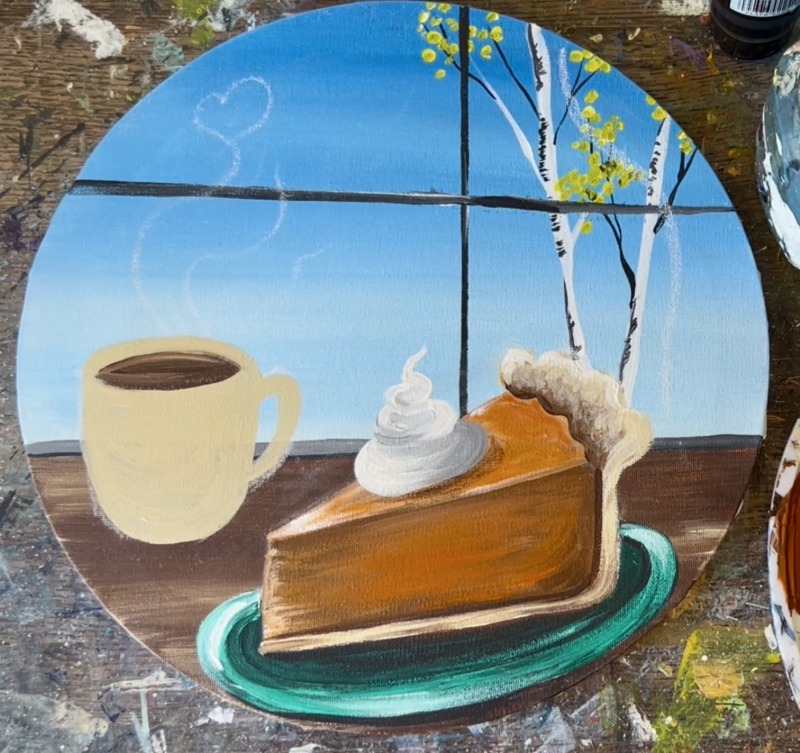
Do the same to the side of the pumpkin but leave the border/ edges darker. Use brown mixed with orange to paint around the whipped cream for some shadowing. Then use white mixed with beige to add some highlights to the end point of the pie slice (on the left) and the vertical line edge of the slice on the edge.
10. Paint Steam & Mug Details
Use the #4 round brush and titanium white to paint the steam. Load only tiny bits of white to the end of the brush to paint the steam so it’s a little “translucent”. Paint a swirl inside of mug on the liquid top as well.
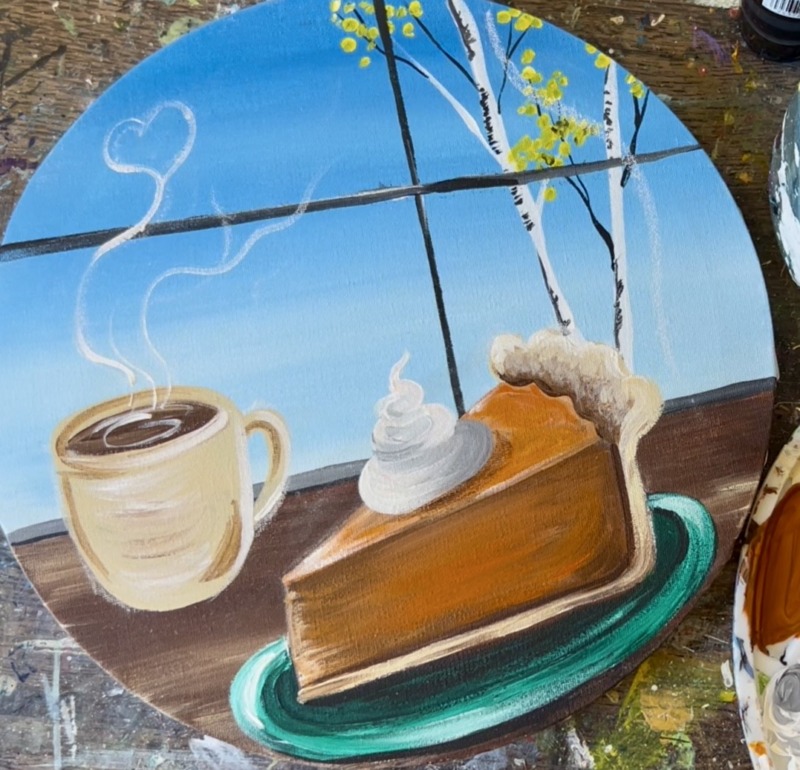
Add some shadowing to the mug. Mix dark brown with the beige and paint curved marks on the lower right, far left, around the rim and on the left side of the handle. Then highlight the mug by mixing white with beige. Use that color to paint the right side of the handle, around the rim and dry brushed curved marks on the entire shape of the cup.
Then use orange and brown to paint a cute pumpkin on the side of the mug.
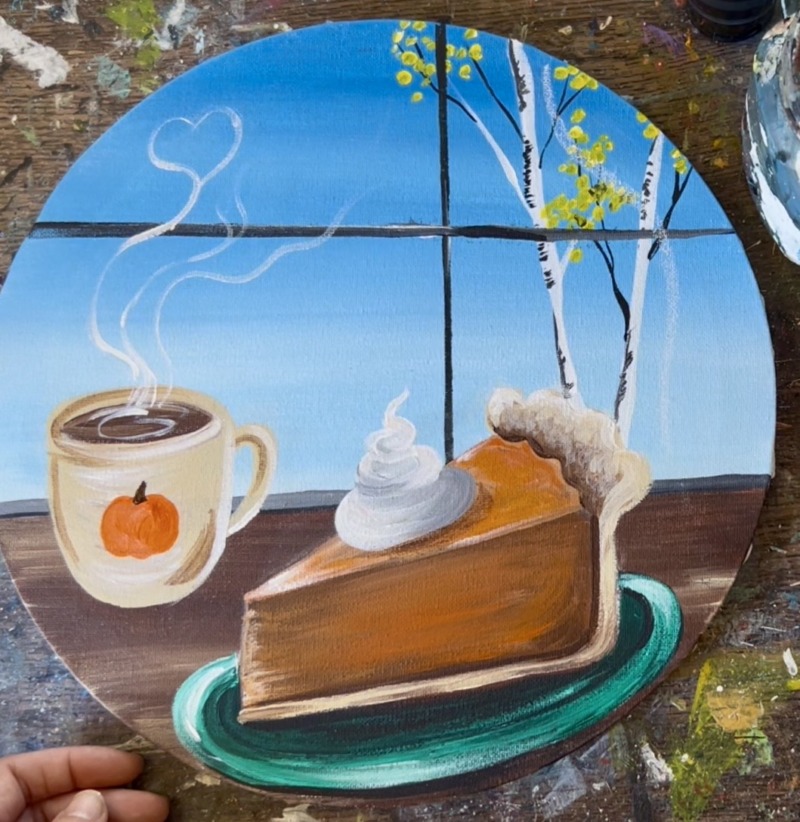
11. All The Final Details (acorn, leaves and sheer curtain)
Paint an acorn between the mug and the pie. Mix a light golden brown by mixing “raw sienna” with “unbleached titanium” and a little bit of “cad orange hue”. You want to make sure the color shows up just lighter than the table. Then paint the bottom of the acorn shape. It is a U shape with a point on the bottom. The “cap” of the acorn is darker brown so mix a little dark brown into your color and paint a little curve and stem on the top for the cap.
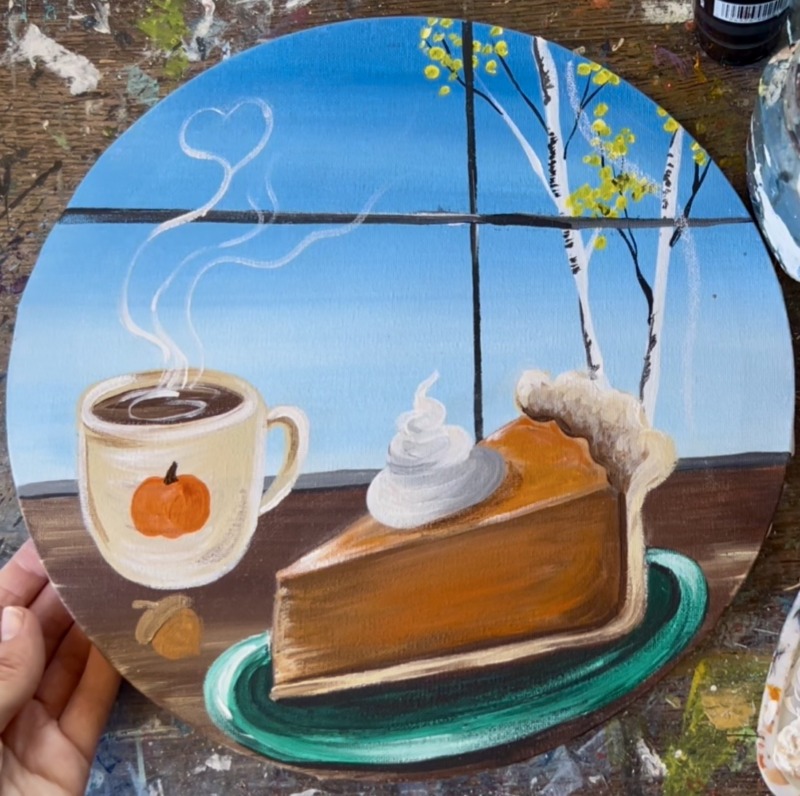
Lightly outline the left sides of the acorn with black. Then use white to lightly highlight the right side of the acorn. This helps it to pop a little better!
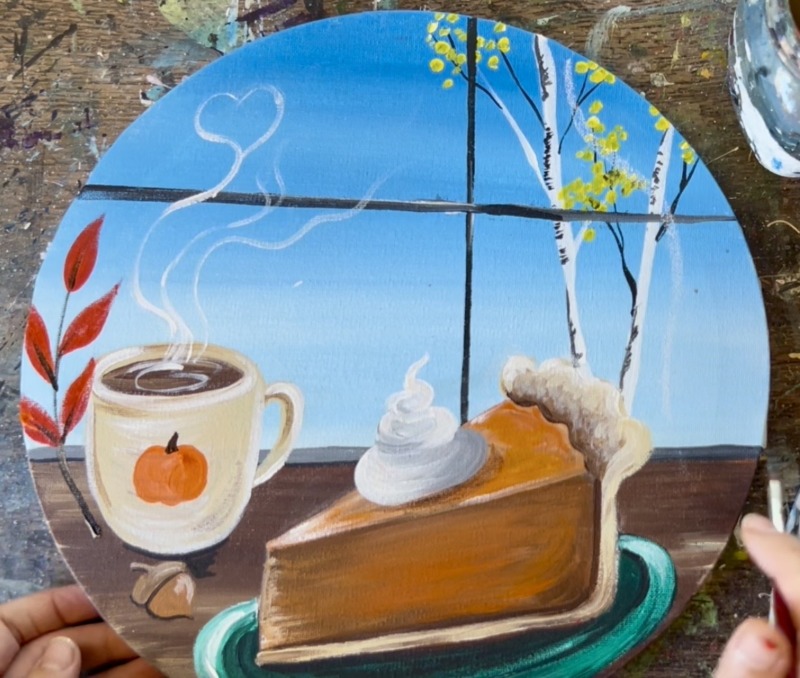
Paint the leaves of the “leaf spay” to the left of the coffee mug. Paint a dark brown stem that curves with the shape of the edge of the canvas. Then use “pyrrole red” to paint narrow pointed leaves on each side of the stem.
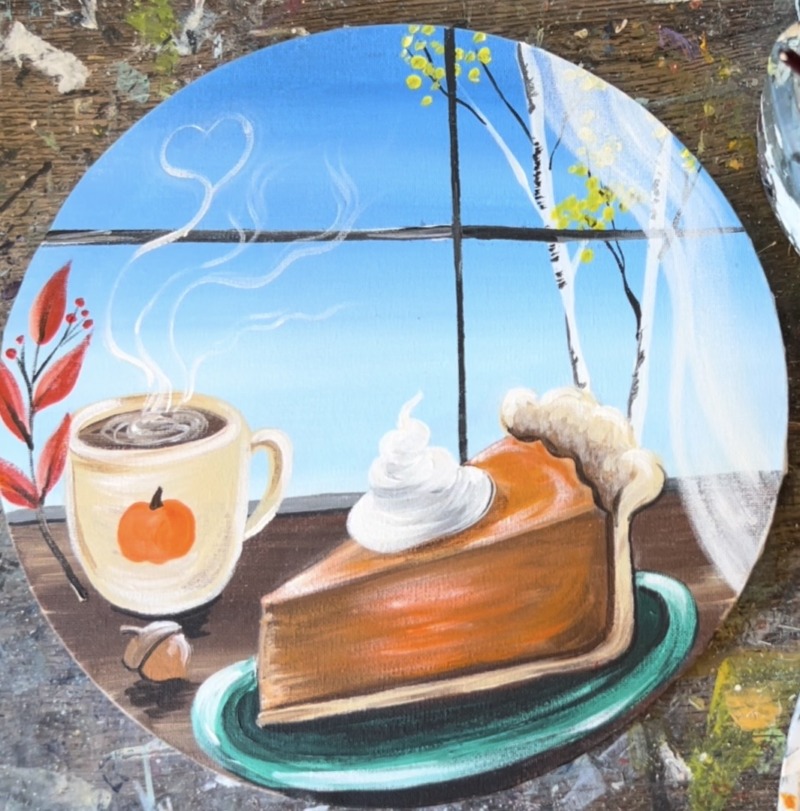
To do the sheer curtain, use the #12 bright brush and “dry brush” titanium white. Load the brush in white and then wipe it off with a paper towel. Start by outlining the far left edge of the curtain. Then lightly brush the color so that it shows the paint layers underneath.
Paint dark black shadowing under the acorn and under the mug. Finally, paint little stems and berries on the red leaf spray.