
Would you like to save this?
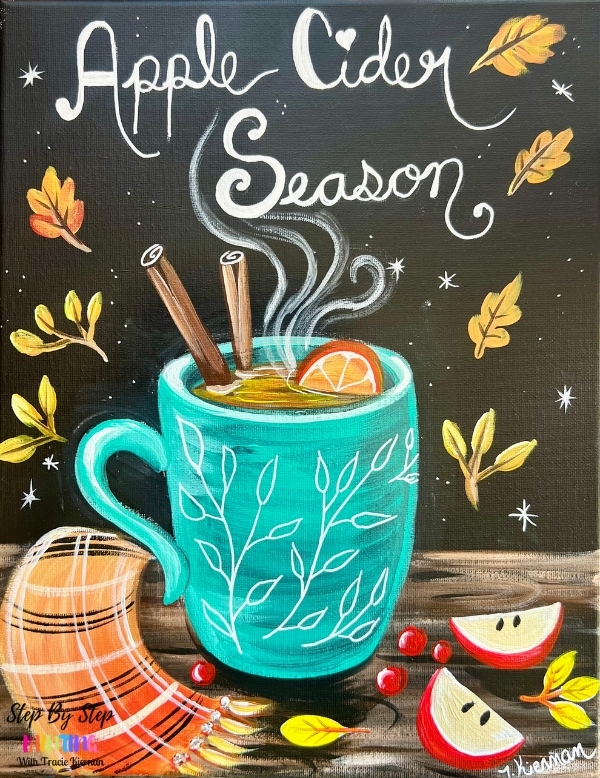
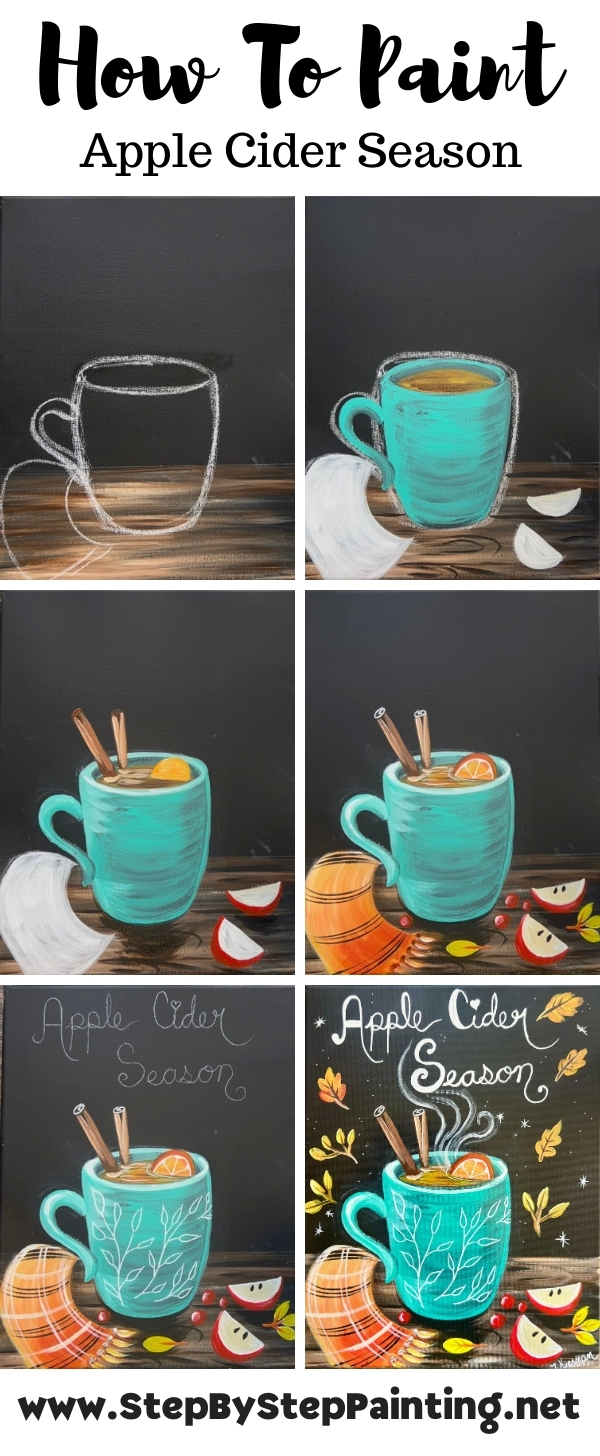
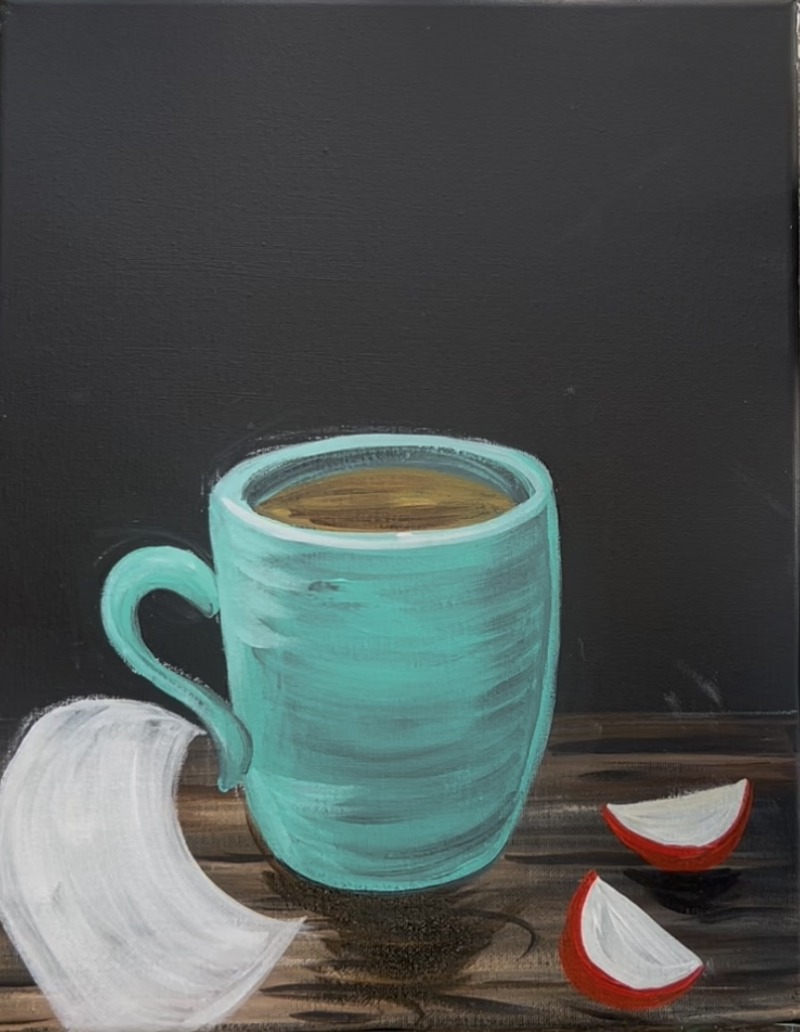
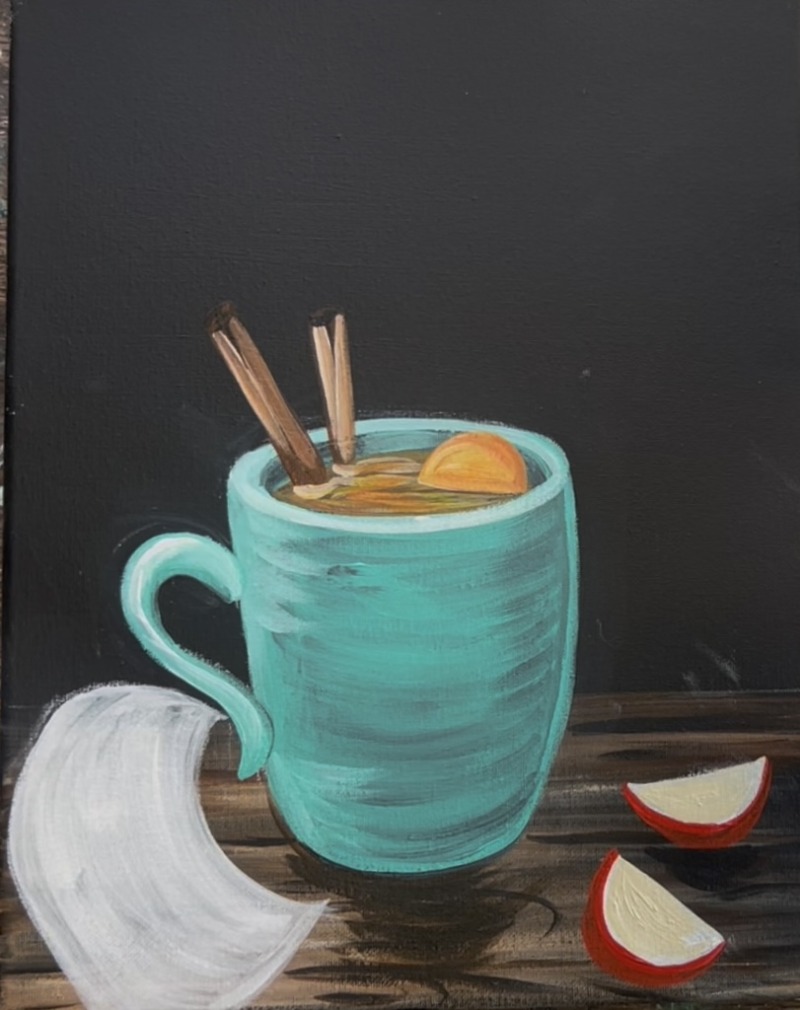
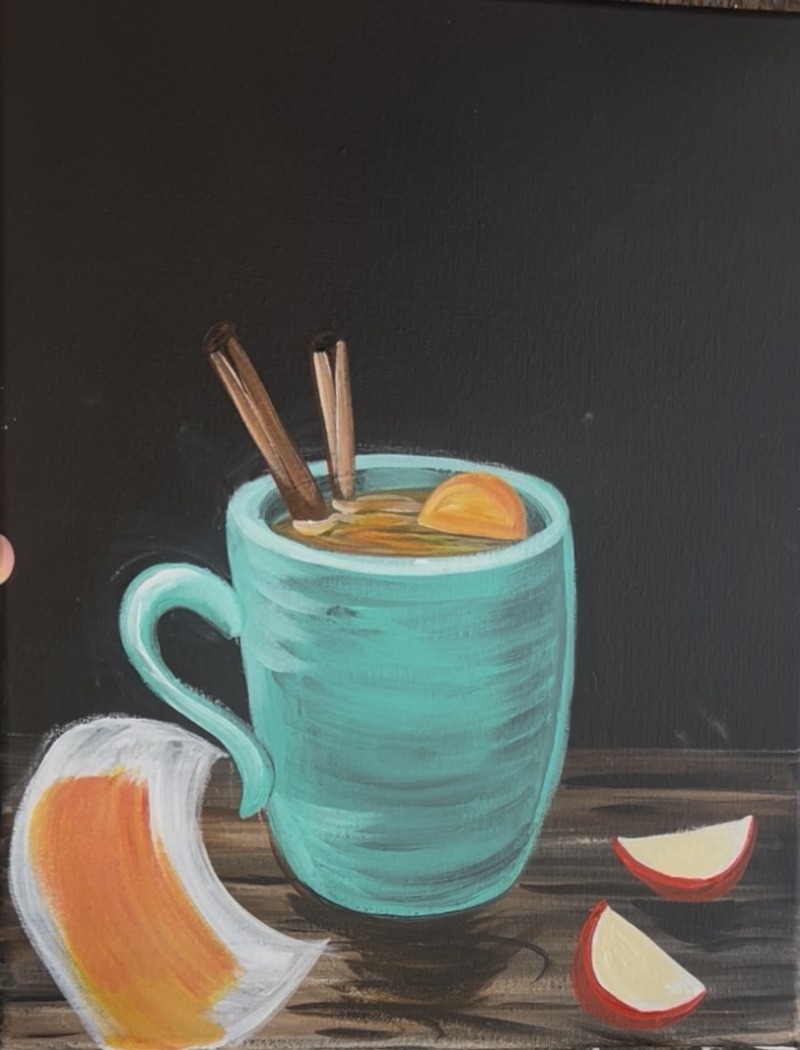
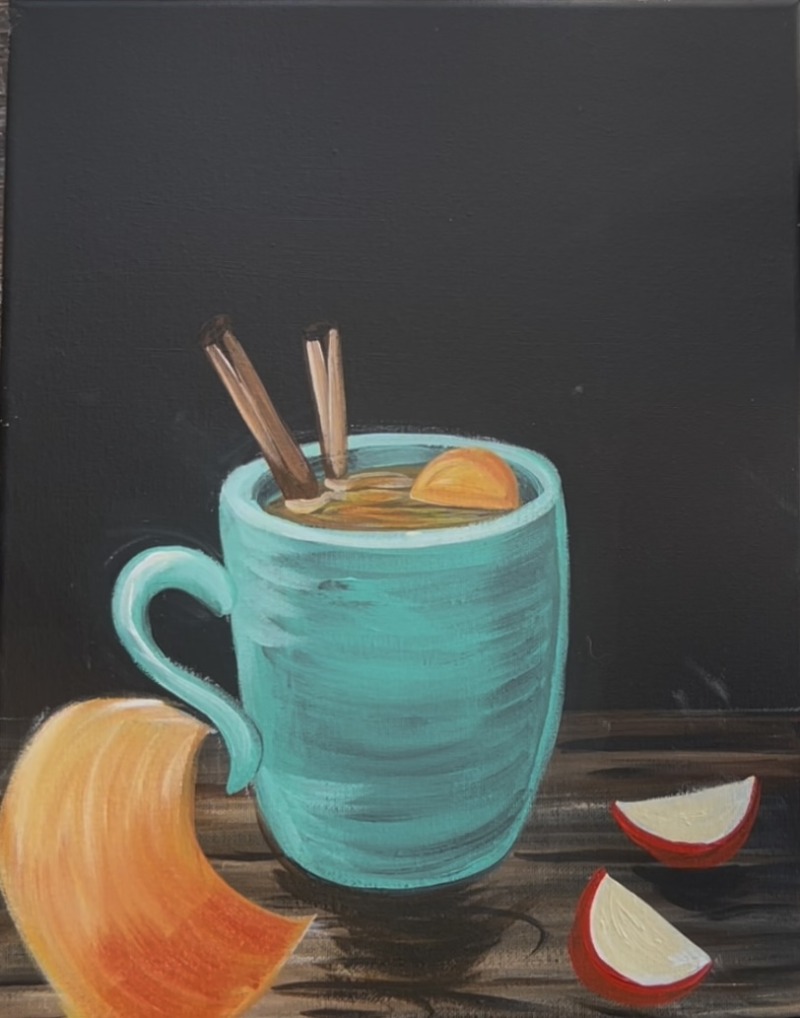
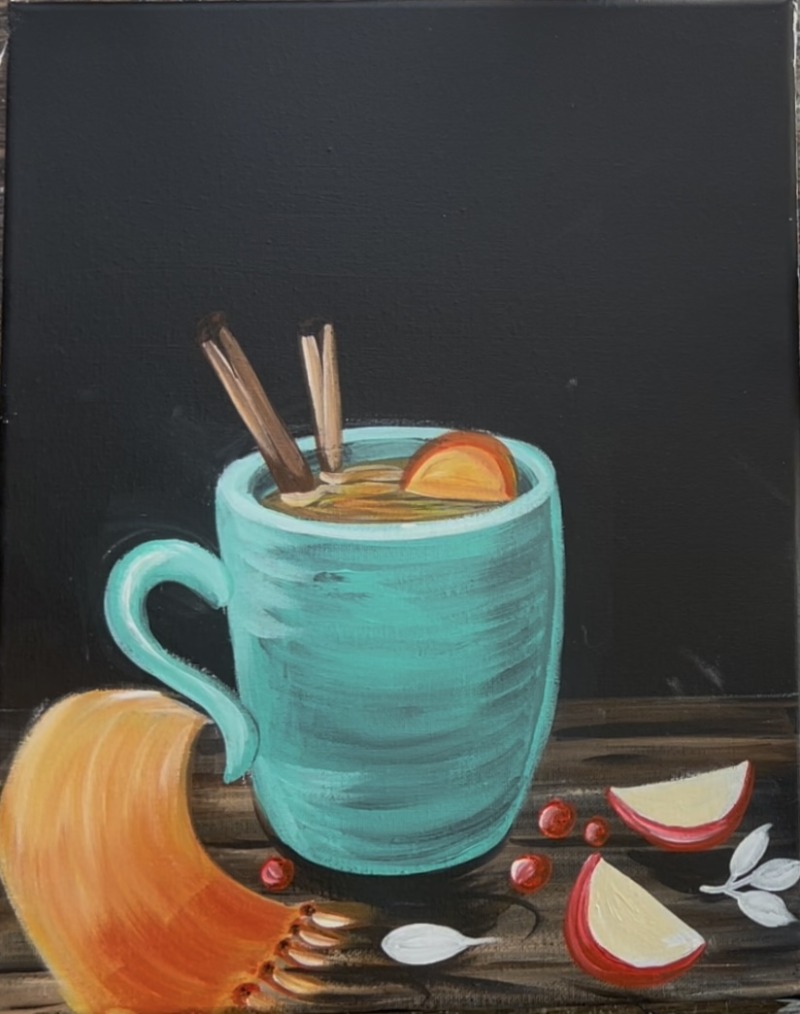
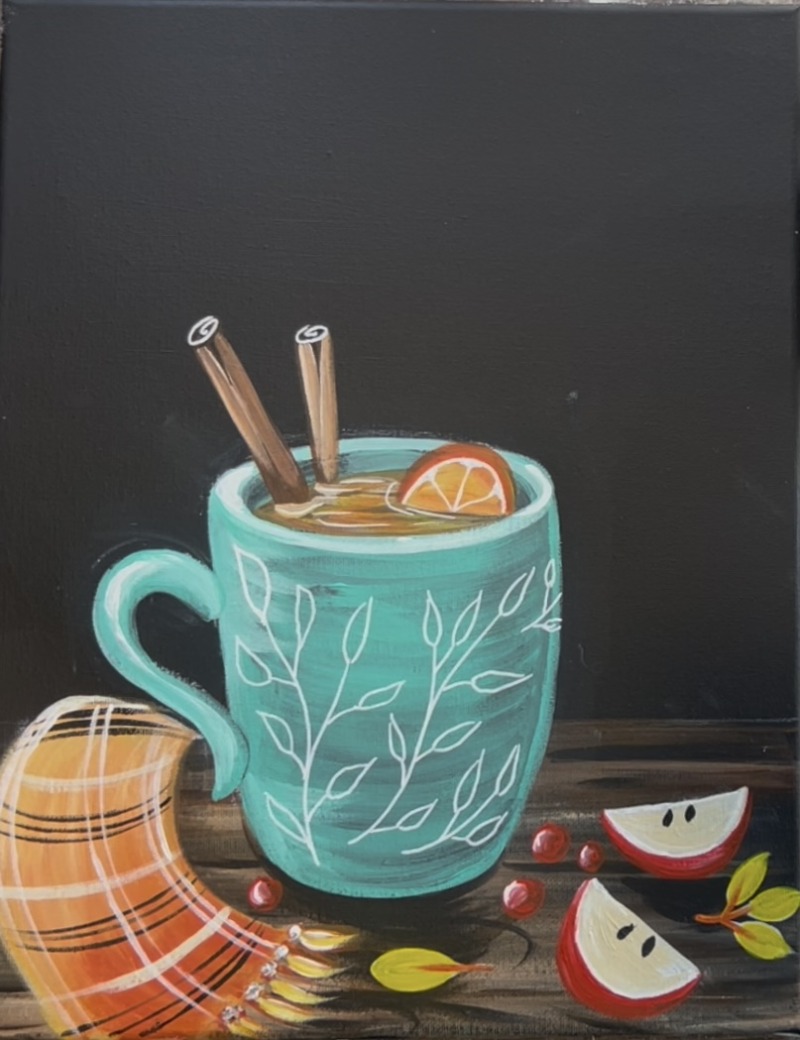
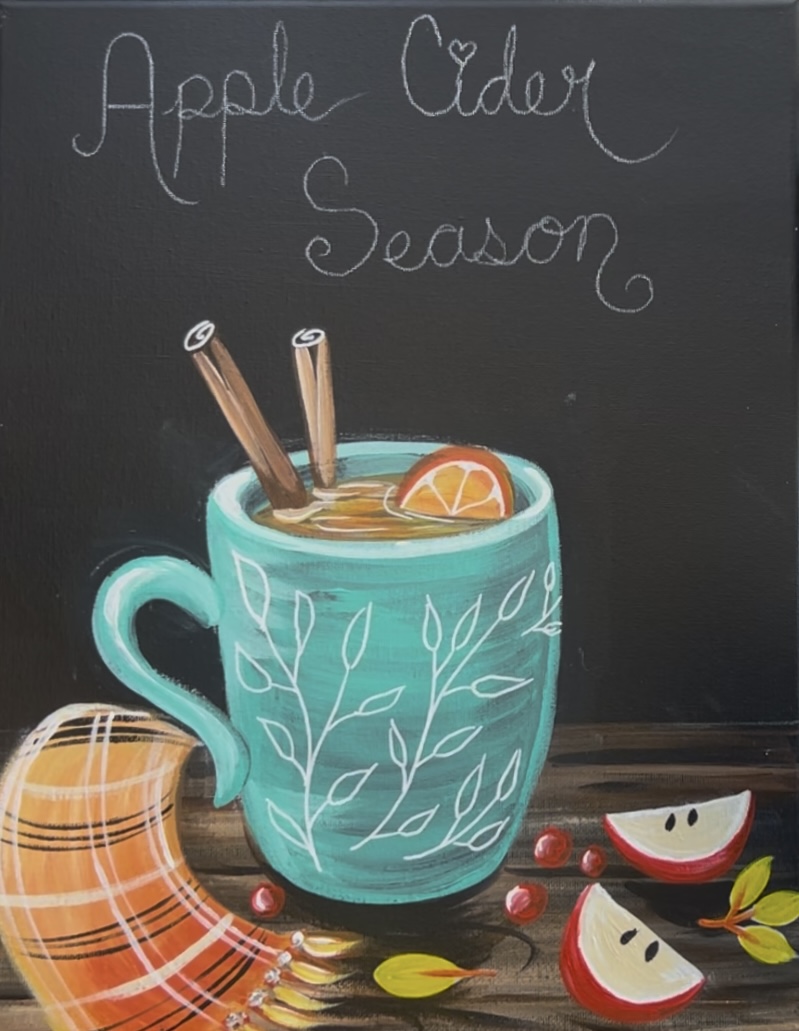
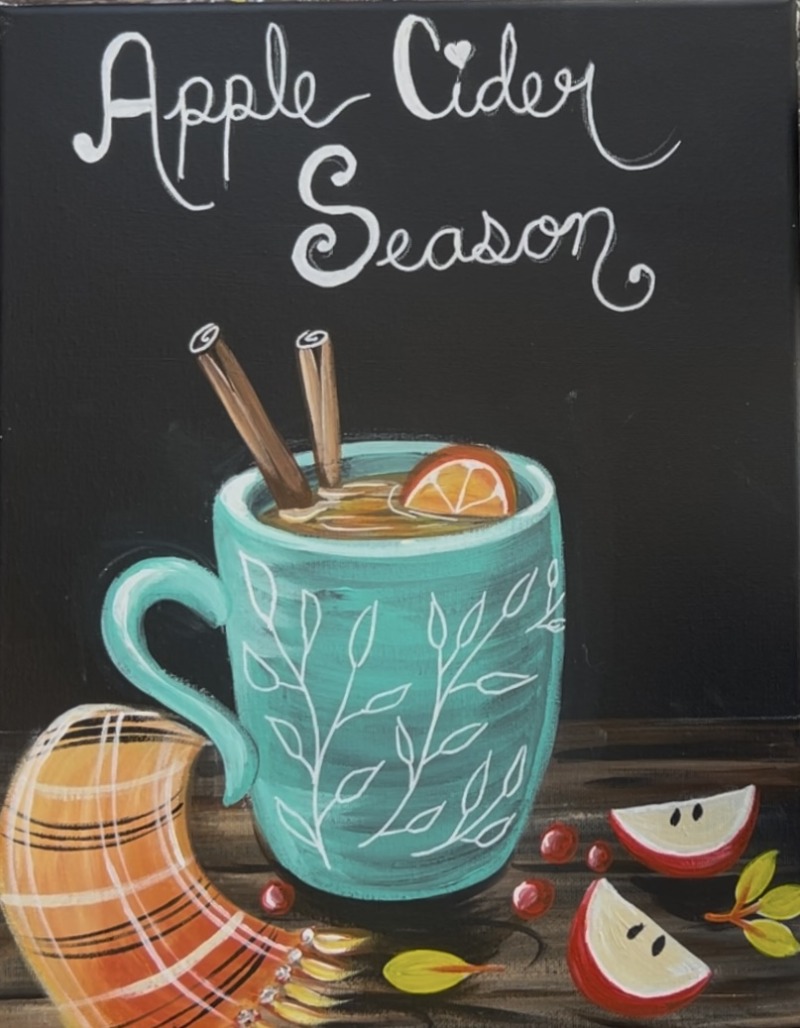
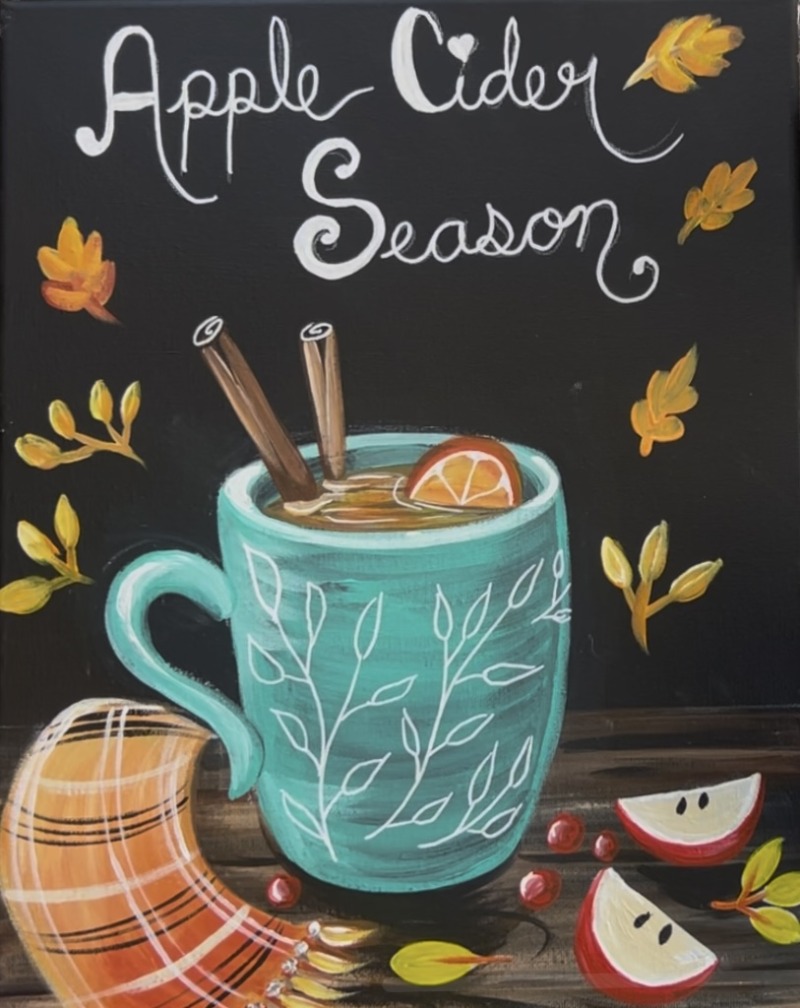
This painting is a cozy and whimsical autumn-themed piece done on a black canvas. At the center is a large teal mug decorated with white leafy designs, filled with hot apple cider. Two cinnamon sticks and a slice of orange float at the top of the steaming drink, with white swirls of steam rising upward.
The bottom of the painting features a wooden tabletop with a cozy orange plaid scarf draped across it. Beside the mug are apple slices, bright red cranberries, and autumn leaves!
This painting is beginner-friendly, with bold, simple shapes and easy layering techniques. You’ll get to practice fun brush strokes for leaves, lettering, and steam. By the end, you’ll have a cheerful fall piece that feels both rustic and whimsical—perfect for the season!
Enjoy and happy painting!
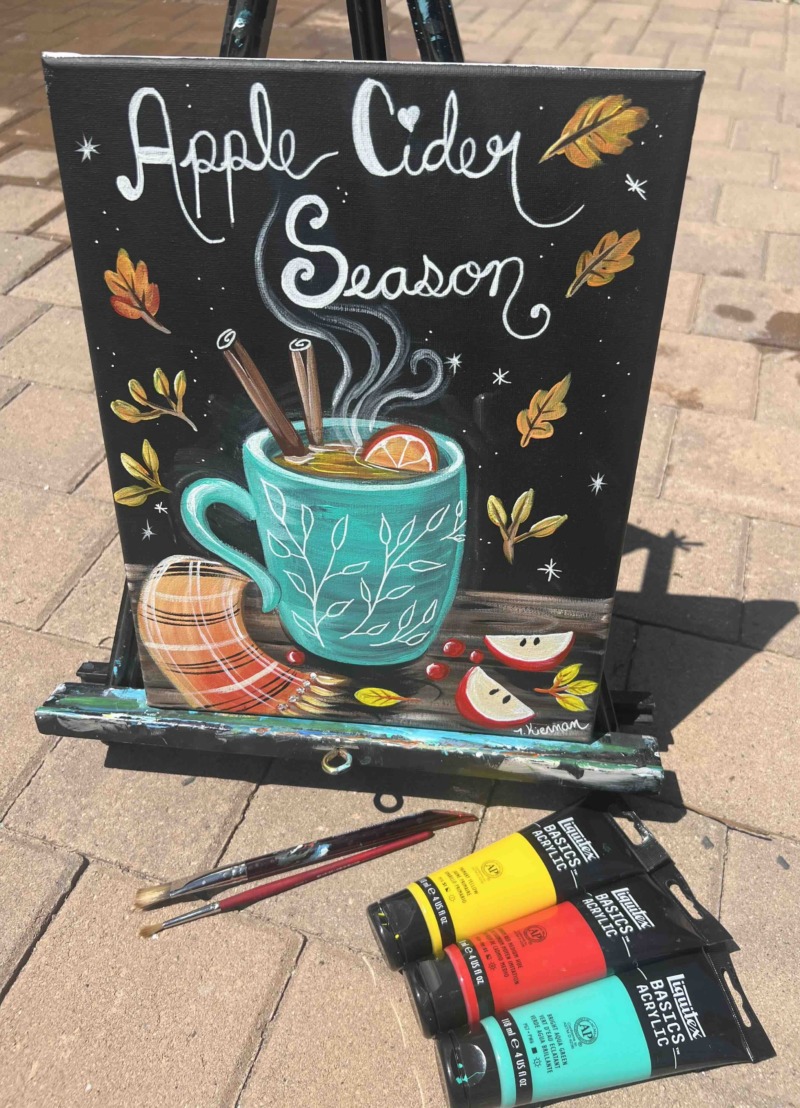
Materials Needed
Apple Cider Season
This painting is done on a black canvas.
Materials
- 11 x 14 Canvas Painted Black
- Acrylic Paints (I use Liquitex BASICS)
- Brushes (Princeton Velvetouch)
- White POSCA Paint Pen
- White Chalk Pencil or White Chalk
- Ruler
- Optional Traceable Template
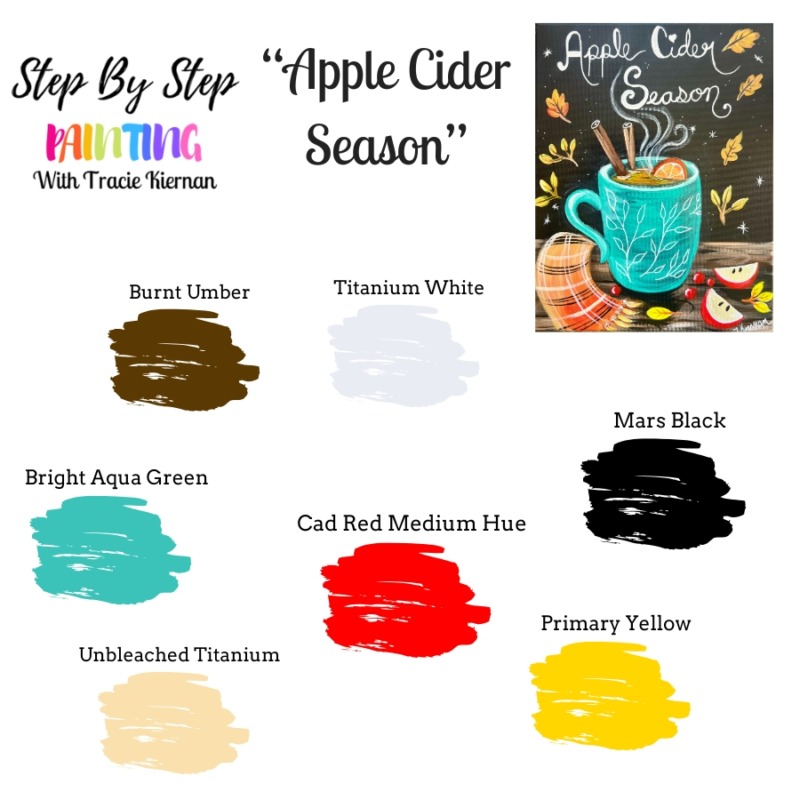
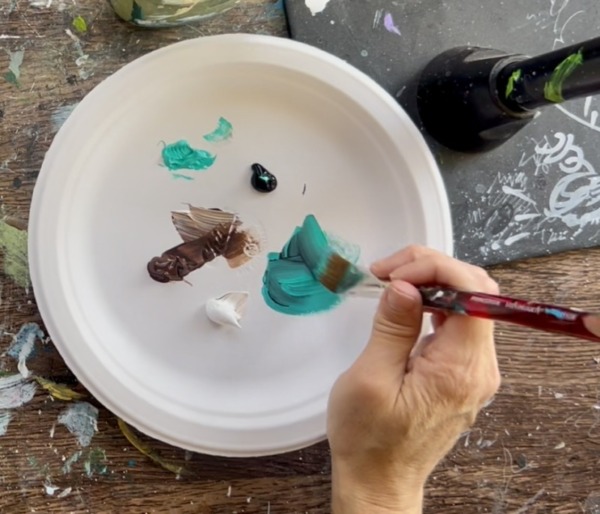
Colors
- Titanium White
- Mars Black
- Cadmium Red Medium Hue
- Primary Yellow
- Unbleached Titanium
- Bright Aqua Green
- Burnt Umber
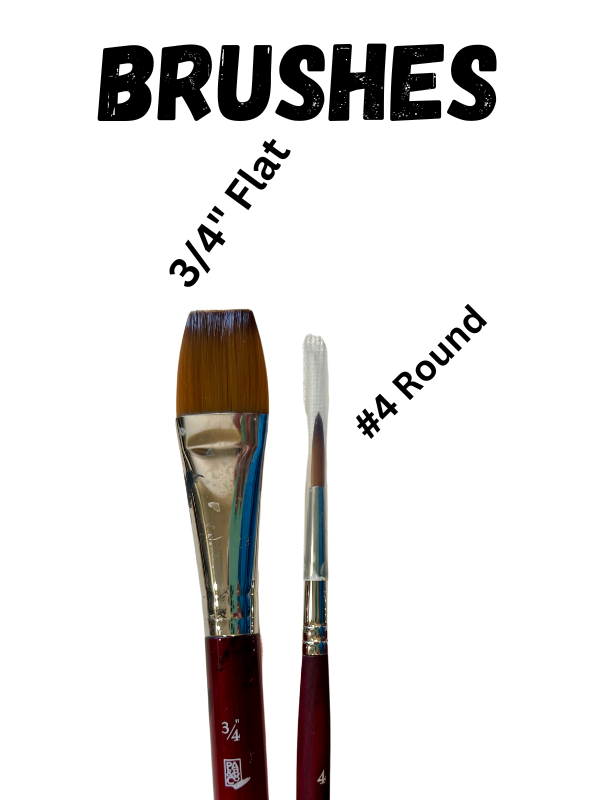
Brushes
- 3/4" Flat
- #4 Round
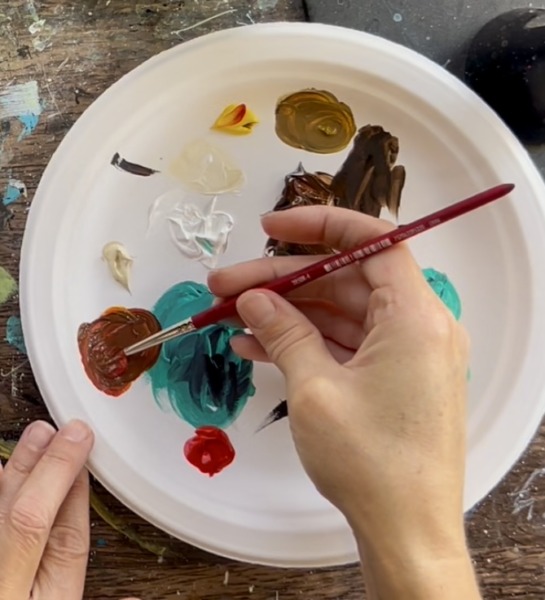
Color Palette
Directions At A Glance
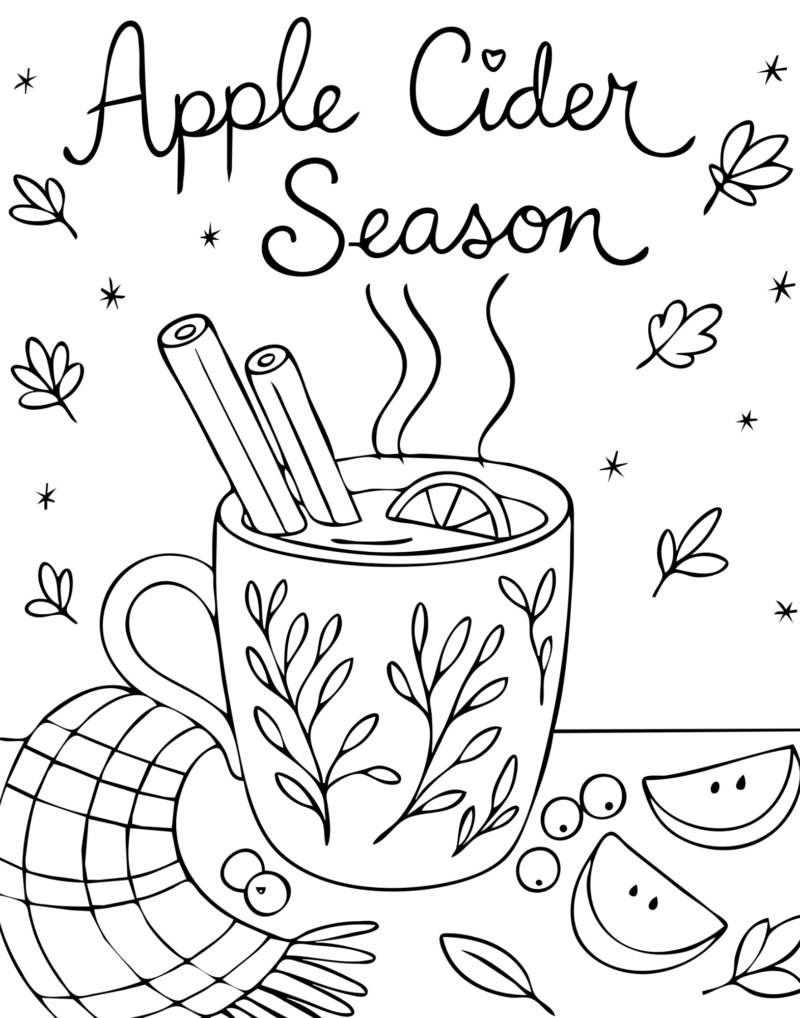
Traceable (optional)
If using the traceable, I recommend transferring this using white graphite paper over the black canvas. I do not use this traceable in the tutorial, I will show you how to draw the mug! However, if you love using the traceables, this is available for you to download, print and use!
Video
Step By Step Instructions:
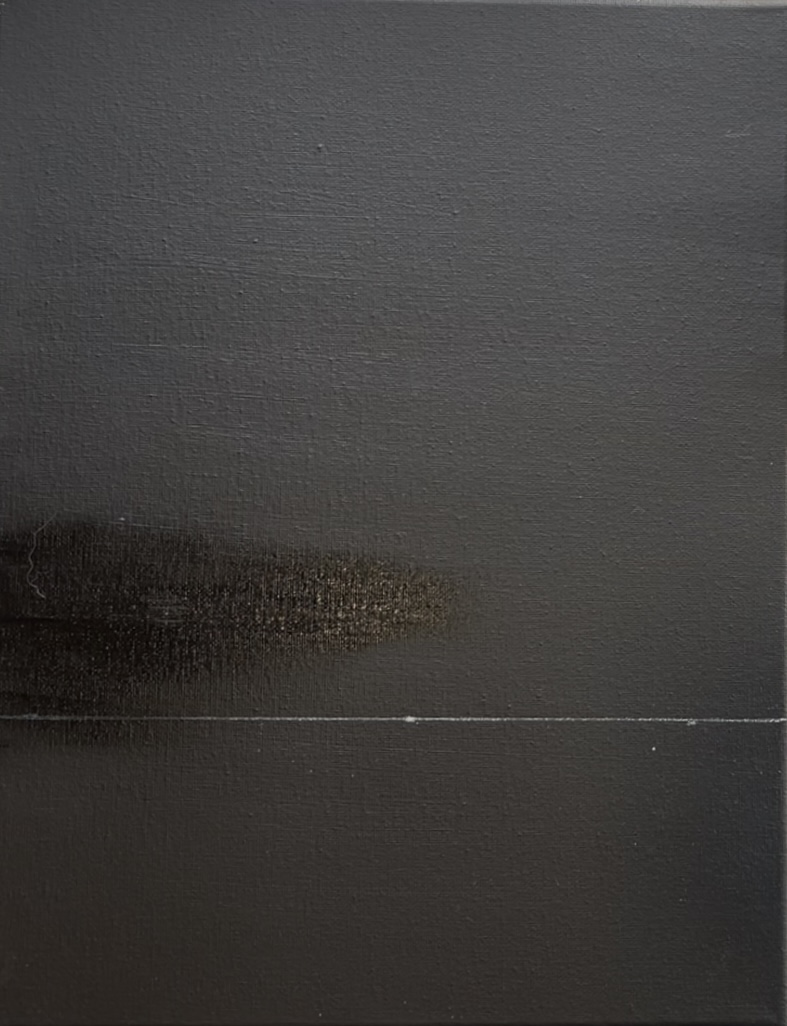
1. Draw table line & paint table
First paint a blank canvas with one coat of black paint or paint over a “mess up painting” with one coat of black paint. For this painting, I used Liquitex BASICS “Mars Black”, however, you can use any kind of black paint for this! Sometimes I will use “Apple Barrel Matte Black” for a more matte finish for the background of these types of paintings.
After painting the canvas black, let it dry. Then draw a white horizontal line across the canvas on the bottom. Measure about 4″ from the bottom edge of the canvas for this line.
Then load your paint palette with the two colors: “burnt umber” and “titanium white”. Double load your 3/4″ flat brush in both of the colors (add a little more brown than white).
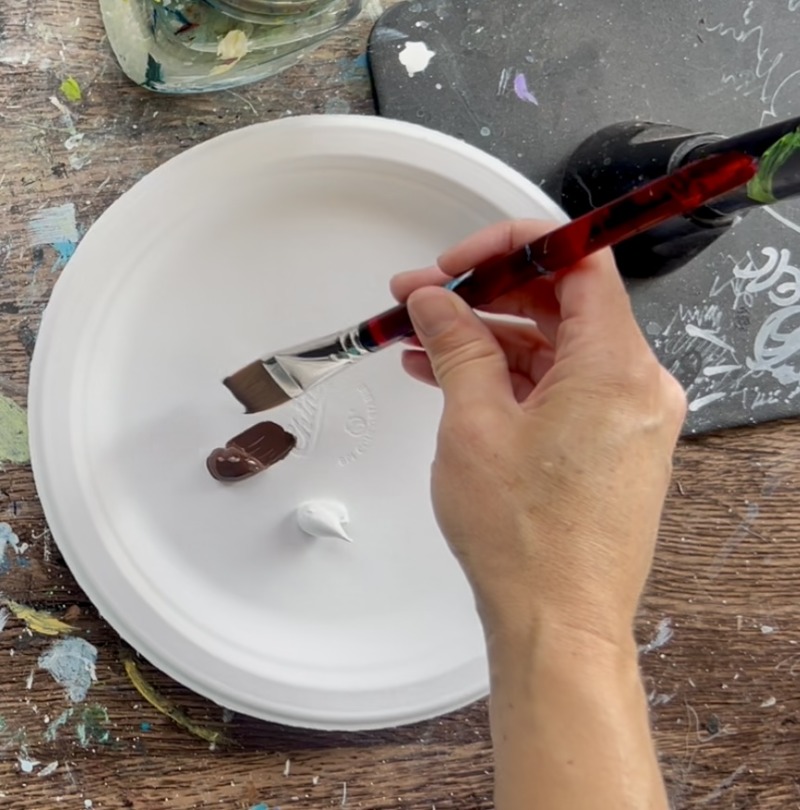
Brush left and right paint strokes and blend the brown and white on the table area. Create a “streaky look” with the two colors gently blending together but not blending all the way. Leave a little bit of the black from the background still showing through.
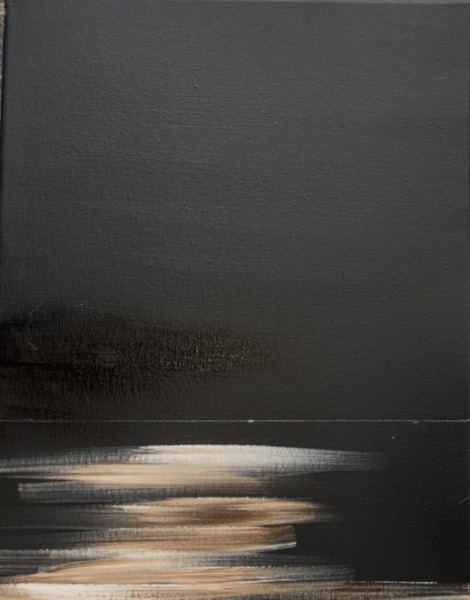
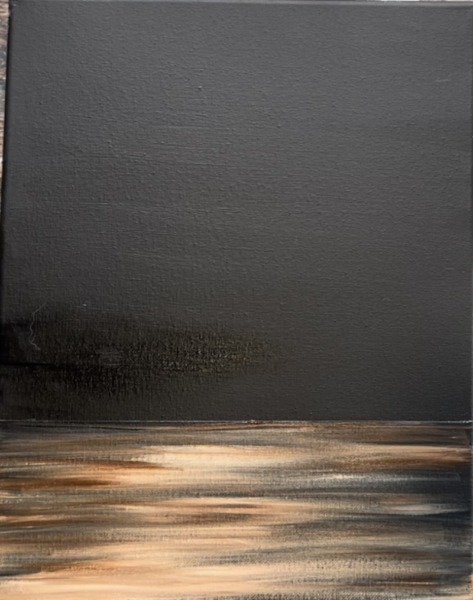
Let this dry before going onto the next step!
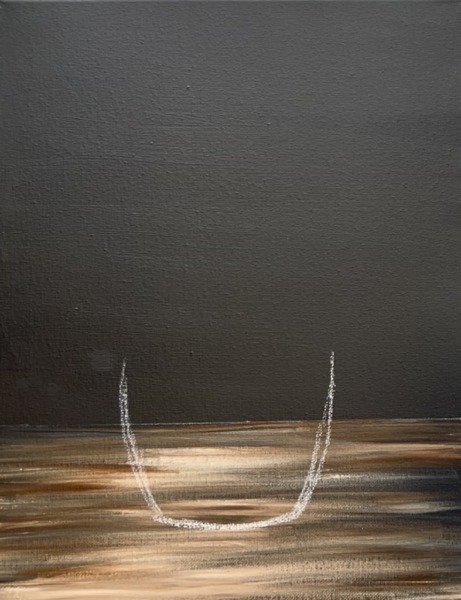
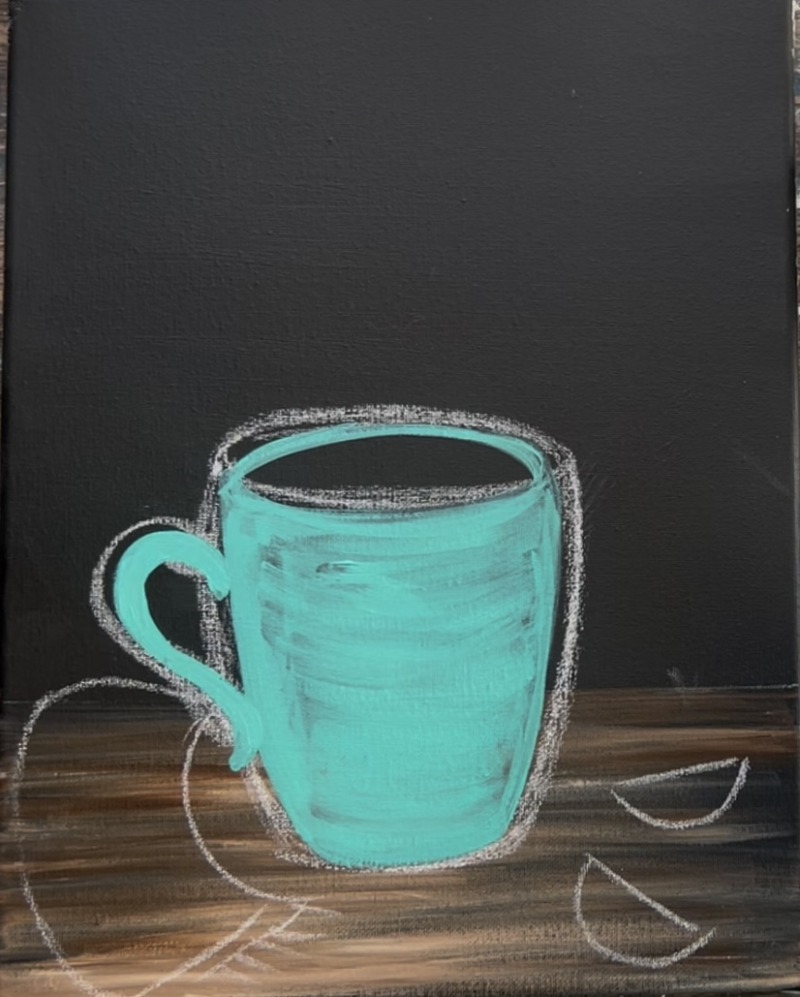
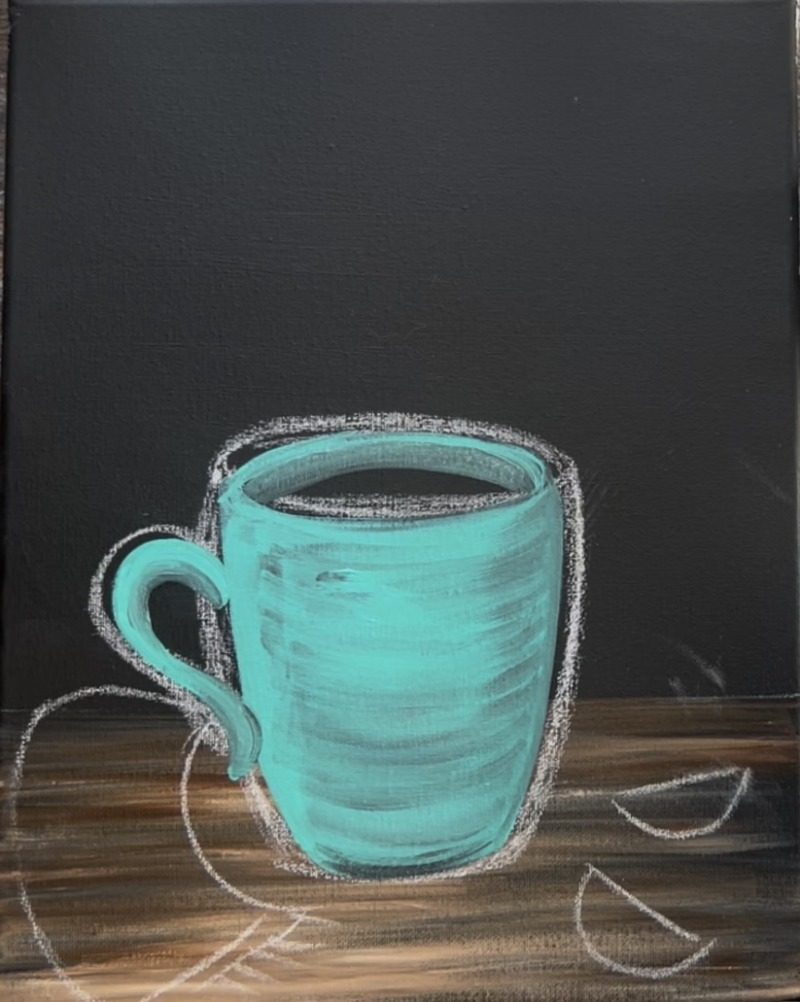
2. Draw Mug, Scarf & Apple Slices
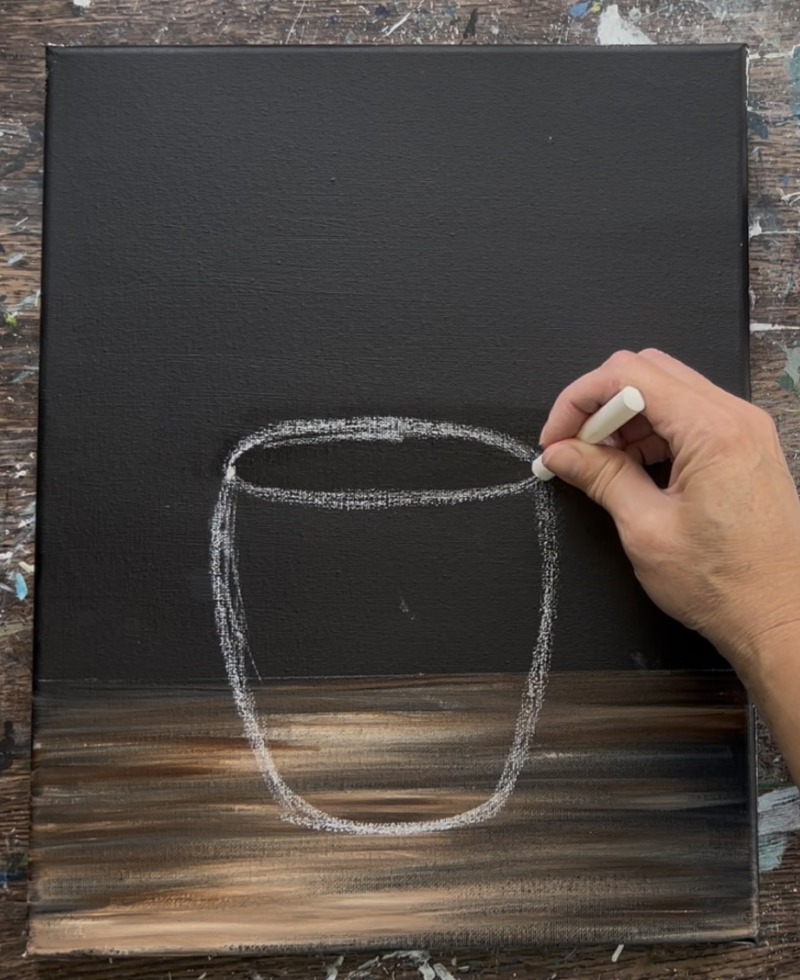
Use a piece of chalk or chalk pencil to draw the mug. Start by drawing the bottom of the mug (this is exactly in the center of the table area).
Then draw an oval shape for the top of the mug. This is about 4.5″ wide and the top of the rim is about 6″ from the bottom of the mug.
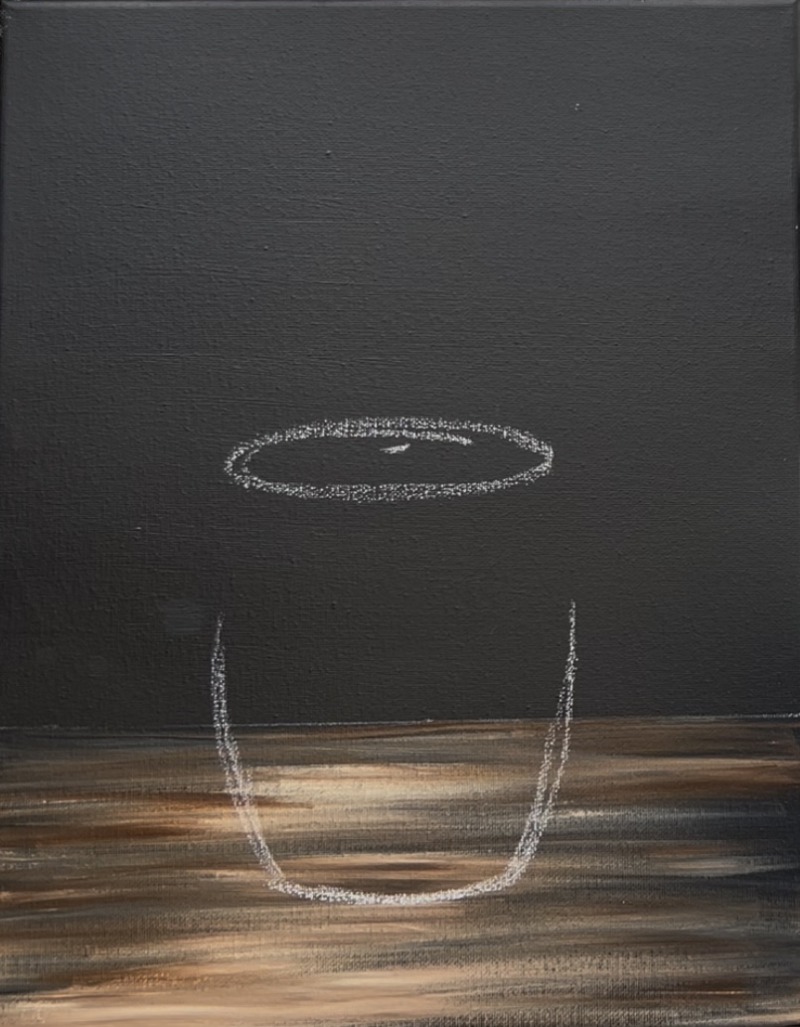
Continue the sides of the mug to meet the opening.
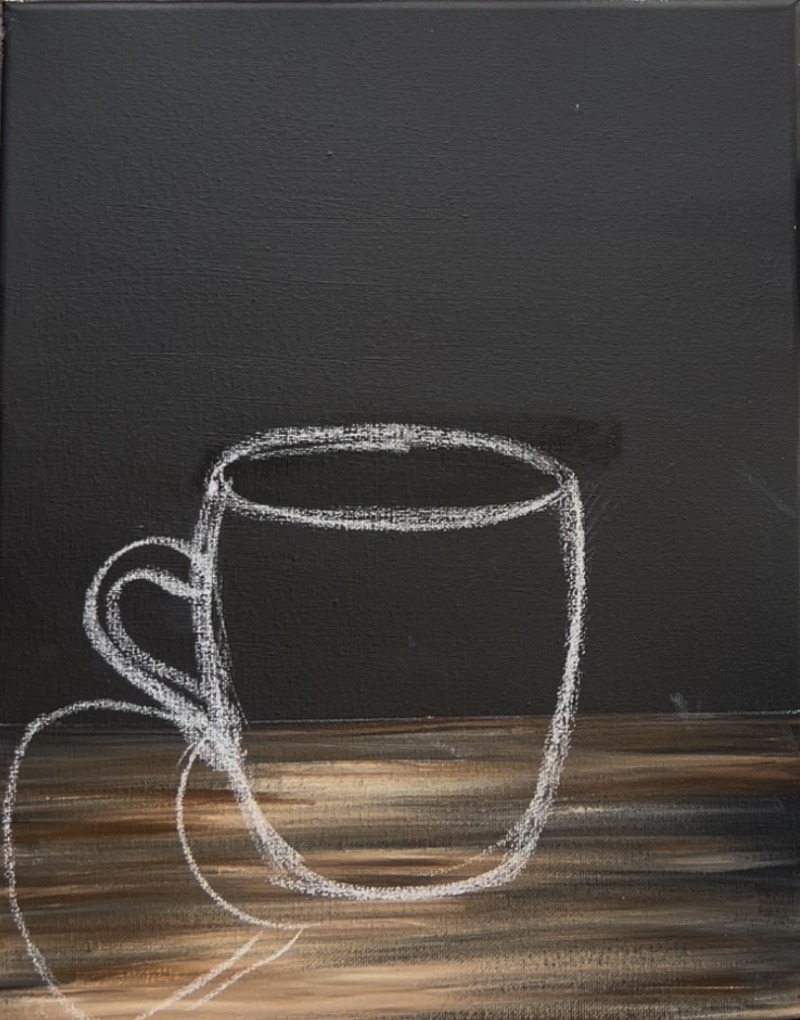
Then draw the handle of the mug. This is similar to a candy cane shape!

Draw a scarf shape on the left of the mug. This is a curved shape that goes off the back edge of the table and curves slightly in front of the mug.
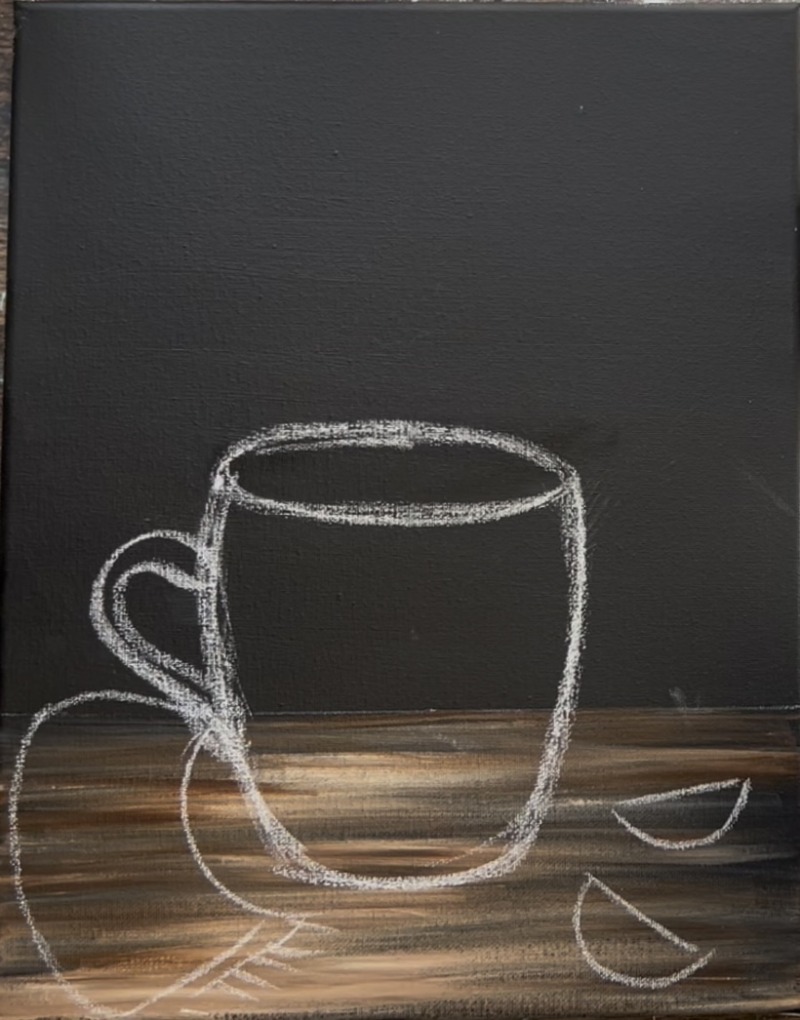
Draw a pair of half circle shapes for the apple slices.
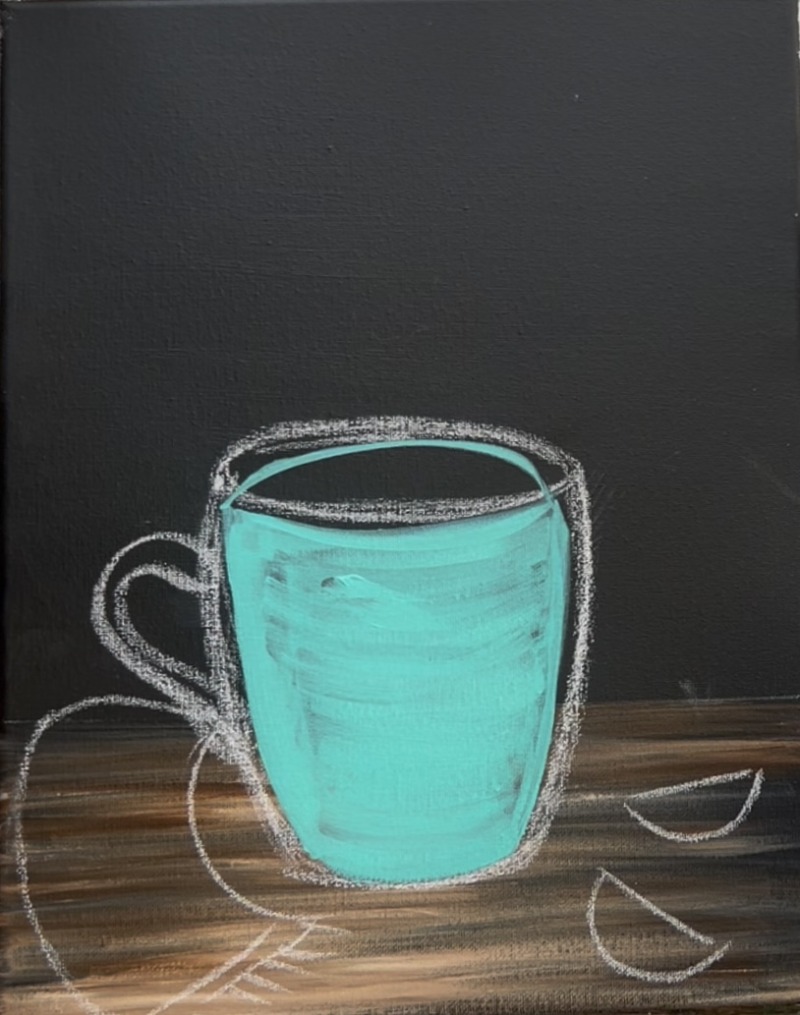
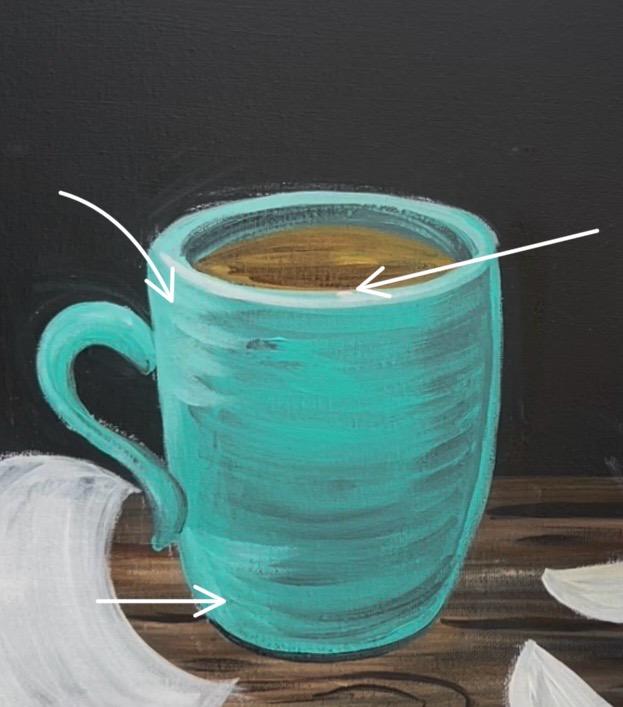
3. Paint Mug
Load your paint palette with the color “bright aqua green”. Use the 3/4 flat brush to first outline the edges of the mug shape. Then fill the mug in using full width, curved paint strokes. Make your paint strokes go curved to give your mug form!

Note: I did not follow my chalk drawing exactly and that’s okay! Leftover chalk will erase after the paint dries.
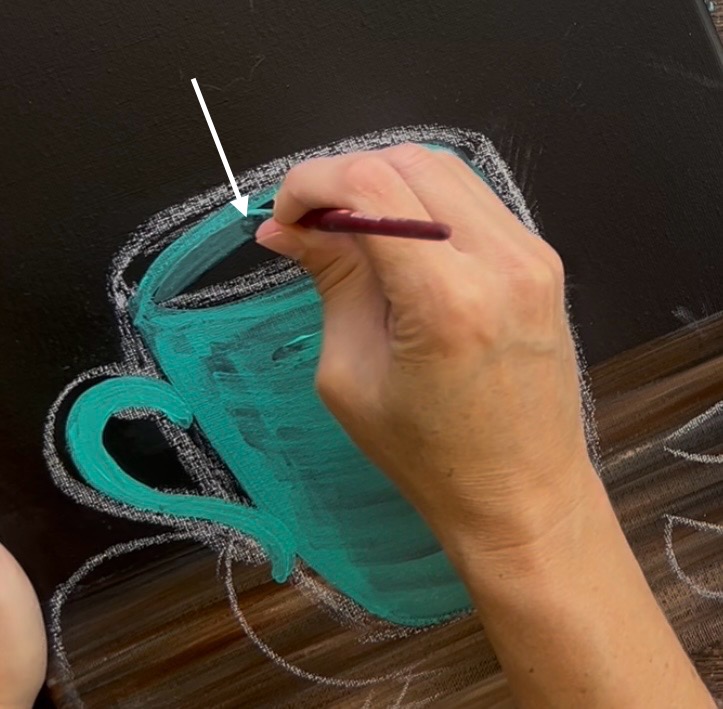
Use the #4 round brush to paint the “rim” of the mug.
Start out slow with very thin lines and then gradually form the shape of the rim. Then paint the handle using the #4 round brush.
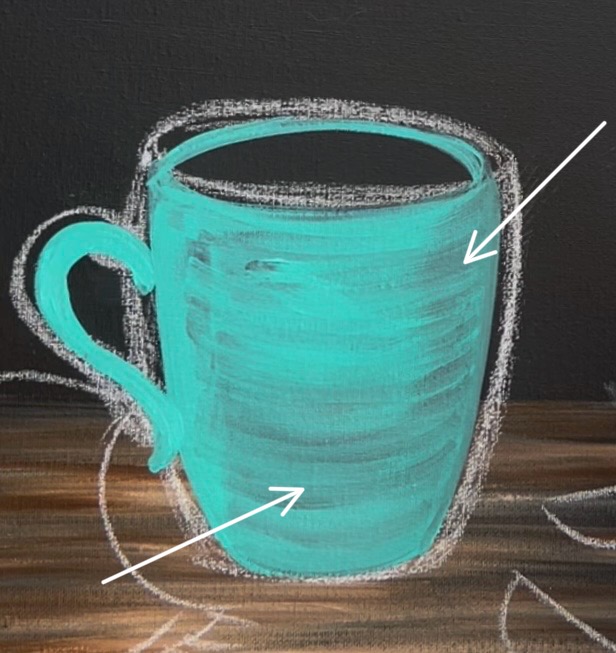
Next, do some “shading” on the mug. Mix “bright aqua green” with “mars black” on your palette to make a darker aqua color. You only need about 1 part black to 3 parts aqua for this!
Add this shade of turquoise to the bottom and the top right side of the mug. It will look very subtle right now but enough to give the mug a little bit of “shadowing”.
Then use the #4 round brush and this darker turquoise to paint the inside of the mug. Leave a blank black opening for the liquid inside this mug that we will paint in a later step.
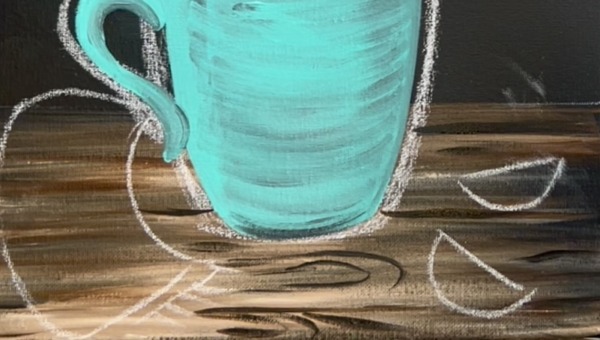
4. Add Wood Grain Texture On Table (optional)
Use the #4 round brush. Mix “mars black” and “burnt umber” together to make a dark brown. Lightly paint wood grain lines. These are loose, curved lines as well as horizontal lines. Do this around the shapes (since you will be painting over the shapes).
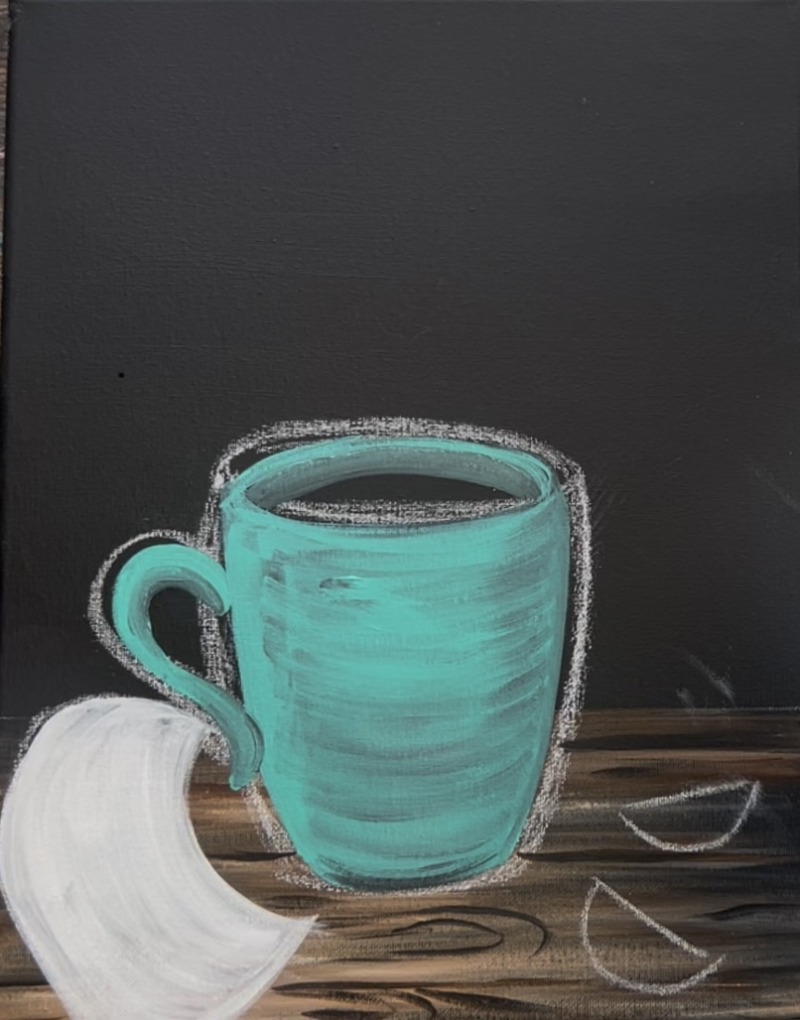
5. Paint Scarf White
Use the 3/4″ flat brush and “titanium white” to paint the scarf a solid coat of white. This is to ensure the scarf will be nice and bright when we paint it orange later!
6. Paint Apple Cider Drink & Apple Slices
On your palette mix: “primary yellow”, “burnt umber” and “unbleached titanium”. This will make a golden brown color for the apple cider liquid! Use the #4 round brush and paint the inside of the mug. Use a little bit of just the brown and blend into it further for some “color variation”.
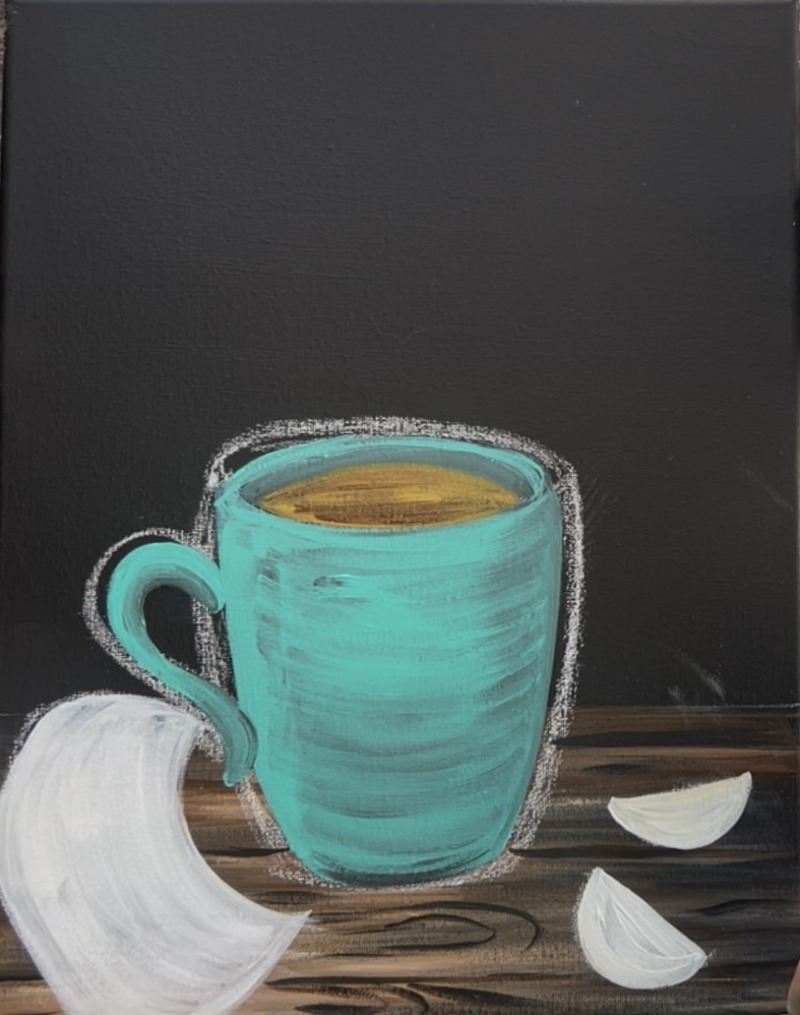
To paint the apple slices, mix equal parts “titanium white” and “unbleached titanium”. Paint the half circle apple shapes with this color using the #4 round brush.
7. Paint Rim Of Mug/ Add Highlights
Mix “bright aqua green” with “titanium white”. Use the #4 round brush and paint the top rim with this lighter aqua color. Then add a few curved strokes to the top left of the mug and bottom left of the mug for some highlights.

8. Paint Peel Of Apple Slices & Paint Shadows
Load your paint palette with “cadmium red medium hue”. Use the #4 round brush to paint the peels on the apple. These are kind of like a “crescent shape”. They are pointed on the ends and thick in the middle.

To do the shadows, use the color “burnt umber” mixed with a little “mars black”. Use the #4 round brush to light brush left and right paint strokes under the mug and under the apples. This isn’t a very thick layer of paint, it is rather thin and somewhat translucent.
9. Paint Cinnamon Sticks & Orange Slice
Mix on your palette the colors: red, yellow and brown (about equal parts all three of those colors). This will make a reddish brown color.
Use the reddish brown color to paint two cinnamon stick shapes that start in the liquid area. Make them go diagonal and paint a small oval on the very top.
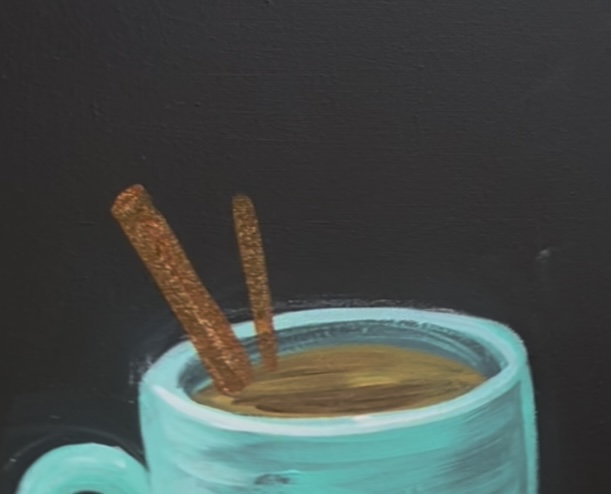
Wipe the brush. Then load it into “titanium white”.Paint two paint strokes going downwards on the side of both of the cinnamon sticks (not on the oval top). Let this blend with the brown. Leave a gap between each of the paint strokes.
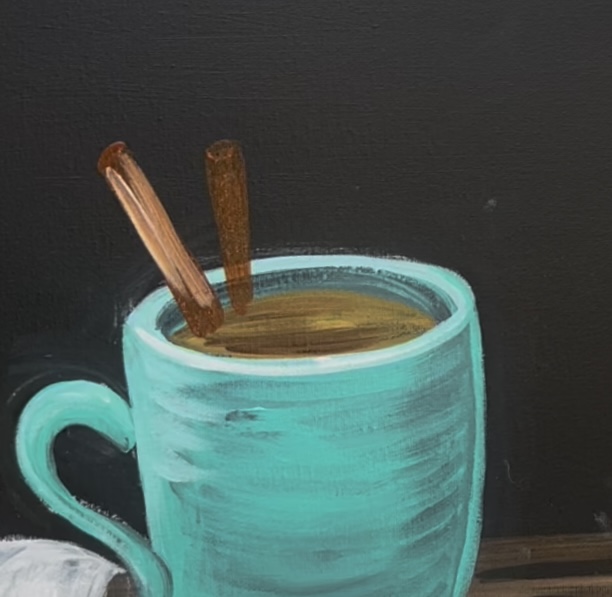
This white paint stroke (which blends with the brown) will make it look like the cinnamon stick curl.
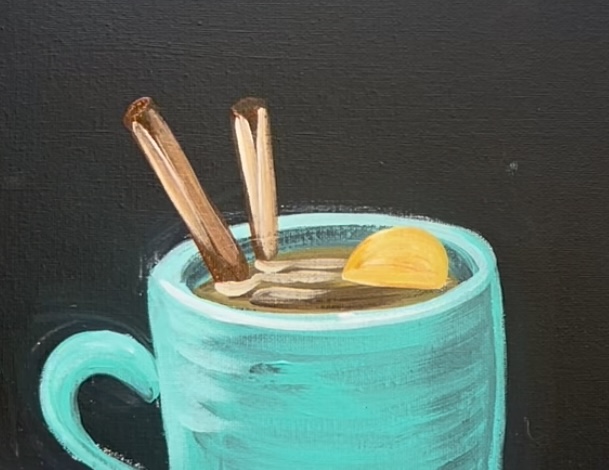
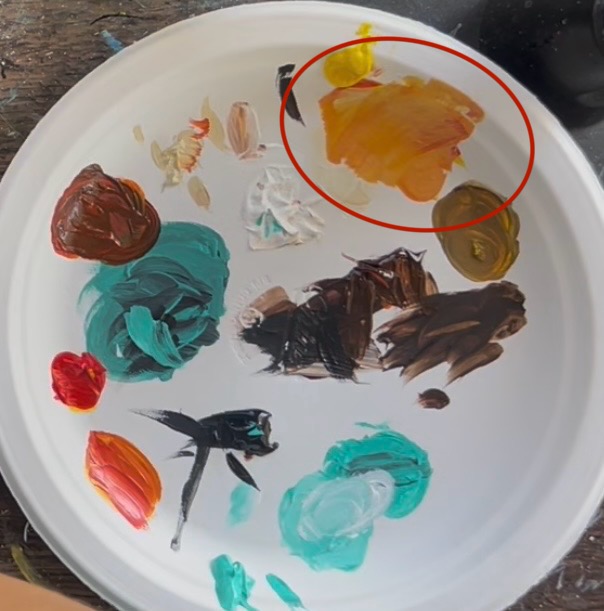
To make the orange slice, paint a half circle shape with “titanium white” first. Then mix 2 parts “yellow” and 1 part “red” on your paint palette. Add this orange color over the white half circle before the white dries.
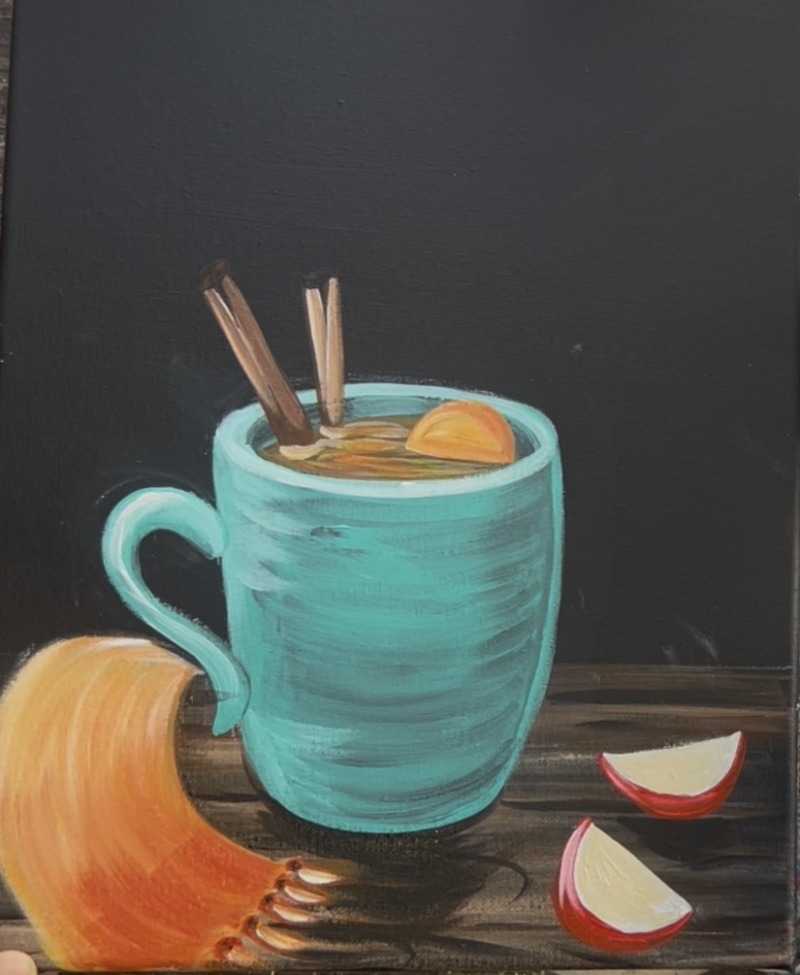
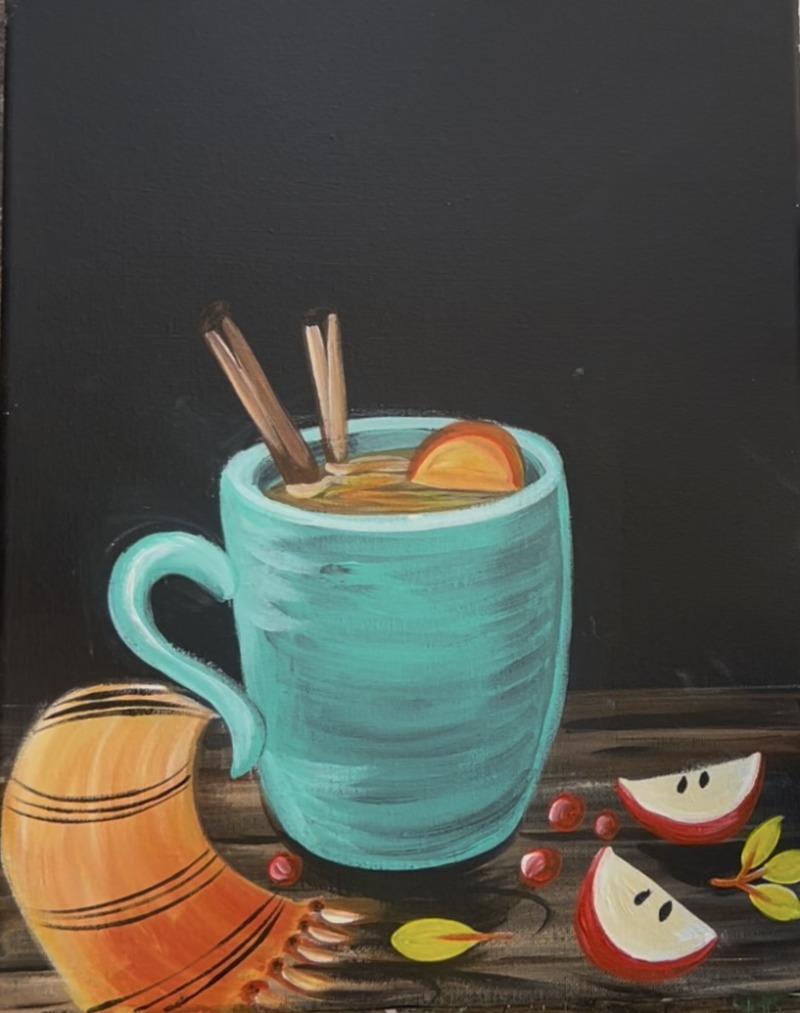
10. Paint Scarf
Mix on your palette equal parts: red, yellow and unbleached titanium. This will make a light tangerine color! Add more yellow in it if needed to make it more “orange”.
Use the 3/4 flat brush to paint the scarf. Paint this using full width paint strokes that go in the curved direction of the scarf.
Then create some “color variation” in the scarf. Add a little red to your brush and blend some of that red on the bottom of the scarf. Add a little white and more yellow to your brush and blend that towards the top where the scarf folds back behind the table.
Use the #4 round brush to paint little “tassels” on the end of the scarf. Use the same orange color to paint little lines on the end of the scarf. Then paint little dark circles attached to the lines on the end of the scarf. You can make your orange darker by adding brown to it. Then highlight the tassels by blending a little “titanium white” over the orange lines you just painted.
11. Paint Cranberries & Leaves
Use the color “red” to paint small circles on the tables to represent cranberries. Also, paint the peel of the orange by mixing a dark orange on your palette (you can add more red to your original orange color to make it darker). Paint a thick curved edge on the top of your semi-circle.
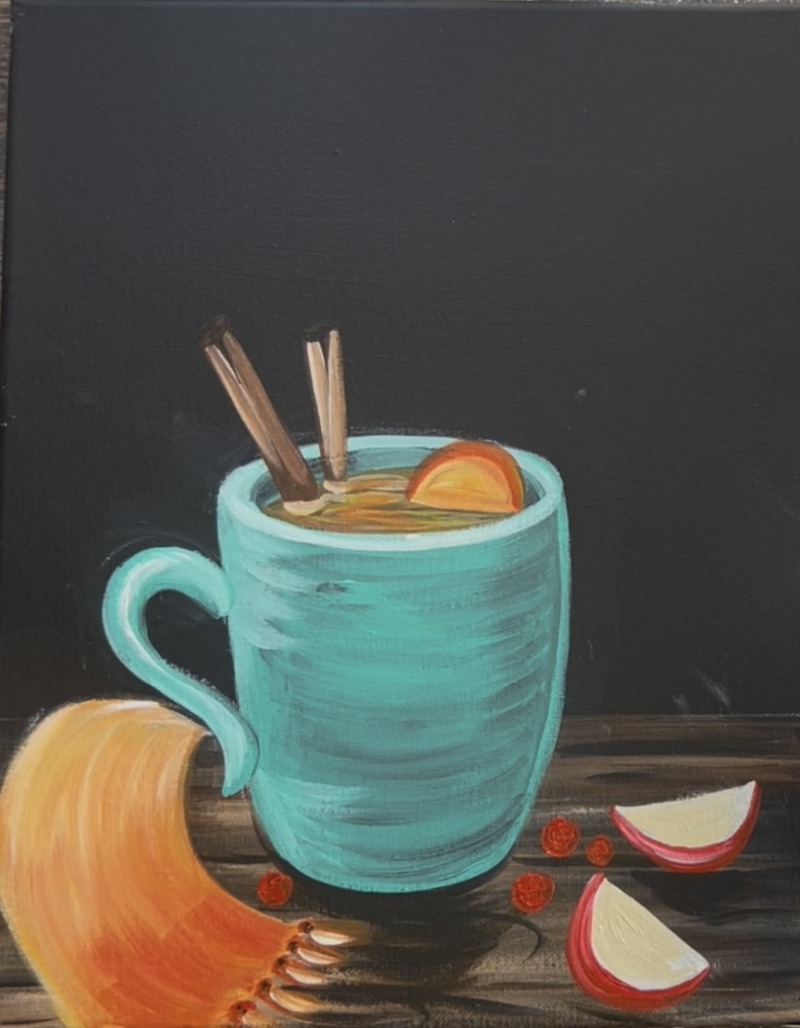
Then use titanium white to paint a little highlight on the red circles. Do this before the red dries so that the white will blend with it a little. Then paint white leaves using titanium white and the #4 round brush. I recommend you paint these leaves white first so they show up vibrant over the dark background!
After the white leaves dry, paint them “primary yellow”. Paint the stems orange (mix your orange with red and yellow). Then add some black seeds to the apples! These are little teardrop shapes. Next, add patterning to the scarf! Start by painting three rows of black lines that are close together. Leave a gap and add another set of lines throughout the scarf. Make these lines go in a curved direction.
12. Draw leaf pattern with paint pen
Use a white POSCA paint pen or tiny detail paint brush and white paint. Paint stems with small leaves attached to the stems.
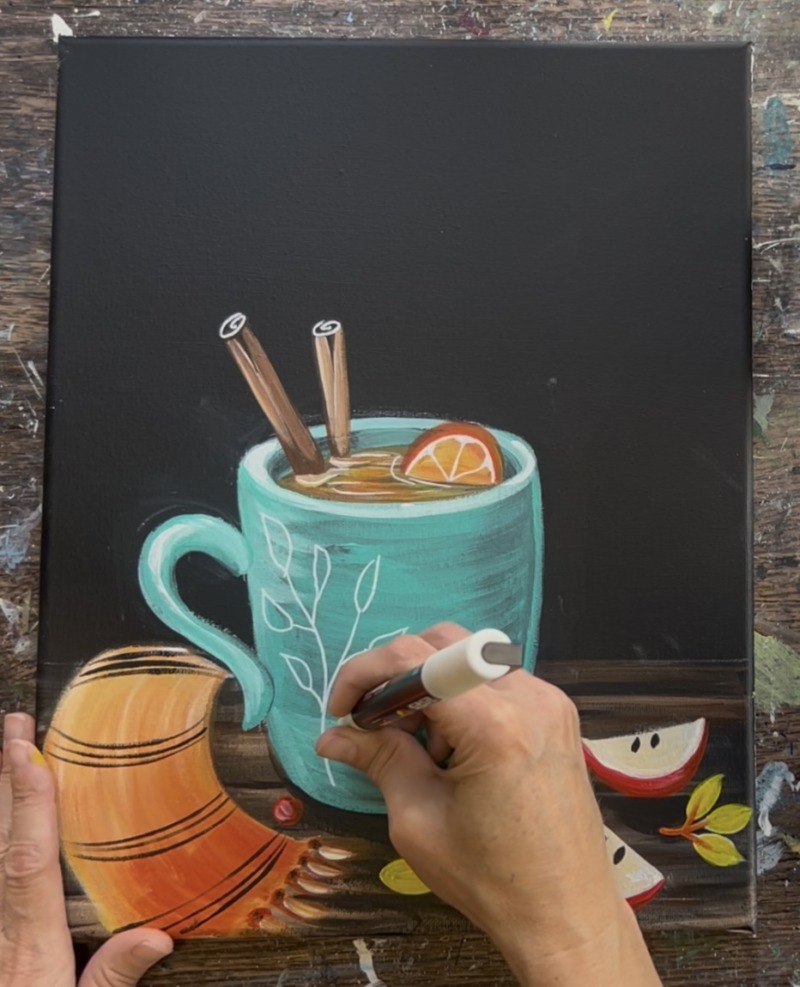
As you do this, make the stems curve because the mug is also curved! I did 4 sets of leaf patterns. The leaves are mostly pointed upwards and some pointed sideways (none are pointing down).
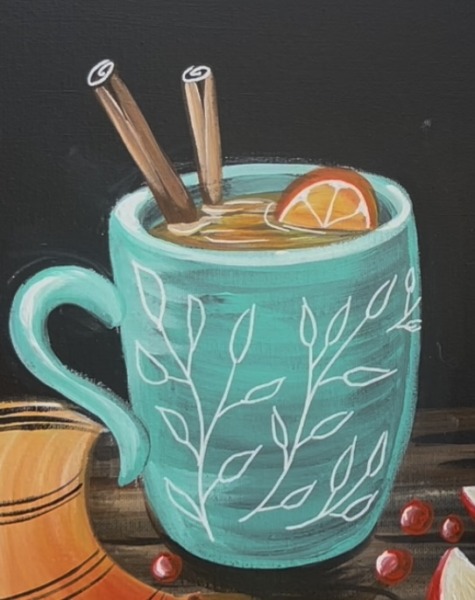
In addition to the leaf patterning on the mug, you can also use the paint pen to do details on the orange slice. Paint the white “pulp” lines on the slice and along the peel of the outer part of the orange. Also, paint a set of spiral lines on the tops of the cinnamon sticks.
Then finish the scarf patterning by painting white (or beige) lines going the opposite direction of the black lines. I did three sets of double lines going perpendicular to the black lines. Then I did a single thick line in between the three black line spaces (going parallel to the black).
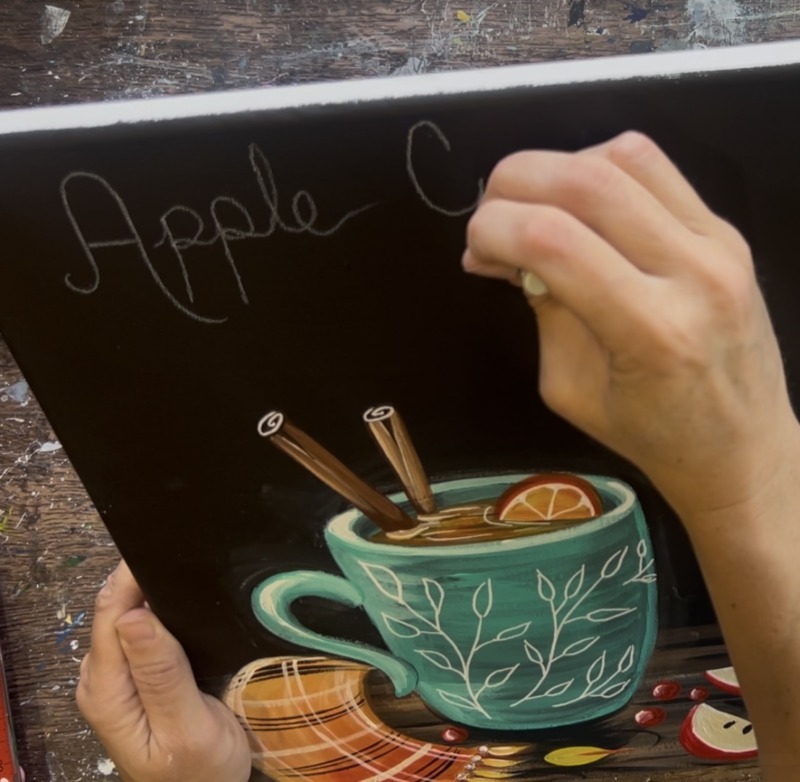
13. Write Lettering
I recommend sketching out the lettering first before using the paint pen. I used a white chalk pencil to draw the letters out. This will easily erase if needed! Write the words “Apple Cider Season” in cursive lettering. You can also write whatever you want on this to make it custom!
After initially sketching out your lettering, go back over it with the white paint pen! When I do lettering, I make the lines all the same thickness to start out with. Be careful not to press too hard with the paint pen because it will leak if you do!
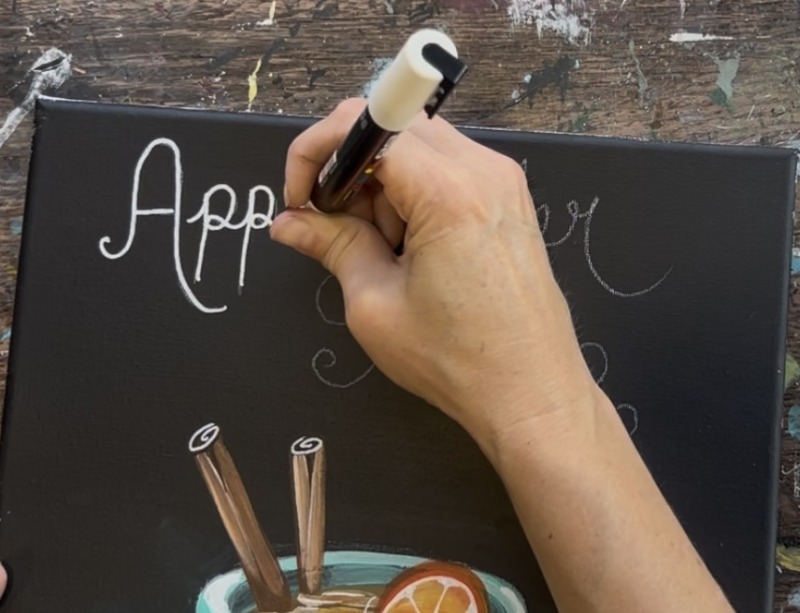
After the first round of tracing over the letters, I made the capital letters thicker by going back and re-drawing the lines and filling them in thicker.
14. Paint Leaves
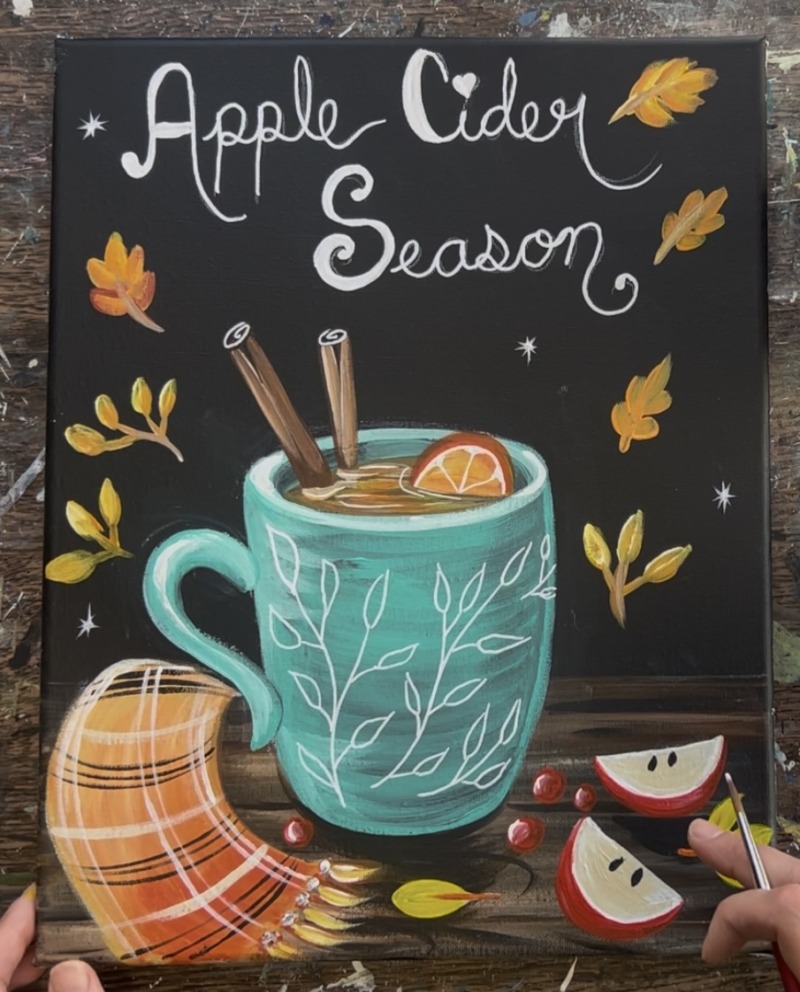
Use the #4 round brush to paint leaves throughout the background. Instead of painting all of the leaves white first, I just double loaded the brush into white and the color orange. This will ensure coverage over the black background.

Paint a variety of leaves around the lettering and cider mug.

You can change the colors by adding more red or yellow into your orange on your paint palette.
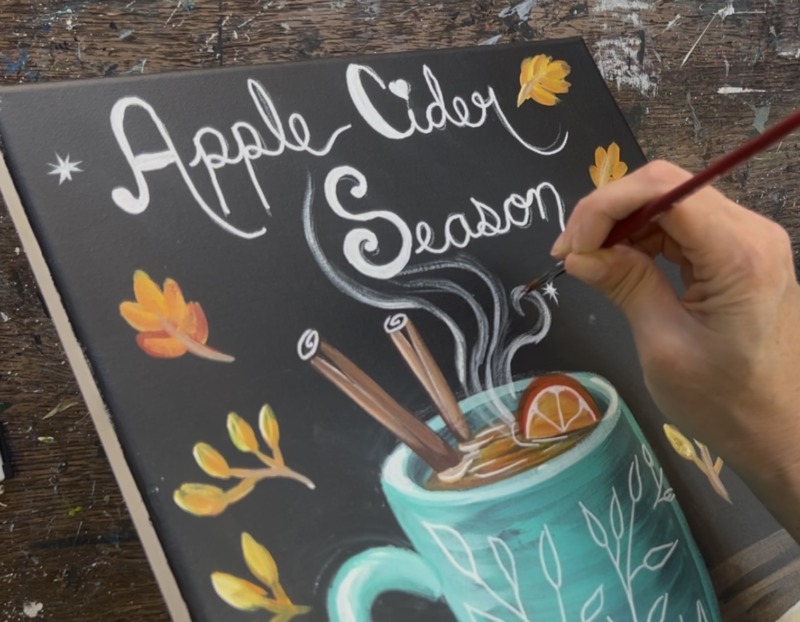
15. Draw/ Paint Stars & Steam
You can use the paint pen or the round brush plus white to paint the stars! Paint random pointed stars all throughout the background.
Then use the round brush to paint steam coming out of the mug. A tip for this steam is to make sure the white shows up a little “see through” so that it doesn’t overpower the lettering. Don’t apply the white too thick. You can try to water it down or “dry brush” the steam. Paint several wavy lines and a spiral line coming up from the liquid area.
Paint tiny white dots in the background as well for an extra “sparkle”.

Finished!