

Would you like to save this?
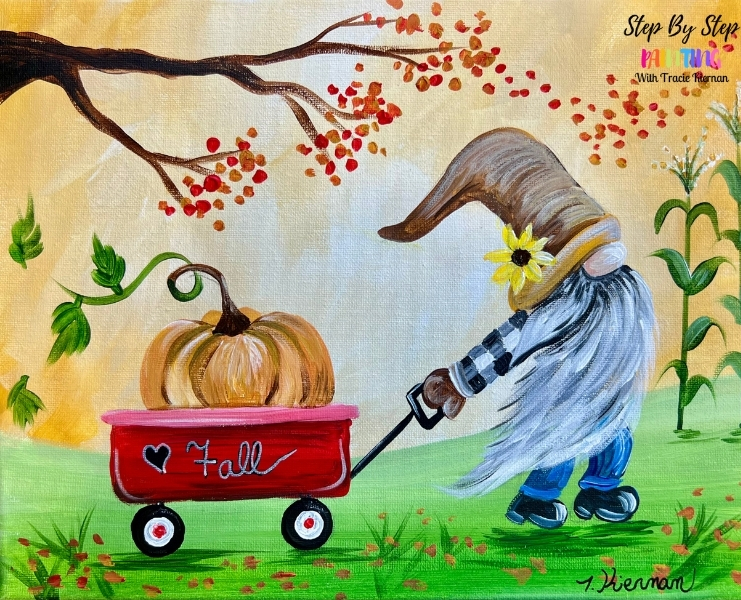
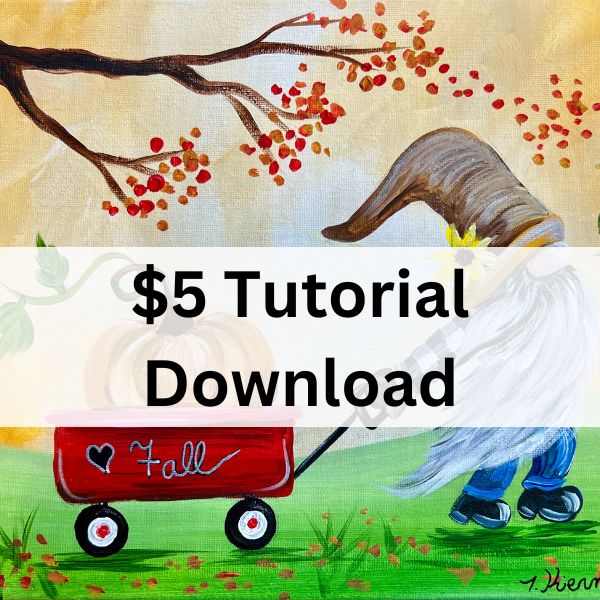
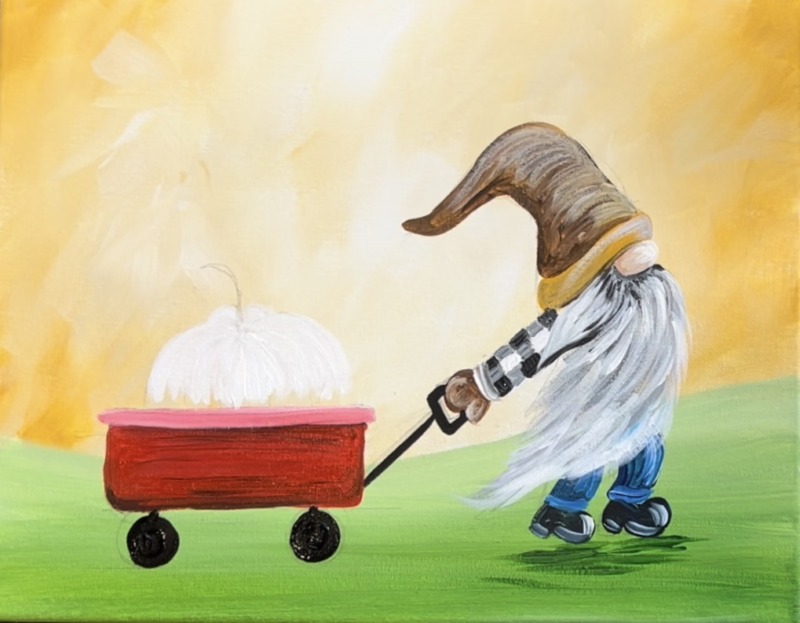
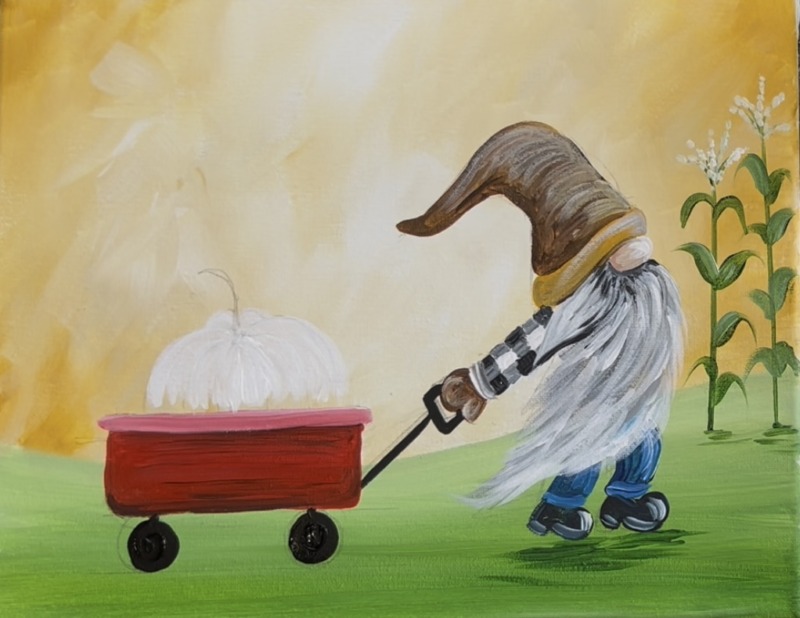
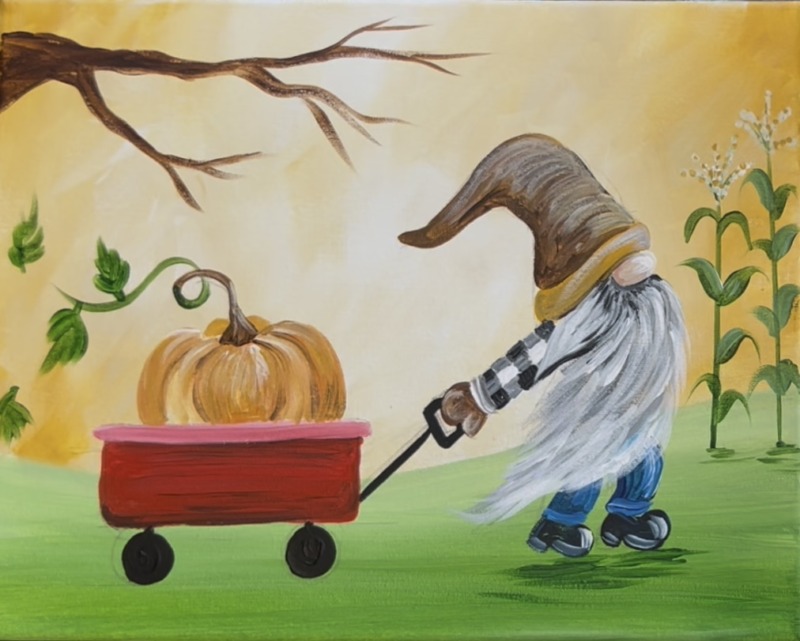
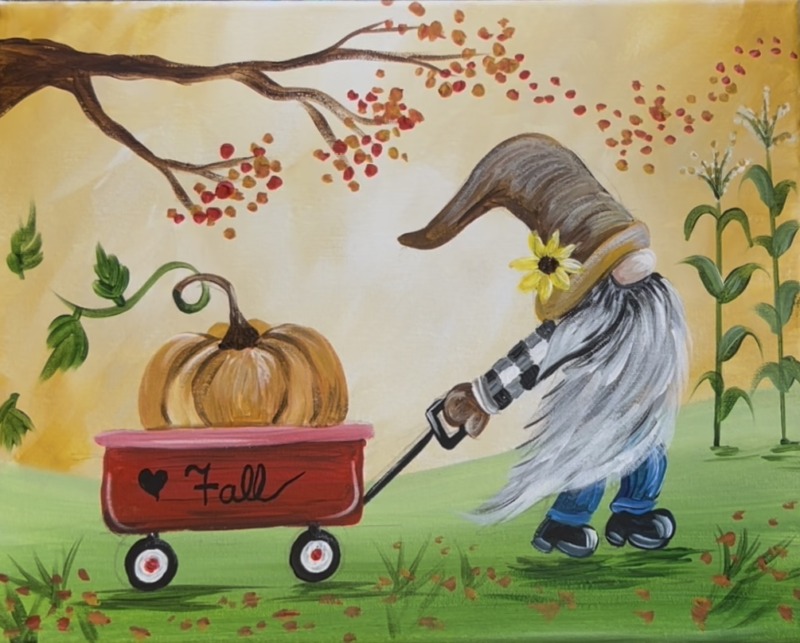
Celebrate the cozy charm of autumn with this whimsical fall gnome painting! In this tutorial, you’ll learn how to paint a cheerful gnome pulling a bright red wagon filled with a pumpkin. The background is full of seasonal details—colorful fall leaves, a golden sky, and tall cornstalks that give this painting a festive harvest feel. This design is beginner-friendly and perfect for a fun paint night, a fall craft party, or just getting into the spirit of the season.
Enjoy and happy painting!
Materials Needed
Pumpkin Gnome Wagon

Paint a super cozy and adorable fall gnome pulling a wagon with a pumpkin.
Materials
- 11 x 14 Canvas
- Acrylic Paints (I use Liquitex BASICS)
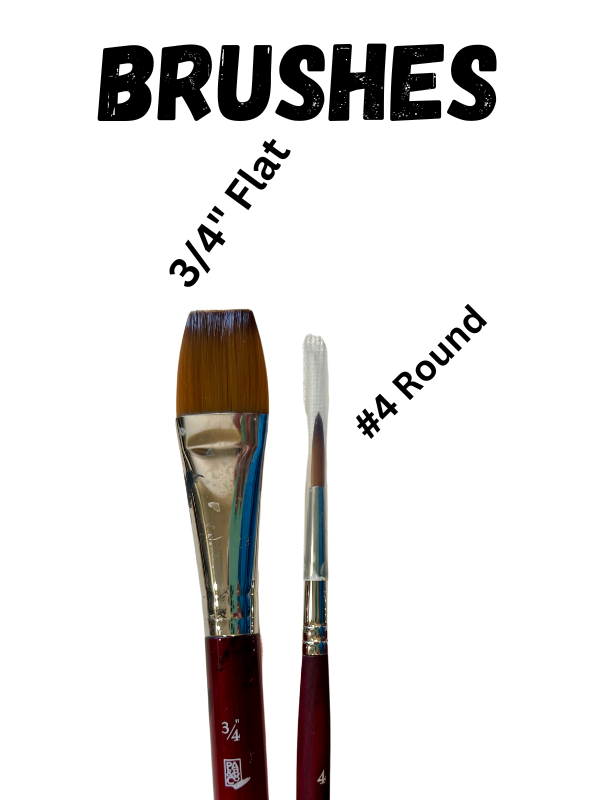
- Brushes
- Pencil for drawing
- Optional template
- Optional graphite paper if using template
Brushes
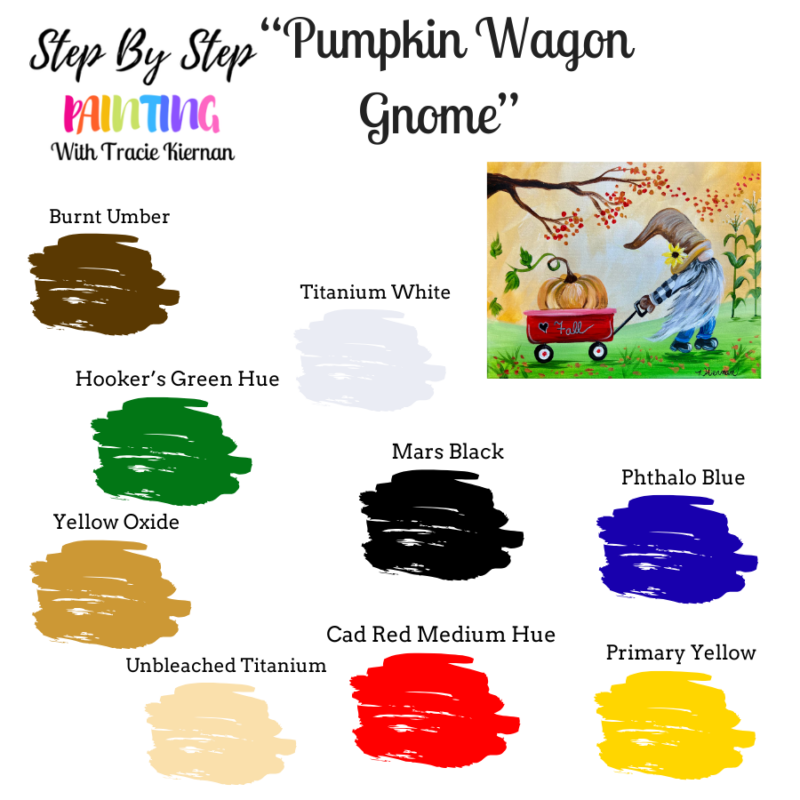
Colors
- Cadmium Red Medium Hue
- Yellow Oxide
- Primary Yellow (used only for the sunflower)
- Hooker's Green Hue
- Phthalo Blue
- Burnt Umber
- Mars Black
- Titanium White
- Unbleached Titanium
Color Palette
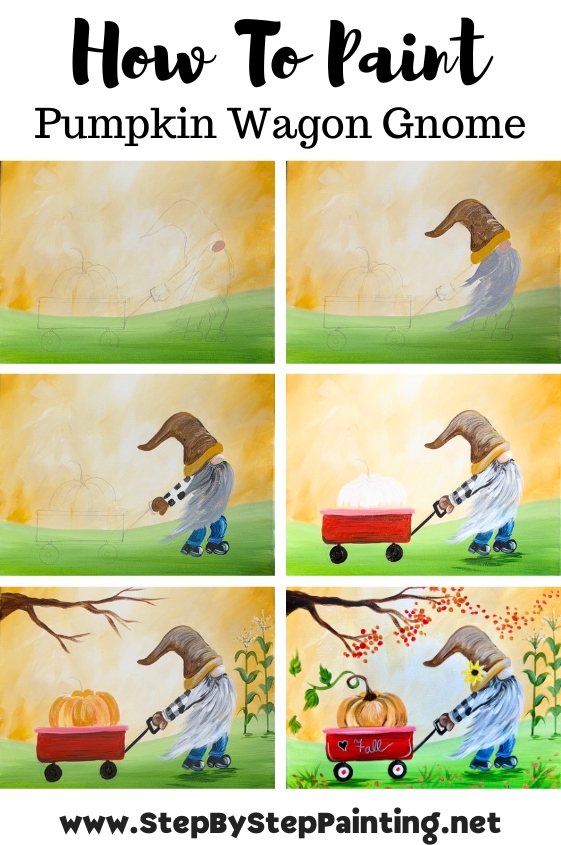
Directions At A Glance
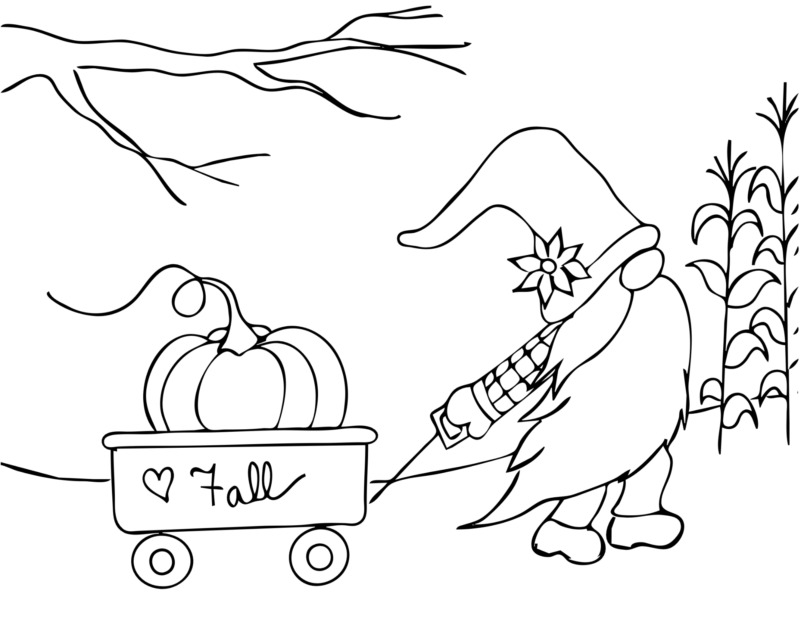
Traceable (optional)
You can trace this on a blank white canvas and then outline with sharpie! The dark lines will show through your first layer of paint. Alternatively, you can paint the background first and then trace onto the painted canvas.
Looking for more canvas sizes? You can purchase this entire lesson as a PDF download with traceable re-sizes included! Find out more in my PDF shop!
Video
Step By Step Instructions
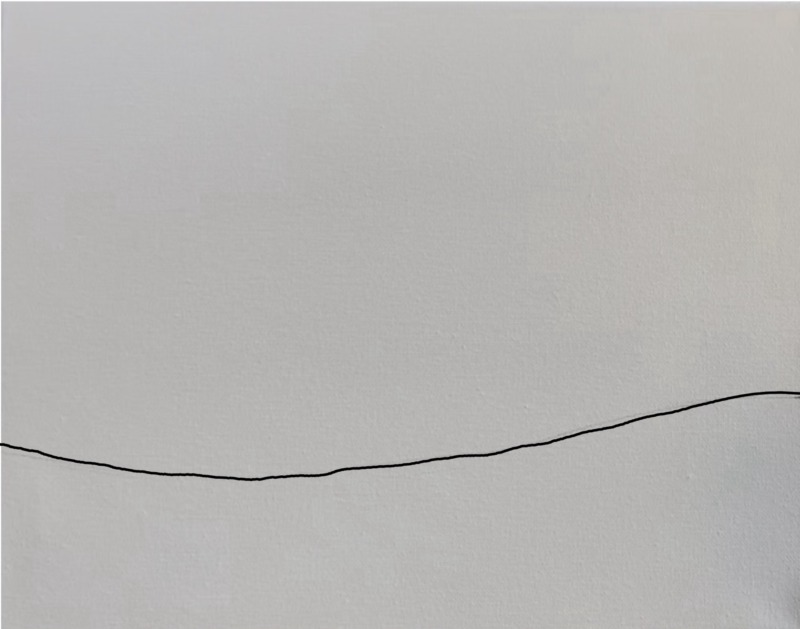
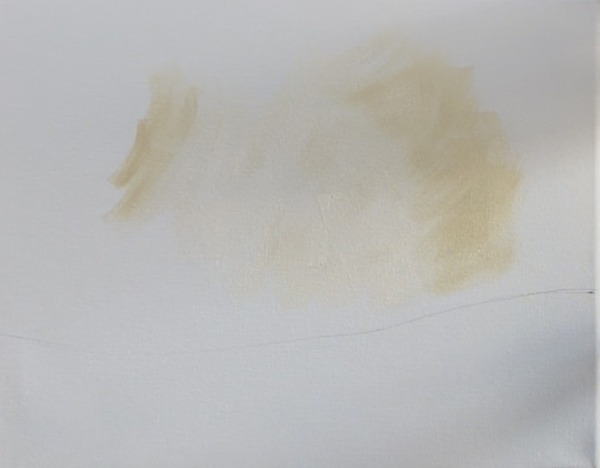
1. Draw “Horizon Line”
Place your canvas horizontally. Use a pencil to draw a long, wavy line across the canvas. On the left side of the canvas, start at 3″ from the bottom edge. On the right side, end your line at 4″ from the bottom edge.
2. Paint Golden Sky
Load your paint palette with the colors: “unbleached titanium” (beige), “titanium white” and “yellow oxide”. Use the 3/4″ flat wash brush.
Load the full width of the brush into a big chunk of “titanium white” and load the corner of the brush into “unbleached titanium”.
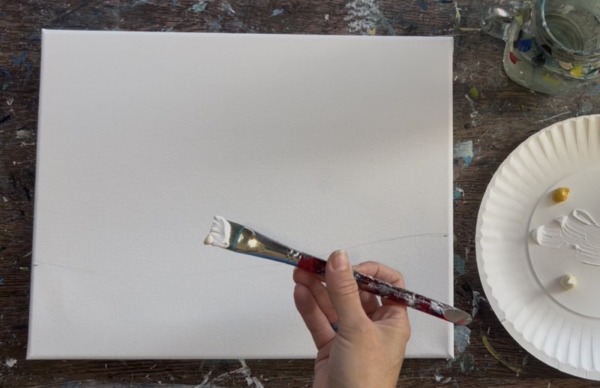
Start in the middle of the sky area (which is the middle of the canvas). Paint a big “blob” using “x” style paint strokes. This will look like a cream color because the white will mix with the beige on the canvas. You want to create a sky that is bright in the middle and goes darker/ more vibrant on the edges. Also, try not to blend your colors all the way on the canvas.

Load more of the “beige” on your brush and continue blending your color outwards using “x” style paint strokes. “Flip-flop” your brush with short, choppy paint strokes.
As you work your way outwards with the beige, slowly add bits of “yellow oxide” to your brush. The edges of the canvas will be dark and vibrant with that yellow. Blend it into the middle area where the middle stays light and bright.
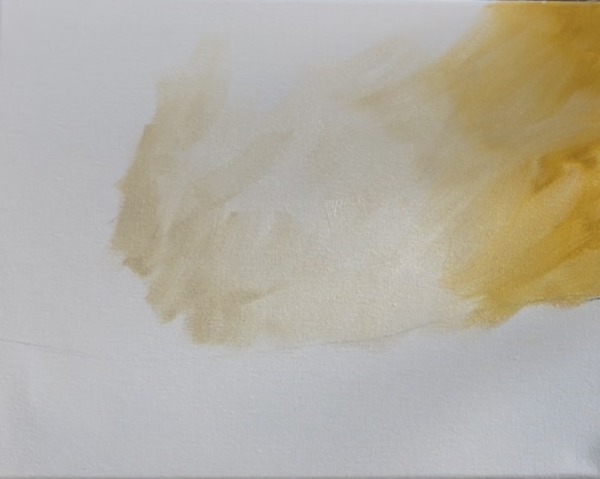
Add yellow oxide to the top left corner and bottom left corner of the sky and blend.
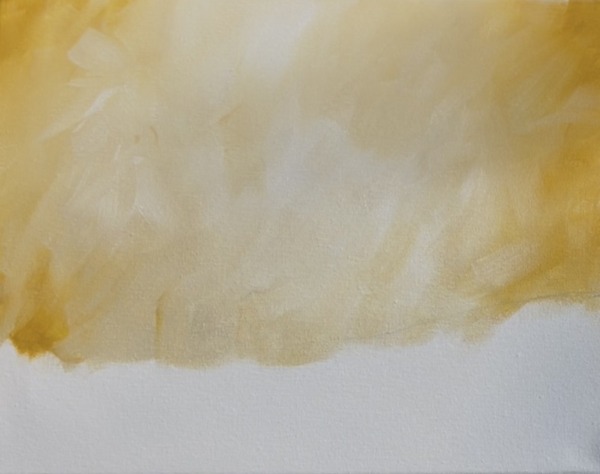
You do not need to let this dry before going onto the next step.
3. Paint Grass Ground
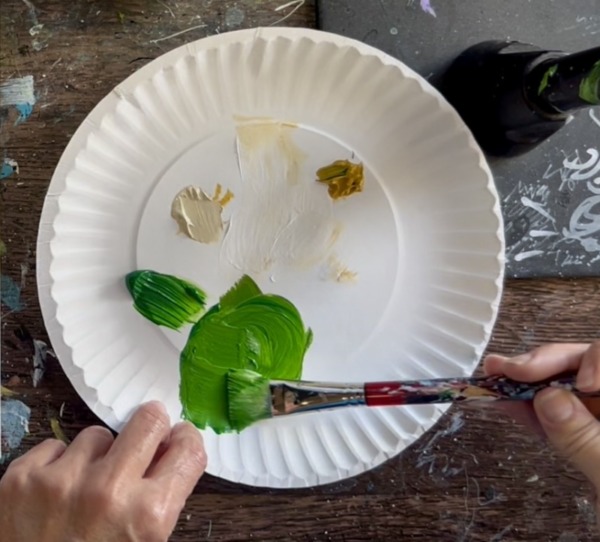
Load your paint palette with “hooker’s green hue”. Use the 3/4″ wash brush to mix about 2 parts “hooker’s green hue” with about 1 part “yellow oxide”. This will make a golden green color.
Use the 3/4″ flat brush to paint the bottom of the land area. Do this with horizontal paint strokes that go across the entire canvas.
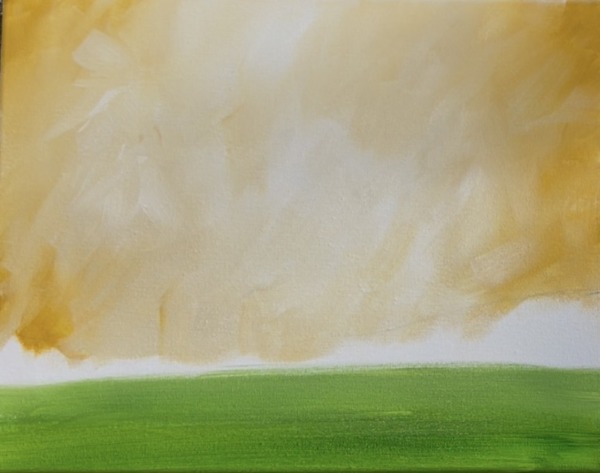
Next, load the brush into “unbleached titanium” (beige). Blend this beige color on the top where the hill line is. This will allow the land to be lighter in the distance. If needed, add more of the “hooker’s green hue” on the bottom and blend it up.
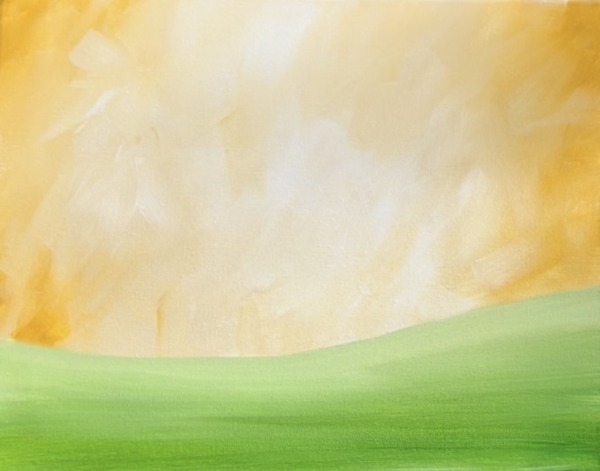
Wait for this to dry before going on to the next step.
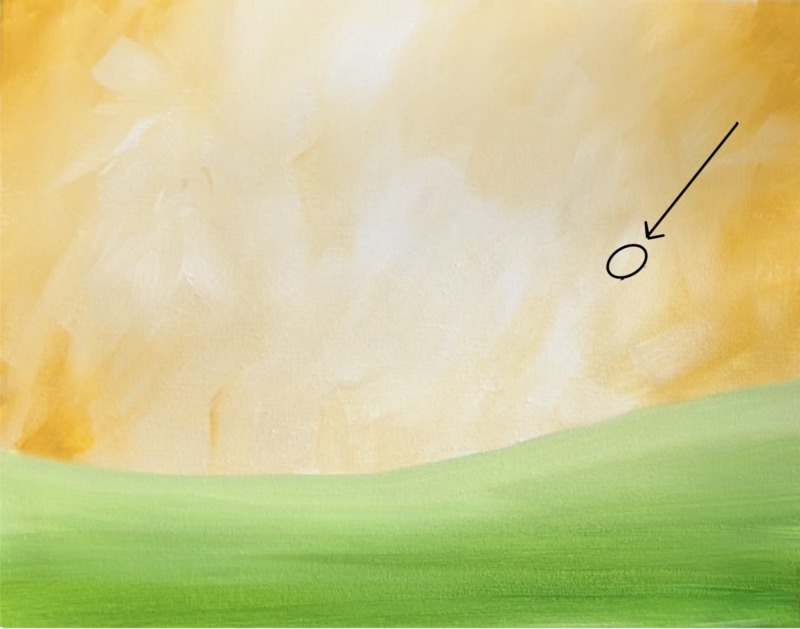
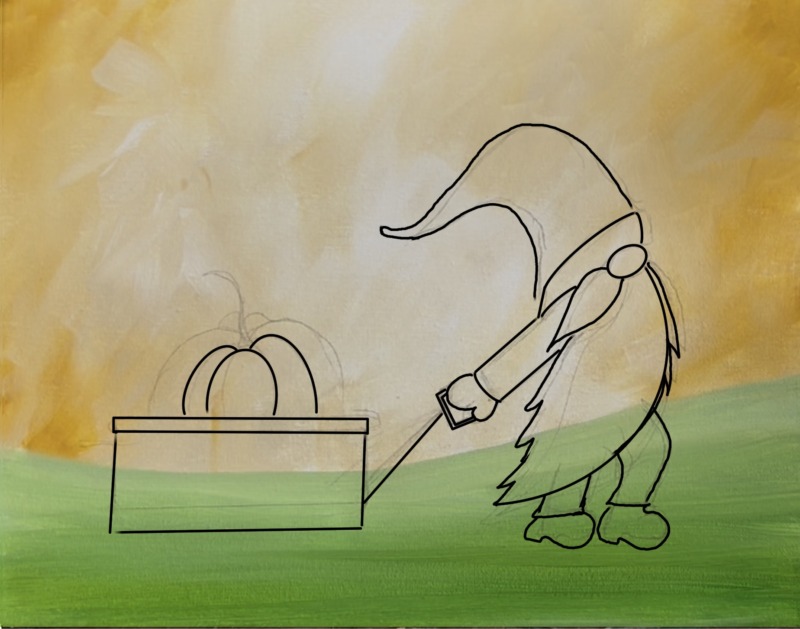
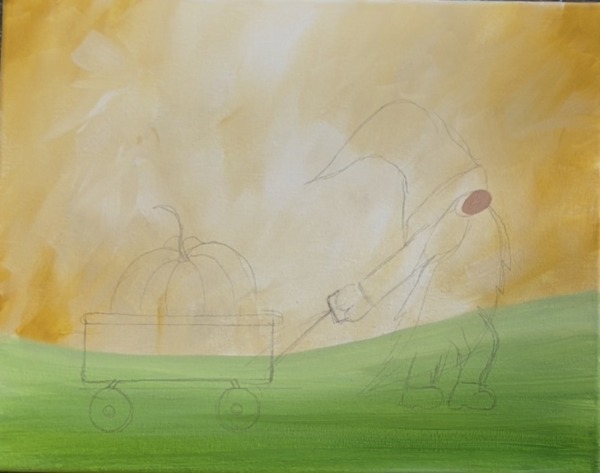
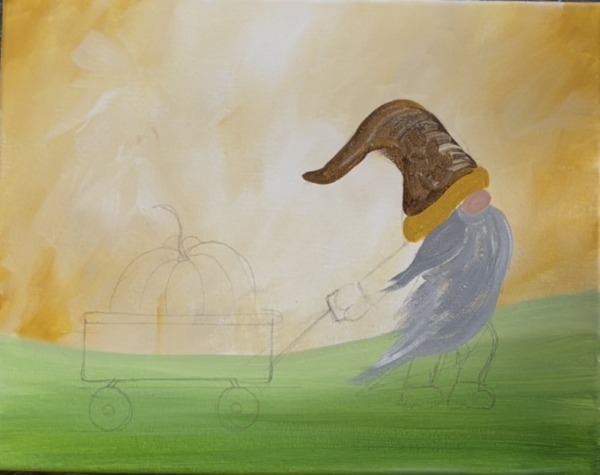
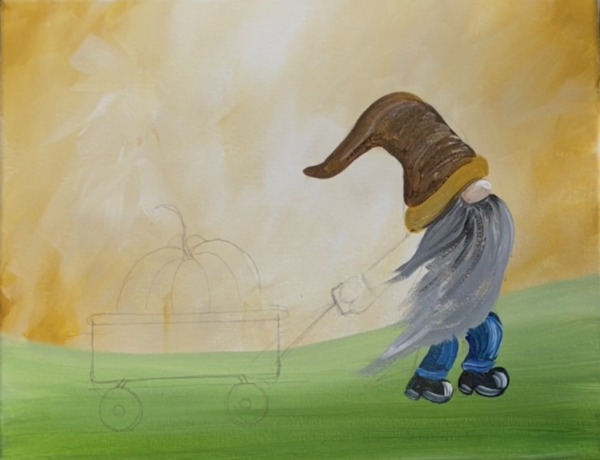
4. Draw Gnome & Wagon With Pumpkin
You can use the tracer template for this or hand draw it! If you are hand drawing, here are the steps that I used to draw the gnome. I recommend drawing this lightly with a pencil!
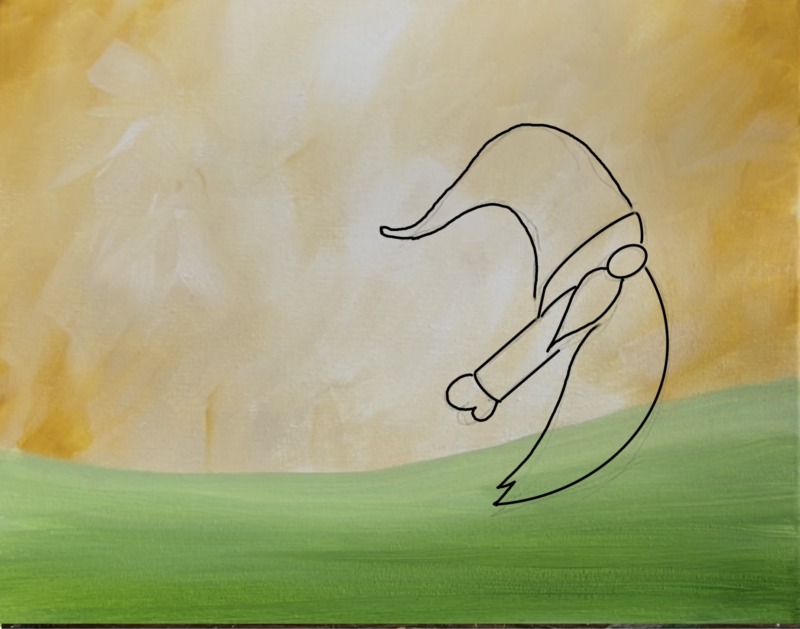
- Draw the nose first! The nose is an oval located in the lower middle right of the sky. It is going diagonally at an angle. This gnome is a “profile view” which means he is facing to the right and we only see his side.
2. Draw the mustache, bottom of hat and beard. This bead sweeps down to the ground and curves to the left! You don’t need to worry about the zig-zag texture ends of the hair yet, just draw a basic curve shape to define the shape of the beard. The mustache overlaps the beard at the top and to the left of the nose. It is more like a “teardrop shape”.
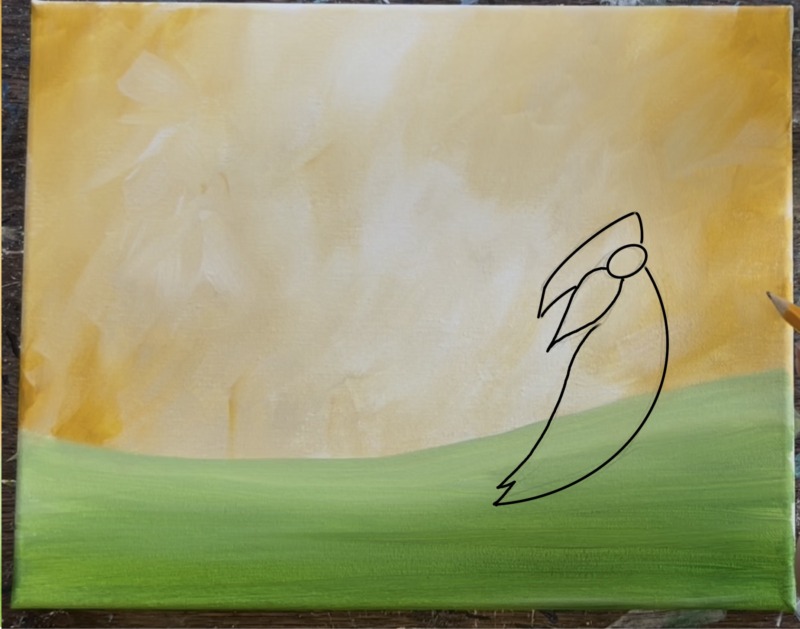
Then sketch his hat! This goes diagonally upwards and then curls slightly down to the left. Draw his arm as a basic rectangle shape that extends out to the left of his mustache. Then draw a basic mitten shape! I did thumb pointing downwards. The fun thing about drawing gnomes is they don’t have to exactly be proportional or accurate and their beards cover their torso so we don’t have to draw very much!
Next, draw his leg. His front pant leg is going to be bent forward because he is walking and pulling a wagon. Draw this so that it bends slightly forwards. Most of the top of the leg is covered by his beard.
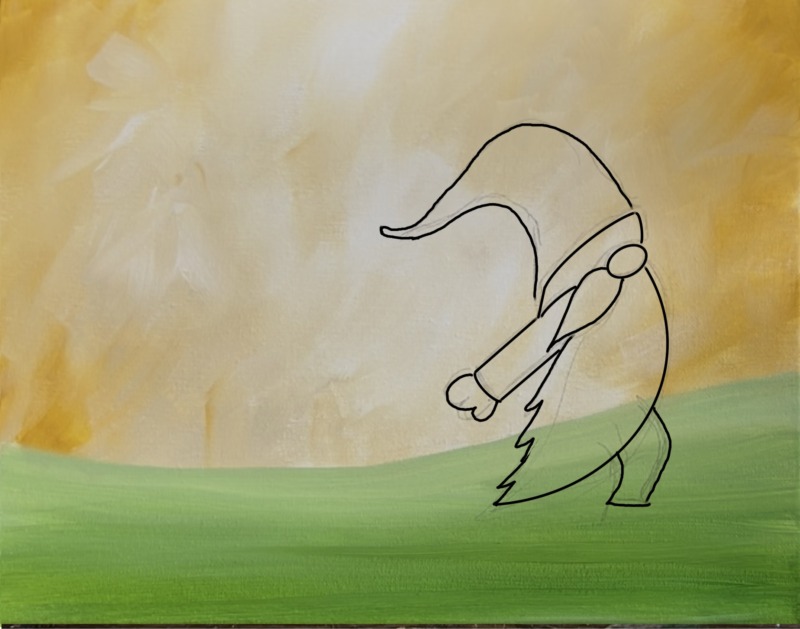
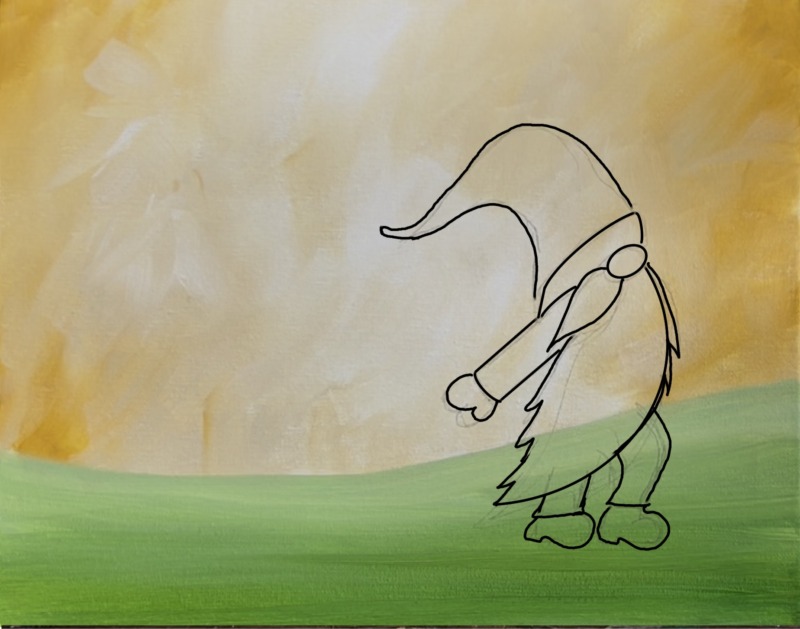
Then draw his second pant leg. This is slightly going diagonally and then the rest is covered under the beard. Draw his shoes! You can do basic oval shapes for the shoes or draw a shoe where you can see the heel and curved toecap.
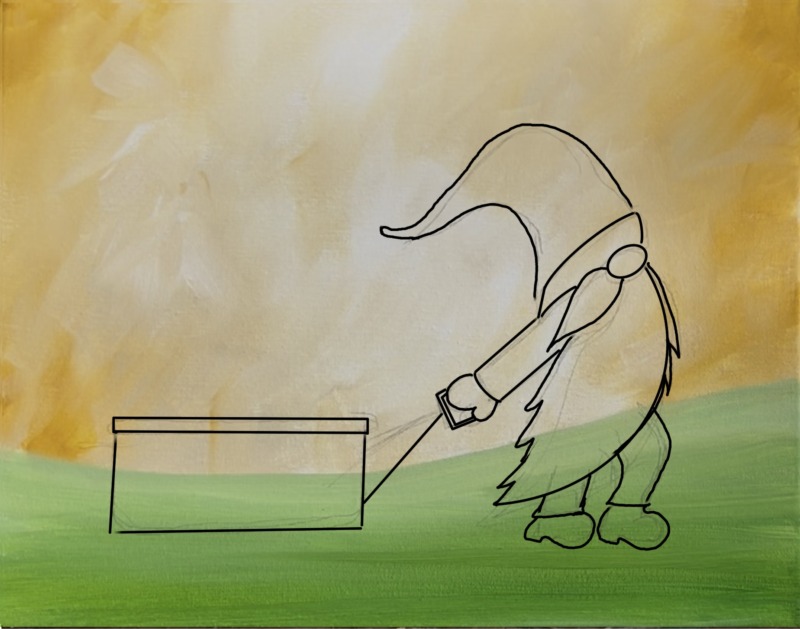
Then draw the handle. Draw a basic rectangle shape for the handle and have it underlap the mitten hand. Then draw the handlebar and connect it to a rectangle shape for the body of the wagon. I recommend using a ruler to get the lines to be parallel to each other and straight.
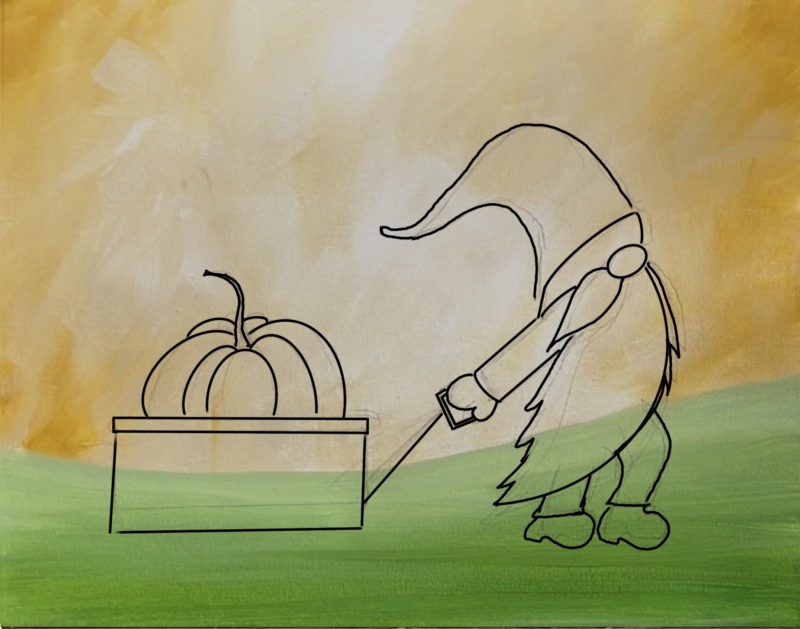
Then draw a pumpkin in the wagon. I like to draw pumpkins starting in the center by drawing one single arc/ oval shape. Then after drawing the initial oval shape, draw an arc on each side of it. This line arc starts from the top and curves downwards.
Draw a single thin stem on the top of your middle shape. Then draw a set of two more arc lines. Draw two “bump lines” in the back behind the stem.
Draw the wheels of the wagon. It helps if you draw a set of horizontal lines under the wagon with the spacing between them of the height of the wheels. Then draw the two circles. This helps the circles to line up. Then connect the wheels to the wagon.
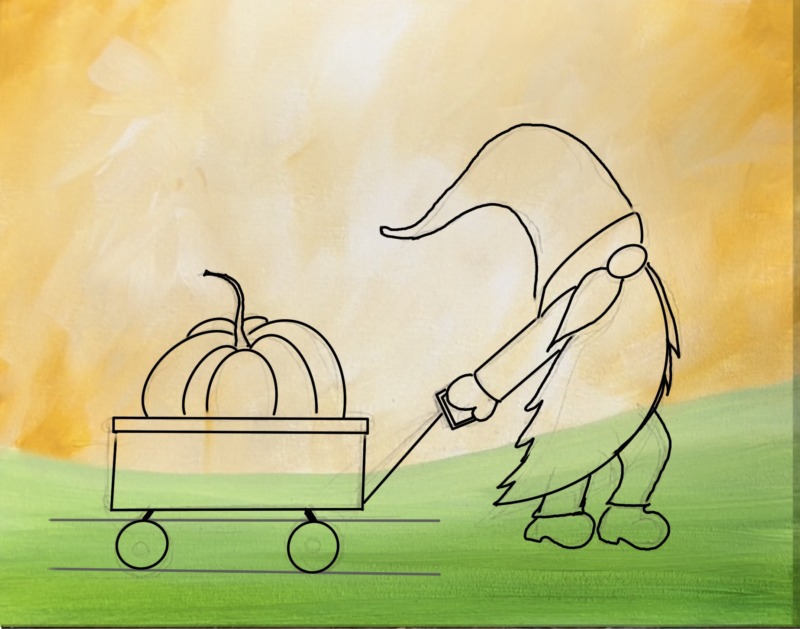
Note: my gnome’s feet aren’t exactly lined up with the wagon wheels! We can fix this later when we paint or assume he’s walking uphill!
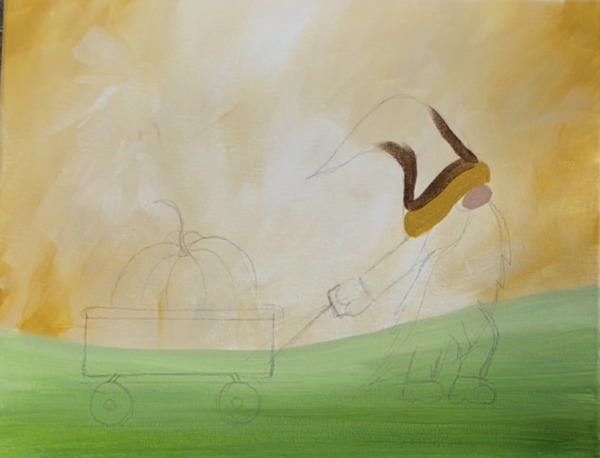
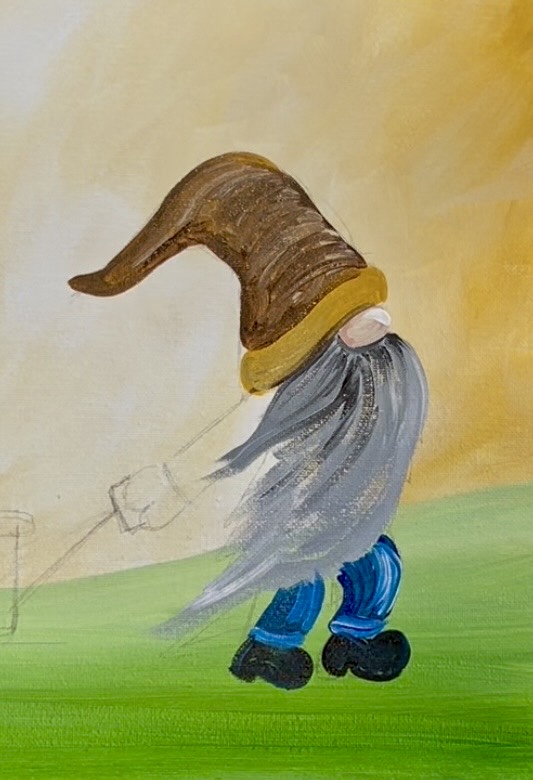
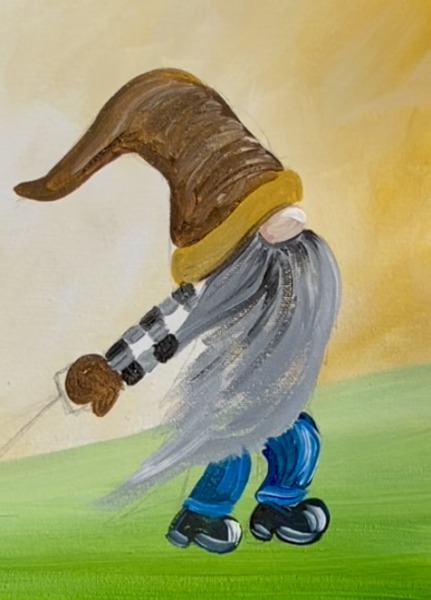
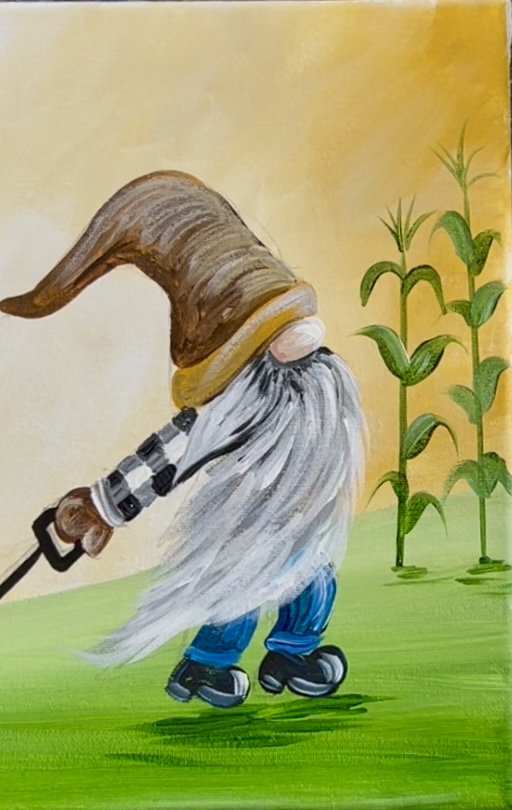
5. Paint Gnome
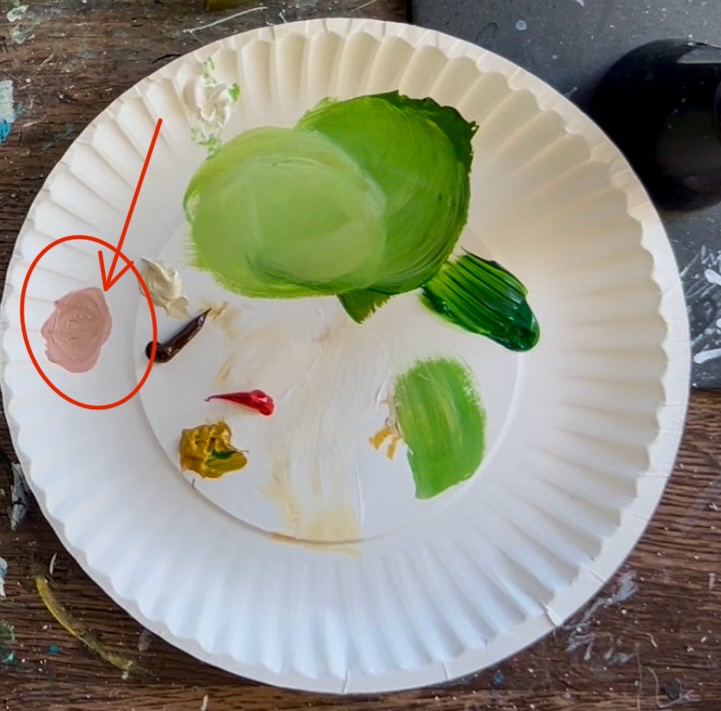
Mix on your palette 3-4 parts “beige”, 1 part “cadmium red medium hue” and 1 part “burnt umber”. This should make a dark rosy color that we will use for the base of the gnome’s nose.
Use the #4 round brush to paint the oval nose shape.
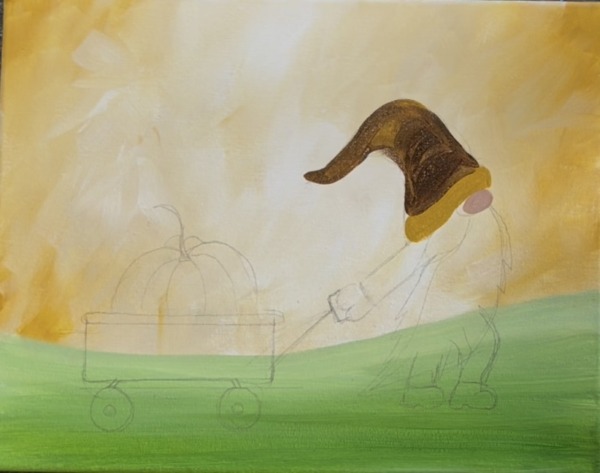
Next, paint the hat! Start on the bottom of the hat and paint the rim with “yellow oxide”. Then paint the rest of the hat brown. Use the color “burnt umber” to outline the shape of the hat and then fill it in with the brown.
Optional: add a little “yellow oxide” into the brown for some color variation! Blend it into the brown onto the canvas and paint your paint strokes going in horizontal curved directions to give your hat more “form”.
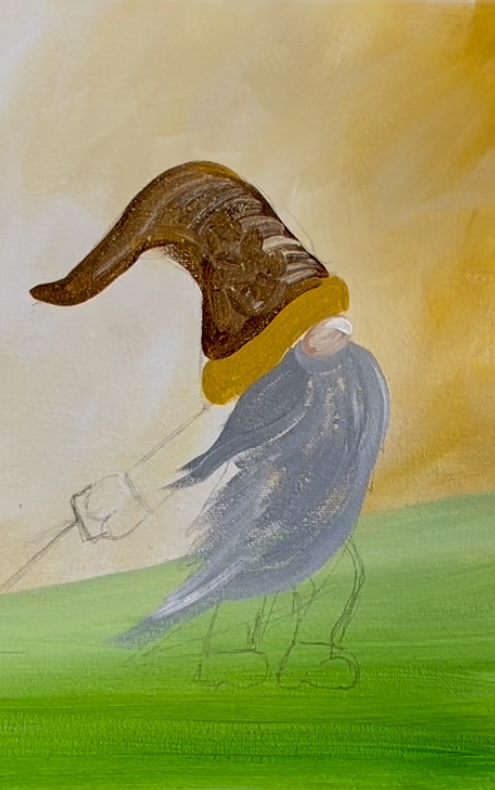
Next, paint the beard! The first layer of the gnome’s beard should be a medium gray color. We will layer on our lighter color later!
Mix about 1 part “mars black” to 2-3 parts “titanium white”. Then use then #4 round brush to paint the mustache first. Outline the shape of the mustache and fill it in using curved, long strokes that go diagonally down to the left with the flow of the hair.
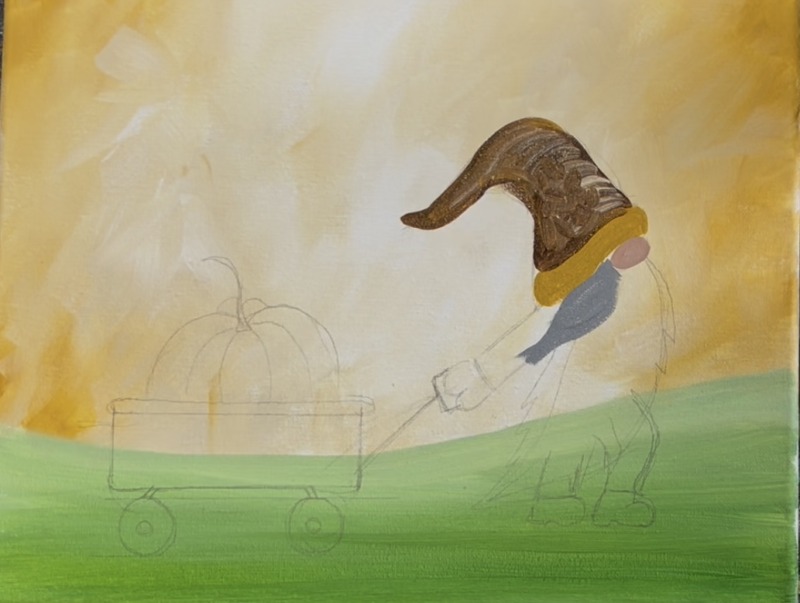
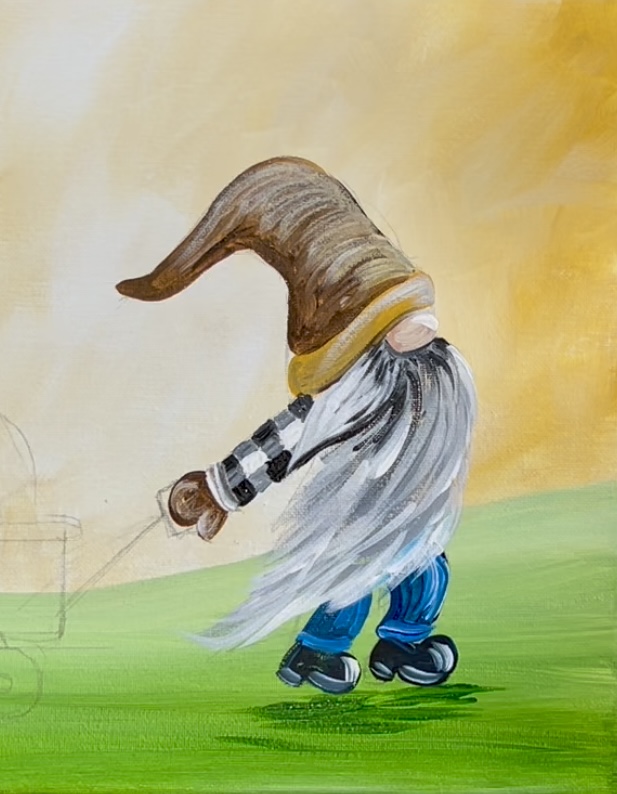
Fill the rest of the beard in using this same technique. This time, add a little bit of “titanium white” to the gray color you just used to lighten this gray a bit more. That way it will stand out slightly from the mustache. Use the #4 round brush to paint light, feathery paint strokes that curve and sway to the left to form the base of the beard.
While this first layer of the beard dries, paint the second layer on the nose! Take that original “dark rosy color” that you used and add a bit of “beige” to it. This will lighten it. Then use the #4 round brush to paint the inside of the nose but leave the far left of the nose dark. Then use “titanium white” to paint a small curve on the upper right of the nose.
Rinse the #4 round brush. Then load it into “mars black”. You are going to add some black shadowing and texture to the part of the beard just under the nose, under the mustache and under the hat because that is where the shadowing is at. Lightly add thin lines under the nose. These lines curve and sway to the left. Likewise, lightly outline the mustache and add a bit of dark lines under the hat.

Paint the blue pants next! Load your #4 round brush into “phthalo blue”. Then paint both of the pant legs.
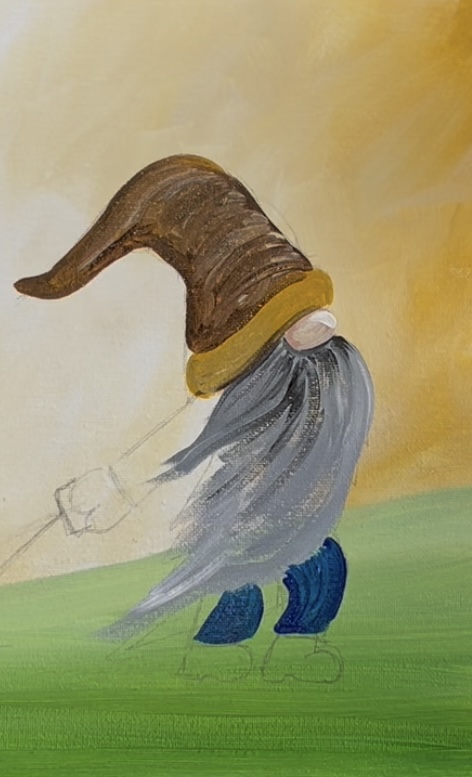
Wipe the brush (you don’t need to rinse). Then load it into “titanium white”. Only a small amount is needed! Then paint a curved area on the right side of the pant legs to highlight them. Also, paint the hem on the bottom of the pants using the white. Note: the white will blend with the wet blue to make a light blue color.
Then paint the shoes with “mars black” and the #4 round brush.
Don’t wait for this to dry. Use the #4 round brush and “titanium white” to paint a small curved highlight on the top curve of both of the shoes. Then use the white to paint the bottom of the shoe (heel and sole) with a thin white outline.
Next, paint the plaid sleeve! First, paint the entire sleeve a solid coat of titanium white.
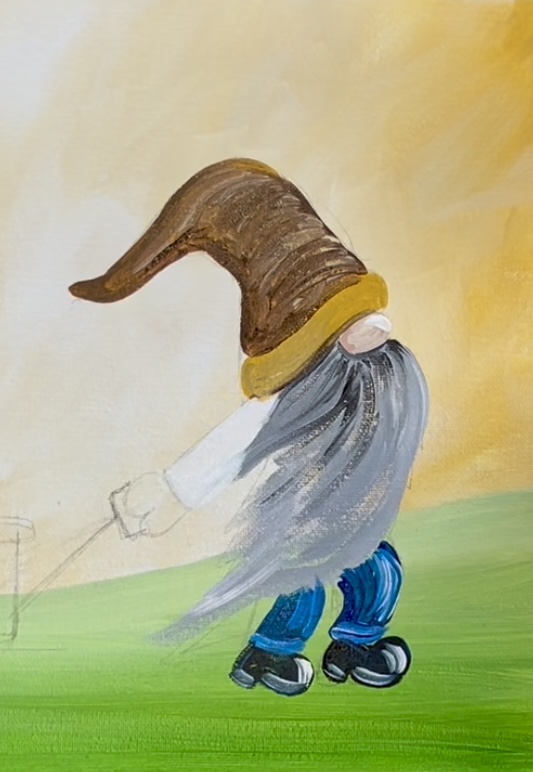
Let the white sleeve dry. While it is drying, paint the gnome’s glove with “burnt umber”.
Then paint a set of black squares on the sleeve. You want to do three rows of squares to create this plaid pattern. On the top row (which is the top edge of the sleeve), paint three black squares and leave a blank white square in between each of them. Then on the bottom row, paint another set of black squares. Leave the middle row blank with nothing for now.
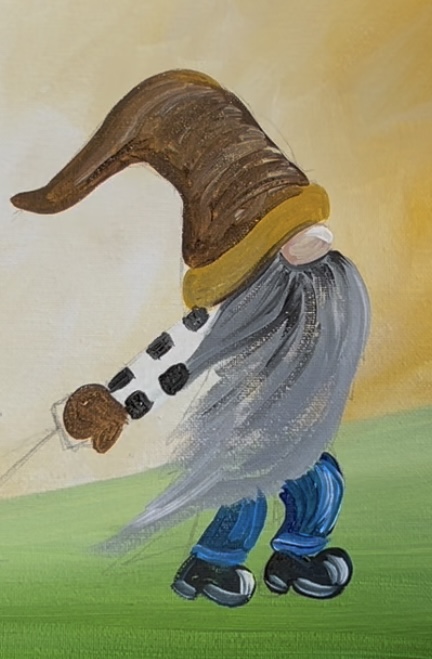
Next, mix a medium gray on your palette (the same gray you used for the beard). Paint more squares. This time, paint them in between each of the black squares. Then paint a set of gray squares in the middle row. Basically there is a gray square that touches each of the black squares both vertically and horizontally. There should be white squares still visible in the middle row.
Use “titanium white” to paint the end of the sleeve and also paint curved highlights on the brown glove.
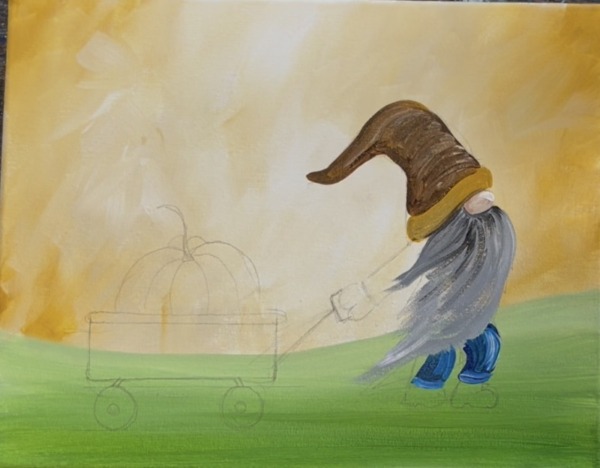
Then paint the next layer on the gnome’s beard! Load a clean #4 round brush into “titanium white”. Paint textured hair paint strokes that curve down and to the left. As you paint this white layer, do not cover up all of the gray and black you painted earlier.
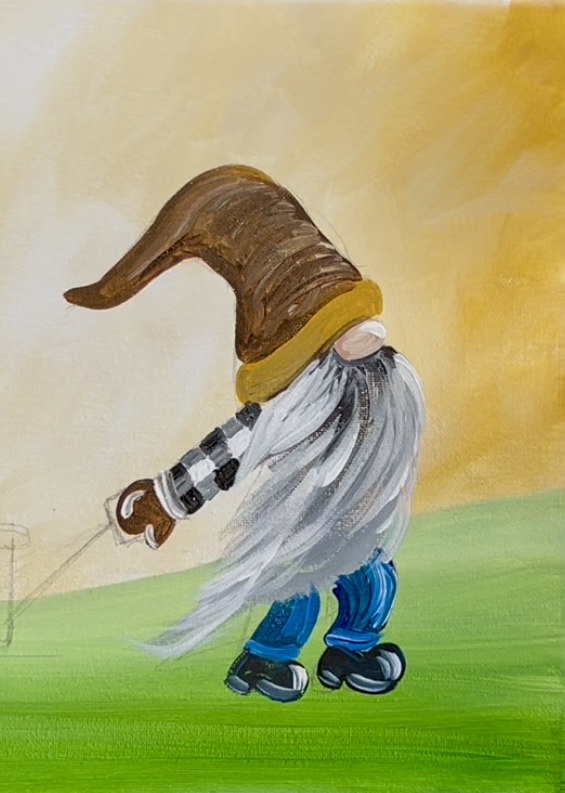
Take the beard and add more texture over the part that covered the pant legs. Be careful if the blue on the pants isn’t dry yet! Overlap the beard over the legs slightly. If needed, go back with more black and outline the bottom of the mustache.
Use “hooker’s green hue” to paint a little bit of shadowing under the gnome’s feet. Paint loose, left and right paint strokes. This will make it look like the gnome is standing on the ground and not floating!
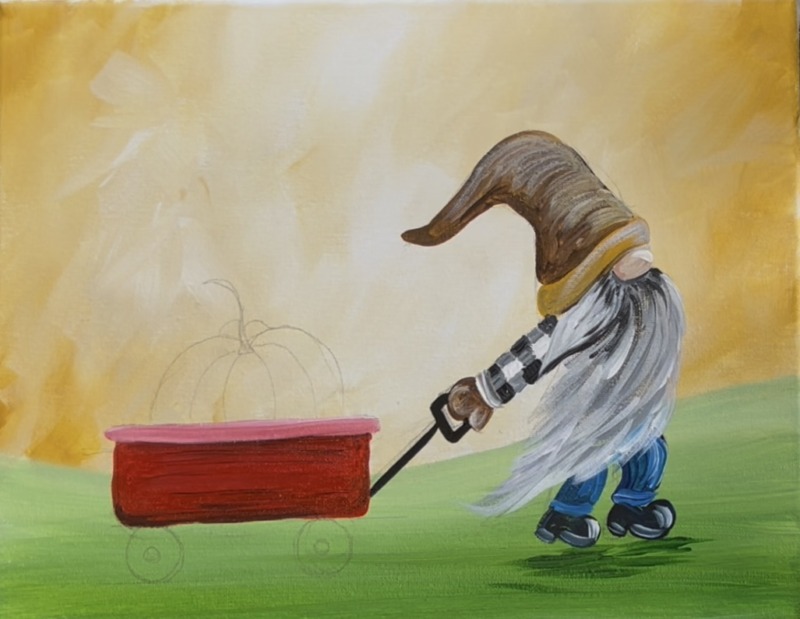
6. Paint Wagon And Pumpkin White
Use the #4 round brush and “cadmium red medium hue” to paint the wagon rectangular area. You want to paint the entire wagon shape with horizontal paint strokes.

Add “titanium white” to the brush with the red on it and paint the top rim of the wagon with this lighter red. Then rinse the brush. Mix a tiny bit of black into red to make a very dark red shade. Use that dark red to paint the bottom of the wagon and blend up into the rest of the red. Do the same for the top of the wagon just under the rim.
Paint the handle of the wagon with black (or use a black paint pen to outline it). Paint the wheels of the wagon black.
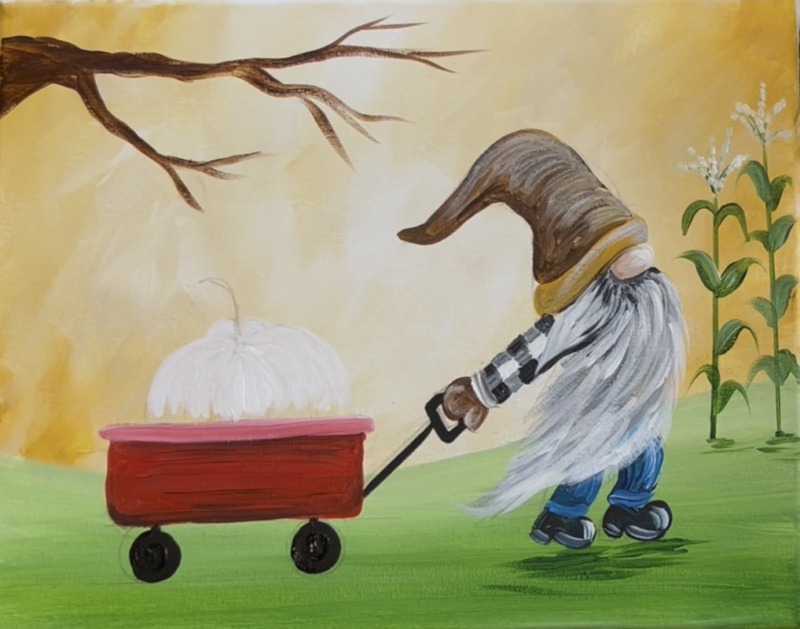
Then paint the pumpkin white (to prime it). This is painted white first to ensure the pumpkin colors have good coverage against the background. Use the #4 round brush and paint each “pumpkin section” one at a time starting in the middle. Paint your strokes so that they are going down from top to bottom. You can leave the bottom area of the pumpkin blank (don’t cover any of the top part of the wagon with white).
7. Paint Corn Plants
Paint the cornstalk next! I used the color “hooker’s green hue” mixed with a small amount of “mars black”. Use the #4 round brush to paint a vertical line to create the height of the cornstalk. Then paint individual leaves. To do the leaves, apply heavy pressure on the brush at first for a thicker paint stroke and then bend the leaf downwards as you release the pressure of the brush of a lighter, thinner paint stroke.
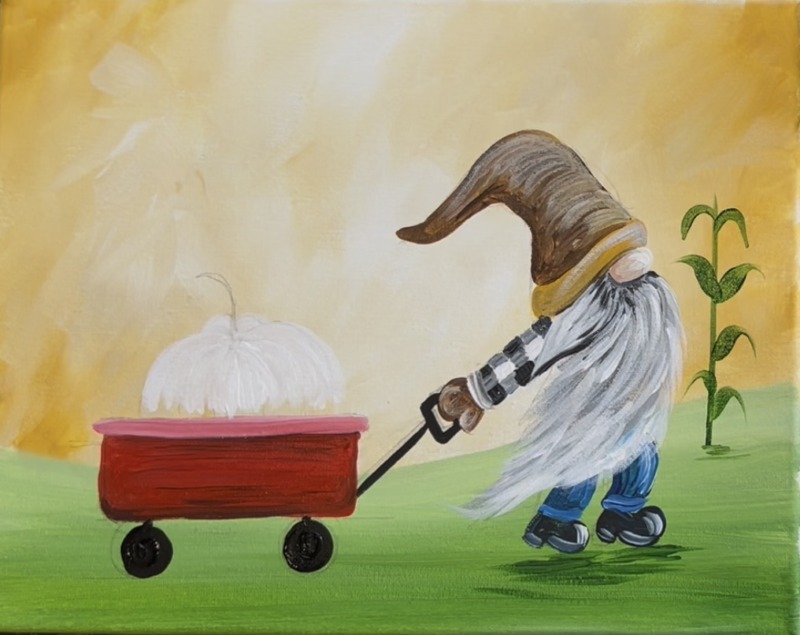
Paint two cornstalks (or more). Then paint some shadowing under the plants (the same color and technique as the shadow under the gnome’s shoes).
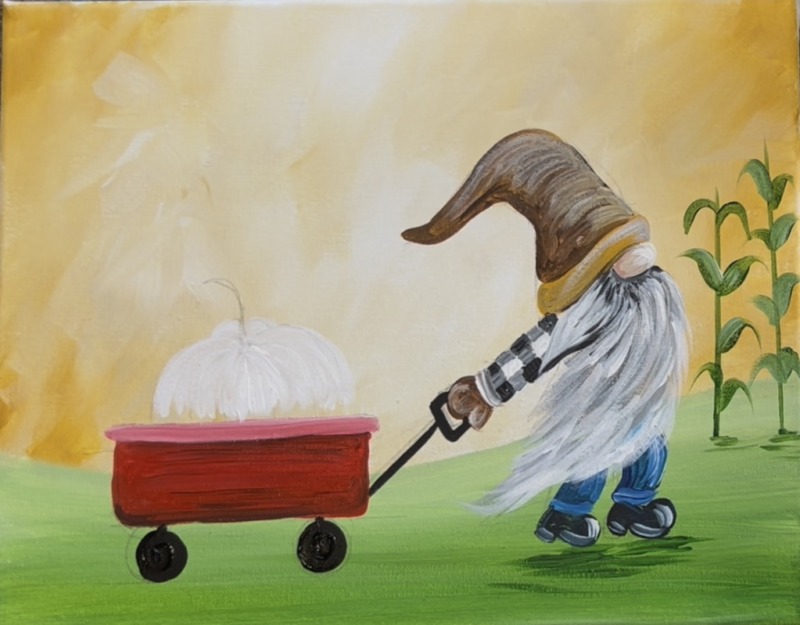
Paint the tassels of the corn plants next. To do this, I painted several thin green lines going in a fanned direction.
Then use a combination of “unbleached titanium” and “titanium white” to paint little dots to create the pollen on the tassels.
8. Paint Tree Branch
Use “burnt umber” to paint the tree branch. Use the #4 round brush and start your branch very thick on the top left corner area of the painting. Paint a long horizontal branch that goes thin and branches out to several small branch pieces. Make your branch a little wavy. Then paint a few more smaller branches below it. When you do branches, it’s sometimes helpful to make the paint a little more watery and to make sure you are using a brush that has pointed bristles. Try rolling your round brush as you load it into the paint to ensure the paint is at the end tip of the bristles. This gives you better control to create thinner line strokes.
9. Paint Pumpkin
Mix on your palette 1 part “cad red medium” and 3 parts “yellow oxide”. This will make an orange color that we can use for our pumpkin. We are going to paint each individual pumpkin “rib” one at a time. Start with the middle oval shape and paint that a solid coat of your orange color. Then mix some “titanium white” into your orange color to lighten the next set of “ribs”. Paint each of those. As you paint each section, start your paint stroke from the top and curve it downwards.
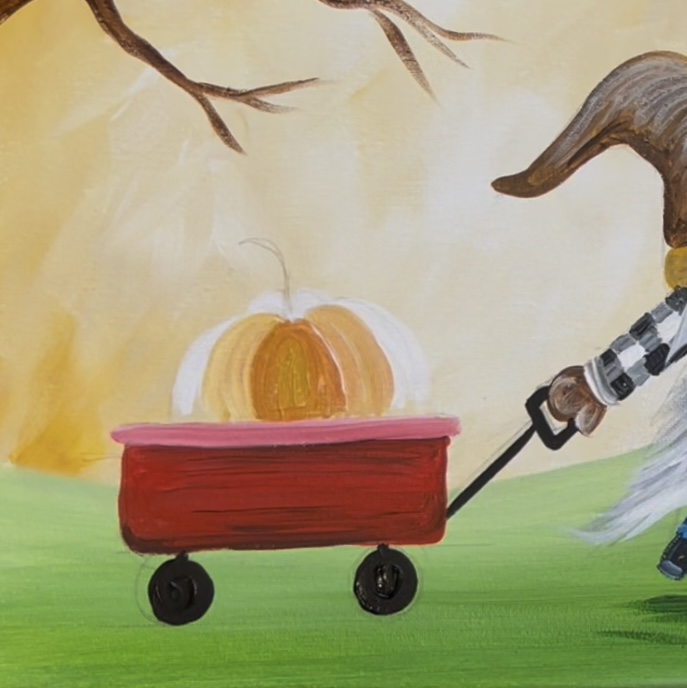
Paint the next set of “ribs” using your darker orange color you started with. Then paint the back two “bumps” we see behind the stem. You can also go back and add some lighter or darker orange paint strokes on the top of the pumpkin ribs for some “color variation”.

Use “burnt umber” to outline the line between the pumpkin ribs. Then use the “burnt umber” to paint the stem. I did a curl stem that turned green and twisted. For the green part, you can use “hooker’s green hue”.
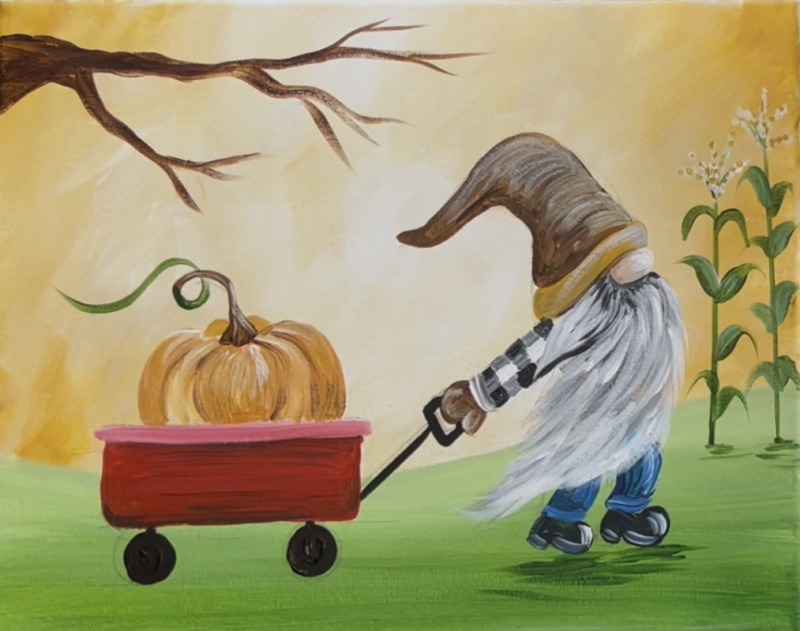
Paint some simple pumpkin leaves attached to the pumpkin vine and a few leaves falling off! These leaves are a simple “middle line” plus little diagonal lines going outwards to form the shape of the leaves.
10. Final Details
Some final details in this painting are all that is left! Paint the white circles on the wagon. Paint some green grass blades on the ground area (optional).
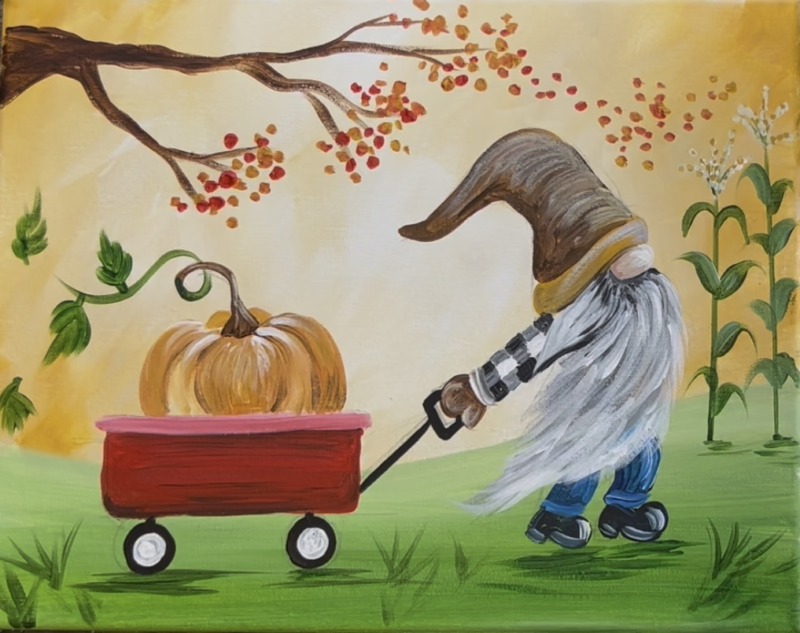
Paint fall leaves on your branch! Do this by painting little dots using the end of your round paint brush. Paint a variety of red, orange and even yellow dots.
Paint a stream of leaves flying off the tree and to the right of the sky!
Use the black POSCA paint pen (or a sharpie) to write on the wagon. I did “Love Fall”. You can have this say anything! Paint a sunflower on the gnome’s hat. This is the only time I use “primary yellow” in this painting. First paint the center of the sunflower with “mars black”. Then paint the individual flower petals with “titanium white”. After the white dries, go back and paint the petals with the yellow!
Paint some fall leaves on the ground by dotting more colors all over the green area. Then, as a final touch, I went back over my lettering with a white paint pen to help it to stand out better!
Finished! Sign your name and show it off!