Would you like to save this?
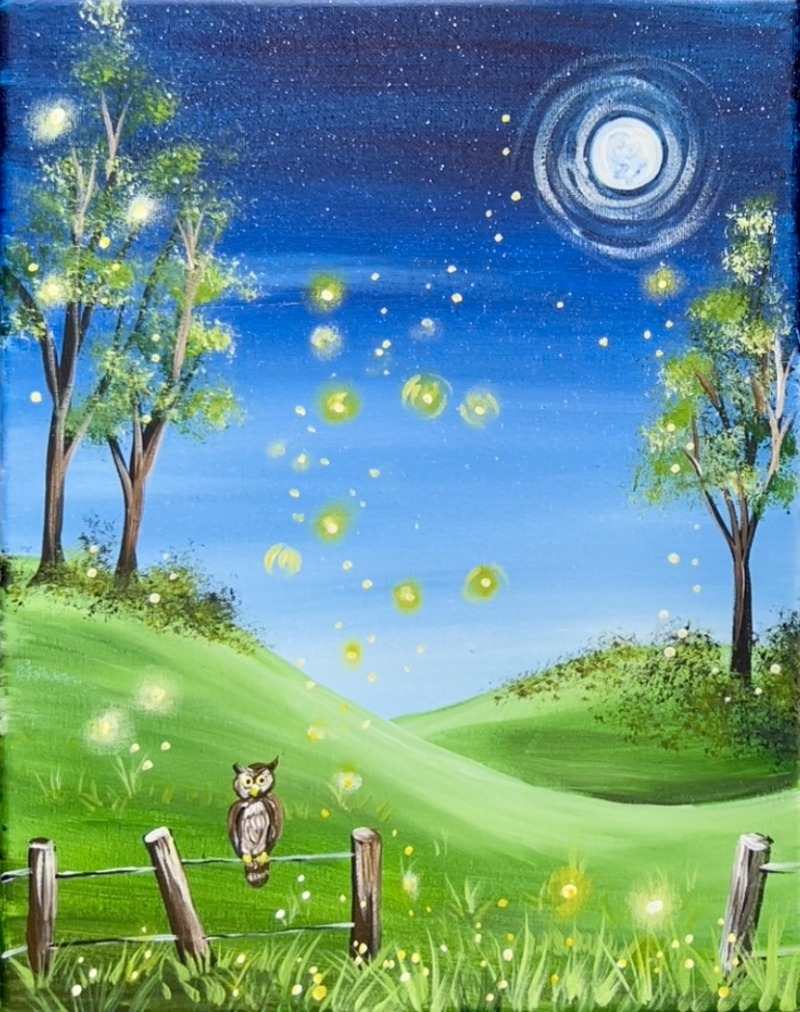
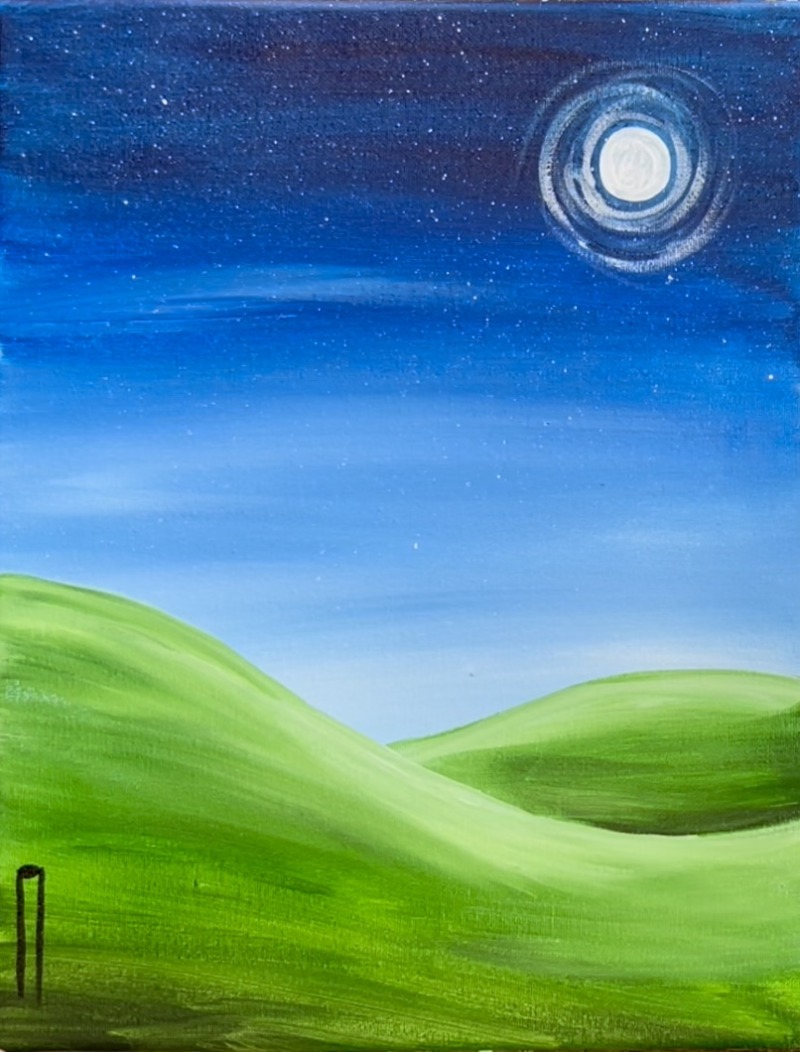
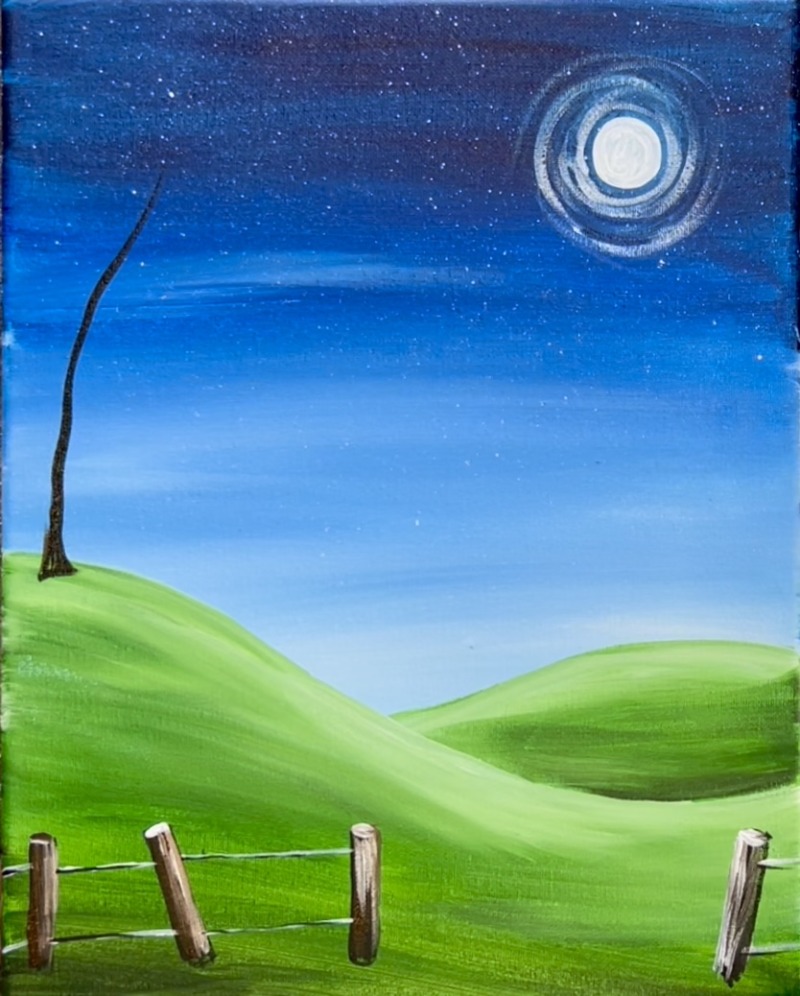
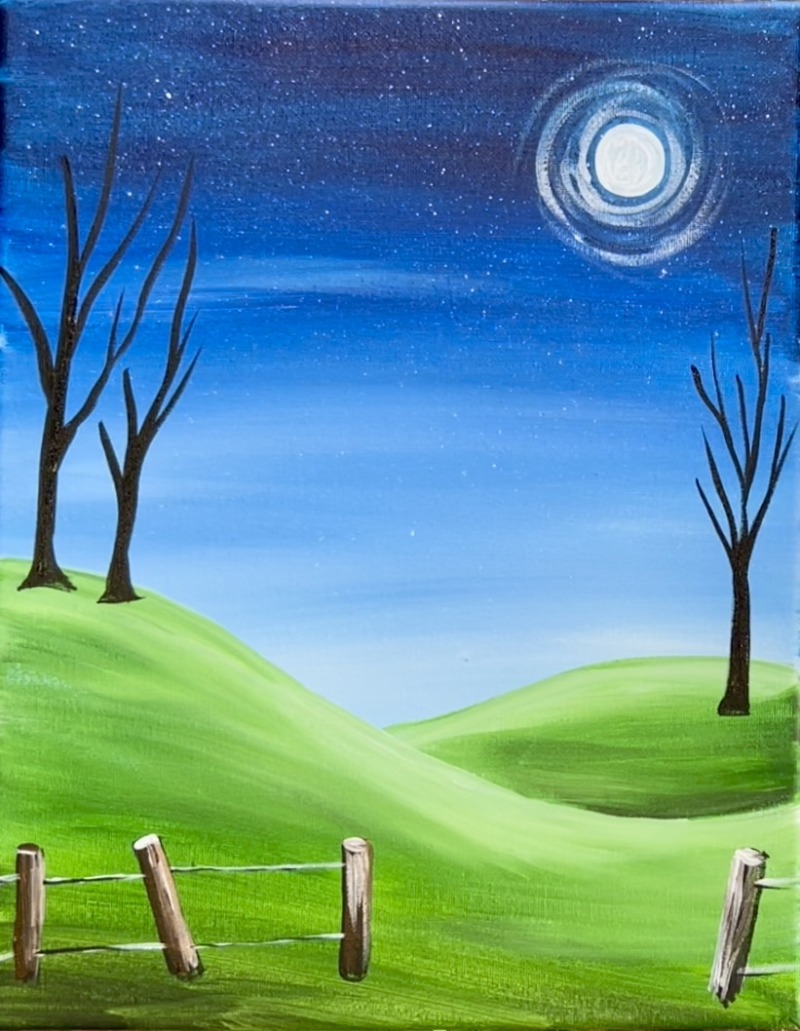
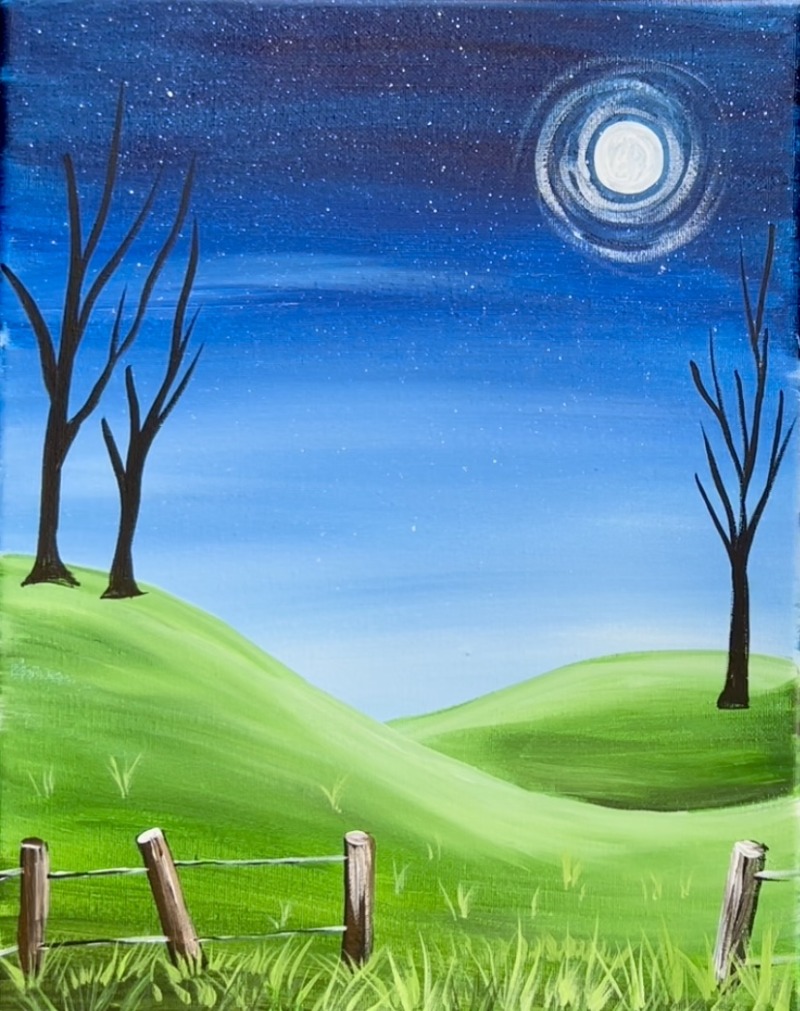
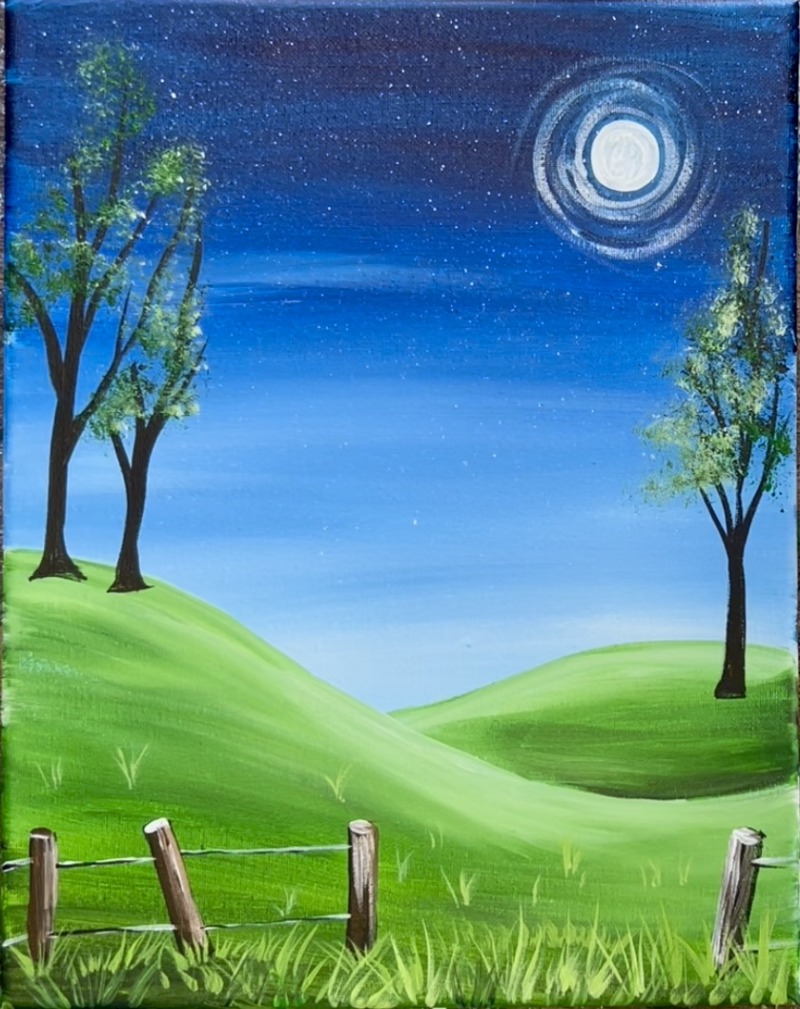
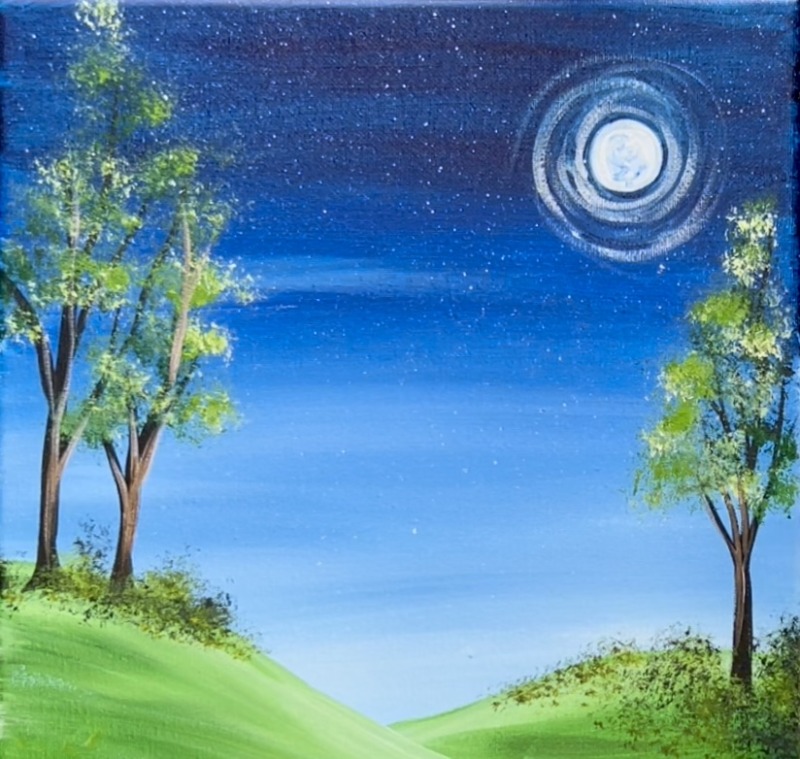
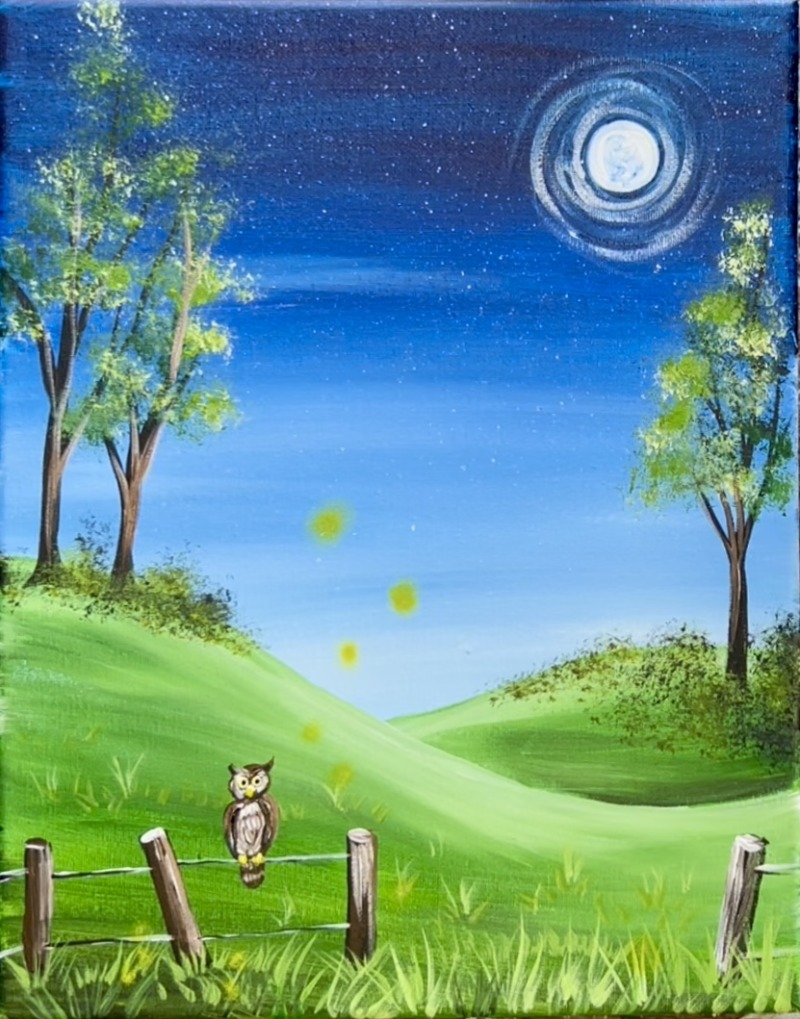
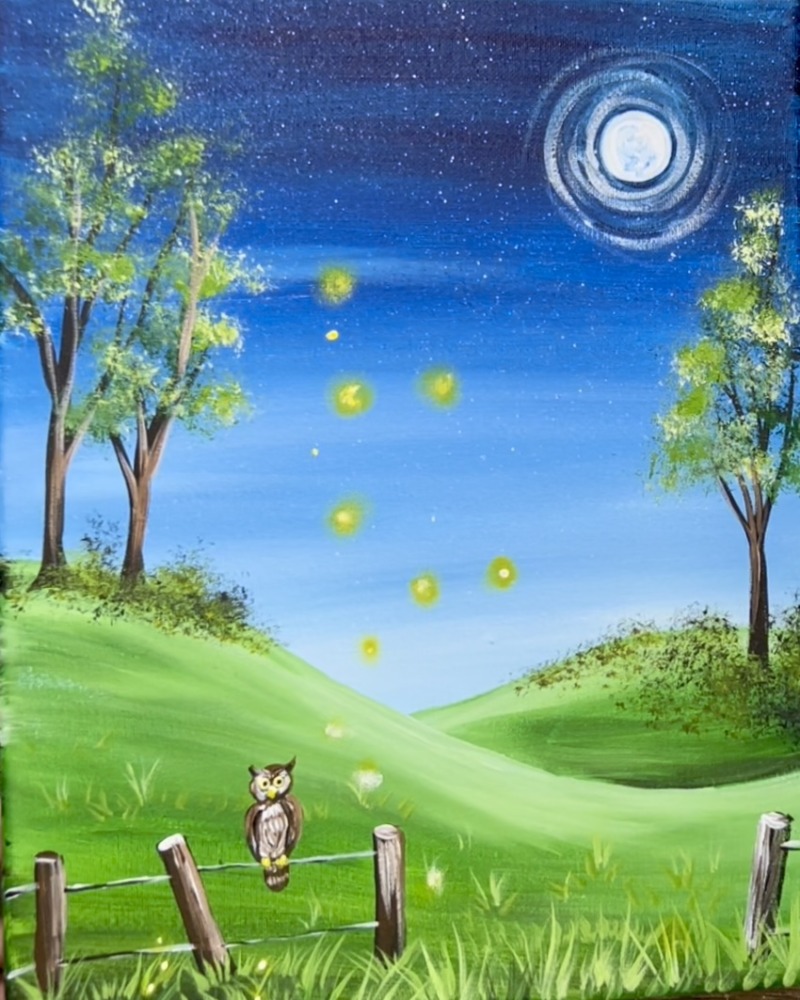
✨Nighttime magic unfolds in this whimsical painting. Fireflies dance, illuminating a serene landscape. Perfect for a peaceful evening!
This tutorial will show you how to paint this summer scene with basic landscape painting techniques. There is no free traceable for this one, however, if you want a tracer you can head over to my PDF shop to grab the download for this!
Enjoy and happy painting!
Materials
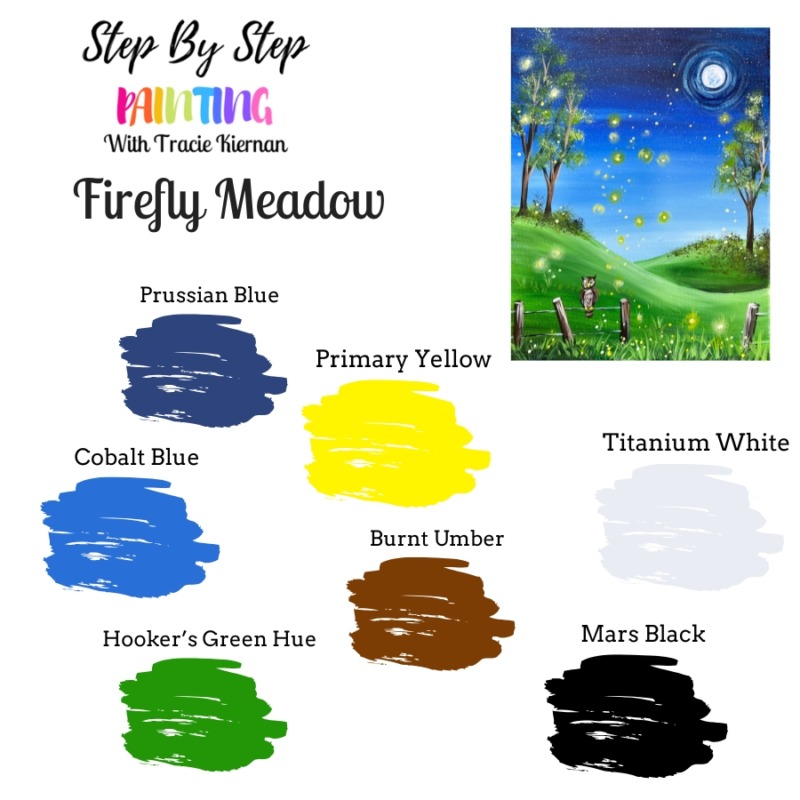
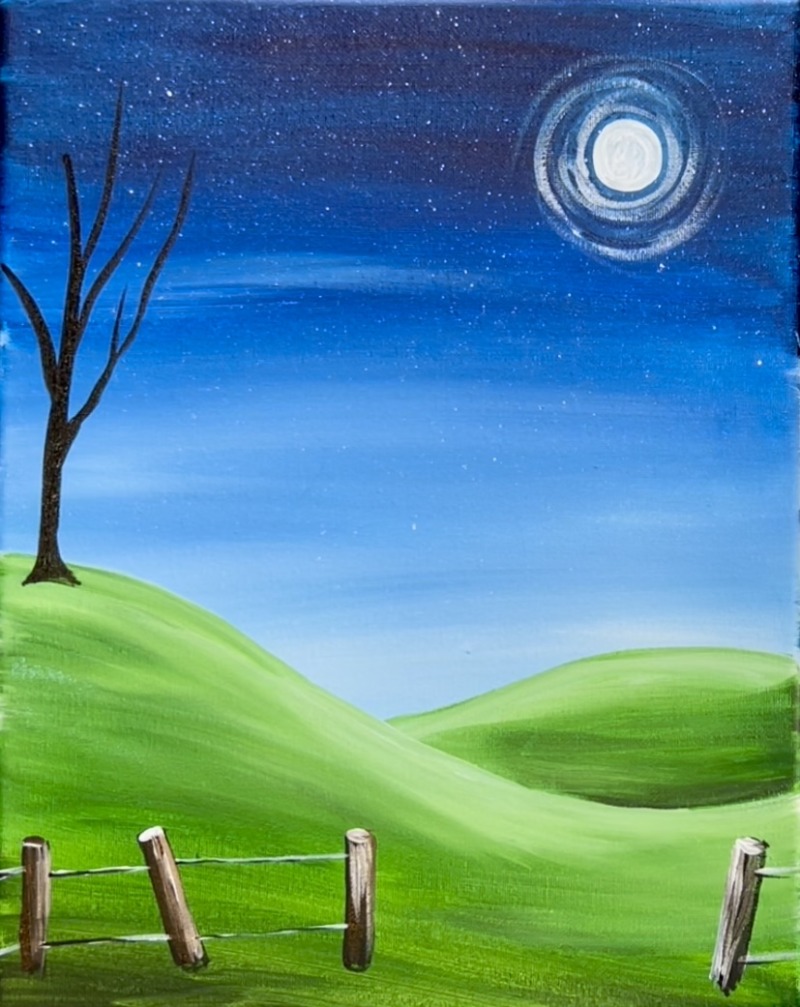
Firefly Meadow - Acrylic Painting Tutorial
Paint a whimsical summer night with fireflies in an open meadow and an owl on a country fence.
Materials
- 11 x 14 Canvas (or any size)
- Acrylic Paint
- Brushes
- Toothbrush for star splatters (optional)
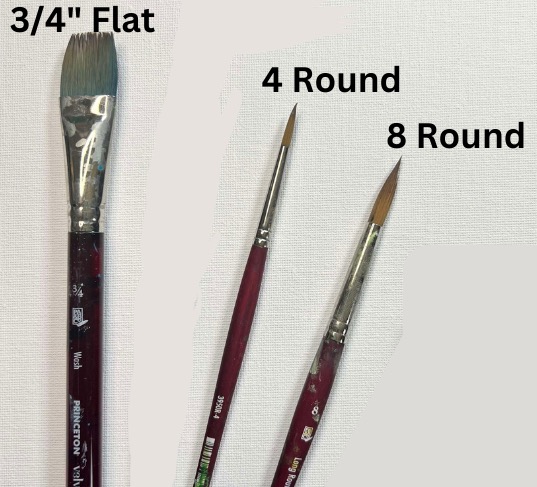
Brush Specifics
- 3/4" Flat
- #4 Round
- #8 Long Round
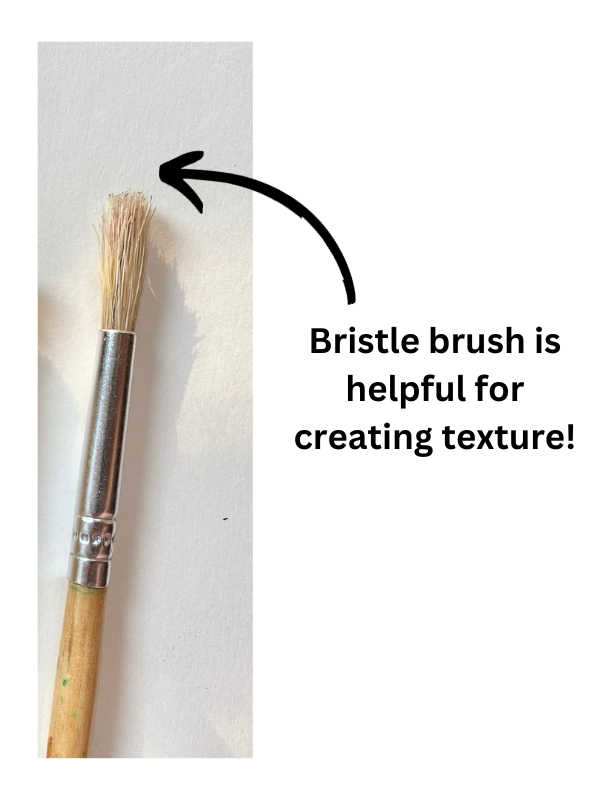
- Bristle Brush
- Toothbrush
Colors
- Titanium White
- Mars Black
- Burnt Umber
- Primary Yellow
- Prussian Blue
- Hooker's Green Hue
- Cobalt Blue
Download This Tutorial!
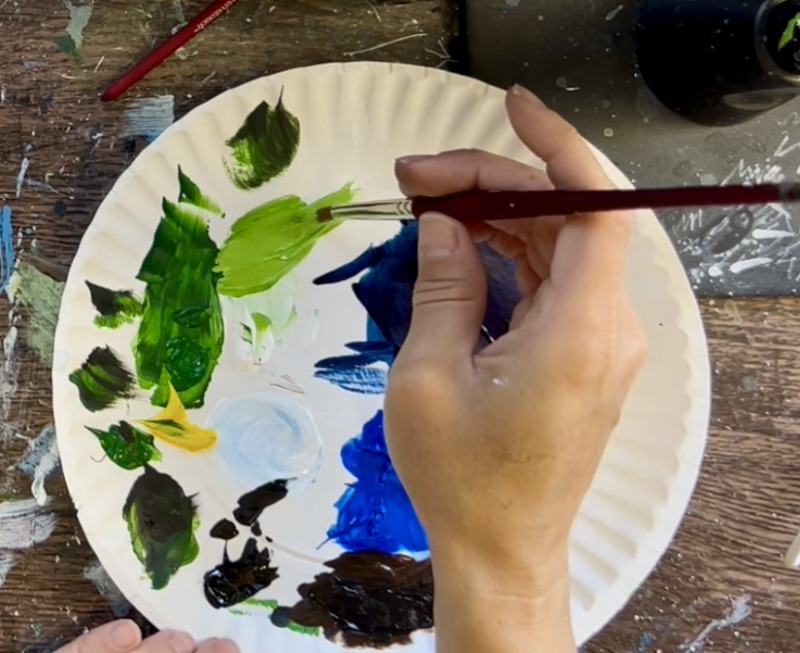
Color Palette
The brushes I use for this painting are the Princeton Velvetouch Brushes that come in this pack!
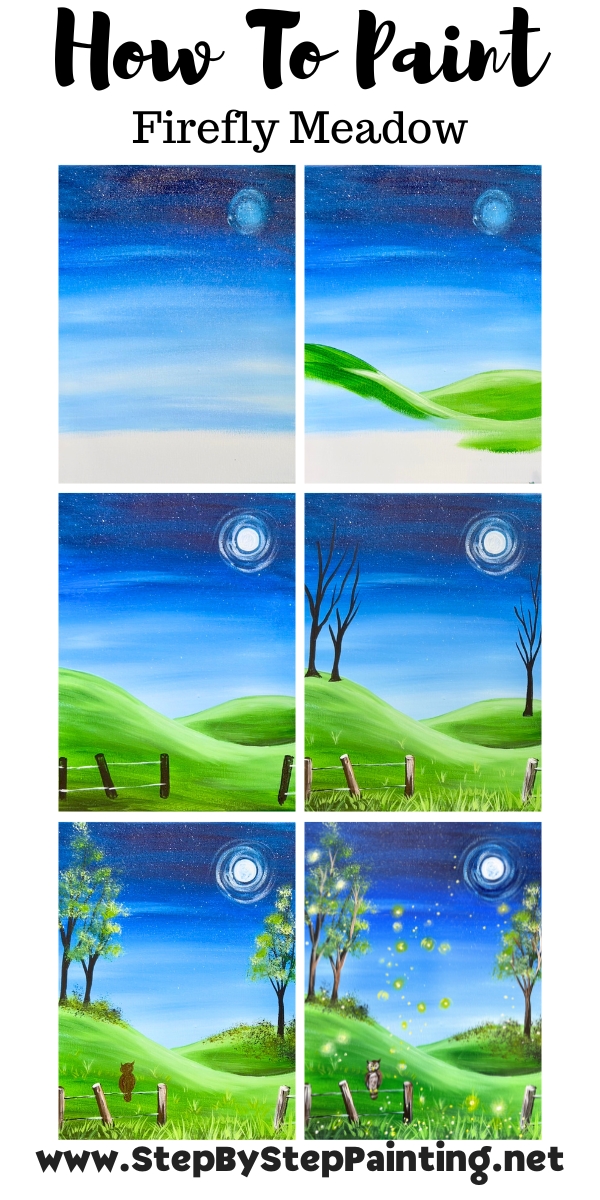
Directions At A Glance
Video
Step By Step Directions
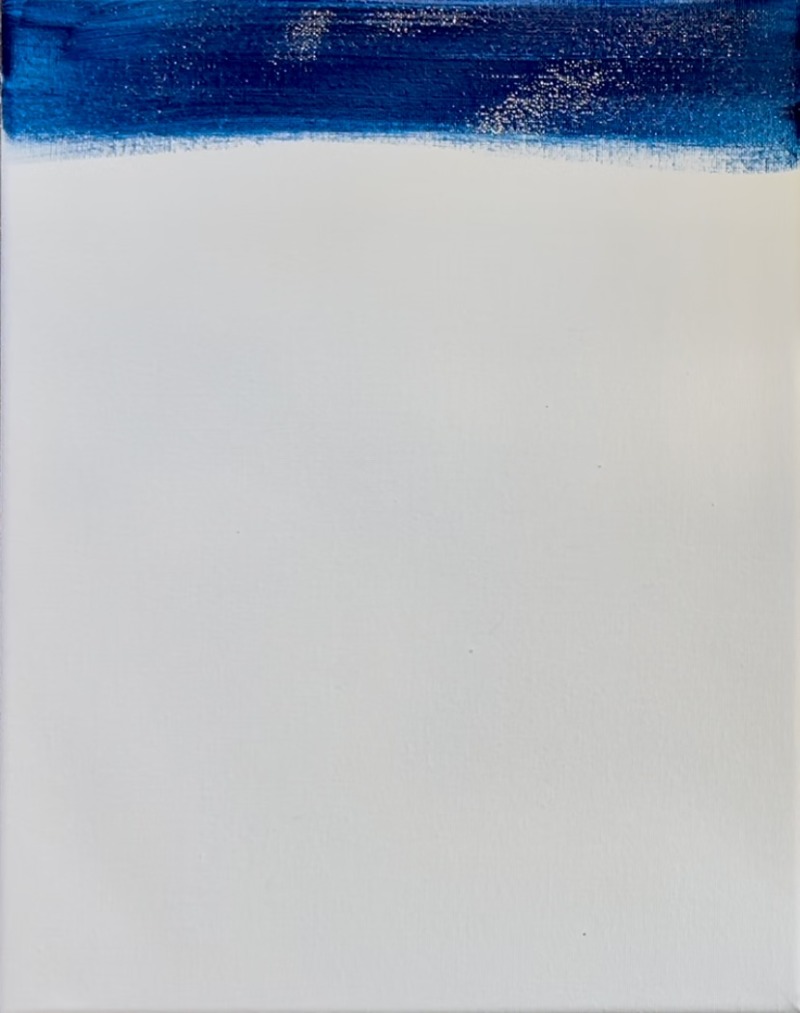
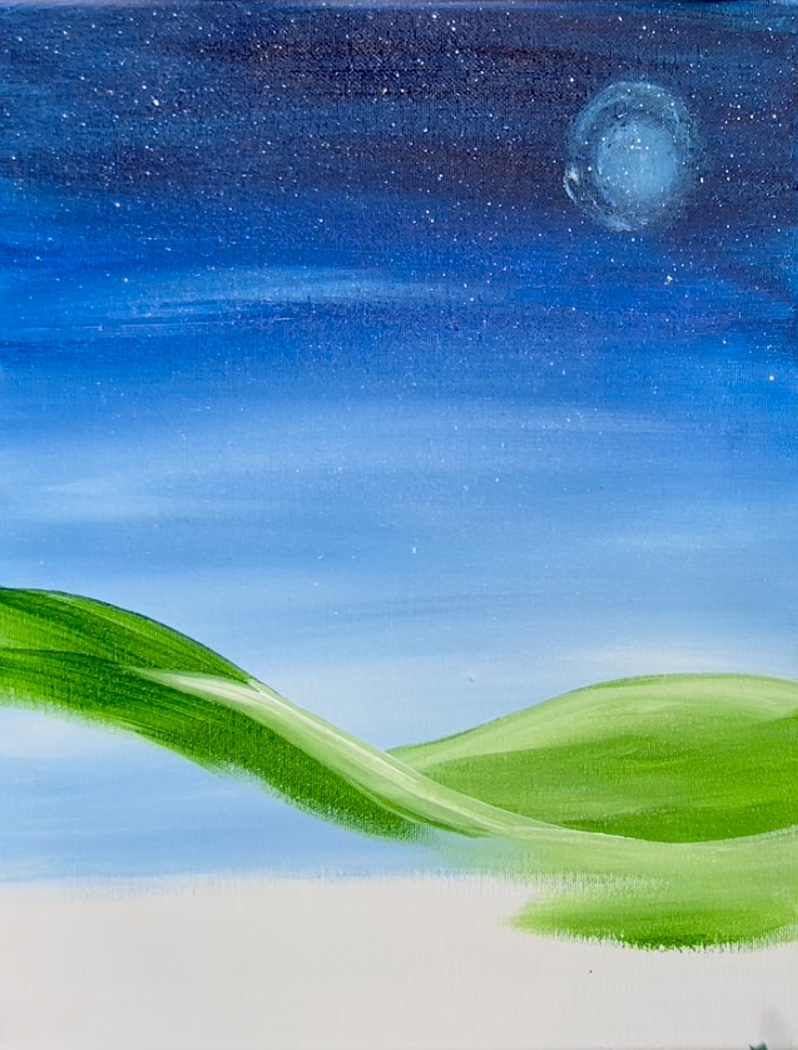
1. Paint Sky
Position your canvas vertically. Load your paint palette with the colors: “Prussian blue”, “cobalt blue” and “titanium white”. Use a 3/4″ flat wash brush for this step. Start at the top of the canvas. Paint left and right paint strokes using this dark blue and go down about 3-4 inches.
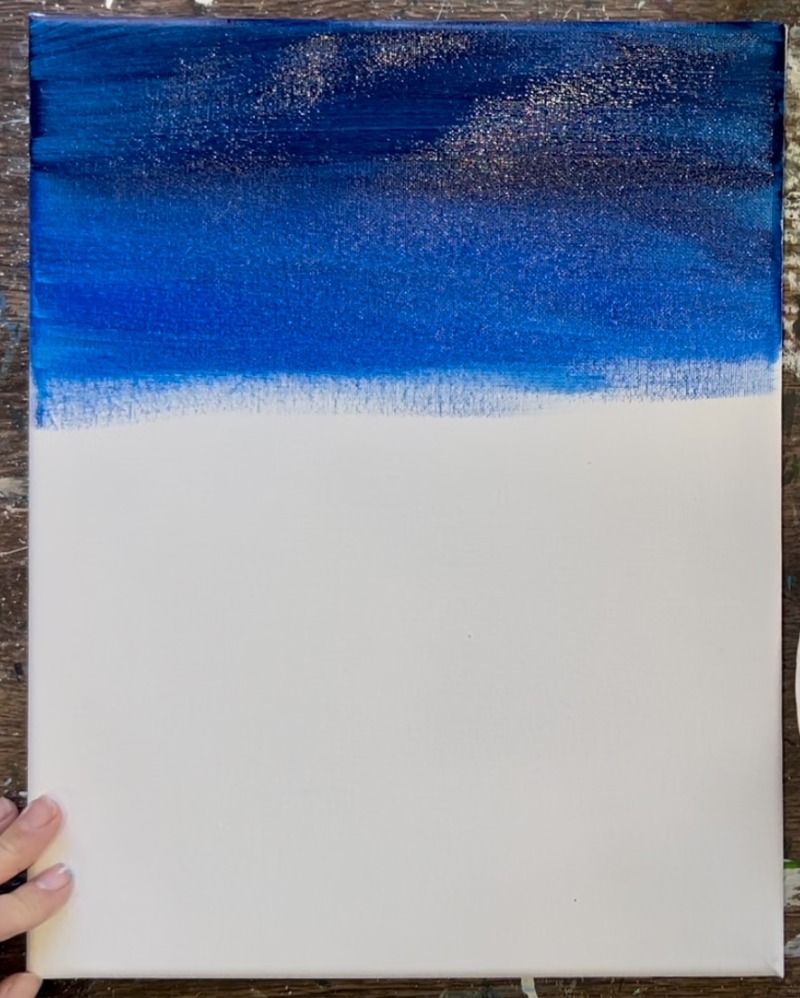
Next, wipe the brush off but don’t rinse it. You want a little bit of the Prussian blue still on your brush to help blend the next color but not a lot because this is a very dark color. Load it into the “cerulean blue”. Blend this lighter blue up into the darker blue. Your sky should become gradually lighter. Continue to paint left and right paint strokes and bring the “cerulean blue” down to about the halfway point on the canvas.
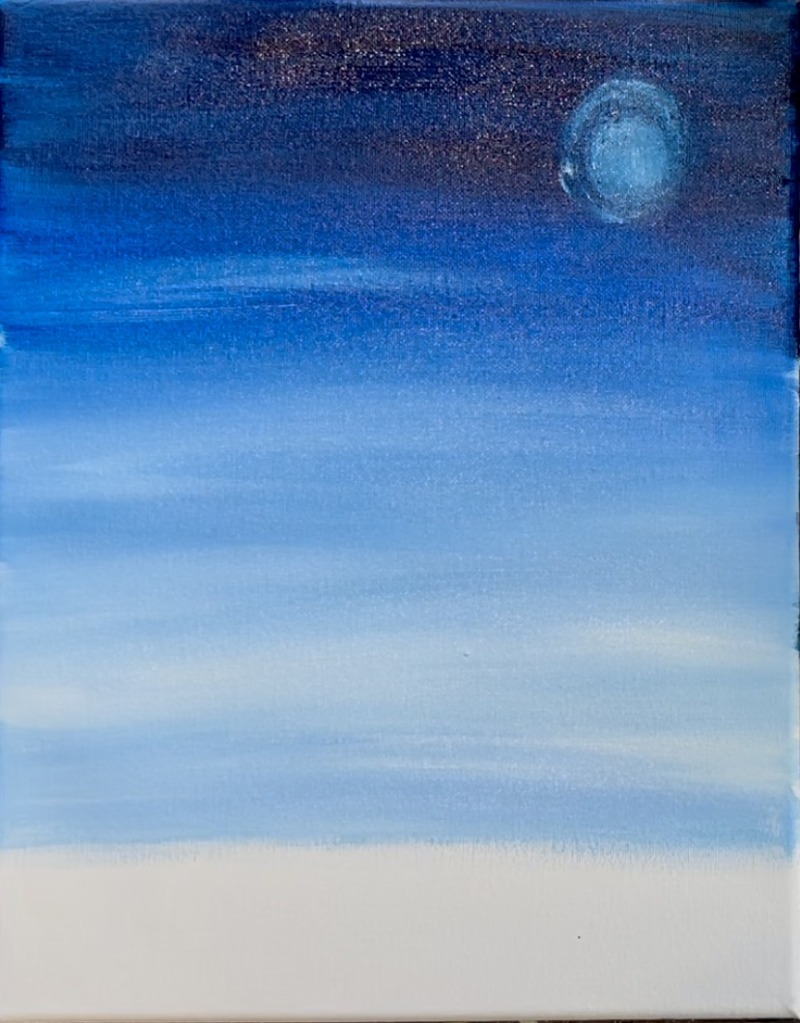
When you reach the “half way point”, wipe the paint brush. Then load your paint brush into “titanium white”. Blend this white below your “cerulean blue”. Your sky color will get much lighter.
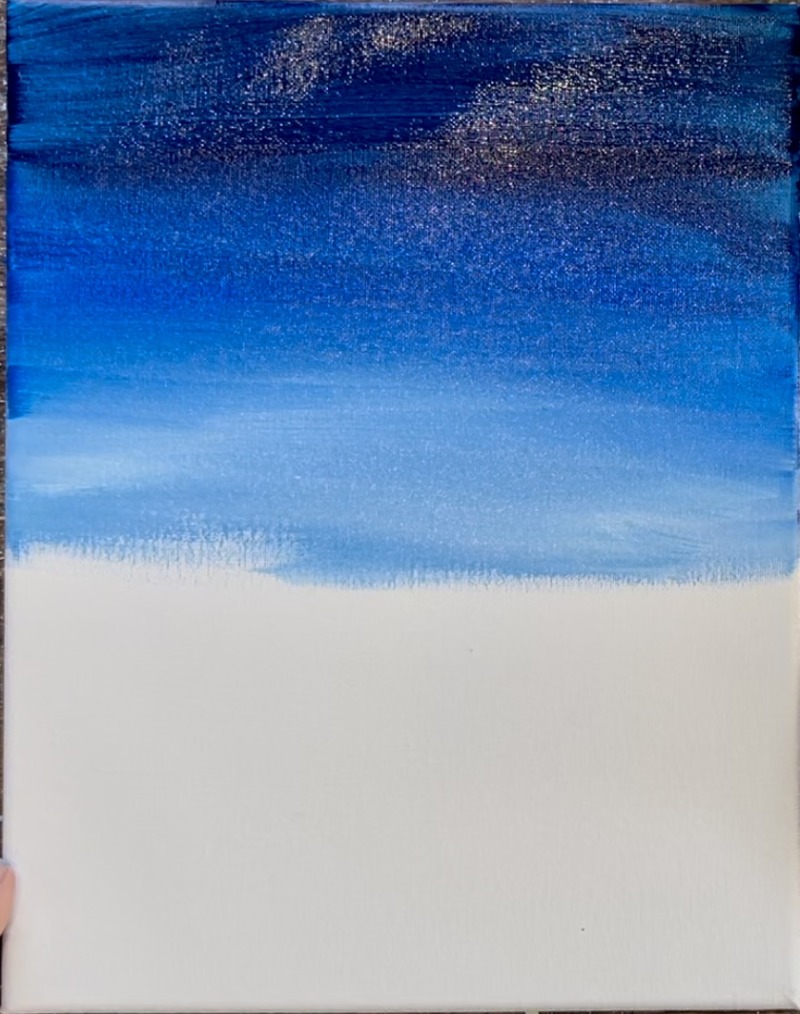
Continue to paint “titanium white” down to almost the bottom part of the canvas. Leave about a 3″ gap of space left on the bottom.
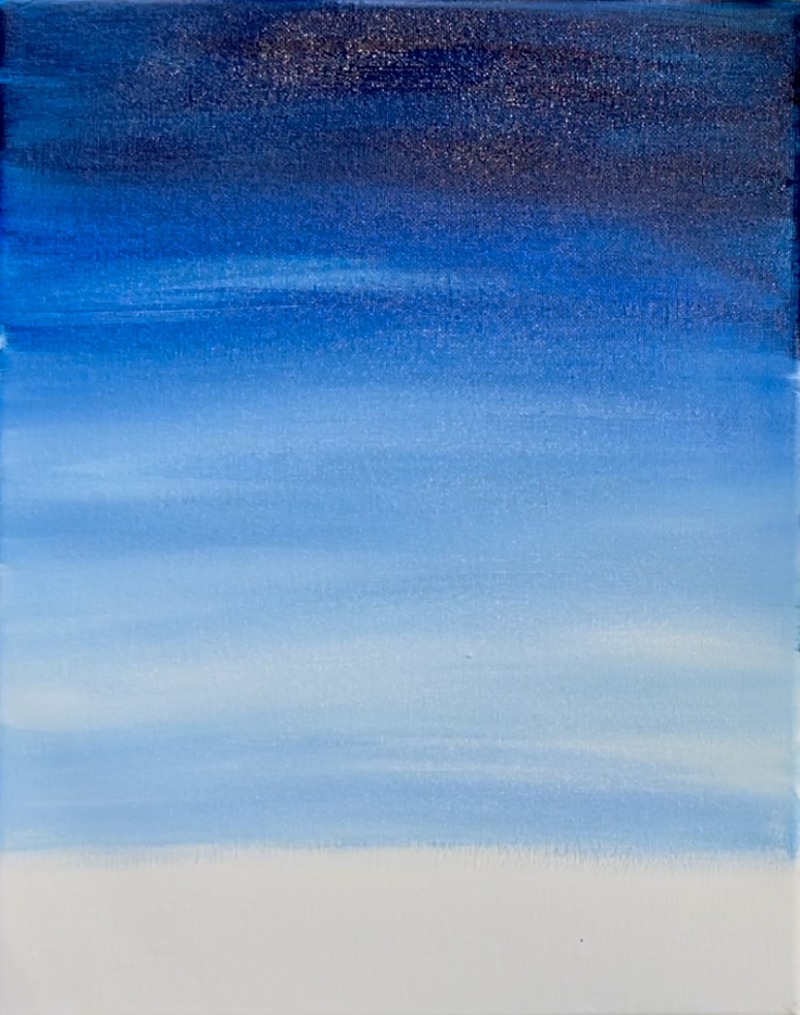
Next, I painted a light blue circle in the upper right corner (before the sky dried!). This is to help with the glowing of the moon. Load your index finger into “titanium white”. Then press and form a small circle using only your finger.
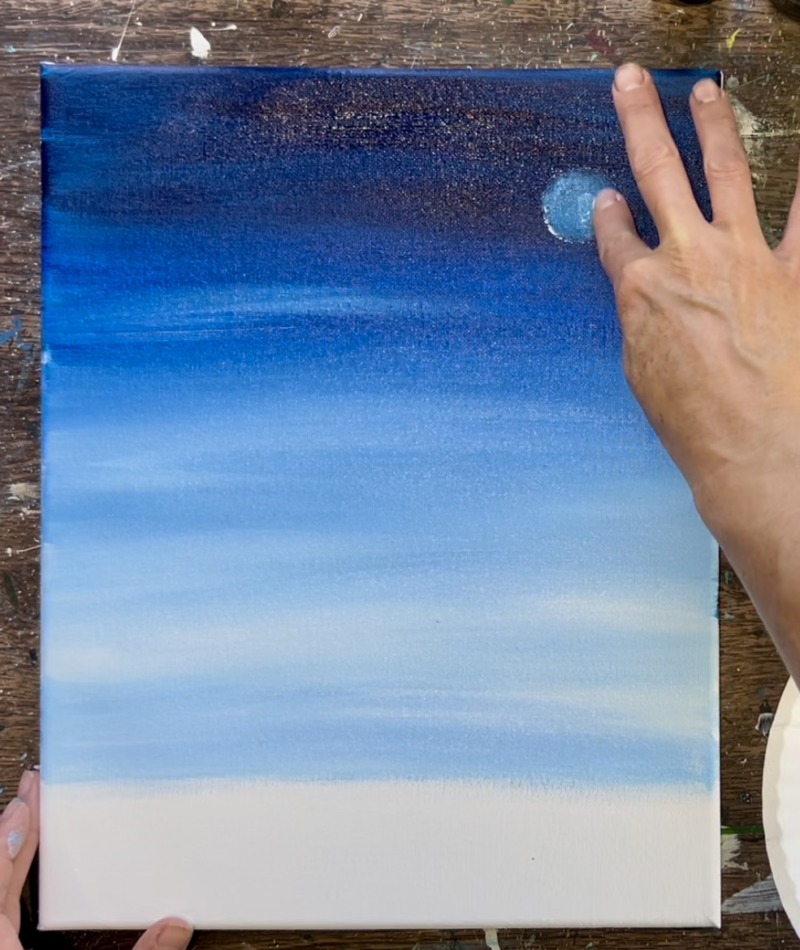
Because the sky is so dark I that area, it should create a very soft lighter blue color. Later we will paint a bright white circle in this for the moon.
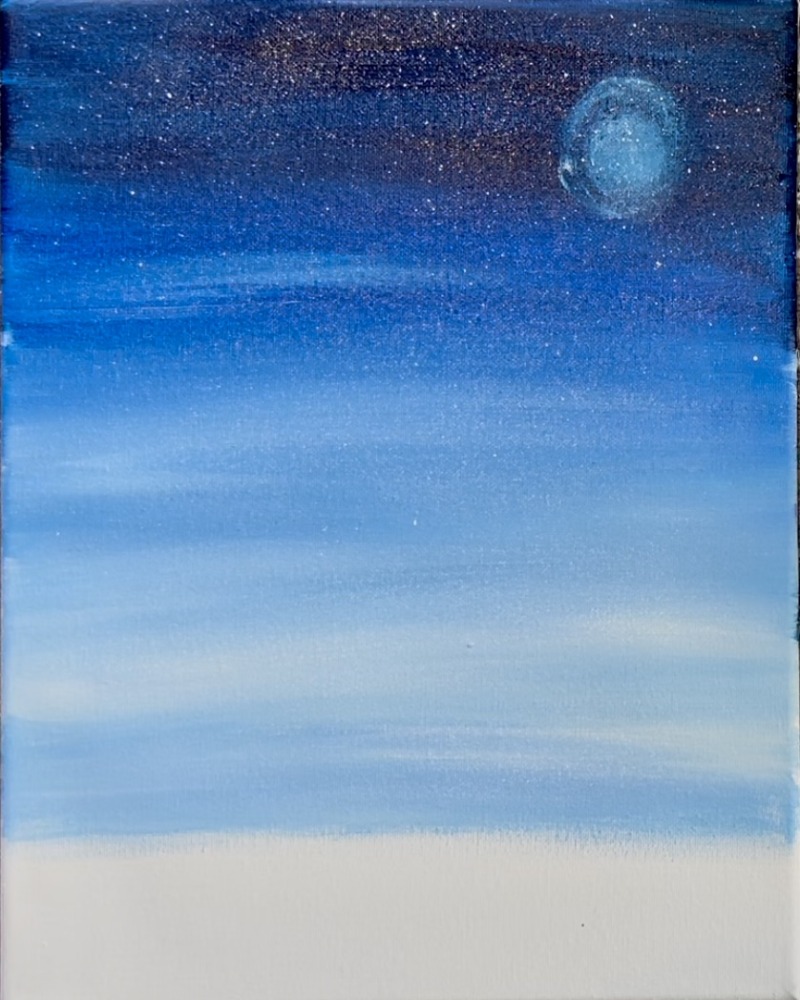
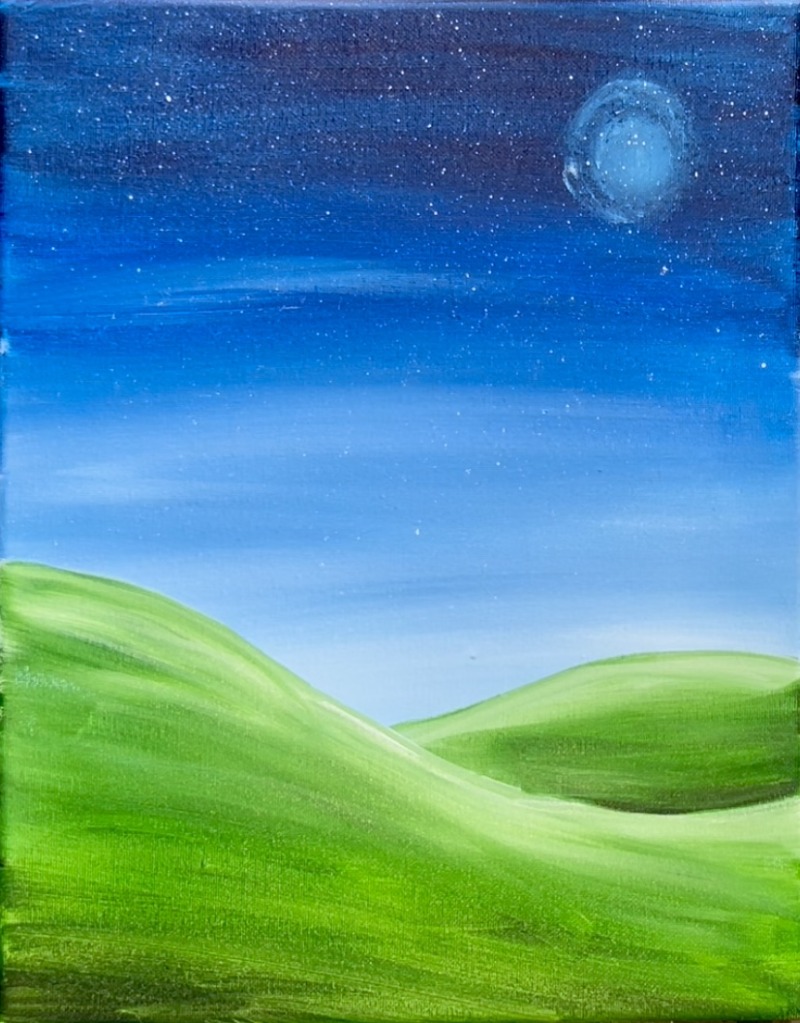
Next, use a toothbrush to splatter stars! Load the toothbrush into slightly watered down white paint. Flick the brush to create tiny stars all throughout the dark sky.
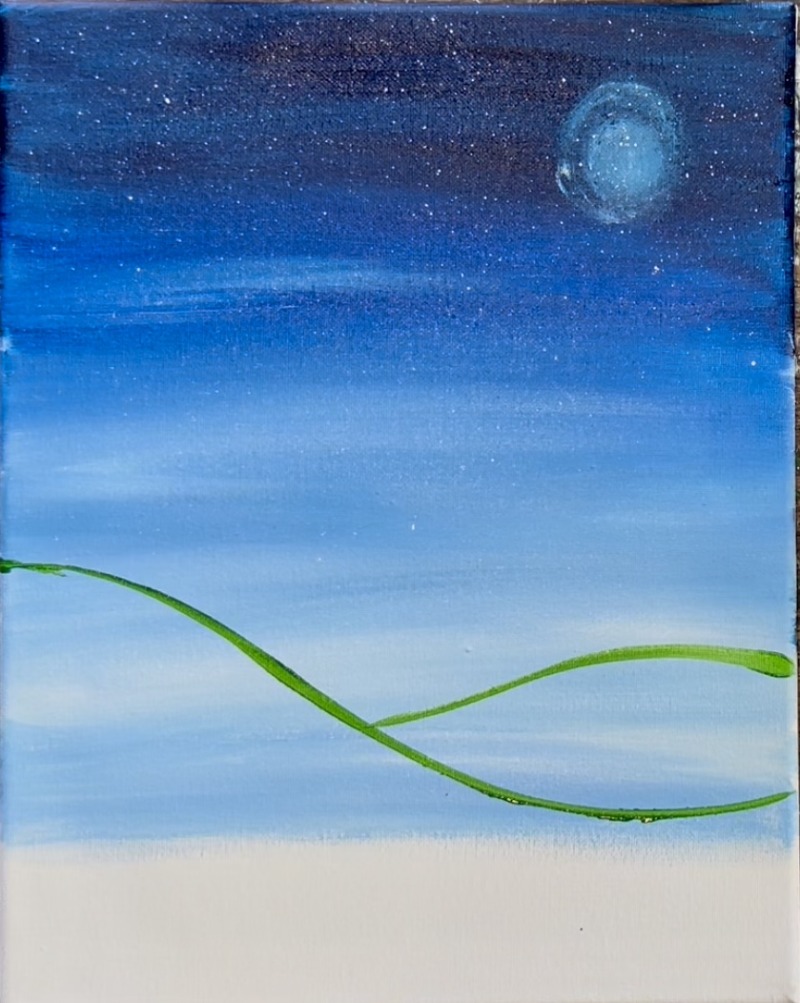
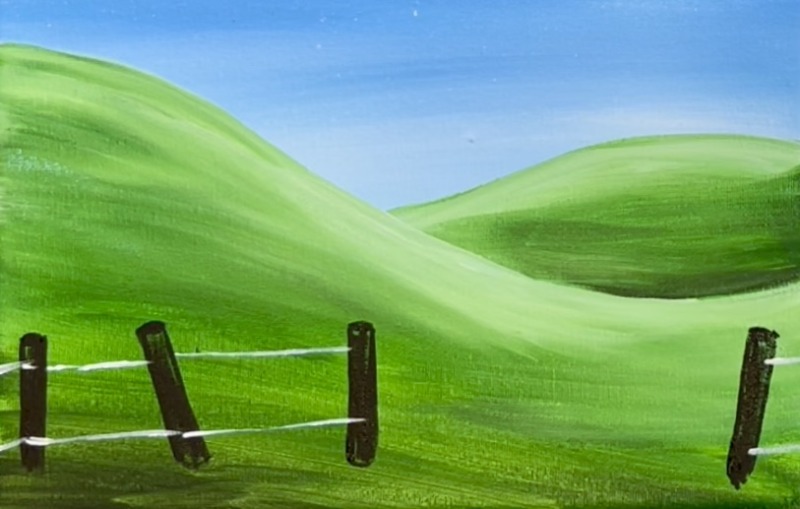
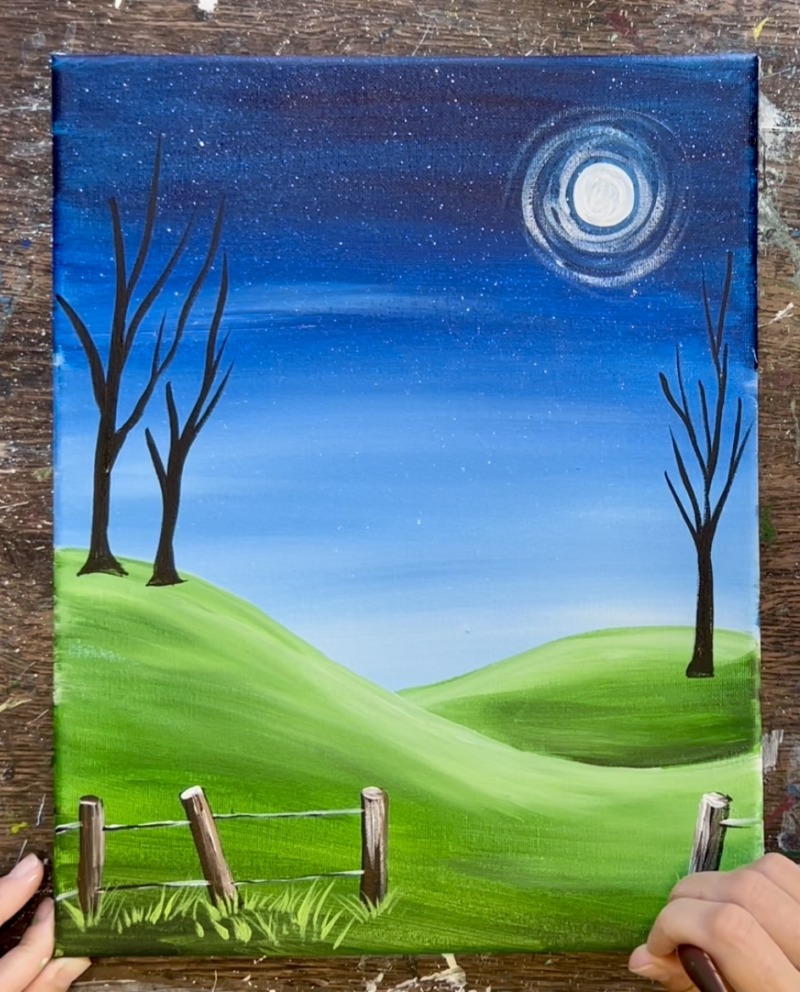
2. Paint Green Hilly Area
Load your paint palette with “hooker’s green hue”. Use the 3/4″ flat wash brush to draw out two green hill lines. The line on the left starts at about the halfway point on the canvas and dips down and off the right edge of the canvas. The line in the back curves upwards and behind the large hill.
Then start filling in the hills using the 3/4″ flat wash brush. Mix “titanium white” with “hooker’s green hue” to create a lighter green. Paint this lighter green on the top edge of both of the hills. Then blend darker green (green not mixed with white) at the bottom of each of the hills. When you do lighter color on the top of the hill and blend darker colors on the bottom of the hills, this create depth in the landscape.
Fill the bottom part of both of the hills with just the green.
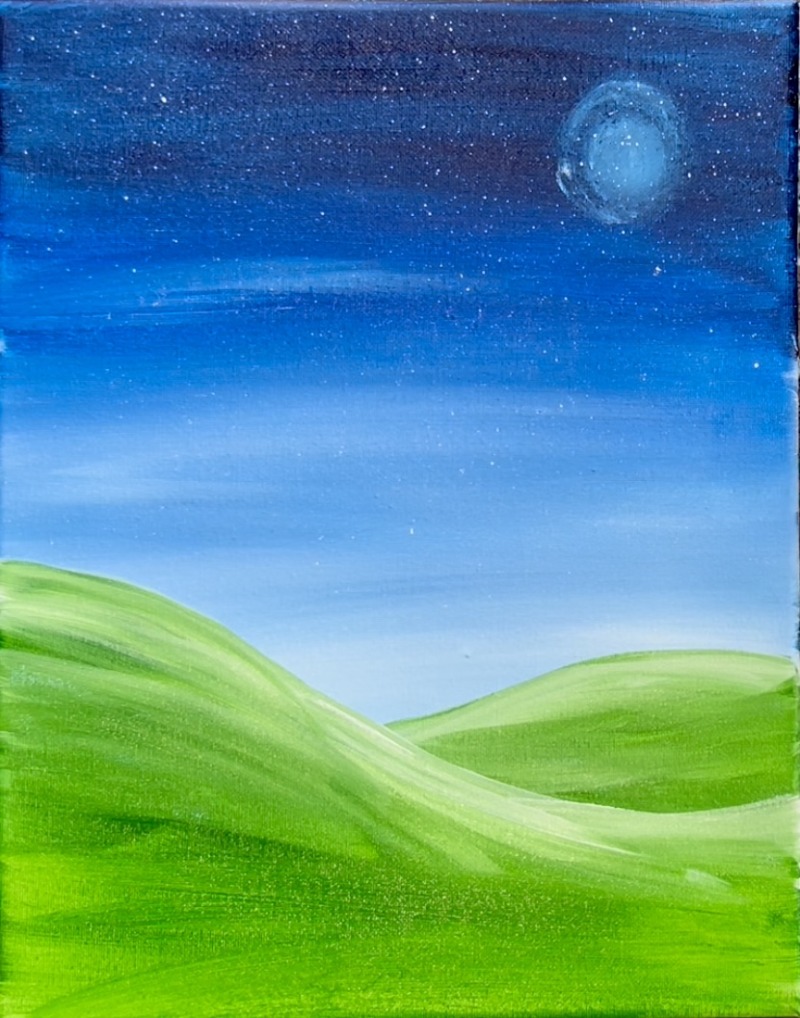
Then, before this dries, add a very tiny amount of “mars black” onto your paint brush. Mix this little bit of black with the green at the very bottom of both of the hills and blend it upwards. This will make the bottoms more shadowy. Only a tiny amount of black is needed for this step!
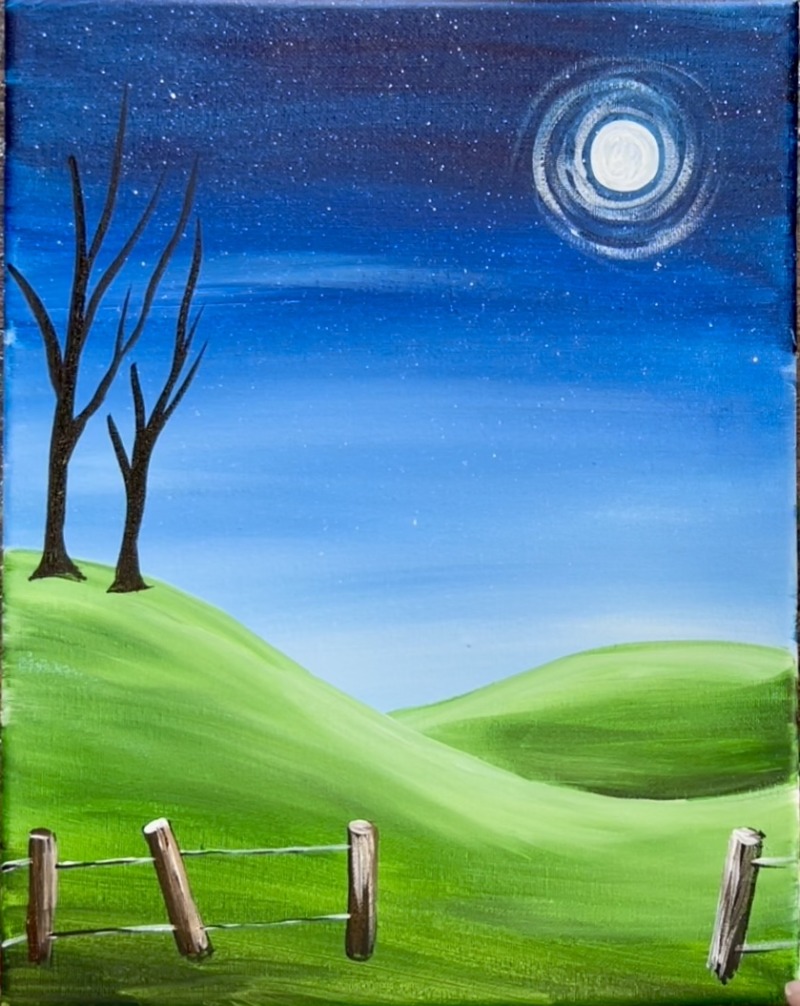
3. Paint Moon
Use a #4 round brush and “titanium white” to paint a white circle for the moon.
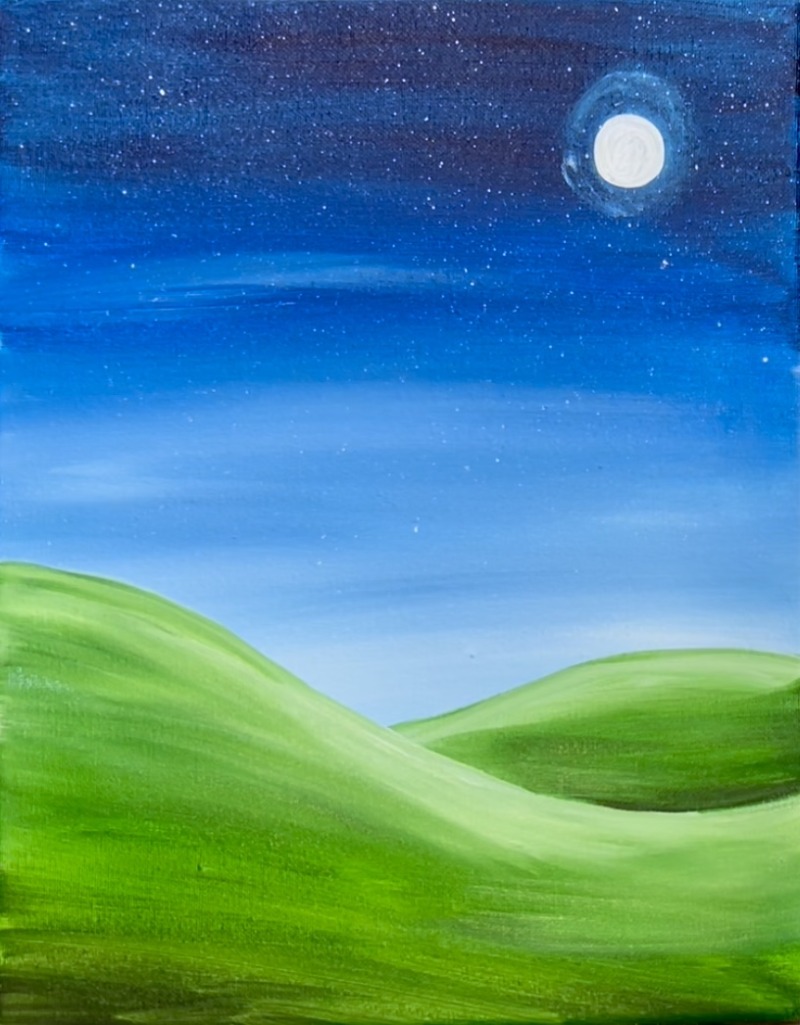
Then paint “dry brush style” moon beams. Use #4 round brush and titanium white and lightly brush loose circles around the moon. These should be translucent and not very bright.

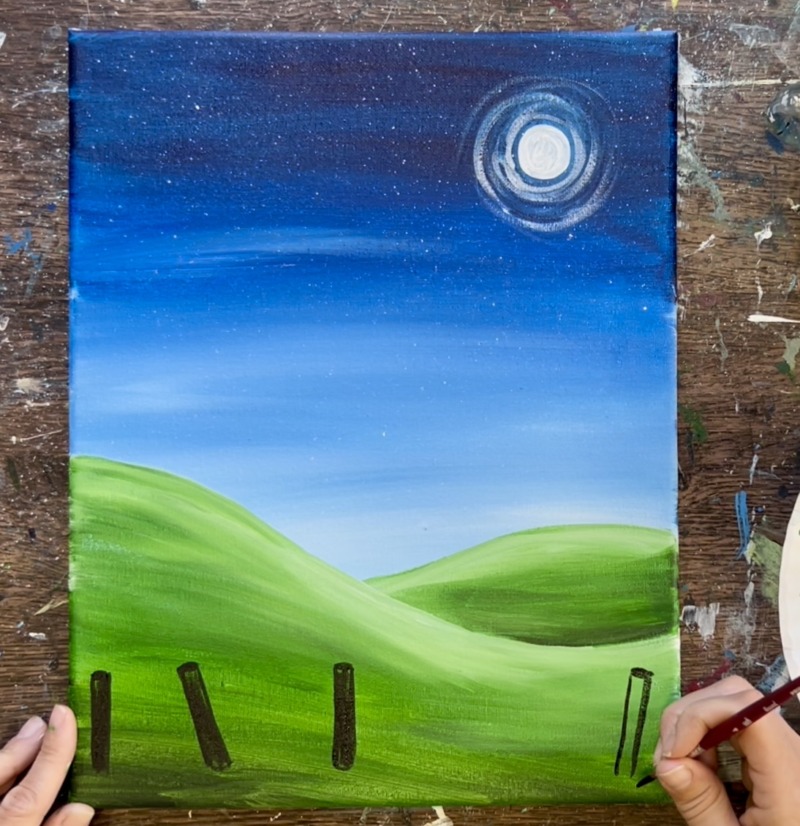
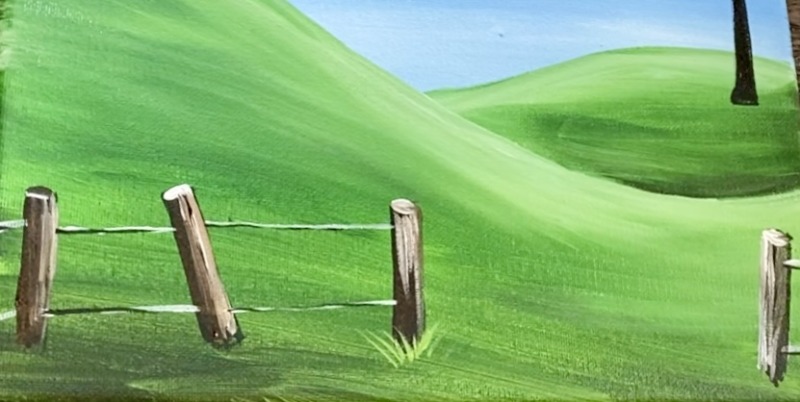
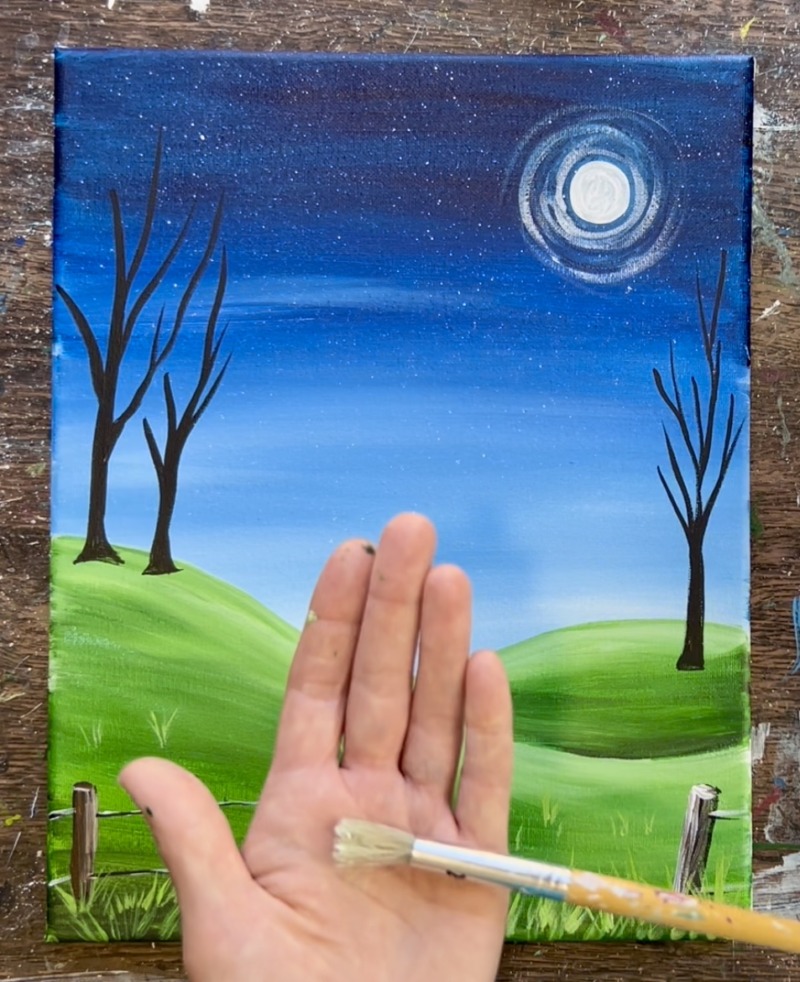
4. Paint Country Fence
Use the #4 round brush and “mars black” to paint the posts. Paint a little oval on the top of each of the posts and then a set of lines going down. Fill the shape in solid with black.
Paint several posts. I did posts that are going diagonally for a more “country rustic vibe”.
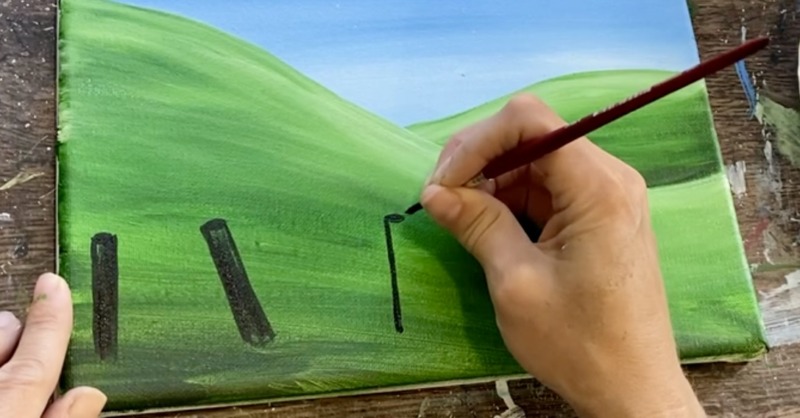
I did three posts on the left and one post on the right.
After painting the posts, paint the thin wire. These are two sets of white lines. Use the end tip of the #8 long round brush to paint the set of lines.
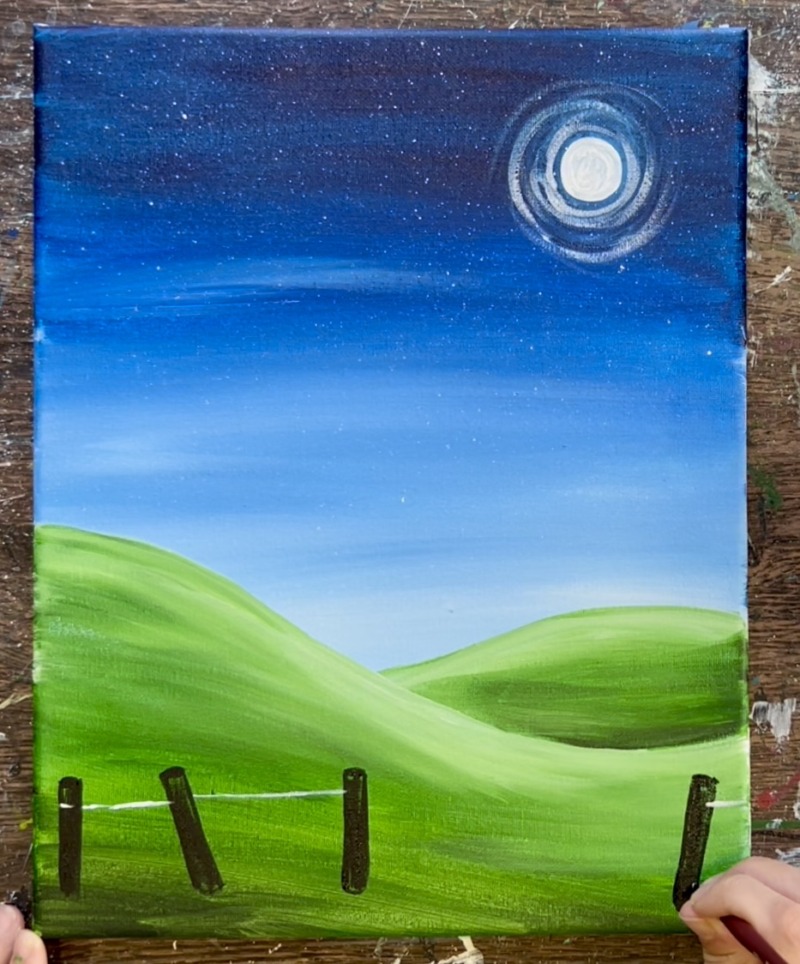
Next, add your highlights to the wood posts. Do this with the #4 round brush and blend the white in with “burnt umber”. This will add wood texture to the posts and also highlight them. I added the lighter part of the post on the side that the moon light would be hitting it.
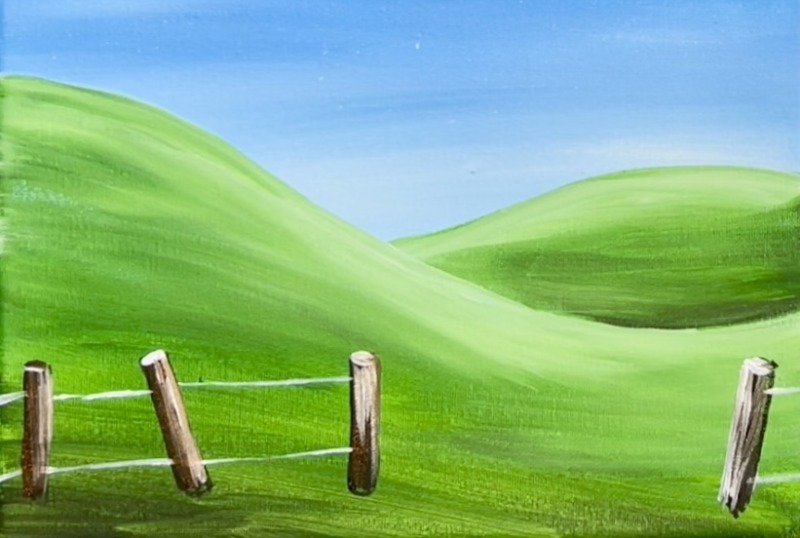
Then paint a thin black line over the white horizontal wire line.
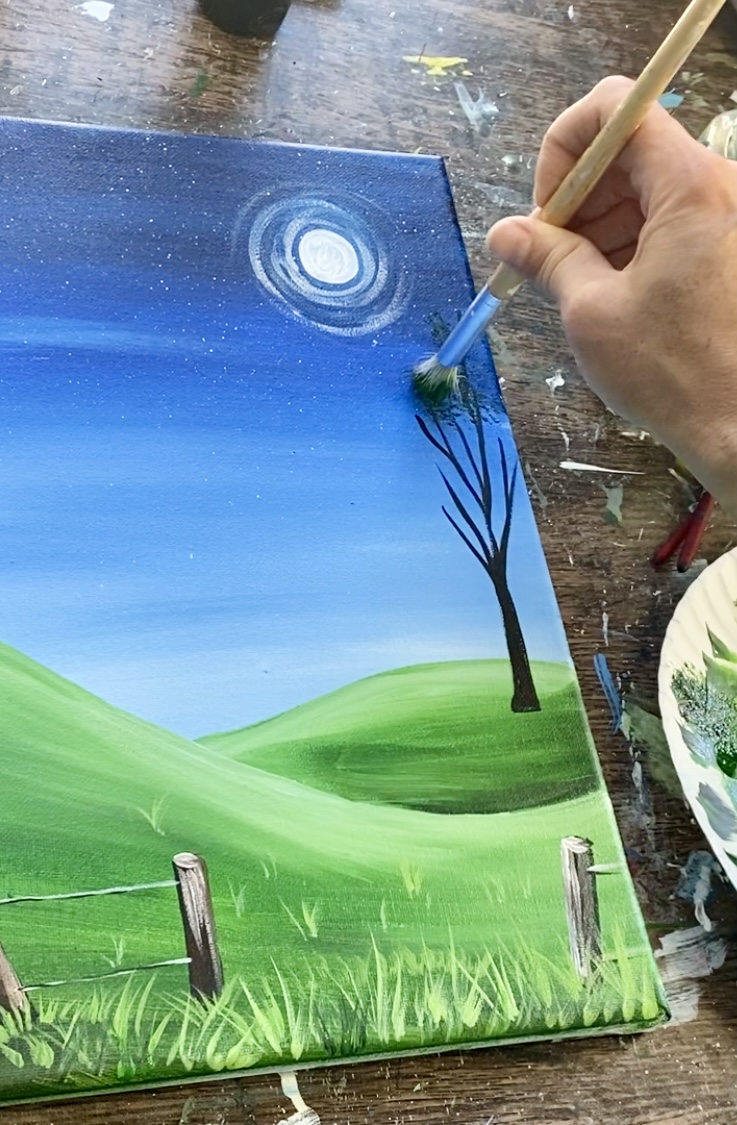
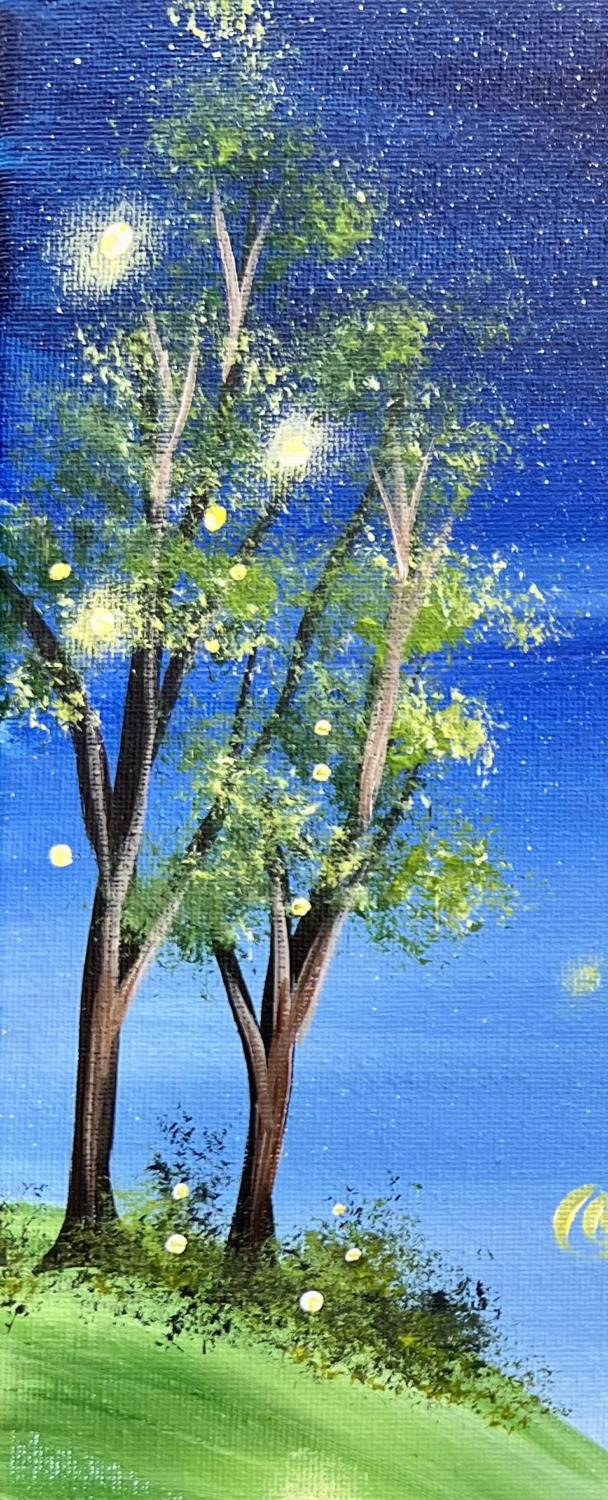
5. Paint Trees
Use the #8 long round brush to paint the trees. Mix about equal parts “burnt umber” and “mars black” on your paint palette. Add a little bit of water to the paint to loosen it.
Start painting the tree so the trunk is a little wide on the bottom and becomes thin and goes to a point where it forms the first tree branch.
To paint branches, try to alter the pressure of the brush. Use light pressure for the ends of the branch to make thin lines and then use firm pressure to make thicker lines.
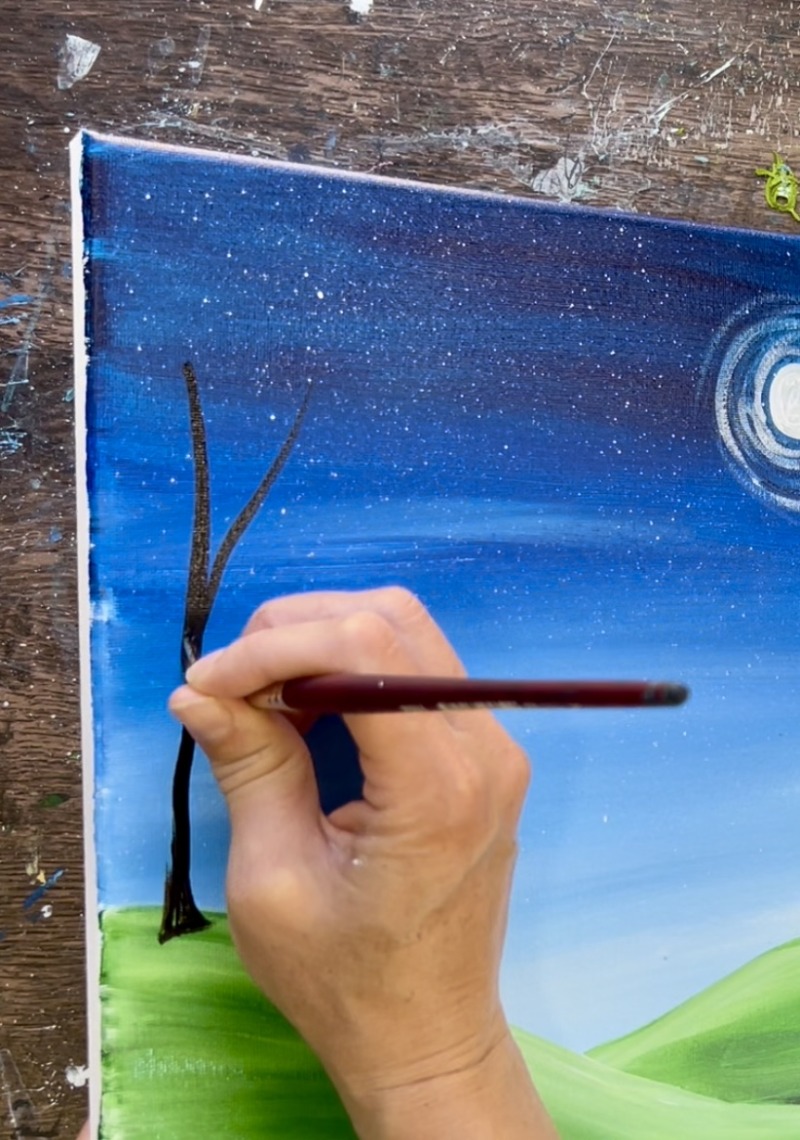
Create multiple branches on the trees. I made this tree have branches that go more vertically rather than diagonally/ horizontally. This is to allow the middle part of the painting to have room for all of the fireflies!
Paint a second smaller tree next to this one.
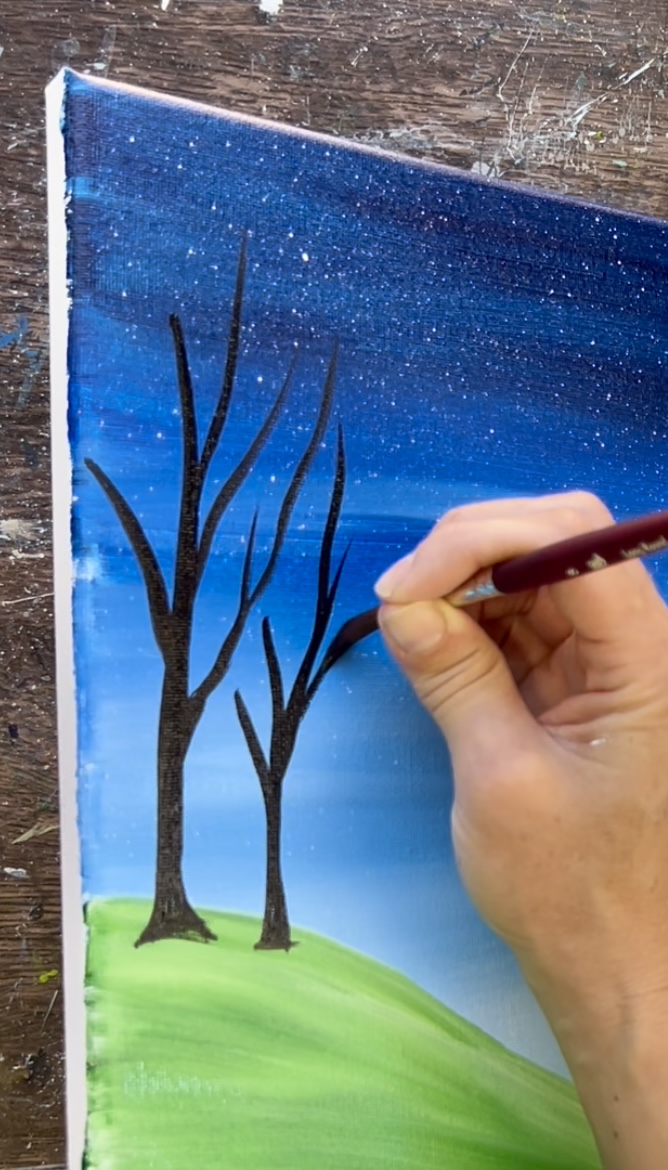
Paint a third tree on the right side of the painting. All three trees are going vertically with the branches.
Wait for the tree branches to dry before painting the tree leaves.
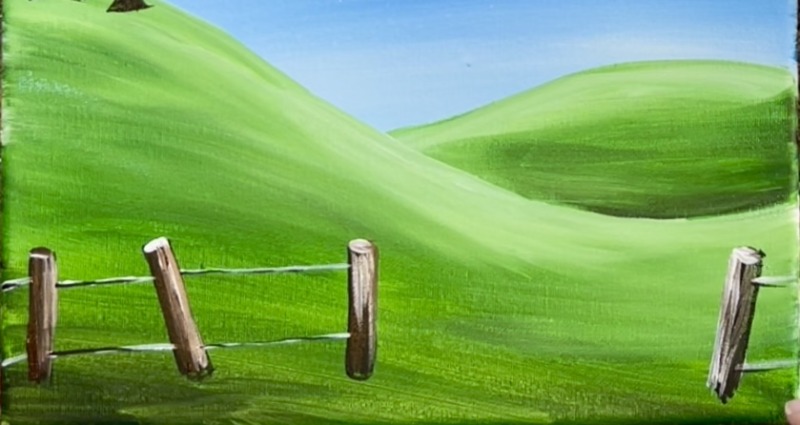
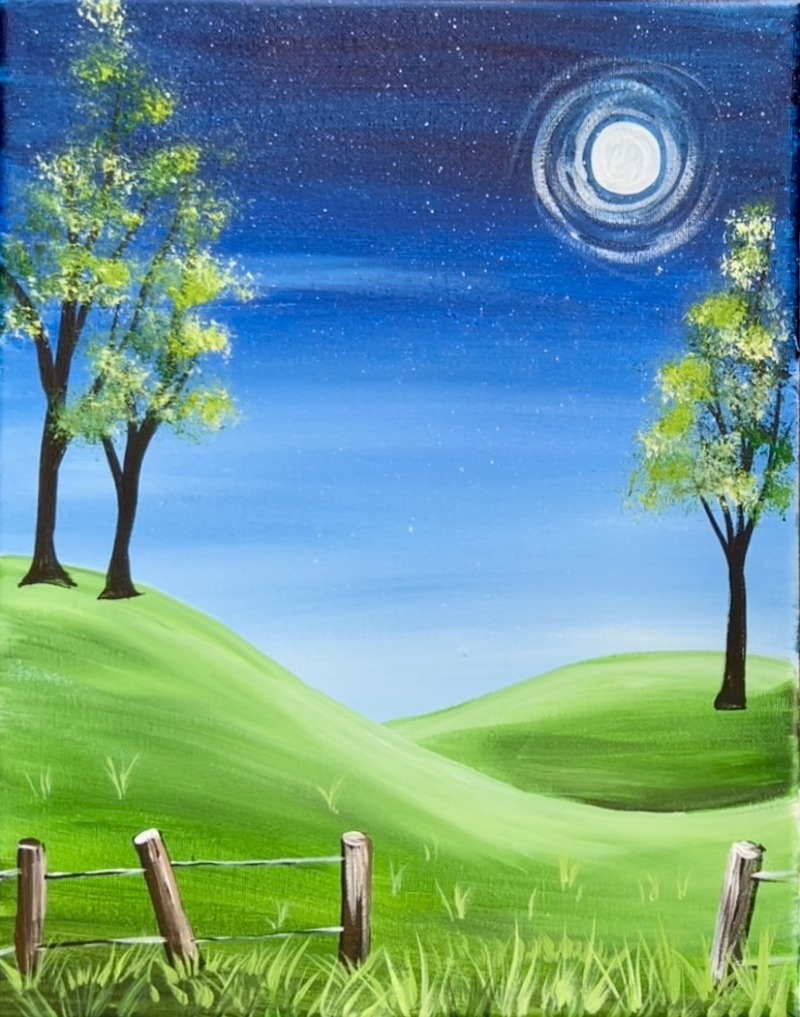
6. Paint Grass
Mix on your palette one part “hooker’s green hue”, one part “titanium white” and one part “primary yellow”. Use the tip of the #8 long round brush.
Note: if you don’t have a “#8 long round”, use any fine tip brush for this step. Use the fine tip to paint little grass blades at the base of all the fence posts. This light yellow green color should be bright enough to show up against the first darker green layer you added when you painted the hills.
Paint these little grass blades going at different angles all along the bottom area of the landscape under the fence. Make your grass blades overlap the bottom of each of the posts.
Some of the grass blades, especially the ones towards the bottom edge of the canvas, can be very tall! The grass blades that are further back (behind the fence post) can be shorter. This helps create perspective.

You can also alter the color a little by adding a bit of white or a bit more darker green into the color.
I did a few patches of smaller grass blades further in the distance. This is optional!
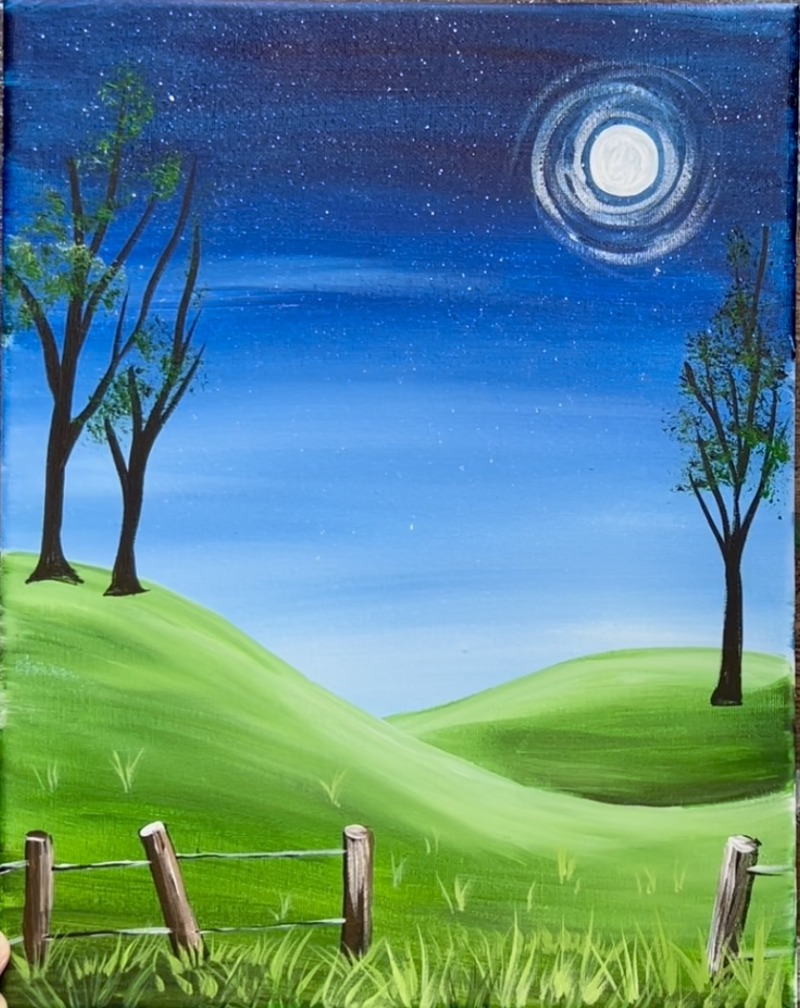
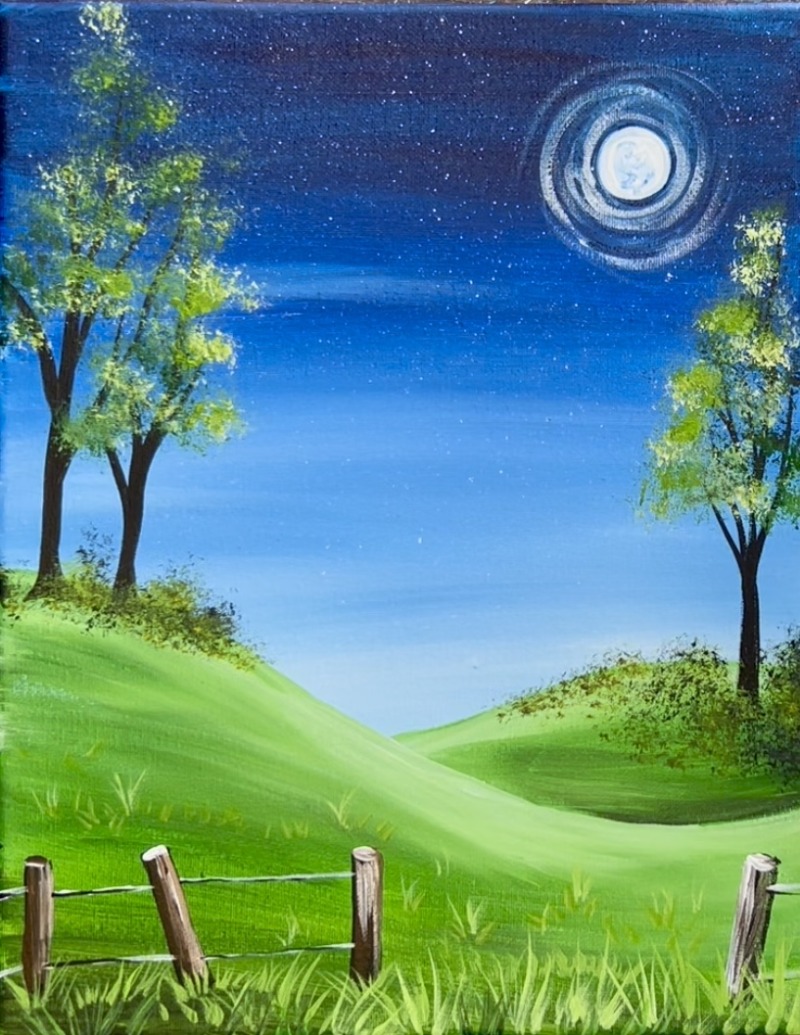
7. Paint Leaves On Trees & Bushes
Use a round “bristle brush” for this step! This particular brush has stiff bristles which are perfect for stamping texture to create the leaves on the trees. An alternative could be to use a bundle of “Q-Tips” or use a regular round brush to stipple the leaves.
Start with a very dark green. Mix a little black into “hooker’s green hue”. Then dip the tip of the brush into the dark green. Stamp this over the branches of the trees.
Create leaves that go upwards vertically rather than a wide canopy. You want your first layer to still have branches and some sky showing through so don’t cover it completely.
Next, mix a lighter green on your paint palette by adding a little bit of “titanium white” into the dark green color you just used. You can use your bristle brush to mix this color or a different brush if you prefer!
Stamp your next layer of color. This time, don’t cover up all of your dark first layer. Try to stamp your leaves towards the side that the moon would be reflecting.
Add a third layer to your trees next! Mix “primary yellow” into your light green color you just mixed on your palette. This will make a yellow-green color (similar to the grass blades you painted earlier).
Stamp your third layer using the same technique but this time it should be less. You want your darker layers to still show through and you want this lighter layer to be on the edges of the tree canopy.
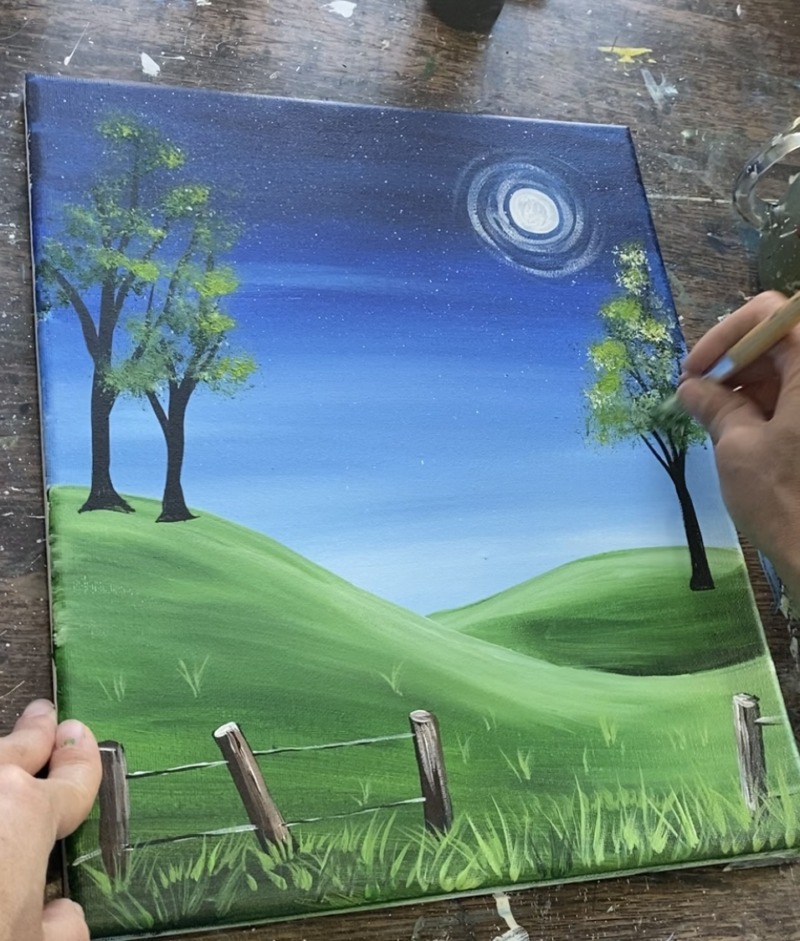
Image below shows three layers of color: dark green, middle green and light green! The dimension of the tree is created by layering from dark to light.
Next, add bushes on the ground. Use the darker green for this and the same technique and the same bristle brush. Stamp little bushes that cover the bottom trunks of the trees to help them blend more into the rest of the landscape. I did this on the top of each of the hills.
If you want, you can add a second medium green layer, however, I did not add the brighter green layer to these bushes.
8. Paint Owl (optional)
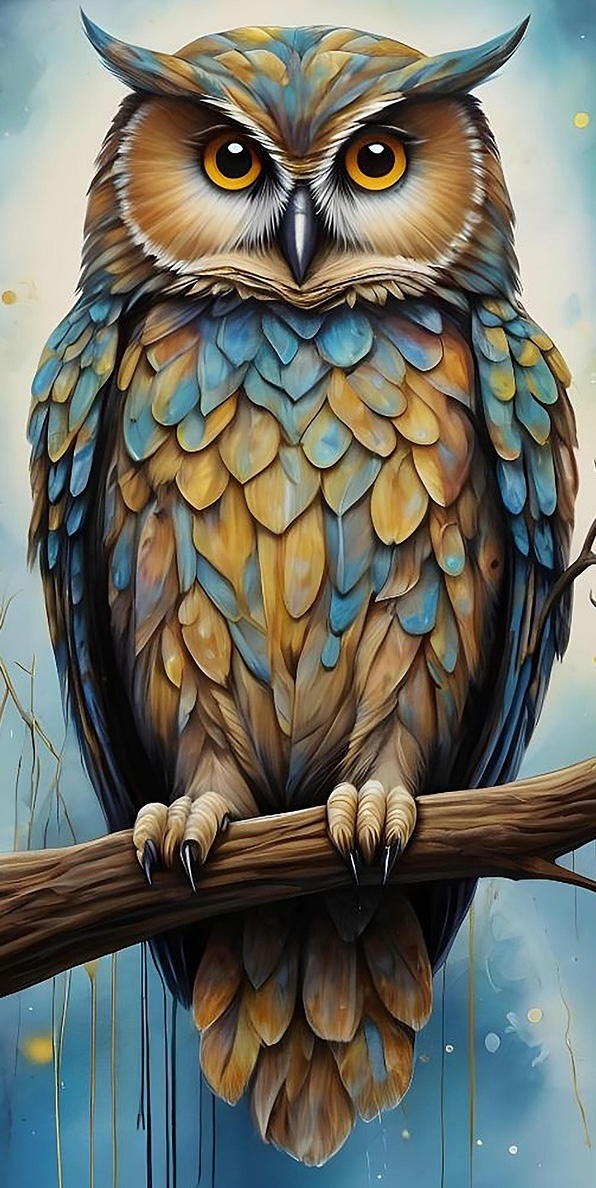
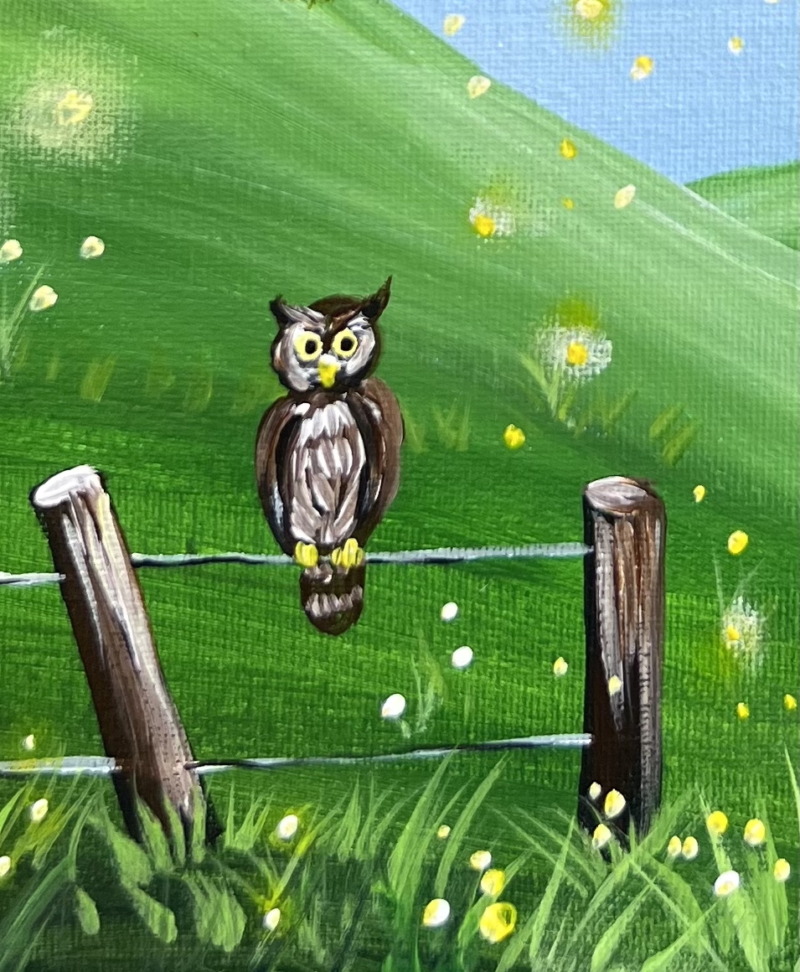
Note about this owl: it is super tiny! A little brush is recommended for this step. You can simplify it more and make it more “cartoon like”. You can also skip the owl or do something like a mason jar on the ground! Here are two references you can use to help with the owl:

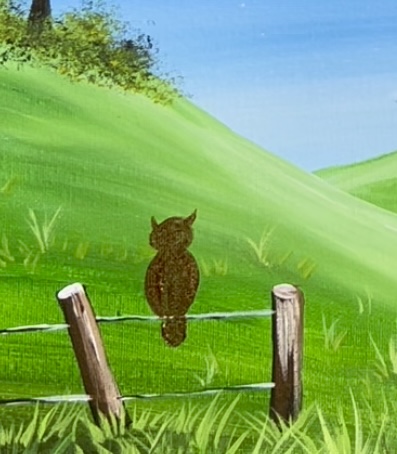
Use the #4 round brush and “burnt umber” to pain the shape of the owl. (Or use the tiniest brush you have!) Paint a large oval on top of the wire with a smaller oval for the head. Paint pointed ears on top of the head and a long half oval shape under the wire for the tail.
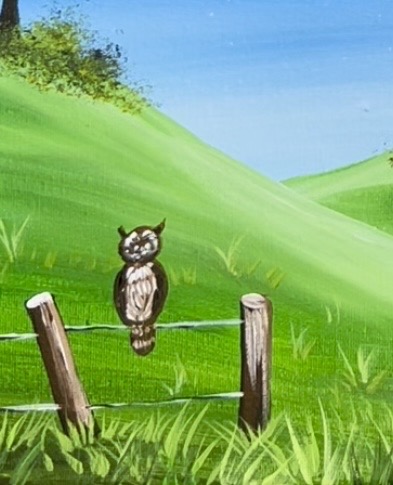
Mix “titanium white” with “burnt umber” to make a light brown color. Use the #4 round brush to paint little “tic marks” on the belly area of the owl for feather texture. Do this on the tail as well. Keep the sides dark for the wings.

Optional: add a few feather texture marks on the head.
Wait for this to dry.
Then use the #4 round brush and “primary yellow” mixed with “titanium white”. Paint two little circles for the eyes. Then paint a little beak and little marks on the wire for the talons. When the yellow on the eyes dries, paint two black dots inside the eyes.
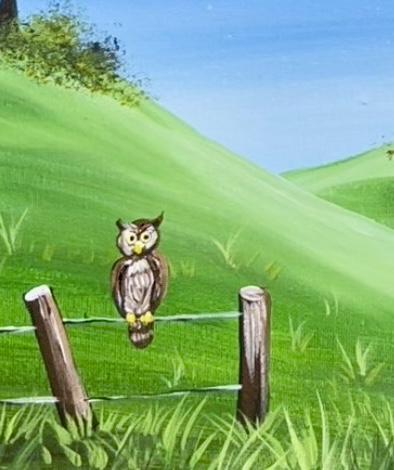
Below is a closeup of the owl I painted for reference. Fireflies will be demonstrated in next step!
9. Highlight The Tree Branches
Use the #4 round brush and “burnt umber” mixed with “titanium white”. Lightly brush this lighter brown color on one side of the tree branches but leave the darker layer showing on the other side. This creates depth and layering on the branches.
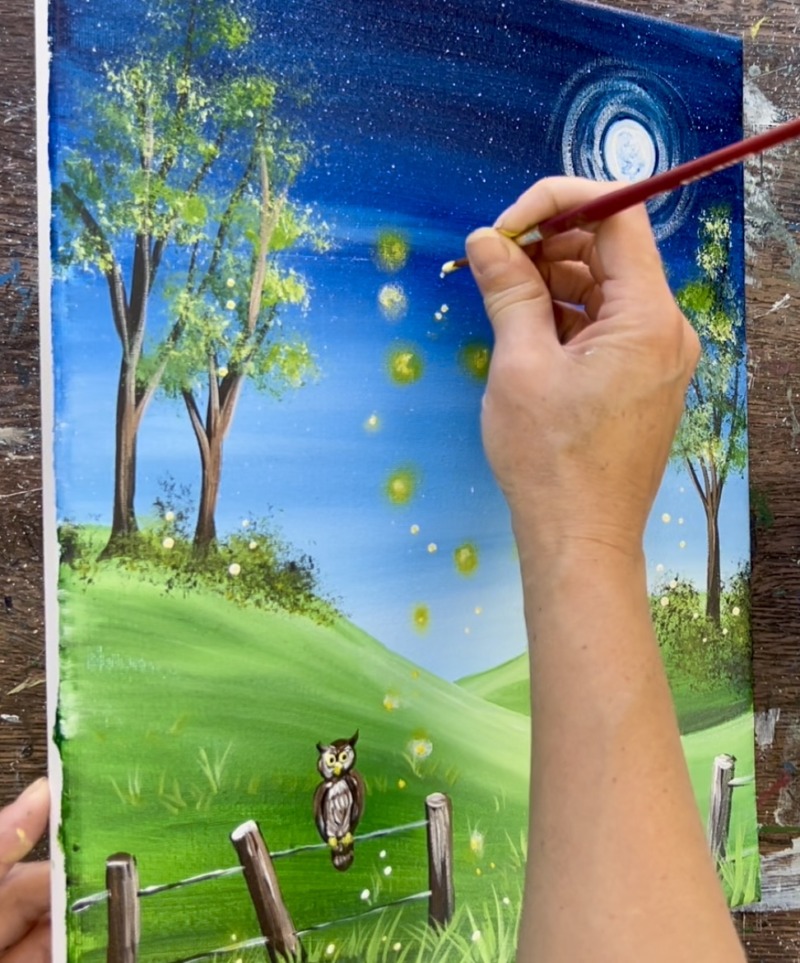
10. Paint Fireflies
Painting fireflies is very easy! I like to do a combination of techniques that involve both smearing paint with my index finger and using the round brush.
Start by using your #4 round brush and “primary yellow” mixed with “titanium white” paint. Paint a few dots in the lower part of the painting in the middle around the owl. Then use your index finger to press and smear the paint. This will create a “blurry circle”.
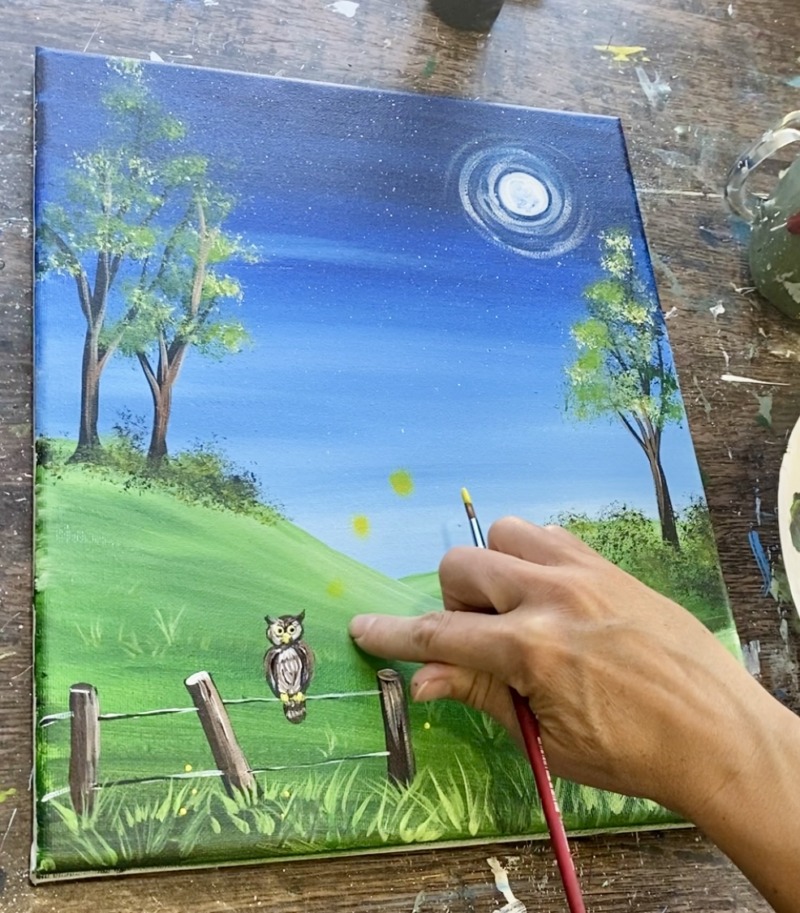
After you create a few yellow circles, use your #4 round brush to paint white dots in the middle of those yellow circles. This will brighten the circle up and give them that “firefly effect”.
Continue to paint more fireflies all around your landscape. Do a variety of sizes. Some of them are just dots (and not smeared with your finger). Some of them are just white and some are just yellow! By altering the size and brightness of each of the fireflies, you’ll create the effect that the fireflies are twinkling in different brightness levels.
I made a path of fireflies going from the area of the owl up to the moon. You can scatter them differently if you want. Also, it looks really pretty when you paint fireflies lower on the grown over the grass area and also fireflies overlapping the trees!
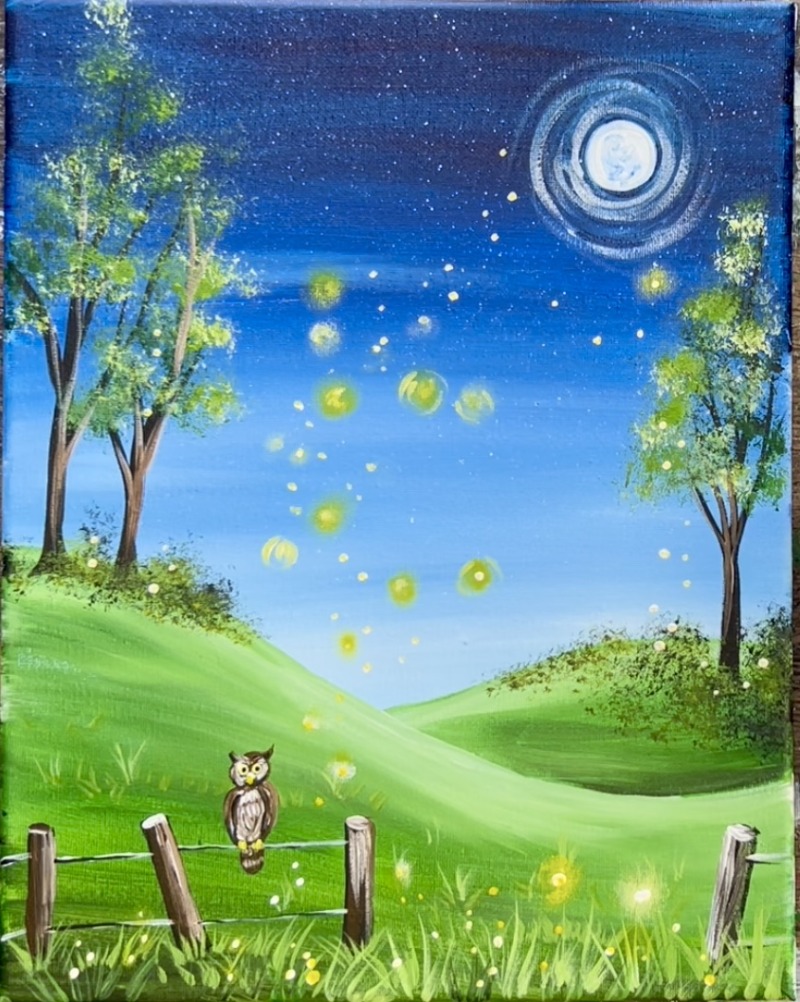
And you are finished! Sign your name and show it off!