Would you like to save this?
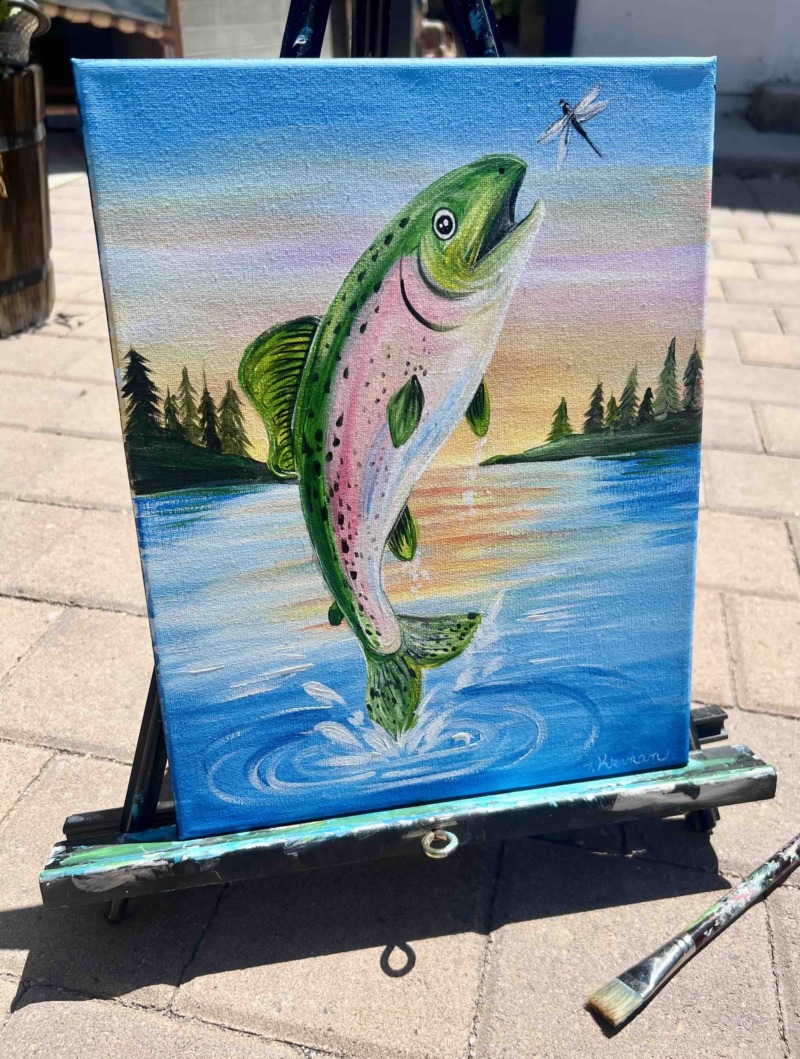
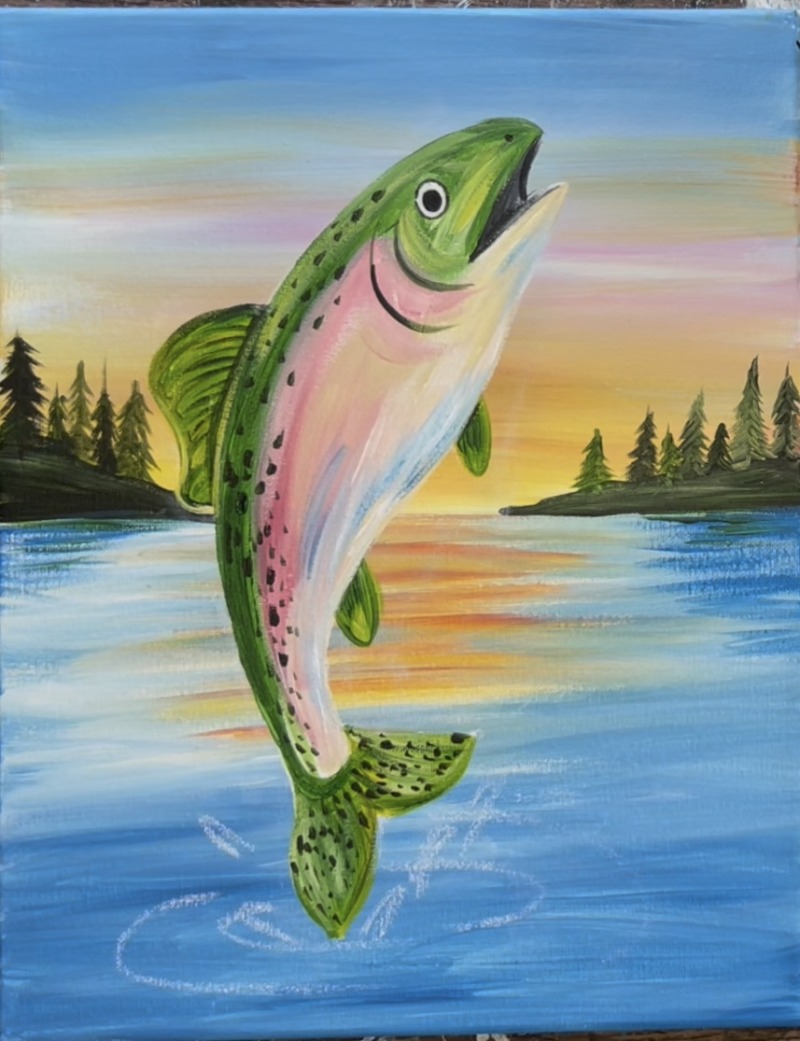
This tutorial will show you how to paint a rainbow trout jumping out of a lake at sunset.
There is a template for the trout as well as instructions for how to draw the fish with chalk.
Enjoy and happy painting!
Materials
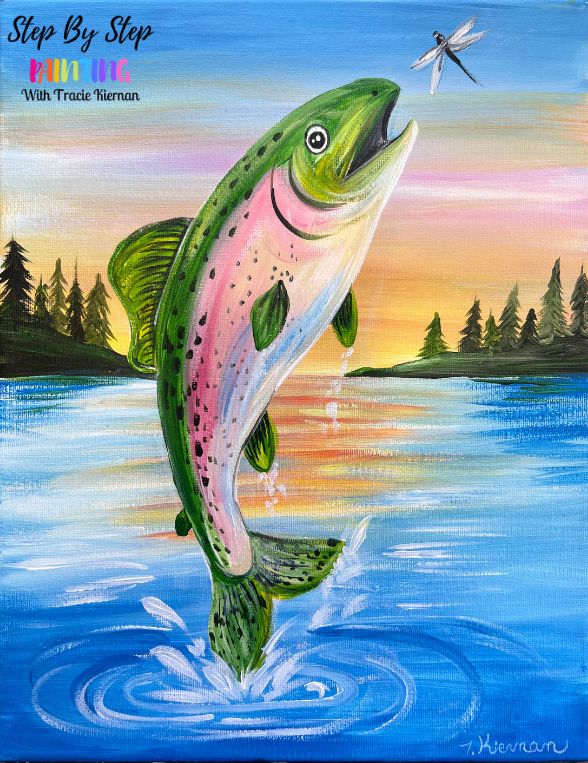
How To Paint "Sunset Catch" - Rainbow Trout Tutorial
This tutorial will show you how to paint a rainbow trout with sunset lake background.
Materials
- 11 x 14 Canvas (or any size)
- Acrylic Paint
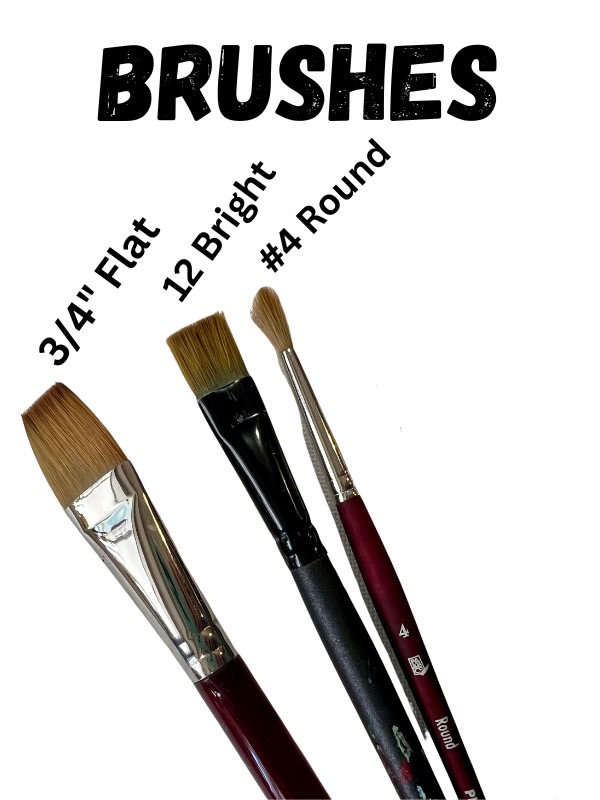
- Brushes
- White Chalk
- Ruler or Straightedge
- Pencil
- Optional Template
- Optional Graphite Paper
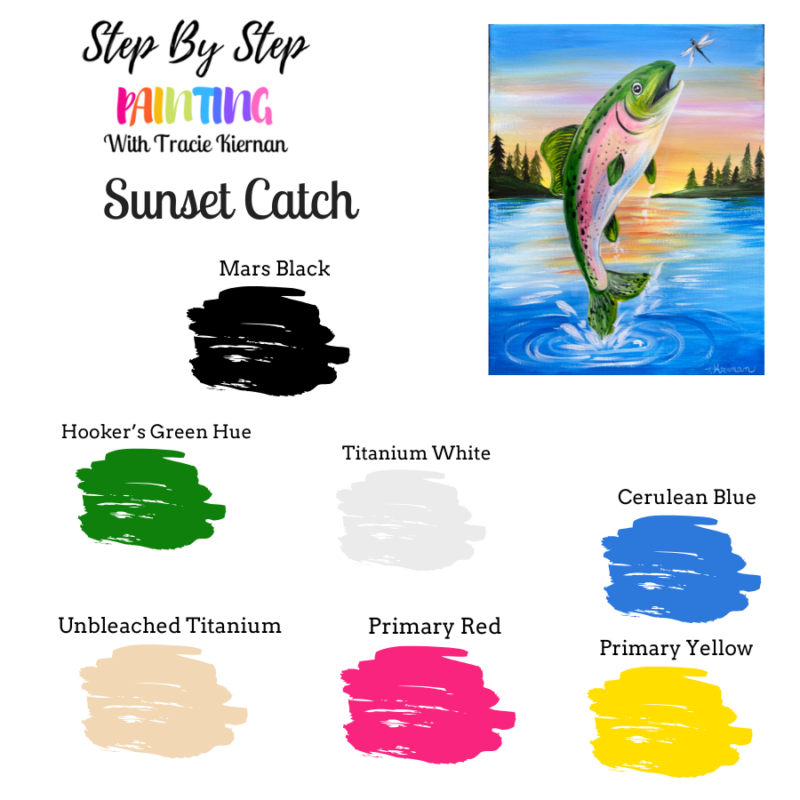
Colors
- Titanium White
- Mars Black
- Primary Red
- Primary Yellow
- Hooker's Green Hue
- Cerulean Blue
- Unbleached Titanium
Brushes
Looking to download this tutorial?
Available in my PDF shop! You can download PDF instructions, traceables in different canvas sizes and download the video.
Color Palette
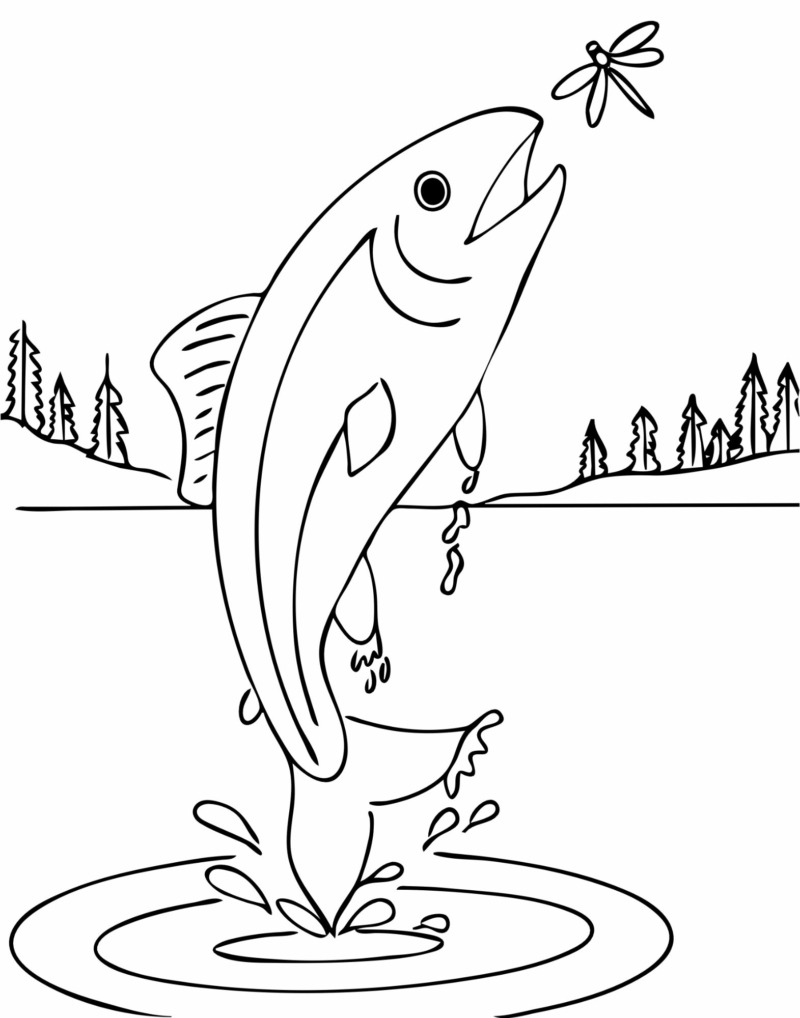
Traceable Template (optional)
Use this as an optional template for tracing the fish onto your canvas. I recommend painting the background first and then using dark graphite paper to trace this. Alternatively, you can try tracing this on a blank white canvas and outlining the fish and the rest of the landscape with a sharpie. It should show through the first layer of paint. I like to use this graphite paper for tracing.
Video
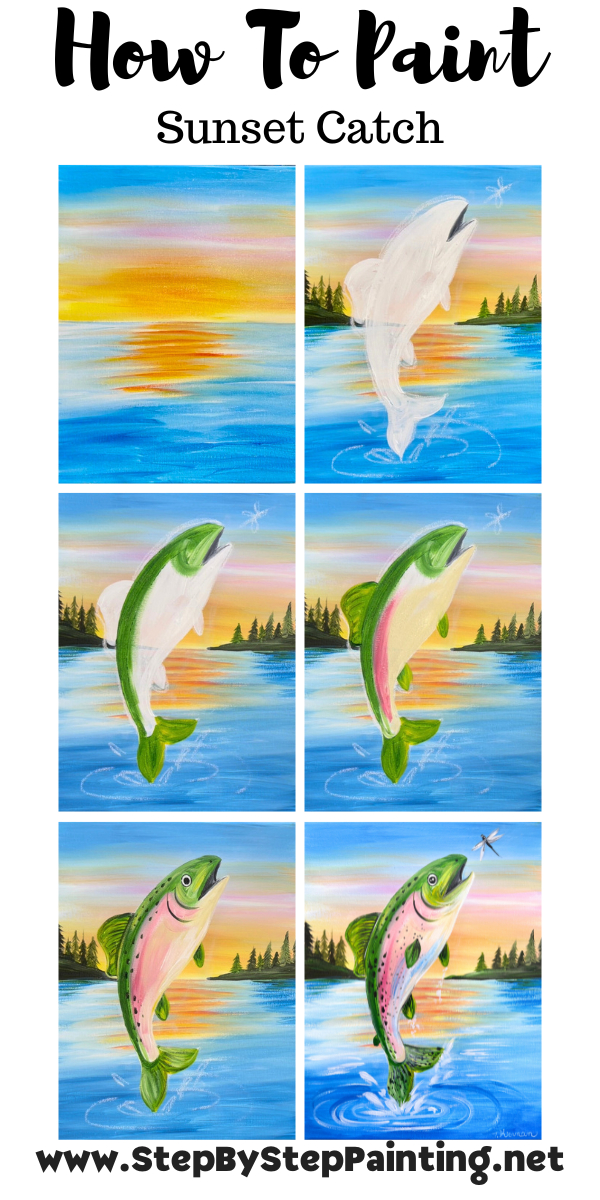
Directions At A Glance
Step By Step Instructions
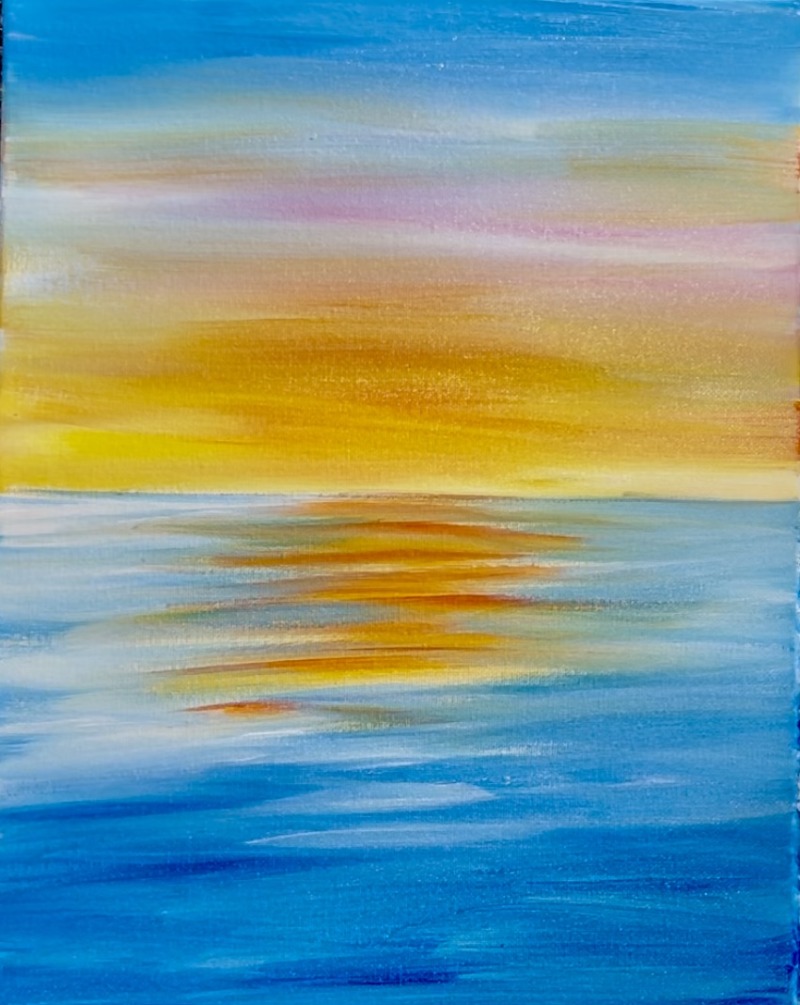
1. Paint Sky & Water
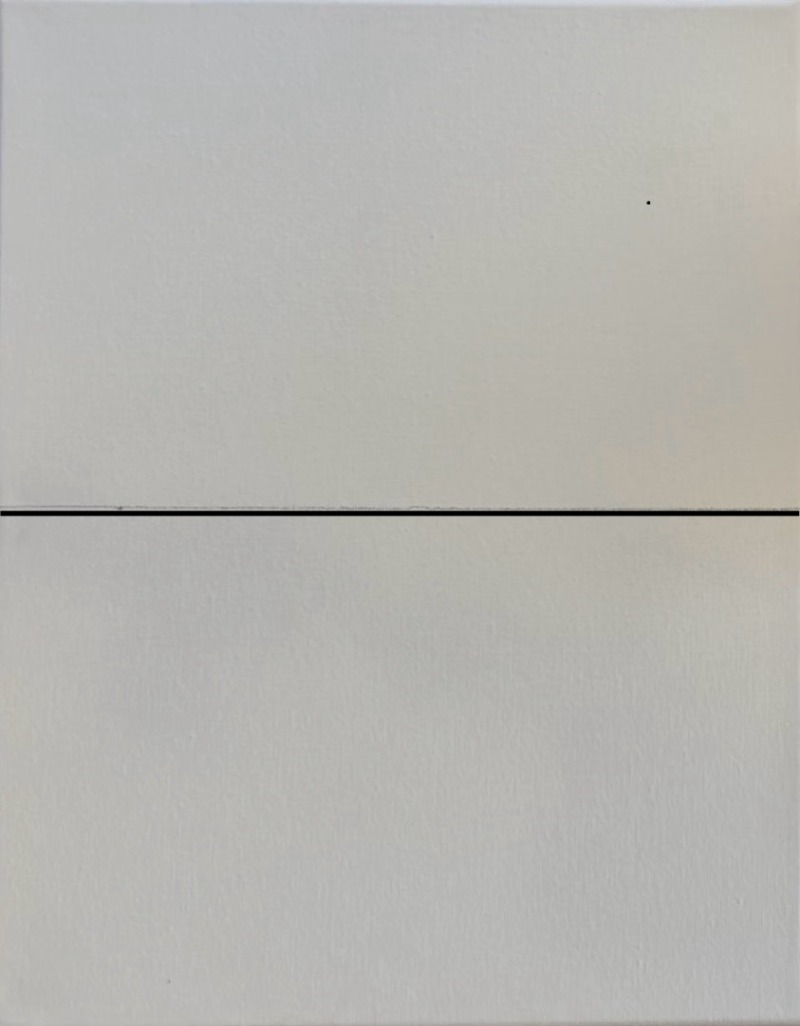
Position your canvas vertically and locate the center of the canvas. Draw a horizontal line in the center (the horizon line). Draw this lightly with a pencil.
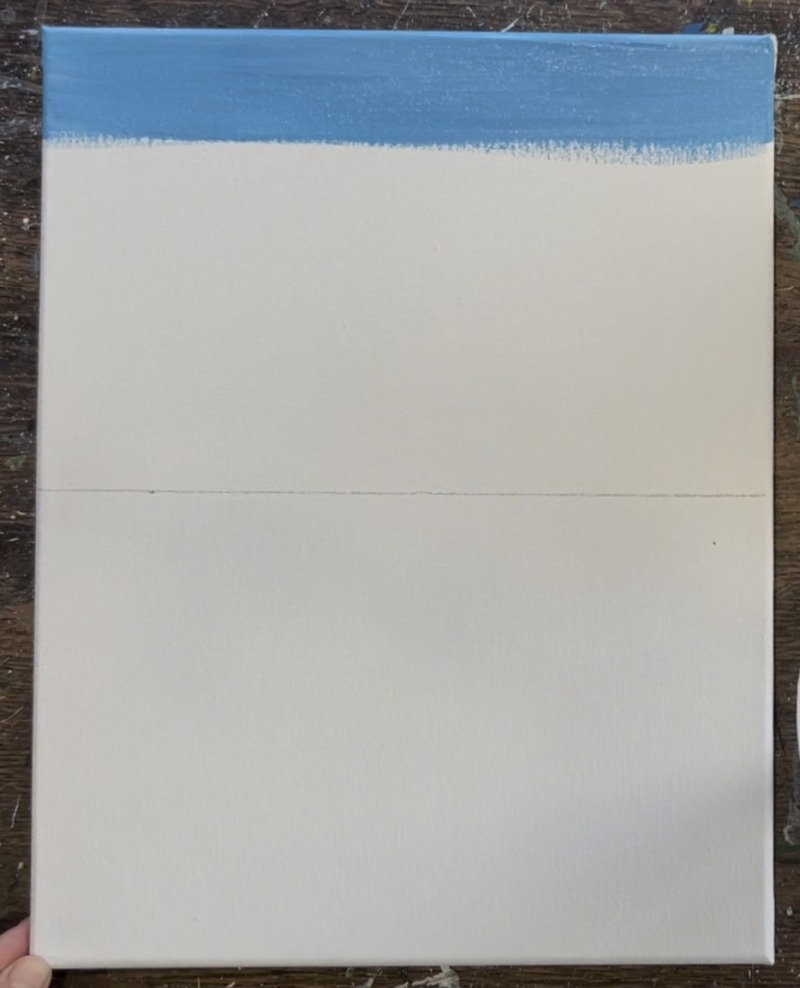
Load your paint palette with: cerulean blue & titanium white. Double load your 3/4″ flat brush in both blue and white. Start at the top of the canvas and paint left and right paint strokes to create a medium tint of blue (about 1″ ) on the top of the sky.
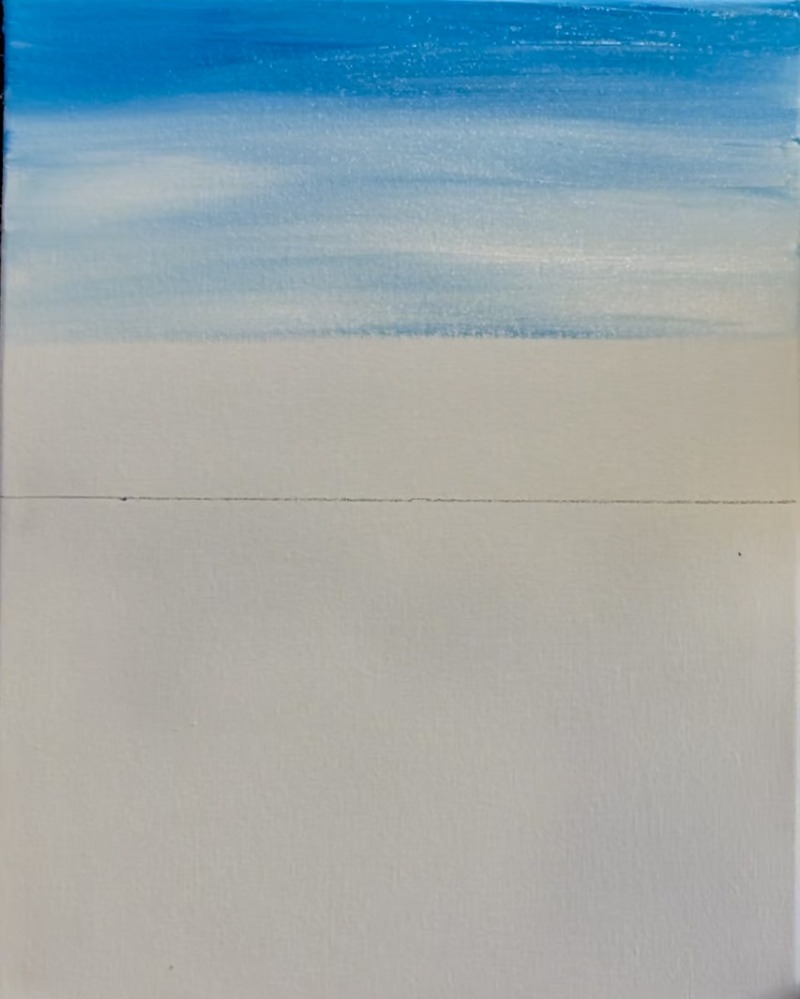
Then, without rinsing the brush, load “titanium white” onto the brush. Gently blend that white with the blue and continue to paint the sky with left and right paint strokes. Go to a little more than halfway down the sky and stop (leave about 2″ of space above the horizon line).
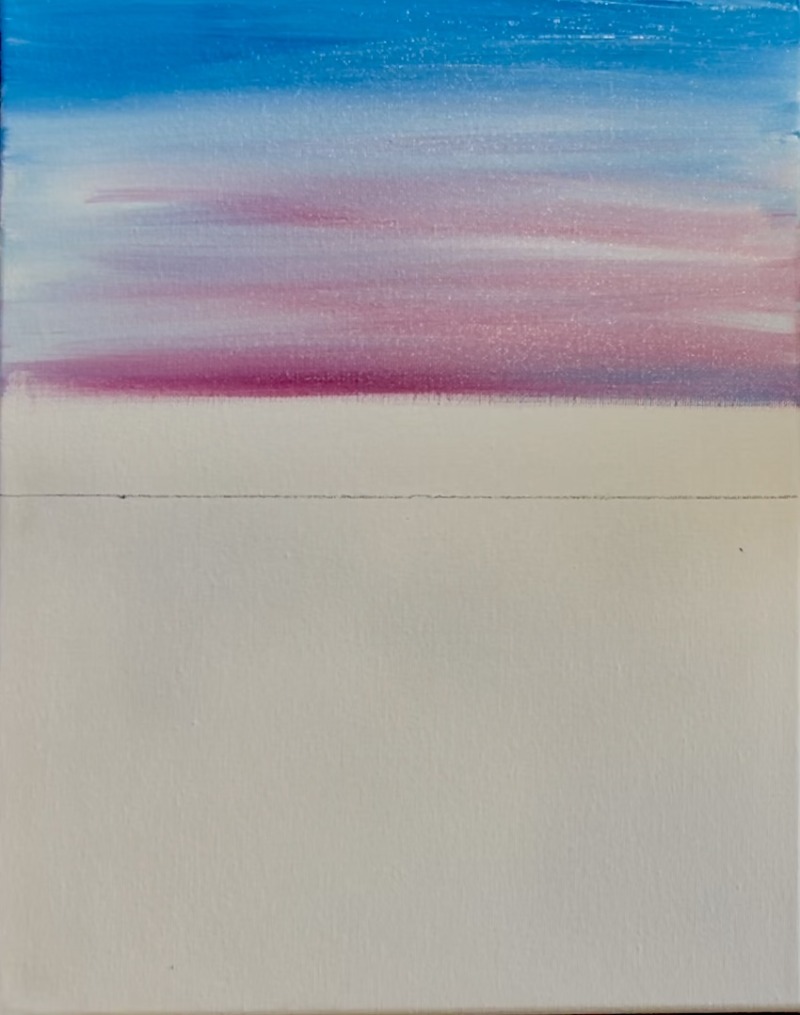
Then wipe the brush off. Load your paint palette with “primary red”. This is a color that, when mixed with white, will turn pink! If you don’t have primary red, I recommend using a magenta or pre-mixed pink color.
Double load your brush into both the primary red and white. Then gently paint left and right paint strokes and going over the light blue area you just painted. Leave the top 1″ of the sky a darker blue.
Next we will introduce yellow into our sunset sky! Rinse the 3/4 flat brush off. Load your paint palette with “primary yellow”. Mix yellow and white on your palette to make a lighter yellow color (about equal amounts). Then paint left and right paint strokes with this light yellow color. Fill the rest of the sky all the way to the horizon line. Gently blend the yellow up into the rest of the sky but try not to blend it too much with the blue.
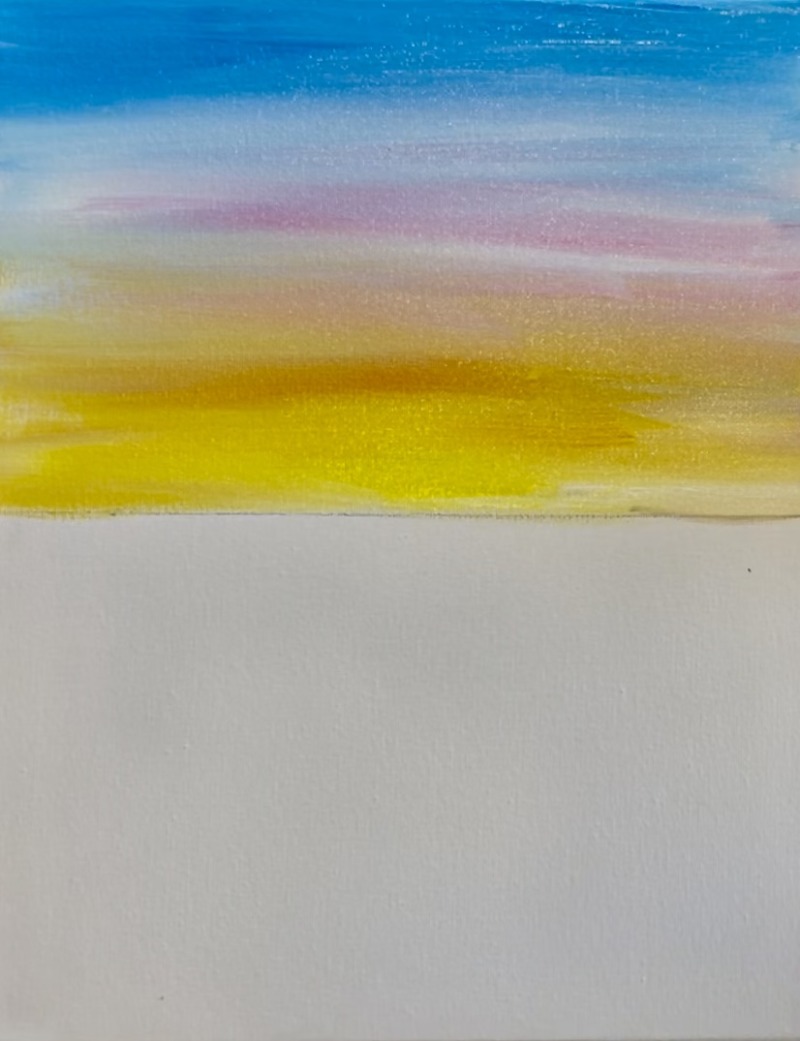
If you want more orange in your sky, try mixing yellow with the “primary red”. Then gently blend some orange into your yellow area. You can brush some up into the blue area as well but try not to mix orange with blue. If needed, add more white to your brush to make sure the color shows up very lightly.
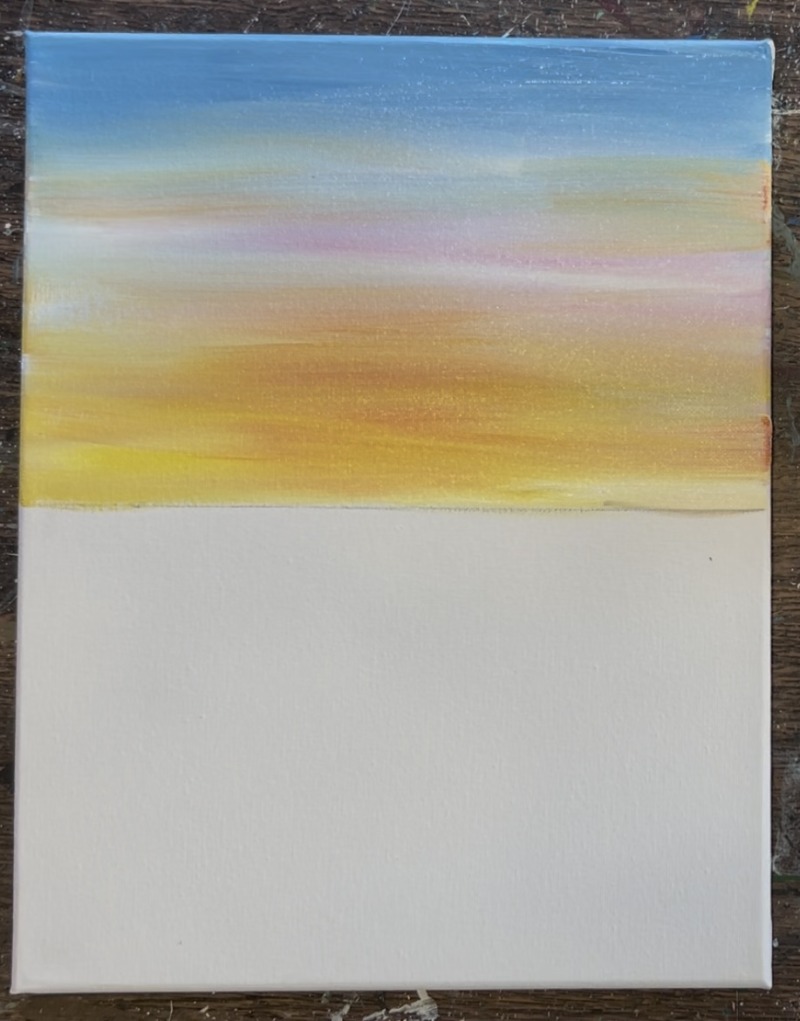
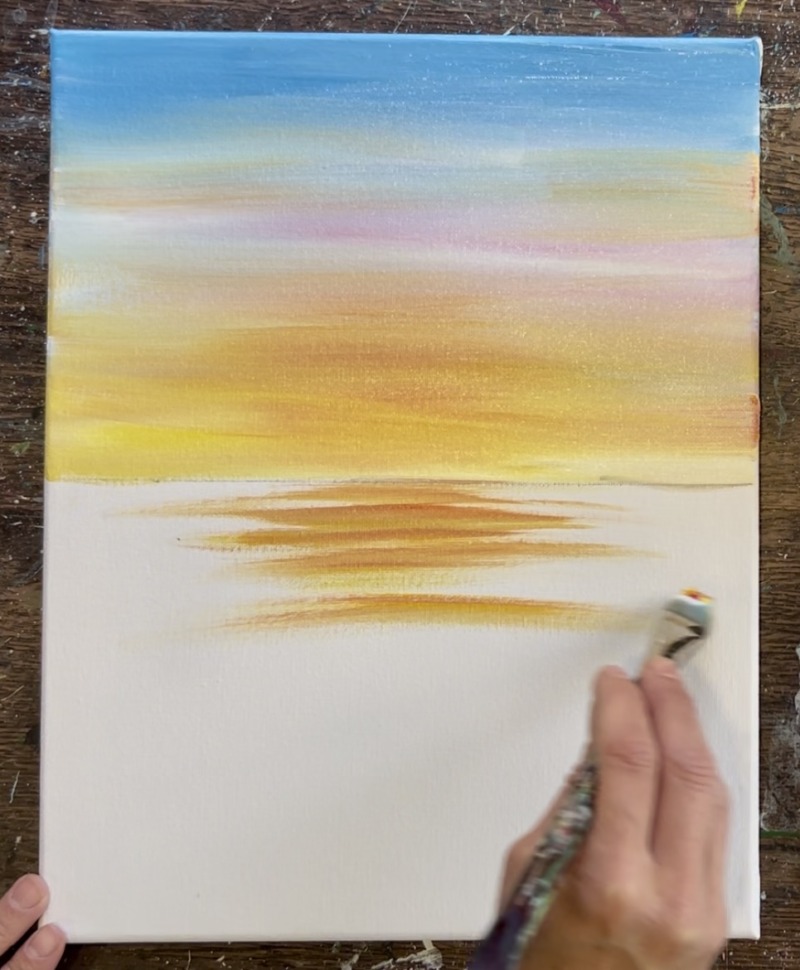
When you are done with the sunset sky, you will paint some orange reflection in the water area.
Use your 3/4″ flat wash brush and load it into orange (primary red and yellow mixed together). Mix some white into this orange so that it isn’t so vivid. Lightly brush the end tip of the paint brush to paint left and right thin paint strokes in the middle area of the lake just below the horizon line. Do this just in the middle part of the lake and don’t go all the way down to the bottom edge of the canvas (go halfway down).
This is a very loose style of painting. You don’t need to make the lake/ background look realistic.
Rinse the brush 3/4 brush. Load the 3/4 brush into “cerulean blue”. Add a small amount of white into the blue. Paint the bottom area of the lake a solid coat of this blue.
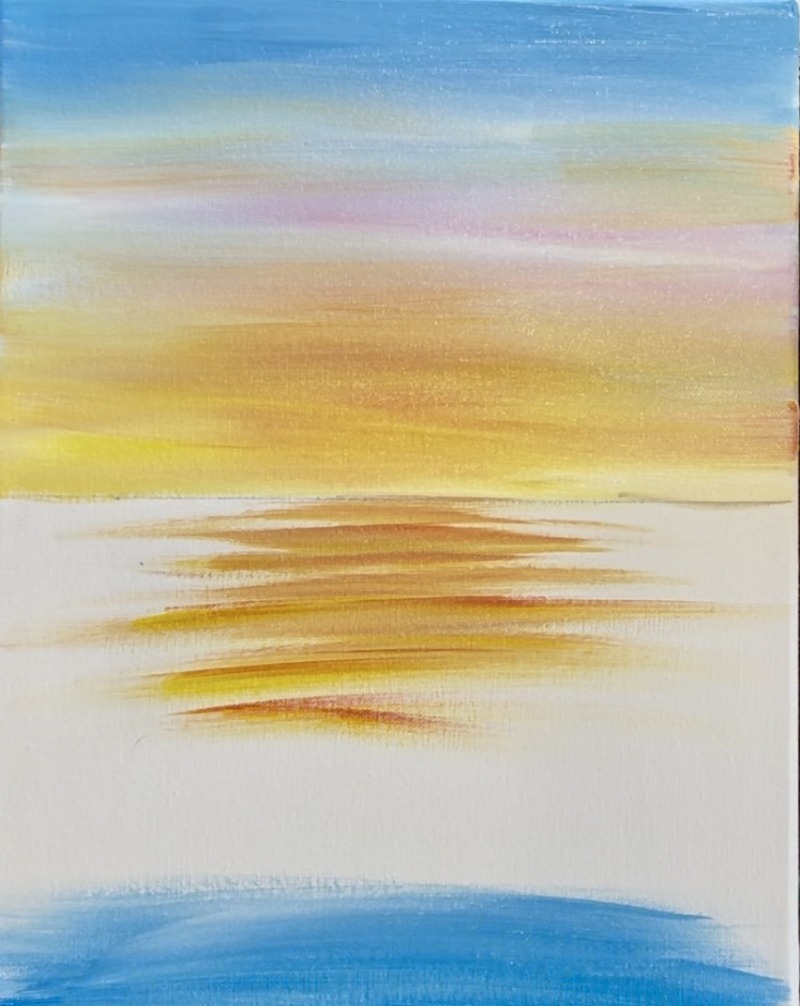
Then start painting the rest of this lake using left and right paint strokes and this blue and white mixed together. Add more white to your brush and gently paint this lighter blue on the back of the lake and bring it all the way down to your darker blue on the bottom. Don’t paint over the orange. Gently paint the blue so that it goes very close to the orange without int blending or painting over. Try to cover as much of your blank canvas as possible but still make this a “loose style” of painting.
2. Paint Land & Trees
Use a #4 round brush. Mix green and black together on your canvas to make a very dark green color. Use the round brush to paint a small peninsula land on the right side of the lake along the top of the horizon line. This land goes a little higher on the right and dips down and stops almost in the middle of the canvas. There will be a gap between the two lands.

Paint the other land using the same technique but opposite. The land on the left ended up being a little longer and higher. They both don’t have to be exactly symmetrical.

Then paint the trees. Use the #4 round brush and the same black/ green paint. paint little vertical lines for the trunks of the trees. Paint the branches of the trees by starting on the top of the vertical line and brushing downwards in a curved direction.
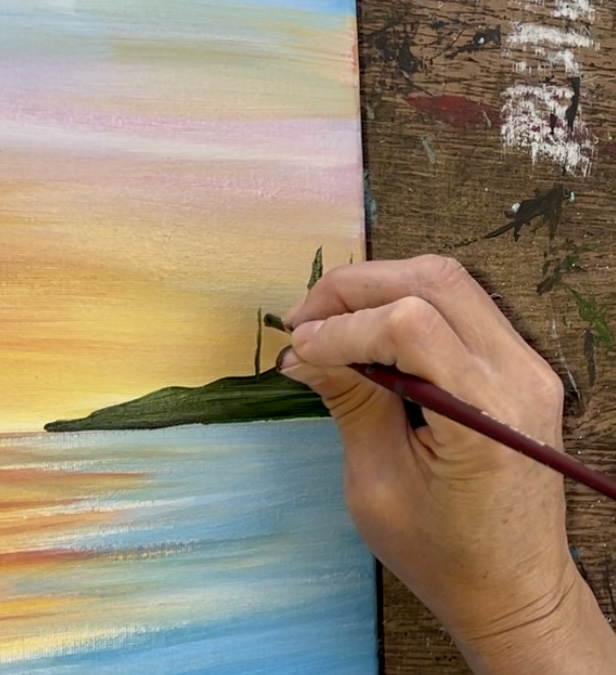
Paint little pine trees of different heights. Also, vary the color a little by making some of the trees darker (more black) and some lighter (more green). It’s possible the trees will blend with the sky a little if your sky isn’t dry all the way.
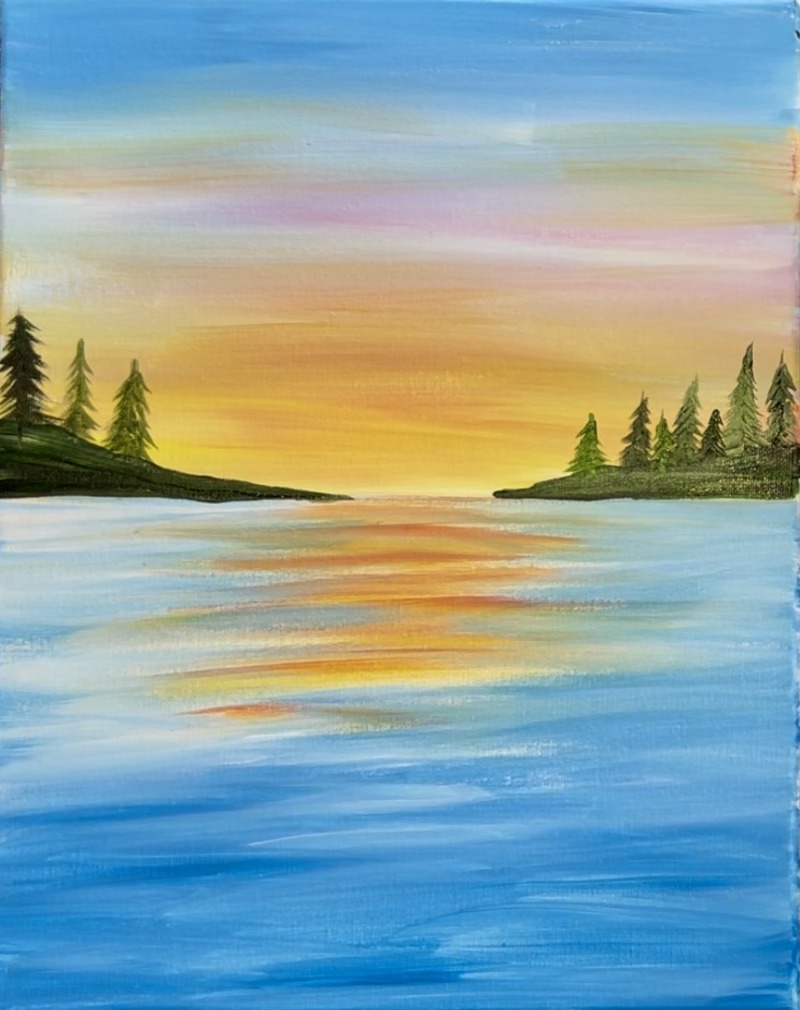
Then rinse the #4 round brush. Load it into just “cerulean blue”. Paint little horizontal lines in the water under each of the peninsulas for darker reflection in the water.

Wait for everything to dry before going onto the next step.
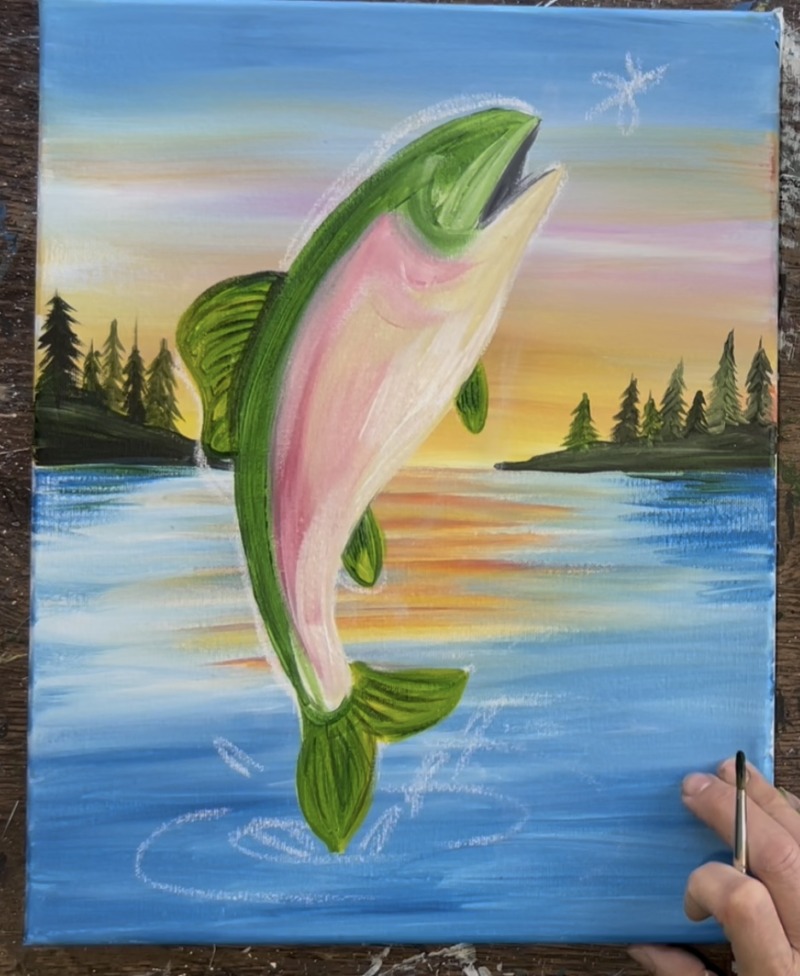
3. Draw Fish Or Use Printable Template
There is an optional template you can print for this fish if you don’t want to hand draw it. Simply print the template and place a sheet of graphite paper below it. Position the fish on the lake and trace the fish firmly on the lines of the template. It will transfer to the canvas.
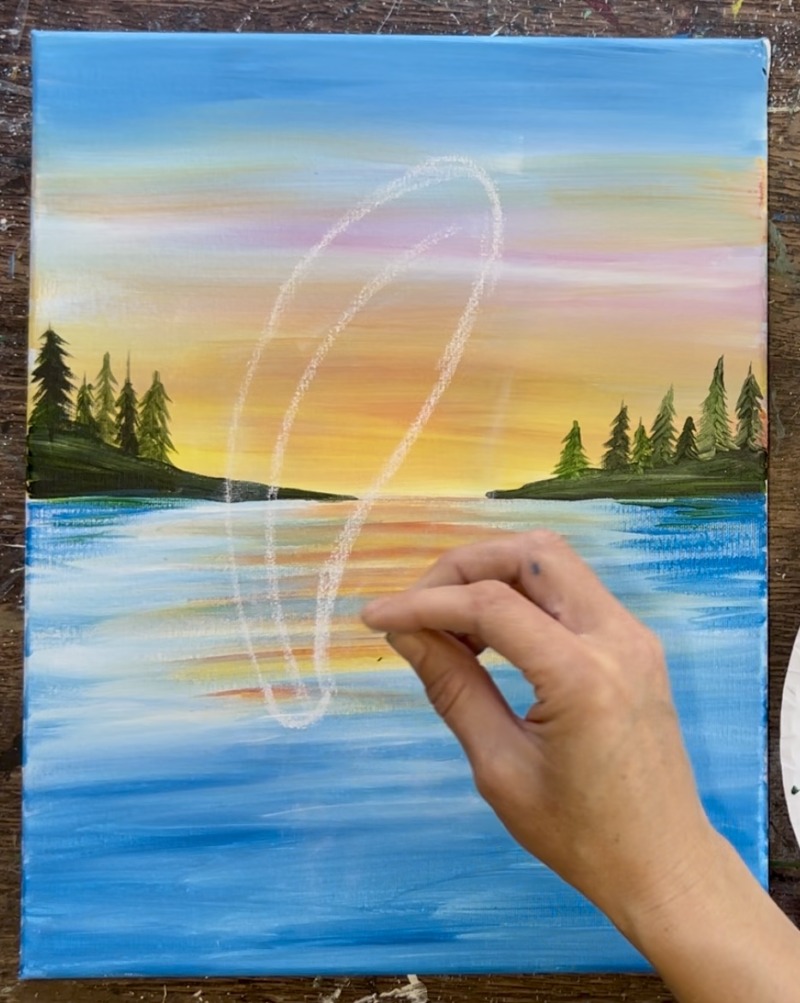
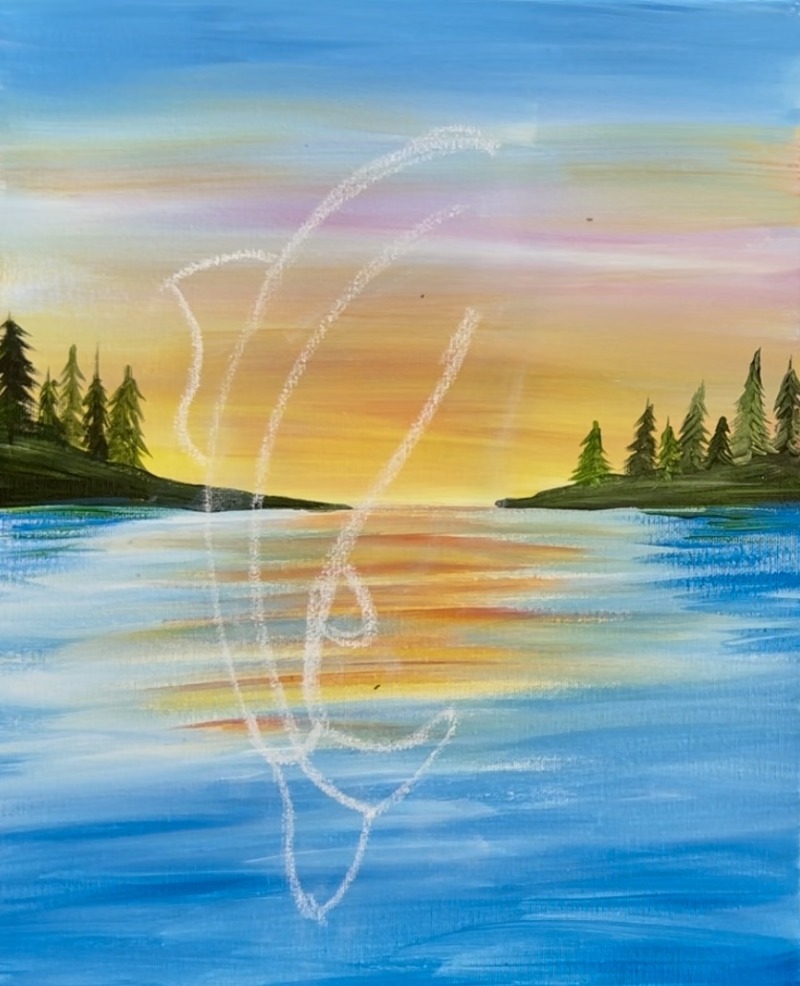
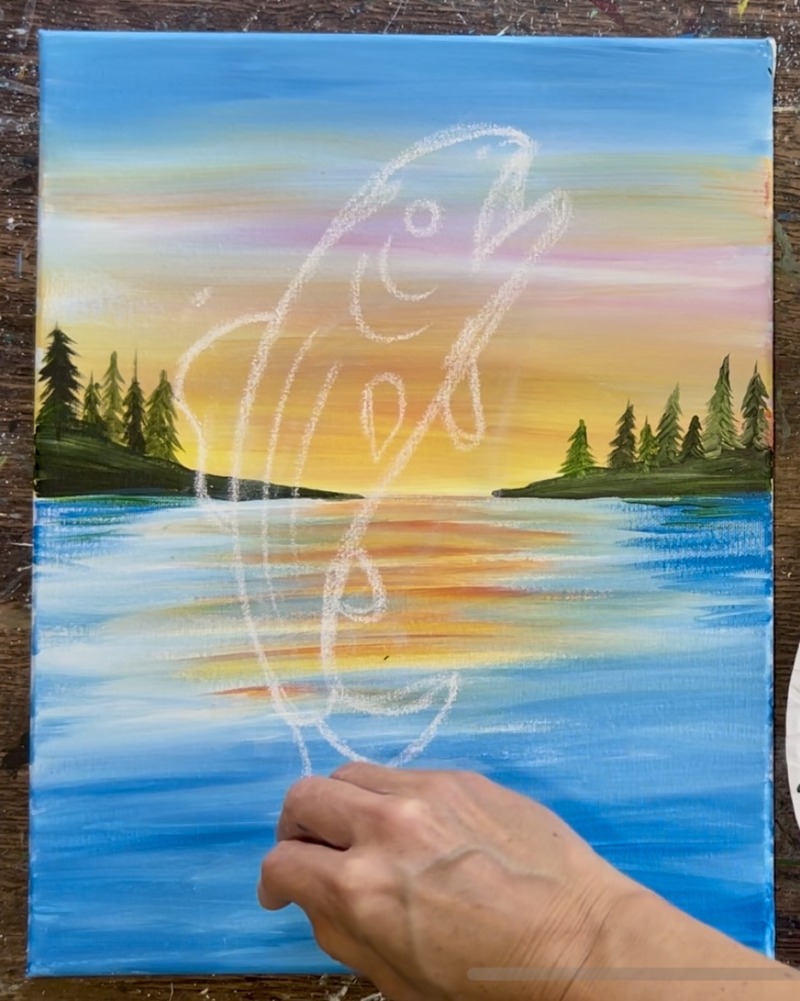
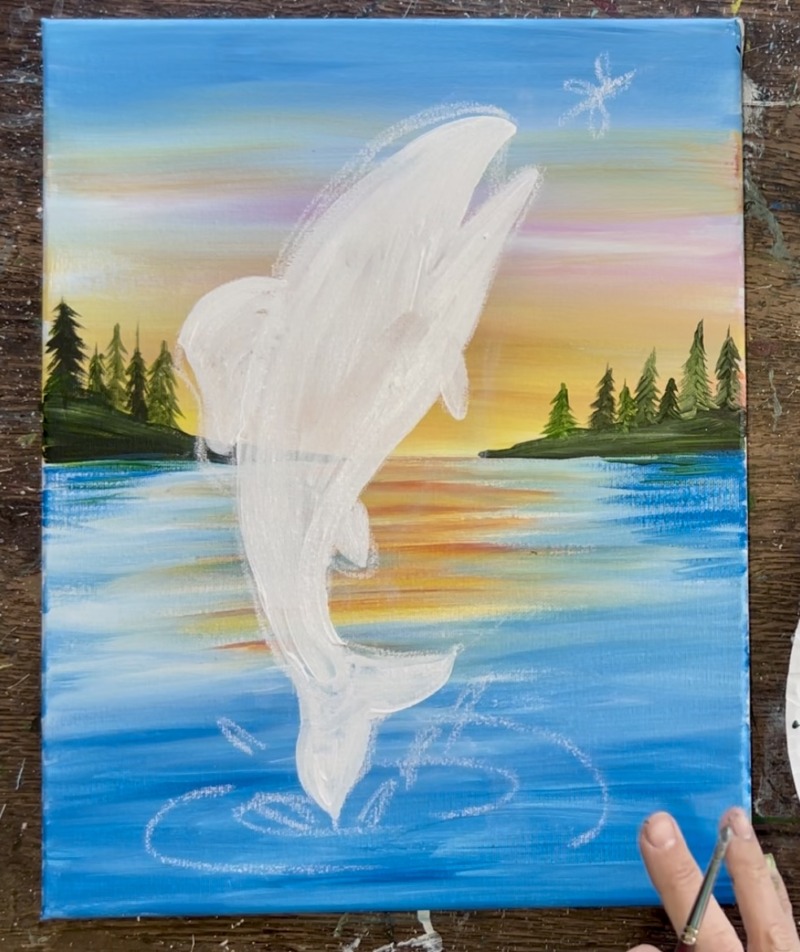
If you are drawing the fish, use a piece of white chalk. Start by drawing a curved line in the center left part of the lake. This line is where the back fishtail meets the back of the fish. After drawing this initial curved line, draw an elongated curved line that extends from the center of that curve and curves upwards to the center of the sky. This arc line will establish the arc that the fish is jumping. It is also the centerline of the fish body.
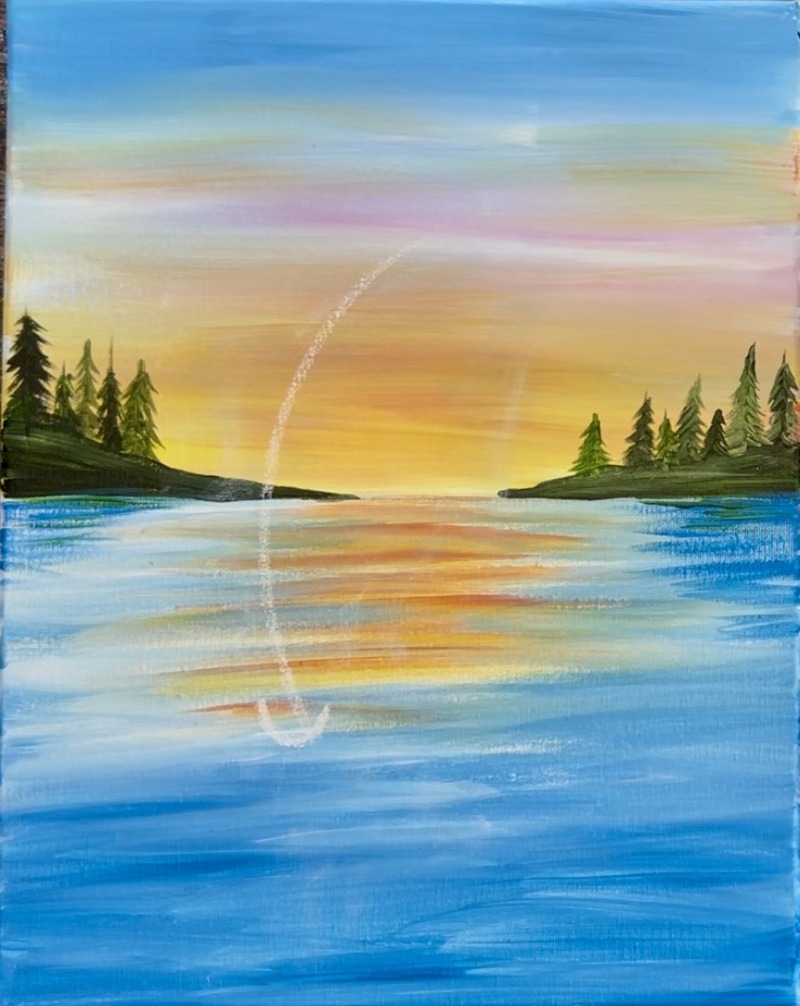
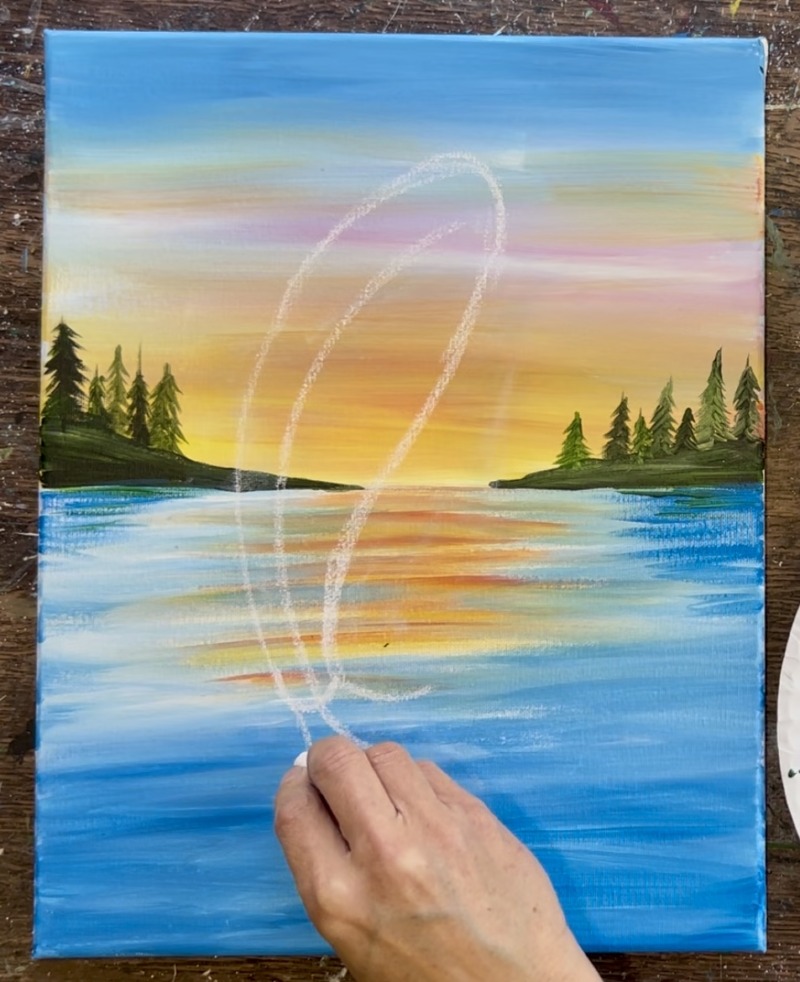
Turn this line into a banana shape with the line being in the center. The shape is narrow at the tail and then goes wide and curves at the head. Don’t worry about the opening of the mouth yet.
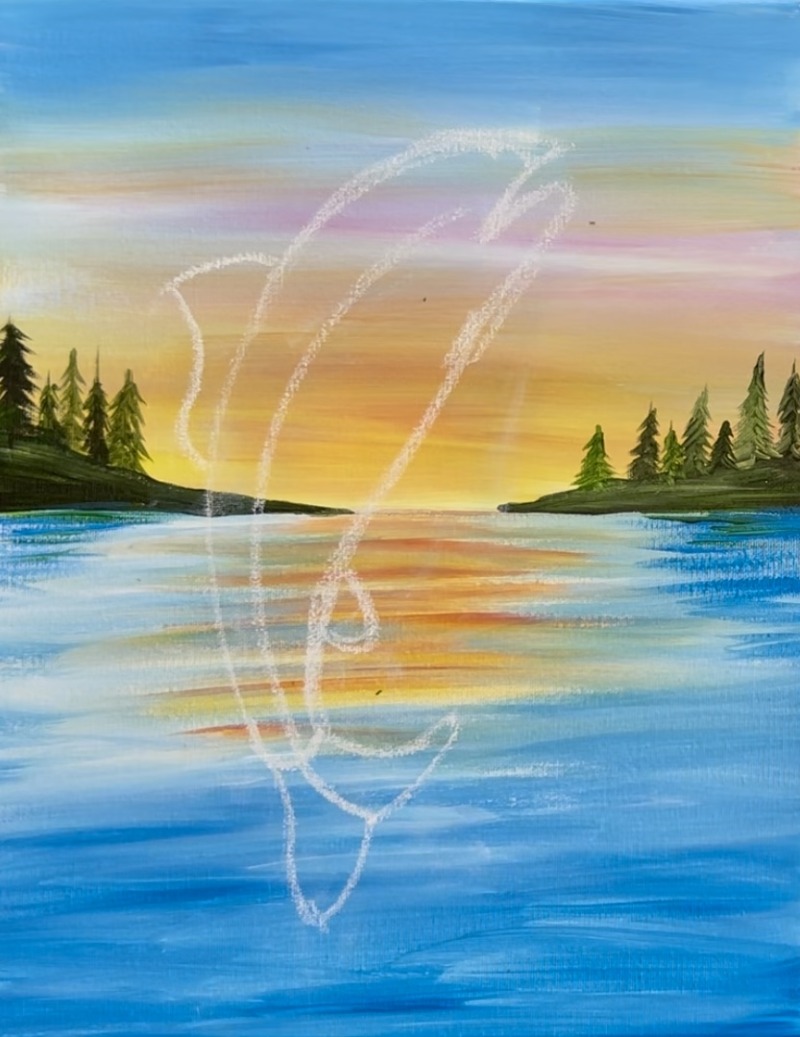
Then start drawing the tail. Use that “center line” as the center of the tail. Draw the tail fins on both sides of that line.
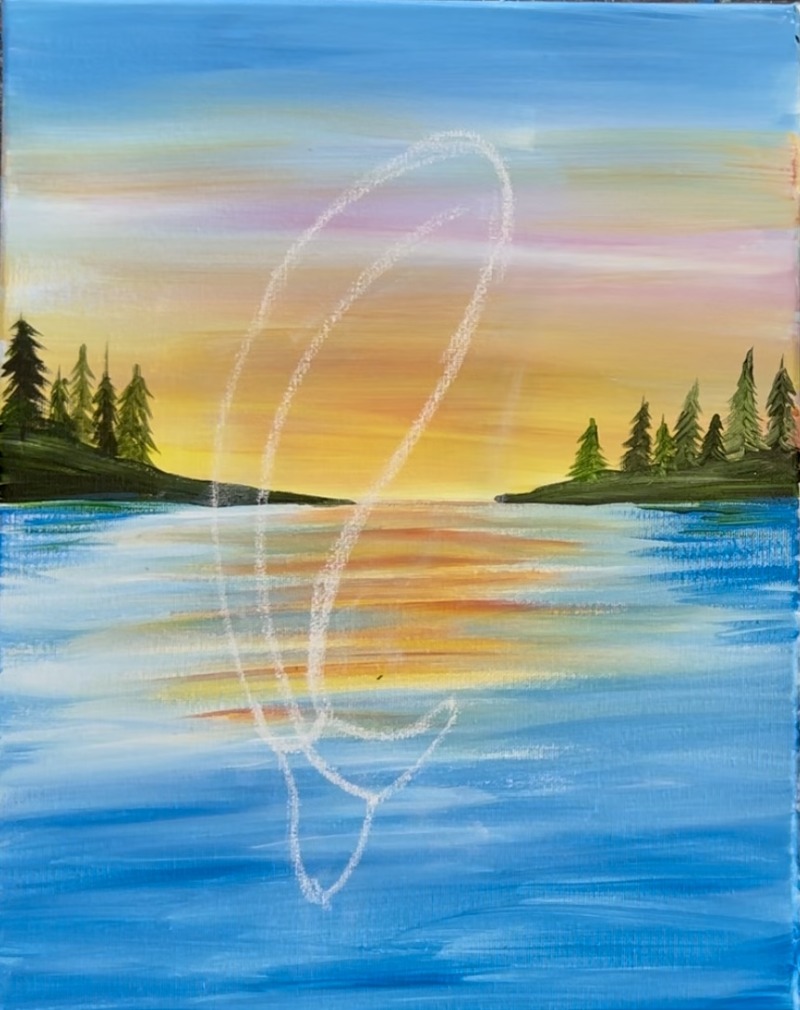
Draw the dorsal fin and small fin on the bottom right just above the tail.
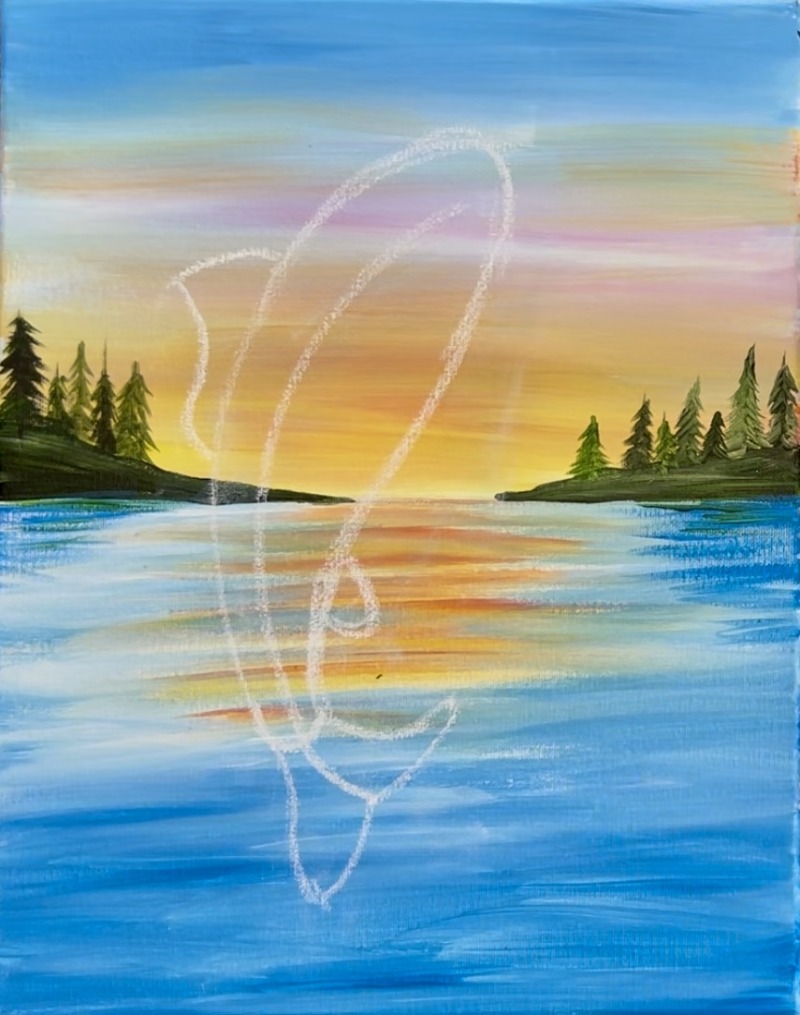
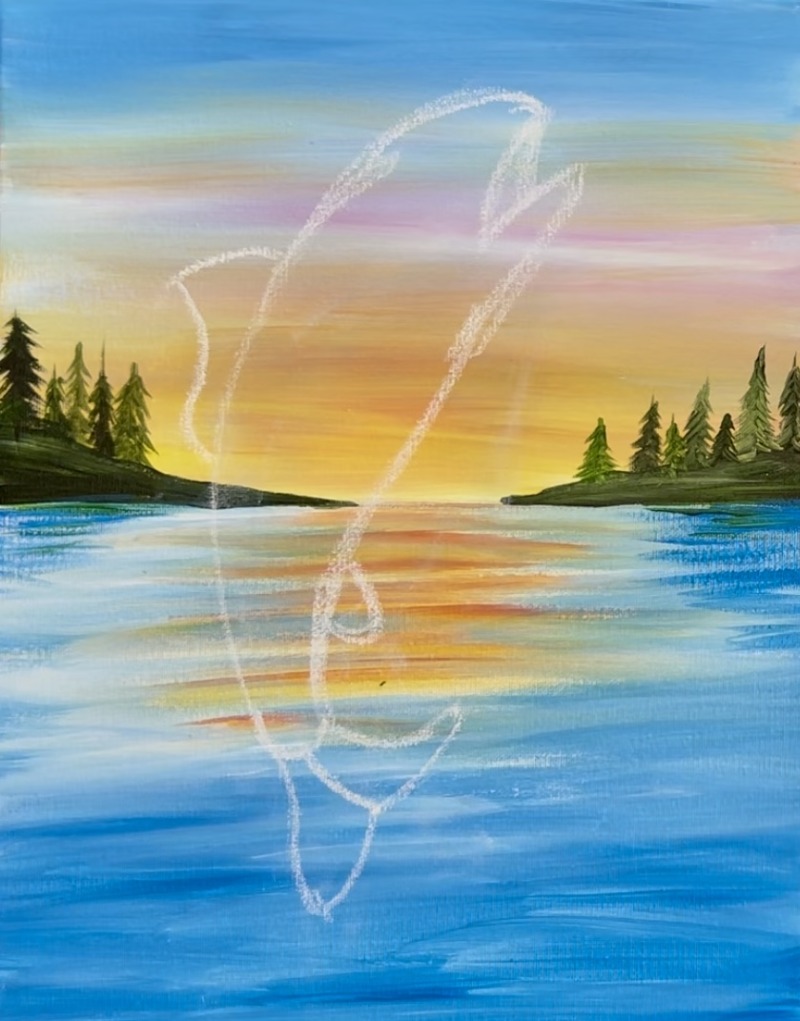
Use either a wet paint brush or a soft, damp wipe and erase an opening in the head area so that you can draw the head and mouth opening.
After drawing the mouth opening, you can draw another line that can show the interior roof of the mouth.
Draw a small circle for the eye and two curved lines for the gills.
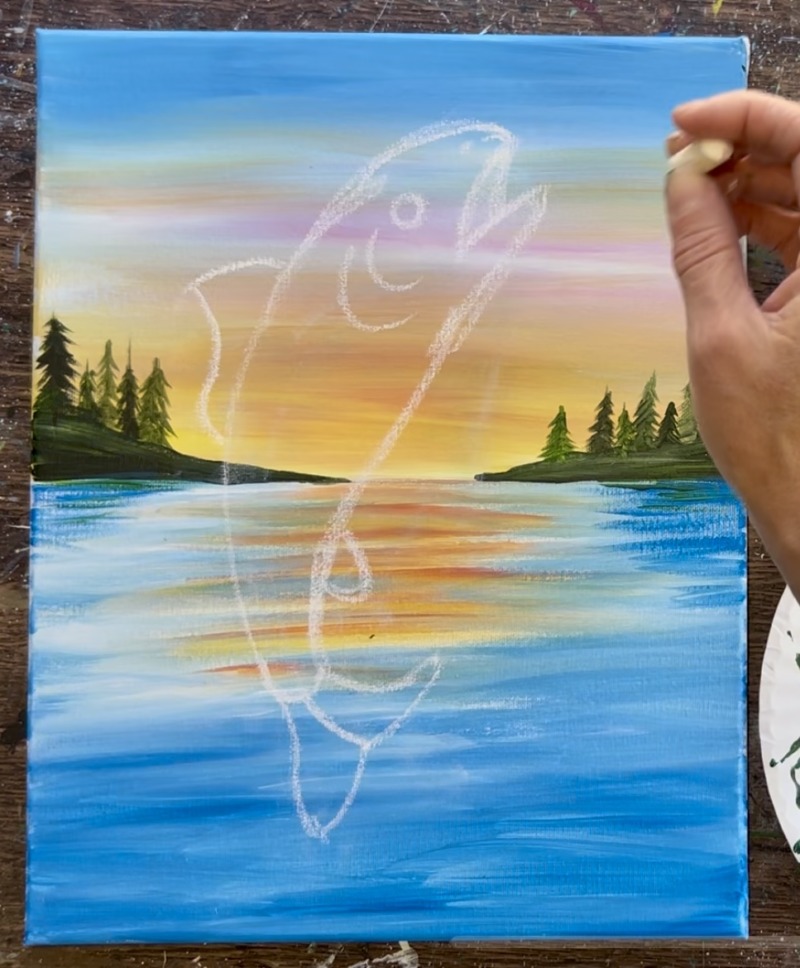
Draw a set of pectoral fins. One on each side of the fish towards the top/ head area.
Note: I did not draw the little “adipose fine” which is located on the back of the fish towards the tail. It is a very small arch shape. This shows up on the traceable and final results of the painting. You can choose to draw it now or later. There is also technically a third fin on the bottom of the fish. If you want to draw that, you can or you can assume it’s hiding.
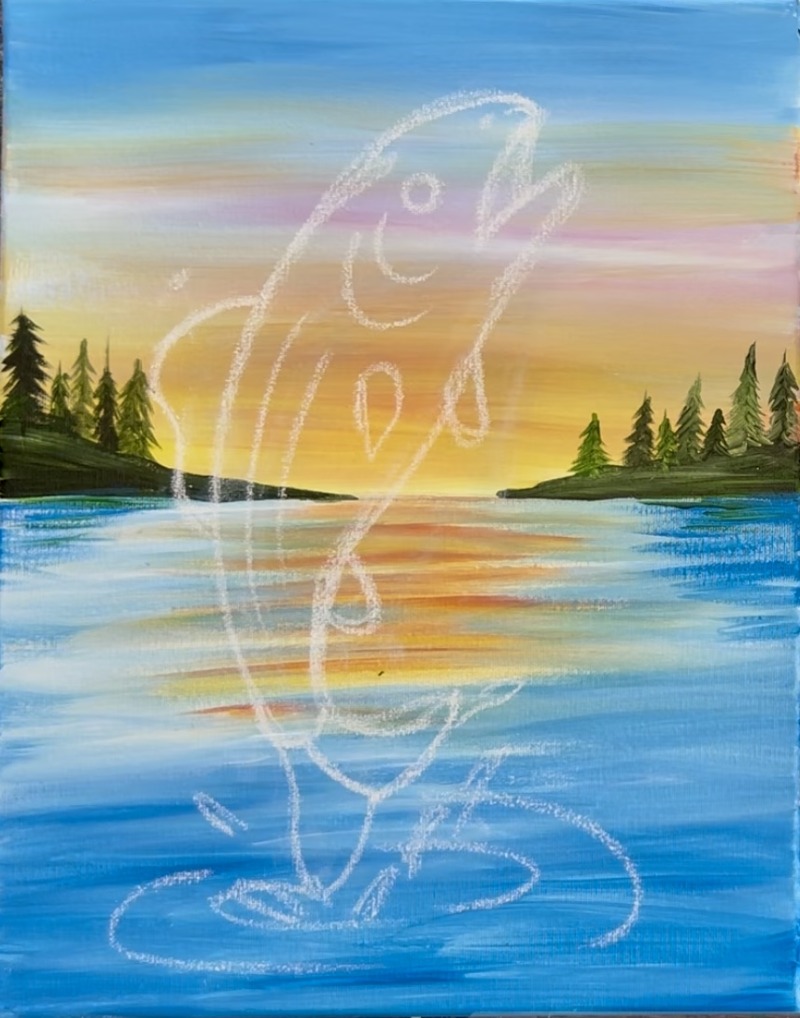
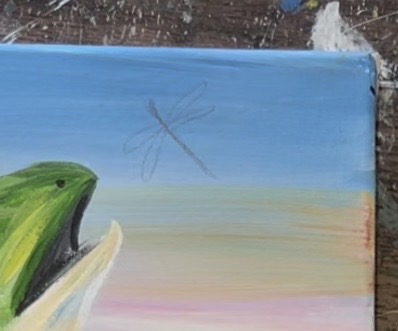
Draw ripples and little teardrop shapes for splashes. The ripples are basic oval lines that radiate around where the fish is jumping out of the water. Then draw a very simple dragonfly.
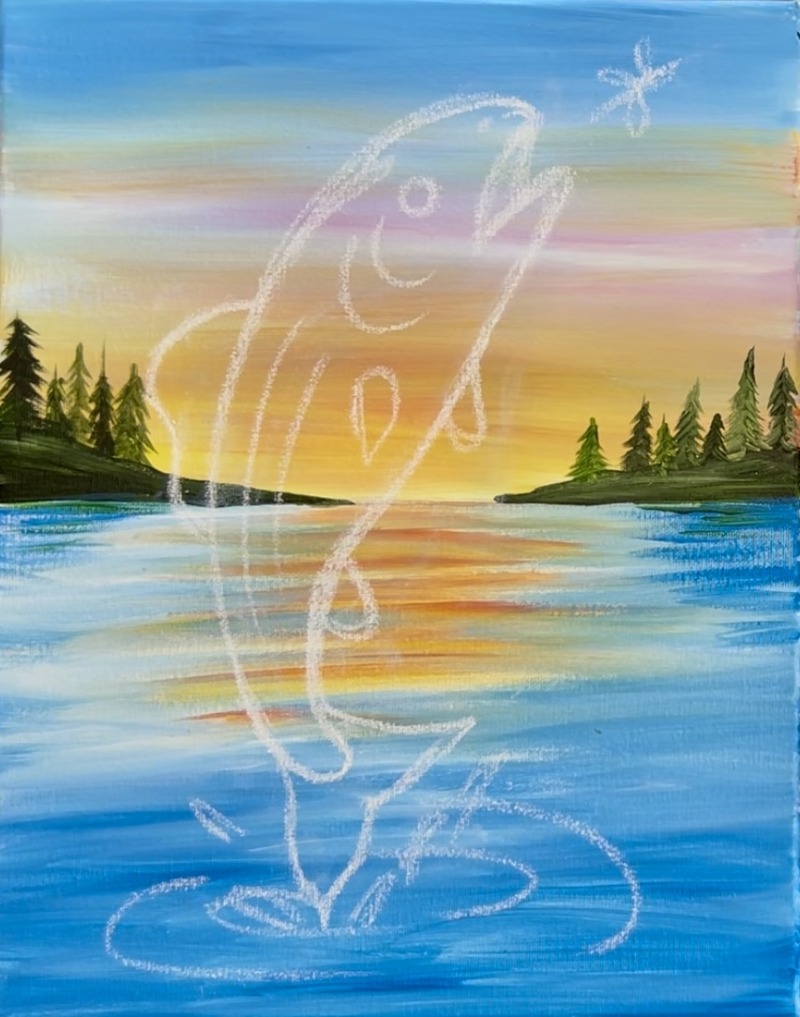
Note: some of the chalk drawing will be painted over in the next steps. The drawing still helps us get an idea of what the composition of the painting will look like.
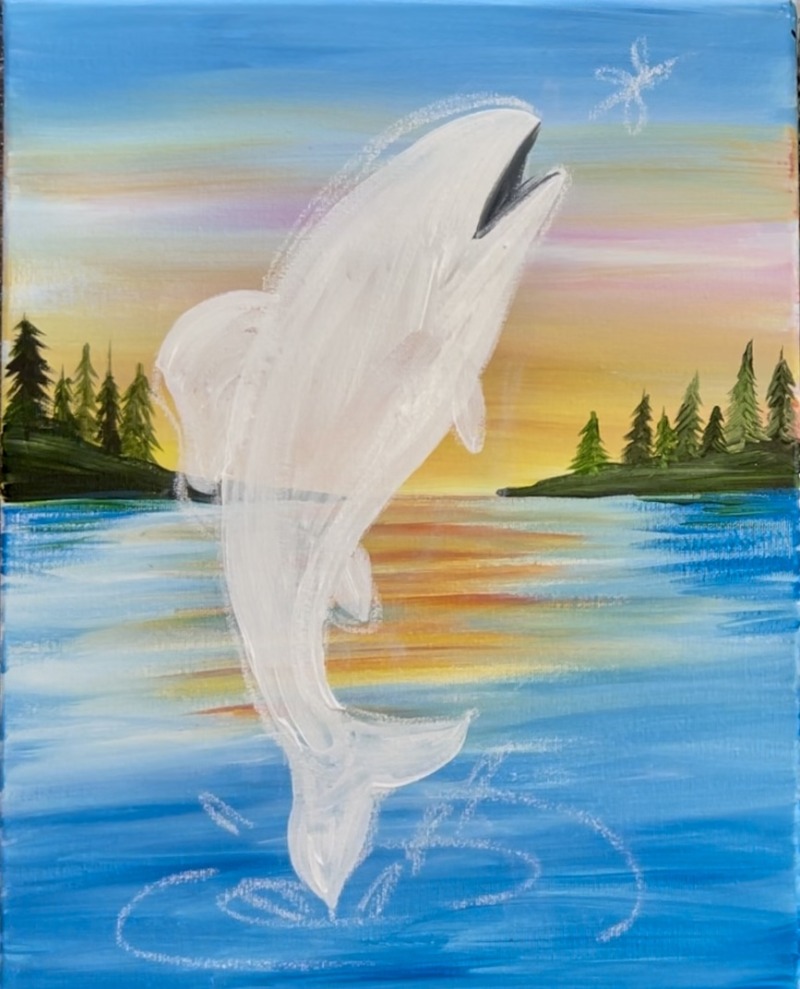
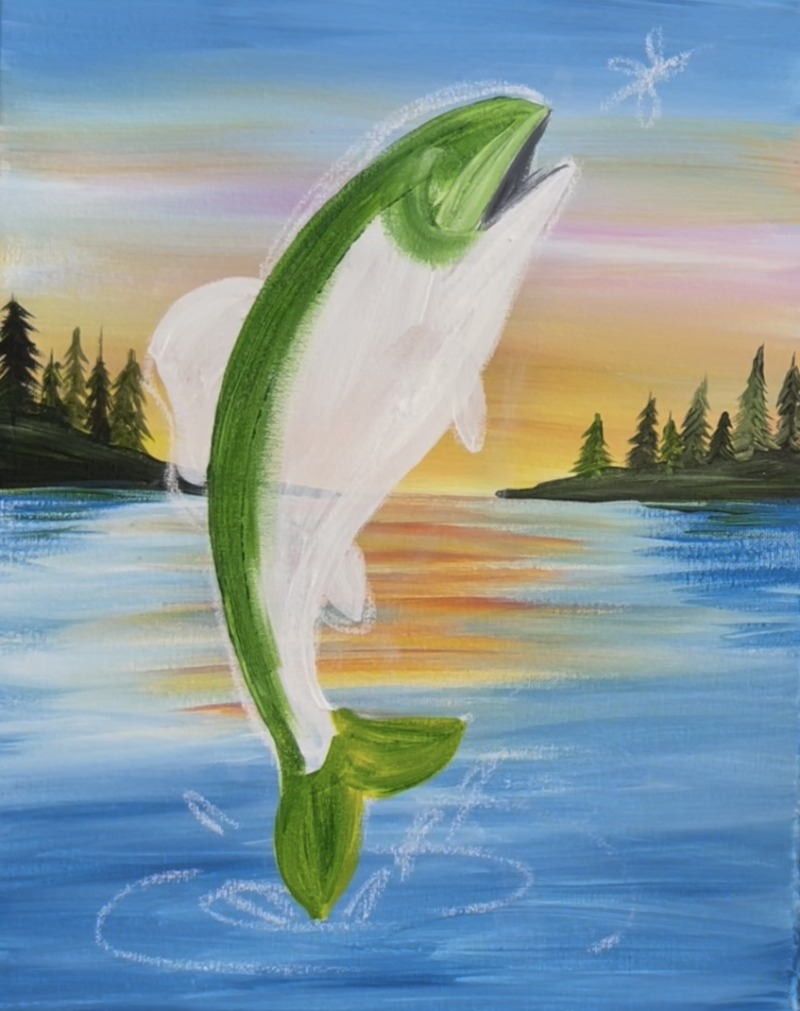
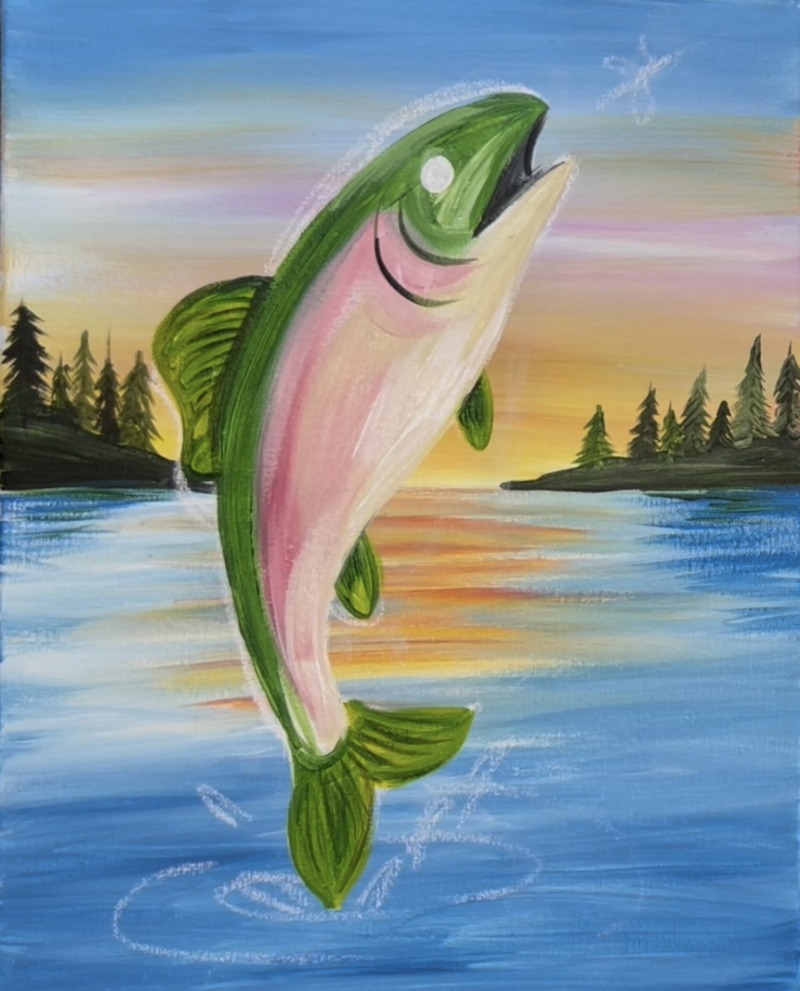
4. Paint White Layer On Fish
Use a combination of the 12 bright brush and the #4 round brush to paint the shape of the fish white. Use the round brush for smaller areas and curved areas such as the mouth and fins. Use the 12 bright brush for larger areas.
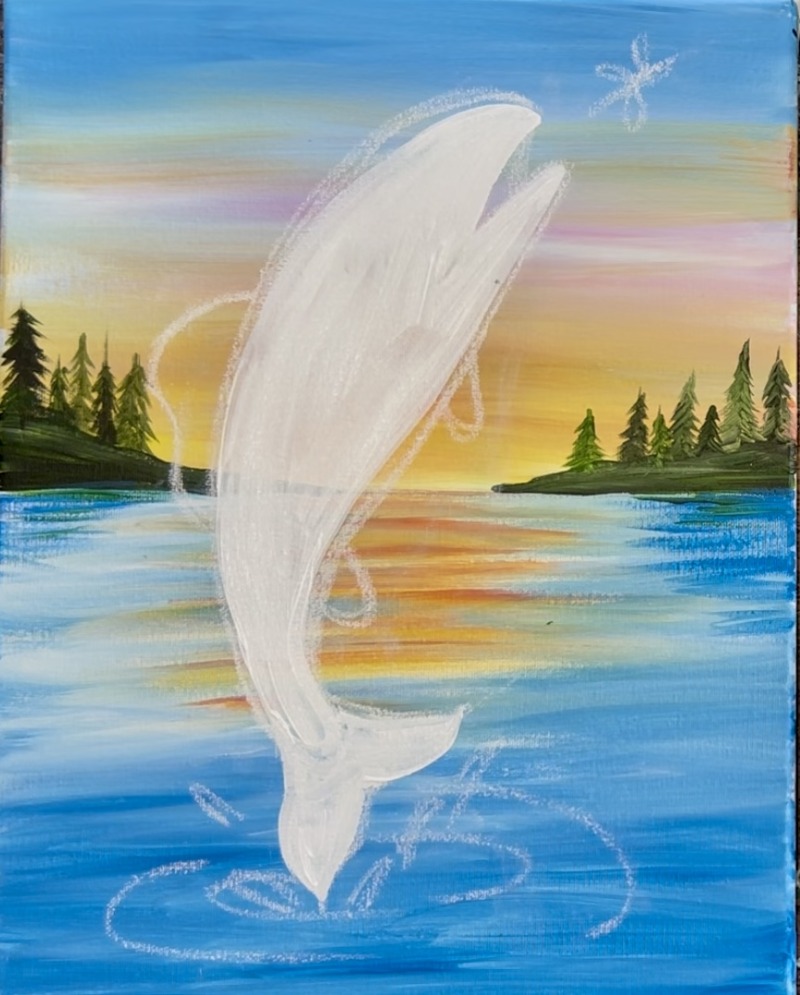
It’s okay to paint over your lines or not paint your lines in all the way. This layer of paint helps to define the shape of the fish more.
Mix white with black to make a dark gray. Paint the inside of the fish mouth.
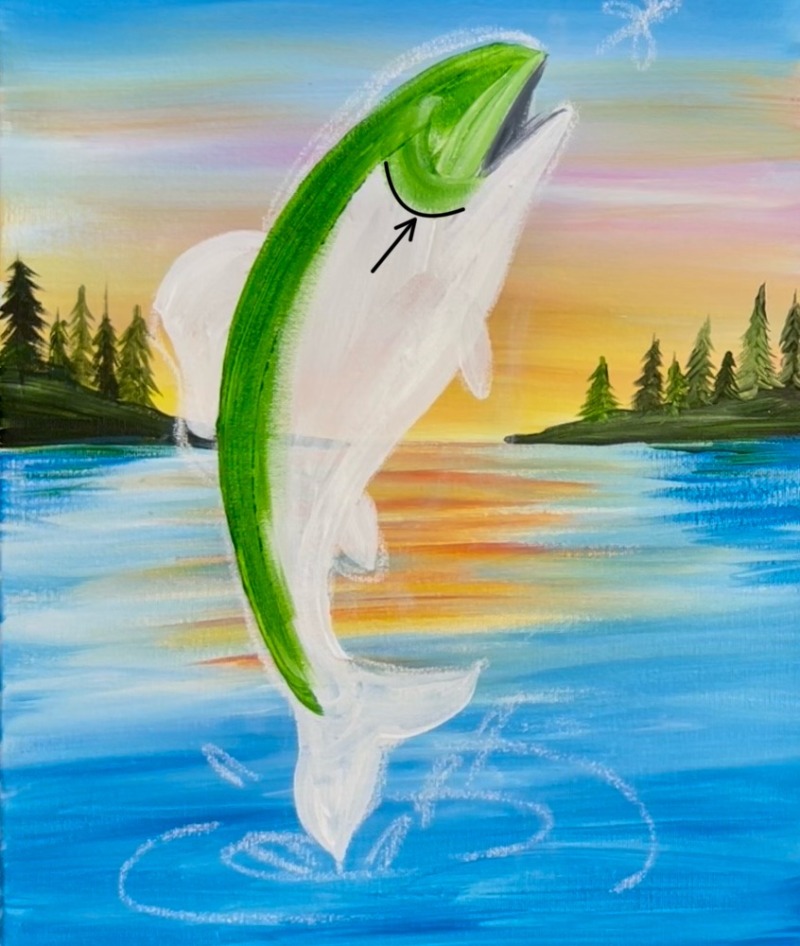
5. Paint Green Areas On Fish
Load your paint palette with “hooker’s green hue”. Use the #12 bright brush to paint the back and head area of the fish. Use the full width of the brush to paint a curved area along the top edge of the fish’s entire back. Then paint the top part of the fish’s head and form a curve just to the left of the corner of the mouth opening.
Then paint the tail. Mix “primary yellow” with the green to make yellow-green. Then use the #4 round brush to outline the shape of the tail and fill it in solid.
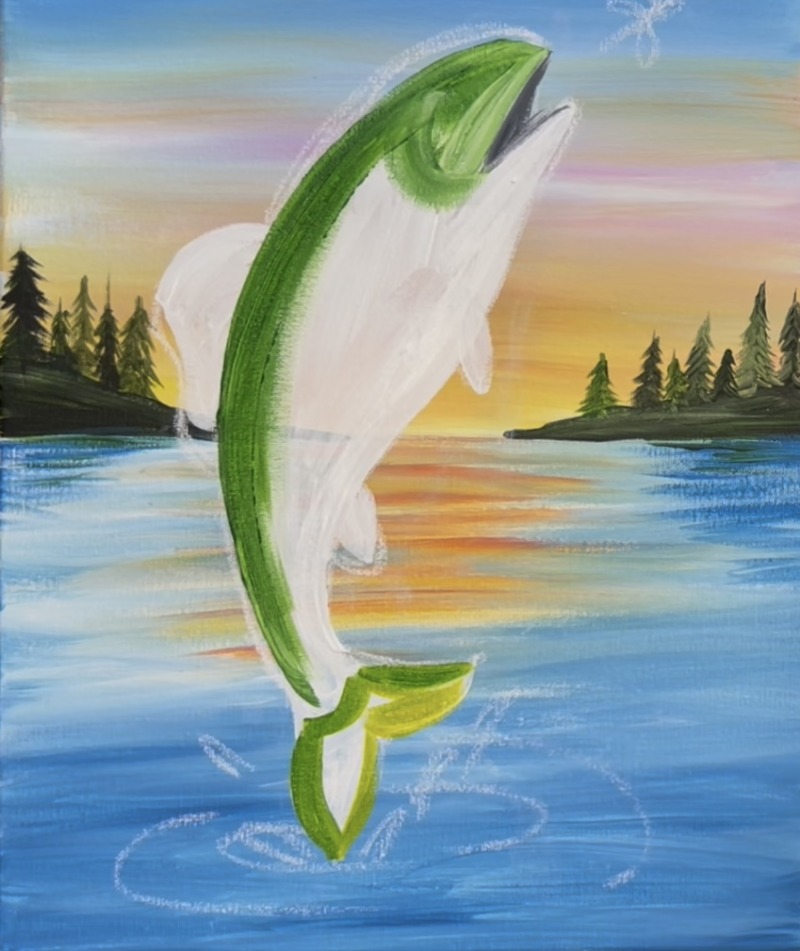
Then paint the dorsal fin and two bottom small fins using the green and yellow. Add a little bit of black to the brush (without rinsing it) and paint a few fin lines on the dorsal fin. We can add more defined lines later after this dries.
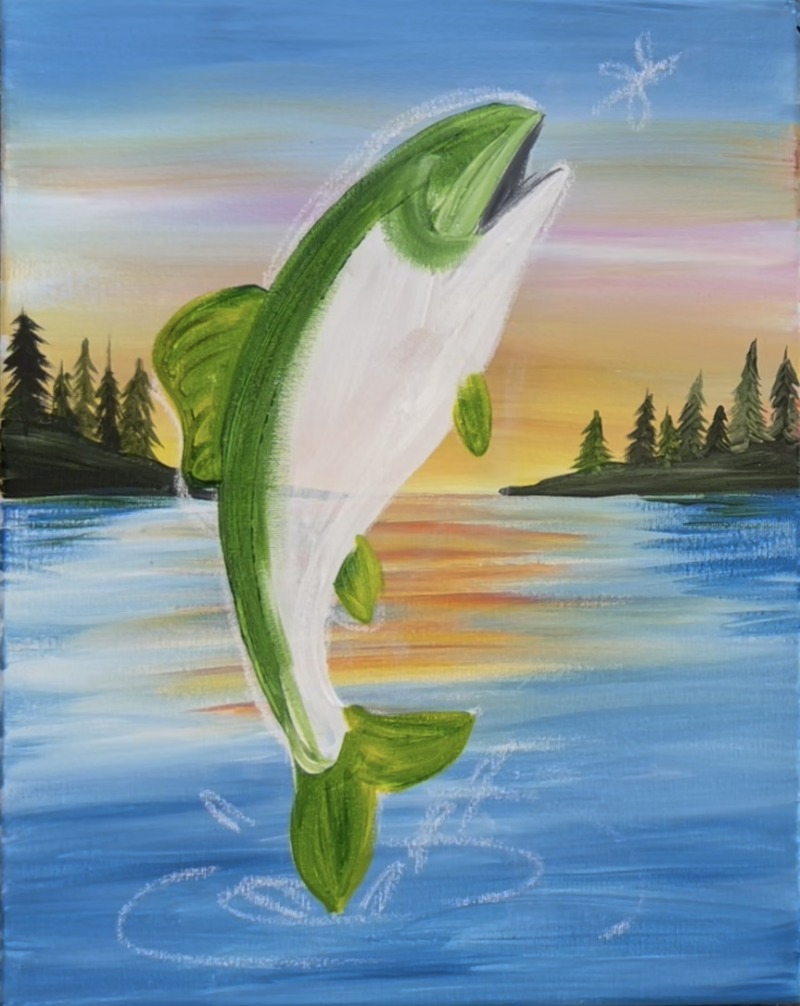
Let the green of the fish dry a bit before going to the next step.
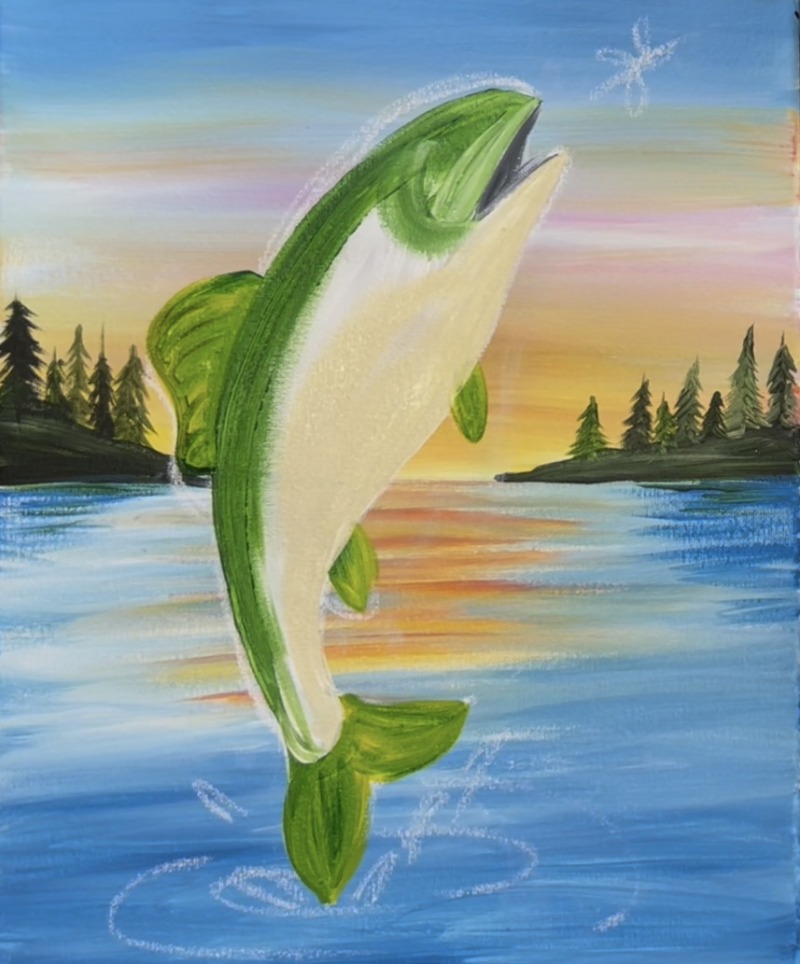
6. Paint Beige Area On Fish
Use the color “unbleached titanium” to paint the bottom part of the fish including the bottom of the mouth and almost all of the white. Leave a little bit of a white gap left between the green and the beige.
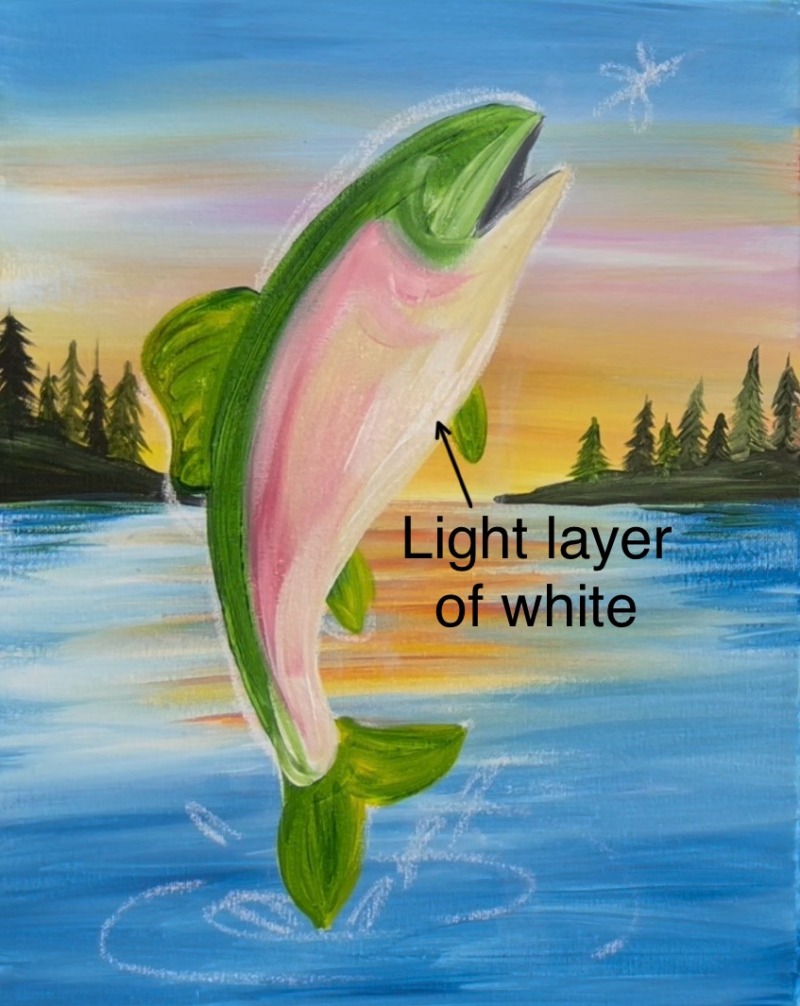
7. Paint Pink Area On Fish
Do this before the beige dries (because we want the pink to blend with the beige). Load “primary red” onto your palette. Mix a little white into the “primary red” to lighten the color up to more of a pink color. Paint the area between the green and the beige and allow the pink to blend with the beige a little bit. Don’t let the pink mix with the green. When pink mixes with beige, it will create a “salmon” color.

Don’t paint over all of the beige with the pink, let it blend gently with the beige and transition like a gradient. Then (optional) add a bit of white just on the far right of the belly. Let it blend a little with the beige.
8. Paint Lines On Fins, Eye & Gills
Use the #4 round brush and “mars black”. Paint very thin line on the dorsal fin and the tail. Alternatively, you can draw these lines out with a paint pen. I end up doing both (painting them and drawing more thin lines later with the paint pen).
Use a #4 round brush and “titanium white” to paint a small circle for the eye. The eye is positioned in the center of the head area and lines up almost with the far left corner of the mouth. Then paint two curved lines for the gills. Use “mars black” mixed with “hooker’s green hue” to paint these gills.
Note: at this point I had my painting dry and then I erased any of the leftover chalk lines (except for the ripples and splashes).
9. Paint Black Part Of Eye & Spots
Make sure the white eye is dry. Then use a #4 round brush and “mars black” to paint a small black circle inside the eye. Then use a black paint pen or sharpie or your round brush and paint a very thin black outline around the white circle.
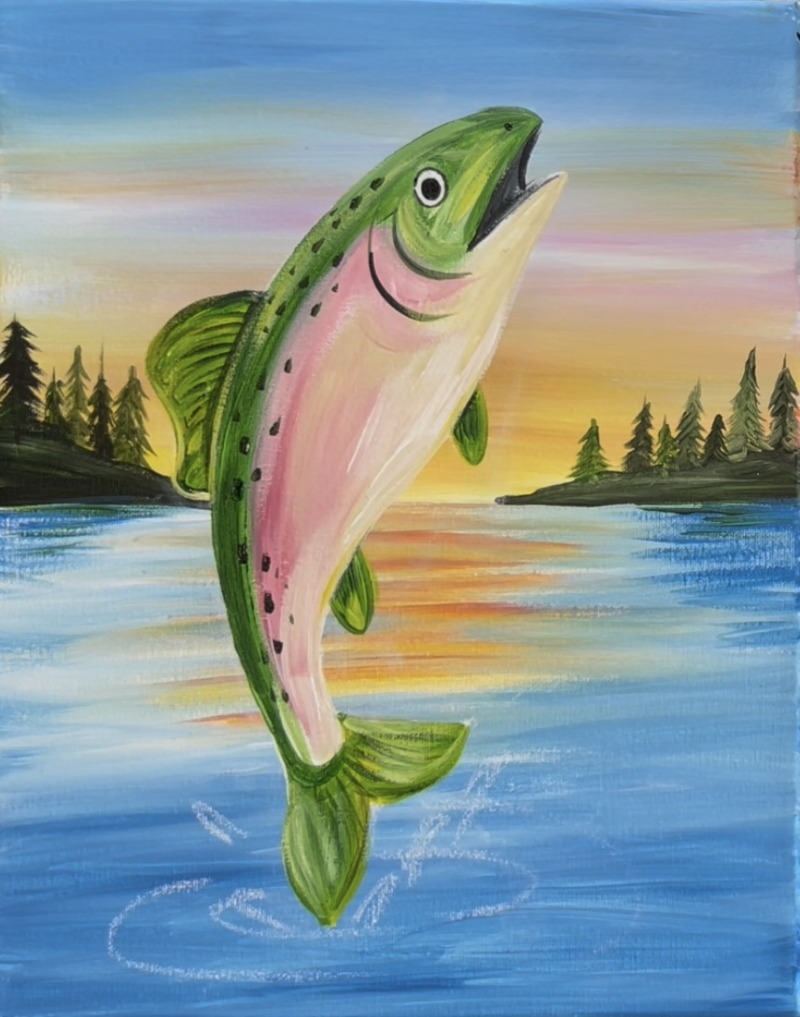
Then paint the spots on the fist. These are small marks of various sizes. When you paint them, drag the dot a little bit to make it more of a “tic mark” and not so much a small circular dot. Use the #4 round brush for this and mix black and green together. Paint these little spots mostly on the green part of the fish but add a few splotches on the pink part as well. There are also dots on the fins and tails of this fish!
10. Paint Light Blue On Fish
Use the color “cerulean blue” mixed with “titanium white”. Use either the round brush or the bright brush and light “glaze” this light blue over some of the beige area. When you “glaze” paint over a color, you apply it very lightly and don’t cover all of the initial layer. Just a few light blue streaks of color are all that is needed to give the fish that iridescent look!
11. Paint Splash & Ripples In Water & Highlight Eye
To create the white “highlight dot” on the eye, use a toothpick and titanium white to paint one tiny dot over the black circle. Alternatively, you can use the end of your paint brush to create this dot.
Use a #4 round brush and just titanium white to paint little “teardrop” splash shapes around the tail of the fish.
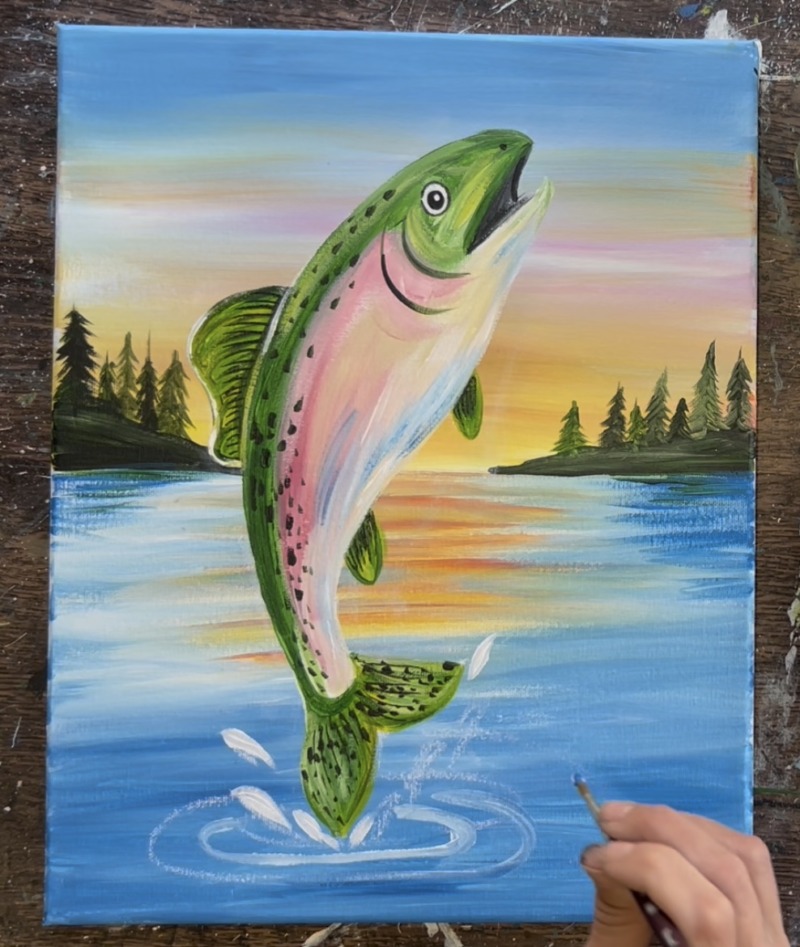
Paint the ripples by double loading your brush in cerulean blue and titanium white. Paint the little oval lines going around the tail of the fish. Create some variation in the color of the ripples by painting some of them with just cerulean blue to make some darker areas in the ripples and also some lighter areas.

Paint a few horizontal white water lines behind the ripples.

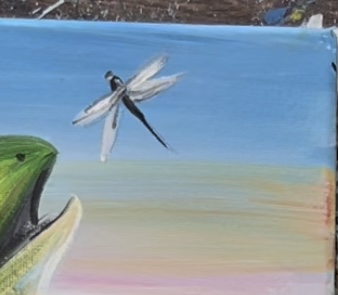
12. Paint Dragonfly
I erased my original chalk drawing of the dragonfly and redrew it with a pencil. Draw a simple diagonal line for the body of the dragonfly and four oval shapes for the wings going in an “X” formation.
Then use the #4 round brush and “mars black”. Paint the body of the dragonfly.
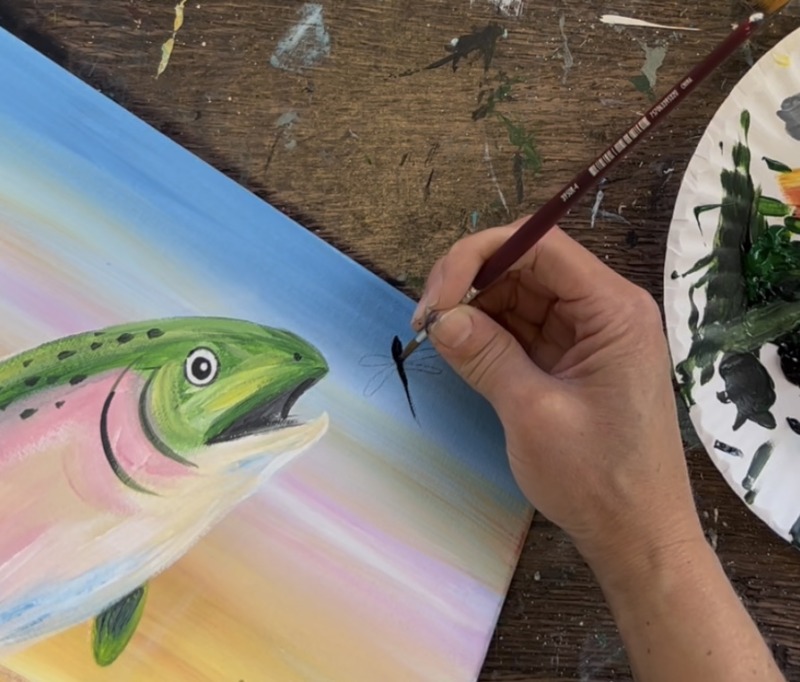
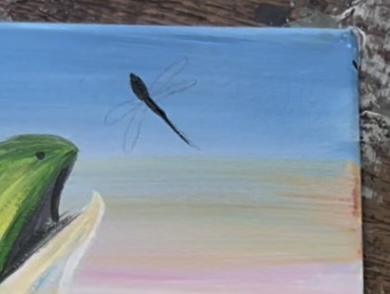
Rinse the brush. Then use “titanium white” to paint the oval shaped wings forming an “X” towards the upper part of the dragonfly.
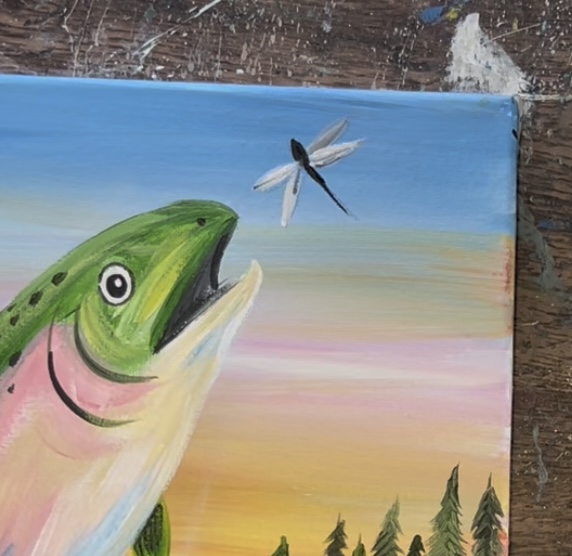
I also painted a little oval for the head. Keep the dragonfly simple! It’s a small detail in the painting!
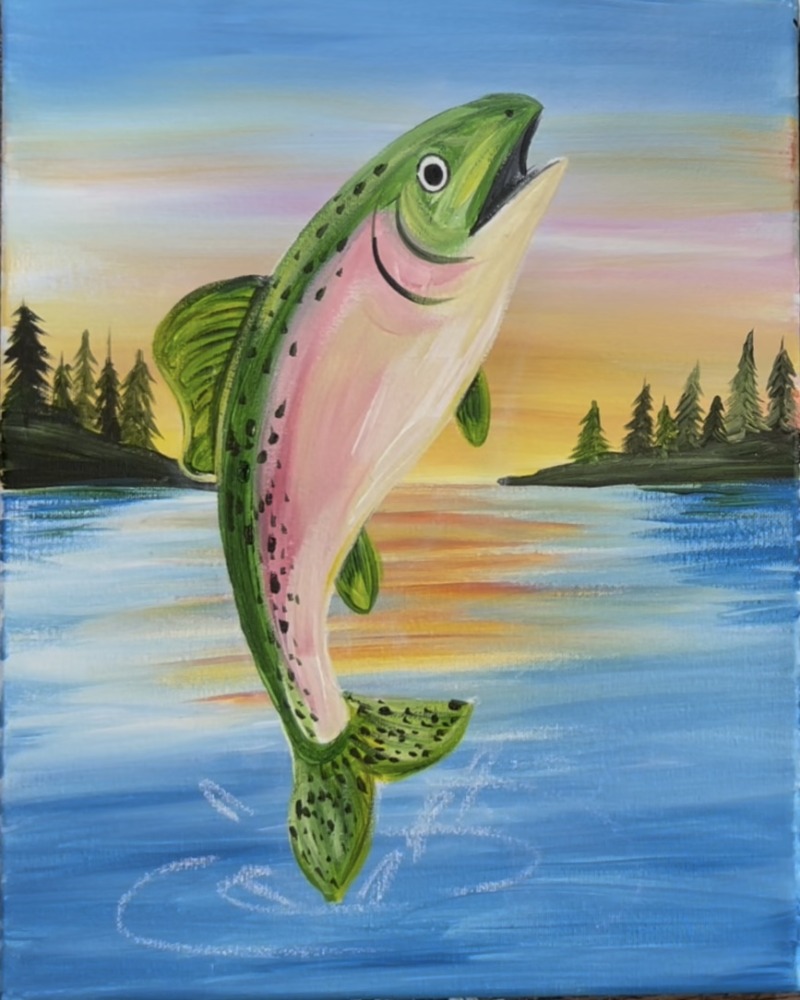
13. Final Touches
Some final touches in this painting include: adding more spots in the pink/blue/beige area. These are more subtle and smaller spots. Instead of using black, mix a light to medium gray color and use that to create lighter spots.
Another touchup could be to add a second highlight dot on the eye! Add more splashes on the ends of the fins and make these tiny water lines look like they are dripping down. You can also paint the small “adipose” fin on the very back of the fish. I did this with just the “hooker’s green hue”.
Use a black paint pen to draw more lines on the fins/ tail. Also, paint the side “pectoral fin” that overlaps the side of the fish.
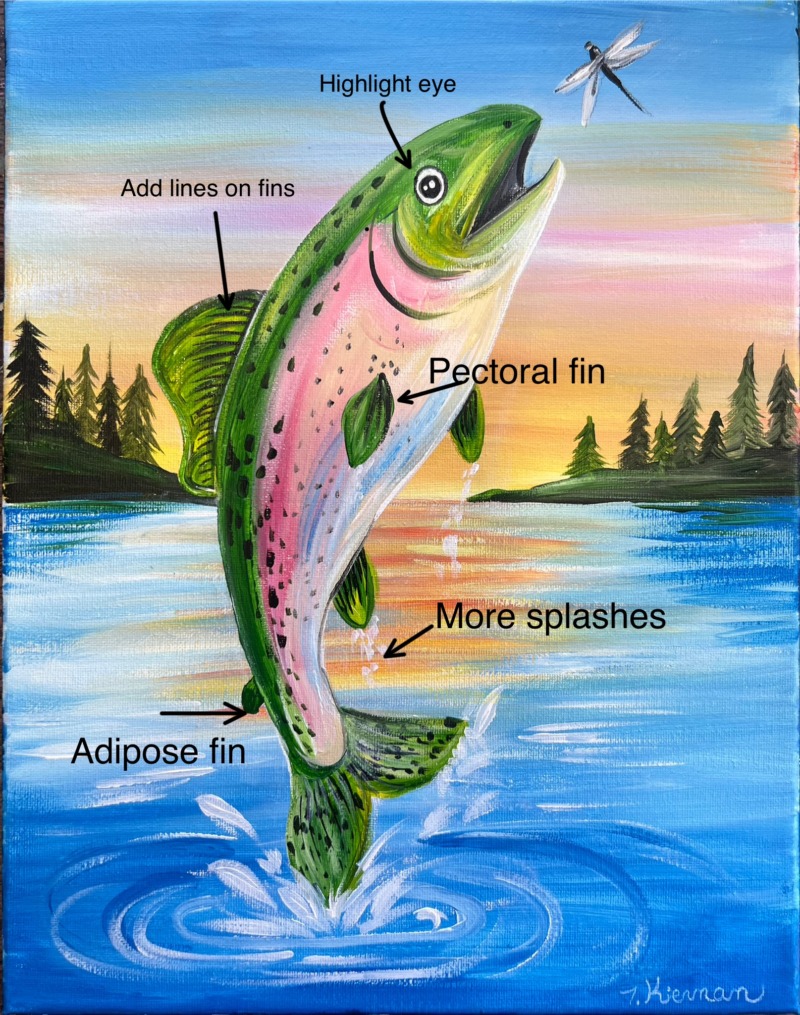
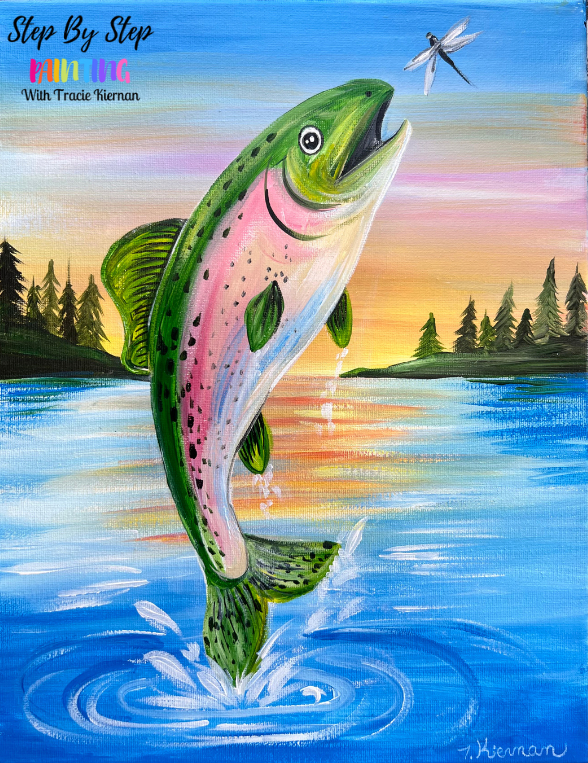
Finished! Sign your name and show it off!
Finished!