
Would you like to save this?
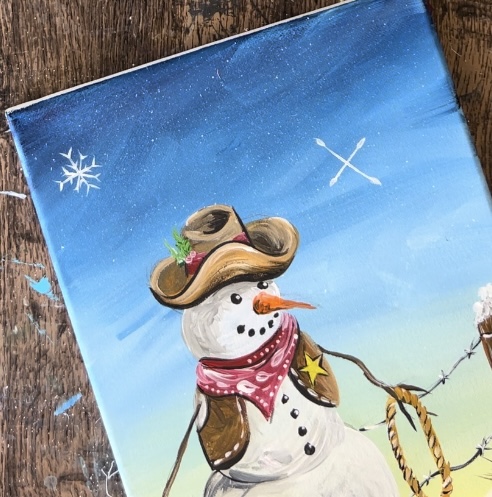
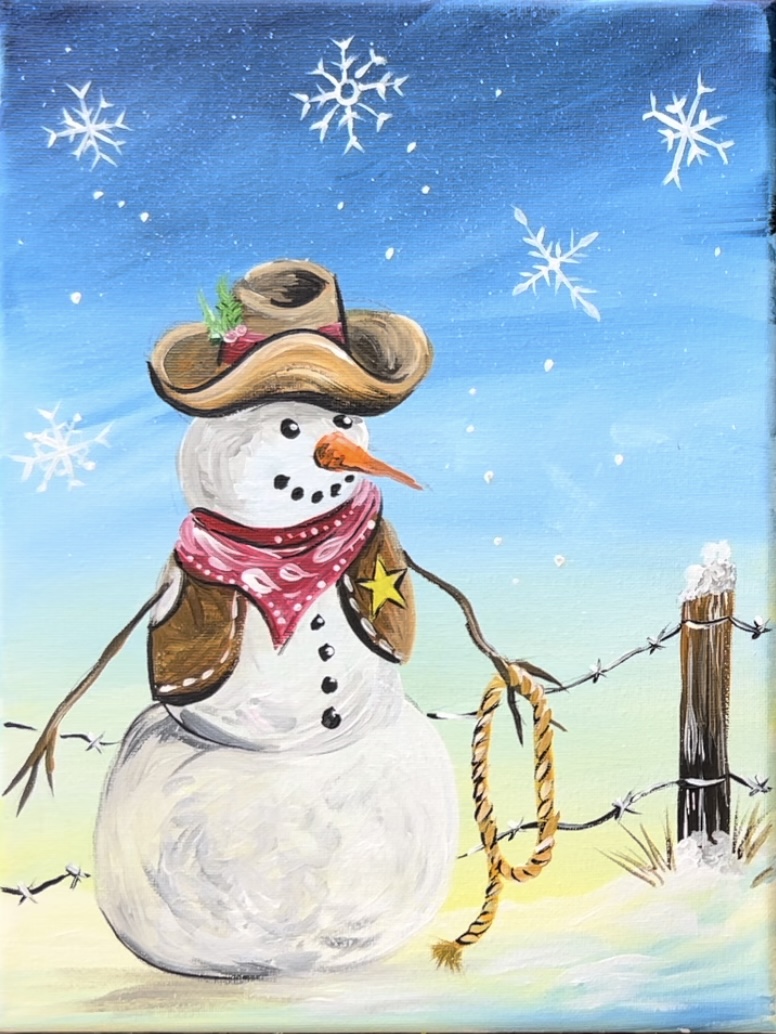
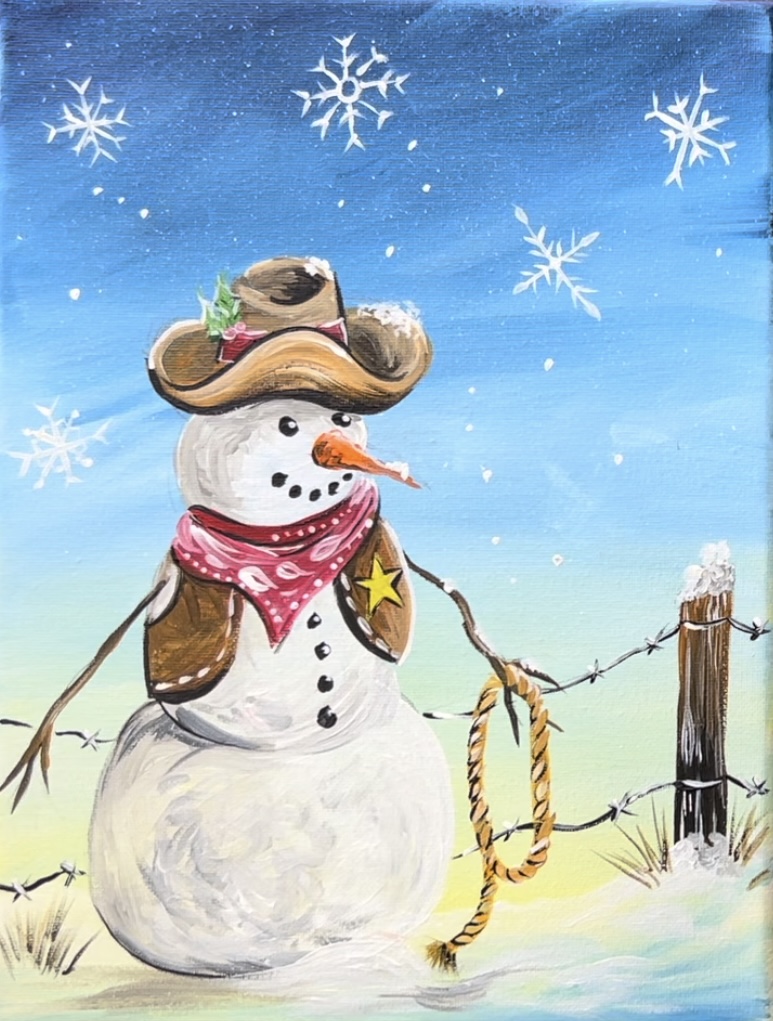
When winter meets the Wild West! 🤠❄️ This adorable western snowman is ready to wrangle some fun!
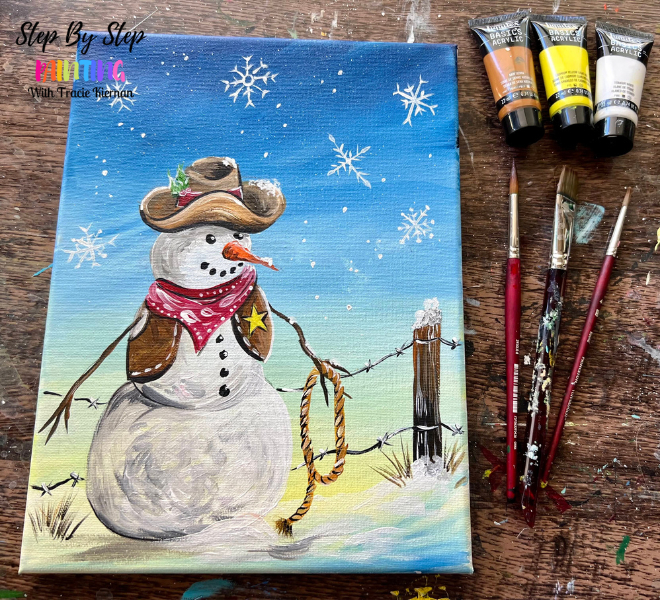
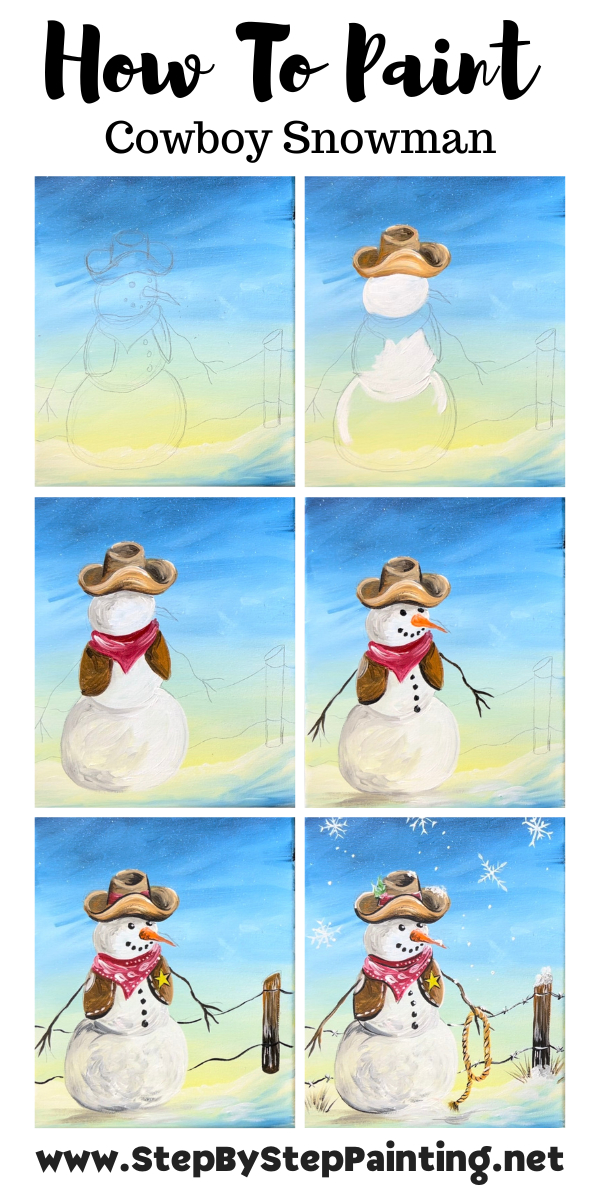
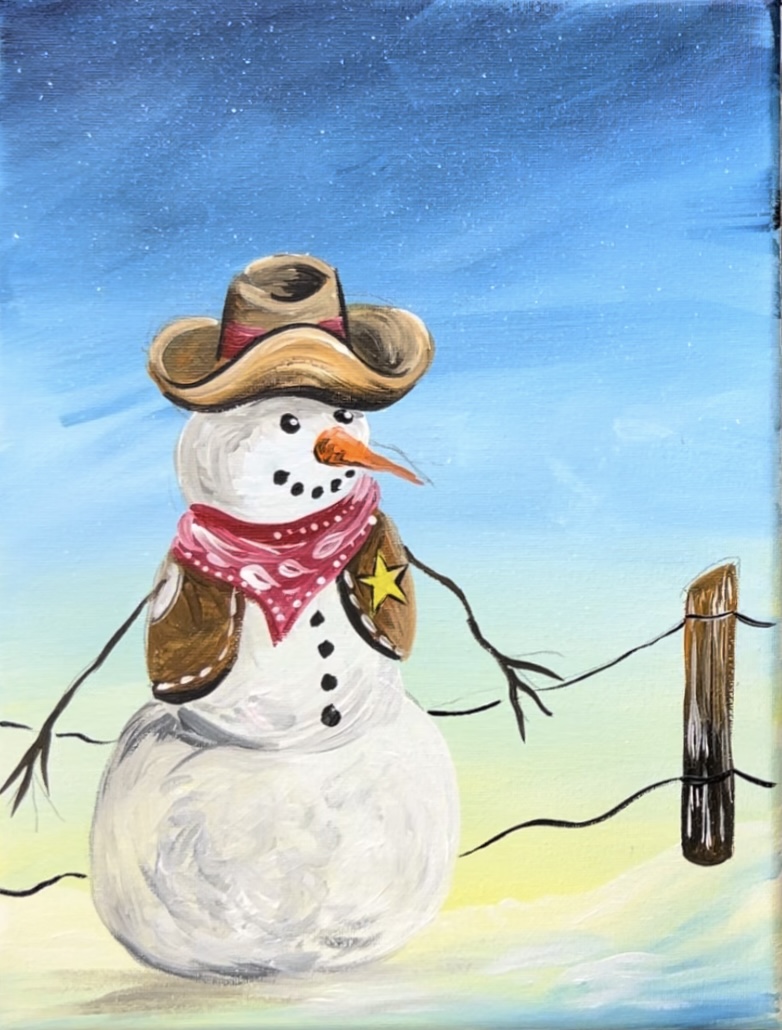
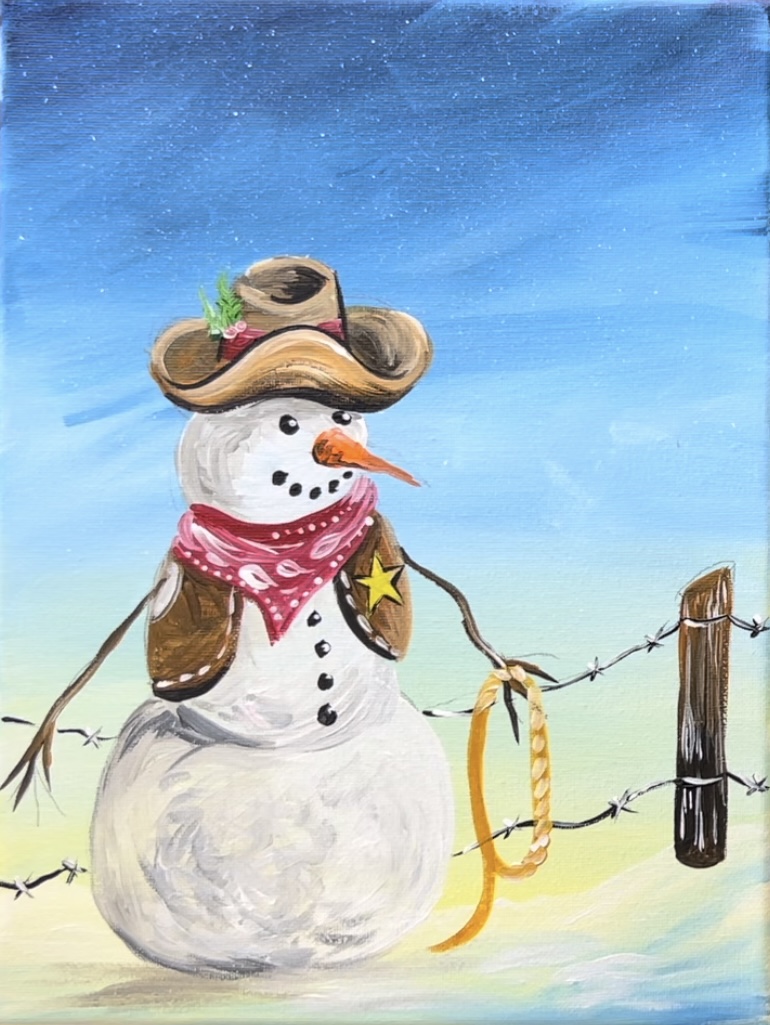
In this painting tutorial, we will be painting a realistic looking cowboy snowman with a simple, rustic snowy background. There is an optional traceable template for this one or you can draw it with me in the instructions and video! I am demonstrating this on a 9 x 12 canvas, however, this can work on any size!
Enjoy and happy painting!
Materials
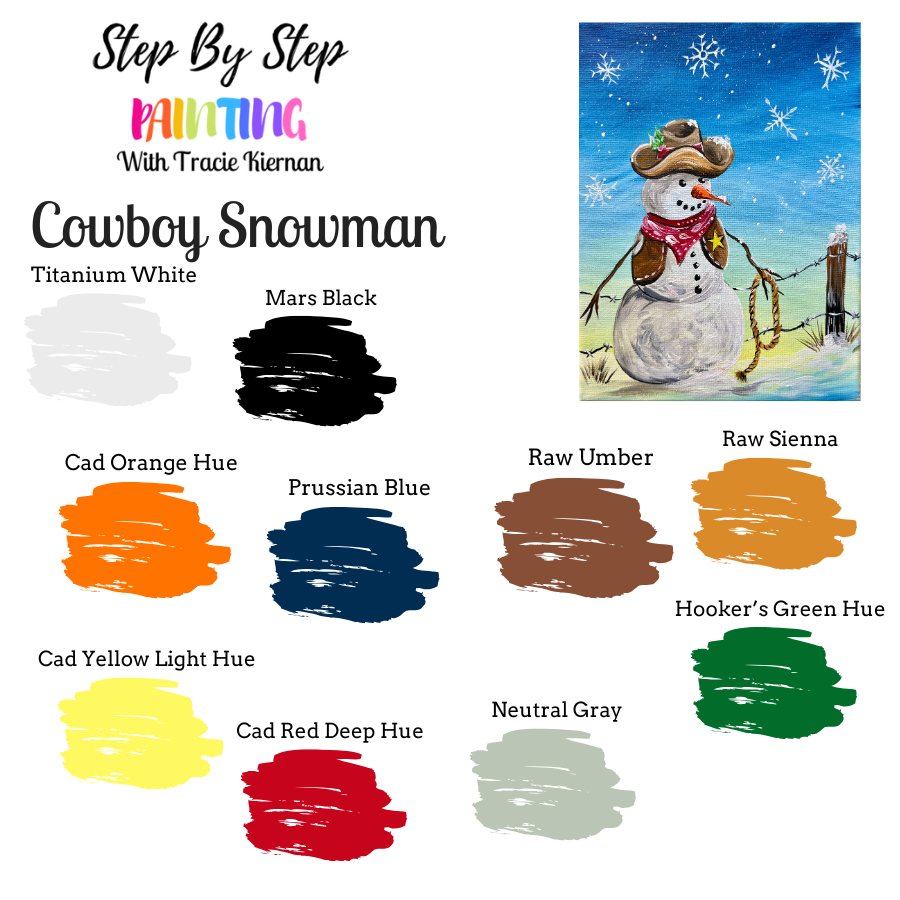
Cowboy Snowman
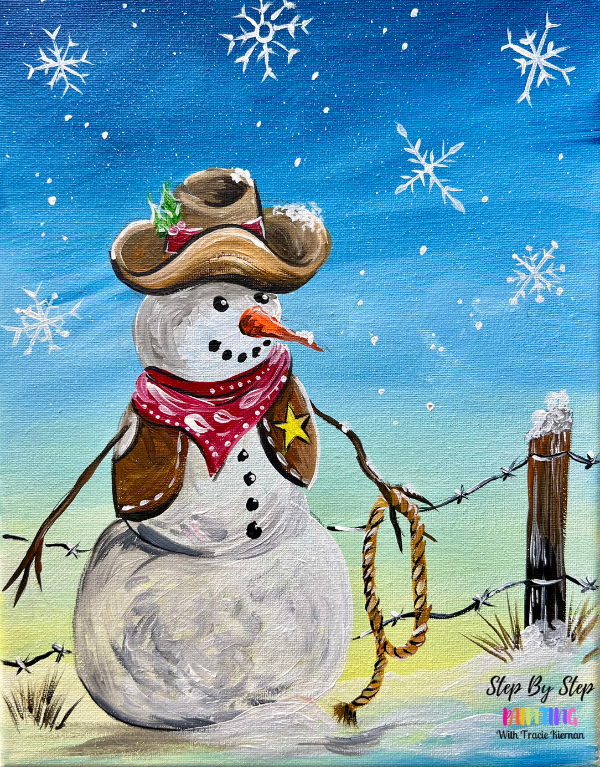
When winter meets the Wild West! 🤠❄️ This snowman is ready to wrangle some fun!
Materials
- 9 x 12 Canvas (or any size)
- Acrylic Paints
- Paint Brushes
- Pencil
- Optional Toothbrush
Colors
- Titanium White
- Mars Black
- Cadmium Red Deep Hue
- Cadmium Orange Hue
- Cadmium Yellow Light Hue
- Hooker's Green Hue
- Prussian Blue
- Raw Umber
- Raw Sienna
- Neutral Gray
Brushes
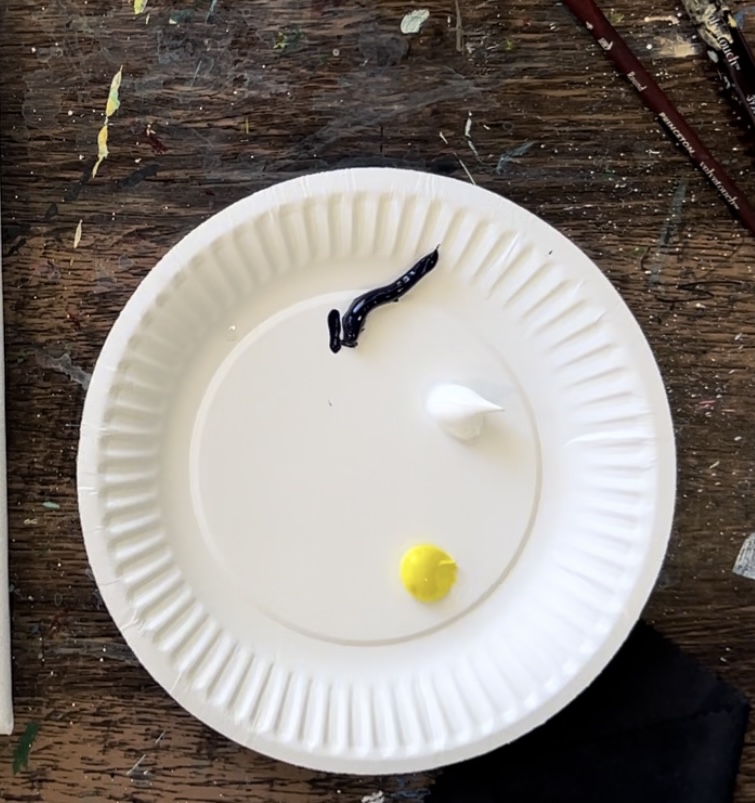
Color Palette
To simplify this palette, you can omit: “neutral gray” (make a gray by mixing black and white), “green” (green is only used in the holly on the snowman’s hat and “orange” (orange can be made by mixing red and yellow.
Directions At A Glance
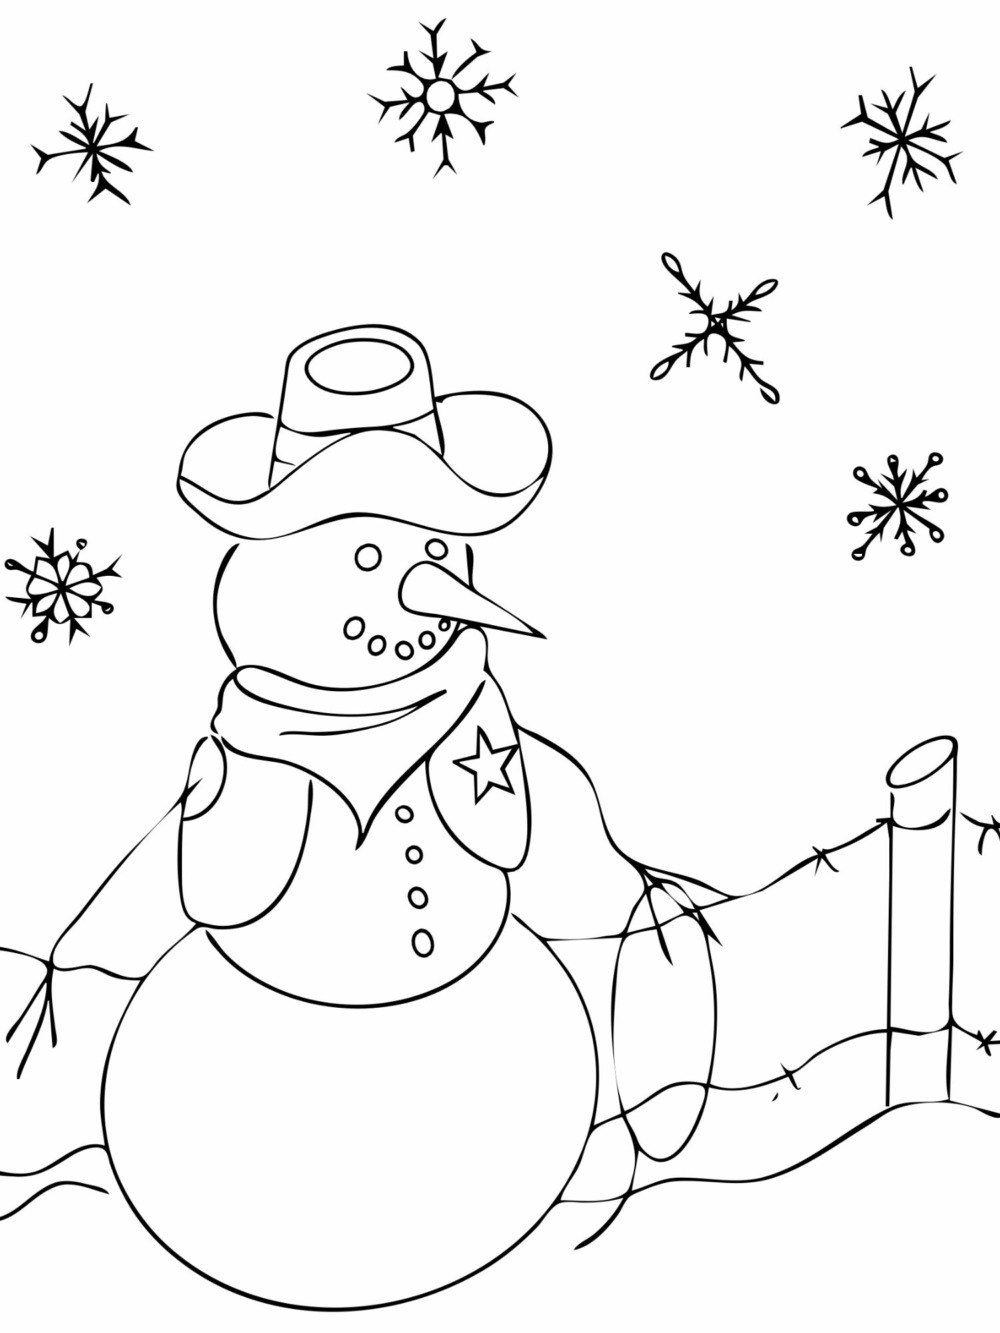
Traceable
This is an optional tracer template you can use. I recommend painting the background first.
Video
Step By Step Instructions
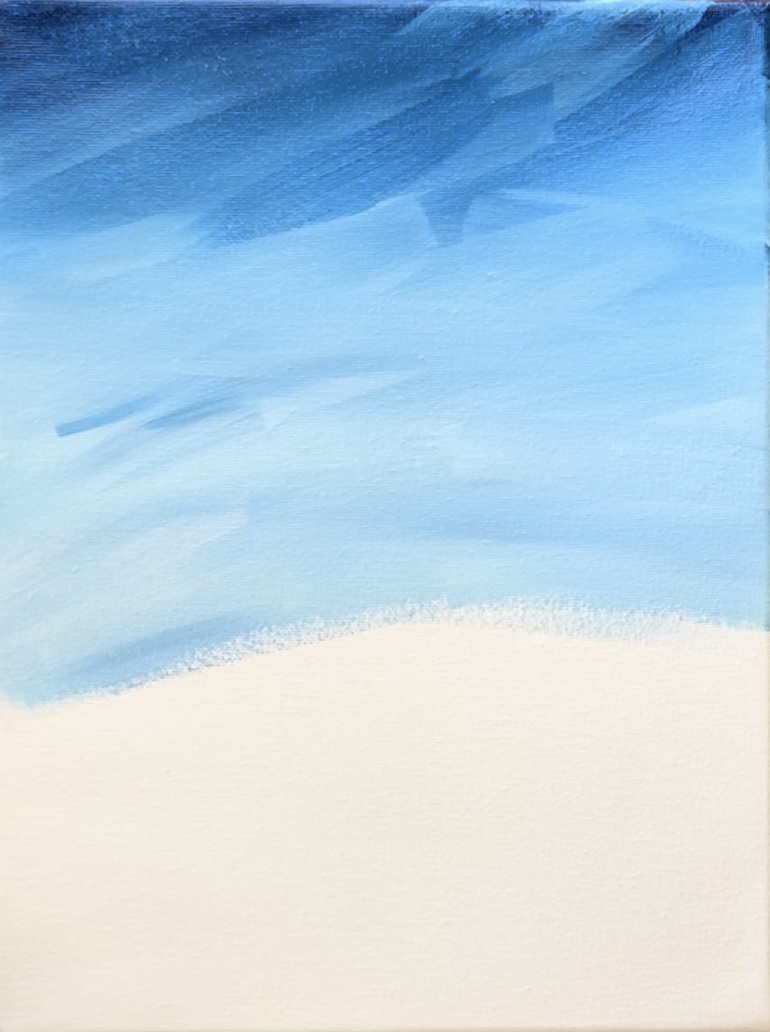
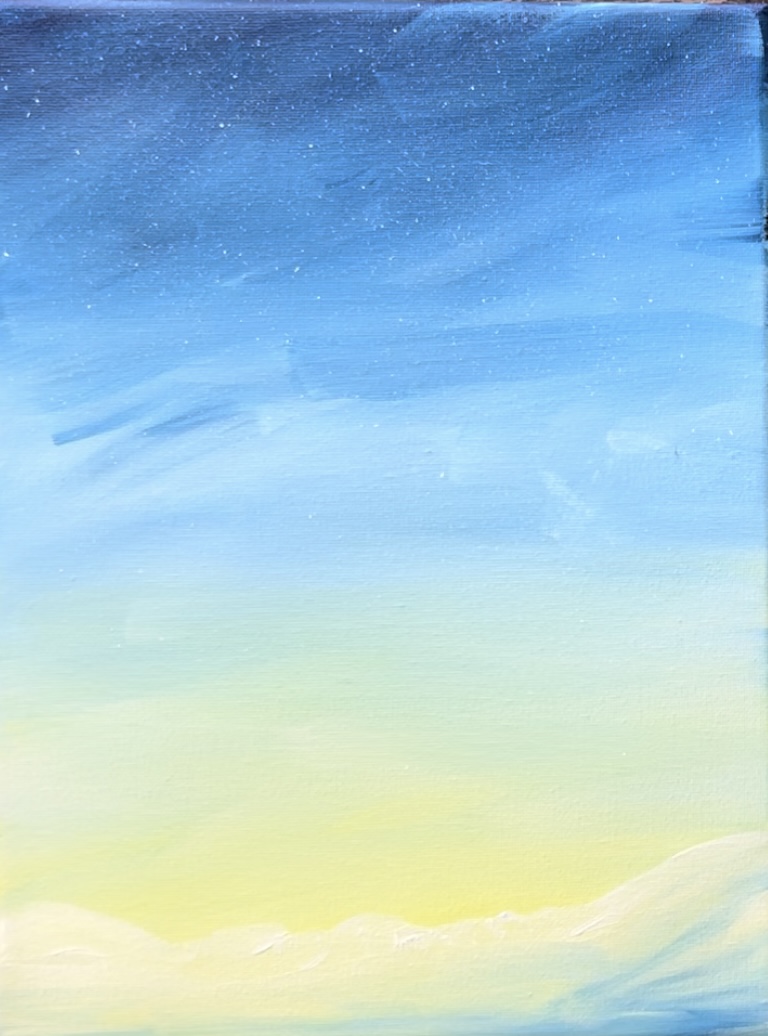
1. Paint Sky
Load your paint palette with the three colors: Prussian blue, titanium white and cadmium yellow light hue. If you don’t have “Prussian Blue”, you can use any dark blue such as “Phthalo Blue”.
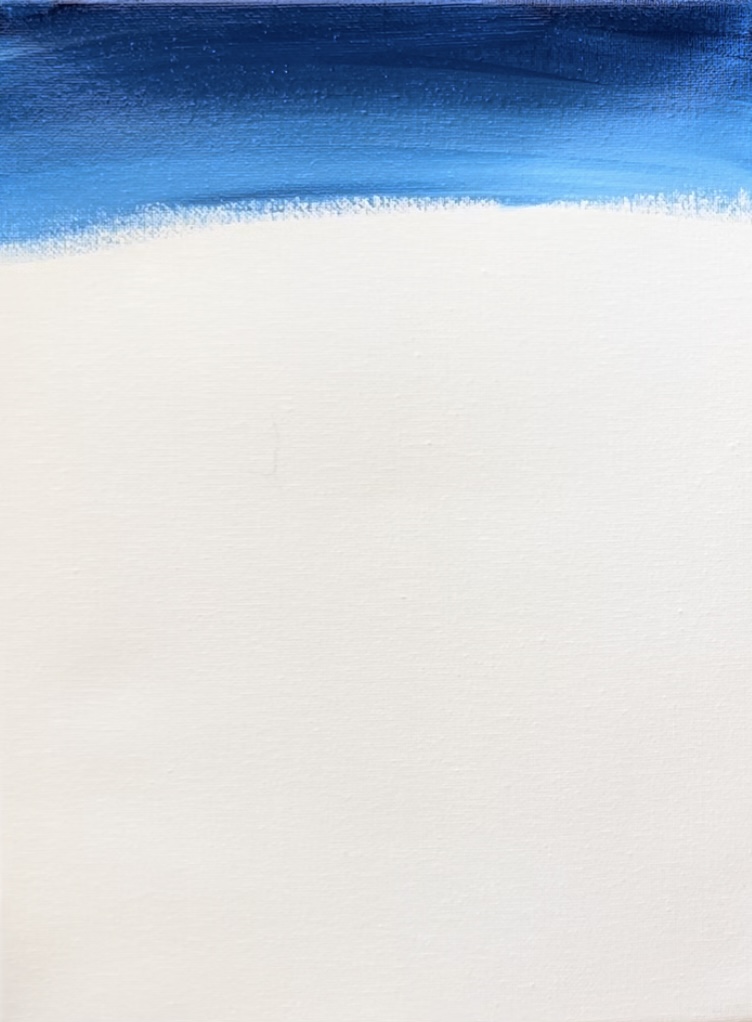
Start at the top. Use the 3/4 wash brush and start with just the Prussian blue. Paint left and right strokes of paint across the canvas.
Go down a few inches and then add titanium white to your brush without rinsing it. Then blend the white with the dark blue. You are creating a gradient in the sky of really dark blue at the top that blends to a light blue towards the bottom. We will be blending yellow at the very bottom of this sky.
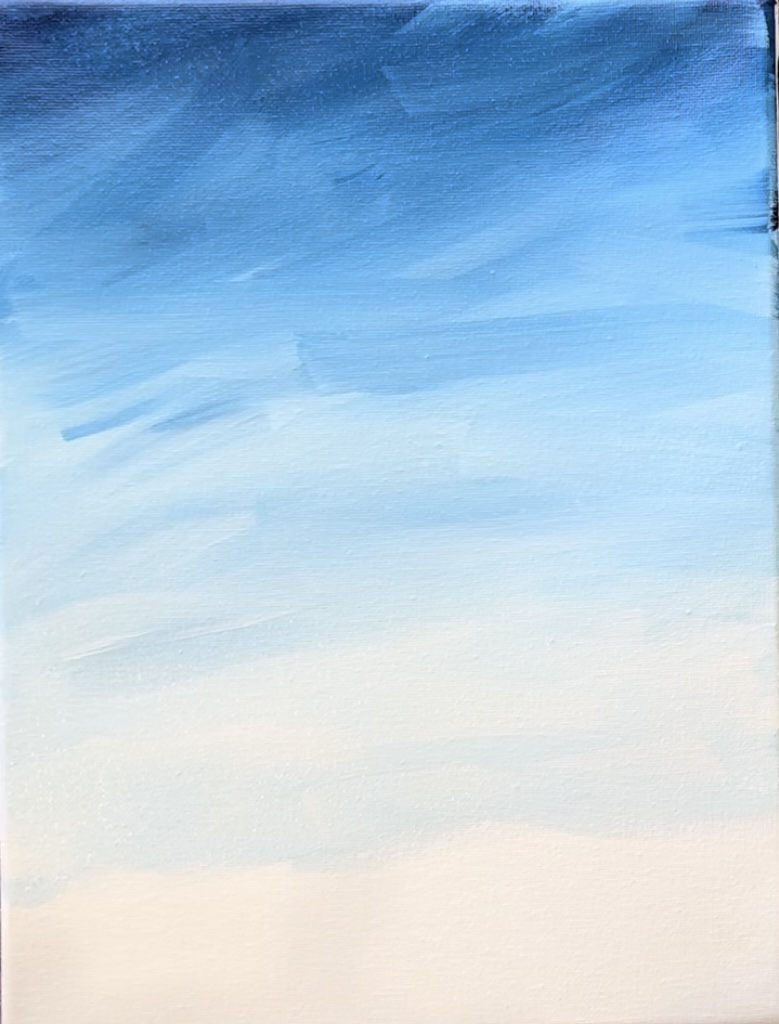
Keep adding white to your brush and continue to blend. If you want, you can do “textured paint strokes” to help you color to blend “wet on wet” on the canvas. Just keep the top of the sky dark and the bottom light.
As you approach the bottom 1/3 of the canvas, rinse the brush off to get all of the Prussian blue off of it. Then add just the titanium white to your brush. You want a very light area on the bottom of the sky so that you can blend yellow into the sky without it turning too “green”.
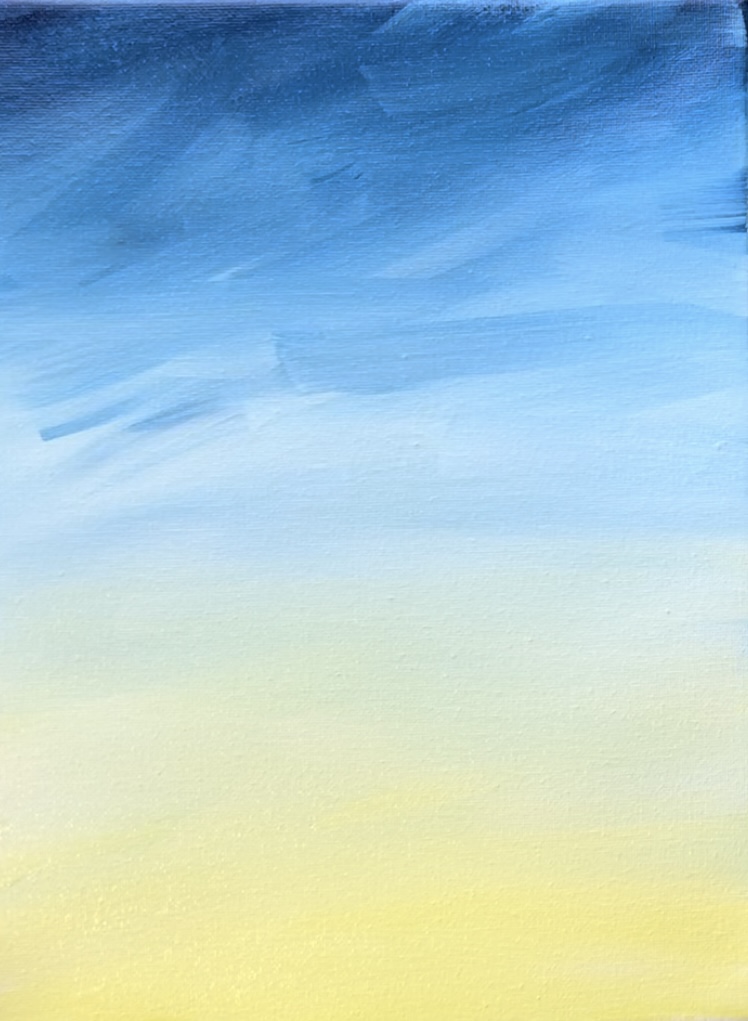
Next, mix “cadmium yellow light” and “titanium white” on your palette. Paint this yellow on the bottom of the canvas and blend “wet on wet” up into the light blue area. Tip: there will be some areas in the sky that turn green because of the blue mixing with the yellow. Add more titanium white to help it blend! The bottom half has yellow and it blends out into the rest of the blue in the sky.
Rinse and set your 3/4 brush aside! Use a toothbrush to splatter little white snow dots all over the sky.
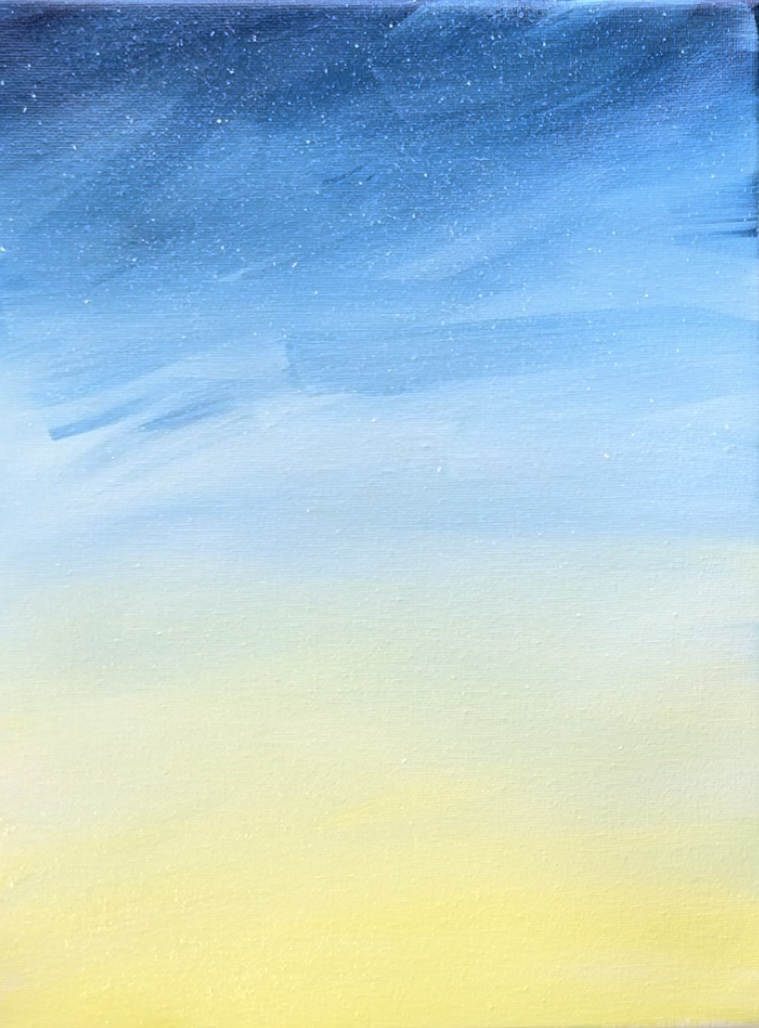
Wait for this to dry before going onto the next step.
2. Paint snow on ground
Use a 3/4 wash brush to paint about 1-2″ of snow on the bottom of the canvas. Line is darkened to show snow area.
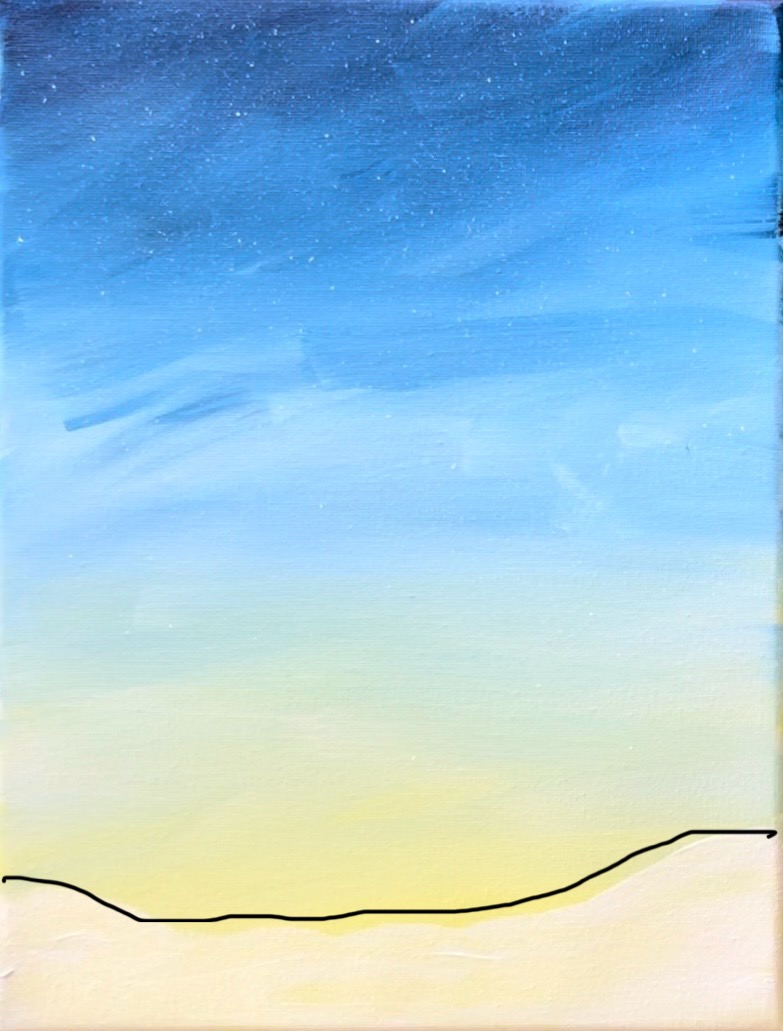
Then, without rinsing brush, add a very small amount of “Prussian blue” to your brush and blend it up into the white.
Wait for this to dry before going onto the next step.
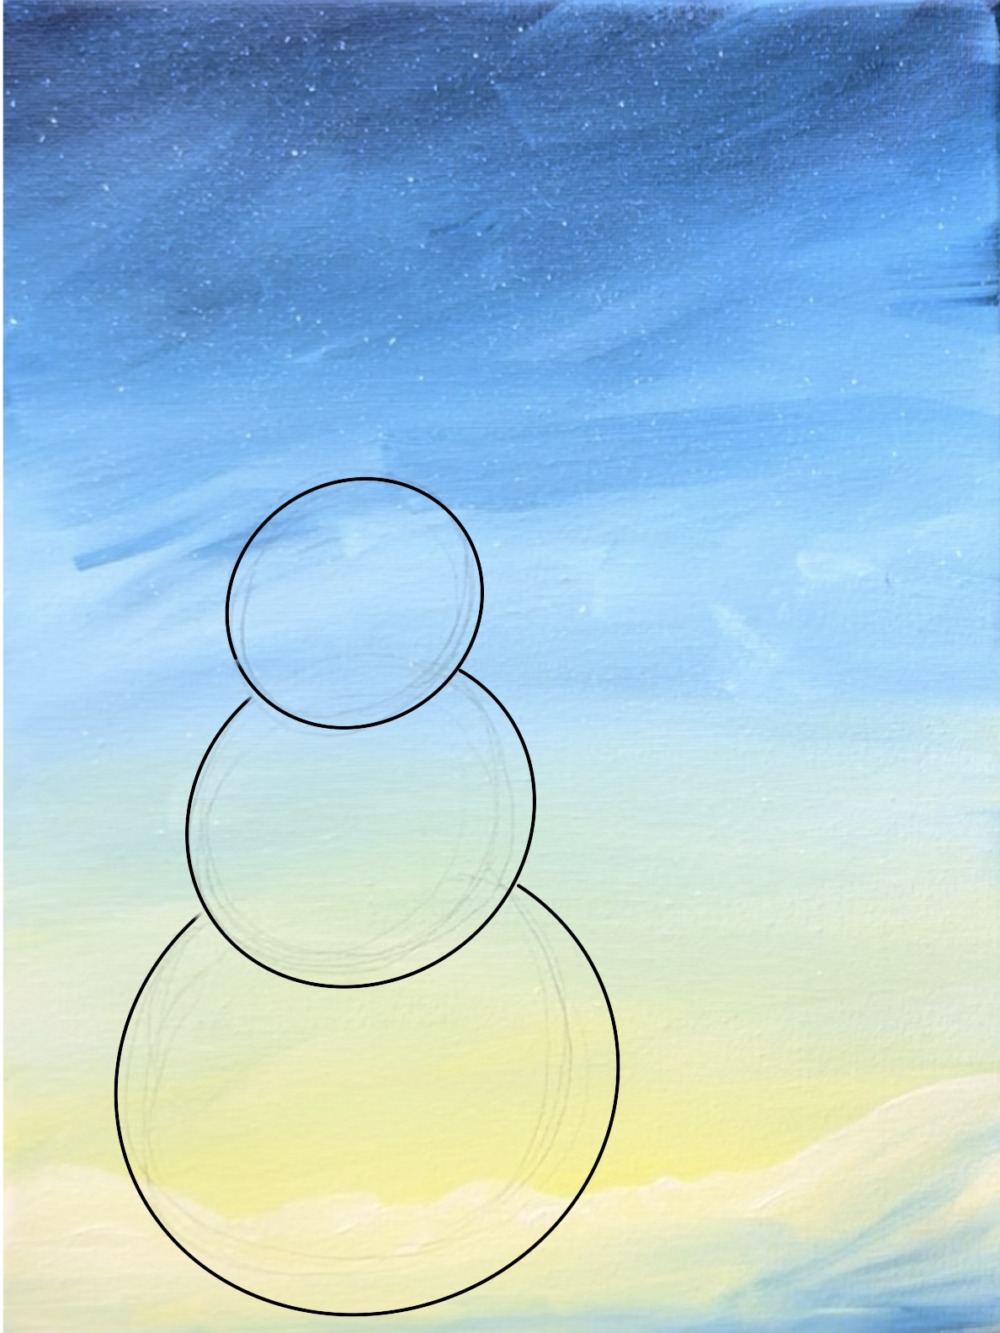
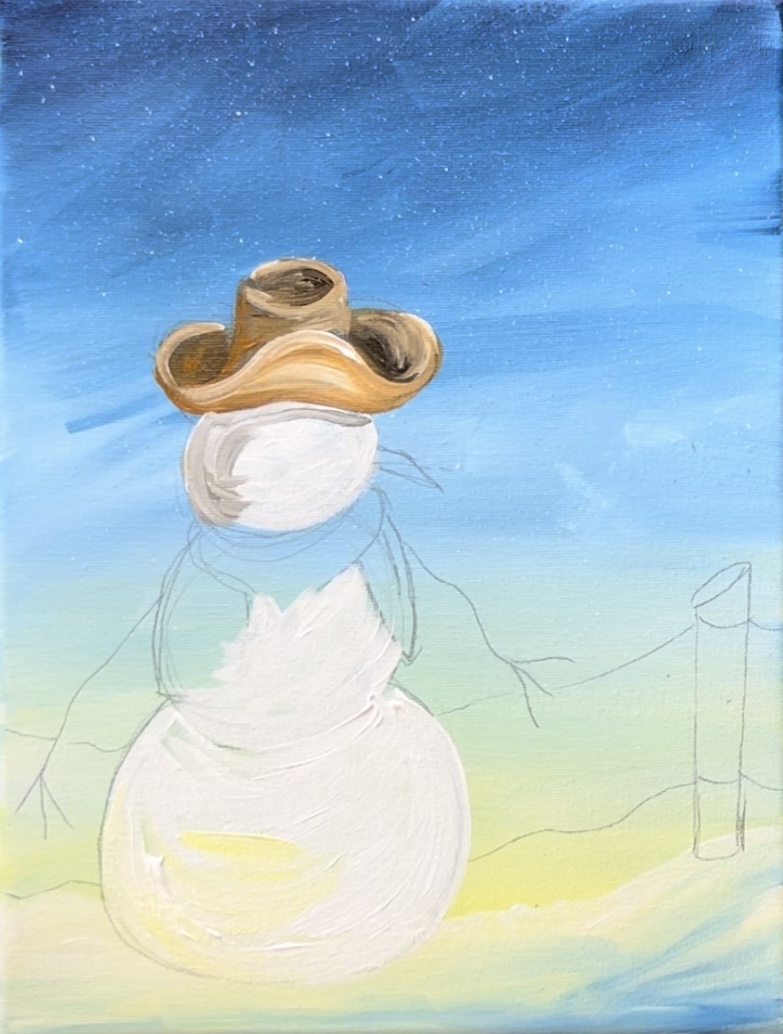
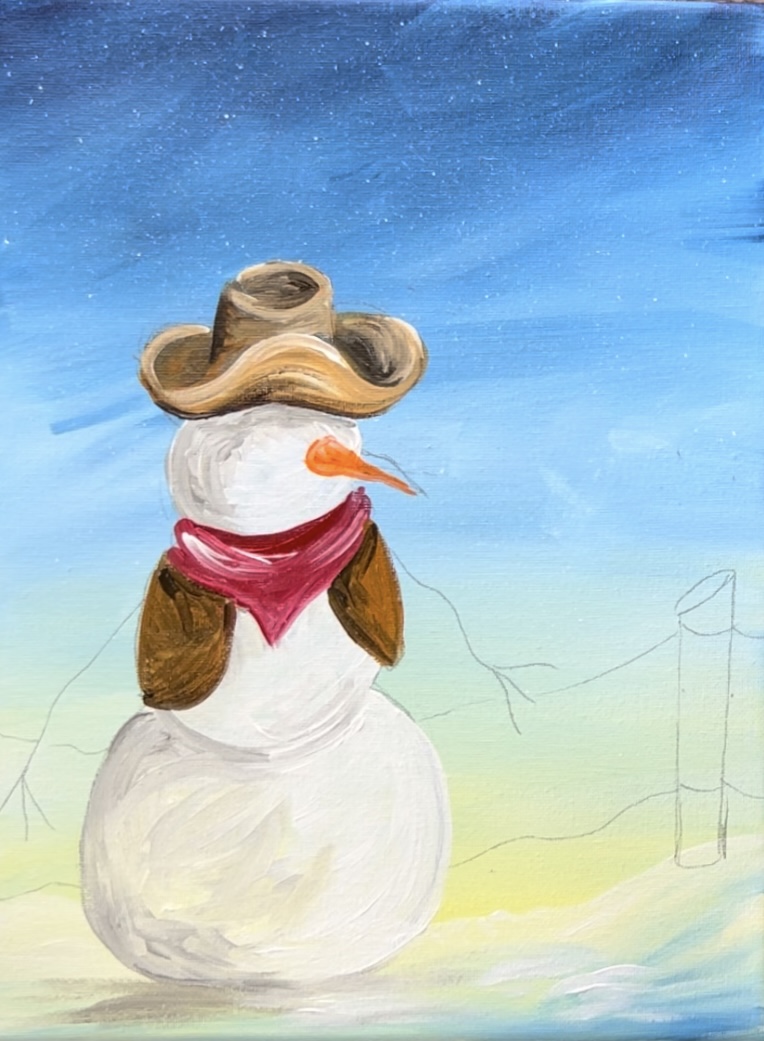
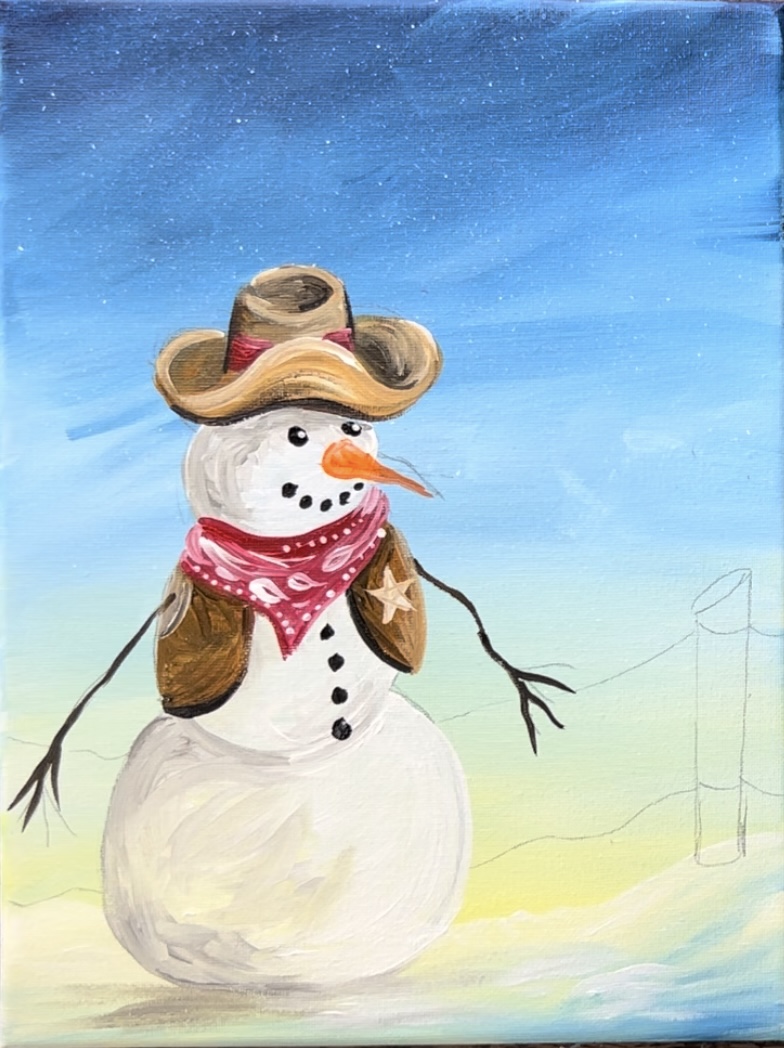
3. Draw Snowman
Note: if you are using the traceable template, now is the time to trace it onto the canvas. Place a sheet of graphite paper below the template and trace it onto the canvas.

To draw this…
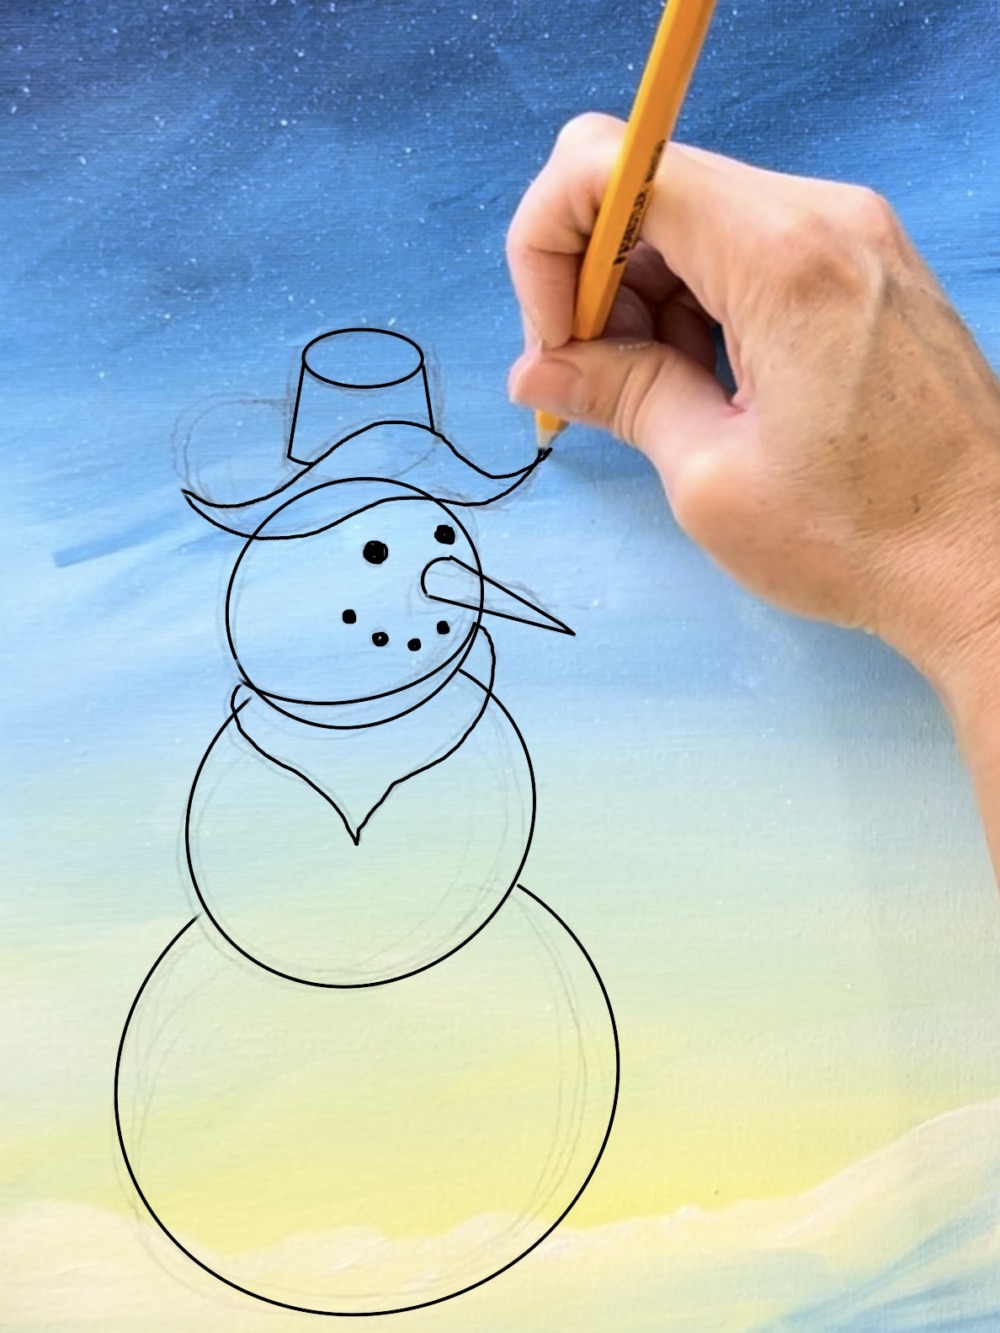
- Sketch a basic snowman shape with a large circle on the bottom, medium in the middle and small on the top. The height of this snowman is about 2/3 the height of the canvas. He is also positioned on the left side and a little above the bottom edge of the canvas. (Lines are darkened for visual purposes. Draw this lightly with a pencil.)
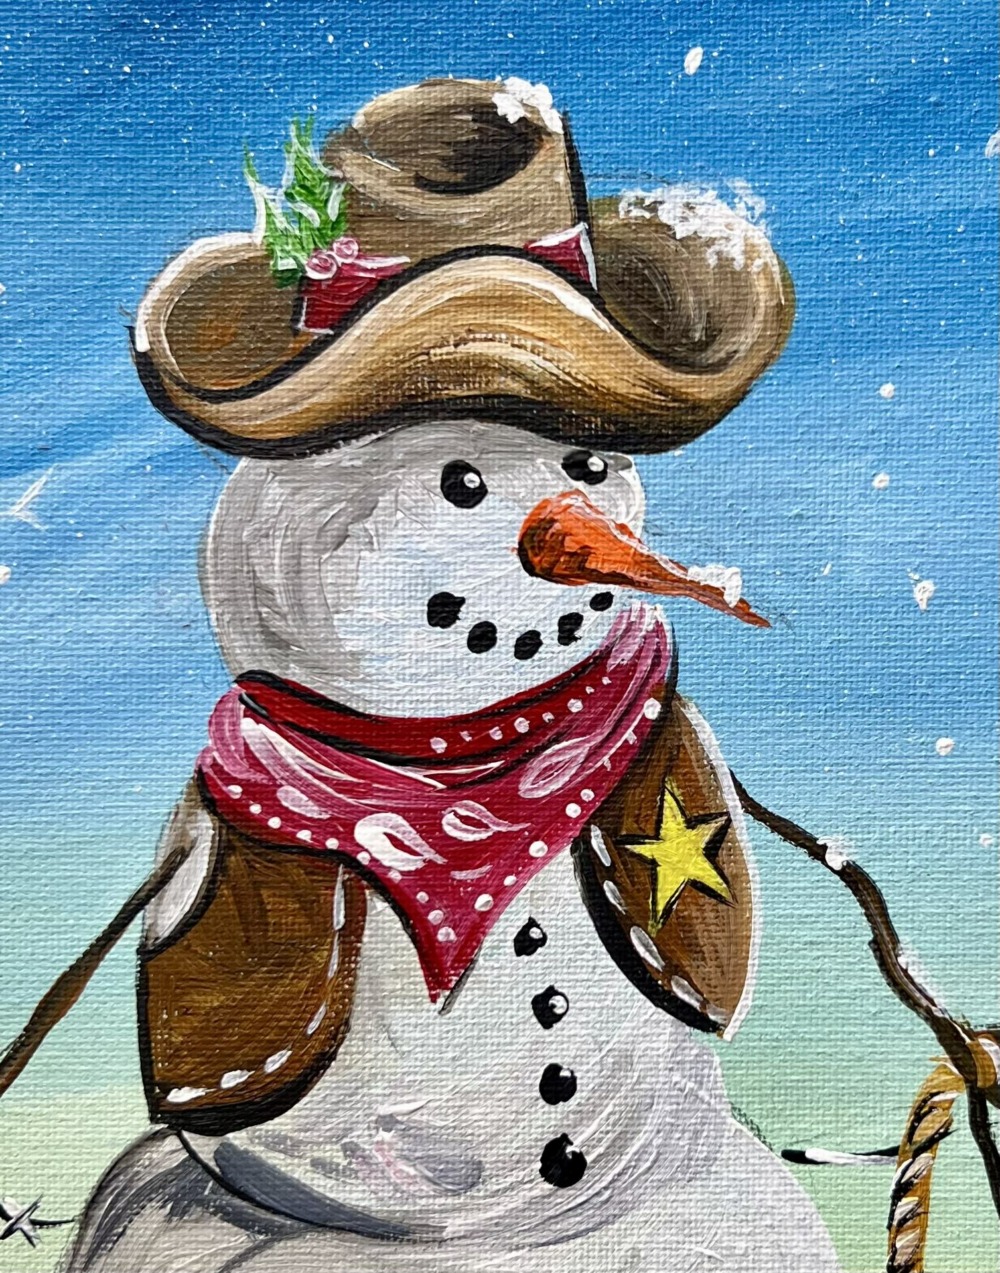
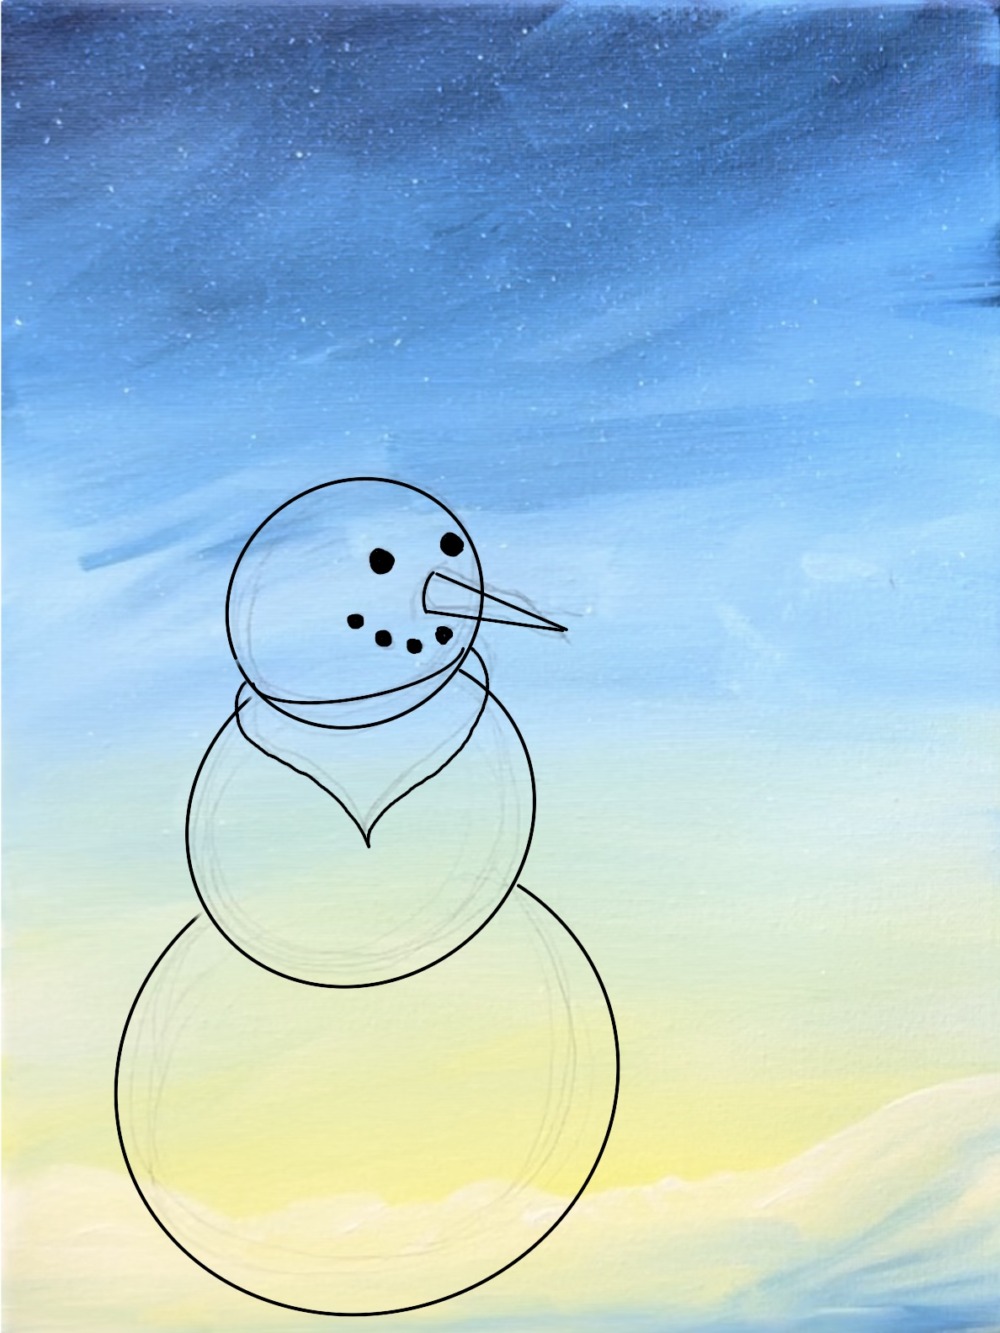
2. Next, draw the eyes, carrot nose, mouth and scarf. Note that the nose goes at a downward angle and is positioned towards the right. The “bandana scarf” slightly overlaps the top circle of the snowman.
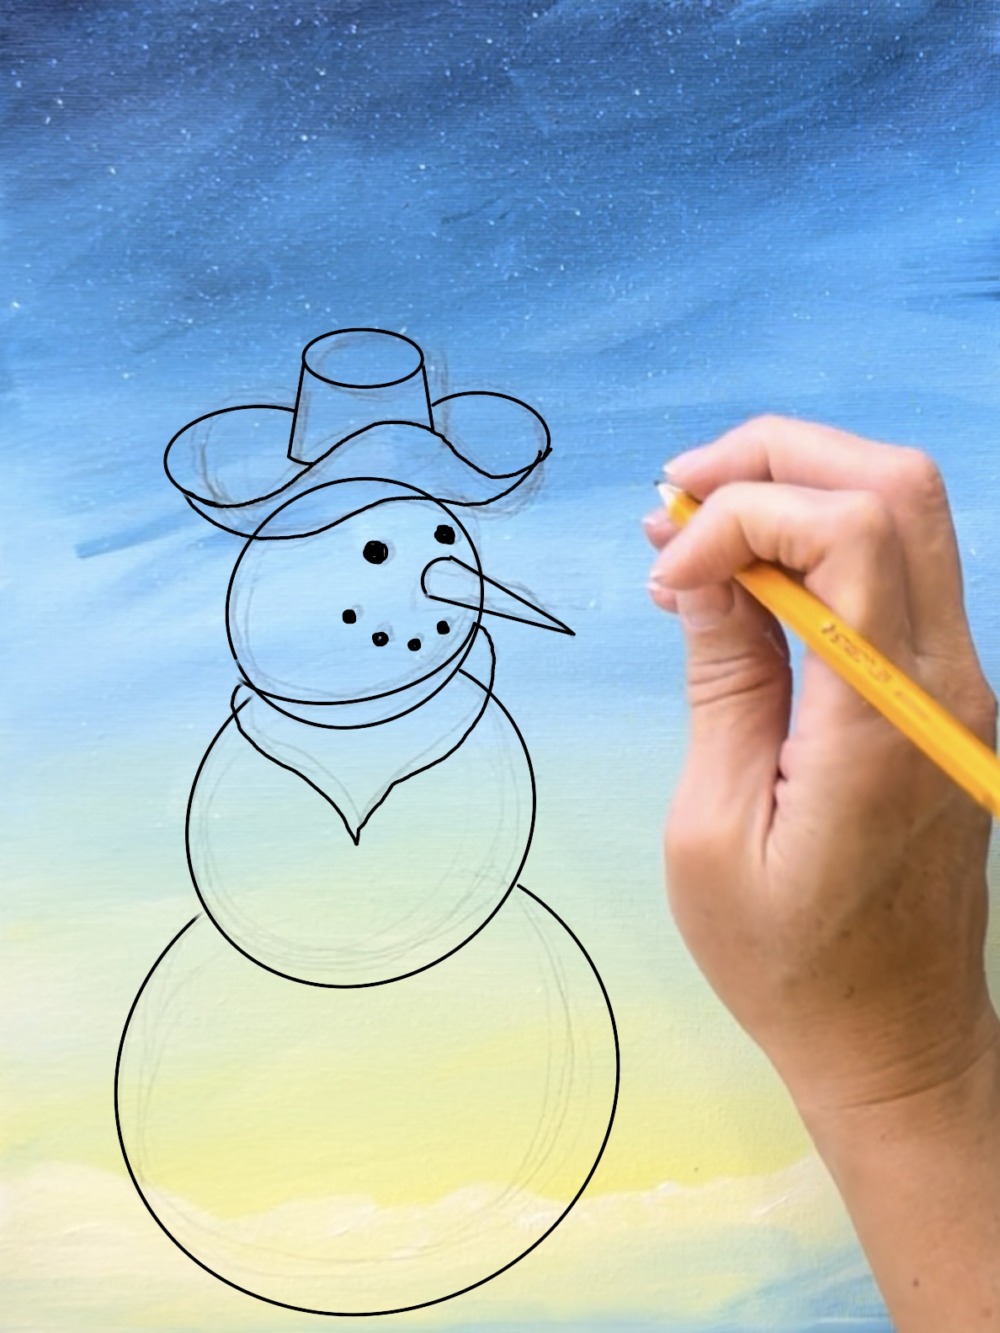
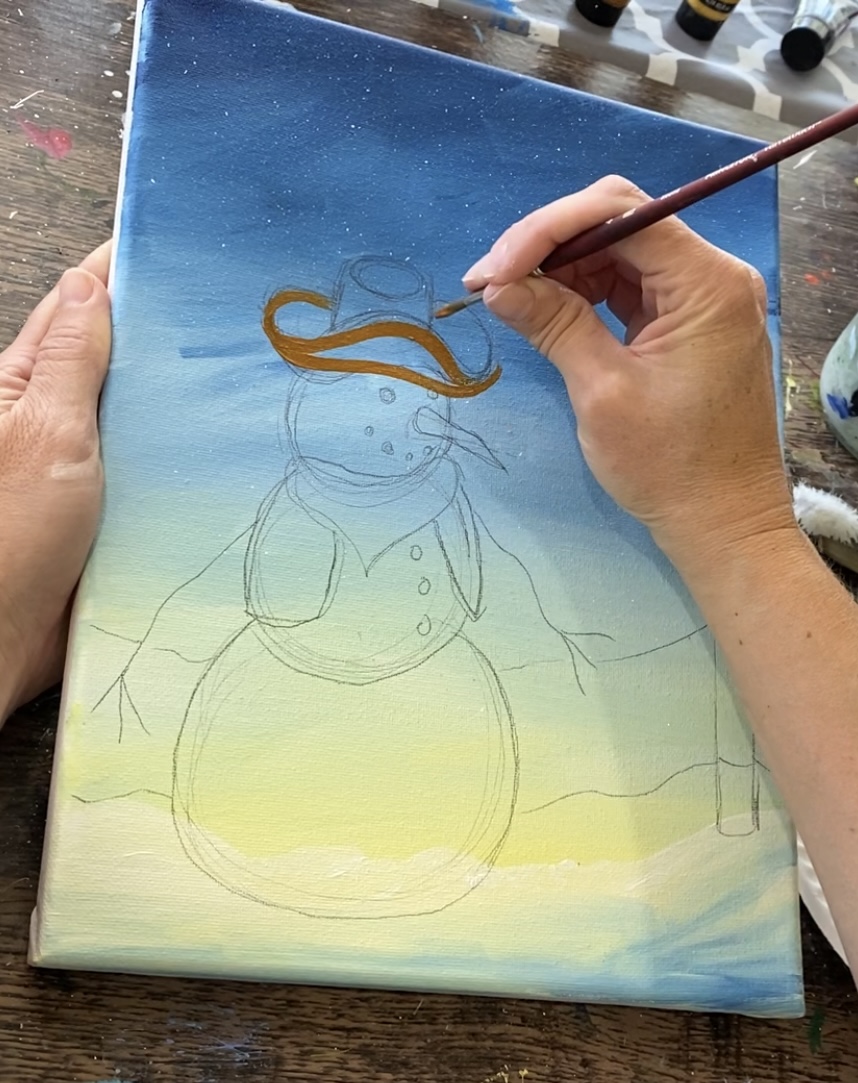
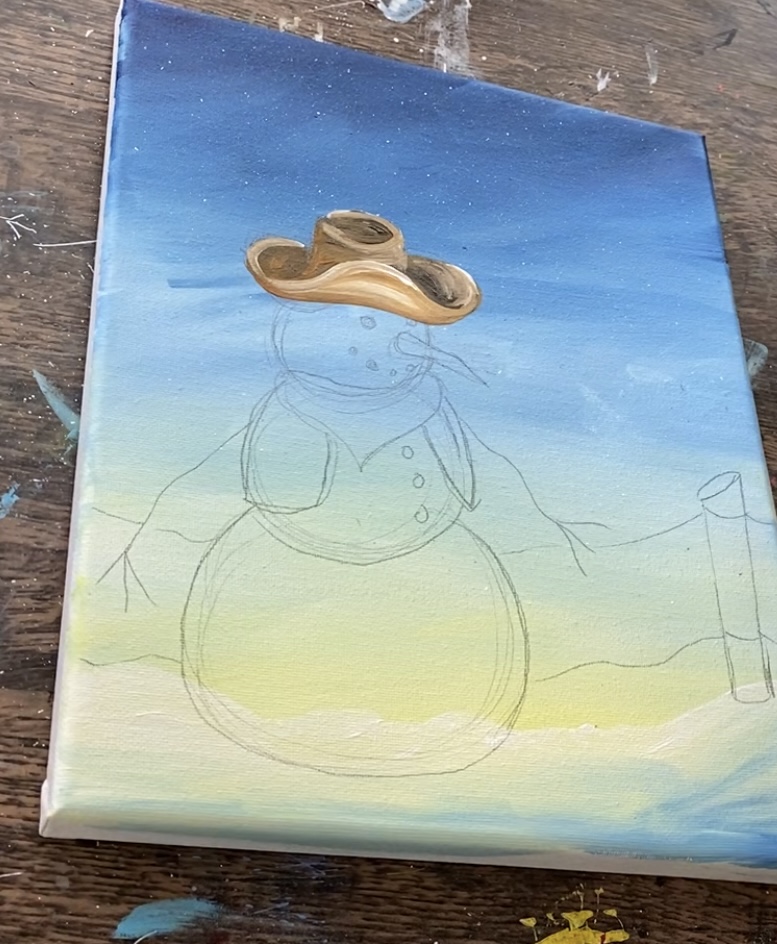
3. Next, draw the cowboy hat. Start by drawing the curved area of the hat. This part overlaps the top of the snowman’s head slightly.

4. Draw a cylinder shape behind the curve shape. This will be the “crown” of the hat.
5. Then draw two curves that attach to the left and right of the middle curved piece.
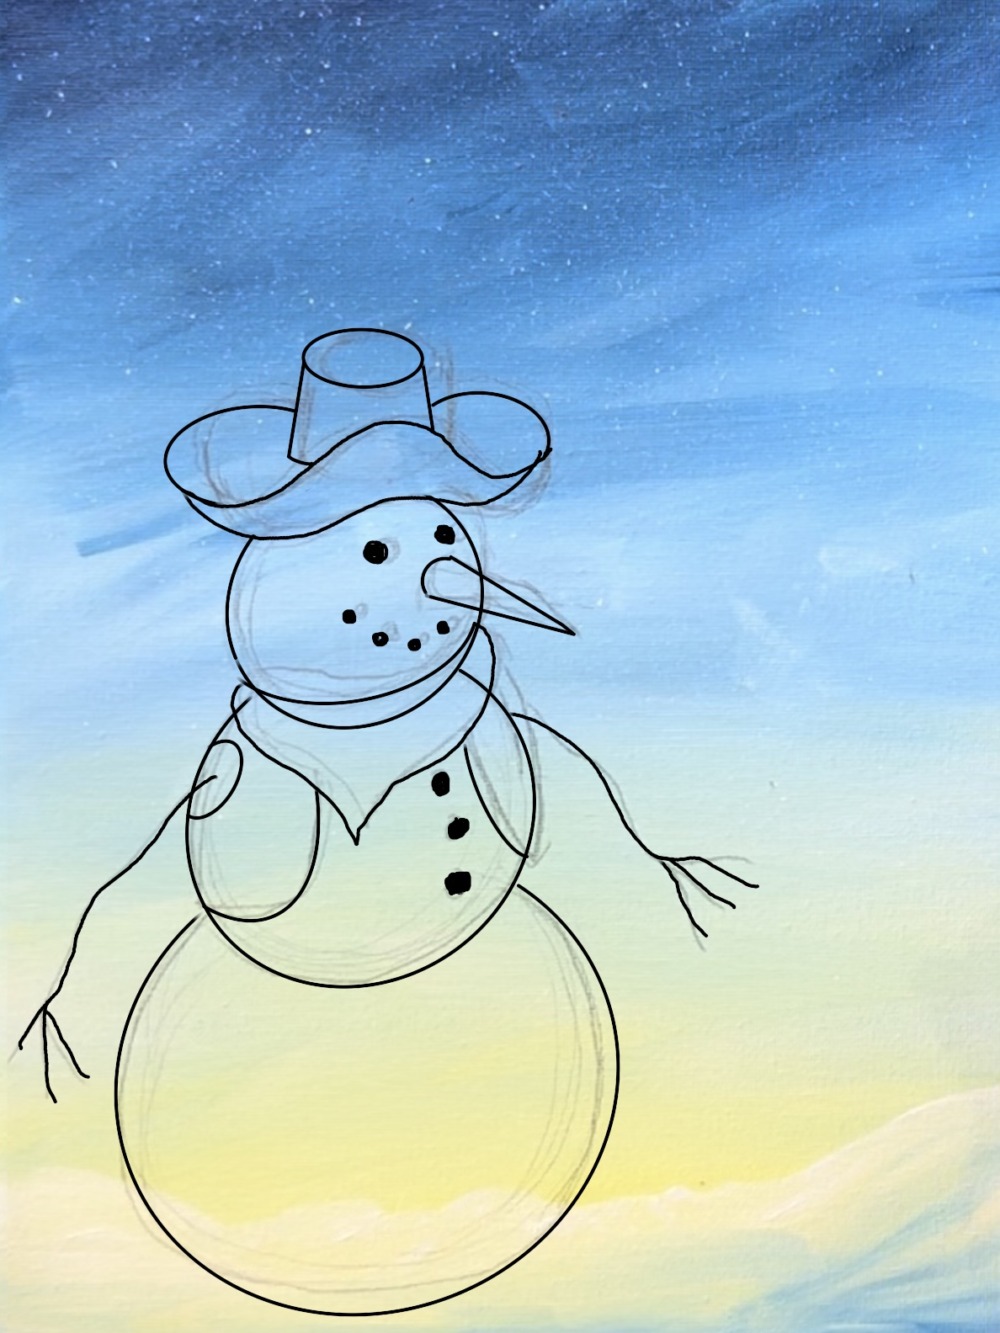
6. Draw two stick arms and the vest.
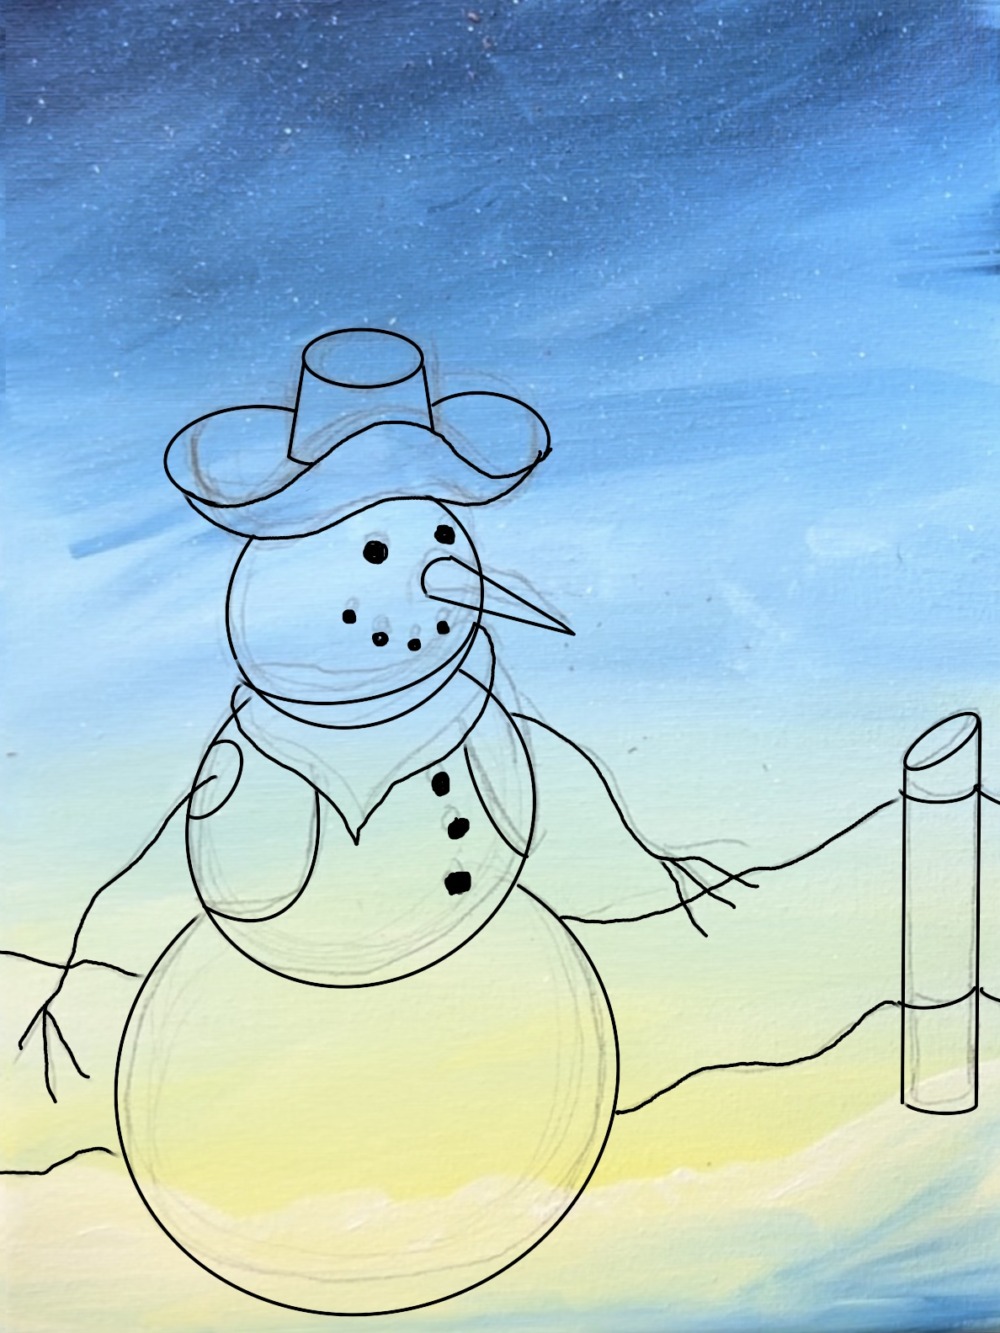
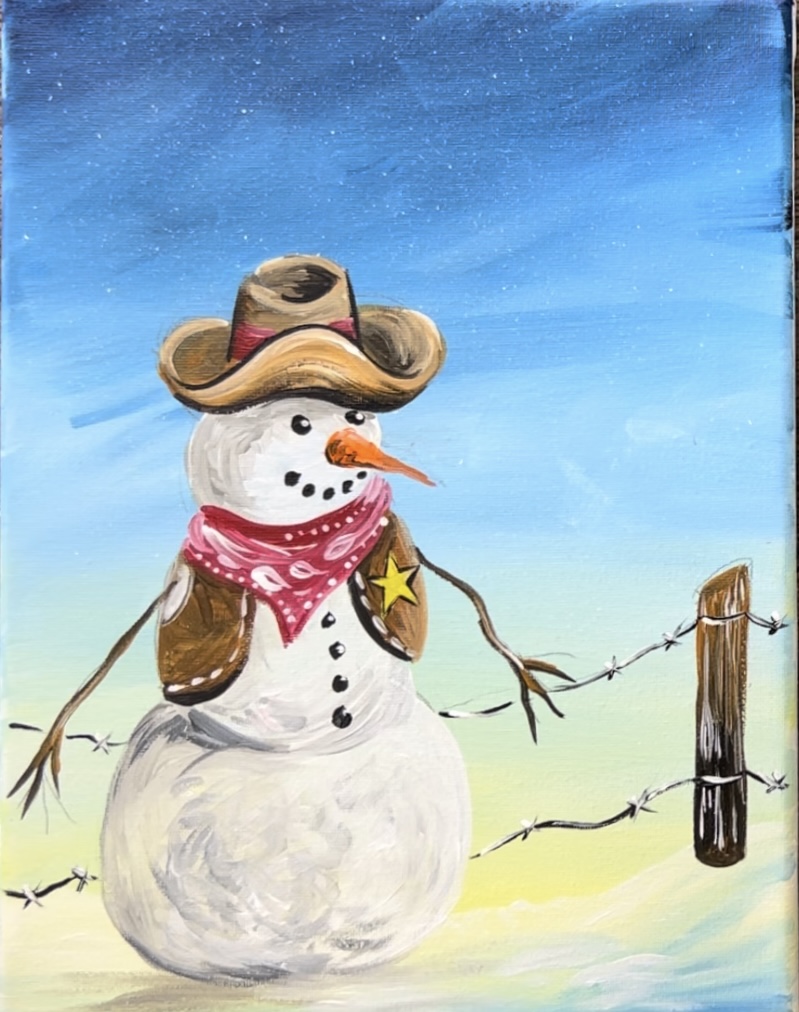
7. Draw a country fence post. Then draw two wires attached to it. These go behind the snowman.
4. Paint cowboy hat
The trick with the cowboy hat is to get the variations of lights and darks with the brown. We will be using dark brown, light brown and white to create these variations. The shadowy areas of the hat need to be darker.
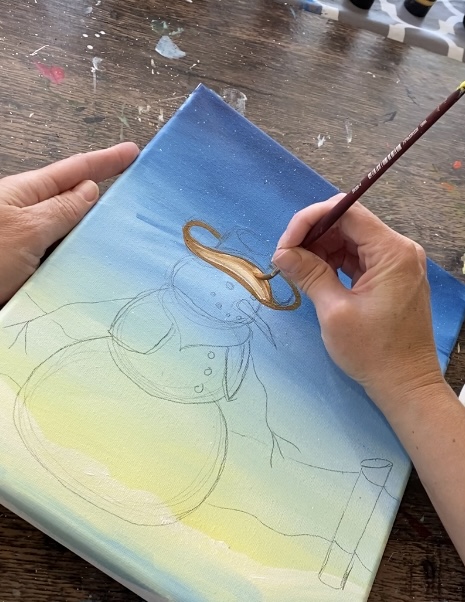
Load your paint palette with: raw Sienna, raw umber and titanium white. Use a #4 round brush. Load it into just the “raw Sienna” (light brown). Start by outlining the lines of the hat (just not the center crown of the hat).
Next, load the brush into “titanium white”. Blend the light brown and white in the center on that curved part. This part of the hat curls up and overlaps the center “crown”. It is lighter than the rest of the hat.
Then load your brush into “raw umber” (dark brown). Paint this dark brown on the left and right parts of the hat’s rim. Paint the center “crown”. Do this with curved strokes to form the cylinder shape.
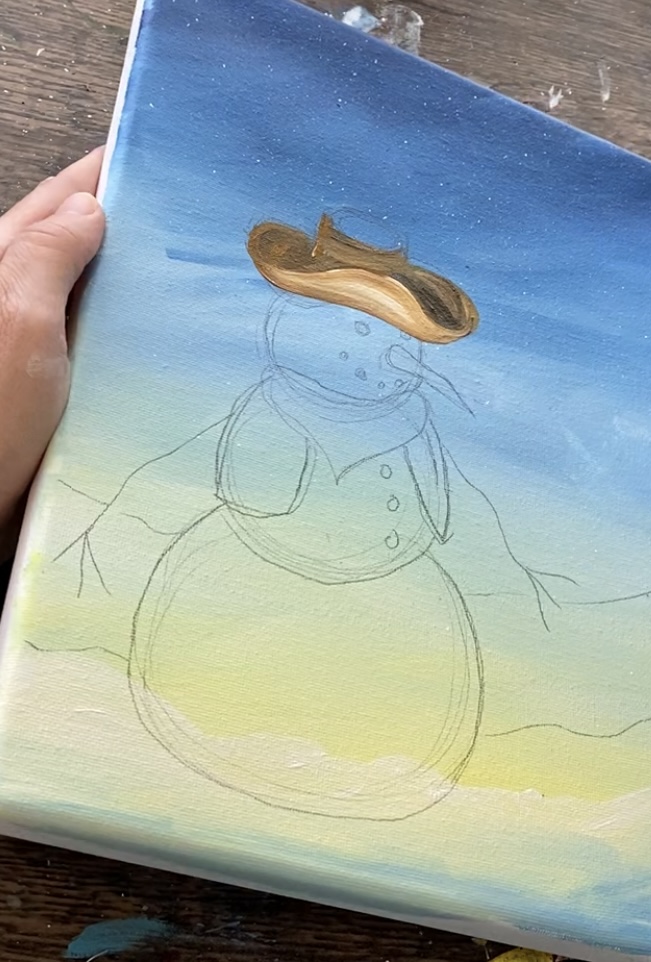
Then wipe the brush. Load it into white. Outline the top oval of the crown. Then loosely outline the edges of the rim.
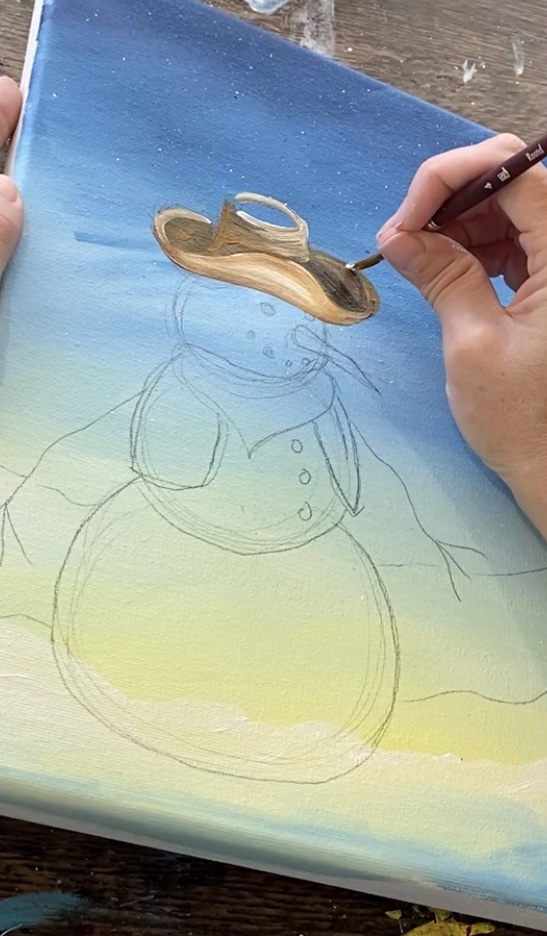
Paint the top oval on the crown dark brown.
Tip: we will outline the hat later after it dries!
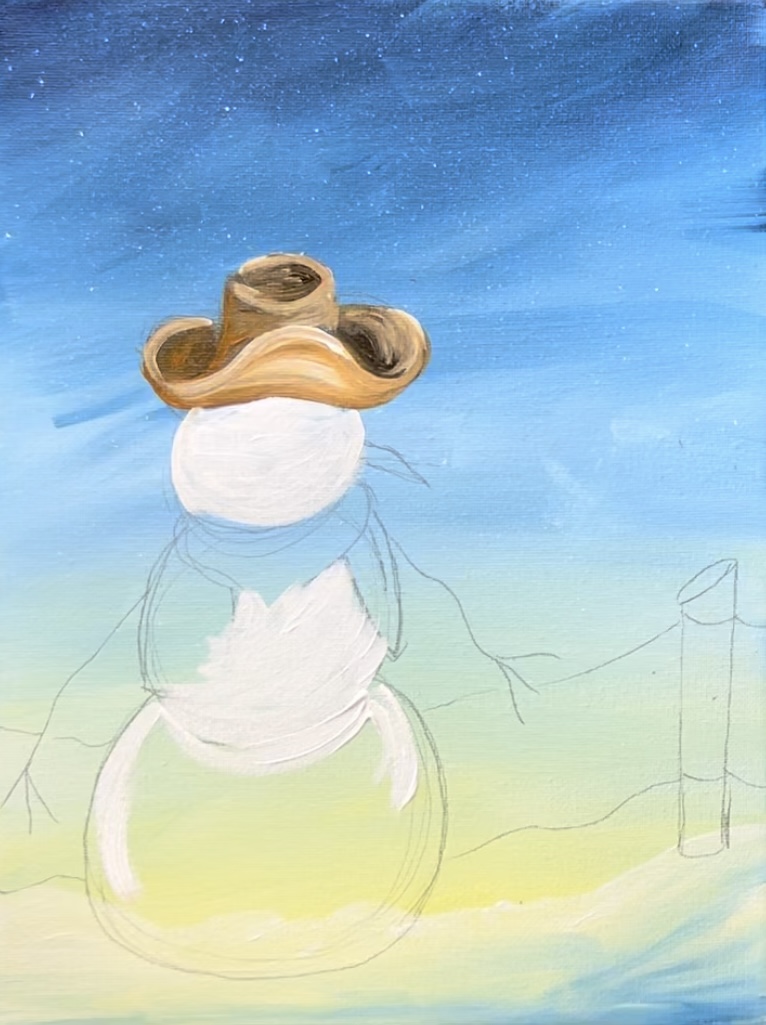
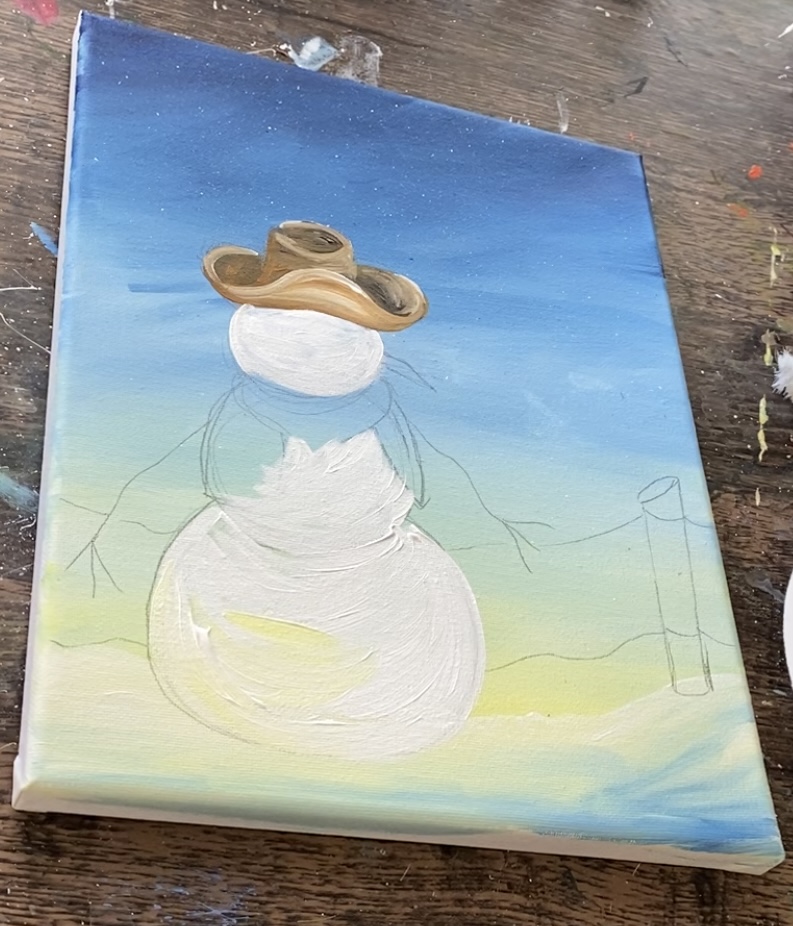
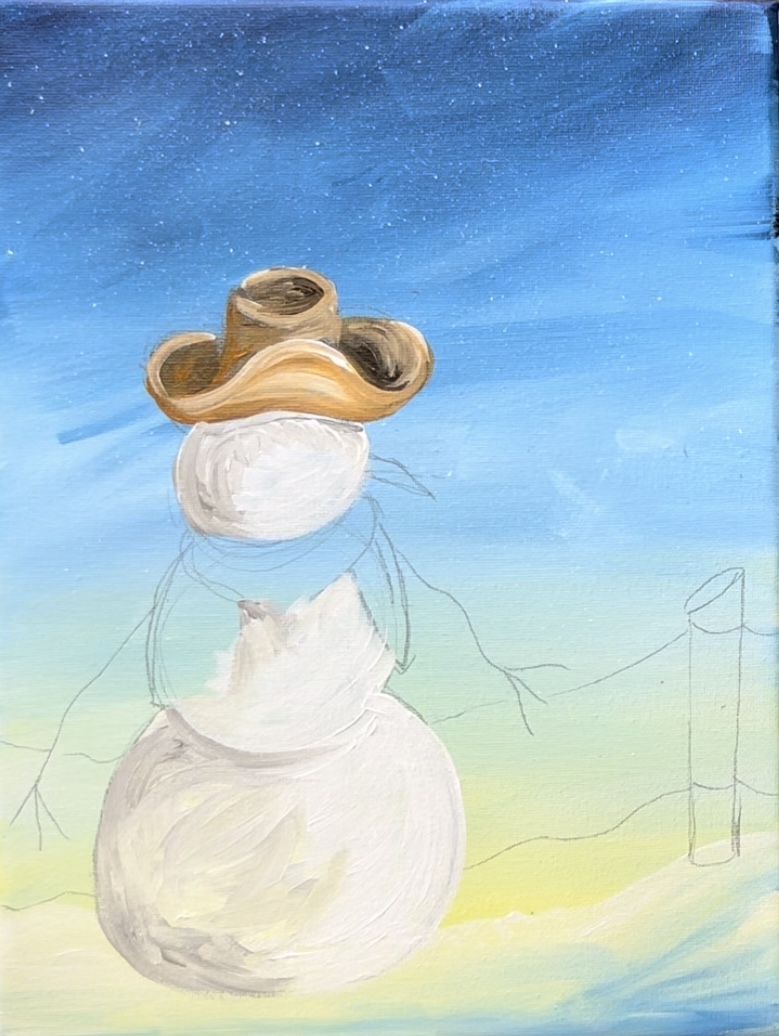
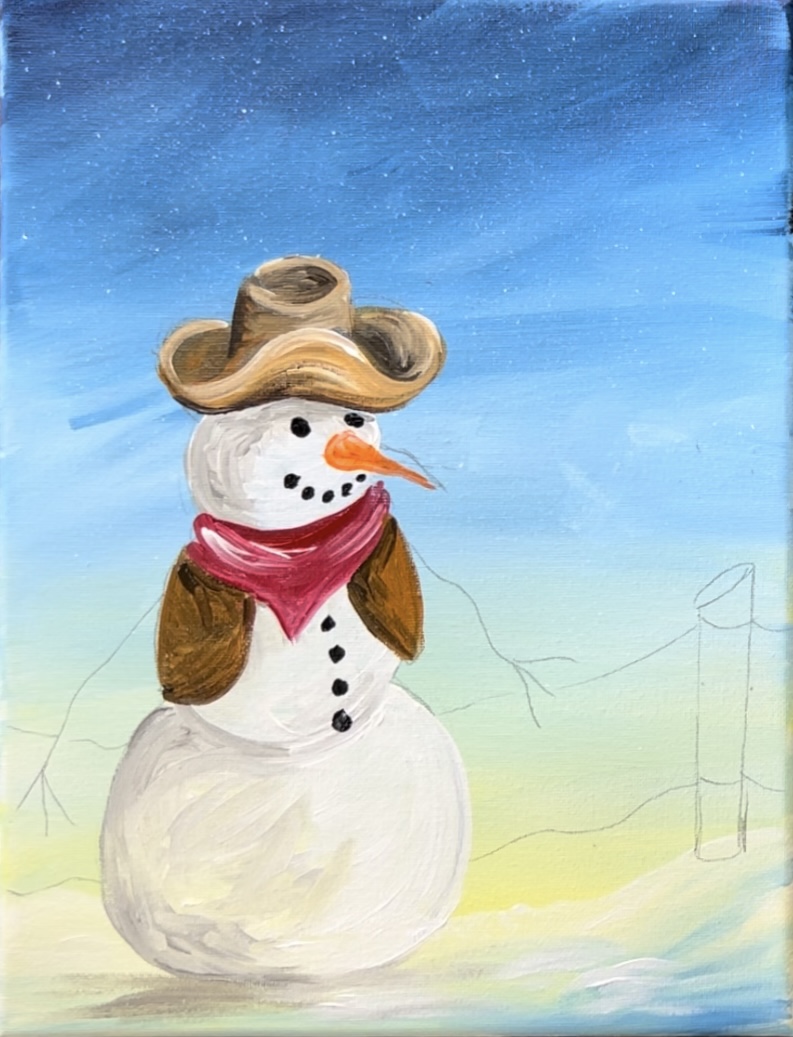
5. Paint snowballs
Use a clean #4 round brush and “titanium white”. Paint all three of the snowballs. I covered up the eye/ mouth drawing on the head part.
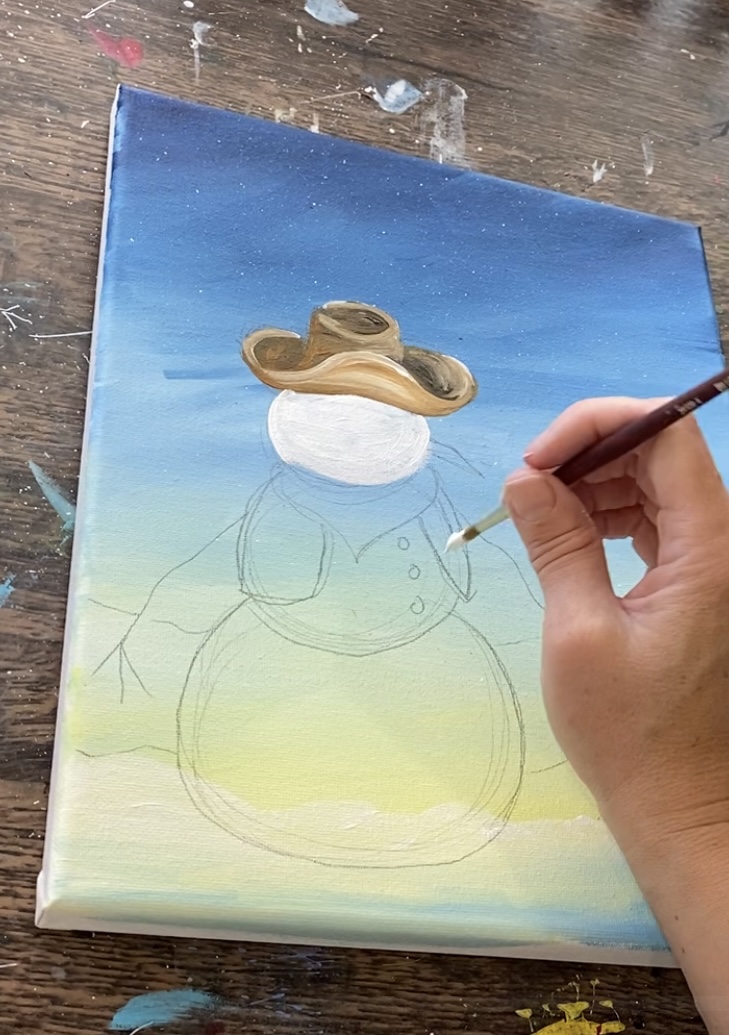
Then I decided to paint around the vest/ scarf area so I didn’t loose those shapes. You can, however, paint over those if it is easier! Basically you are painting each of the snowballs solid white. It helps to outline the shape first and then fill in using long, curved paint strokes that form the shape of the circle.
6. Add shading to snowballs
Do this before the white dries! Load your paint palette with “natural gray”. If you don’t have neutral gray, use “mars black” and mix with white to make a medium gray color.
Use the round brush to blend the gray to create shadowy areas. These shadowy areas show up on the left side of the snowballs as well as under the hat. Blend this so the right side of each snowball is bright and white and the left side is darker/ shadowy.
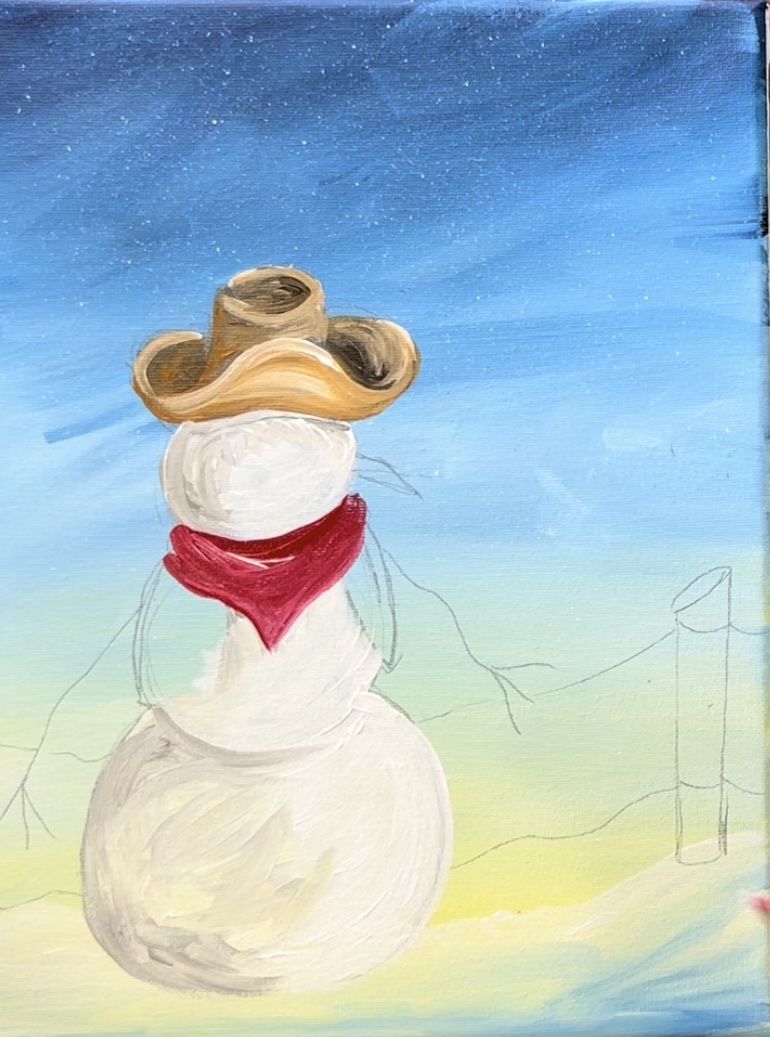
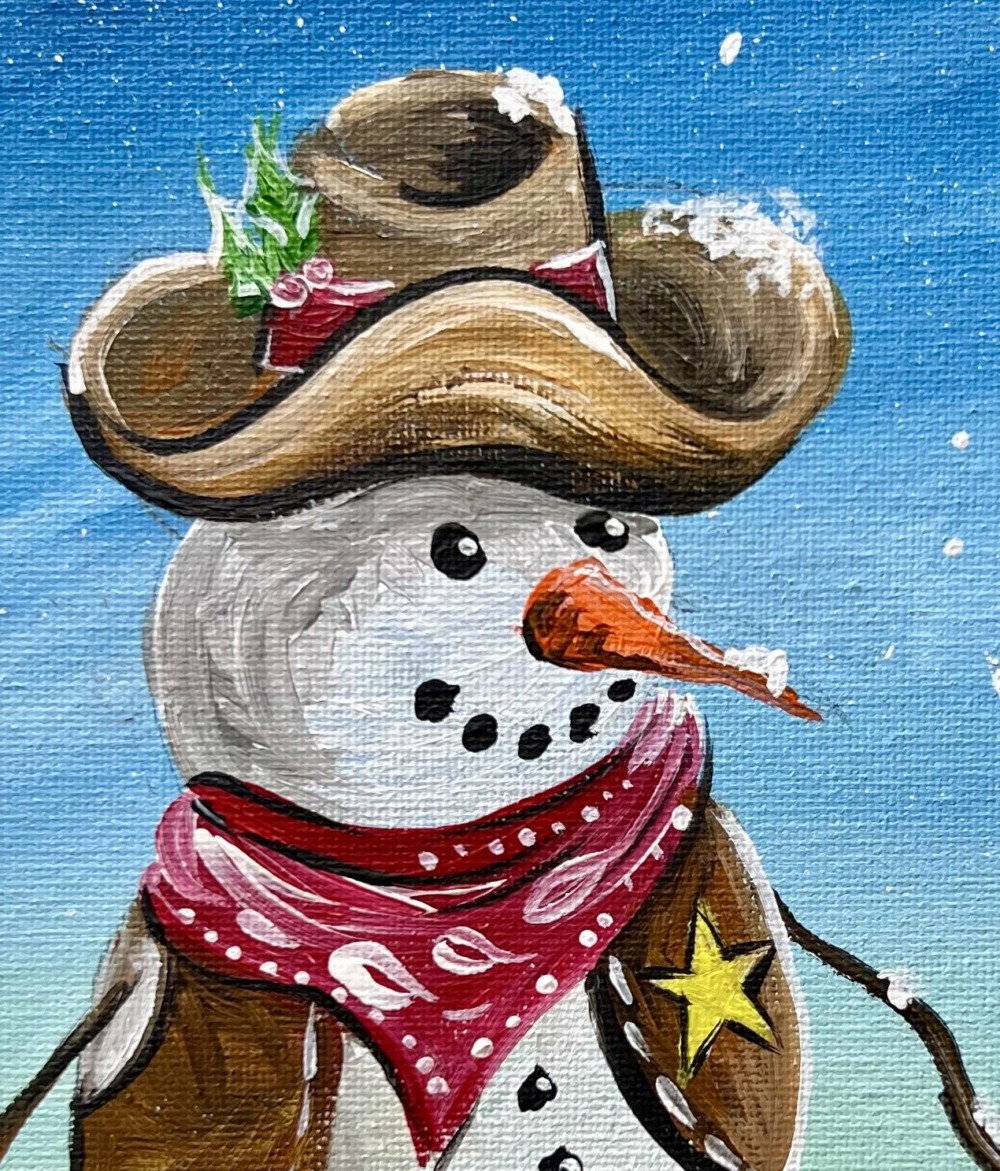
7. Paint bandana scarf
Load your paint palette with “cadmium red deep hue”. Use the #4 round brush to paint the scarf shape. Blend a little bit of white into it to create some color variation. This will make it look a little like the scarf has a wrinkle. We will paint the designs on the scarf later!
8. Paint vest
Use both the dark and light browns to paint the vest. I made the edges of the vest darker with more of the dark brown and blended that into the lighter brown for the rest of the vest.
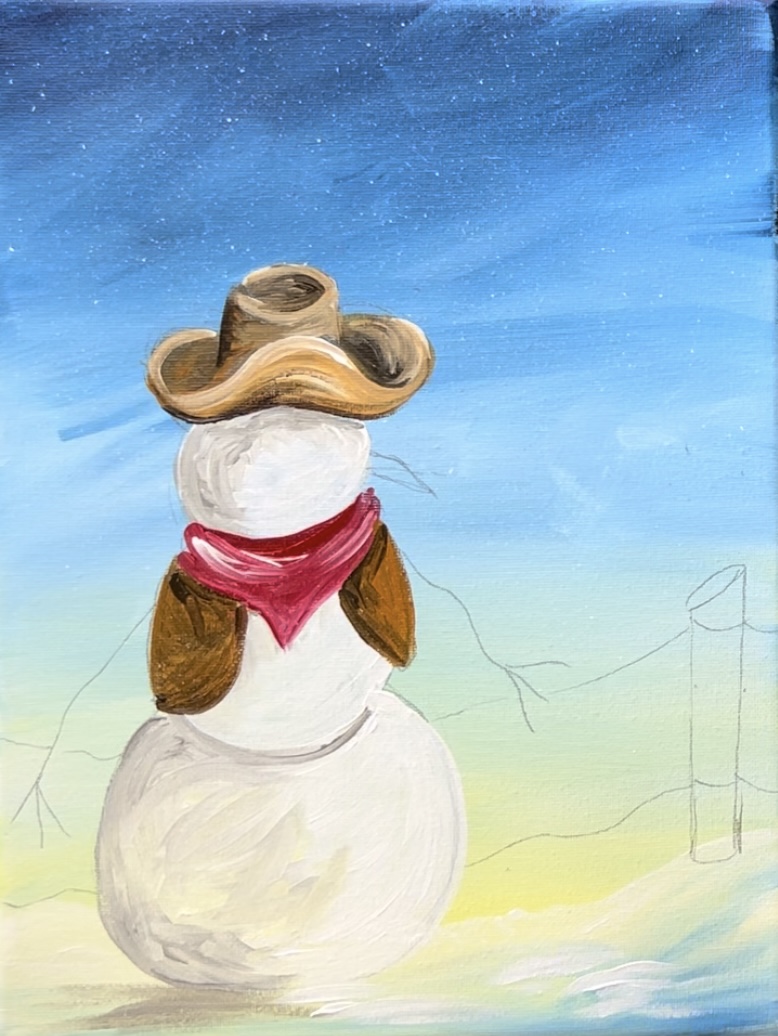
Also, paint some “shadow” under the snowman on the ground. This shadow is gray and it is casted towards the left.
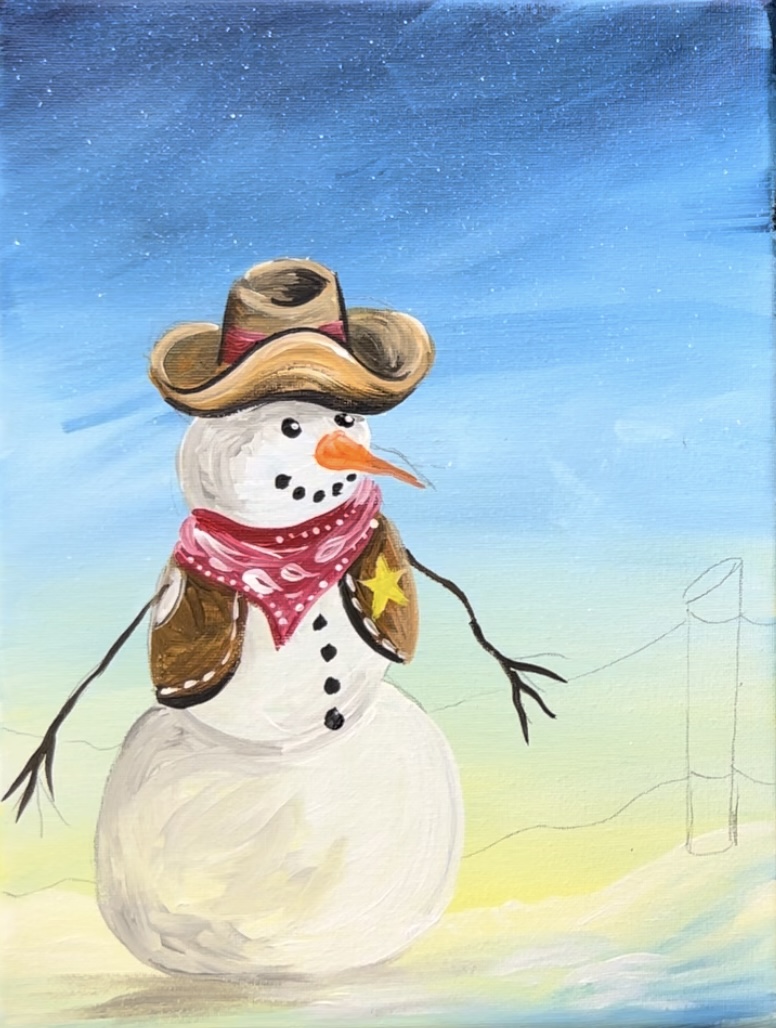
9. Paint nose, eyes, mouth and buttons
Load your palette with “cadmium orange hue”. Use the #4 round brush to paint the carrot nose. Just do solid orange for now, we can shadow this later!
Use the #4 round brush and “mars black” to paint the eyes, mouth and buttons. Tip: you can use a black paint pen for those details!
10. Paint arms
Use black mixed with dark brown to paint the arms.
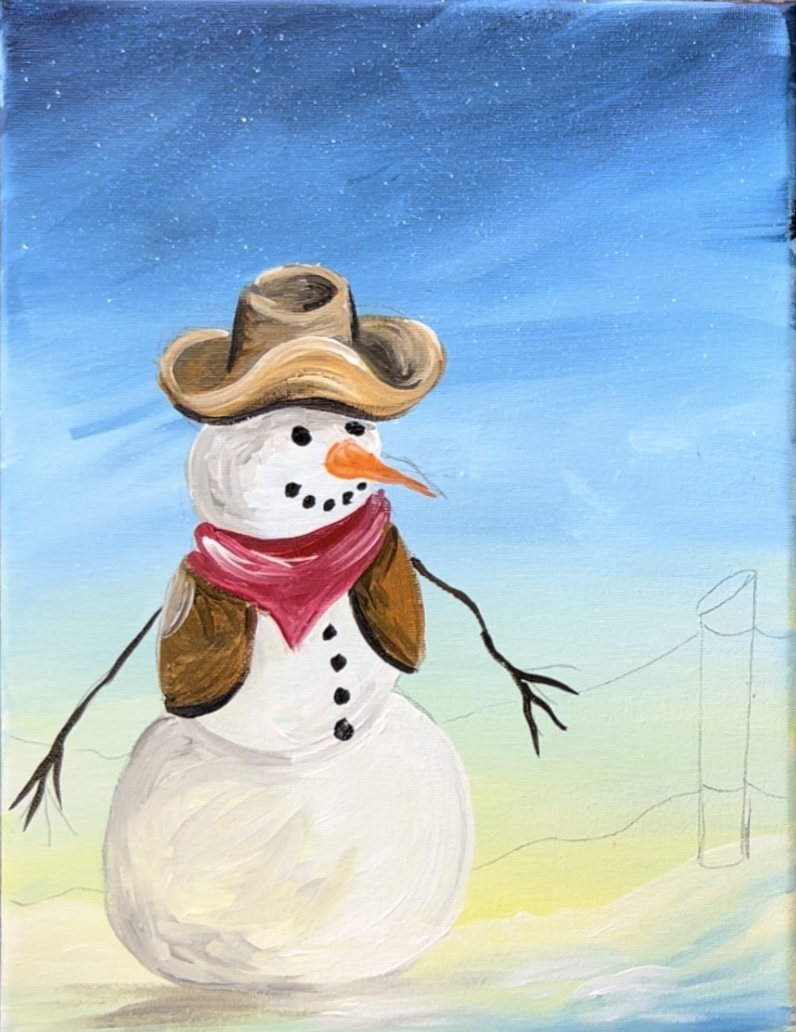
11. Add details on scarf and hat
Make sure the scarf and hat are dry for this step. Use the red to paint a band around the crown of the hat. Additionally, you can loosely outline the hat with mars black. This can help give the hat more “definition” especially if you aren’t happy with the way your colors blended for the hat.
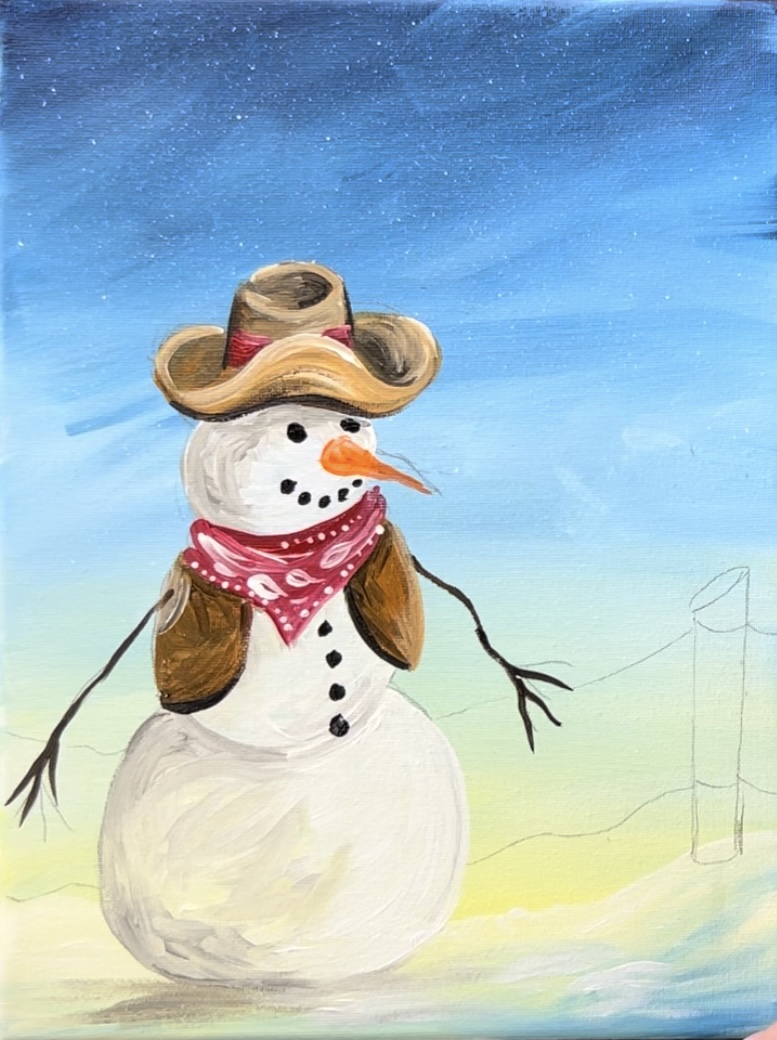
Note: picture below is after it is finished but it is intended for you to see detail on scarf. Use titanium white to paint little dots on the border and small teardrop shapes to create simple “paisley pattern”.
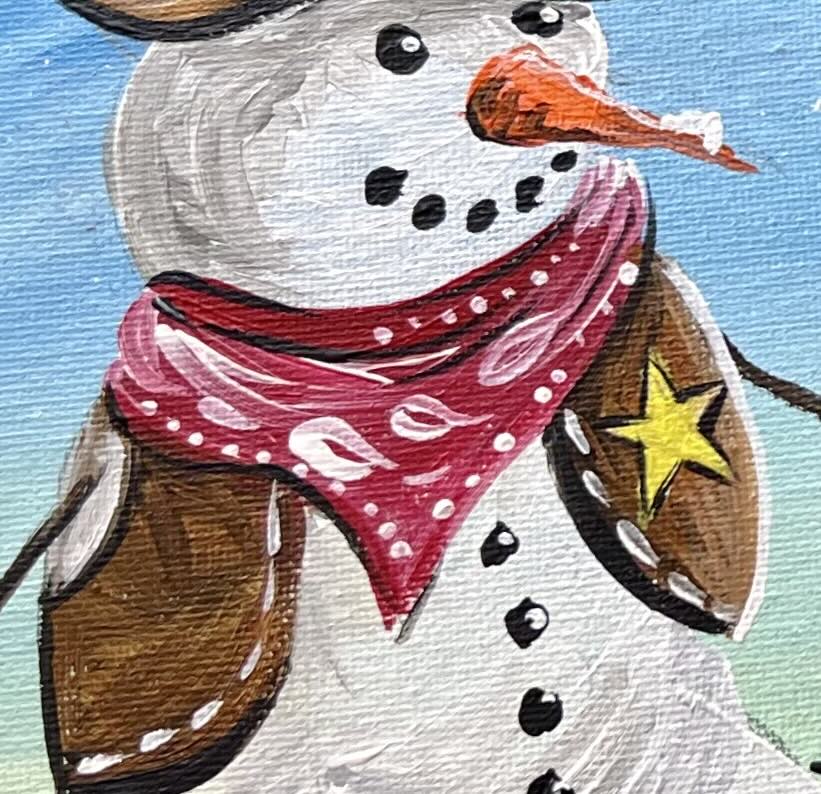
12. Paint star & stitch detail on vest
Use white to paint a little star. When the white dries, you can paint yellow over it.
Use titanium white to paint a little stitch pattern on the edges of the vest.
13. Paint fence post and wires
Paint the fence post using both of the browns. Blend a little black towards the bottom of the post so that it is darker and shadowy on the bottom.
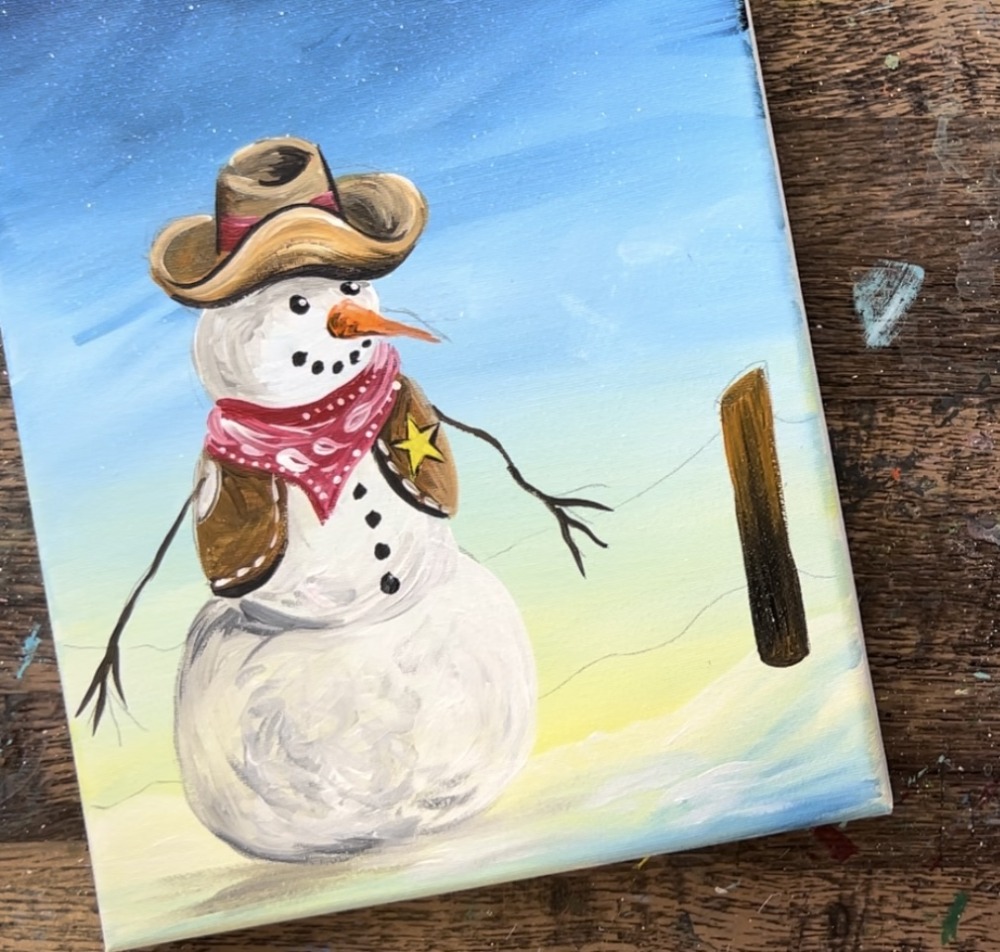
Next, I switched to the #8 long round brush so that I can use the fine point of it to create thin wood texture lines on the post. Use titanium white and paint loose vertical lines that blend over the dark brown of the post. This creates some “faux wood texture”.
Use the #8 round and “mars black” to paint the wires on the fence post. Then rinse the brush and use titanium white to loosely paint over your black lines. This gives the wires a little bit of a “frosty look”. Paint little “x” marks on the wires as well with black and white.
14. Paint holly on hat
This is the only time we use the green in this painting! Paint two little green holly shaped leaves. Then use the red to paint little berries. If needed, add white into the red to lighten it up so they show up.
15. Paint rope
On your palette, mix yellow with the light brown color to make more of a golden brown. Paint the shape of the rope as an oval that drapes over the snowman’s hand.
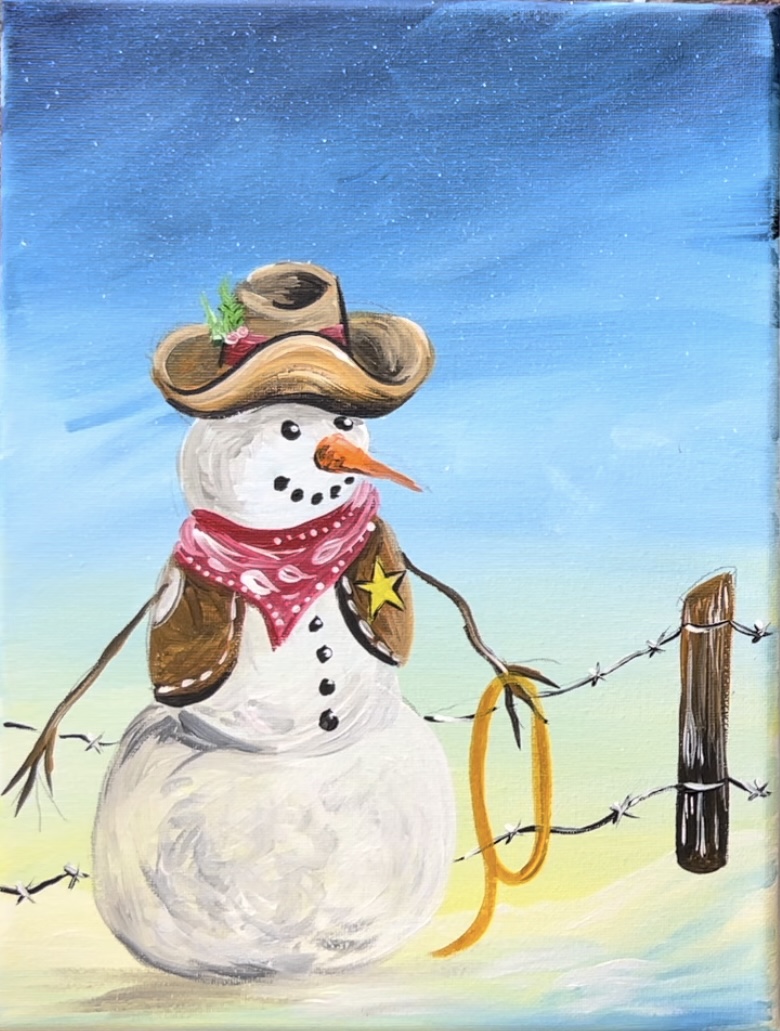
Then paint the rope texture. Mix white into your golden brown color. Paint little diagonal marks on the rope and leave a small space between each of the marks. The lighter part will create the rope texture.
Let this dry a little. Then use either a paint pen or the end tip of the #8 round brush to outline the rope with black. Loosely outline each of the diagonal oval shapes that were created when you painted the diagonal marks.
Use the brown to paint some “frill” on the end of the rope.
16. Paint snowflakes & grass detail


Use the #8 round brush to paint various snowflakes in the sky.
Start by painting the lines of the snowflakes. They are vertical and horizontal lines as well as lines that go diagonally. Then add little designs on the lines such as circles, angle lines, etc. You can look at images of snowflake “clip art” as inspiration!
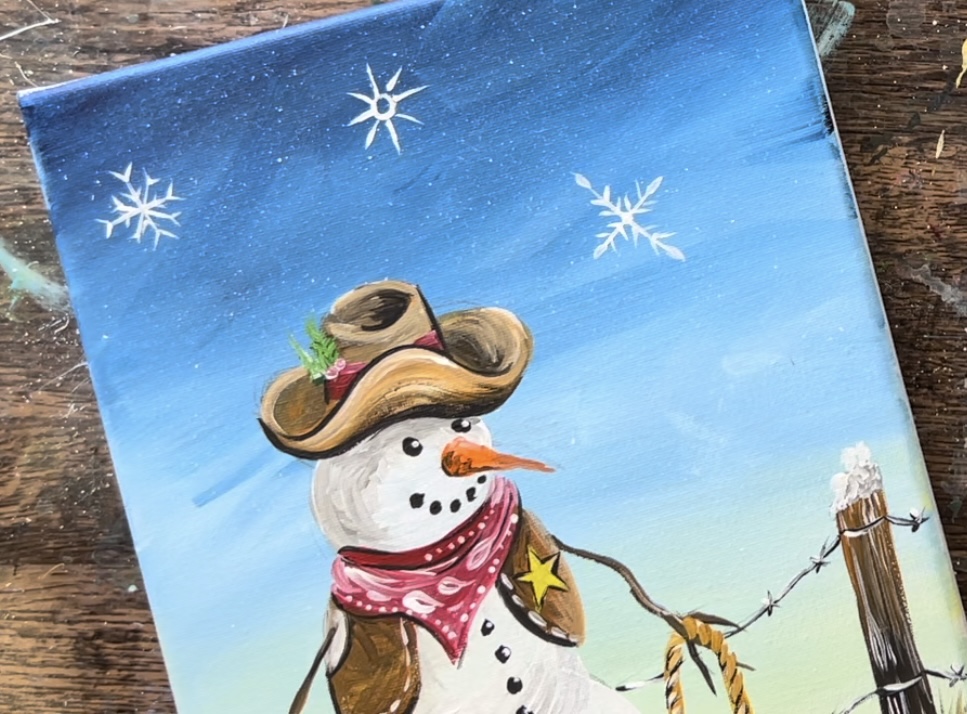
Paint these various snowflakes all over the sky. Then paint little snow dots around the sky as well.
Some other final details include: painting snow piling up on the post and parts of the snowman. Also, paint some dry grass lines using the #8 round brush and various shades of brown. I did dry grass lines by the base of the fence post and to the left of the snowman.
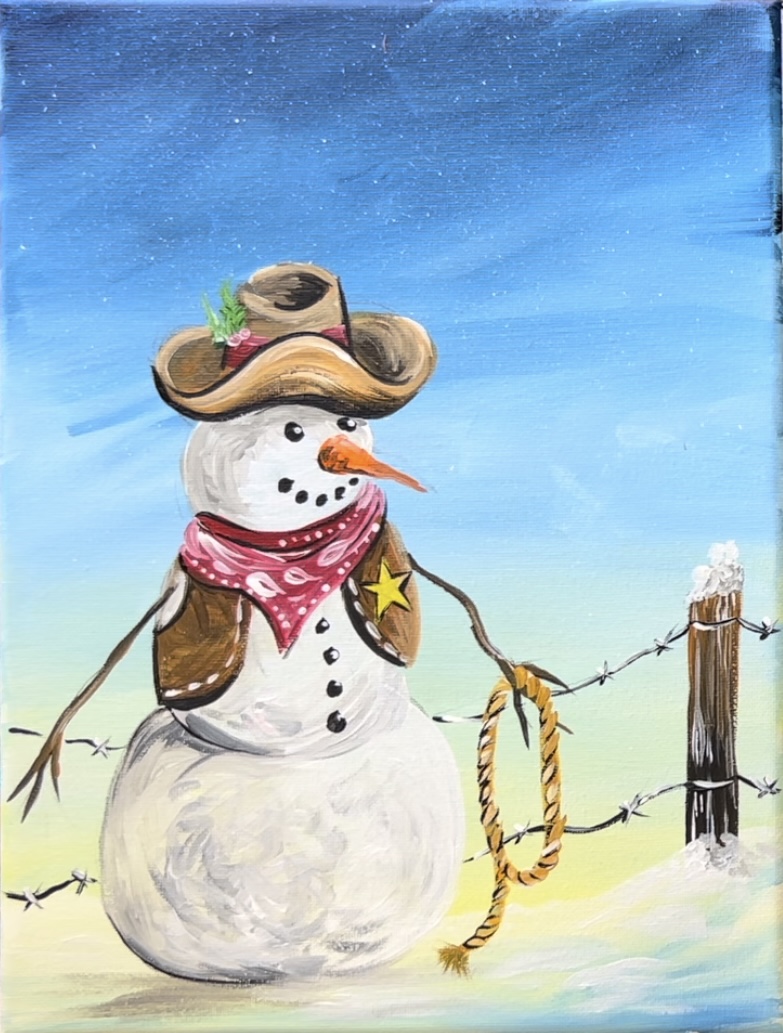
Finished!