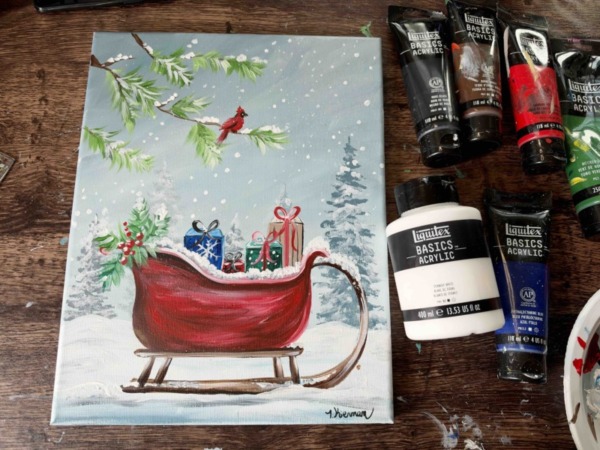
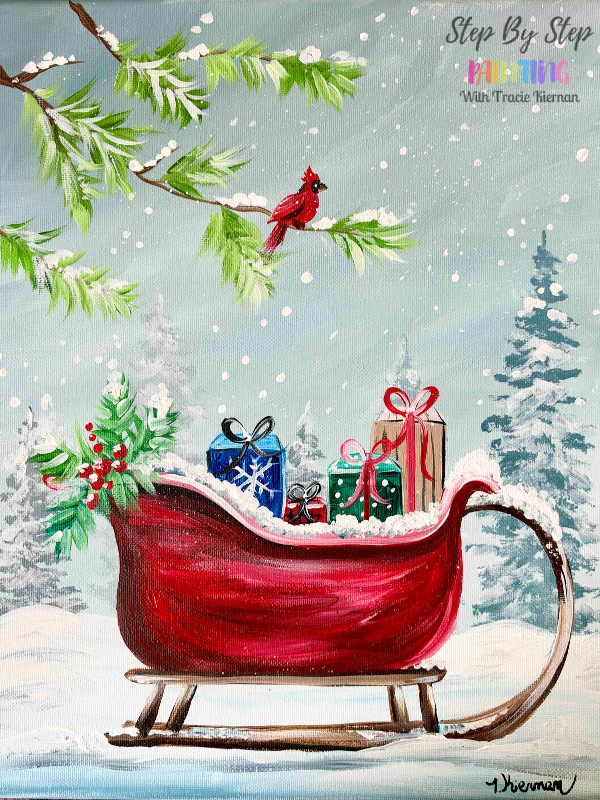
Bring a cozy, nostalgic winter scene to life on canvas in this beginner-friendly acrylic painting tutorial! In this step-by-step lesson, you will paint a classic red vintage sleigh with wrapped holiday gifts and festive greenery, set in a quiet snowy landscape with a bright red cardinal perched on a pine branch above.
Designed for all skill levels—including first-time painters—this project breaks a charming holiday illustration down into simple, manageable layers.
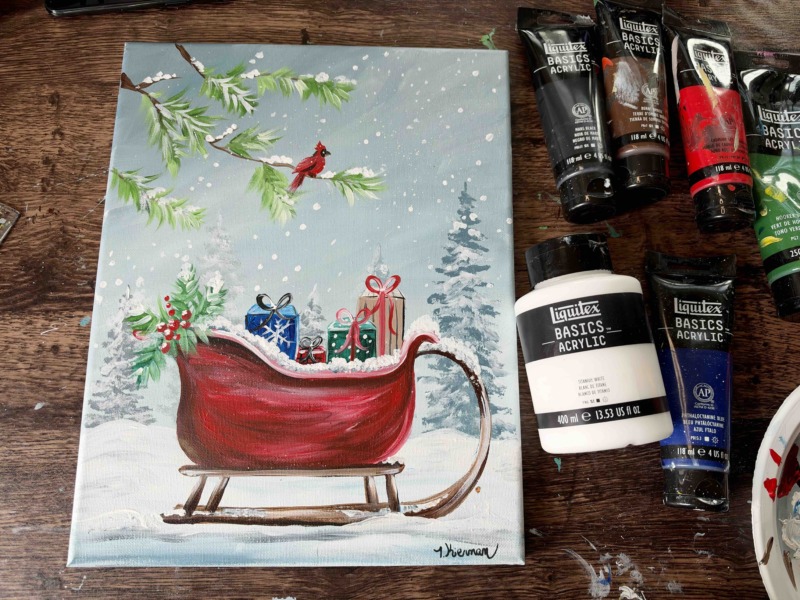
Enjoy and happy painting!
Materials:
A Christmas Delivery - Painting Tutorial
Learn how to paint a red Santa sleigh in a snowy forest filled with presents and a little cardinal perched on a branch.
Materials
- 11x14 Canvas (or any size)
- Acrylic Paints
- Brushes
- Ruler
- White Chalk For Drawing
- Toothbrush (optional for splatter snow)
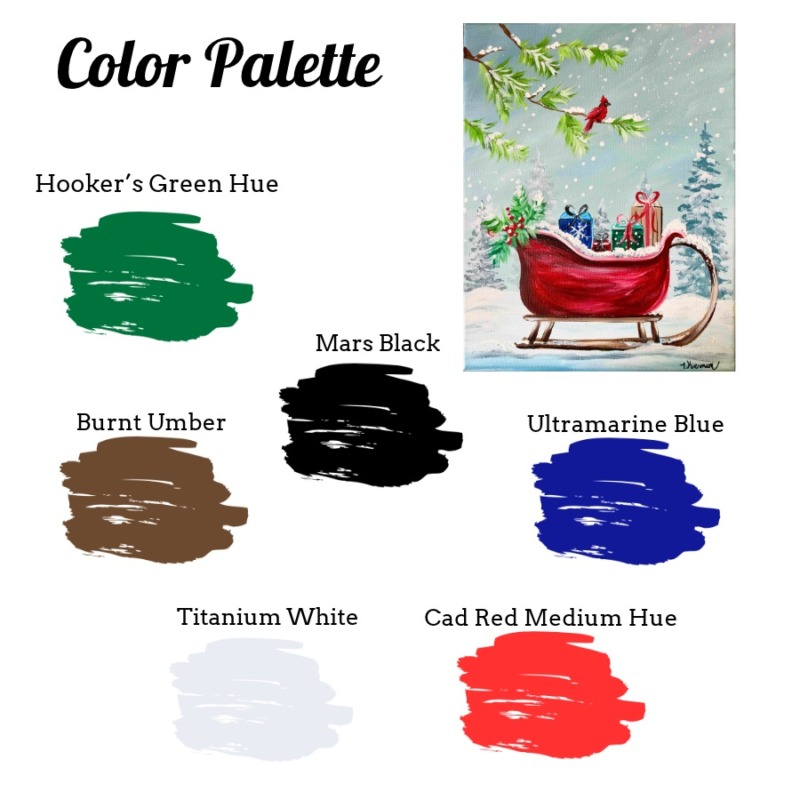
Colors
- Mars Black
- Titanium White
- Hooker's Green Hue Permanent
- Phthalo Blue
- Burnt Sienna
- Cadmium Red Medium Hue
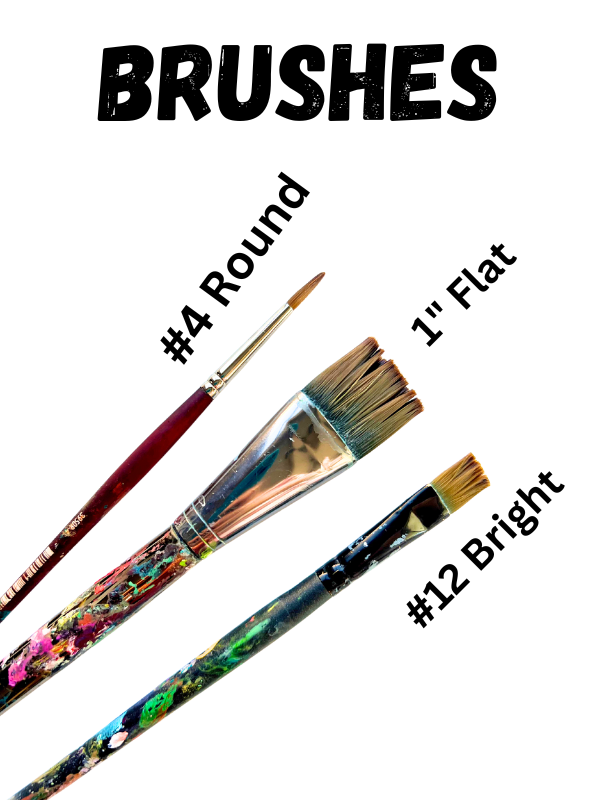
Brushes
Color Palette:
Video:
Coming soon!
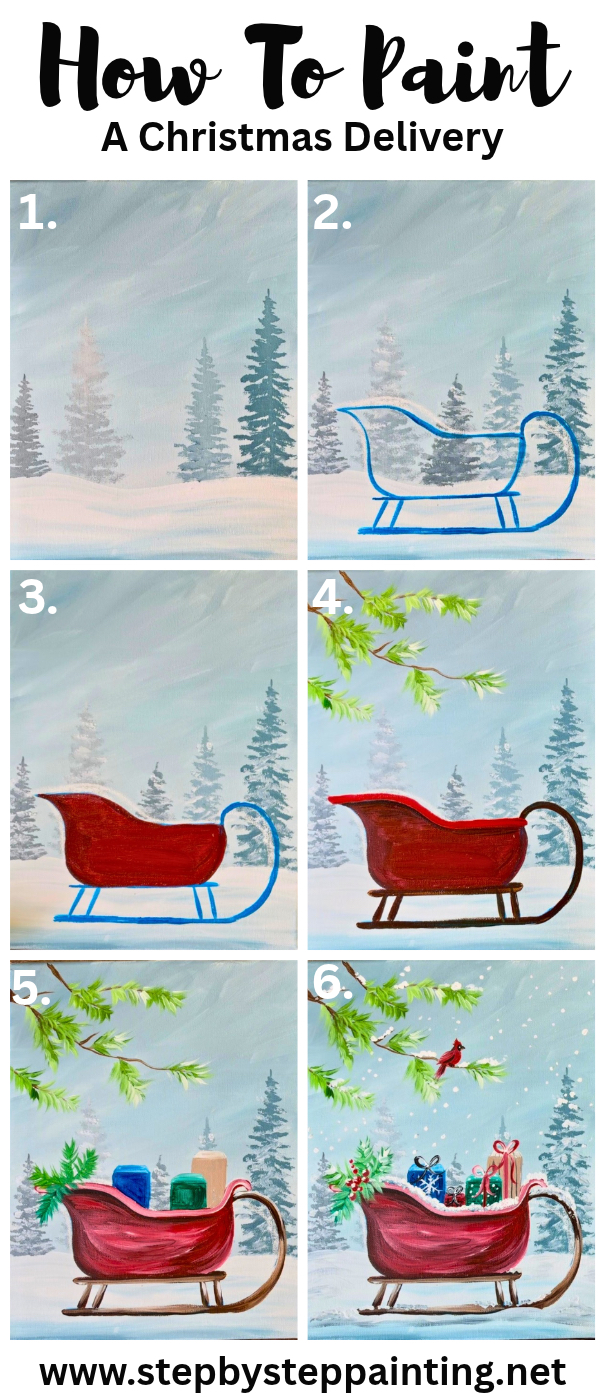
Directions At A Glance:
Step By Step Instructions:
1. Paint background
The gray-blue background color is created by mixing: 5 parts white, 1 part black and 1-2 parts blue. You want to mix this color on your palette until it makes a medium gray-blue color.
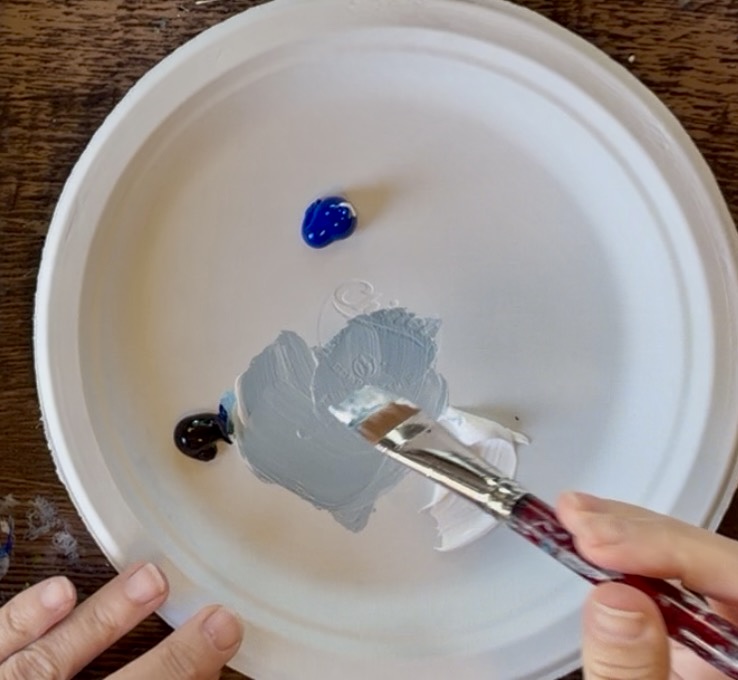
Then use the 3/4″ flat wash brush to paint long choppy brush strokes. I made most of the strokes going diagonally, however, you can make the brush strokes going all directions. Start from the top. Then gently blend more white into the sky as you work your way down.
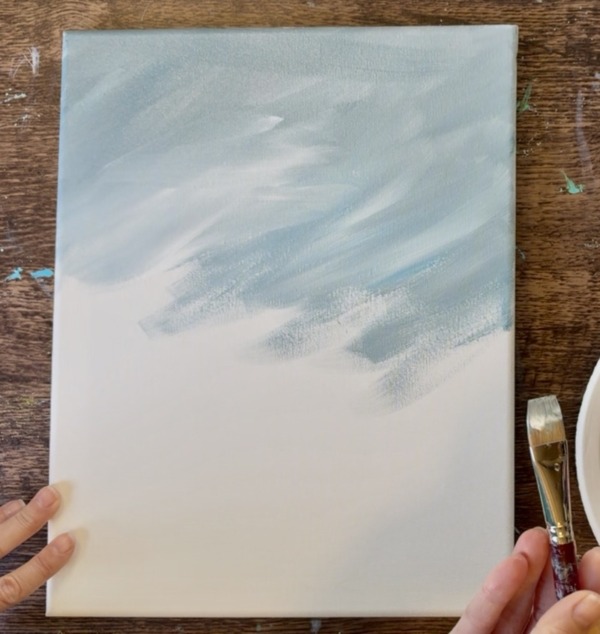
You want to make the top of the canvas slightly darker and the bottom just slightly whiter. Fill the entire canvas with this gray-blue color.
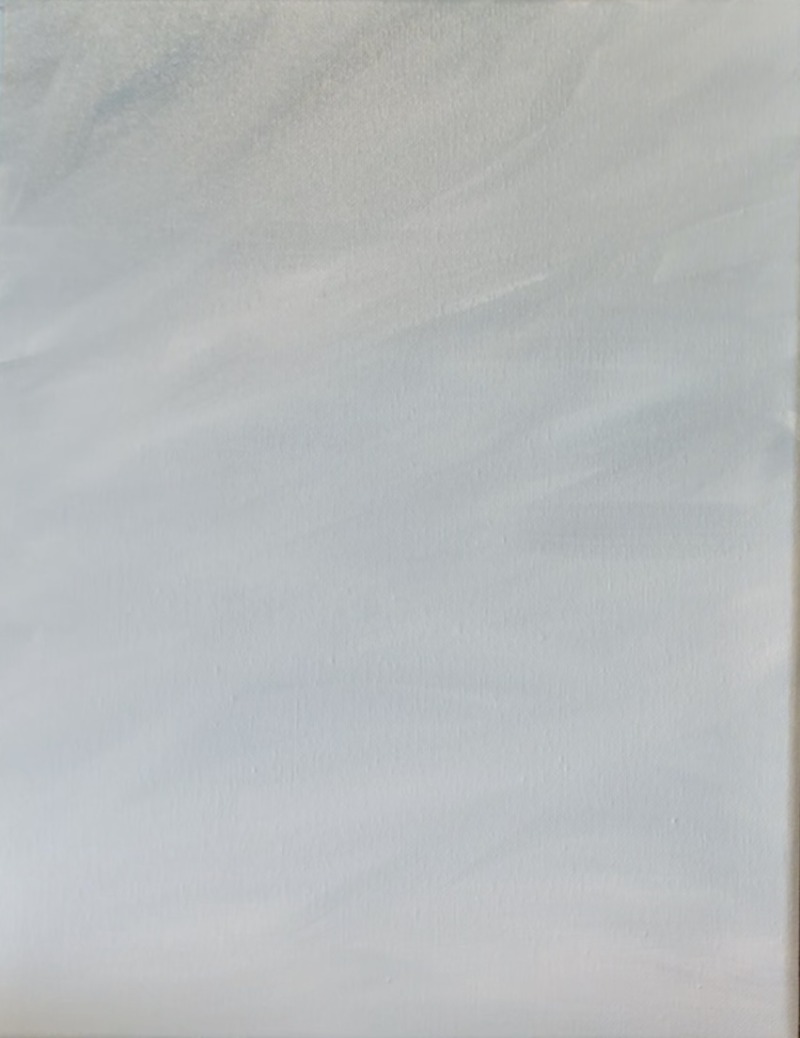
Let the bottom part of the canvas dry (or almost dry). Then use pure white paint to paint/ draw a line across the canvas at about 3″ to 4″ from the bottom edge of the canvas. Fill the entire bottom ground portion with white.
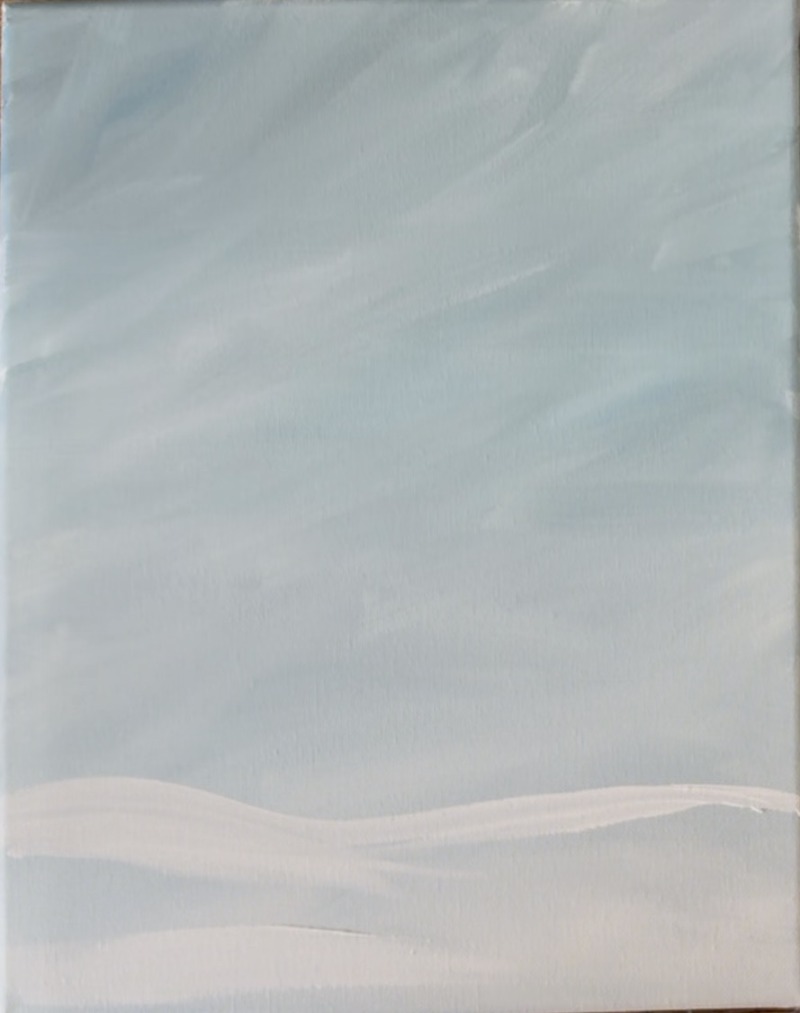
Then double load the brush into white and your gray-blue color from the sky. Blend this gray-blue color on the bottom edge of the canvas and up into the white.
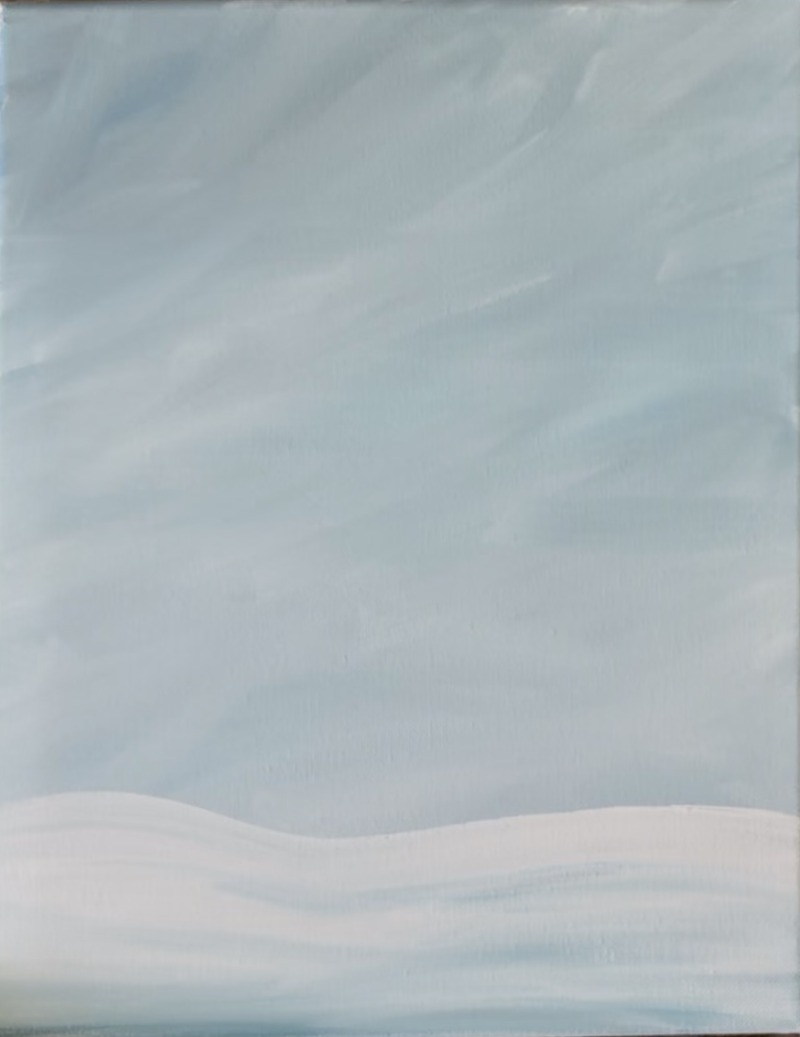
2. Paint Trees
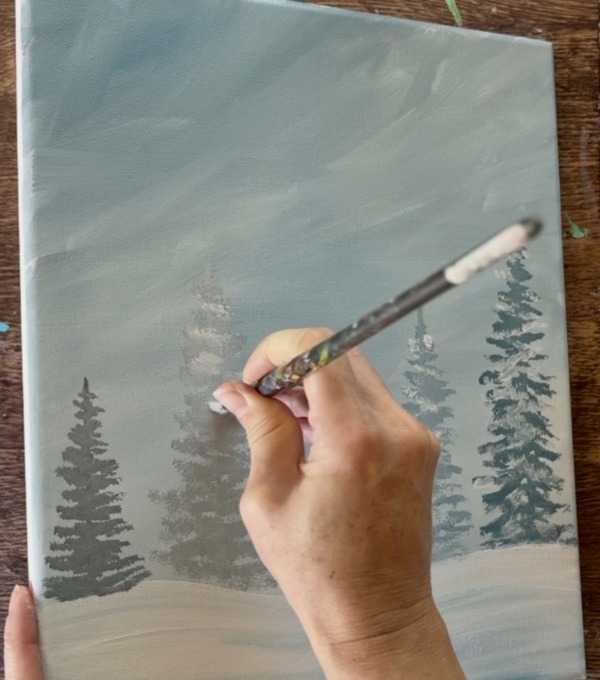
Use the #12 bright brush. Mix the same blue-gray color you used in the sky, only make it slightly darker by adding more blue and black into the color. Load this dark color on the very edge of the bristles.
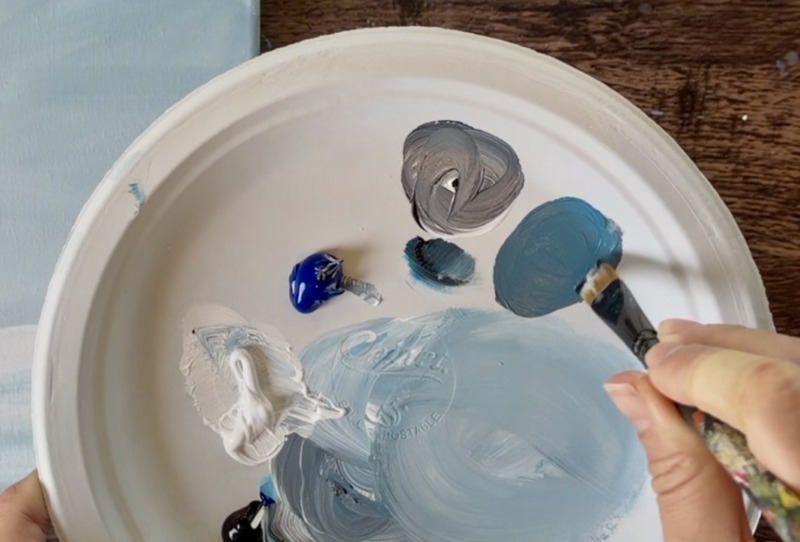
Then use a ruler to paint a tall vertical line. This line represents the center of the tree and it is helpful for keeping the tree symmetrical and upright.
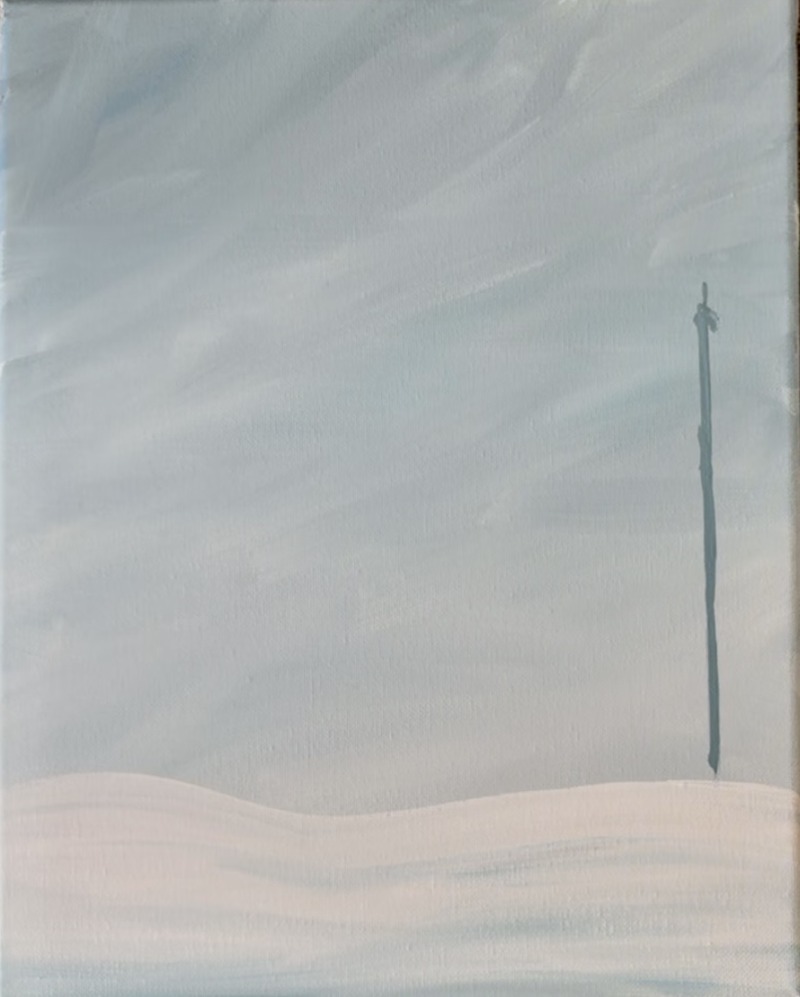
Then use the very end of the bristles (the corners of the bristles to start with) to stamp branches that start at the top of the tree. Paint in a left and right zig-zag direction working your way downwards. As you go down, make the branches larger and wider to form a conical shape.
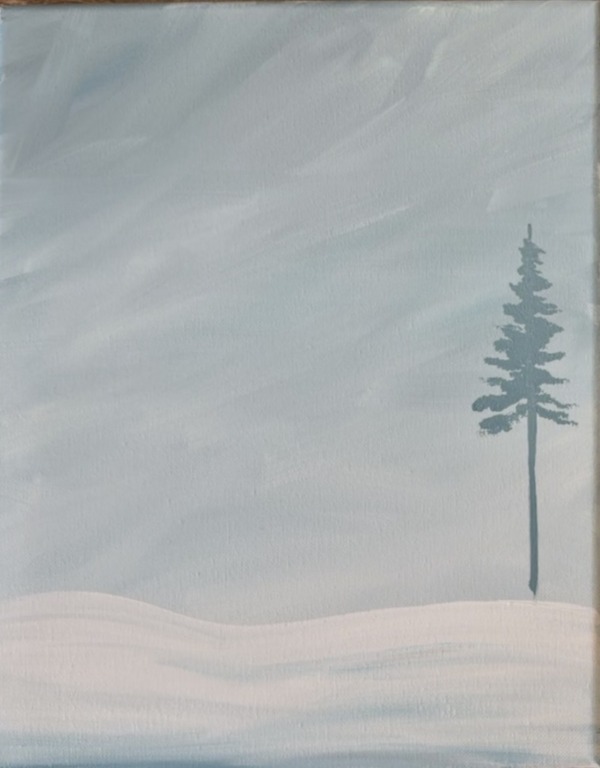
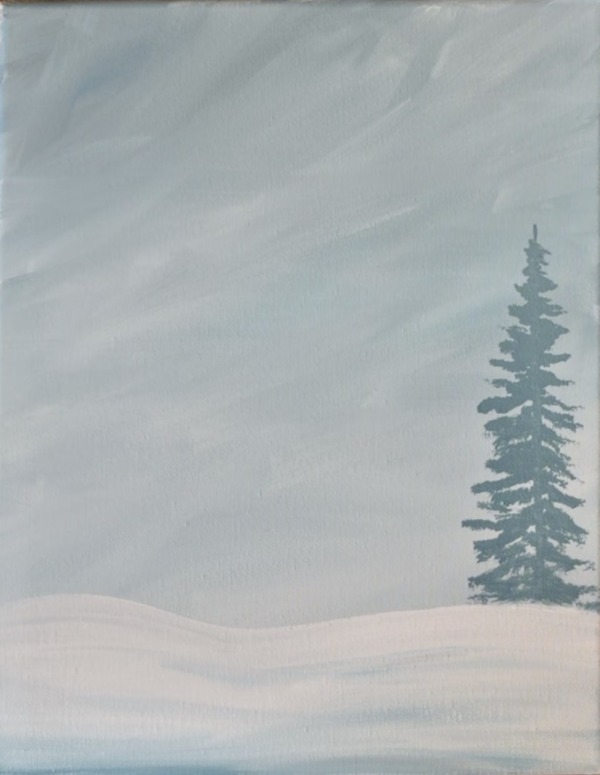
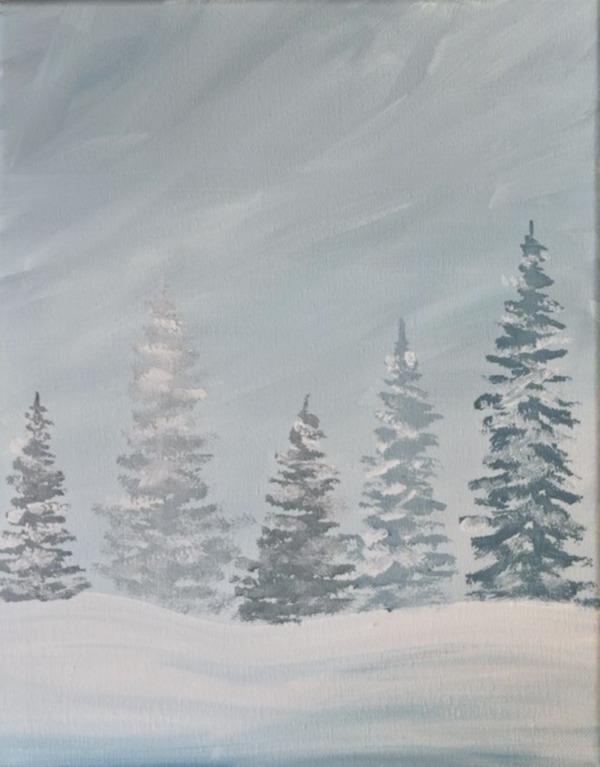
Repeat this technique for more trees. With each tree, vary the shade of gray slightly. The gray just needs to be visible enough to show up against the background color. I also recommend you make the trees very tall in the sky so that they still show up behind the sleigh. If you make the trees too short, they will be hidden behind the sleigh and you’ll end up painting over most of them!
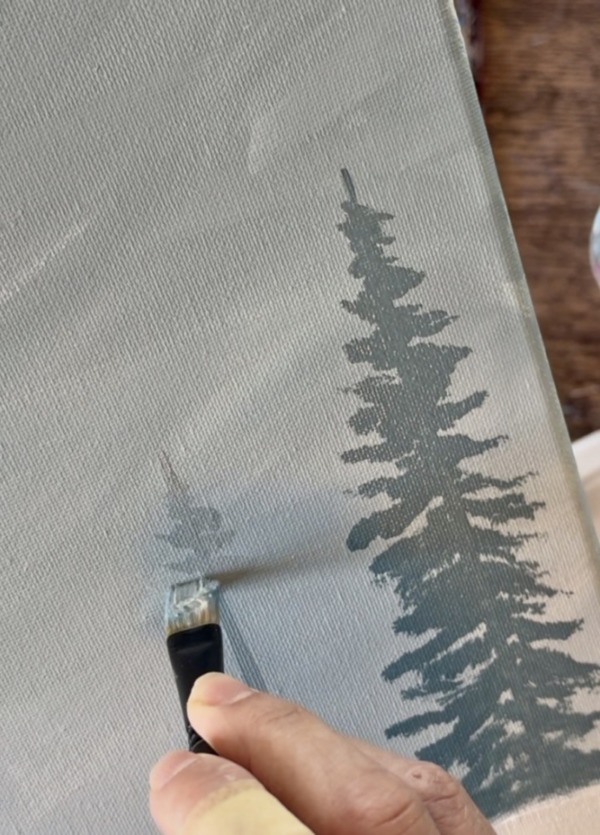
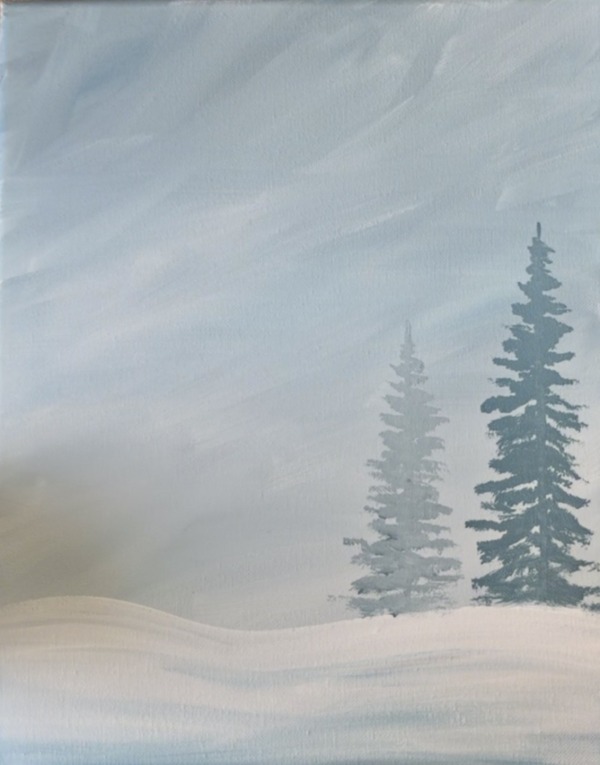
Repeat this to create trees of various heights and shades/tints of gray all along the horizon line.
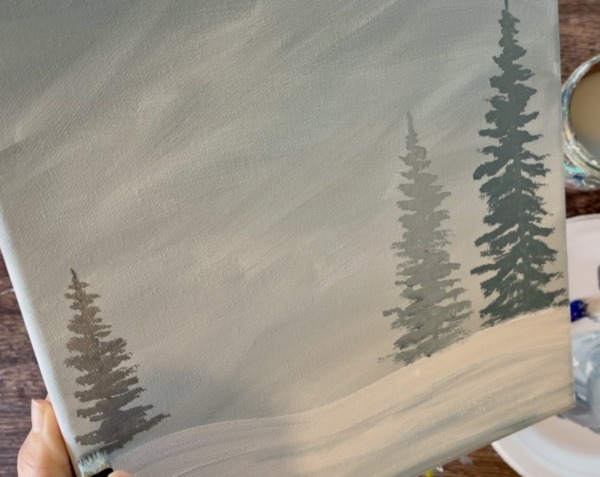
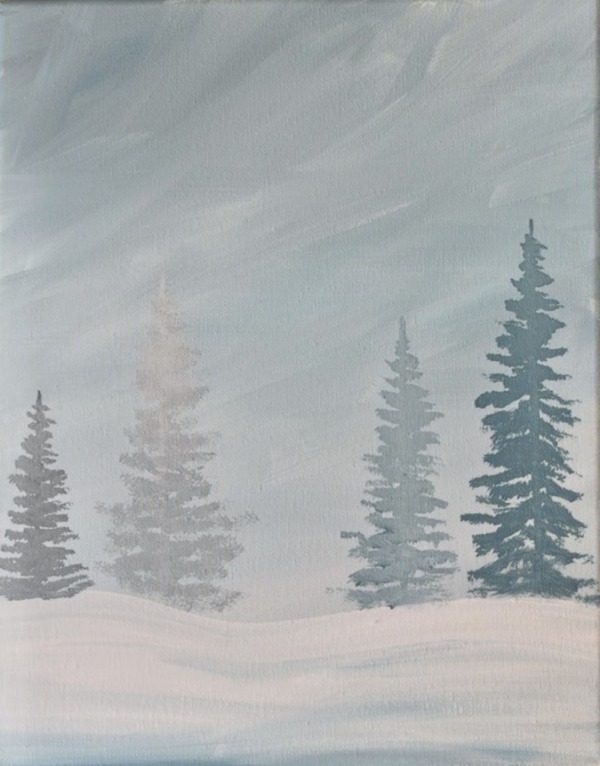
Next, add a light snowy layer over each of the trees. To do this, use pure white mixed with just the slightest amount of black and blue so the white isn’t as bright. Then go over some of the branches with the white to create a snowy later (leave a lot of the original branches showing).
3. Draw Sleigh
Use a piece of chalk to draw the sleigh. Note: the drawing is darkened with blue paint in the steps after this so you can skip ahead to look at it in order to help with the drawing.
Start on the upper left part of the sleigh and measure about 5.5″ to 6″ from the bottom edge of the canvas. This is the height of the sleigh on the far left.
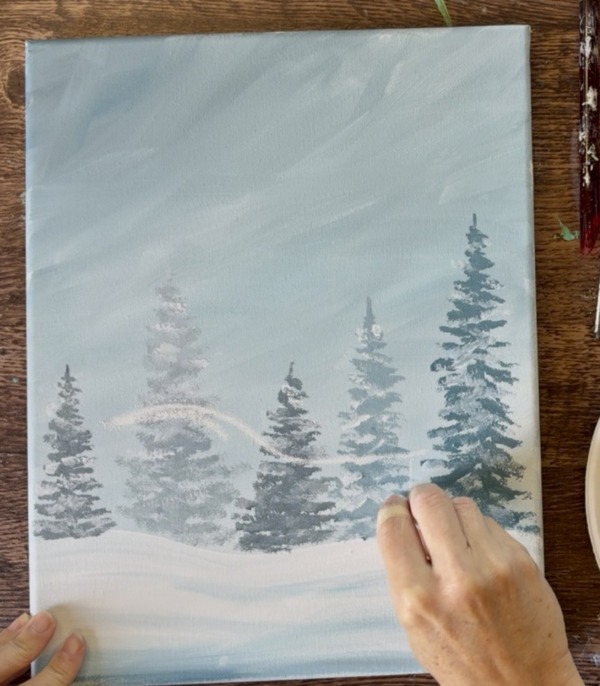
Draw a slight curved line that goes down and to the right. Draw the top opening edge of the sleigh as a straight, horizontal line. Then form the large shape of the sleigh including a flat bottom.
Then draw a large curve that attaches to the sleigh in the front and forms the runner/skids. Use a ruler to draw flat horizontal line for the bottom of the skid and the base part that attaches to the sleigh on the bottom.
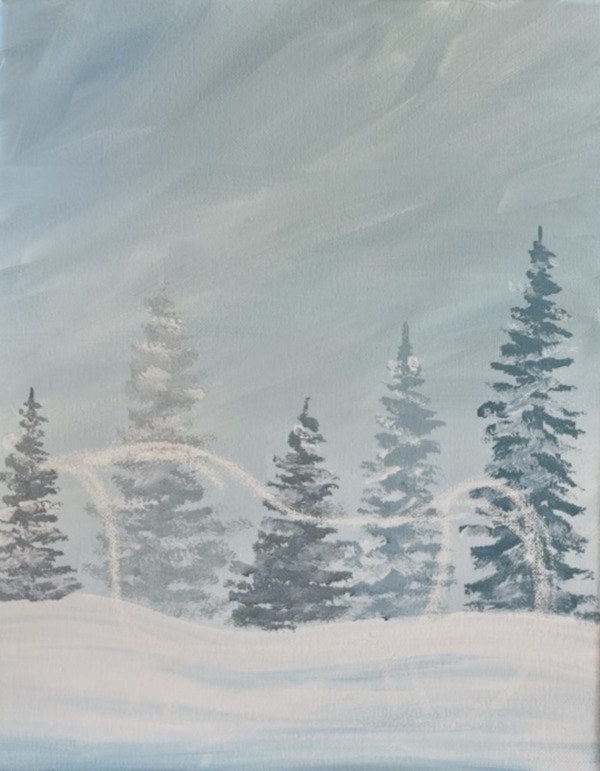
Below shows the drawing darkened using blue paint and a brush. I recommend that you also outline your chalk drawing very carefully with a thin blue line. This will really help your sleigh take form and make it easier to paint it in. Outline the shape of the sleigh and use a ruler for the bottom flat base.
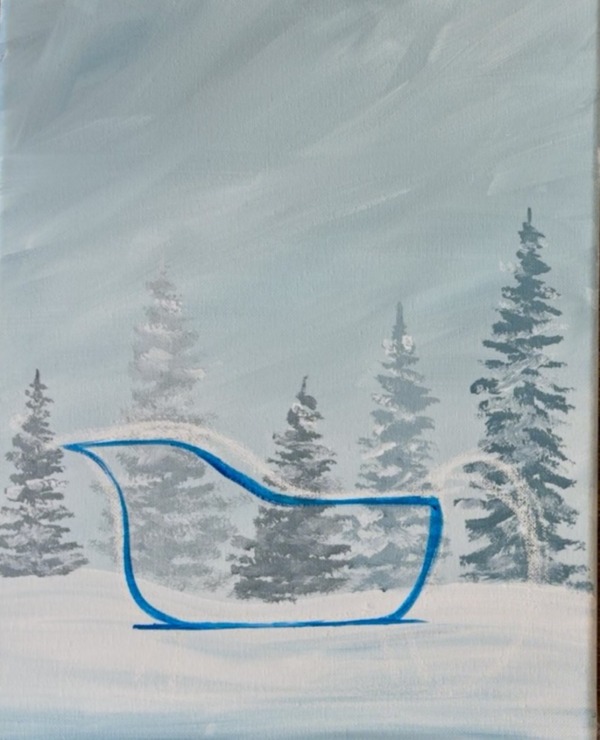
Then paint a large curve in the front of the sleigh that swoops forward and down to the bottom runners.
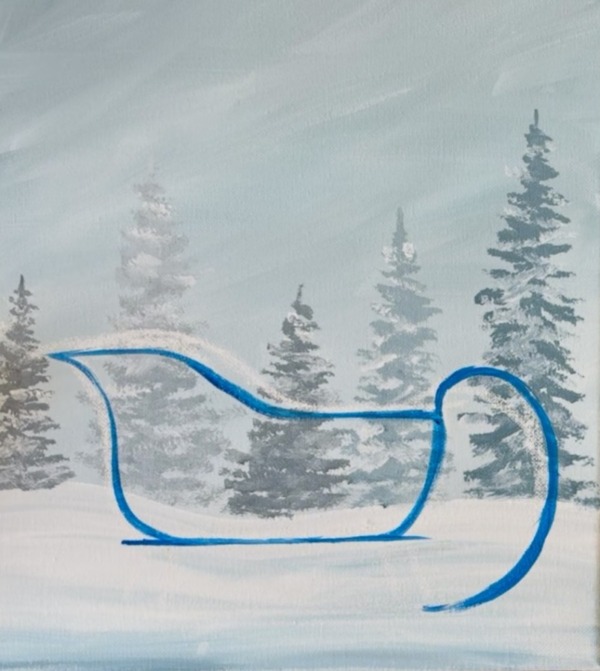
Use a ruler to paint a long flat skid that attaches to that large front curve. Then paint 4 diagonal lines that attaches the bottom of the sleigh to the runners. Note: in this painting we only see the front runner and not the second back one.
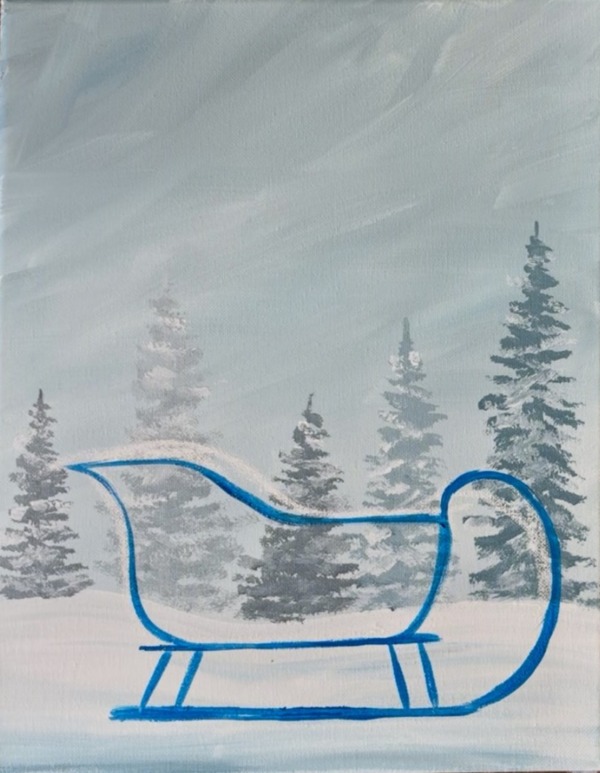
4. Paint Dark Red Layer Of Sleigh
Use cadmium red medium hue mixed with the slightest amount of black paint to create a very dark red. Then use the #12 bright brush to paint in the carriage part of the sleigh. You want to go over your blue lines with the red paint so they don’t show anymore.
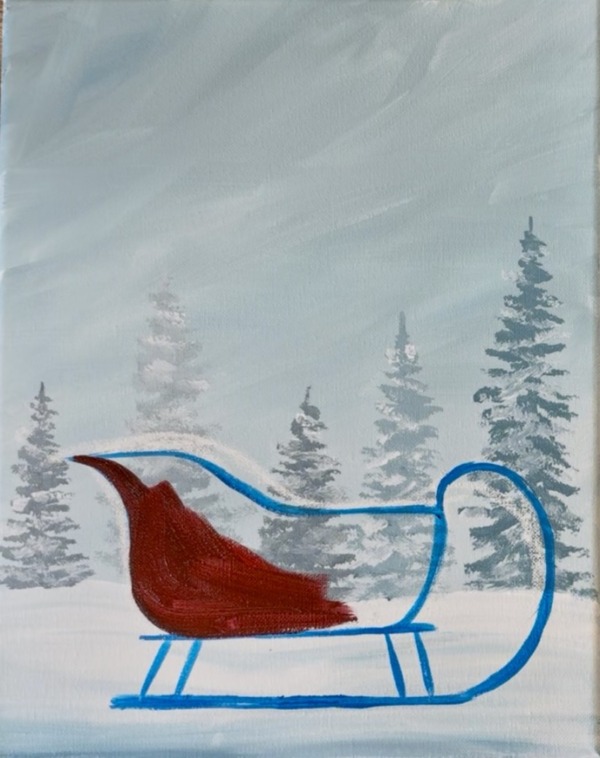
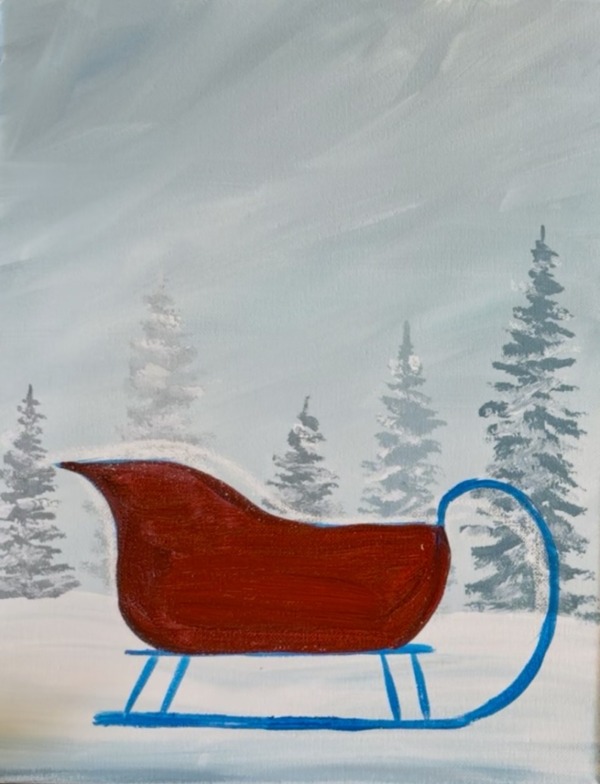
5. Paint Runners/ Wood Parts Of Sleigh & Top Red Edging
Then use the color “burnt umber” and the #4 round brush to paint the runners of the sleigh.
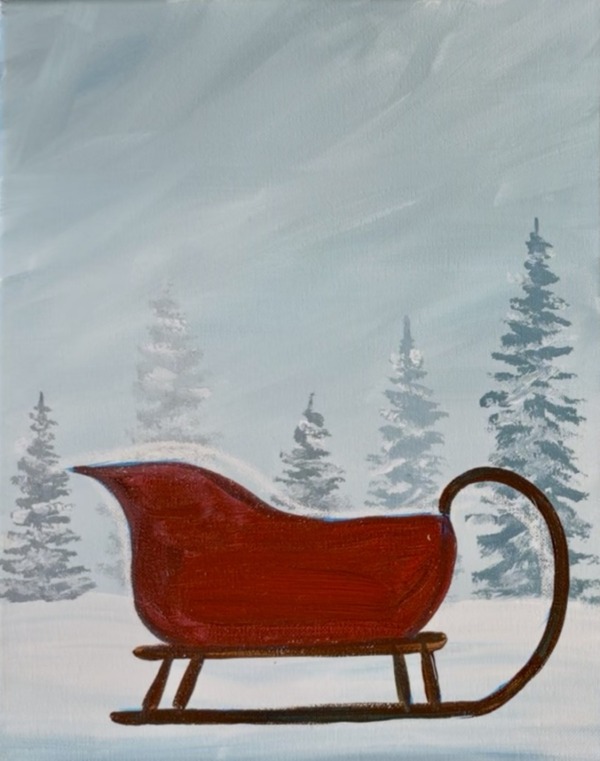
Rinse the brush. Then use the pure form of “cadmium red medium hue” to paint a top
“lip/ lining” on the very top opening of the sleigh. This is done with bright red so it shows up and creates contrast next to the darker red body of the sleigh. If needed, go back and add darker shadowing (red mixed with black) just under this top edging. This will help it to stand out even more.
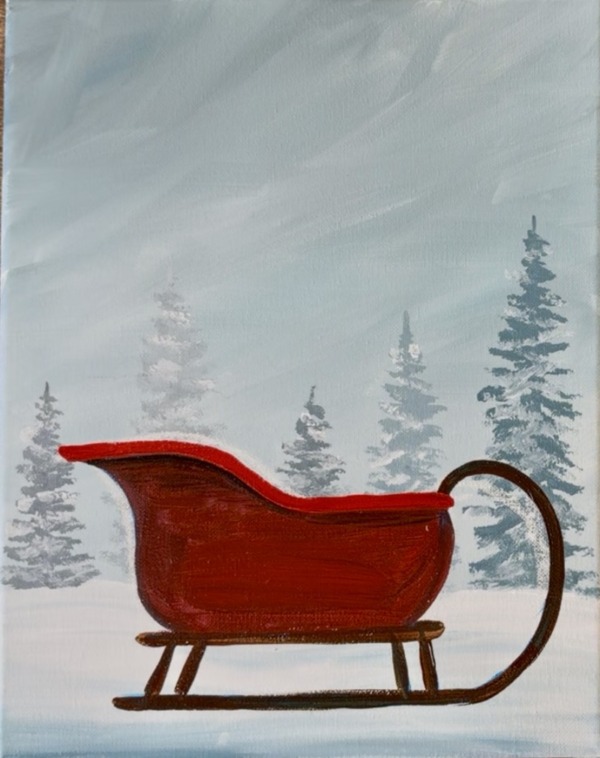
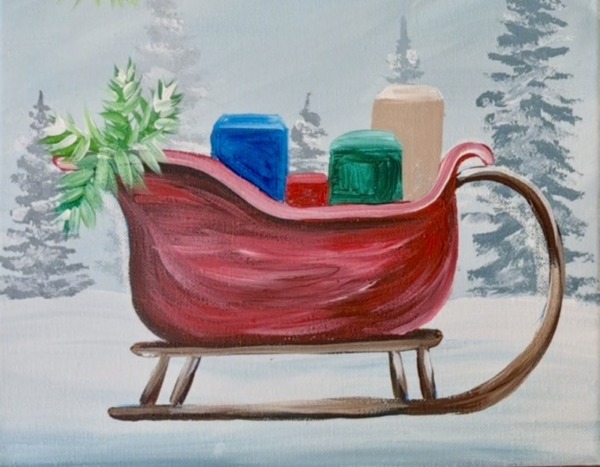
6. Paint Branches/ Pine Needles
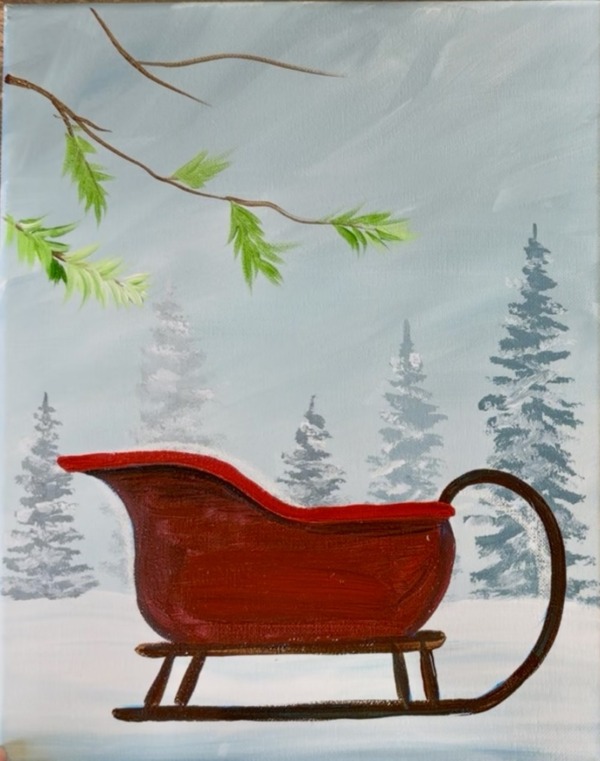
Use the #4 round brush and burnt umber (slightly thinned with water). Paint three sets of thin branches on the upper left corner area of the canvas. One branch should be long enough to host the cardinal bird.
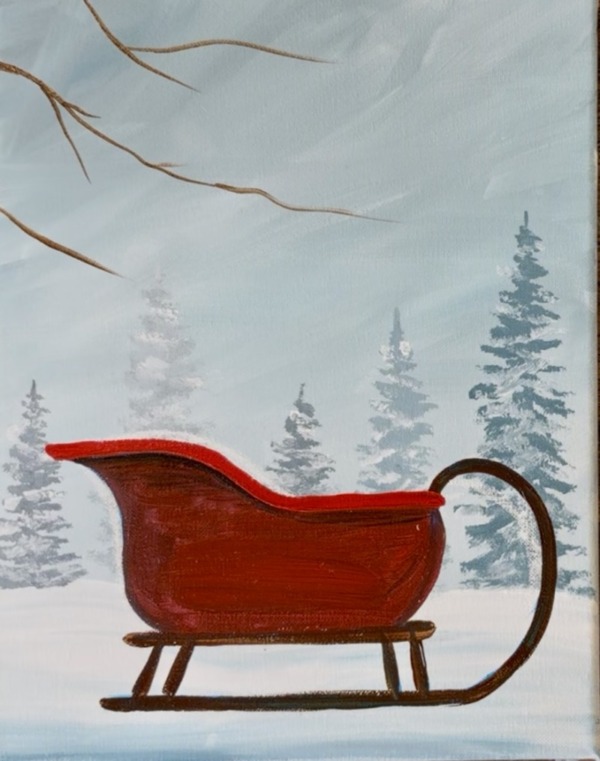
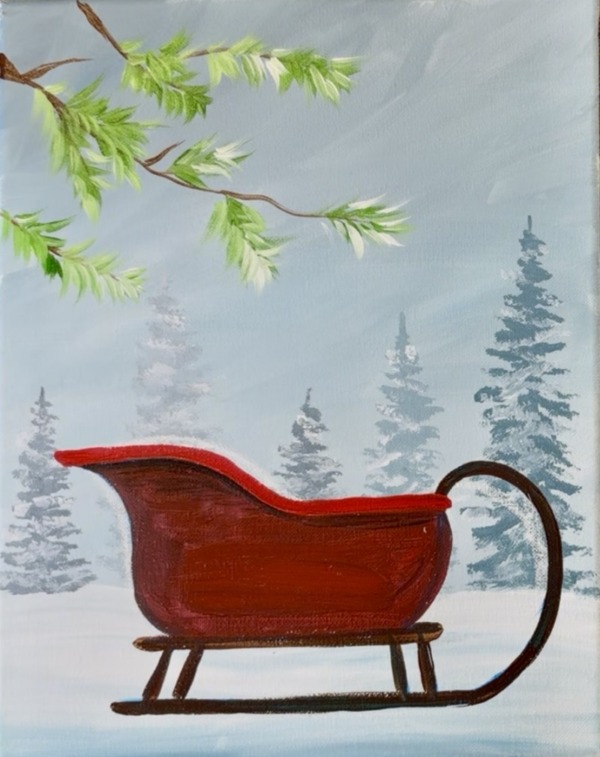
Then paint the pine needles. Double load the #4 round brush into both green and white. Start at the ends of the branches and paint little diagonal lines to form clusters of pine needles. Leave at least one gap on the middle branch to fit the cardinal for later.
Then load the brush into just a bit more white. Paint a few more pine needles with this brighter color to make them look a little more “frosted”.
7. Paint Light Red Layer Of Sleigh
Since the first layer was painted dark red, this next step will be adding a lighter read layer to the sleigh to brighten it. Start by painting the top edging of the sleigh with equal parts red and white mixed together. This brightens the edging!
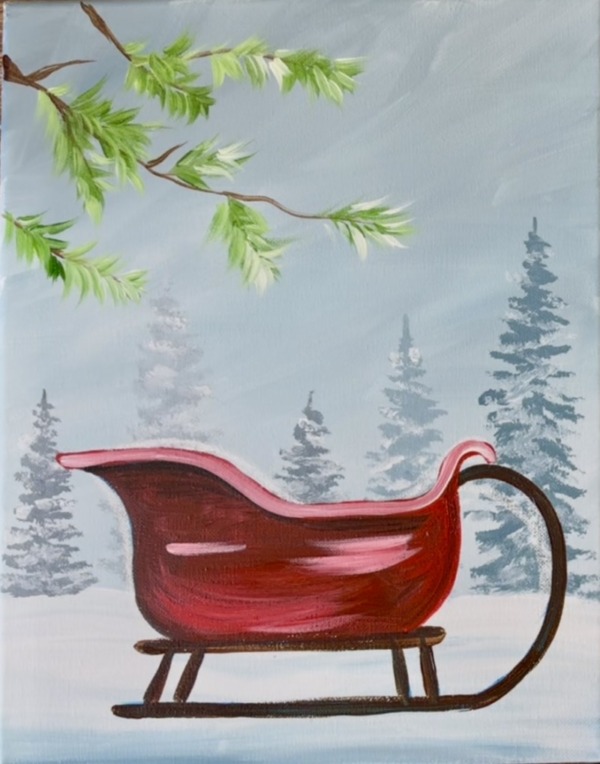
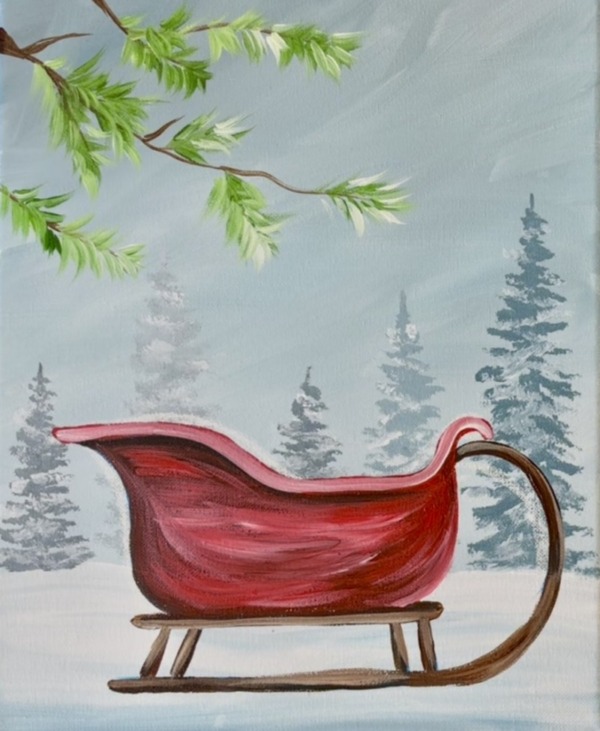
Then mix about 3 parts red to 1 part white. Brush on a second coat of paint over the entire sleigh/ carriage shape. Leave a lot of shadowing still showing through at the very top. Add a second coat of brown to the runners/ wooden parts of the sleigh. Mix equal parts brown and white together and paint over all of the curves and straight lines.
8. Paint Presents & Greenery
The presents can be painted with various colors already on your paint palette. Start each present as a simple rectangular shape. Then mix white into the color (for a lighter version of the color) and paint a small trapezoid on the top. This will give the present a three dimensional look. Note: for the green present, mix equal parts blue and green together and for the tan present mix 1 part brown, 1 part red and 4 parts white.
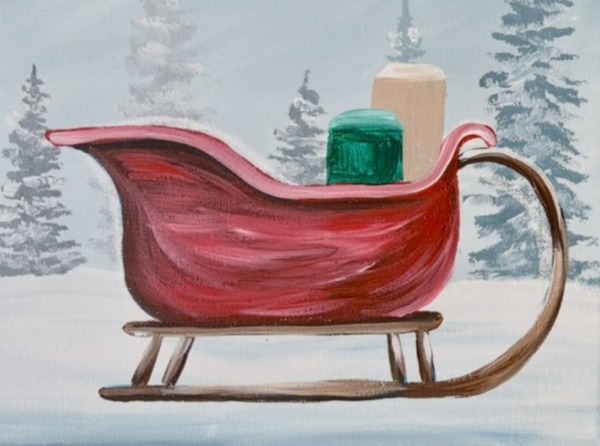
The blue present is painted with “phthalo blue”.
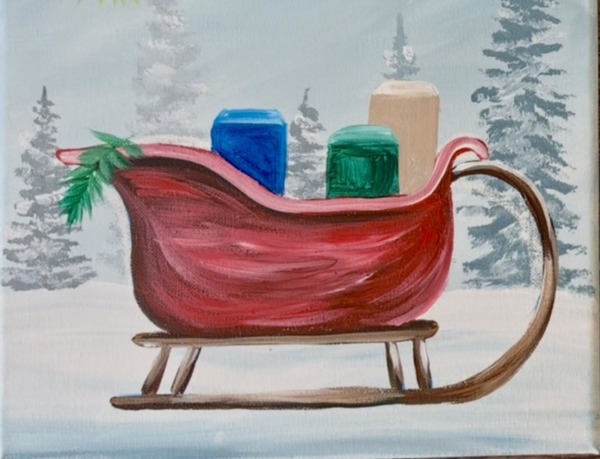
Use “cadmium red medium hue” for the red present. Note that the gifts are various sizes/ heights and slightly overlap each other. Make sure the placement still allows for seeing the trees in the background.
9. Paint Cardinal
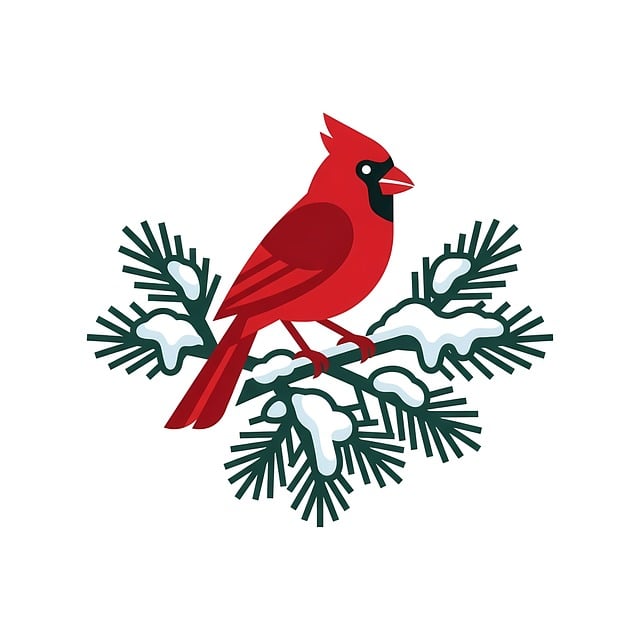
Keep in mind this is a tiny cardinal! We are going to make it very stylized and non-realistic. I find it helpful to look at “clip art illustrations” of cardinals. Observe the basic shapes of this bird. You can also draw this with a paint pen or use a toothpick for some of the small details such as the eye and beak.
Start by painting a half circle for the entire body of the bird. Then a small half circle on the top for the head. Drag brush strokes downwards at an angle for the tail.
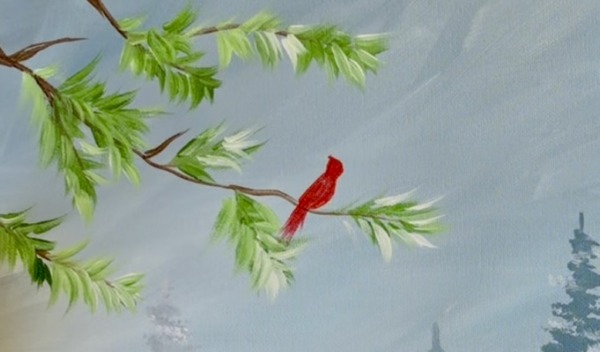
Then paint a teardrop shape for the side wing. Then use black to paint a small patch of black on the far right edge of the head. Use black to paint the tiniest triangle for the beak.
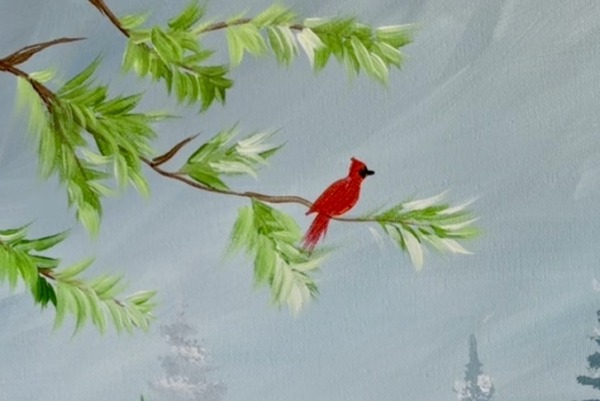
Paint the eye using the tiniest white dot (or use a toothpick to paint this dot). Then paint a few white line highlights for the side of the wing. Use red to paint the “crest” on the top of the head by dragging brushstrokes outwards at an angle.
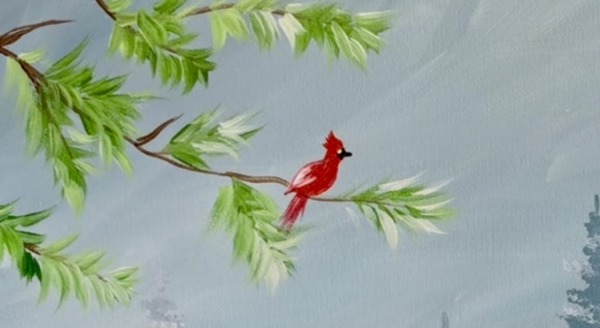
For the final details of this bird, I extended the body out further/ made it more rounded. Use a tiny bit of black to outline the under wing. Make sure black goes all the way around the white dot for the eye.
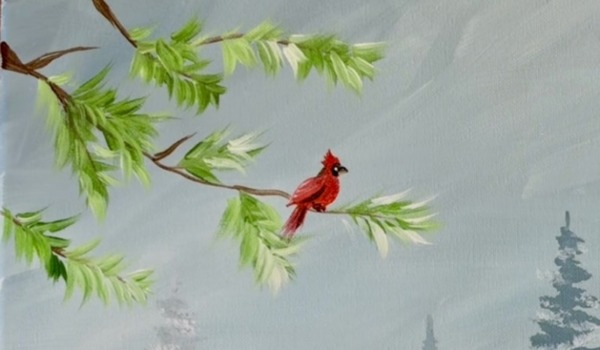
10. Paint Snow & Decorate Presents/ Final Details
Use the #4 round brush and white to “stipple” little white dots all along the top edges of the branches for snow piles. Then paint snow along the top of the sleigh’s curved wood piece in the front.
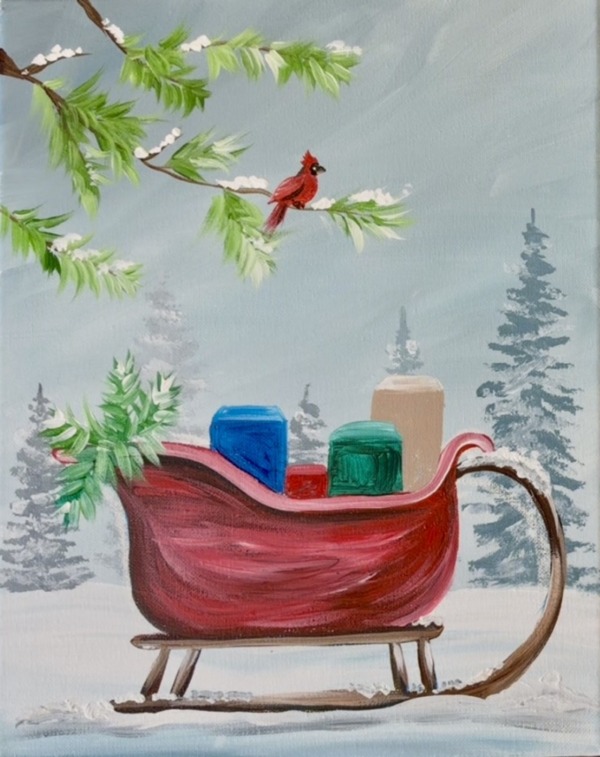
To make shadowing on the snow, add the tiniest bit of black and blue to the brush and stipple that on the bottom of the white. Keep the top edges of the white snow bright white.
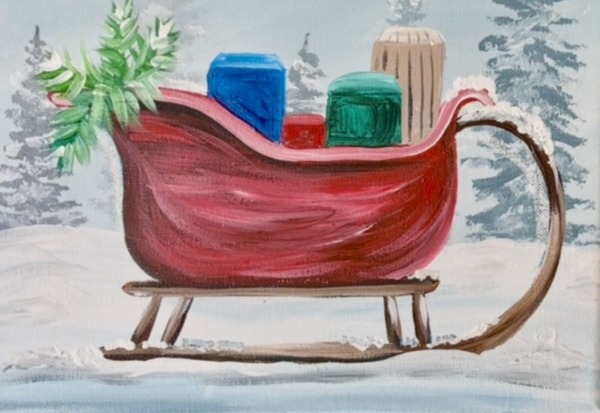
Next, decorate the presents. You can use a paint pen for this or your round brush. Keep the designs simple. I did stripes on the far right, dots on the green box, black lines on the red box and a snowflake on the blue box.
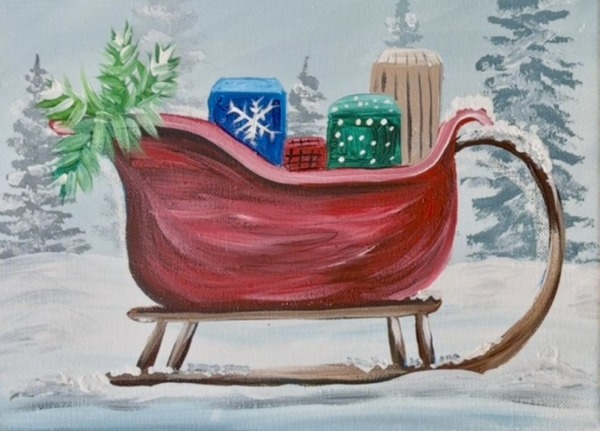
Add berries to the greenery on the far left. Then paint simple ribbon ties on the presents. Double load the brush in red and white for the ribbons on the presents on the right. Then use black for the ribbons on the left.
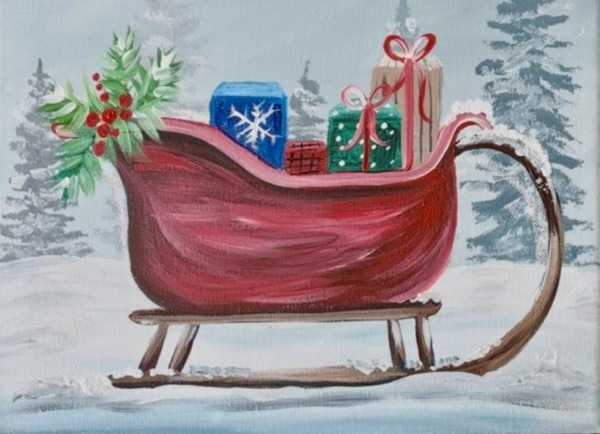
Add a final layer of snow piling up on the top edging of the sleigh. Then paint snow dots all over the sky.
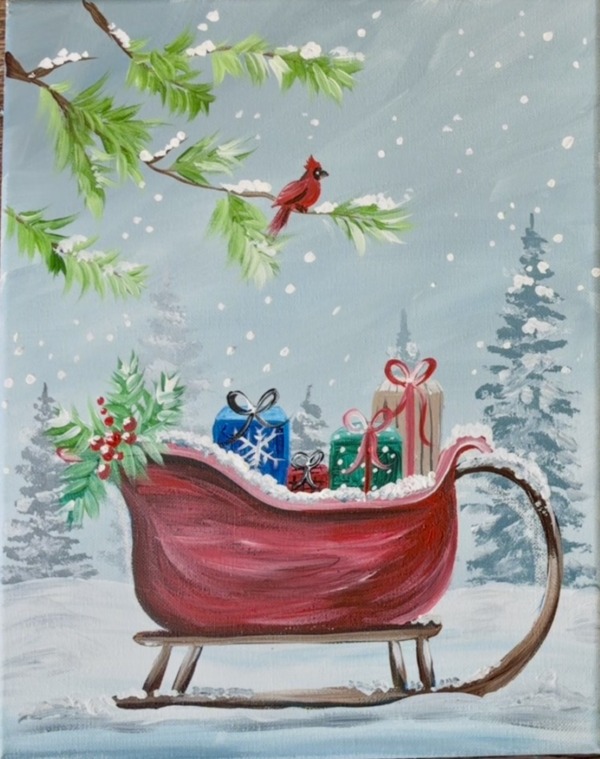
Finished