
Would you like to save this?
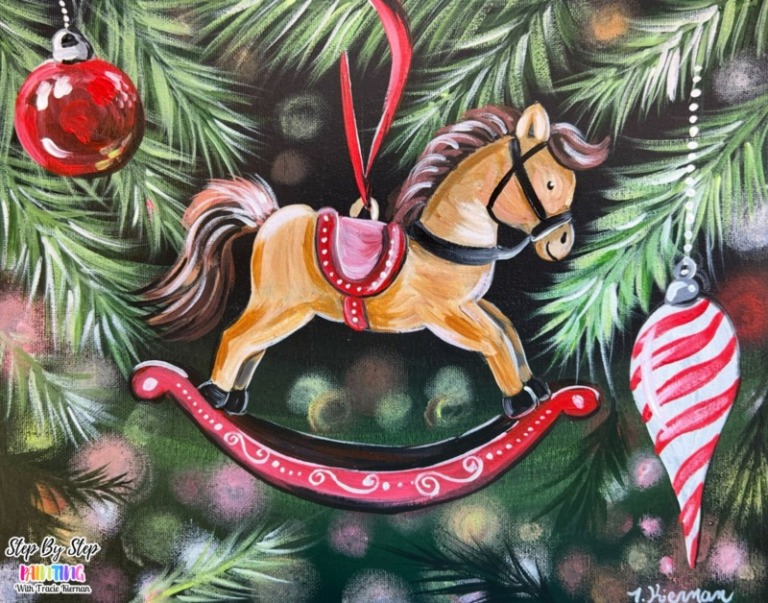
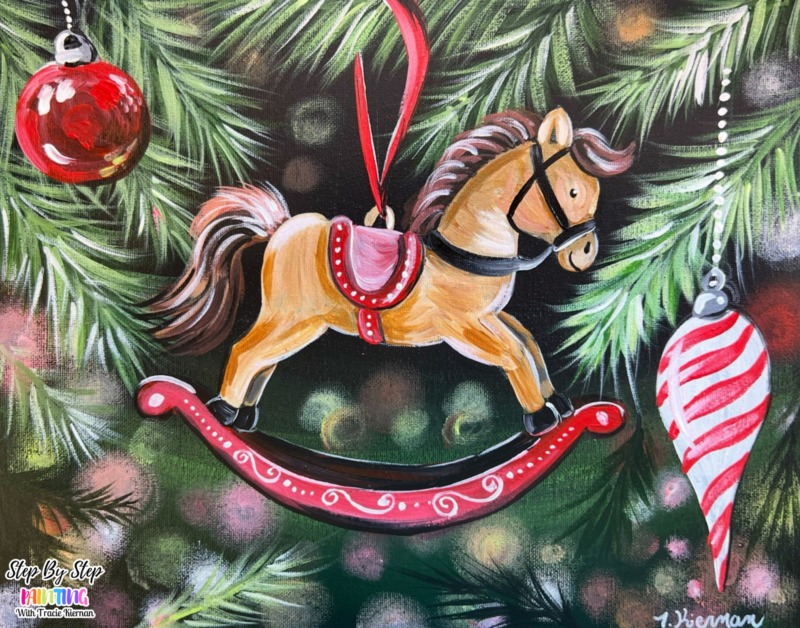
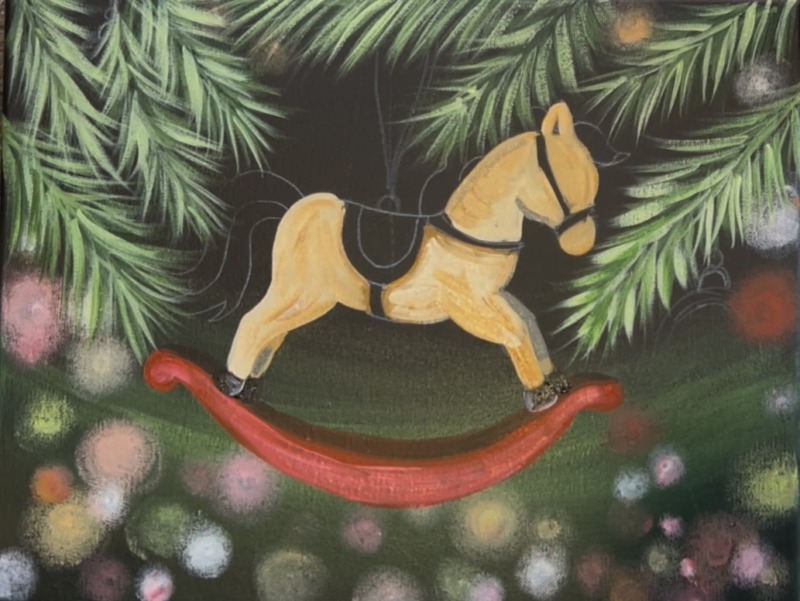
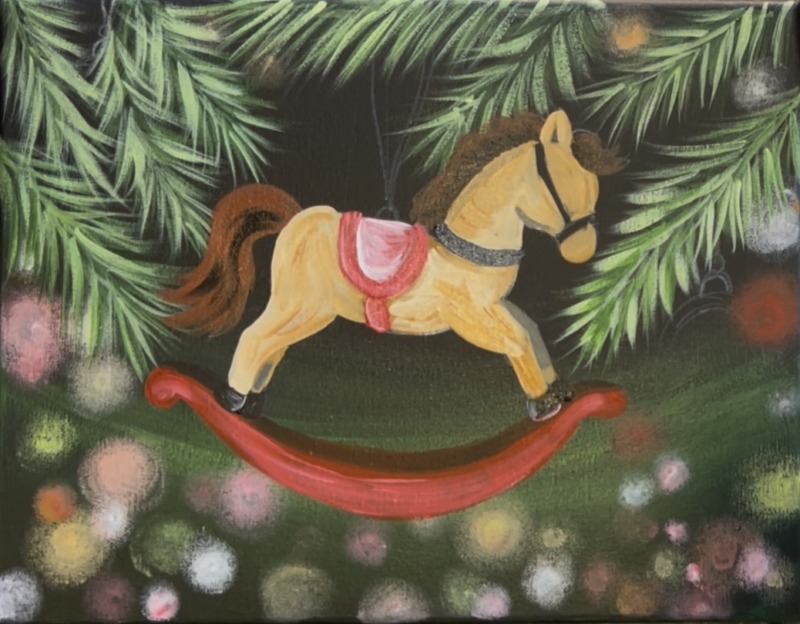
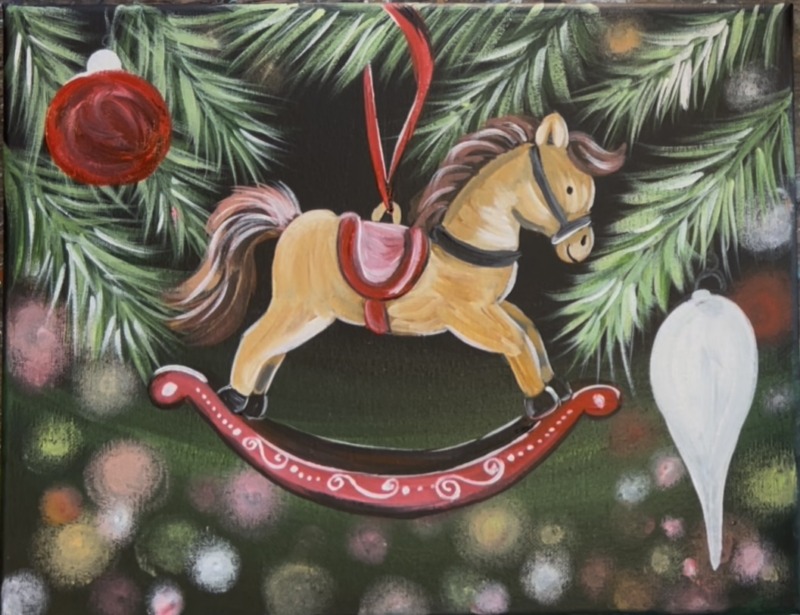
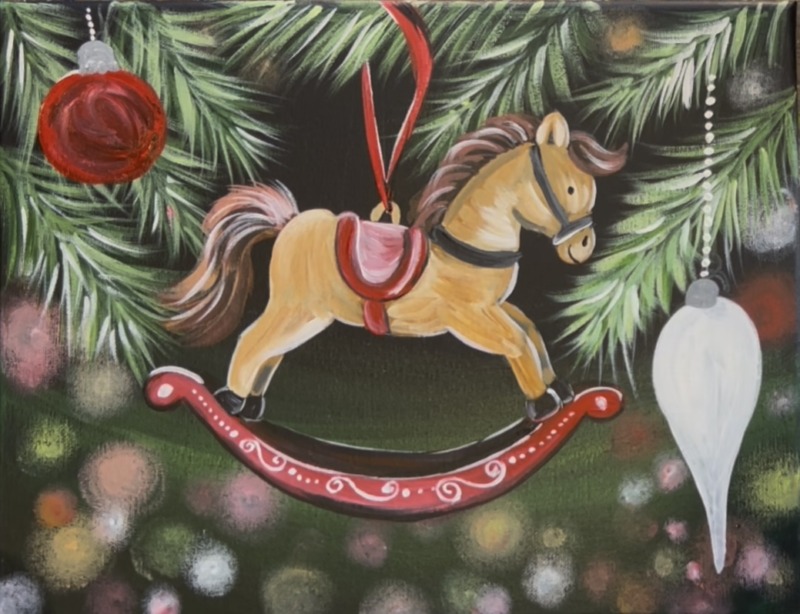
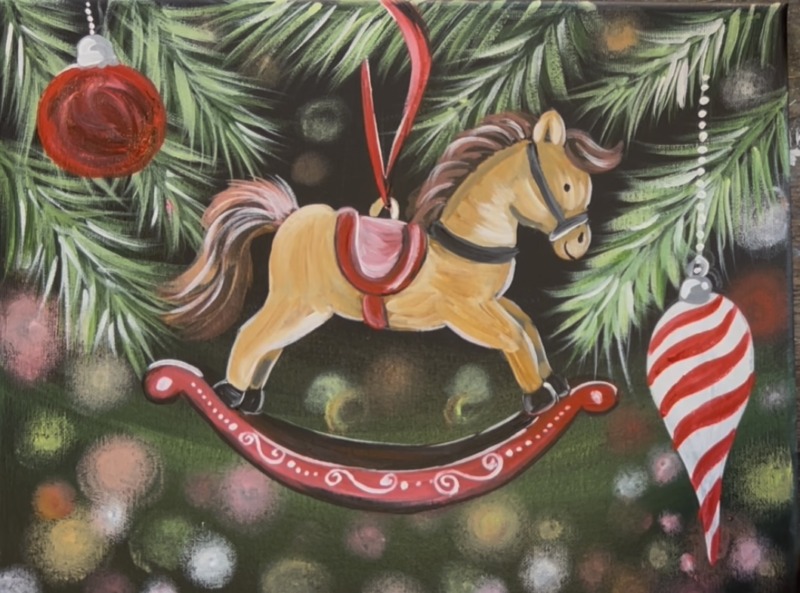
In this beginner acrylic painting tutorial, you’ll learn how to create a charming Christmas rocking horse ornament on a black canvas surrounded by festive evergreen branches, bokeh lights and holiday decorations.
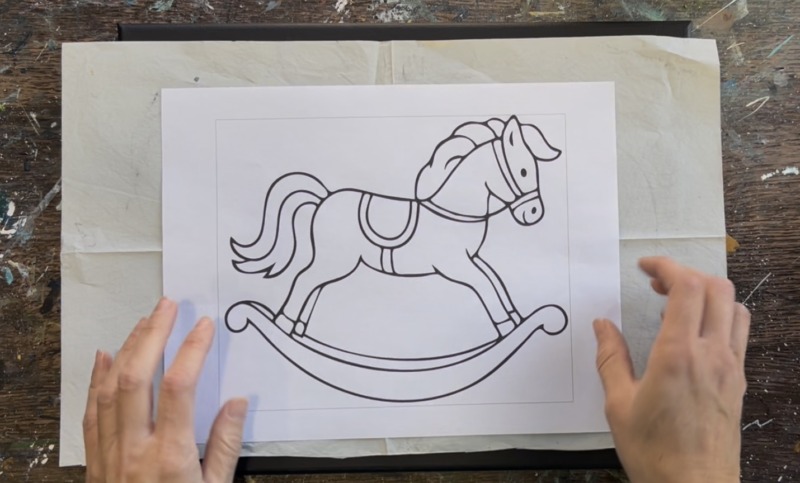
This painting lesson includes a traceable template for the rocking horse, so there’s no need to hand-draw the main subject.
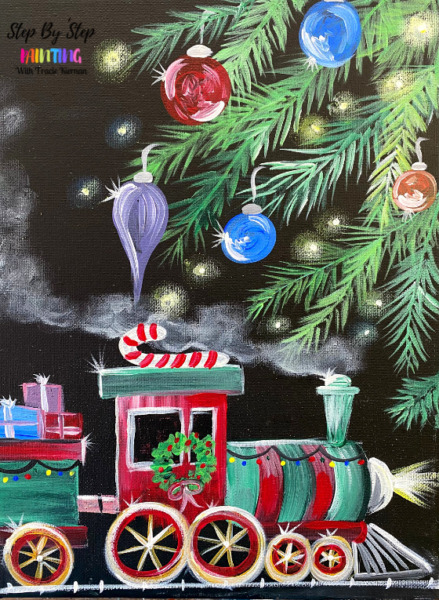
The painting is very similar to the Christmas Train painting, both with vintage vibes!
Enjoy and happy painting!
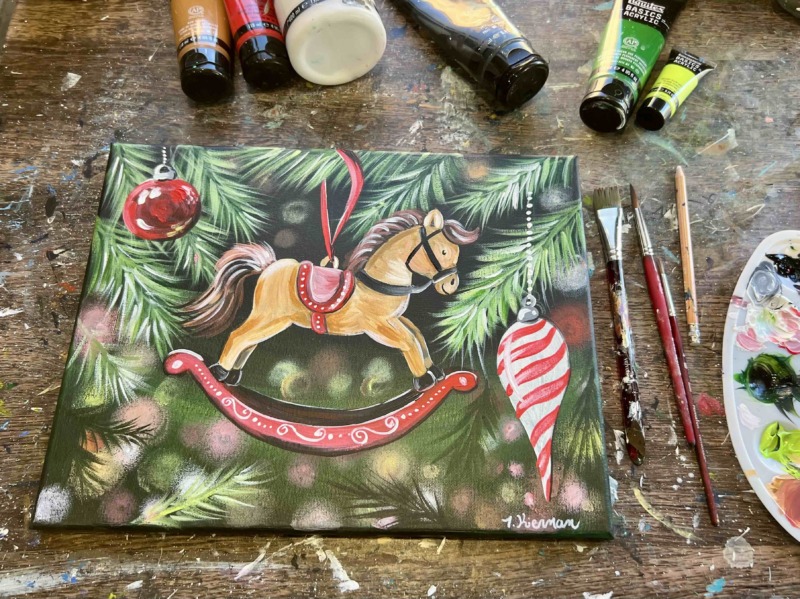
Materials Needed For This Painting:
- 11 x 14 Black Canvas (or any size)
- Acrylic Paints (I use Liquitex BASICS)
- Paint Brushes (Princeton Velvetouch)
- White Graphite Paper
- Horse Template
- White Chalk Pencil (optional but helpful for drawing ornaments)
Colors:
- Titanium White
- Mars Black
- Cadmium Red Medium Hue
- Hooker’s Green Hue
- Brilliant Yellow Green
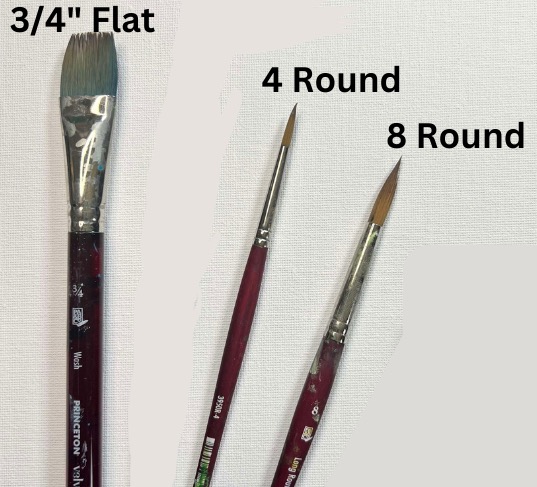
Brushes:
- 3/4″ Flat
- #8 Long Round
- #4 Round
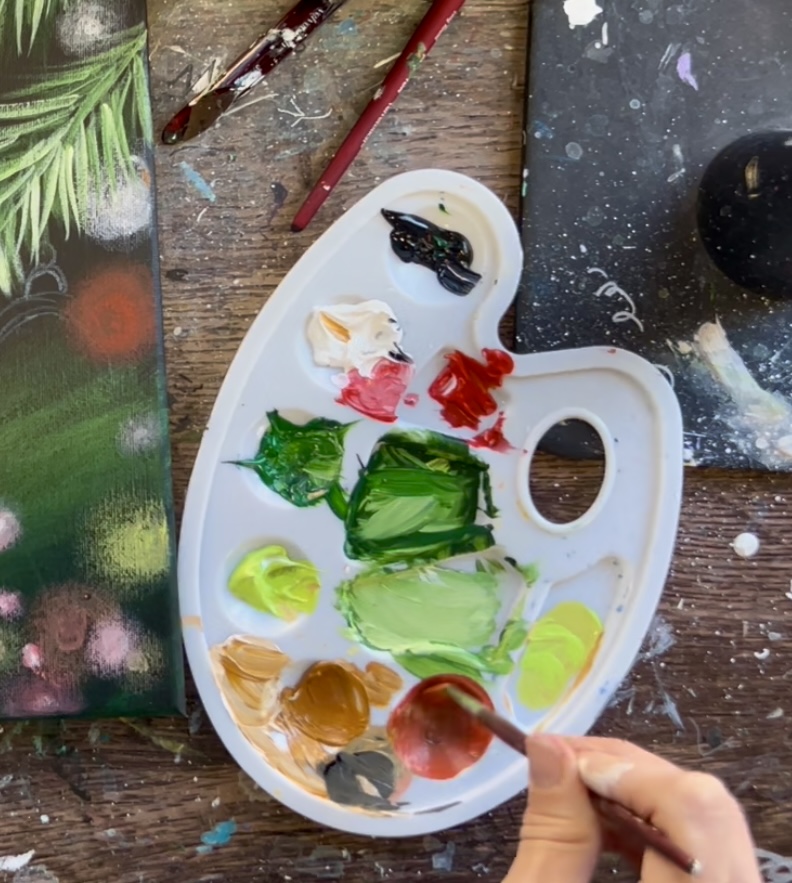
Color Palette
I use Liqutex BASICS paints, however, you can use whatever colors you have available! Use the chart below to help match colors.

Traceable Template
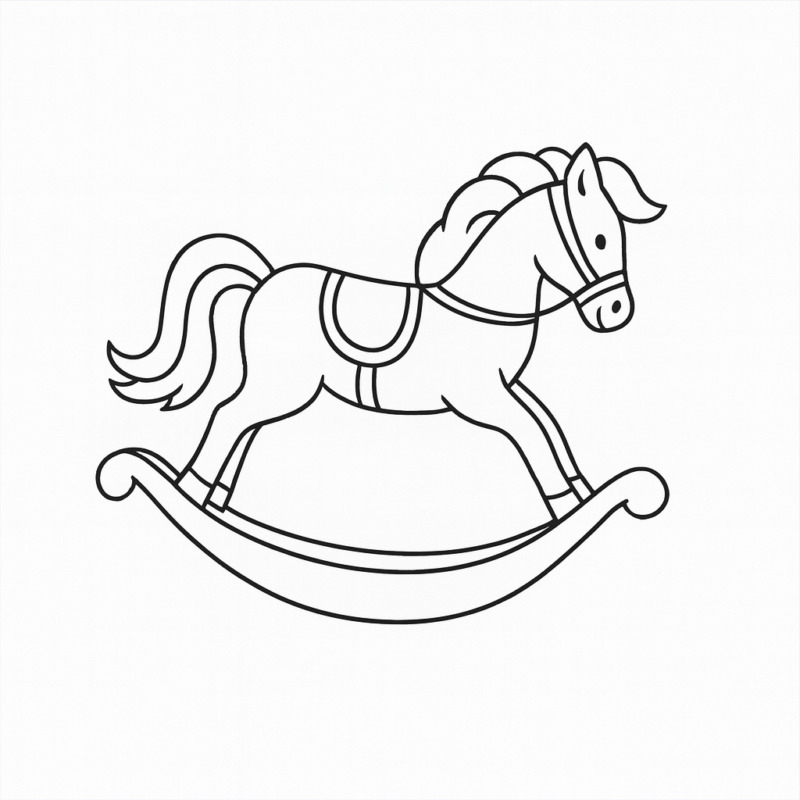
More template sizes and this entire tutorial download can be purchased in my PDF shop here!
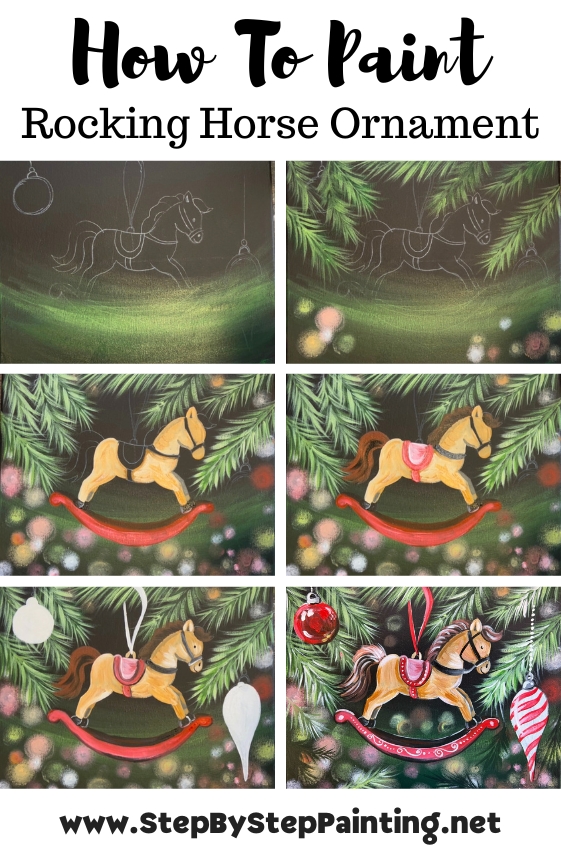
Directions At A Glance
Video
Step By Step Directions
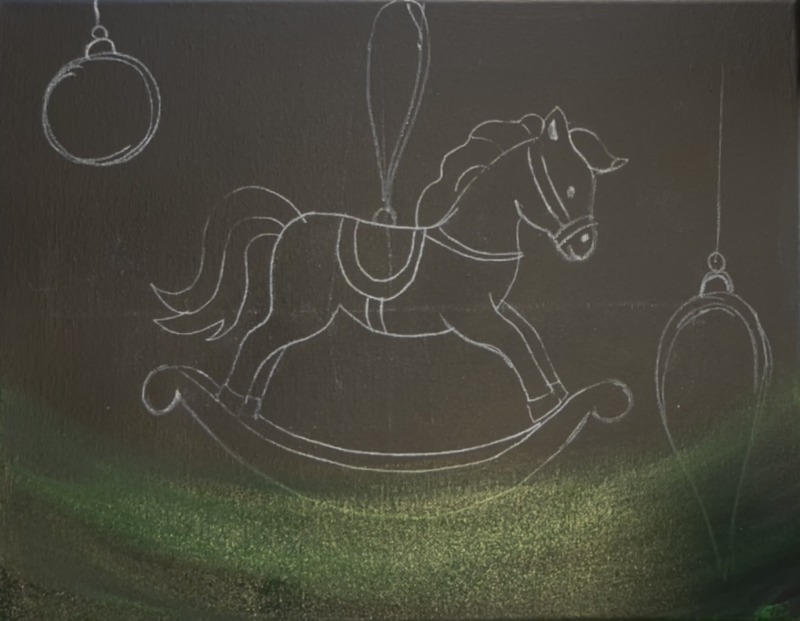
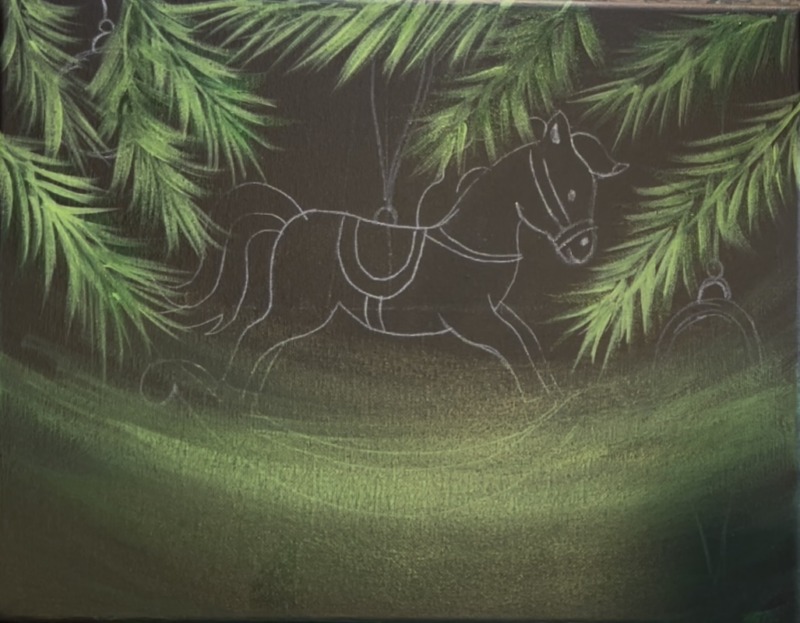
1. Transfer Horse Template & Draw Ornaments
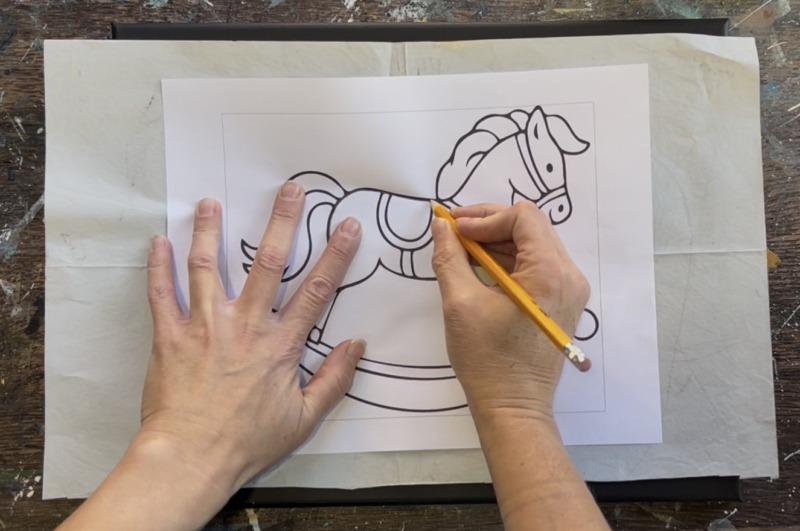
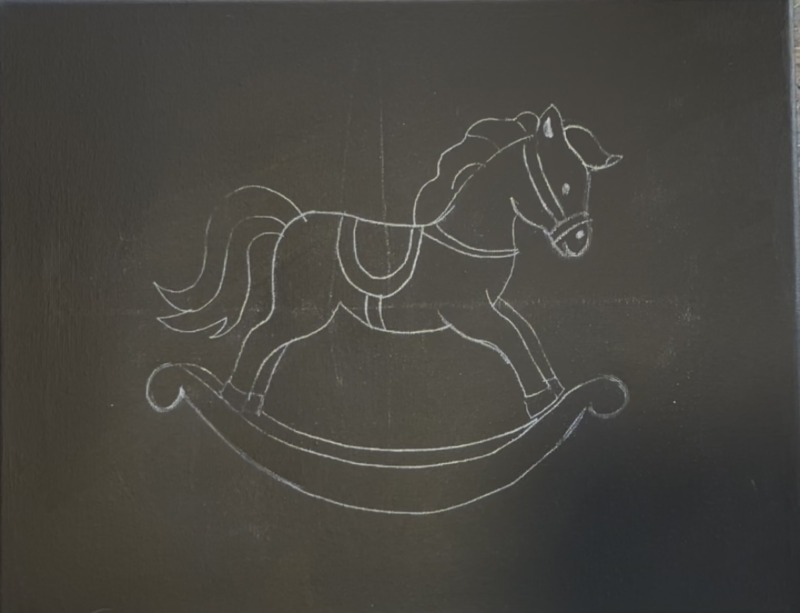
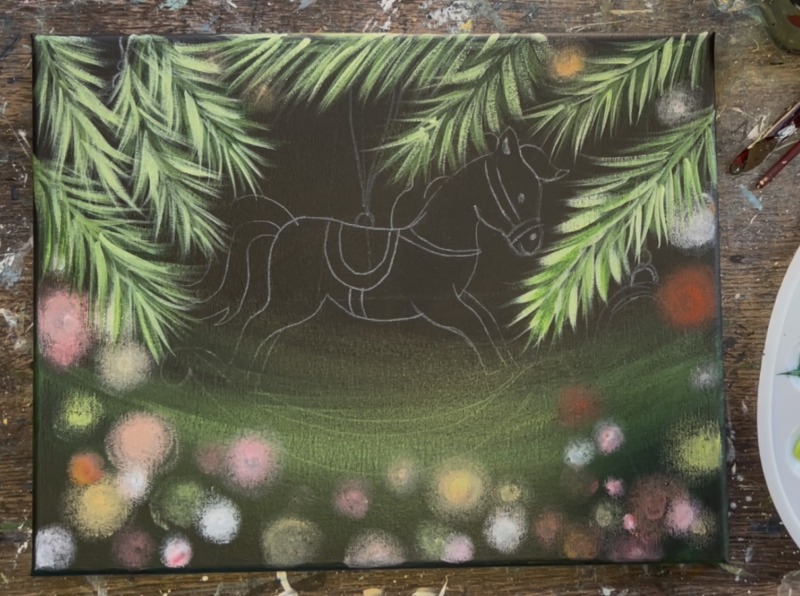
Print the horse template on one sheet of paper (for 11×14 size canvas). Place white graphite paper below the template. Trace the lines with a pen or pencil. Note: canvas has been pre-painted and dried with one coat of black paint.
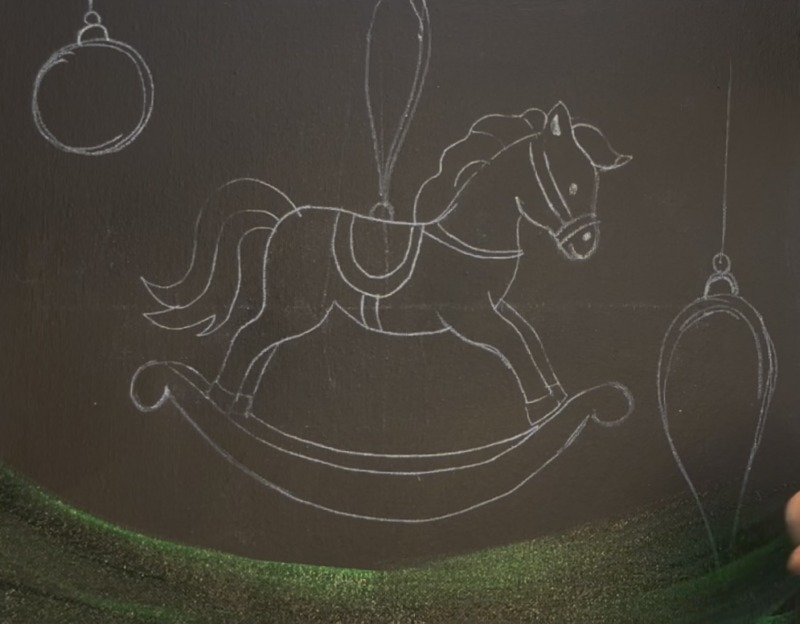
Next, use a chalk pencil, color pencil or regular drawing pencil to draw the circle ornament and teardrop shape ornament. Draw a vertical line for the ornament strings.

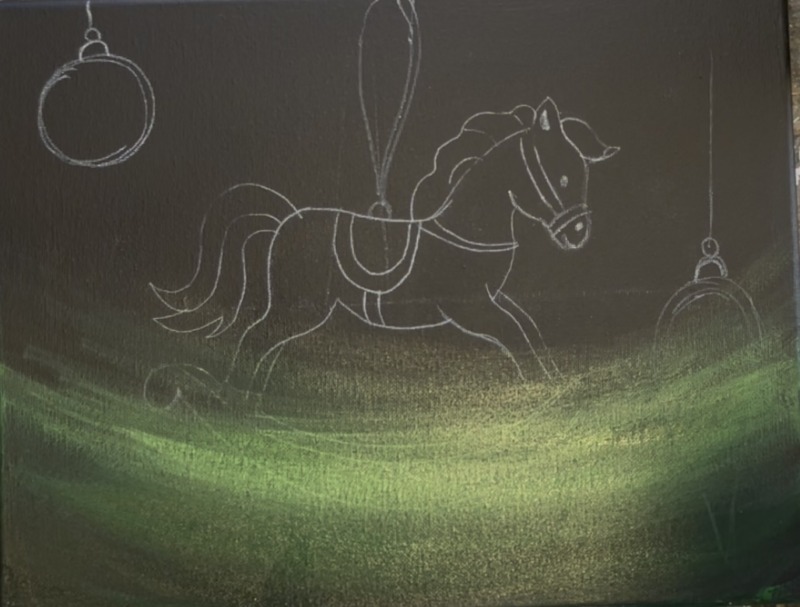
2. Paint Green Glow On Bottom Half Of Canvas
Load your palette with the colors: brilliant yellow green, hooker’s green hue, titanium white and mars black.

Use the 3/4″ flat to mix 1 part black with 3 parts green to make a dark green. Start on the bottom and paint an inverted curved area with the dark green. Go up a few inches with this large curved area. This should be a very thin layer of paint. Water it down slightly if needed.
Next, bring this green up a little further and make it lighter by only loading your brush into “hooker’s green hue” and not the dark green you mixed. I went over the bottom of the rocking horse just slightly but was still able to see lines through this layer of paint.
Then go up a little bit further with these curved brush strokes that go all the way across the canvas! This time, add a little bit of the “brilliant yellow green” to your brush. Lightly add that color until you reach the middle of the canvas. Only a small amount of paint is needed! Let the color “fade away” back into the rest of the black in the background.
3. Paint Pine Branches
Use the #8 long round brush for this next step. Load the brush into just the “hooker’s green hue”. Then paint branches. They will look very dark at first but you will layer on lighter colors later.
Start each branch by painting a green line for the “stem”. Then, at the end of the stem, paint individual diagonal lines for the pine needles. Make each branch so that it is pointing towards the horse and all around it.
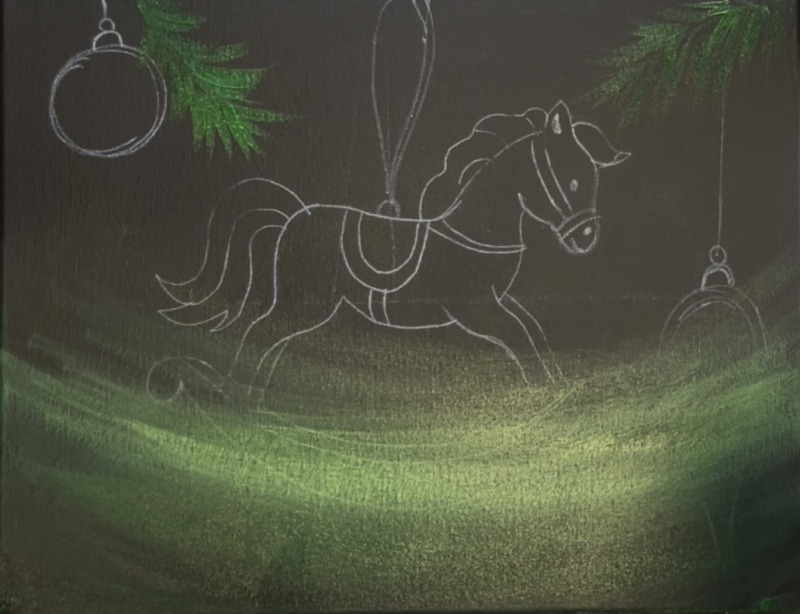
Add a branch at the very top of the canvas where the ribbon from the horse ornament will be hanging on. This one is the only branch going completely horizontal.
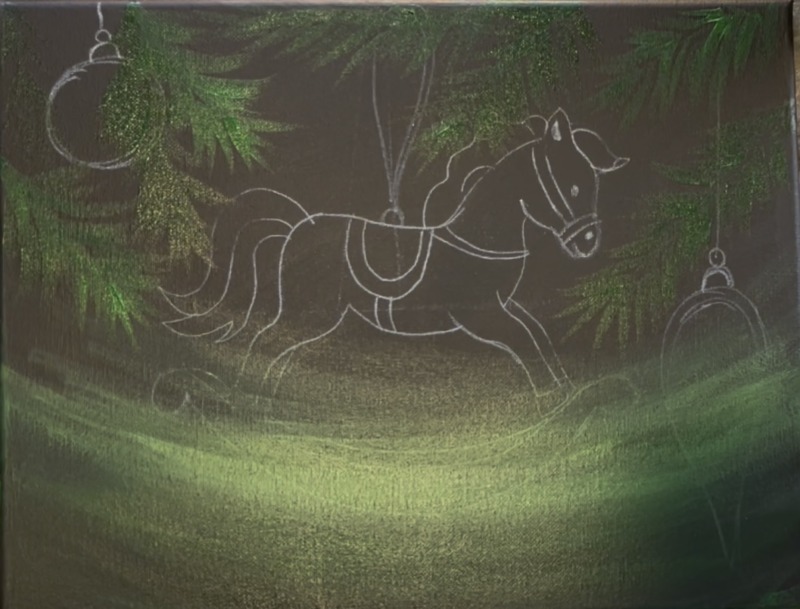
Next highlight the branches! To do this, mix a little “brilliant yellow green” in with “hooker’s green hue”. Go over all of your pine needle branch paint strokes but don’t cover up all of the dark green. Adding this light green layer will highlight the pine branches and allow them to look brighter on the black canvas!
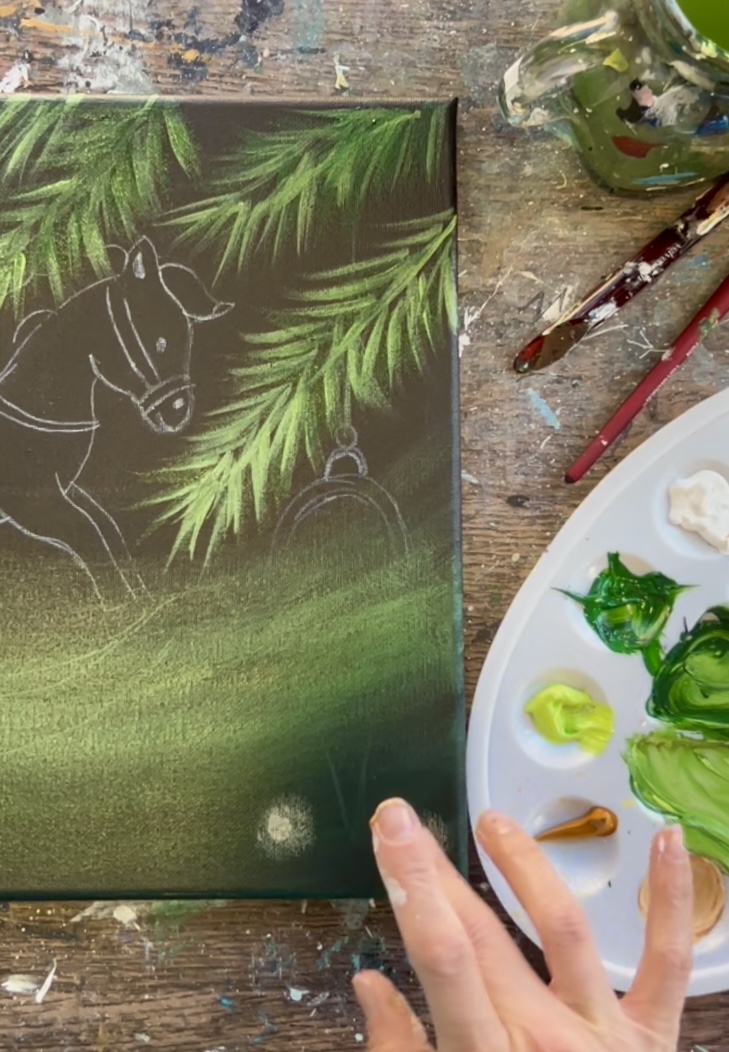
4. Paint Bokeh
For this step, I used my index finger to paint all of the individual colored bokeh lights. You can also do this using a round brush and a towel to wipe the round brush off as you are painting these lights.
Bokeh lights are blurry lights that show up in photography! They are so much fun to paint and add such a magical touch to paintings, especially Christmas paintings! To paint these, we must make them translucent and “blurry” around the edges of the circle. It’s also important to create them in different sizes and brightness levels and also to overlap them.
Load “raw sienna” onto your paint palette. To make the first bokeh light, dip your finger into a tiny bit of this brown and a tiny bit of the white. Press on the canvas to make a little dot. Then use another finger (or brush) to “blur” the circle outwards.
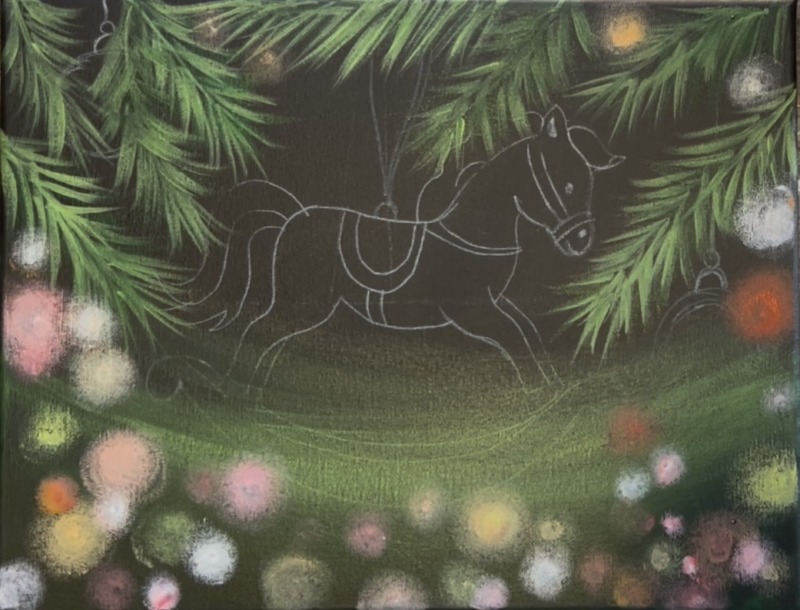
You want your light to be brighter in the middle and more blurry/ dim outwards. Next, create numerous more lights! Mix colors on your palette to create different variations! You can use just your finger to paint these lights or you can use a combination of the finger and brush! It may be easier to use the brush to paint a little dot and then use your finger to “smear” the dot outwards.
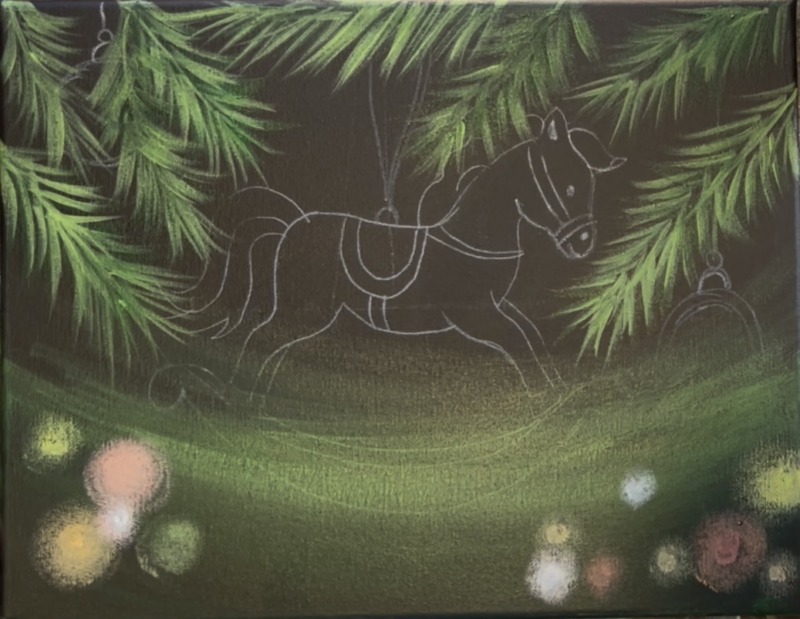
Load “cadmium red medium hue” on your paint palette and paint some bokeh using the red! Most of these lights are on the bottom half of the painting (over the green layers of paint we added earlier). There are a few lights scattered in between the branches at the top and sides of the paintings, however, most are on the bottom.
5. Highlight Branches Again
Go back over the pine branches with a layer of “brilliant yellow green” mixed with “titanium white” for brighter layers of pine needles! It is important not to cover all of the dark layers, they should be showing in between the lighter layers! They add shadowing and depth to these branches.
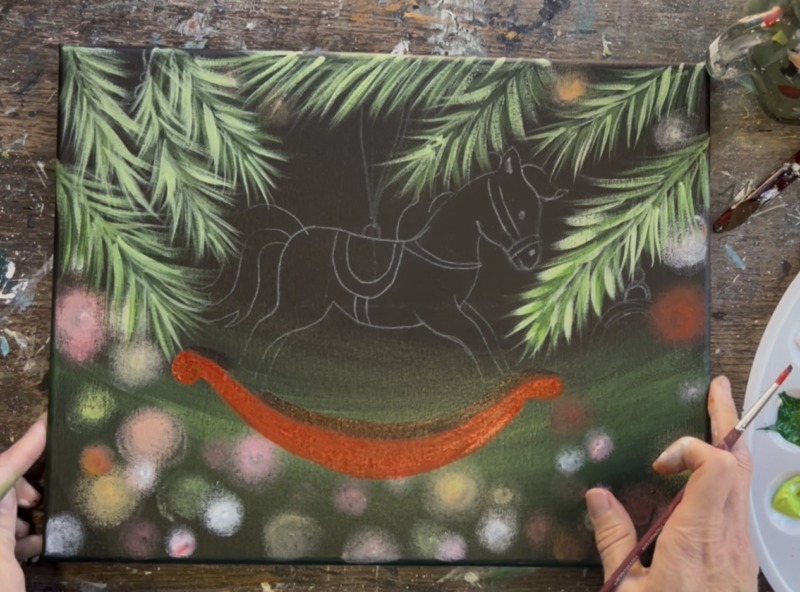
6. Paint Rocker
Use the color “cadmium red medium hue” and the #4 round brush to paint the bottom rocker on the horse. One solid coat of red is all that is needed for now for the front part of the rocker. Then mix a little black into red to make a dark red. Paint the back part of the rocker this “shadowy red” color.
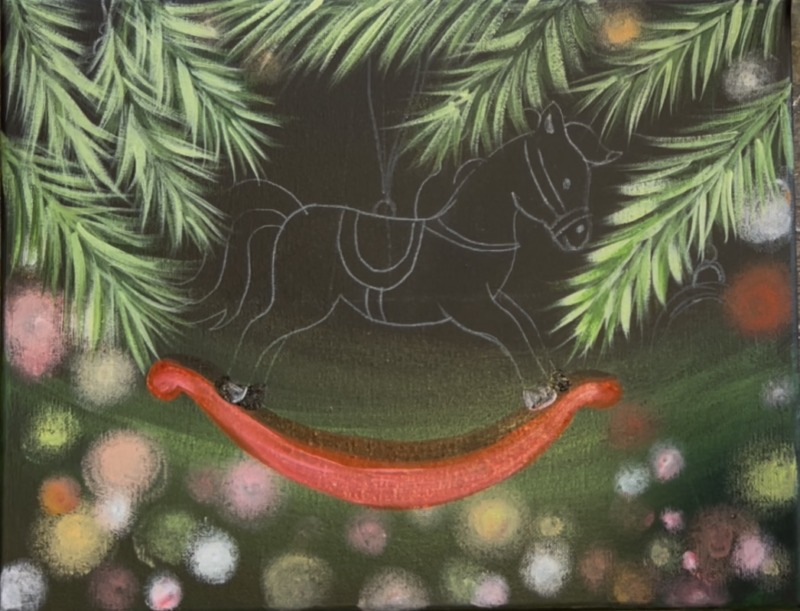
7. Paint Horse
Use “mars black” to paint the hooves of the horse. Use “titanium white” to highlight the front hooves a bit so they stand out from the back ones (which are solid black).
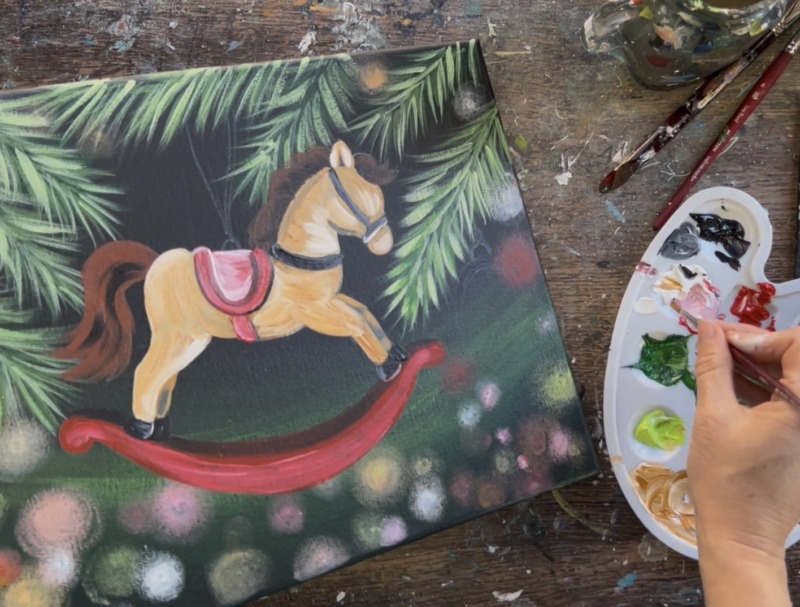
Next, mix “titanium white” and “raw sienna” on your paint palette. Use the #4 round brush to paint the horse. Paint short paint strokes at a time that curve/ contour with the shape of the horse. Do not paint the saddle or any of the head collar lines on the horse. Add a little more “brown” to areas that might be more shadowy such as under the saddle and under any of the lines of the harness.
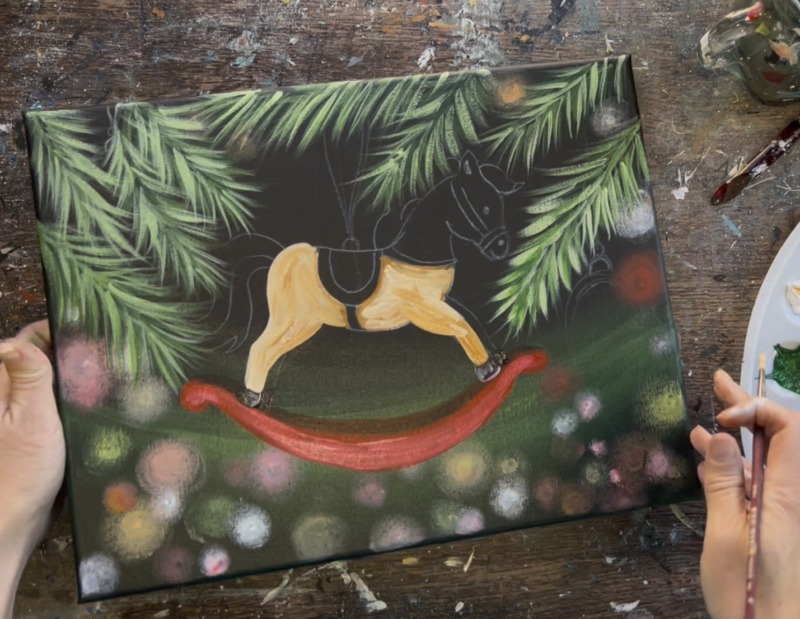
Add a little black to the brown/white combination (it will make more of a brown/gray color). Paint the back legs with these colors so they appear more shadowy.
8. Paint Tail And Mane
Create a dark red-brown color on your paint palette by mixing 1 part black, 2 parts red about 3 parts raw sienna. This is only an estimate of the proportions, add more brown if it seems too dark!
Use the #4 round brush to paint the horse’s tail and hair on head and neck. I filled in the shape first using paint strokes that curve/ contour with the curvy shapes.
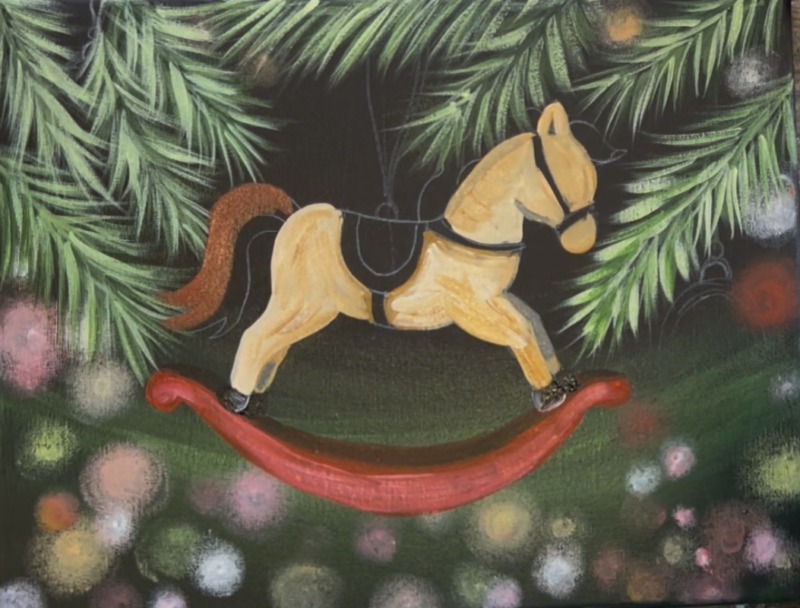
After painting the initial layer of this “dark red brown” color, add a little bit of black into the hair. Use the #4 round brush and “mars black” to paint a few dark strands on the tail and at the base of the hair along the head/ neck area.
9. Paint Saddle
Use “cadmium red medium” and “titanium white” mixed together to paint the saddle. I did the middle part of the saddle with a light red color and the outer border parts with the dark red.
Use a combination of black and white to make shades of gray. Paint the horse head collar/ reins lines.

10. Paint Second Layer Over Horse & Eye and Mouth
Mix “raw sienna” and “titanium white” and paint a second coat over the horse. Your first layer is likely dry by now and this second coat will provide a brighter, more opaque layer to the horse. For added color variations, blend in lighter tints of this color by adding more white to the brown.
Use “mars black” and the very tip of the #4 round brush (or 8 long round) to paint the eye and nostril. Paint a mouth as well! You can also do this step with a black paint pen.
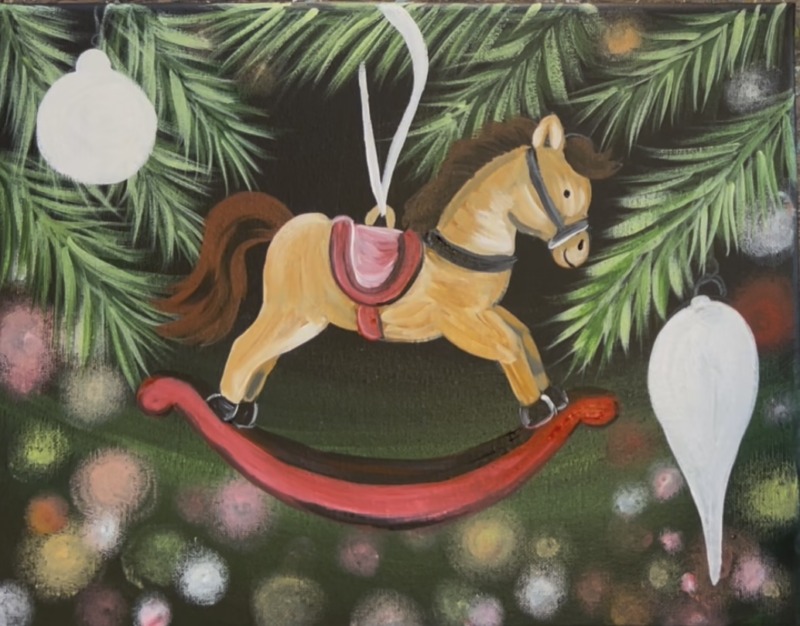
11. Paint Ornaments & Ribbon
Use the #4 round brush and “titanium white” to paint two ornaments solid white as well as the ribbon for the horse ornament. Note: also paint a little “U” line above the saddle for holding the ribbon. I used “raw sienna” for this.
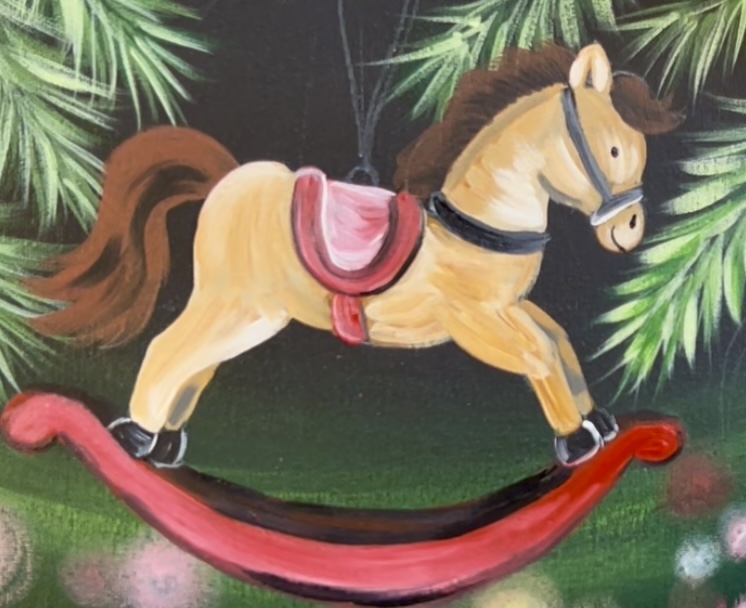
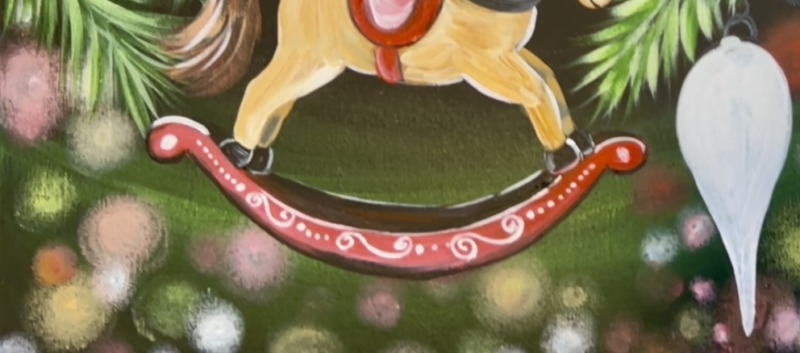
12. Paint Intricate Patterns On Rocker, Highlight Hair & Paint Red Ribbon
Use the #8 long round brush (or a white paint pen) to paint intricate spirals and dots on the horse rocker. You can also customize this with your own patterns!
Use the #8 long round brush to add lighter colored strands over the dark layers of the horse hair. Mix the same “red brown” color with titanium white to lighten the color. Paint thin strands of hair that go in the direction of the shape of the tail and hair on the neck/ head. Then add just a little bit more white for a final white highlight layer on the hair.

In addition, use the red to paint over the white ribbon layer. You can also add some black outlining to the edges of the ribbon.
13. Paint Ornament
Use the #4 round brush and “cadmium red medium” to paint the ornament. Paint a solid red color first. Then add some “dark red” in the center of the ornament and blend outwards. The dark red is made by mixing a tiny amount of black into red.
Then paint the tops of both of the ornaments with a gray color (mix black and white). Then use “titanium white” to paint a line of vertical dots above each of the ornaments.
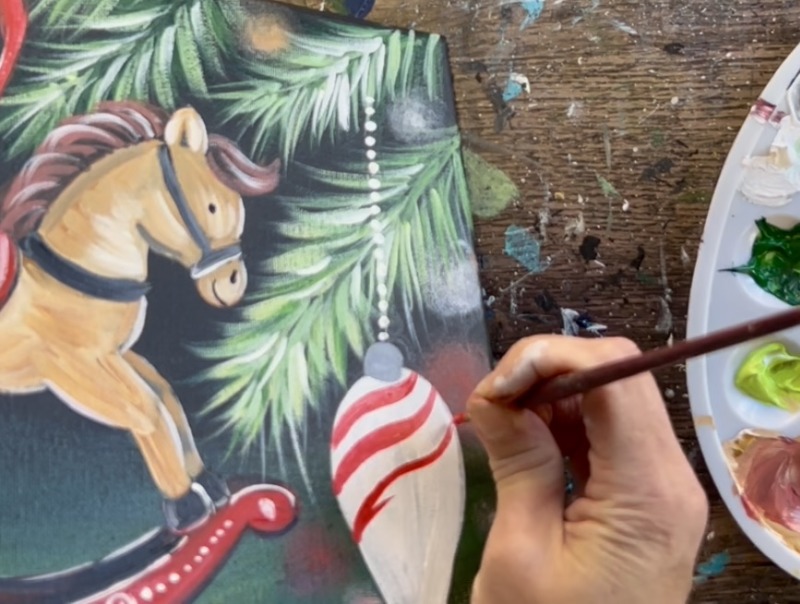
Use the #4 round brush and “cadmium red medium” to paint the stripes on the long ornament. These stripes are going diagonal, they are thin on the ends and get thick in the middle.
Use white to highlight the left sides of the ornament caps.
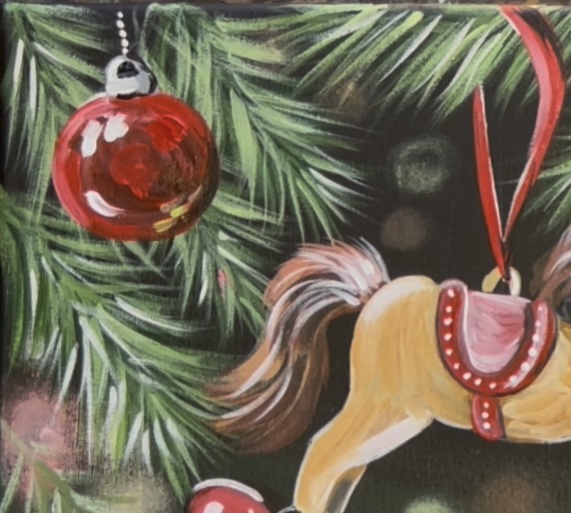
Then detail the reflections on the red sphere ornament. Use the #4 round and “titanium white” to paint a few curved “blotches” on the top and bottom left of the circle. Then paint a little bit of black/red on the bottom right edge of the circle. Also, add a few strokes of green on the lower right part of the ornament. This gives it a little bit of reflection! This ornament is very abstract so blending a few blotches of dark red/ random colors in there and adding some bright white highlights in one area is really all that is needed to give it that “shiny ornament” look!
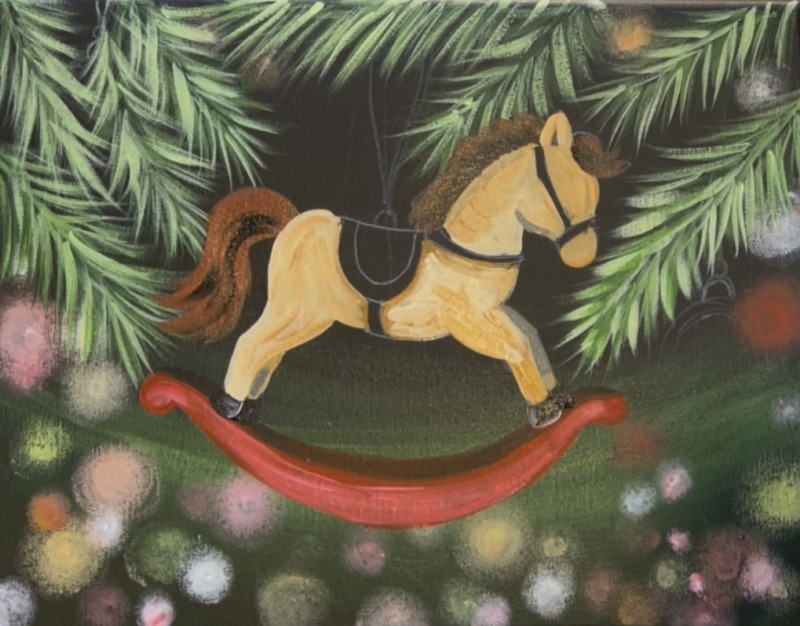
14. Final Touches
Some final touches you can do to this painting include:
- A vertical/ curved highlight on the left side of the long striped ornament
- More bokeh lights in some of the black open areas of the painting
- More pine branches, especially shadowy dark ones in the lower half of the painting that overlap some of the bokeh lights.
- White dots on the horse’s saddle
- Painting the “reins” under the horse’s head and adding an addition head collar line near the ear (the lines sort of make an “X”).