
Would you like to save this?
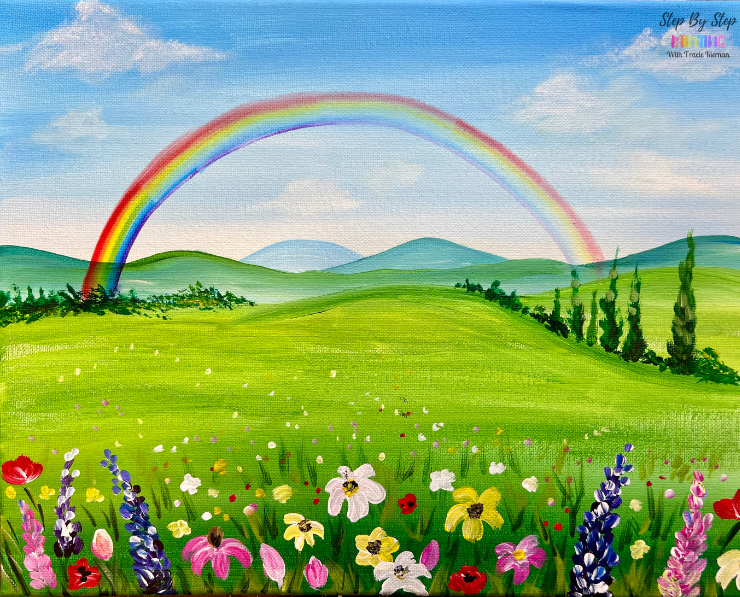
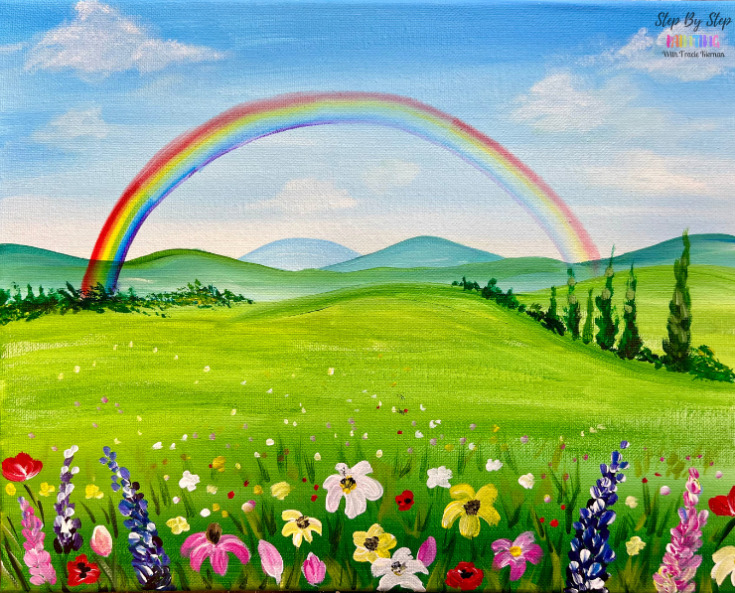
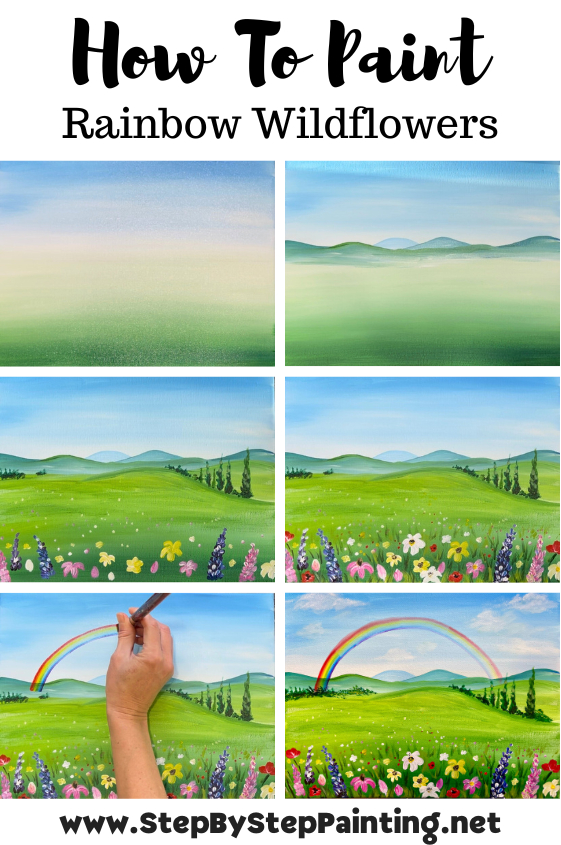
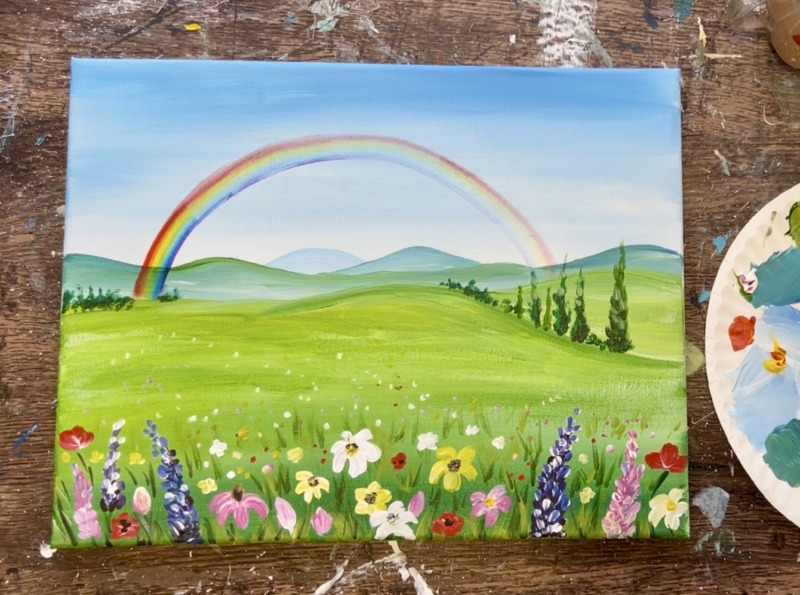
I love painting a refreshing bright green spring landscape with flowers! I find that painting a field of flowers to be a great zen moment because I can zone out as I paint them. You don’t have to worry about realism or detail with these flowers either!
That rainbow is actually really easy and fun! I’ll be showing you how to paint the rainbow using only one (or two or three) paint strokes. I recommend actually practicing it on a paper or canvas pad (if you have one).
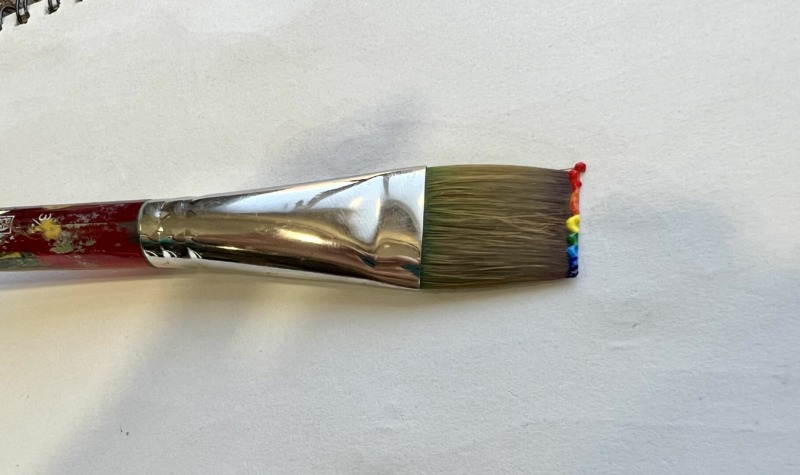
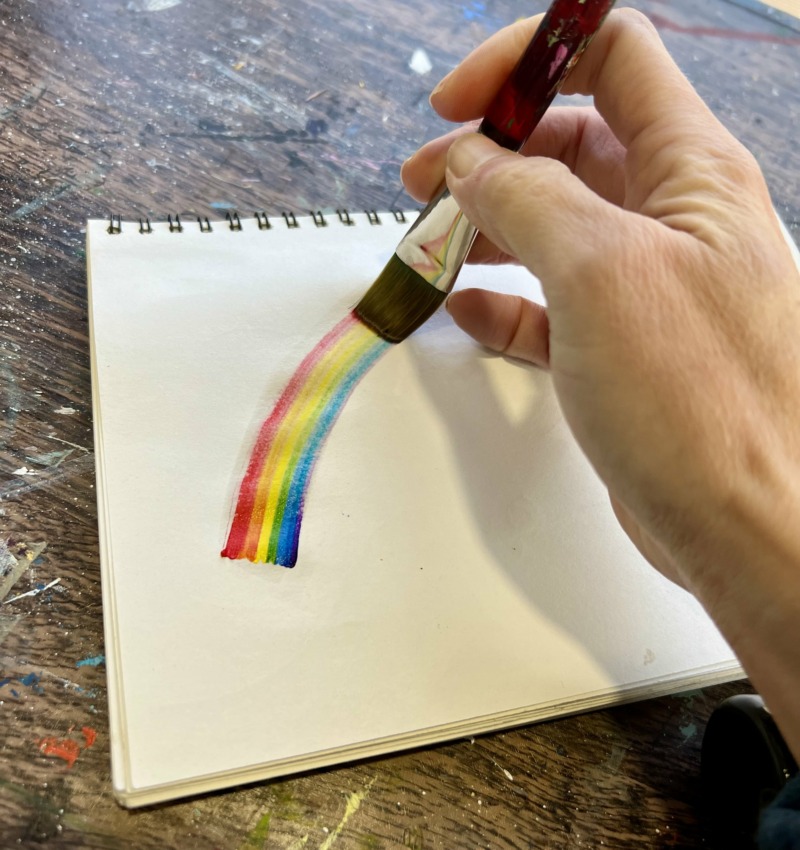
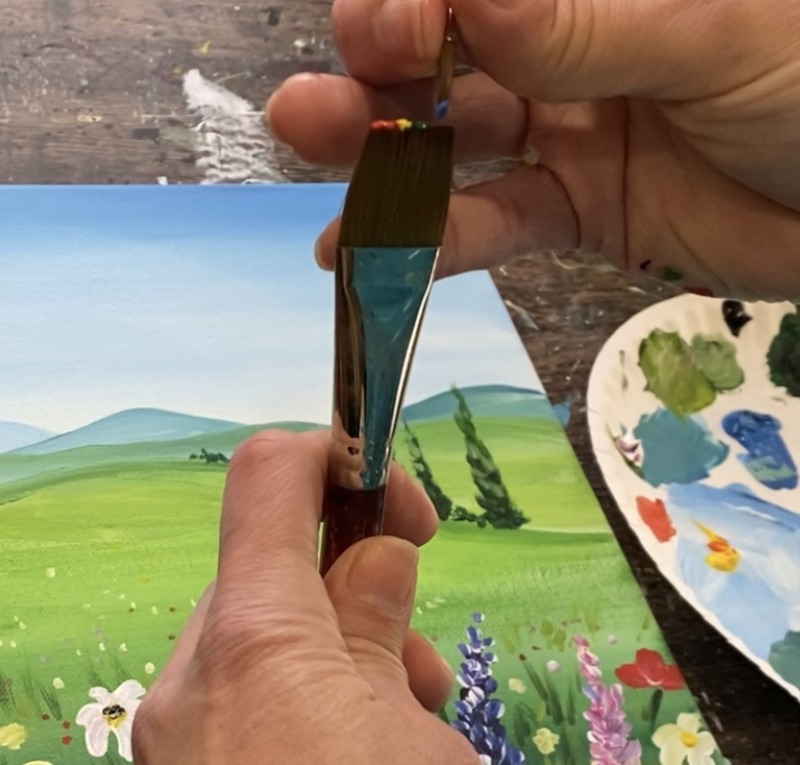
You basically load your flat brush (I used a 3/4 flat) with each color of the rainbow. I use a round brush to load a little dot of paint on the end of the bristles (as shown below). You just need a little dot and you need to be able to fit 7 colors on the edge.
Then use a different brush that isn’t loaded with paint to paint a clean, clear water arc line on your paper or practice sheet.
You’ll see that the water helps the color bleed a little and makes the rainbow look vibrant and your paint stroke flow easily! Paint your rainbow using the full width of the brush. Make sure your red paint is on the top!
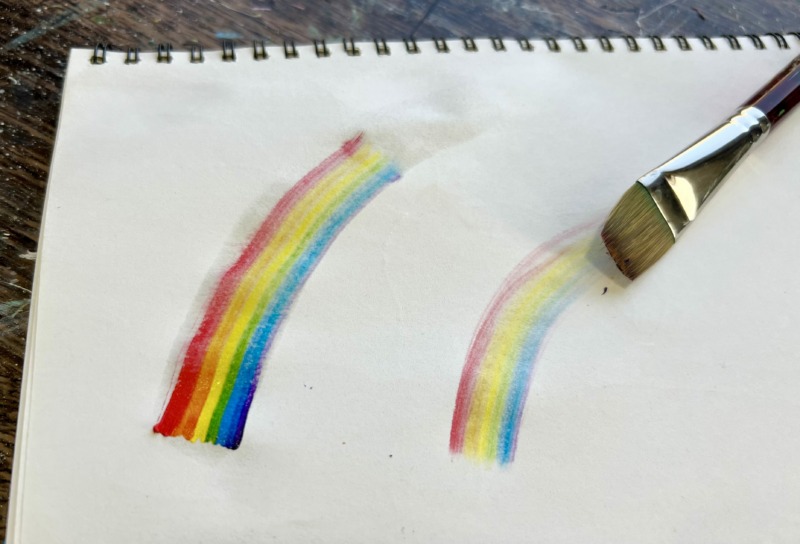
Experiment with this… You also don’t have to use a wet arc as a base. See what effect it makes when there isn’t water. You can create more of a “dry brush” effect with no water as the base and when your paint on your brush runs dry. This creates more of a translucent rainbow.
Enjoy and happy painting!
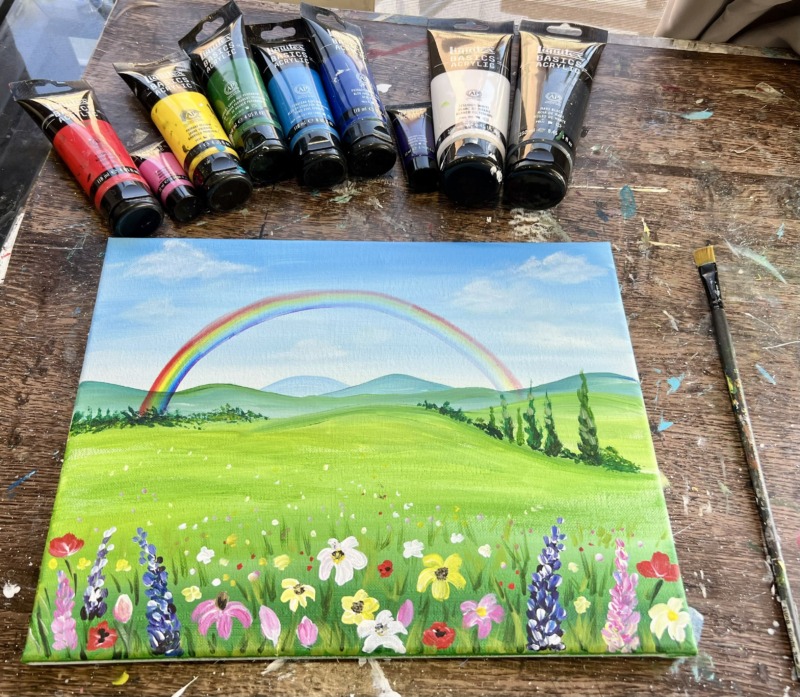
Materials
Rainbow Wildflowers
Materials
- Acrylic Paint
- Brushes
- 11 x 14 Canvas
- Ruler
- Pencil
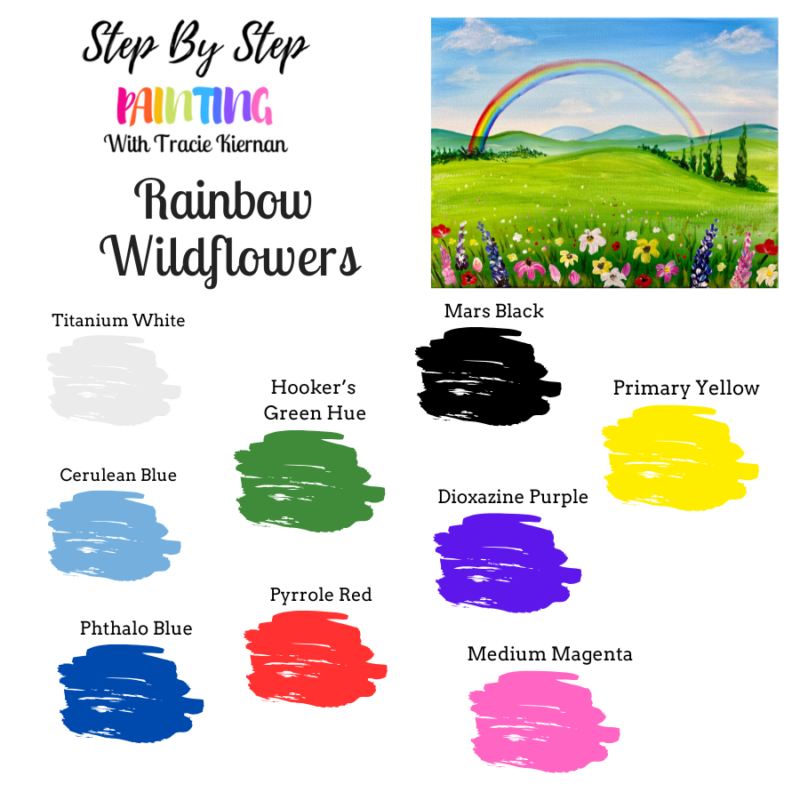
Colors
- Titanium White
- Mars Black
- Pyrrole Red
- Primary Yellow
- Hooker's Green Hue
- Cerulean Blue
- Phthalo Blue
- Dioxazine Purple
- Medium Magenta
Brushes
- 3/4 Flat Brush
- 12 Bright Brush
- 4 Round Brush

Color Palette
Directions At A Glance
Video
Step By Step Directions
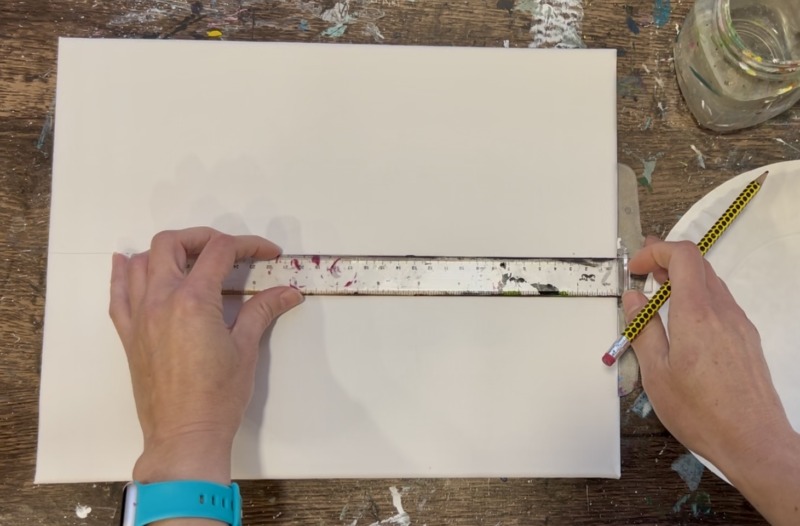
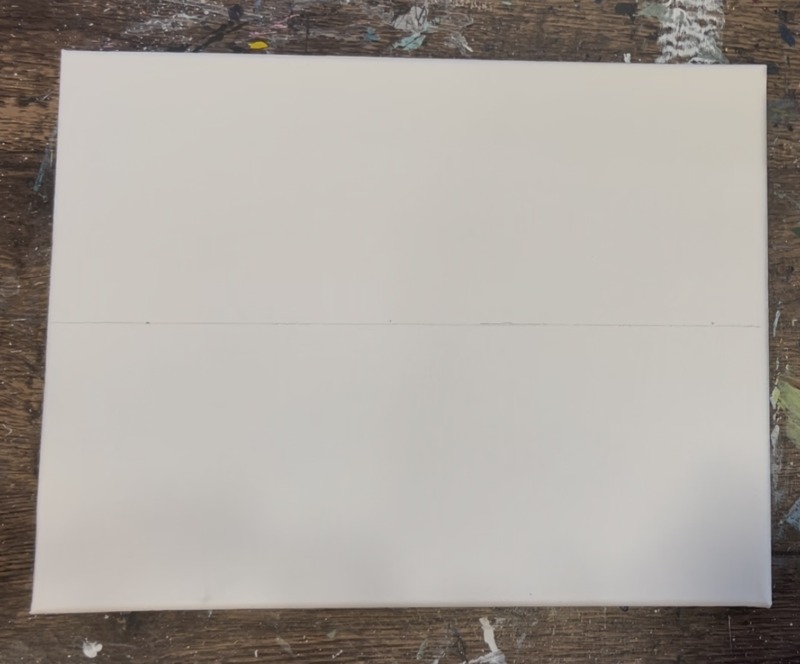
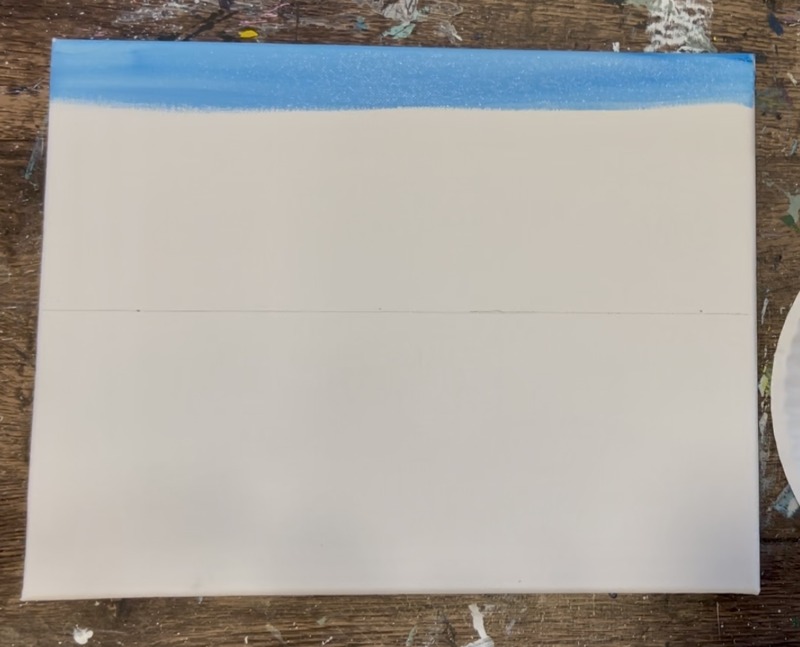
1. Draw Horizon Line
Position your canvas horizontally. Locate the center of the canvas and draw a horizontal line with a pencil all the way across the canvas.
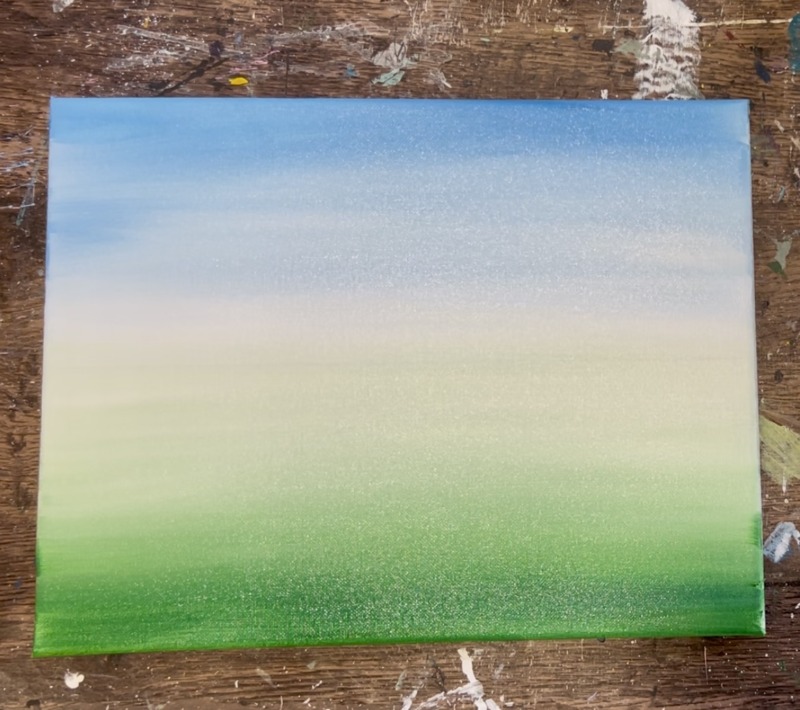
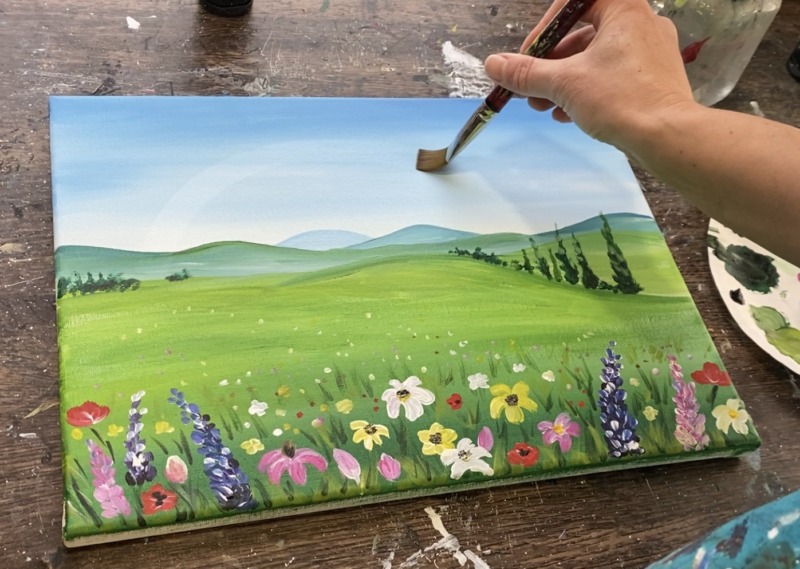
2. Paint Sky
Next, load your paint palette with “cerulean blue” and “titanium white”. These are the two colors we will use to paint a simple gradient sky.
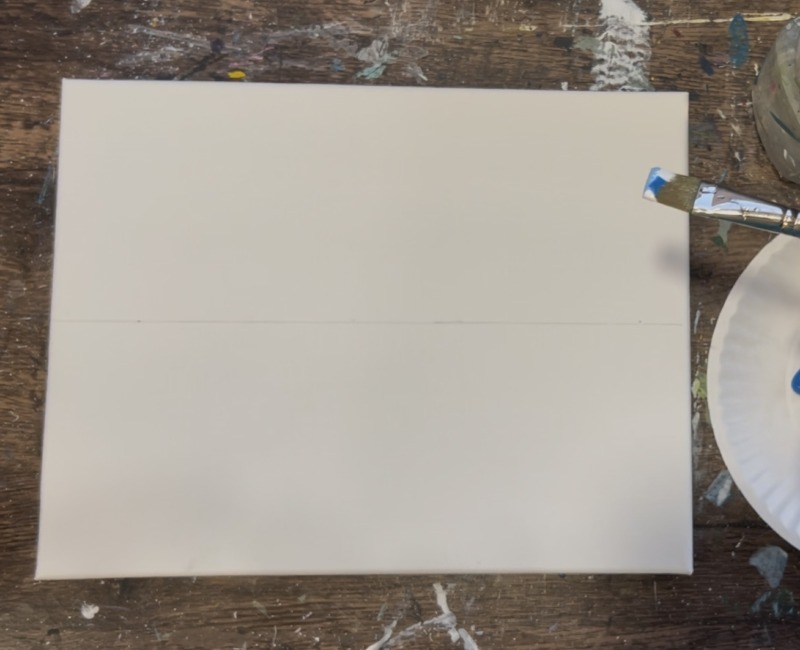
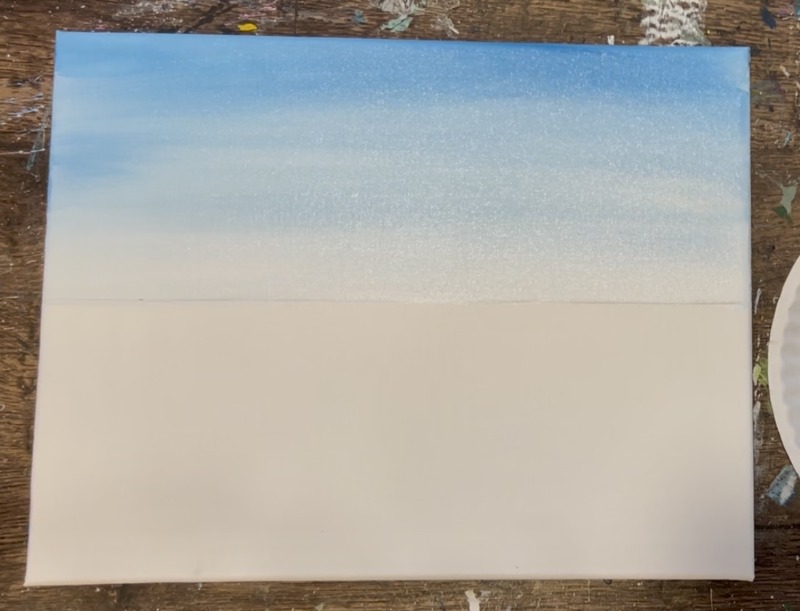
Start by mixing equal parts “cerulean blue” and “titanium white”. Use the 3/4 wash brush and paint full width left and right paint strokes that go all the way across the canvas.
We will be creating a “gradient” which means the color of this sky will become lighter as you work your way down to the bottom edge of the canvas. To do this, gradually add more white to your brush and blend it. Keep adding more and more white until your sky becomes the lightest tint of blue! Blend the color by brushing lightly over the colors on the canvas.
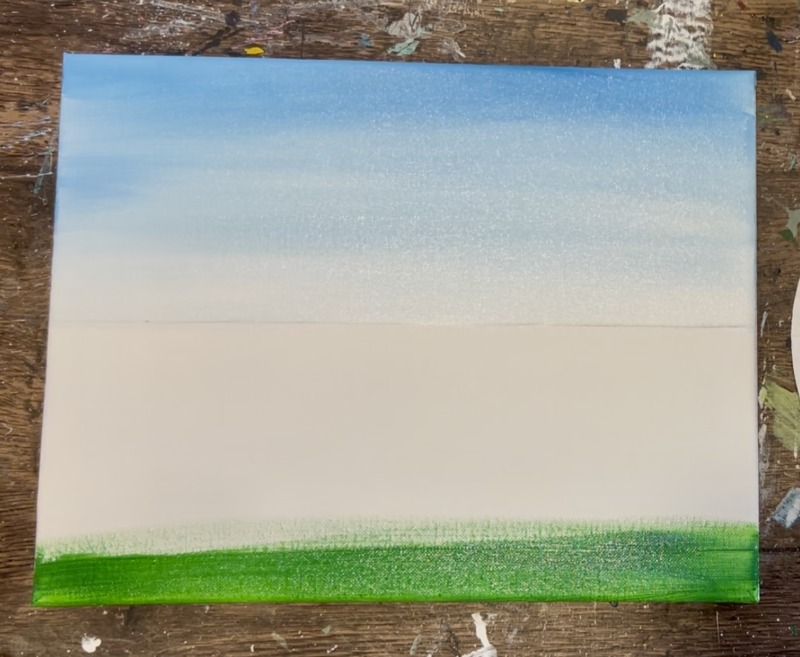
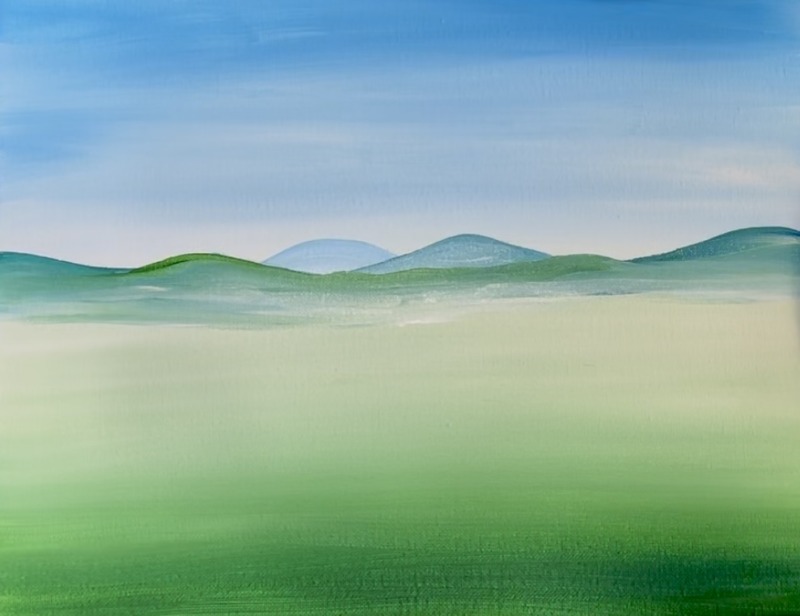
3. Paint Green Ground Layer
The green ground area for the grass is painted using the same technique as the sky! This time you will be starting at the bottom with “hooker’s green hue” and blending to a light pale green at the top with “titanium white” mixed with the green.
Start with a clean 3/4 flat brush. Note: I mixed cerulean blue with the hooker’s green to make it more of a green-blue color, however, this is optional!
Paint left and right paint strokes with this darker green at the bottom edge of the canvas.
Then blend “titanium white” into the green and work your way up towards the “horizon line”. Allow you land to get lighter as you work your way up. Do this by adding more “titanium white” to your brush. If needed, you can wipe the brush off to help with the blending. Sometimes when you have too much paint on your brush, it becomes harder to blend.
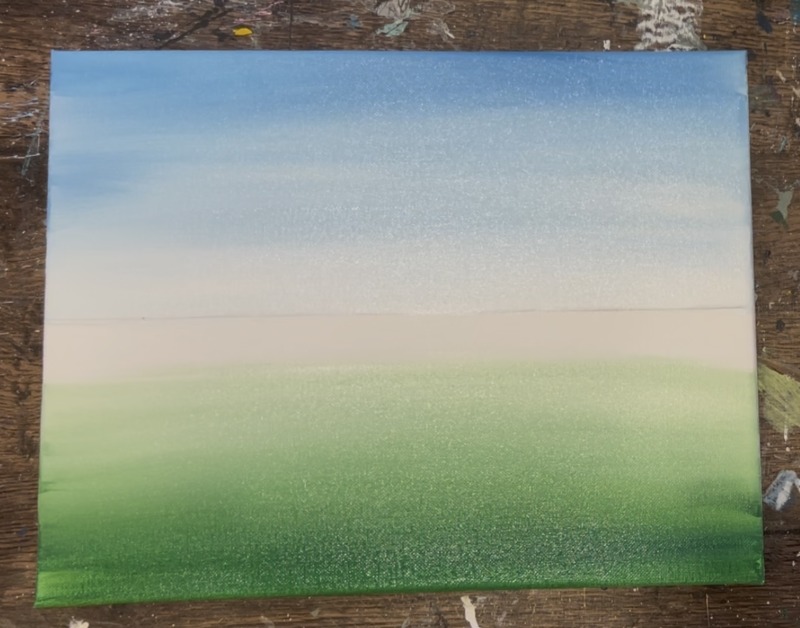
I chose to paint my very light green a little higher than the horizon line and blended it more into the white/blue on the bottom of the sky. Basically, now I have a very light green above my horizon line and into my sky area.
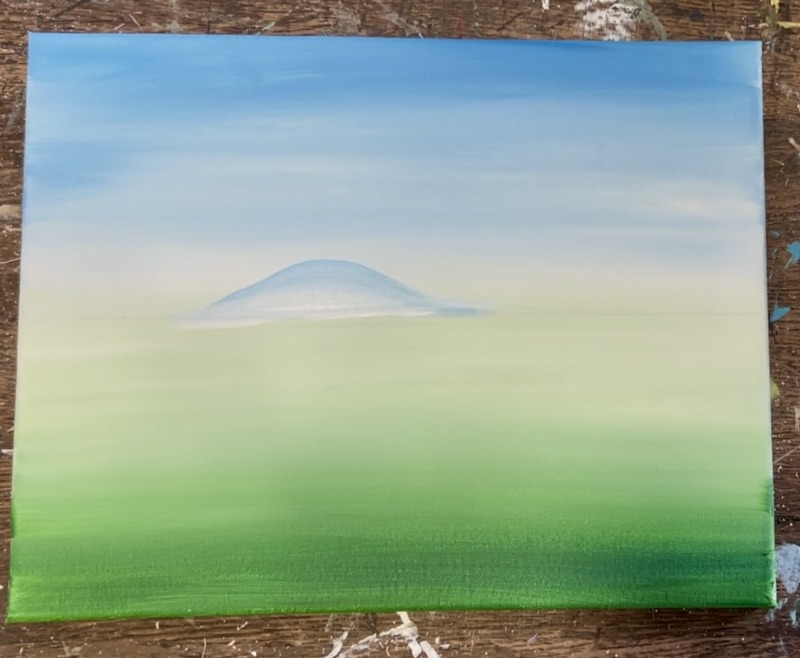
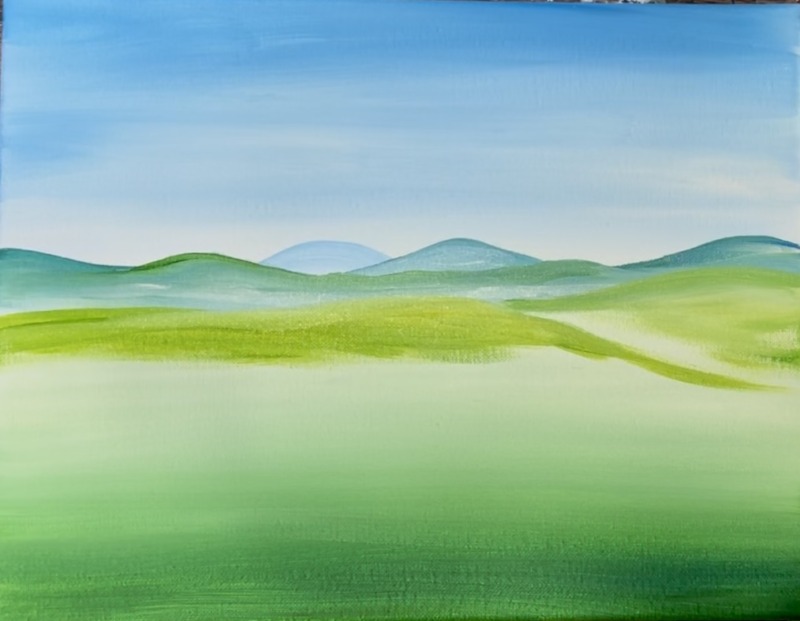
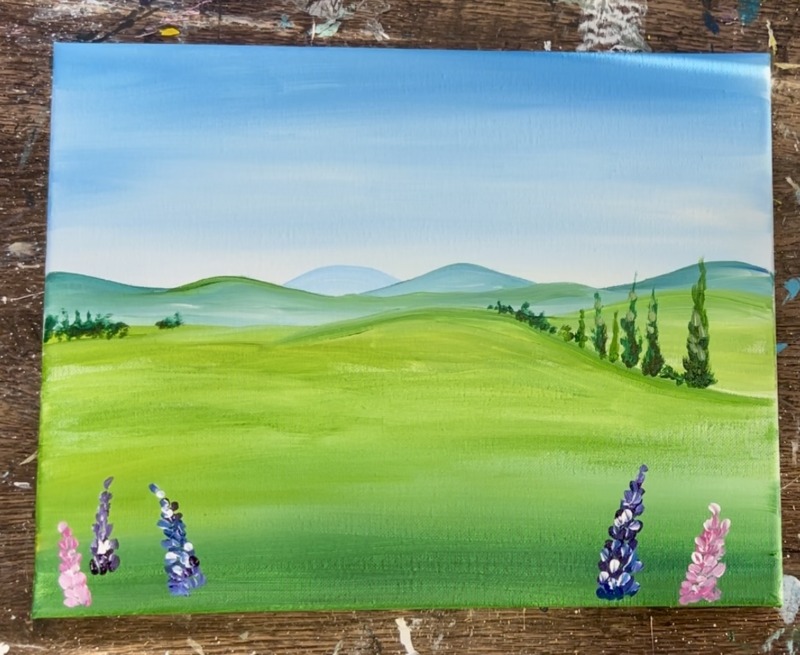
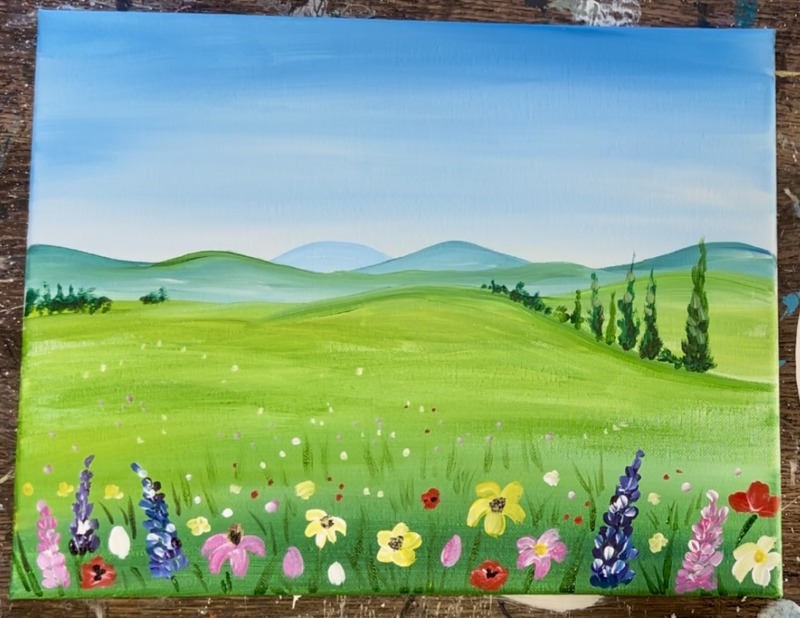
4. Paint Hills/ Mountains
Use a #12 bright brush or a #4 round brush for this step. We will be painting our farthest away mountain first! Use “cerulean blue” mixed with white (about a light to medium blue color). Then paint a hill shape in the center left above the horizon line. This only goes up about 1.5″. Next, blend “titanium white” on the bottom of this hill so the top edge of the hill is slightly darker and the bottom is slightly lighter.
Mountains and hills appear lighter when they are further away. Next, we will paint a darker hill that will overlap the hill we just painted. Use the same #12 bright brush (or round brush). Mix “hooker’s green hue” with the “cerulean blue” and a bit of white so it’s more of a medium teal color. Use the edge of the brush to define a flat/ wavy hill line that goes across the canvas and overlaps that far away hill.

Then fill in the base of this mountain/ hill. Add a bit more “titanium white” to your brush and blend it down so the top part of the hill is slightly darker and the bottom is slightly lighter. It’s okay to not blend your color all the way and have “color variations” in the mountain. I like to add a bit of white on the base of my mountains so they are lighter on the bottom and dark at the top. This helps make the overlapping of our mountains look really pretty and gives the mountains more dimension!
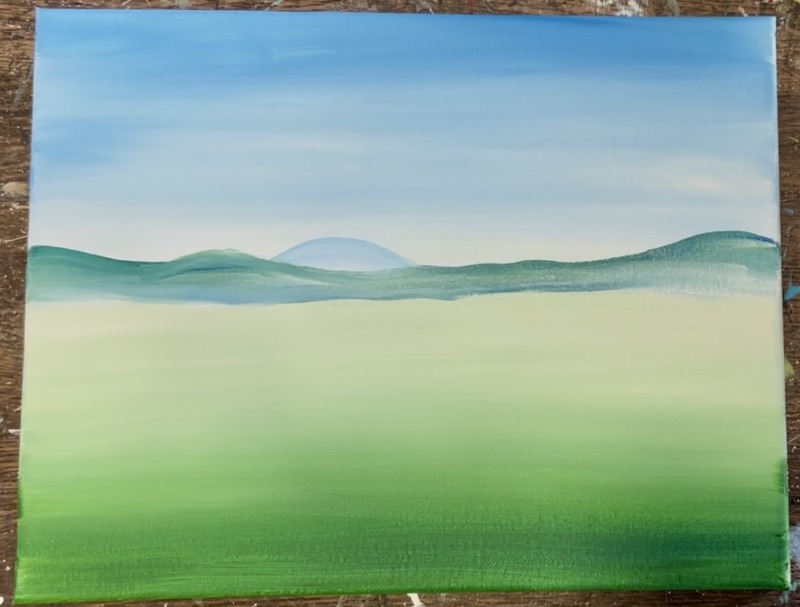
Paint another mountain. This one is going to be behind that long hill we just painted but in front of that smaller light blue mountain we painted first. I did this one with more of the cerulean blue so that it is darker than that light blue mountain but still a different color than our green “long hill”.
Make this hill slightly darker at the top and blend lighter color on the bottom.
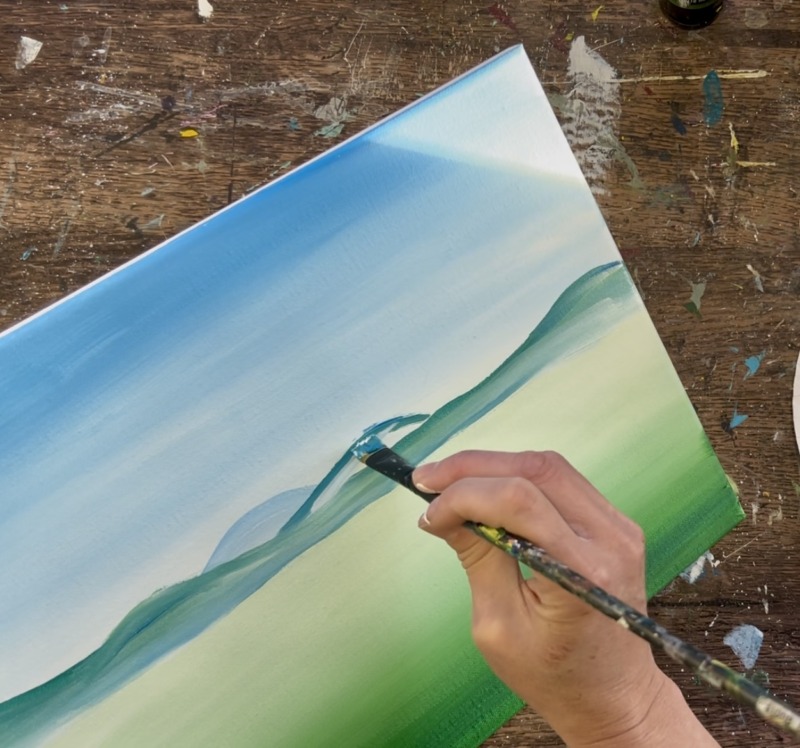
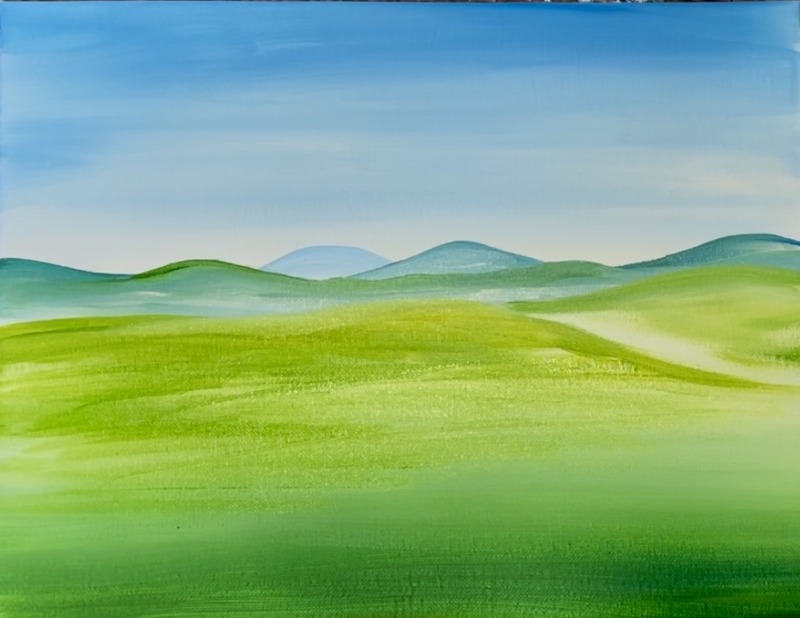
Next, paint another very flat hill layer in the landscape. This one will be a green-yellow color! Mix equal parts “primary yellow” and “hooker’s green hue” and then add a bit of “titanium white” to lighten the color up to more of a green-yellow color. Use the end of your #12 bright brush to paint a flat land/hill area that goes up just slightly and overlaps your darker green hill area.
Then use the same color to paint another hill on the right that goes just a bit higher but then behind this front yellow-green hill. Bright your yellow green color down further to the middle area of the landscape and let it sort of fade away into the rest of the green. Do this with the 3/4 wash brush.
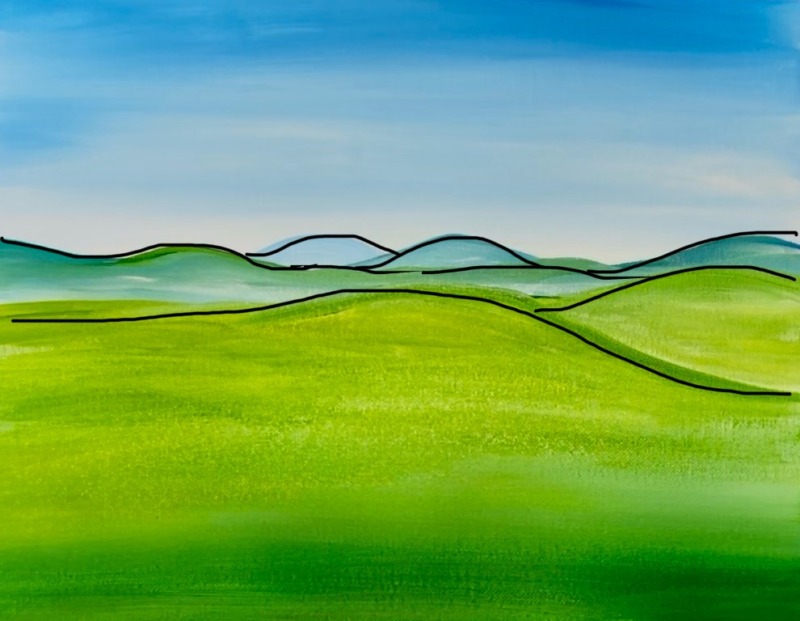
This picture below shows you the division of the mountain/ hill lines outlined so you can see them. It’s okay to make your hill shapes and sizes different or more simplified!
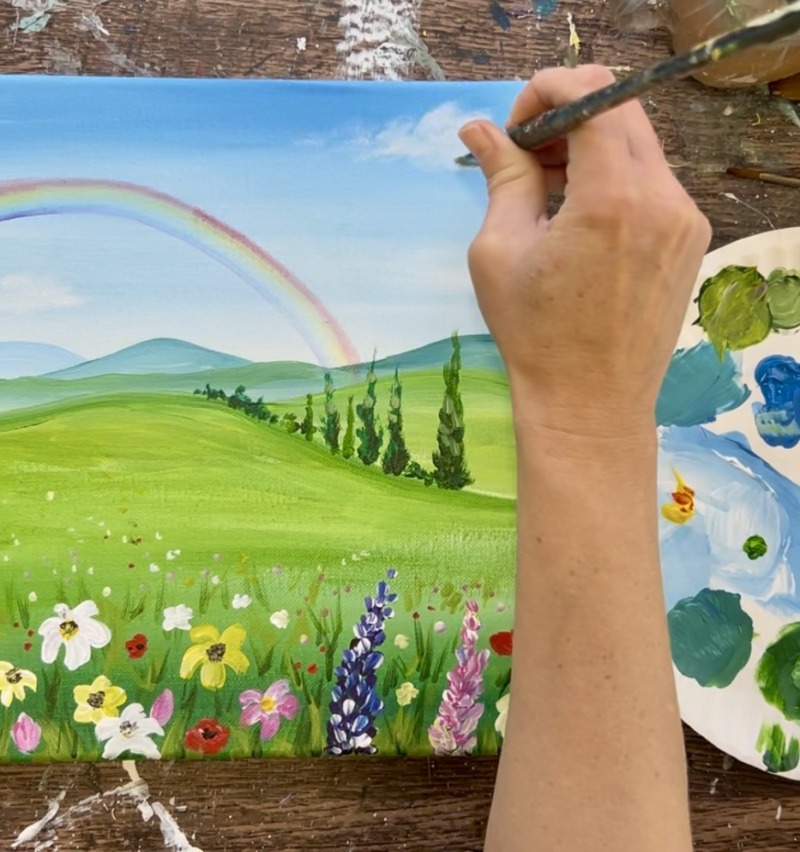
5. Paint Trees/ Bushes
Use the corner of your #12 bright brush (or use the #4 round brush and “stipple”) to create very low bushes in the distance and a few tall cypress trees.
Start by mixing “hooker’s green hue” with “phthalo blue” (that darker blue added to your palette). “Stipple” little bundles of low green bushes on the left side of the landscape on the edge of the green-yellow edge of the hill/land area. Make a few similar bushes on the right side of the landscape too. To paint the cypress trees, paint vertical columns that are larger on the base and go pointed and more narrow upwards.

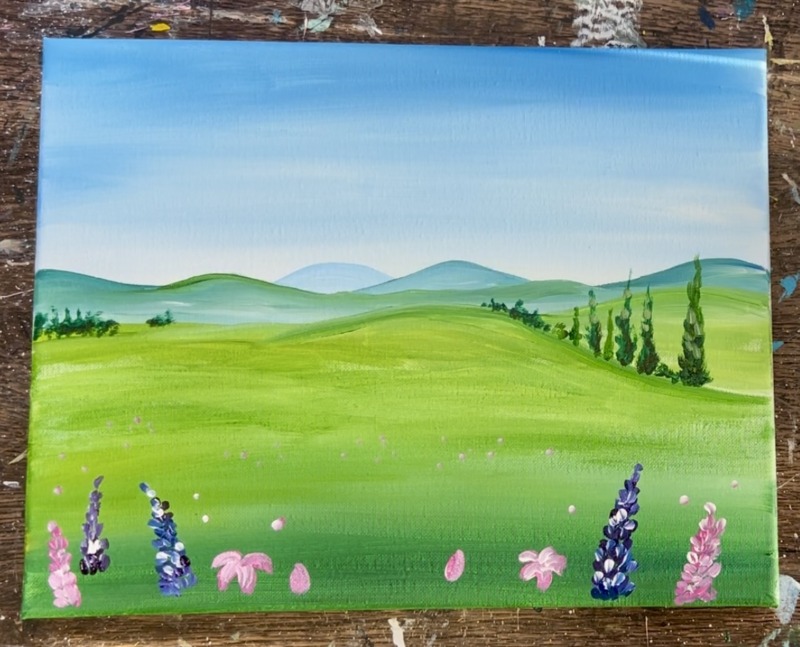
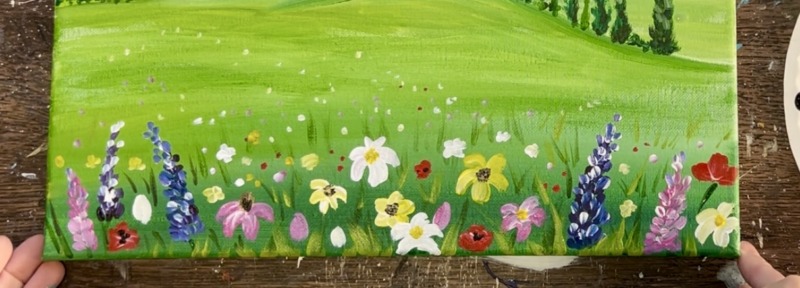
6. Paint Flowers
The flowers in this painting are somewhat simple. There is a large variety of different style flowers and colors. Try not to focus too much on making them look realistic or detailed because there are so many of them! Also, when painting these flowers, make sure the larger ones are towards the bottom of the painting and further ones are smaller or even just little dots.
I started with the “lupine” style flowers. Use the #4 round brush. Double load the brush in both “dioxazine purple” and “titanium white”. Paint little dotted marks that form a narrow triangle shape. You can start at the top of the flower or the bottom. Create different “color variations” by loading your brush in different amounts of purple and white.

Some of these flowers can have “phthalo blue” mixed with “dioxazine purple”. Those two colors blend nicely together! Adding the white over your little dotted paint strokes gives these flowers more depth.

Repeat this technique to create several lupine flowers blooming. Then load your paint palette with “medium magenta” and create some purple lupines.
Start painting other style flowers next. You can do simple five or four petal flowers. You can also paint little ovals to represent a tulip shape. Add a few dots in the distance to give the illusion of some flowers further aways.
Use the color “primary yellow” and “titanium white” to paint more flowers. Mixing white into yellow makes it so the yellow shows up brighter.

Paint a few poppy style flowers with “pyrrole red”. Blending a little white into your petals will give your red a little more color variation. Use the red to also paint little dots in the distance.
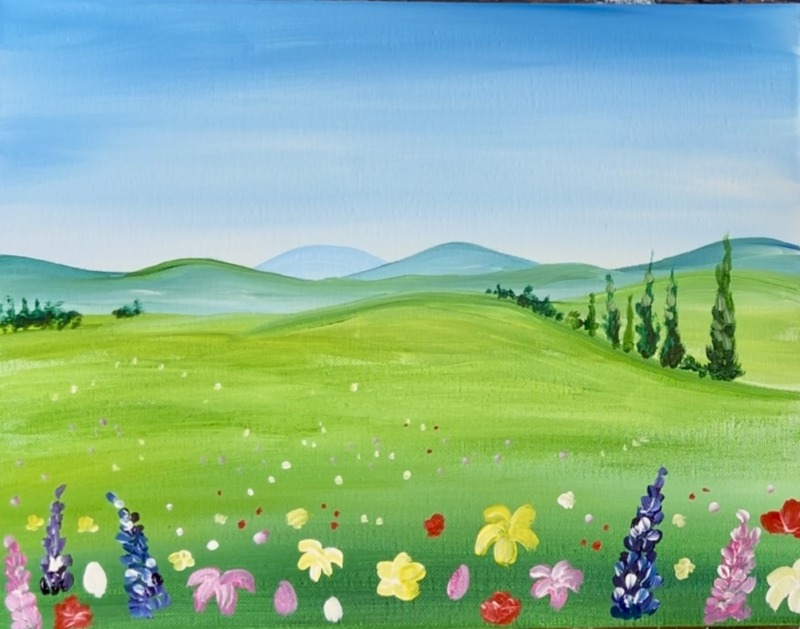
Continue to fill your bottom half of your landscape with flowers! We will do stems and grass in the next step.
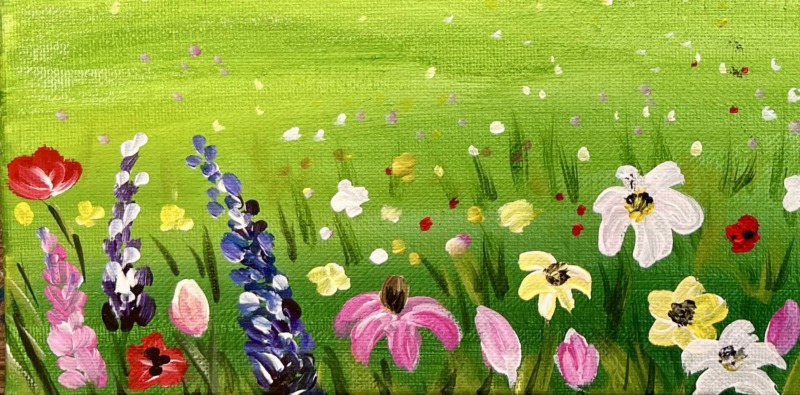
7. Paint stems/ grass & centers of flowers
You can create simple “centers” for the flowers by mixing a brown on your palette. To make brown, mix red, yellow and blue together and add just a bit of white to it. Use the round brush to paint little circles in the centers of your flowers. You can also use “mars black” to make little black dots in the middle of the flowers.
To create the grass, mix a little “mars black” into “hooker’s green hue”. Use the #4 round brush to paint little stems that attach to the larger flowers that are lower in the painting. Then paint little grass marks in between the flowers. If you are painting the marks further up, they are further away and will be smaller.
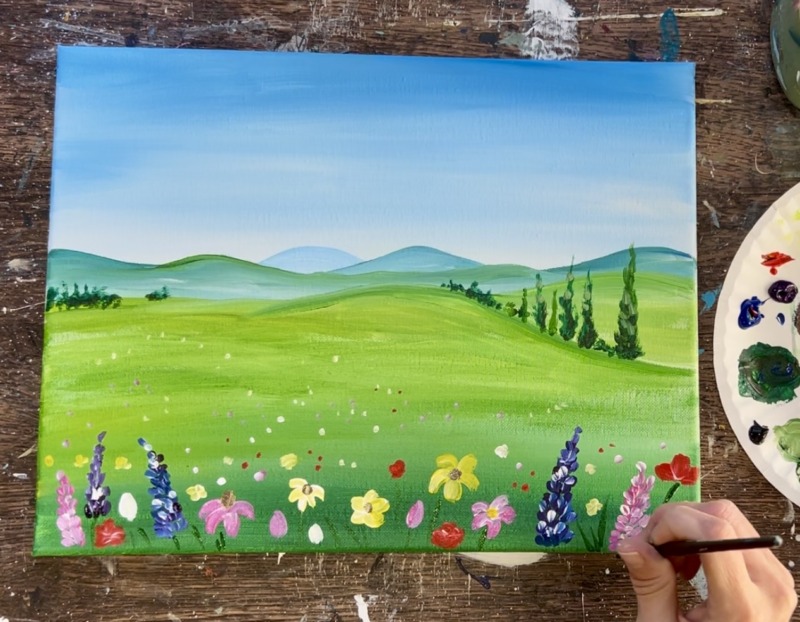
Add more flowers to this area after you do your first round of dark grass.
Then add a layer of light colored grass. Mix “primary yellow” into your green and add some white into it. Add this light yellow grass color in between your flowers. This light color will give more depth and color variation to your field of wildflowers.
Add more flowers and/or grass as needed. Add more colorful dots in the distance for more further away flowers.

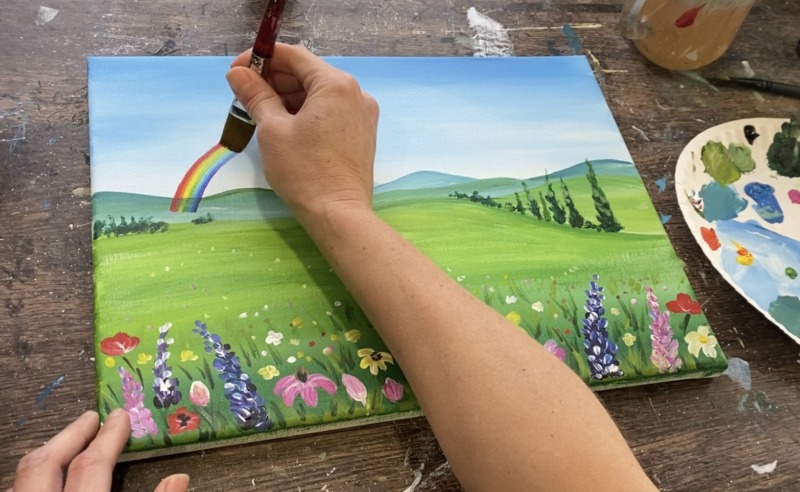
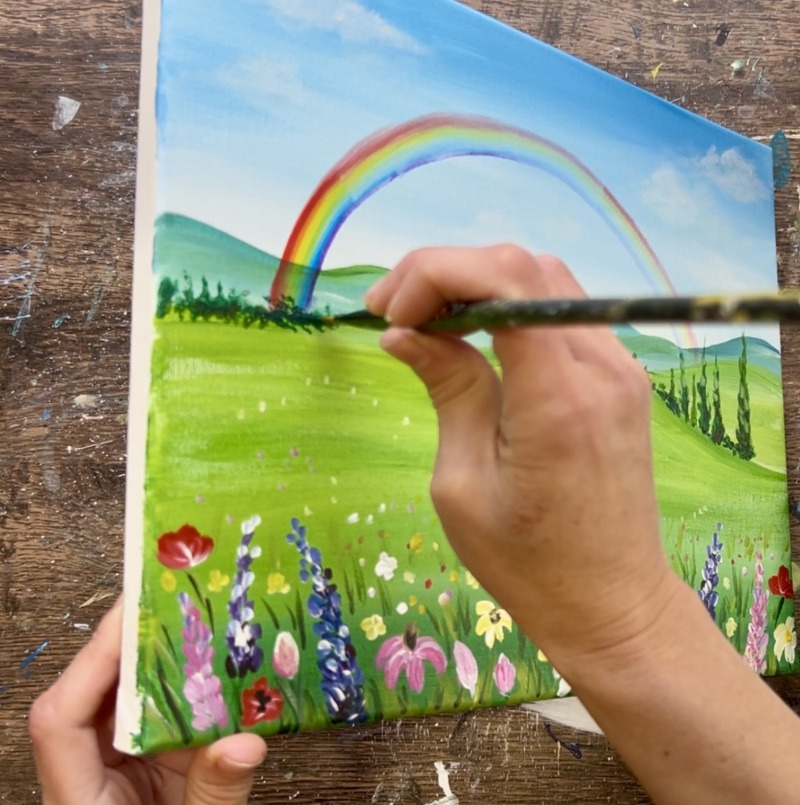
8. Paint Rainbow
I would recommend practicing the rainbow before applying it to your canvas.
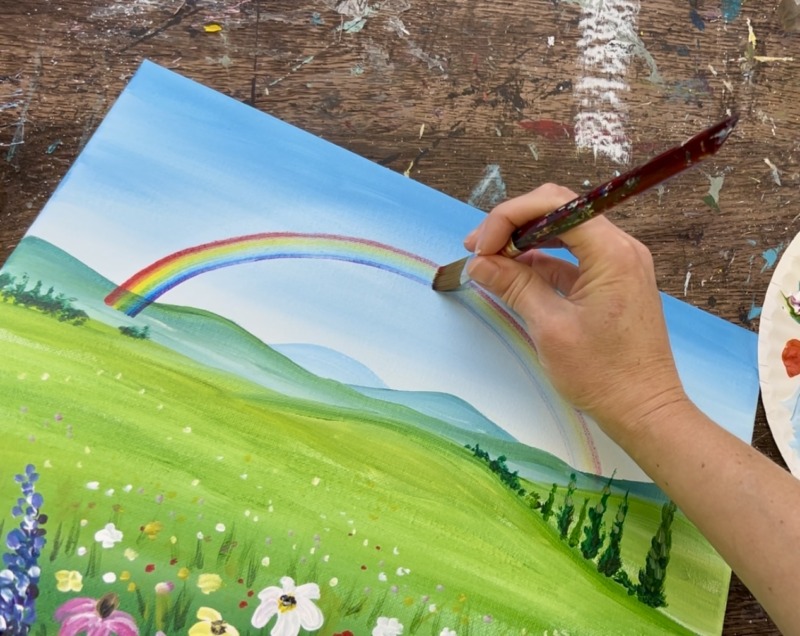
Start with a clean 3/4 wash brush and apply clean clear water to it. Create your rainbow trail on your canvas paint painting a large arc. This gives you a chance to decide how big and where the rainbow will be. You can always dry the water if you don’t like it or you mess up.
After you create your wet and clear arc on your painting, load your paint brush with the rainbow colors! You will be using the #4 round brush to add a tiny dot of paint color on the end of your 3/4 wash bristles. Start with the red paint and make a dot on the far left. Then mix an orange on your palette (mix red and orange together). Paint an orange dot on the brush. Proceed to paint a dot of each color of the rainbow! For “blue”, I use “cerulean blue”. For “indigo”, I used “phthalo blue” and for “violet”, I used “dioxazine purple”.

After you have your brush loaded, start at the bottom of the rainbow. I started on the left. Also, make sure you have a wet arc in place! This will help with the flow of your paint because you have a wet base. If it is dry, it may not bleed the color right.
Press gently, using the full width of the brush. (Make sure your red paint is on top)
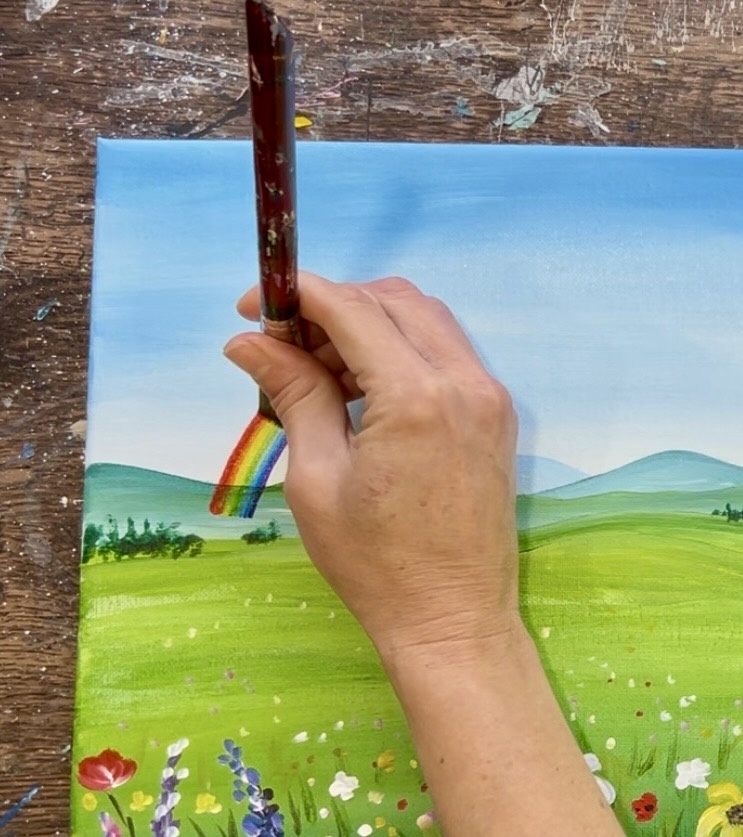
Then paint your arch all the way across to create your rainbow! If you have to stop your stroke, simply place your brush in the same spot. Also, if you have to go back over your stroke, make sure to place the brush in the exact same spot.
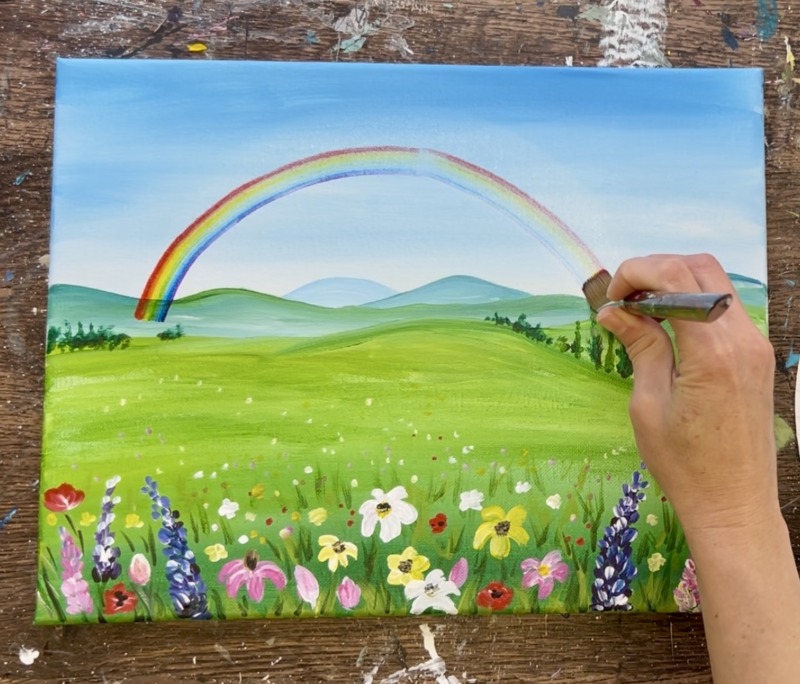
If needed, go back and paint your rainbow to touch up parts that maybe need touch ups. My rainbow ended up being brighter and more vibrant on the left and then sort of faded. I decided I liked how this looked!
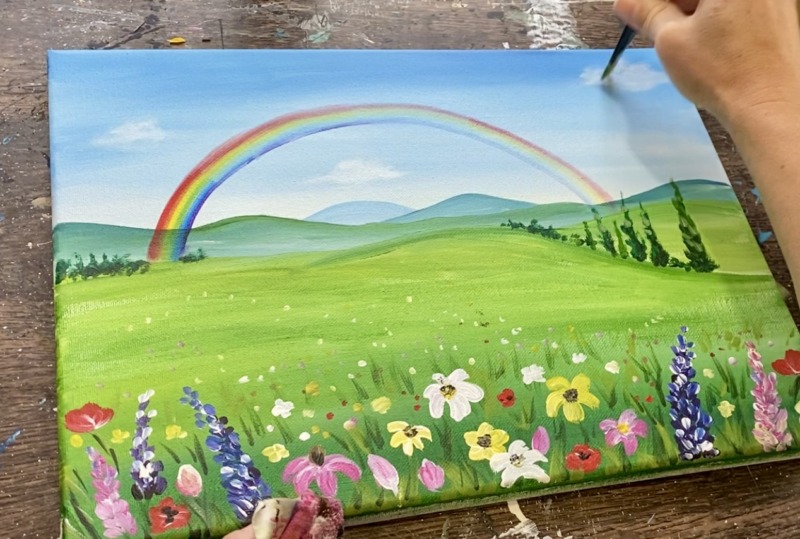
9. Paint Clouds (optional)
I felt there should be at least a few light fluffy clouds in the sky if there is a rainbow! I love using the #12 bright brush to paint clouds. I also do them “dry brush style”. This means not a lot of paint is added to the brush to get these clouds to look soft and translucent.
Start by loading the end of your brush with just a small amount of “titanium white”. Tap the edge of the brush and paint in circular/ dotted paint strokes to form the shape of the cloud.
Paint a few clouds throughout the landscape. The clouds that are lower in the painting, I intentionally made flatter and smaller as opposed to the clouds higher up which are fluffier and larger.
Tip: if you want to add a little more “dimension” in your clouds, add just a bit more white on the top edges of the clouds and blend.
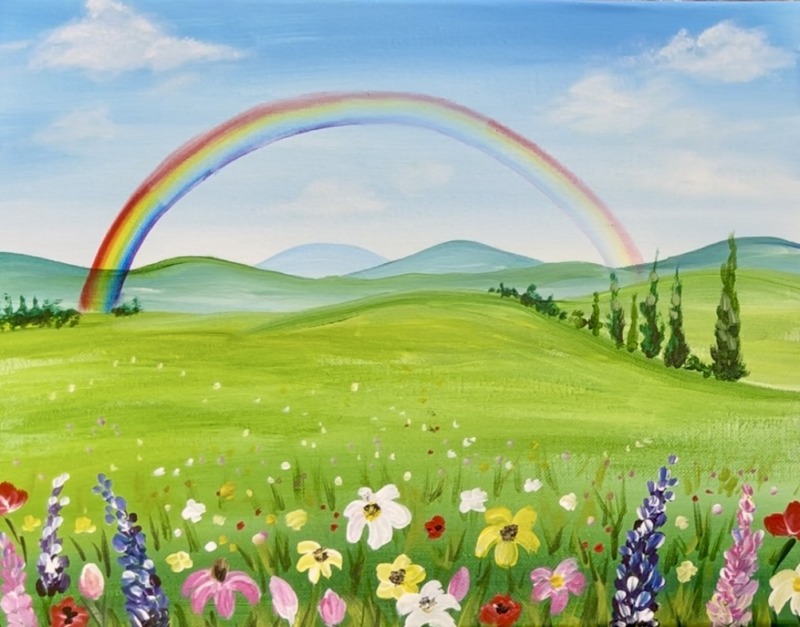
10. Final Touches
Some final touches for this painting could be making some of the bushes in the back overlap the bottom of the rainbow. I went back with my dark green and “stippled” a few more bushes in that area.
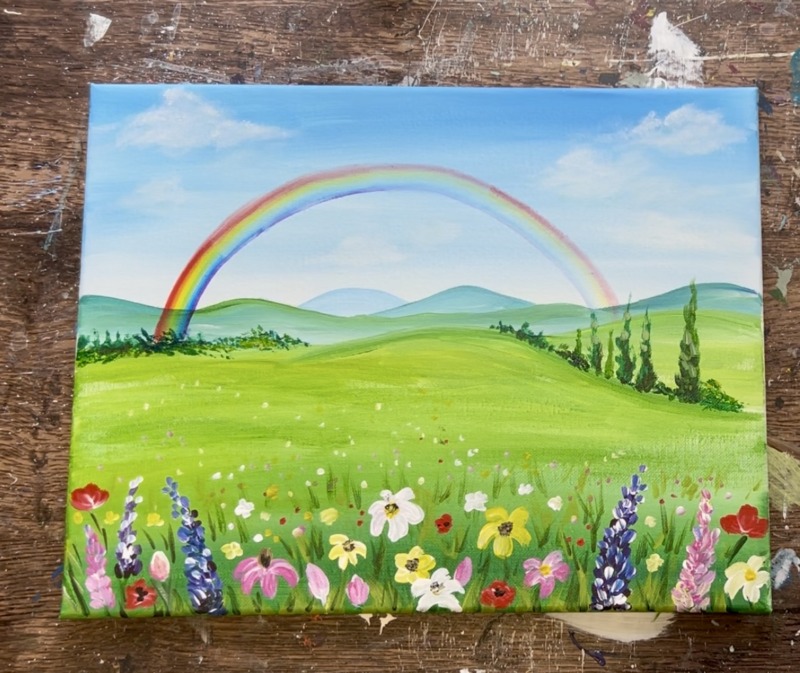
Finished!
