Would you like to save this?
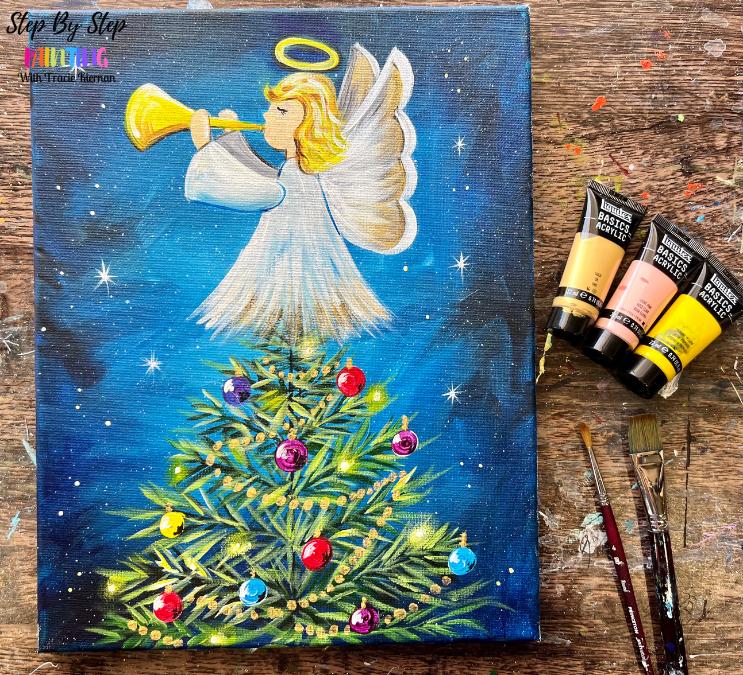
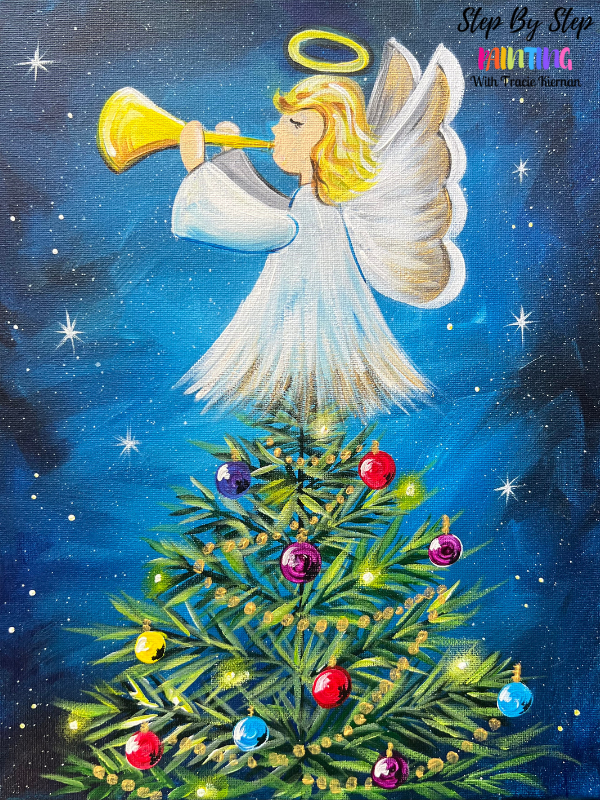
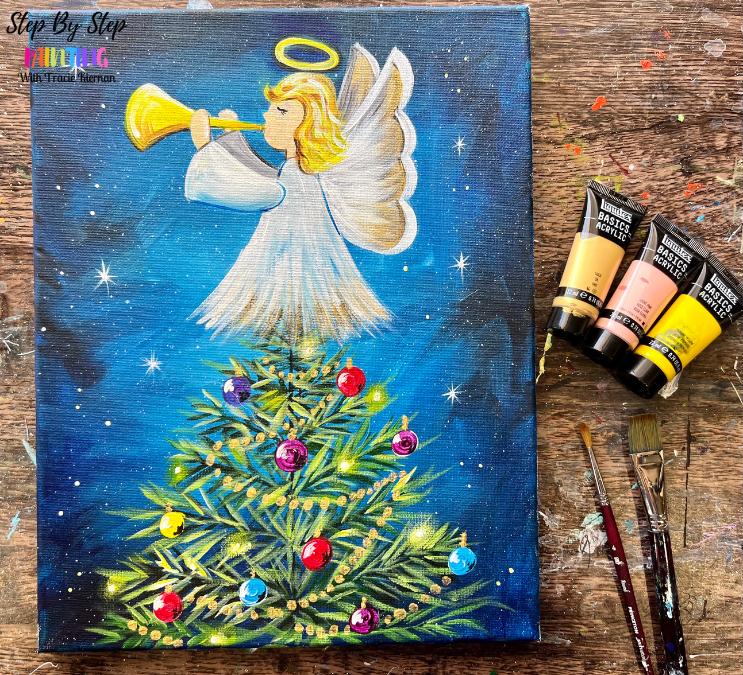
A heavenly carol, played by a sweet angel, atop a twinkling Christmas tree. ✨ This acrylic painting tutorial will show you how to paint a Christmas tree adorned with ornaments and a sweet angel on top playing a trumpet.
Enjoy and happy painting!
Materials
Christmas Tree Angel

Materials
- 11 x 14 Canvas
- Acrylic Paint
- Brushes
- White Chalk Pencil
- Toothbrush for little white specks in background
Colors
- Titanium White
- Mars Black
- Napthol Crimson
- Primary Yellow
- Hooker's Green Hue Permanent
- Phthalo Blue
- Deep Violet
- Gold
- Raw Sienna
- Light Pink
Brushes
- 3/4 Flat
- 4 Round
- 8 Round
- 12 Bright
Color Palette

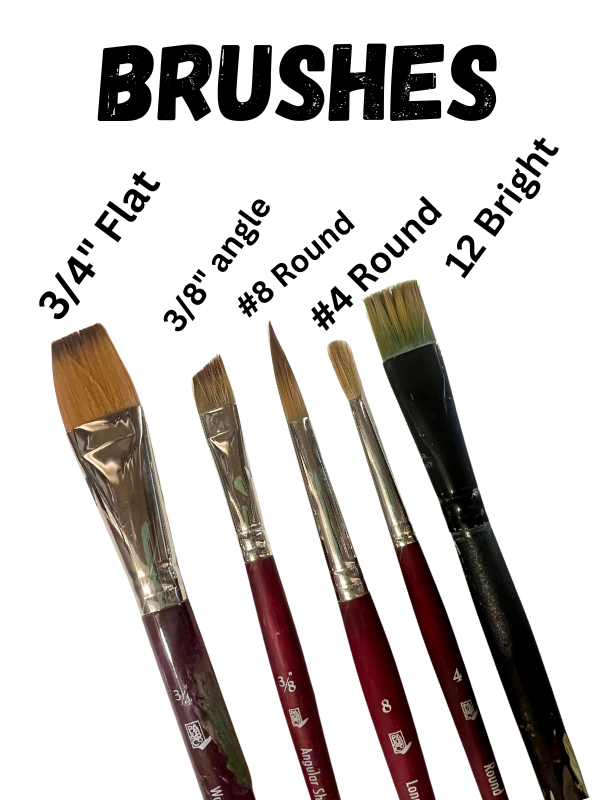
Note: I only used the #8 round for the stars. Also, I used a toothbrush to splatter little fine white specks in the background of the painting.
Directions At A Glance
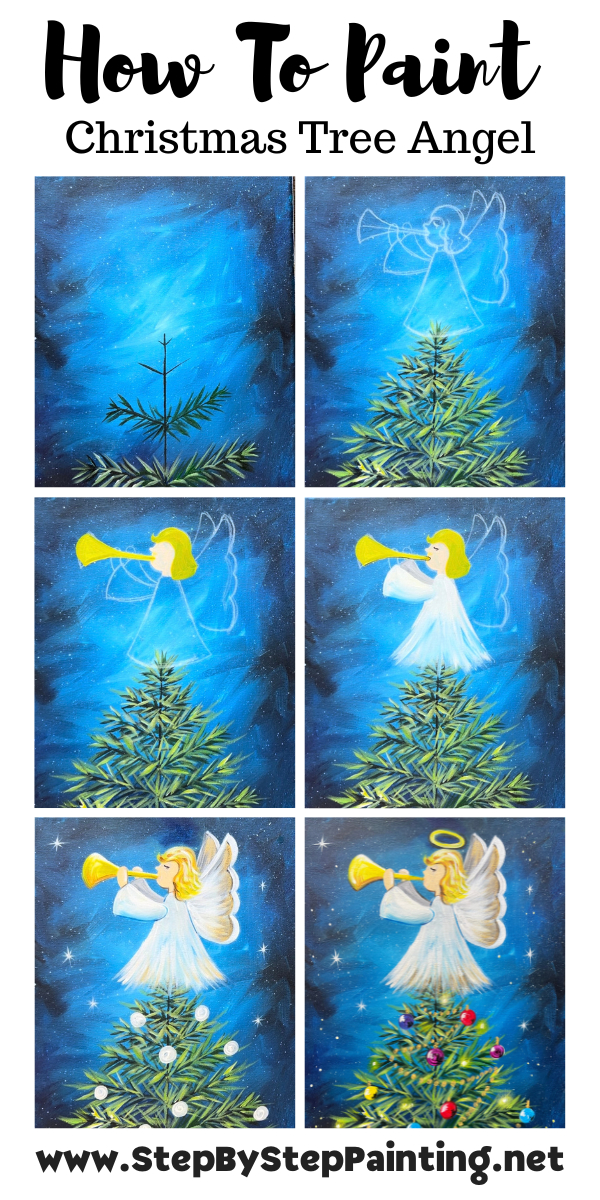
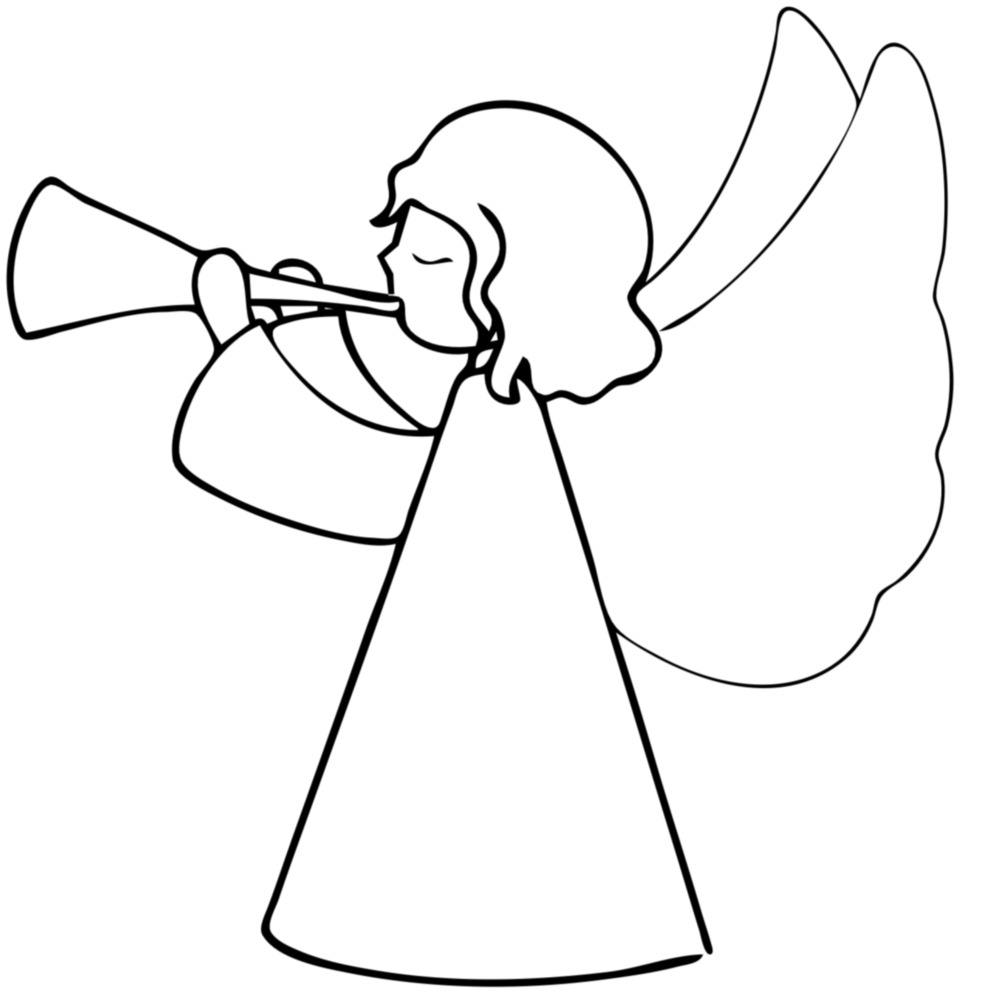
Traceable (optional)

Video
Step By Step Instructions
1. Paint background
Load your paint palette with: titanium white, mars black and phthalo blue. Position your canvas in a vertical format.
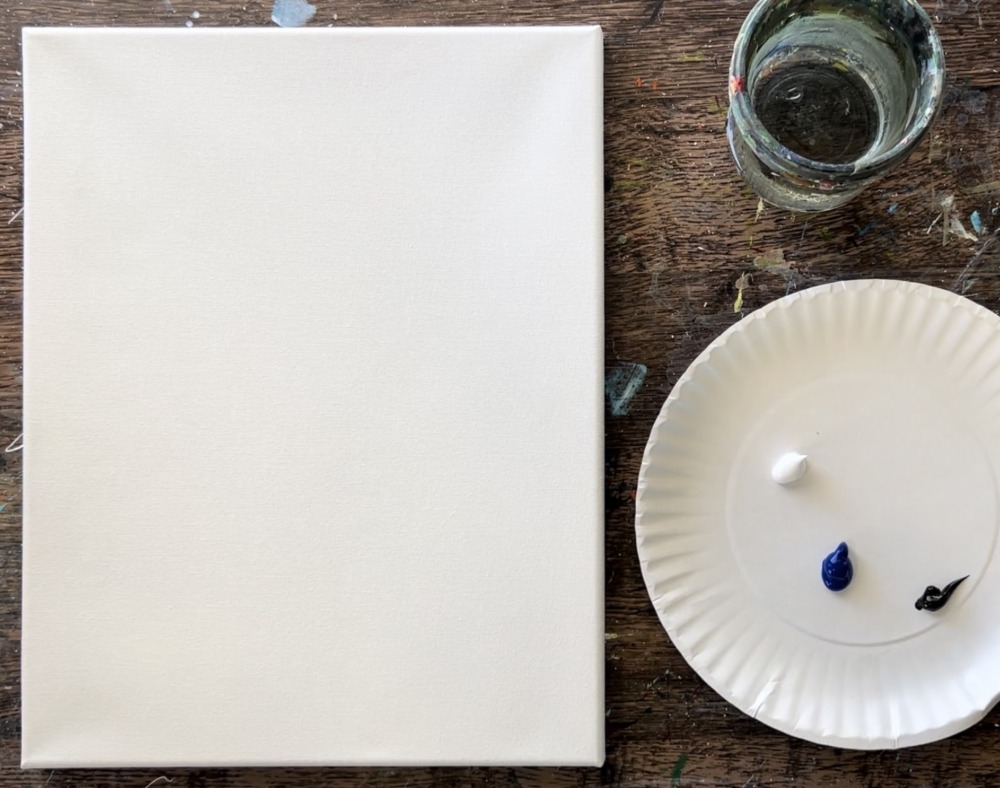
Load your 3/4″ flat wash brush with about 2 parts blue and 1 part black. Paint “angle” paint strokes going in different directions blending the black and blue onto the canvas. Do this on the top and bottom edges. Work fast for this background because we are blending these colors “wet on wet”.
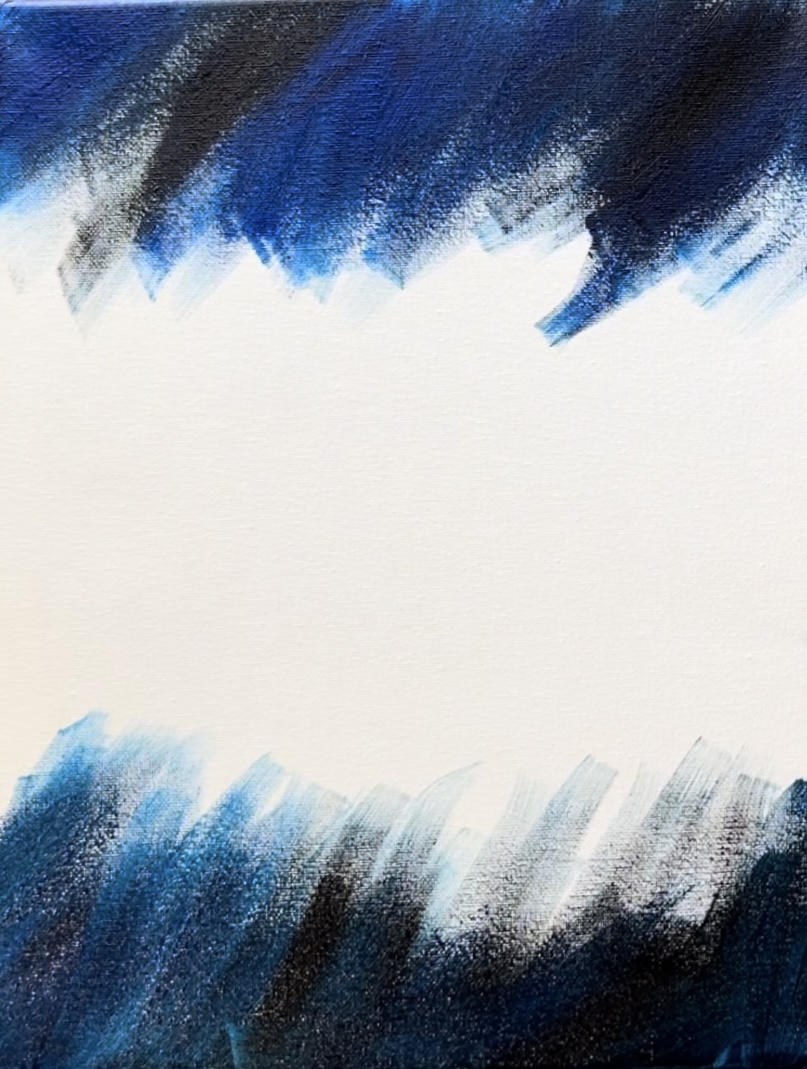
Paint the left and right edges as well but leave the middle blank with no paint.
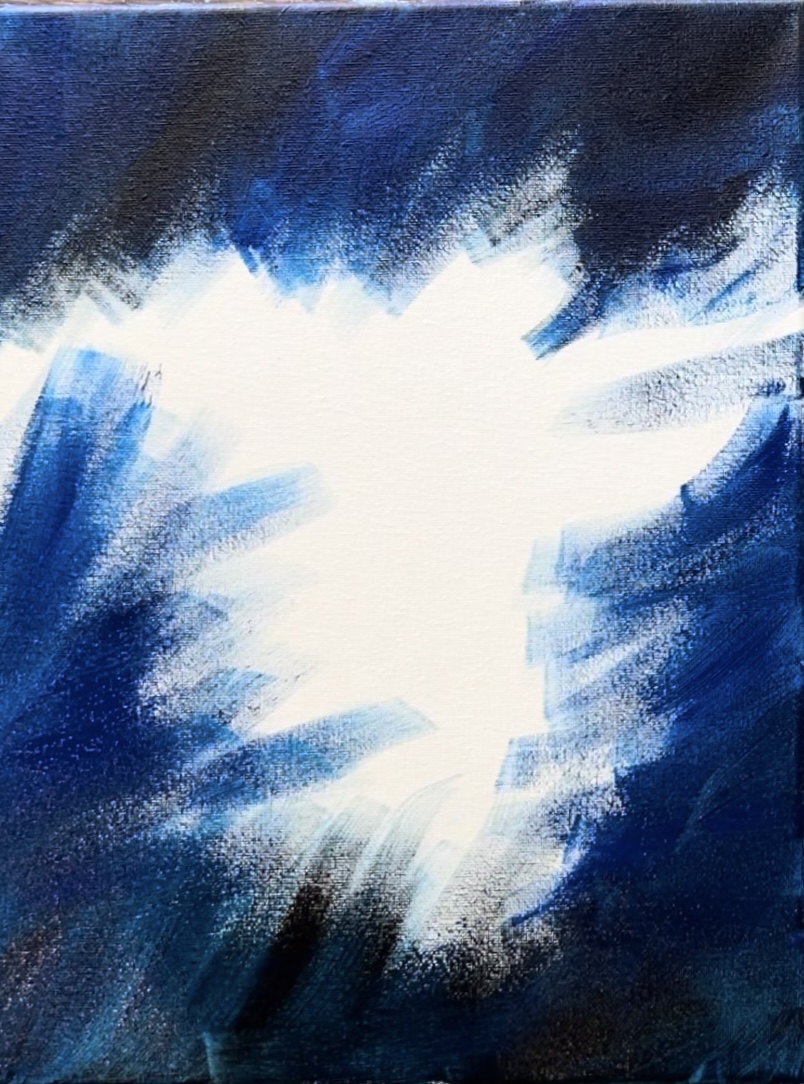
Before this dries, load your brush into white without rinsing the blue and black off your brush. Blend white in the middle and blend it with the dark. You want to achieve a bright center in your background with very dark edges. If needed, add more blue or black to your brush to blend with your light colors.
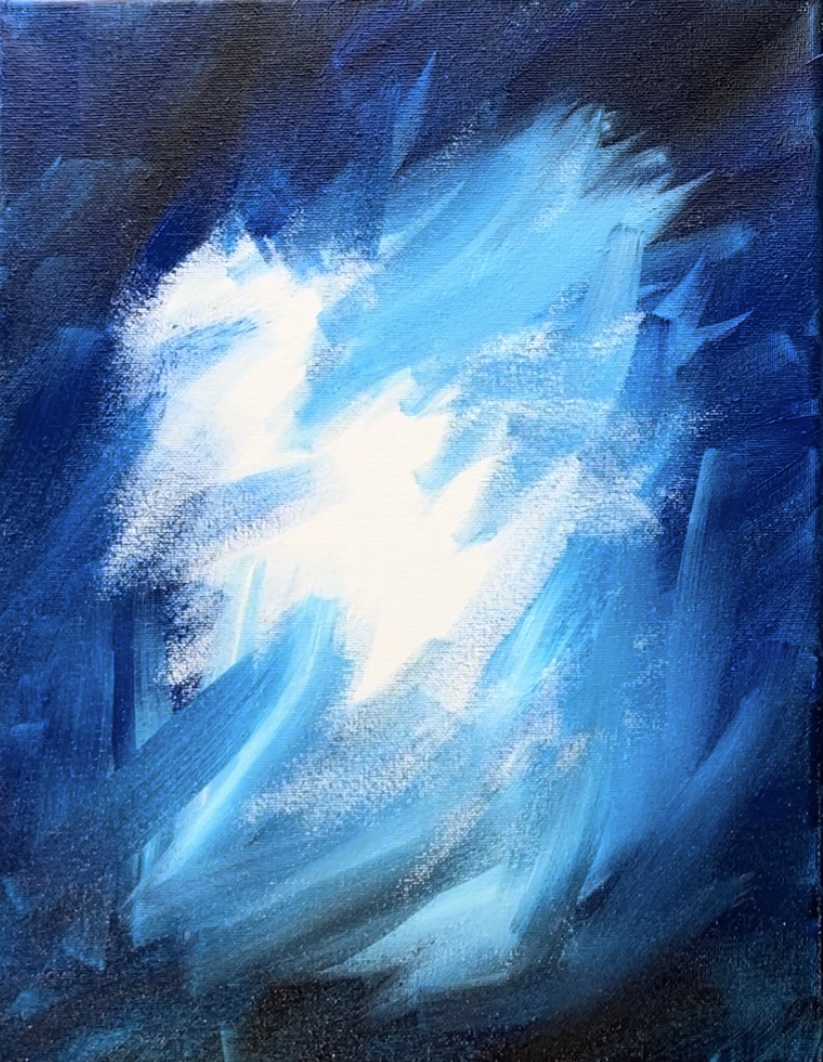
Keep blending your background using “expressive angle” paint strokes of color that blends on the canvas. You want a nice bright center and dark edges. This kind of background will make it look like our tree and angle are glowing and helps create amazing contrast!
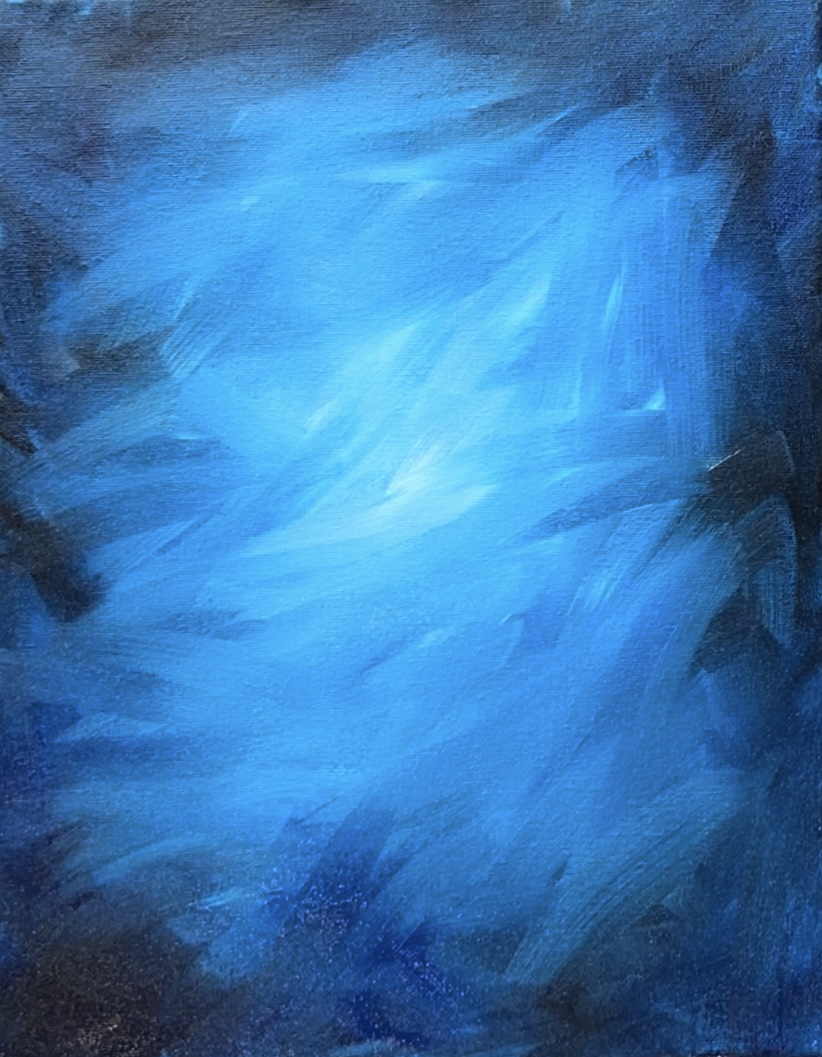
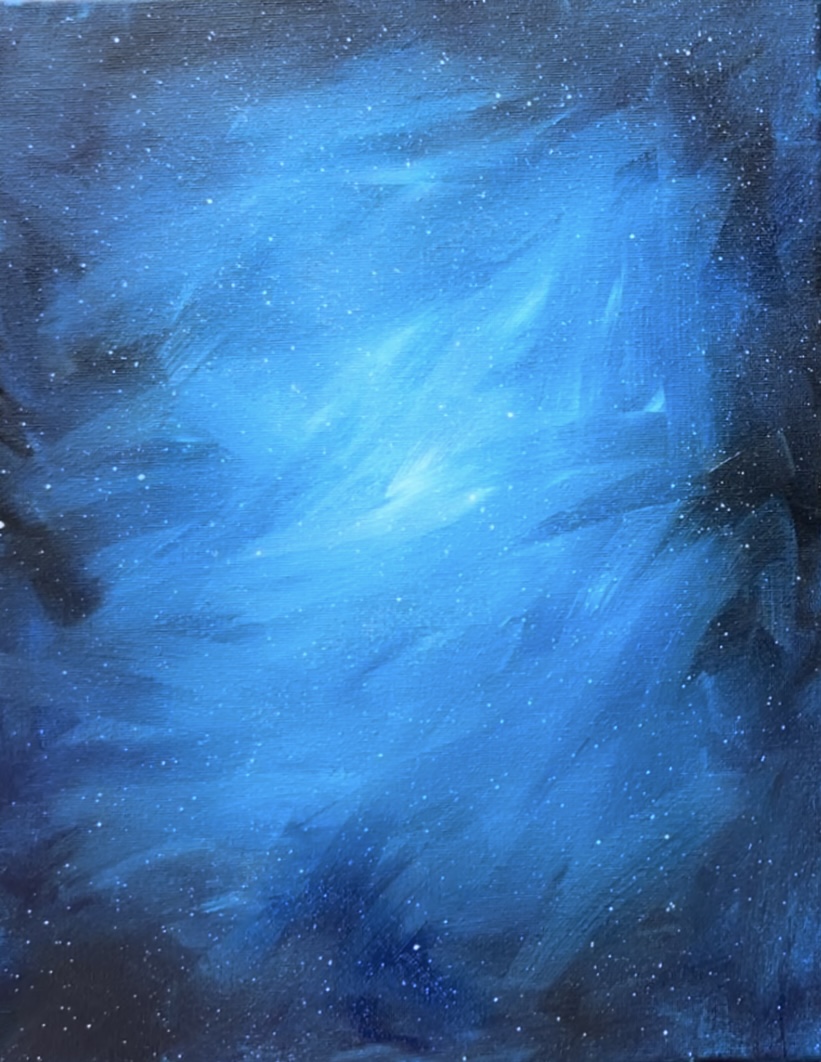
You don’t need to wait for this to dry before doing this! I used a toothbrush to splatter little white specks all over the canvas. This helps create a starry sky in the background. We will add more detailed larger stars later!
2. Paint Tree
Use a 3/8″ angle brush for this step. Load your paint palette with “hooker’s green hue” and “mars black”. Mix about 2 parts green and 1 part black to make a very dark green.
Find the center of your canvas and make a mark on the bottom edge. Then use a ruler to find the middle center. Paint a line that is exactly half the height of the canvas. Example: my line is 7″ high because the canvas is 14″ high.
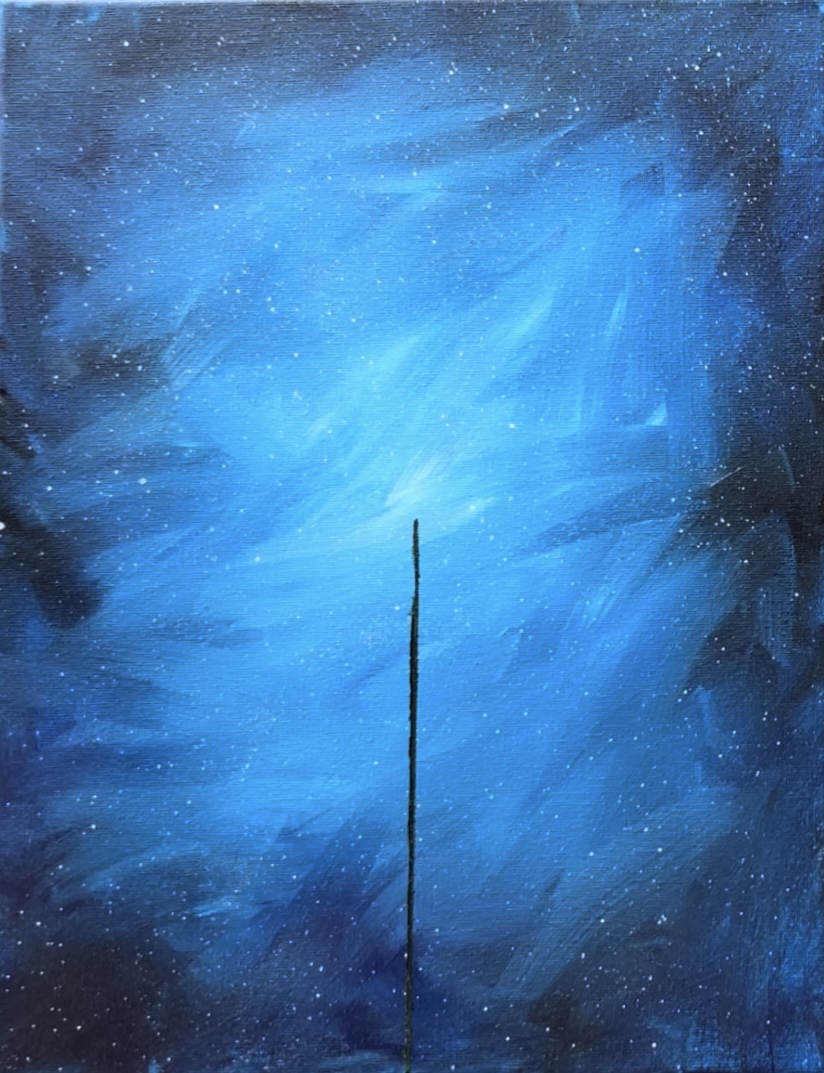
Next we will be painting diagonal lines that are supposed to be the branches of the tree. Imagine this tree as an “invisible triangle”. Paint 4 diagonal lines going from the middle vertical line. These lines are angled slightly upwards. The smallest lines are on the top and large on the bottom. If it helps, you can draw this triangle with chalk.
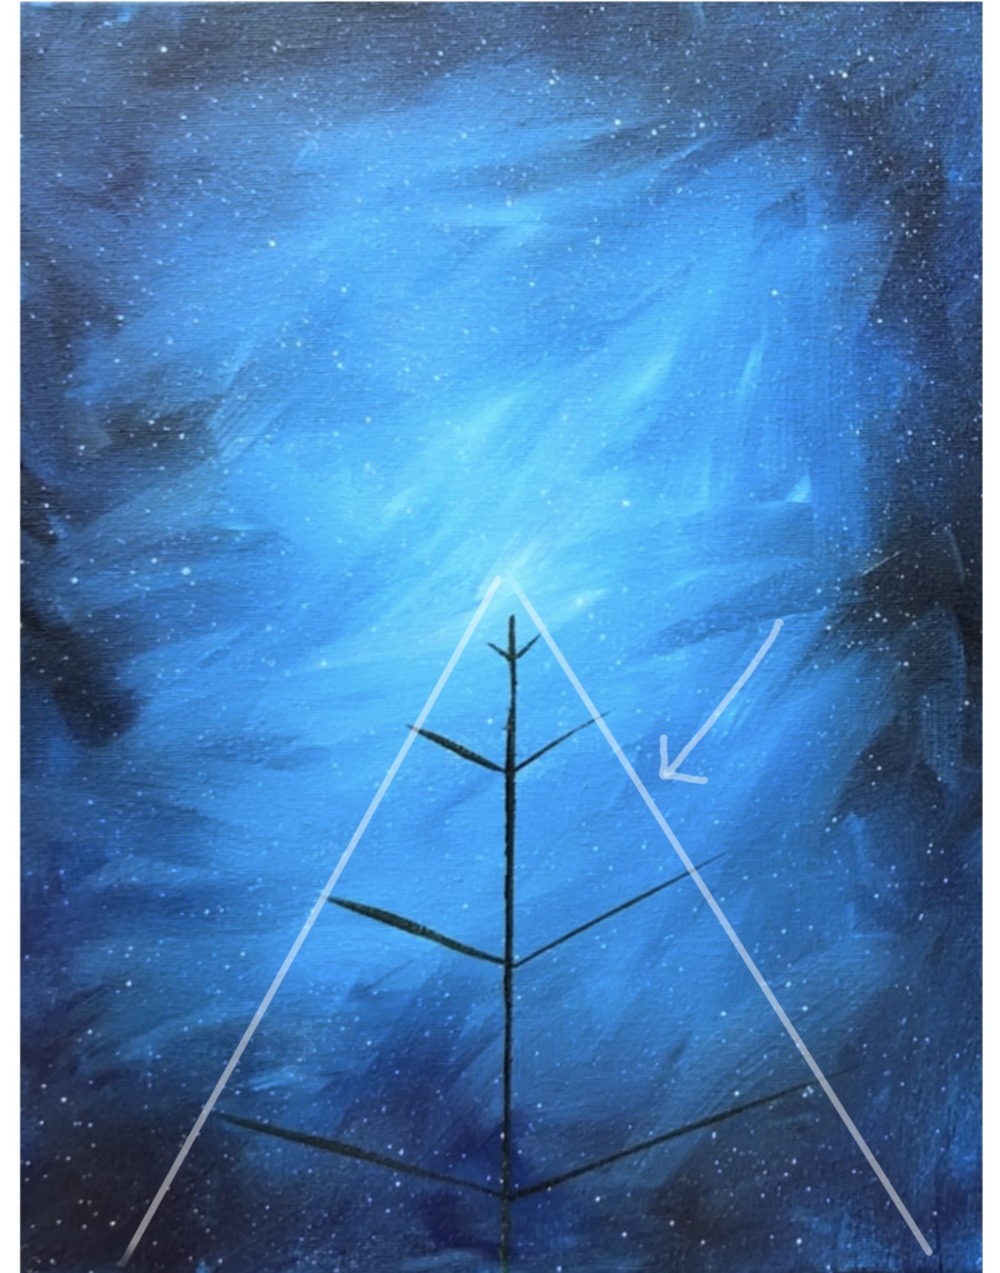
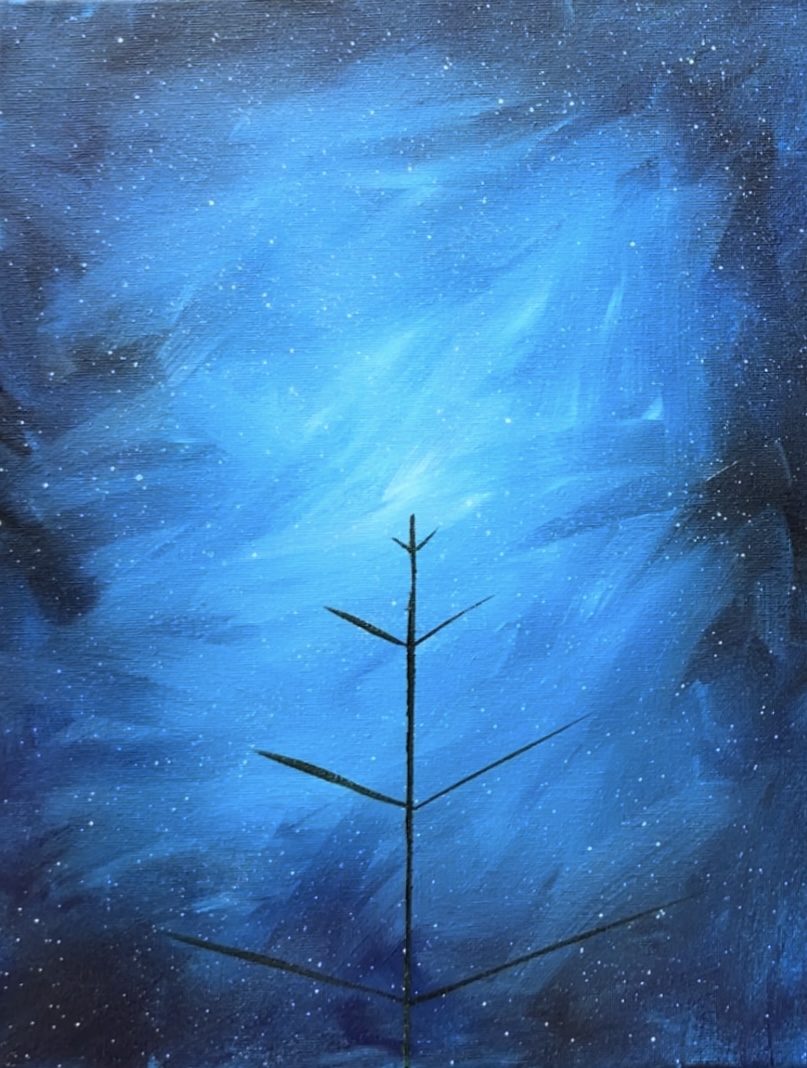
Next, we will be painting pine needles! Use your 3/8″ angle brush for this and use just the edges of the bristles to make each brush stroke. Start with dark green! (The same color you used to paint the lines just now). We will layer on lighter greens in a later step so don’t worry about it looking too dark.
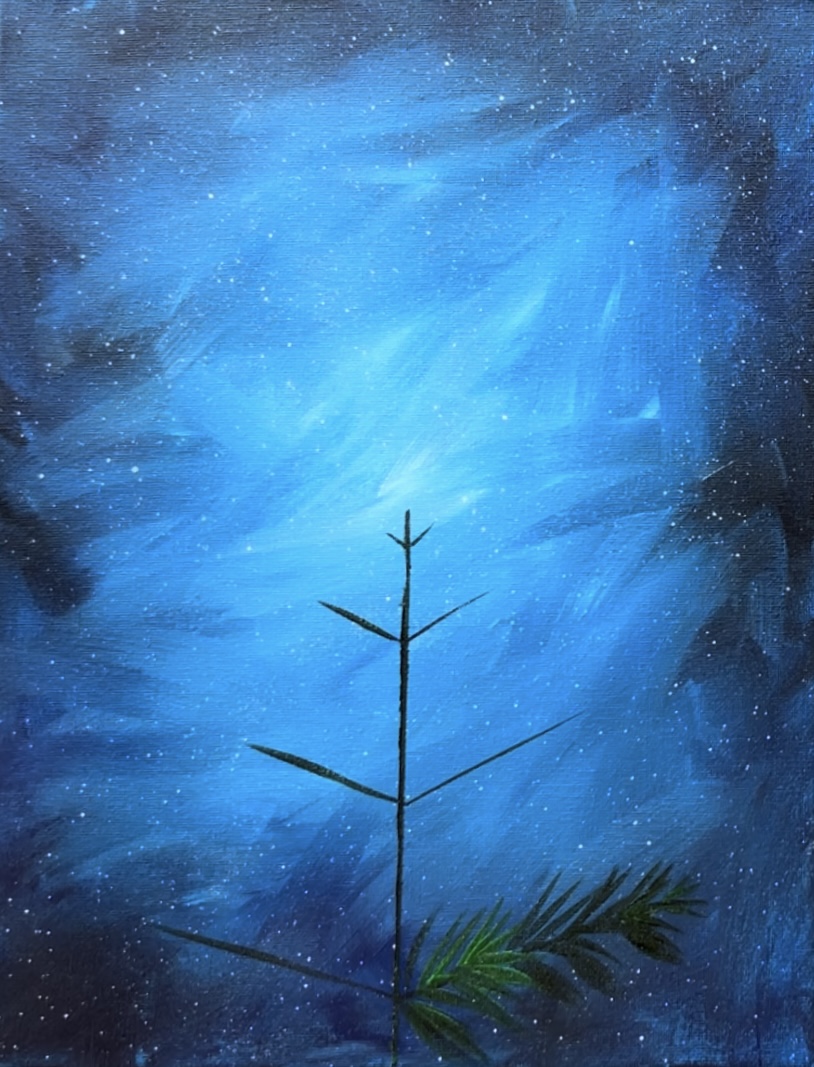
As you paint the pine needles, start on the end of each of the lines. Then paint diagonal/ pointy lines going outwards. Start by applying more pressure on the brush at first and then releasing the pressure. Paint little bunches of lines starting from the end of the branch and work towards your center tree trunk line.
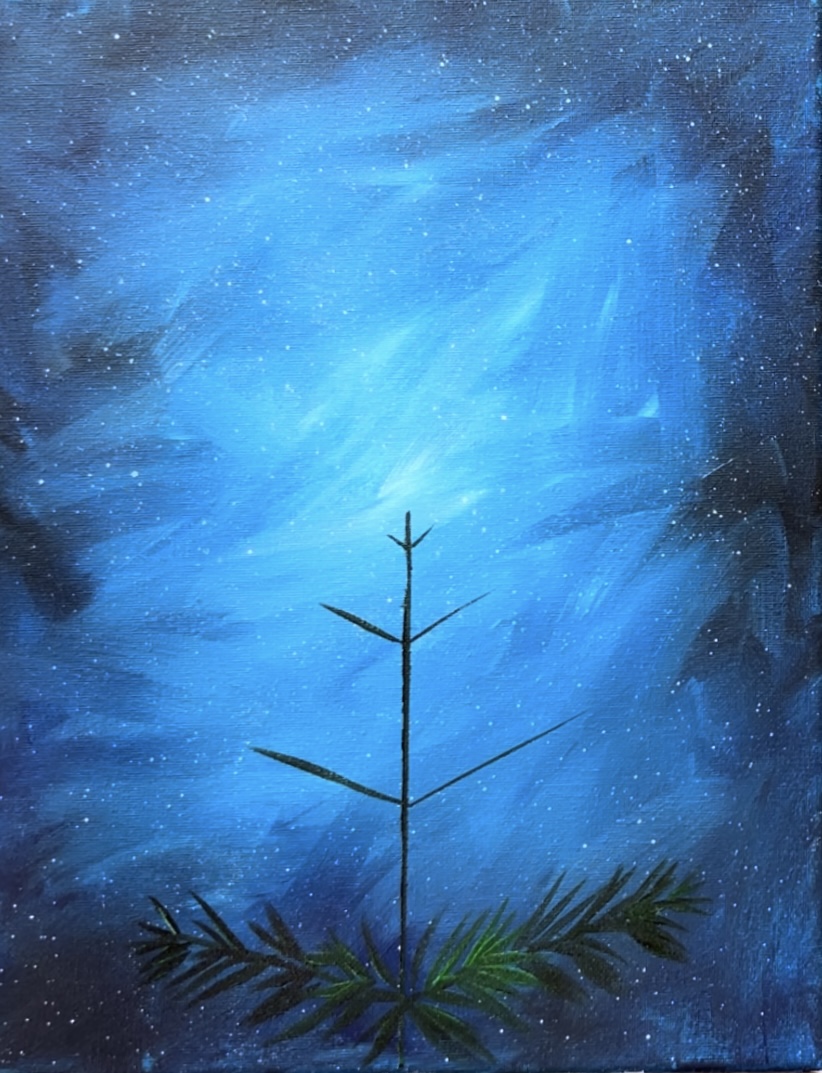
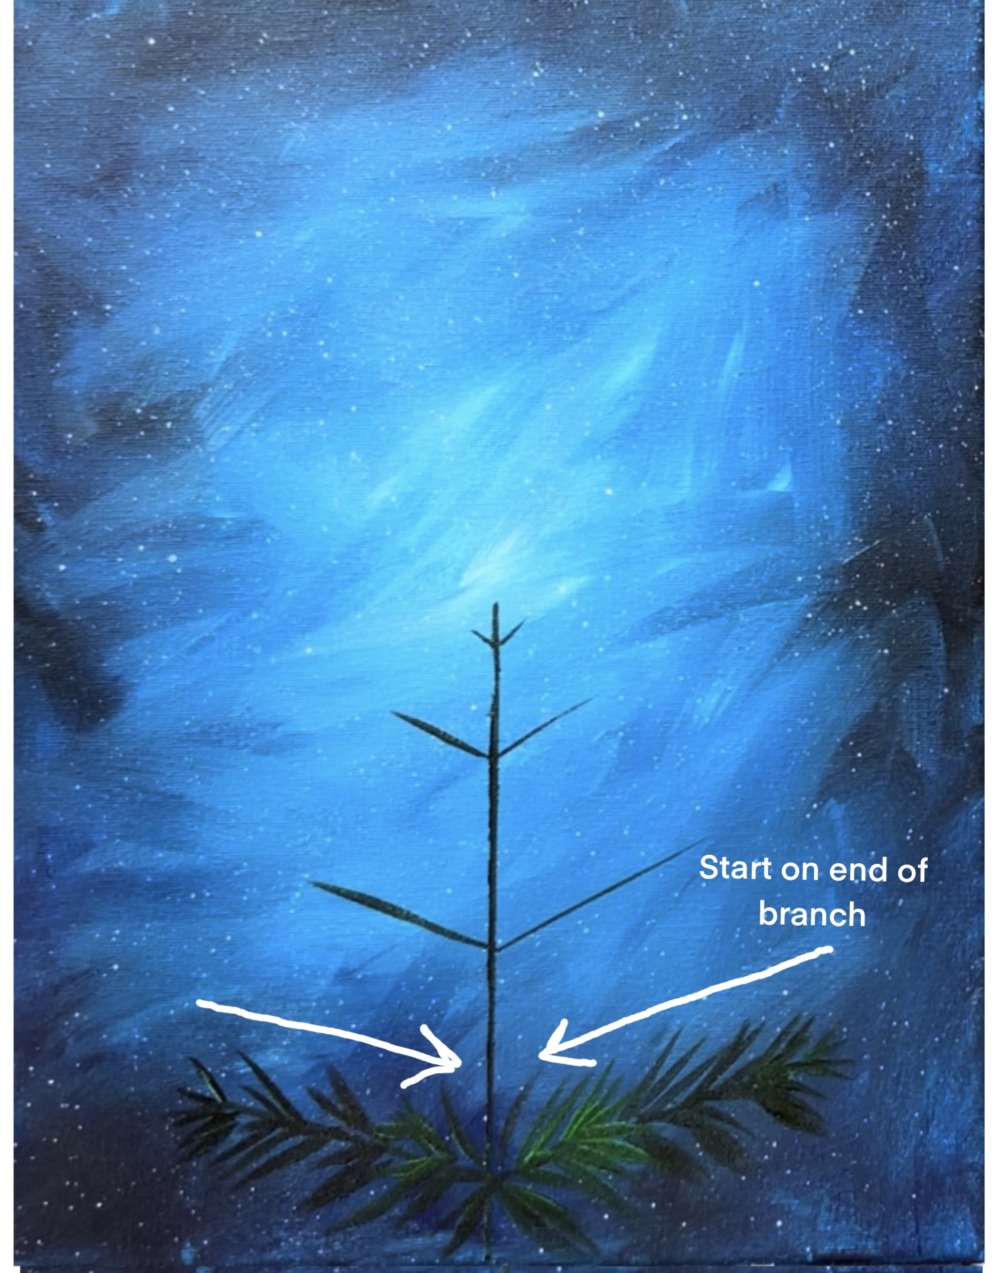
After doing your first layer of pine needles with the dark green, go back and do a second layer with light green. To make the light green, mix about equal parts titanium white and green together. Then repeat the same technique starting from the end of the branch and working towards the middle tree trunk line. When you add this lighter layer, don’t cover all of your dark green. The intend is to highlight it.
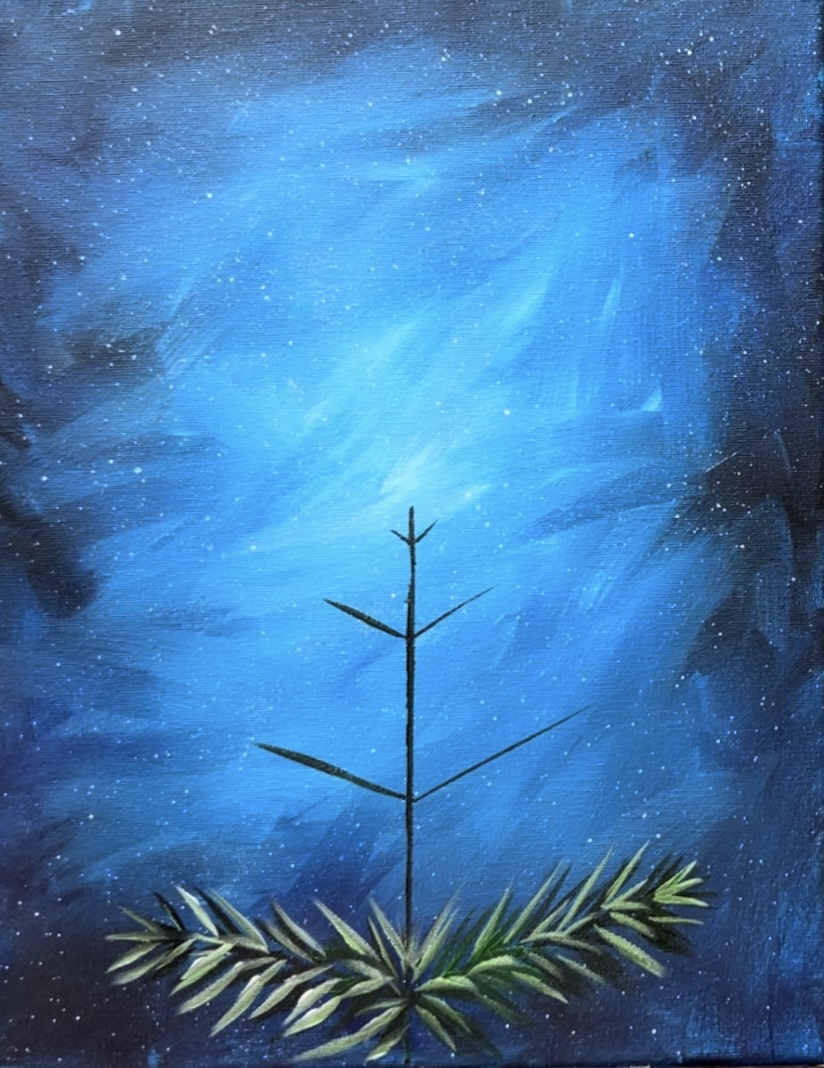
Repeat this step for your next set of branches.
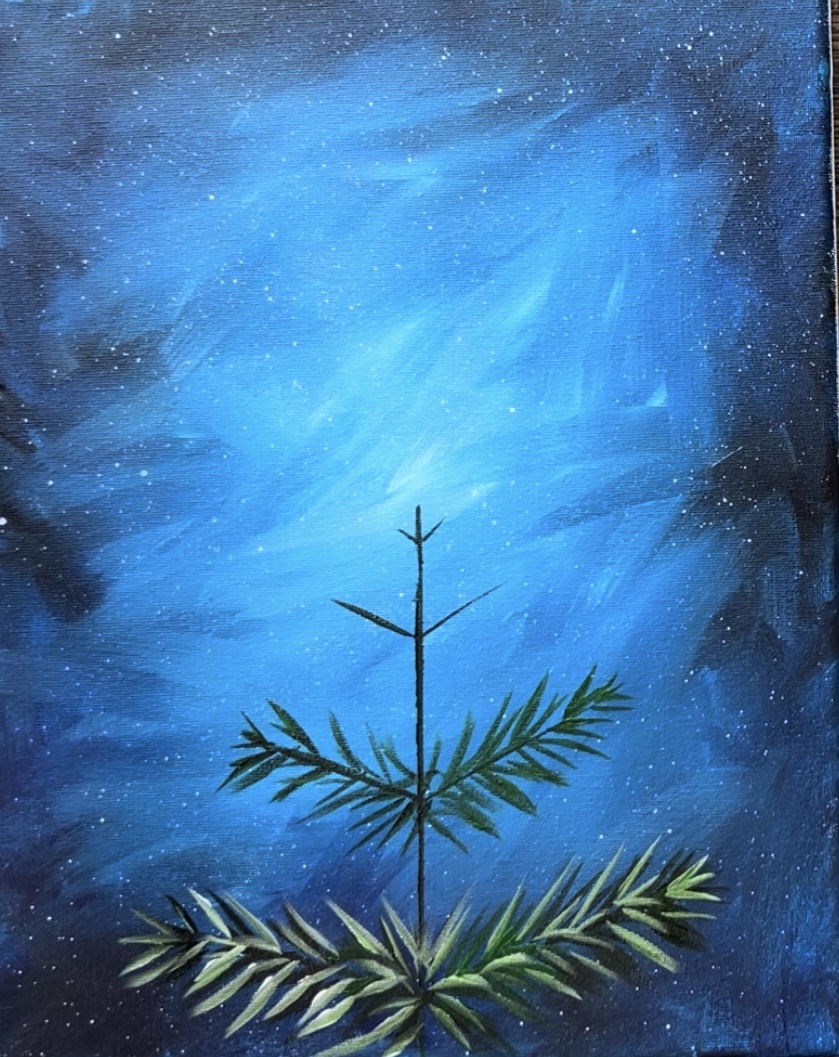
Then draw/paint another set of branches in between the gaps (keeping in mind the invisible triangle shape we are trying to keep). Paint the pine needles on those branches using the same technique.
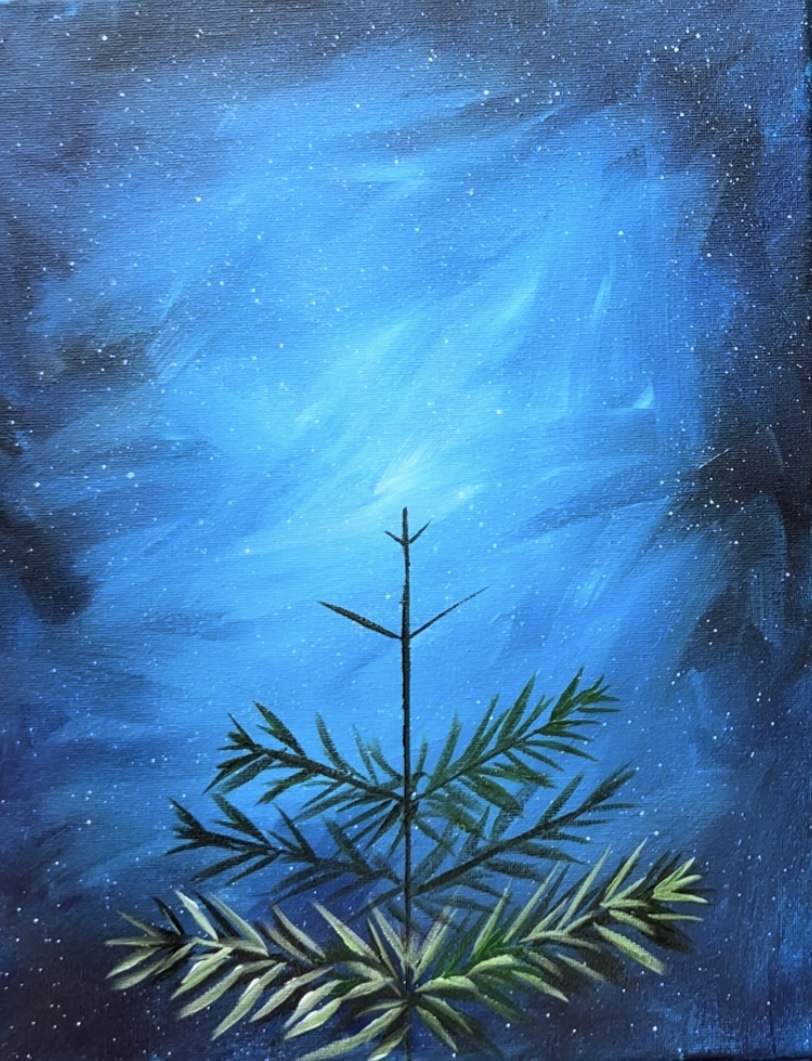
Tip: when you paint the pine needles in the center, have them overlap your middle trunk line by painting angles going in all directions.
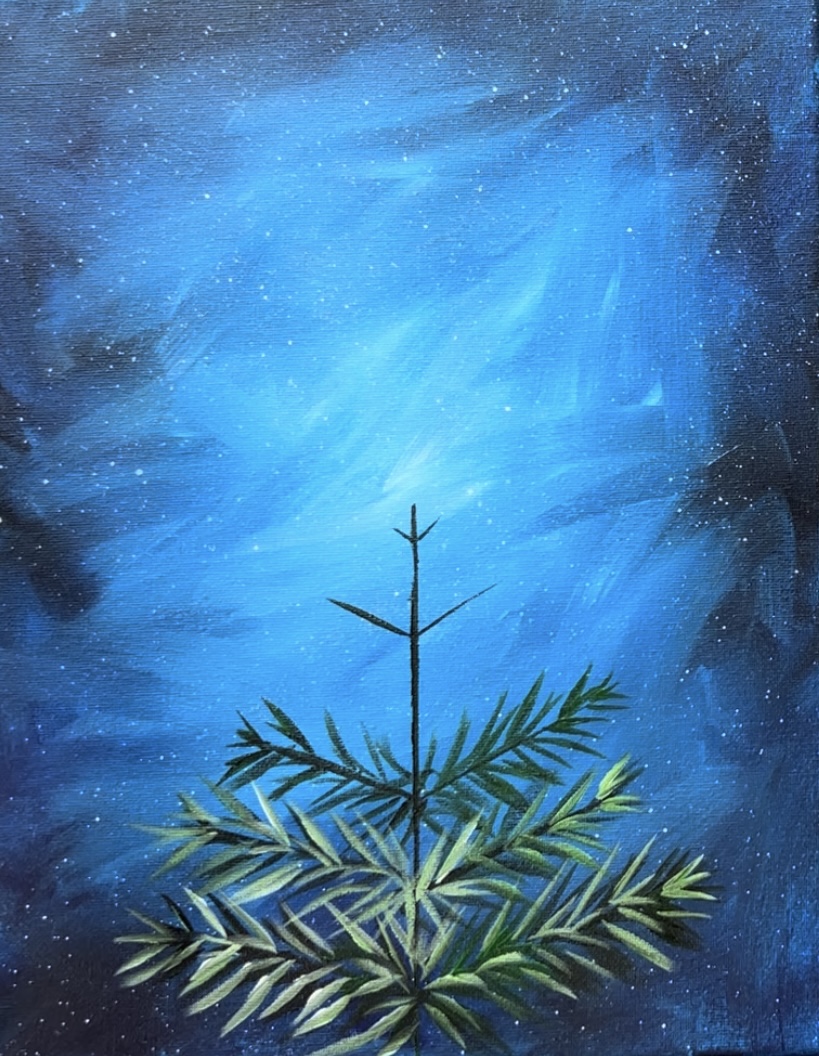
So far we have a set of 6 painted and highlighted branches! Continue painting the next set of branches towards the top of the tree.
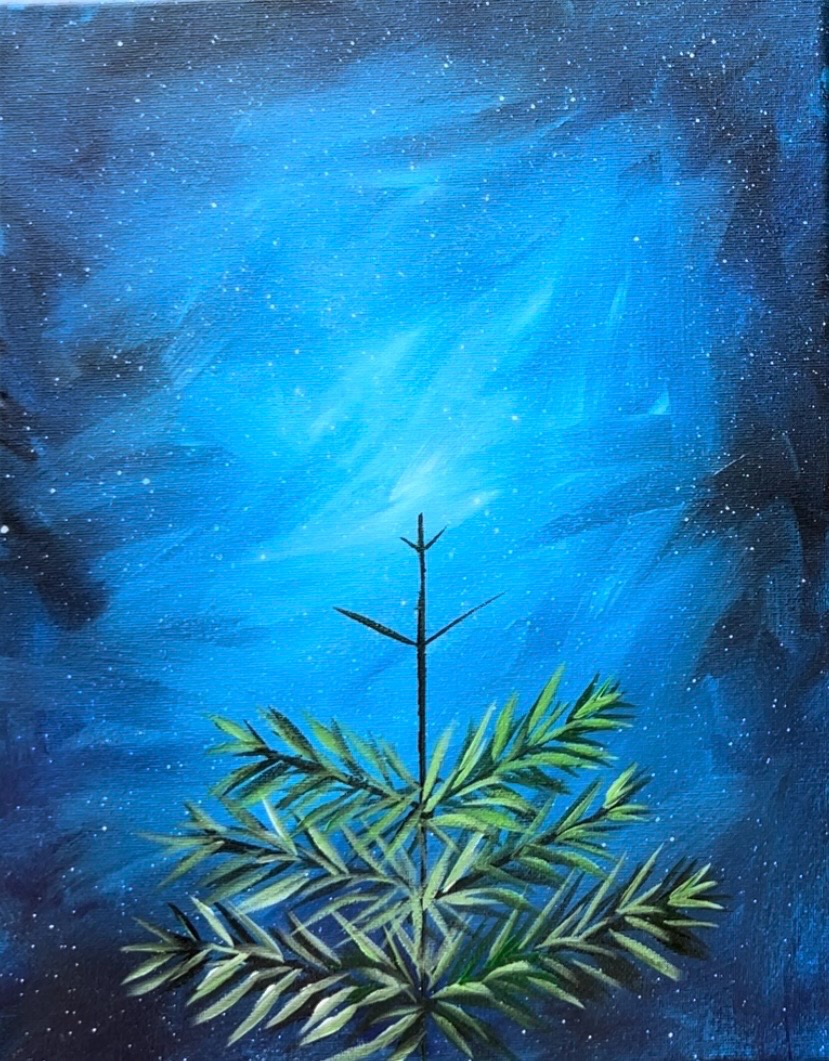
Paint more branch lines as needed to fill in any gaps.
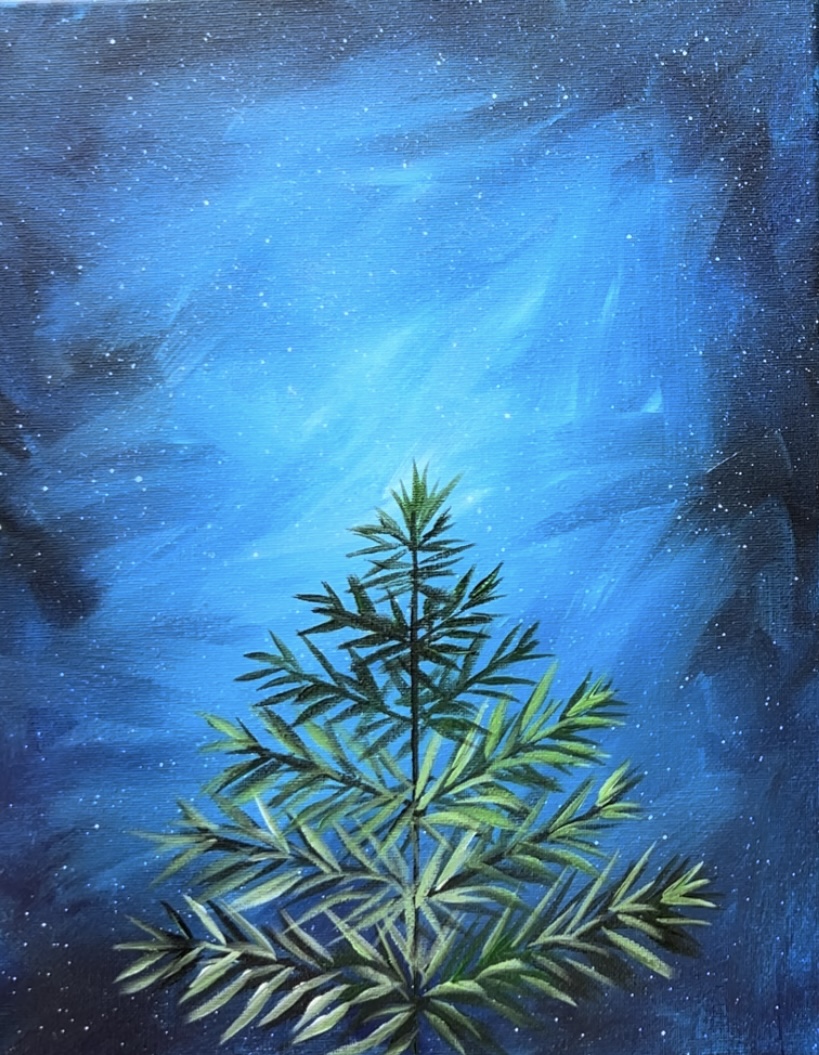
When you paint the top of the tree, your pine needles go in an upwards position.
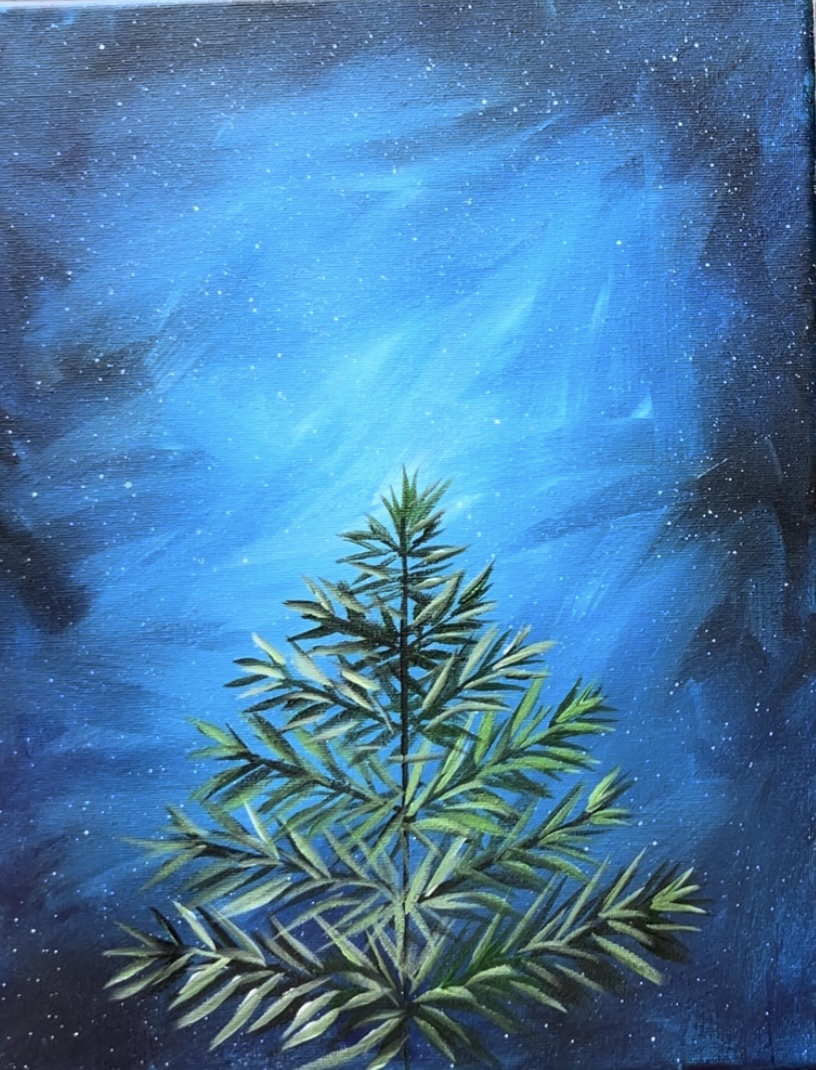
Optional: to brighten up the tree further, you can mix a “yellow green” on your palette. Mix about 1 part yellow, 1 part white and 1 part green. This “bright yellow green” can be used to paint another highlighted layer on the tree. The yellow-green color will help make the tree stand out against the dark blue background. Make sure you are not covering up all of your previous layers. Fill any gaps as needed with more branches/ pine needles. I also added a set of branches on the bottom of the canvas.
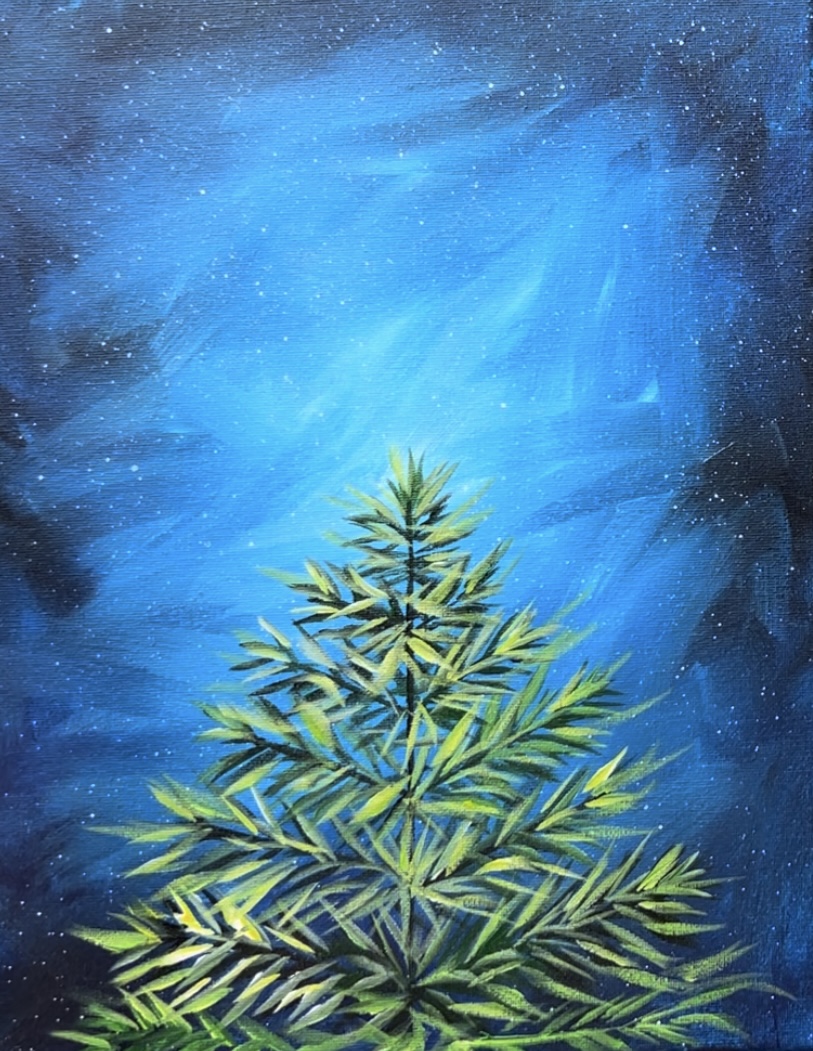
3. Draw Angel
You can use the traceable or draw the angel by hand! I used a white chalk pencil to draw this, however, you can draw this with a regular pencil or even a regular piece of chalk! This angel is large and takes up the top half of the canvas!
Start by drawing a bottom triangular cone shape that is curved on the bottom and top. The bottom needs to slightly overlap the top of the Christmas tree. The height of this is about 3.5″.
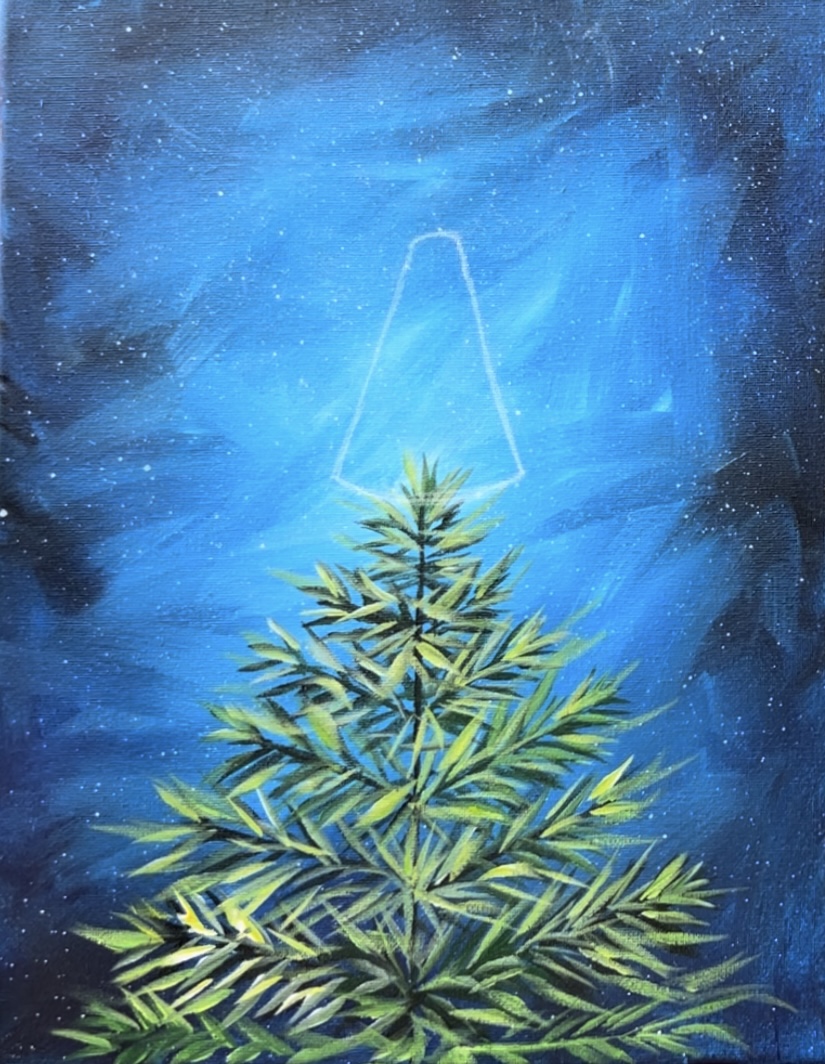
Then draw two wings. I drew these with curved/ scalloped edging.
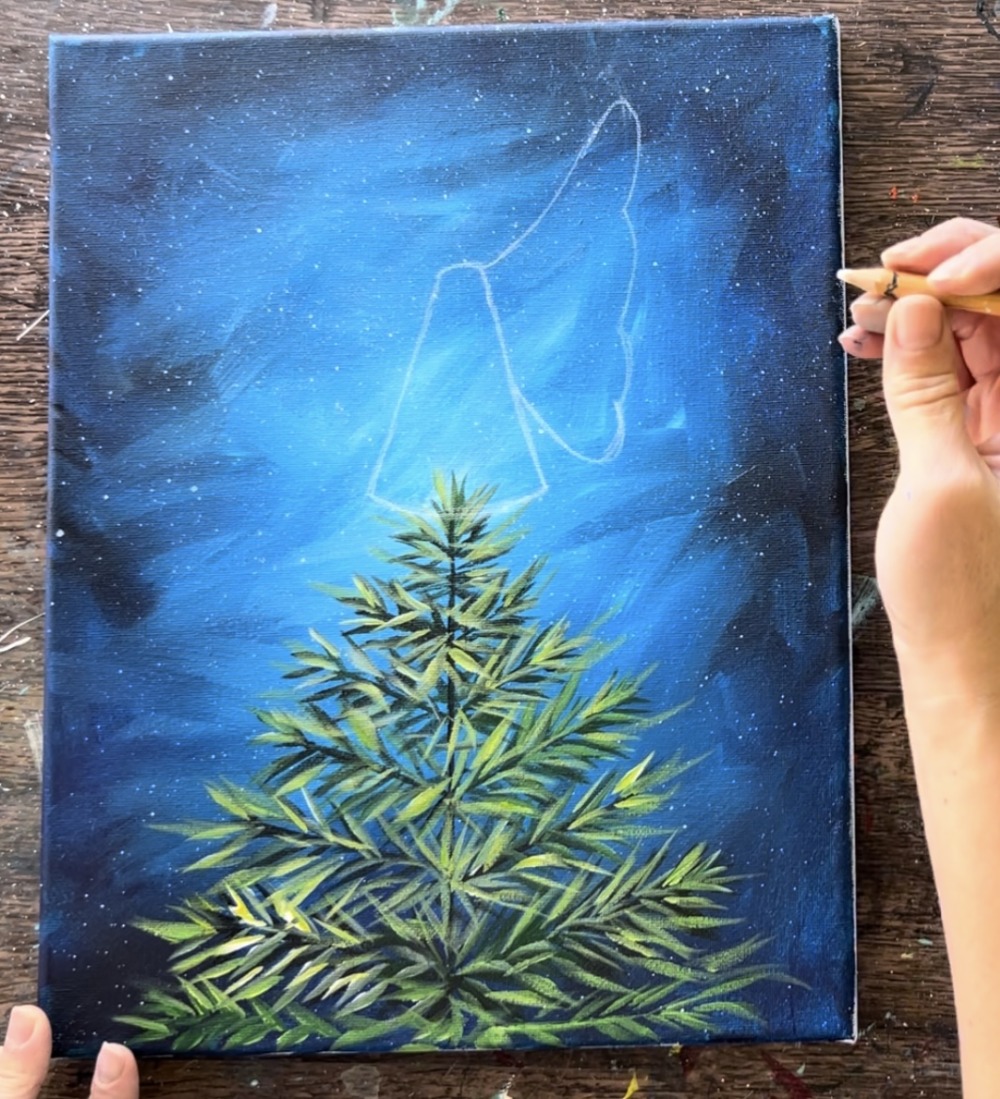
You would see her second wing just behind the first.
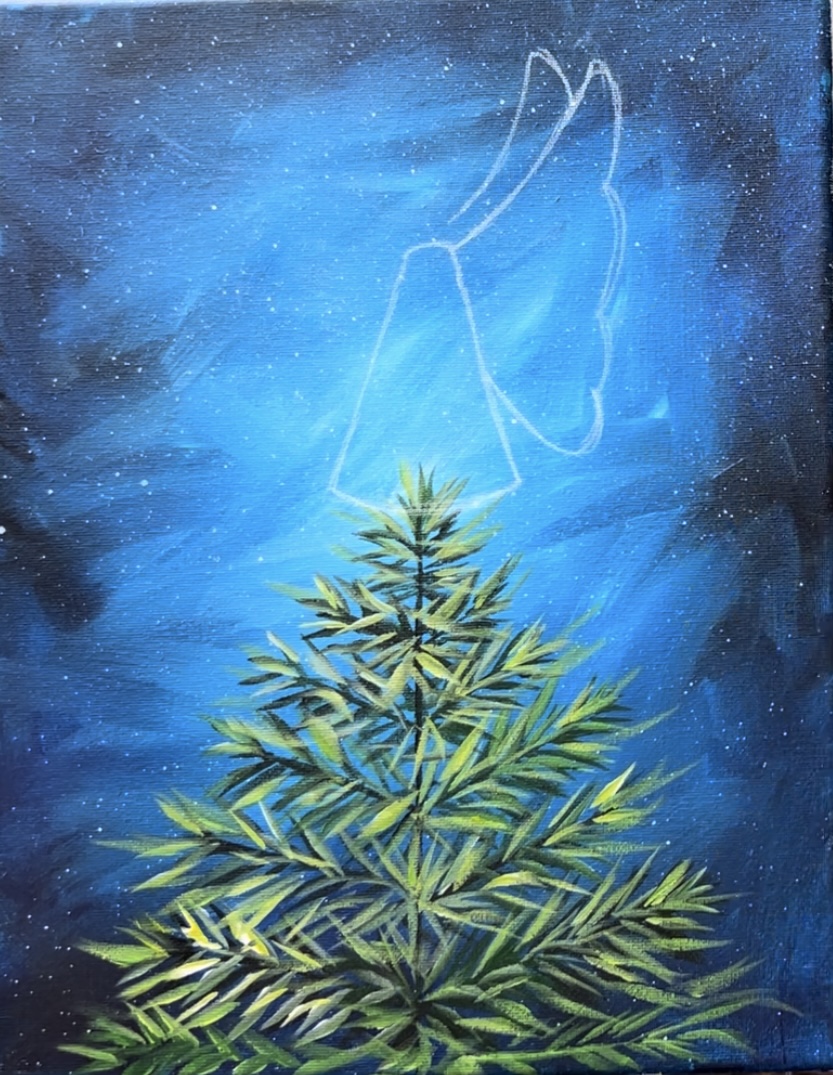
Then draw two small vertical lines for her neck and draw a circle for her head.
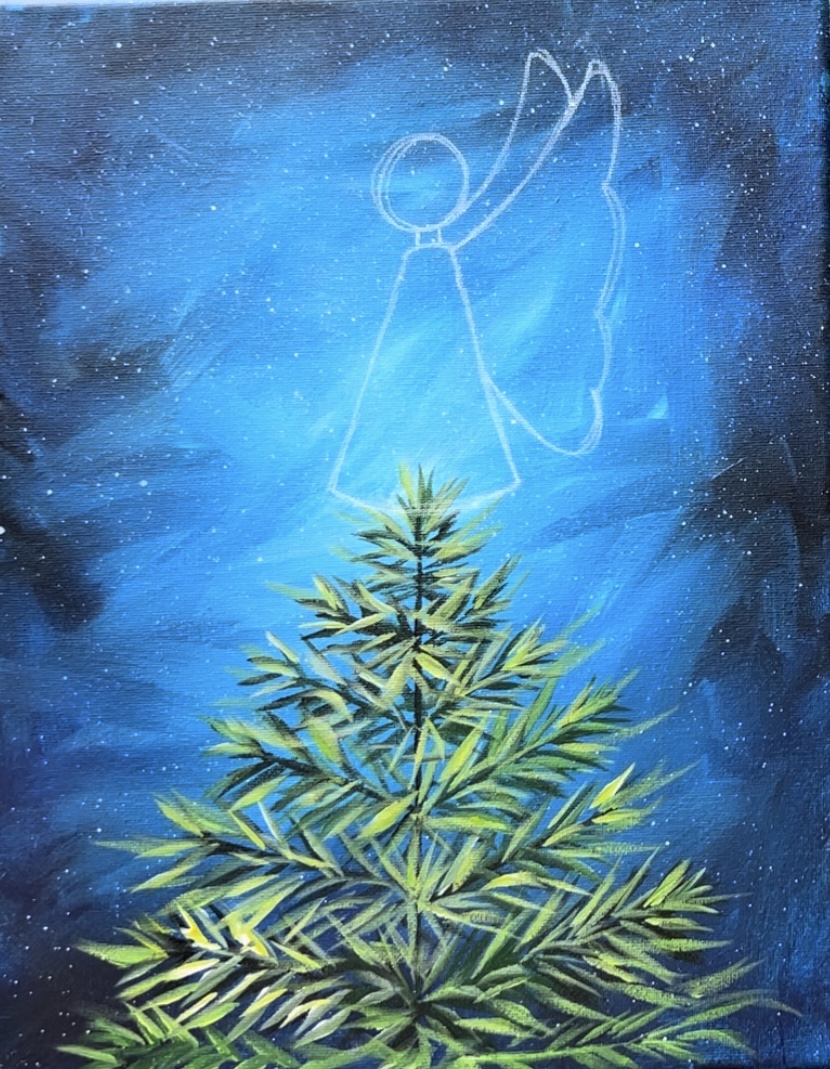
Draw the center line for the trumpet. I angled mine slightly up, however, you can make it completely horizontal or angle it down.
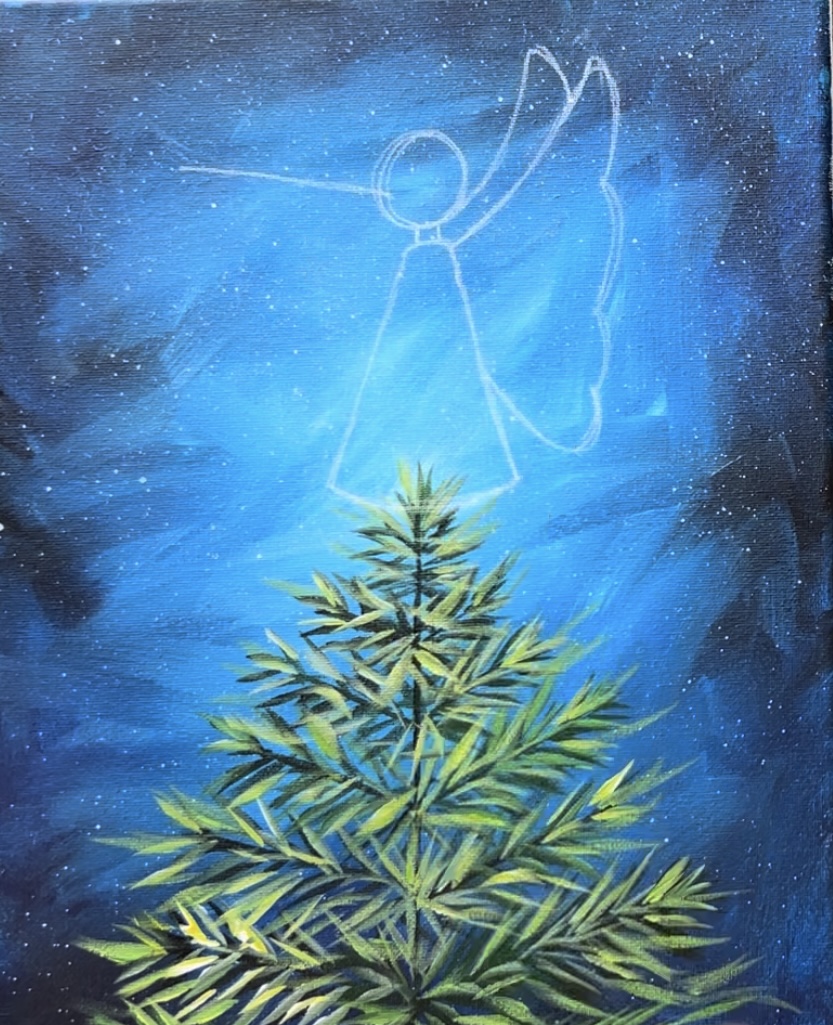
At the end of this line, draw the trumpet horn shape.

Draw the angel’s nose just above the trumpet mouthpiece.
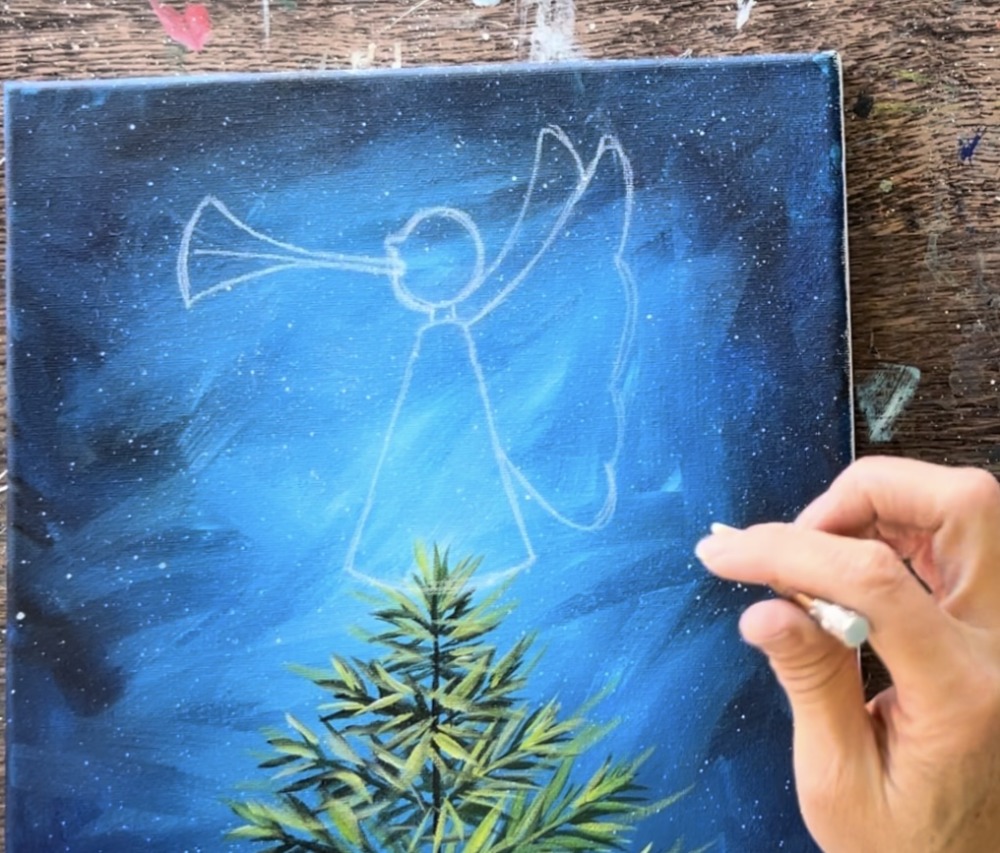
Then draw her right hand so that it is holding the trumpet. These are very simple cartoon like hands. Draw her sleeve as well.
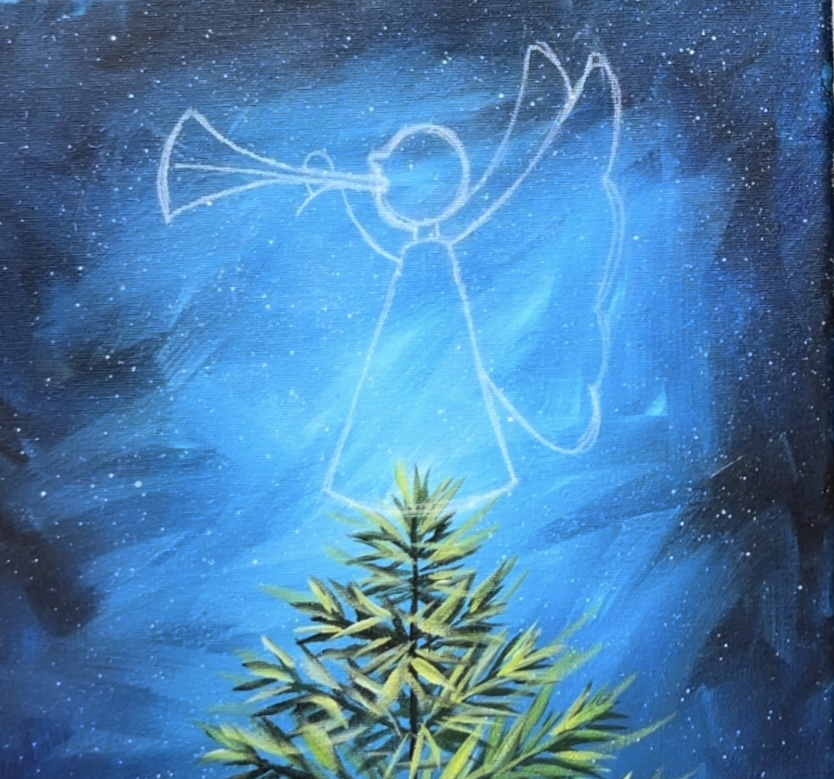
Then draw her front sleeve and front hand overlapping the front of the trumpet.
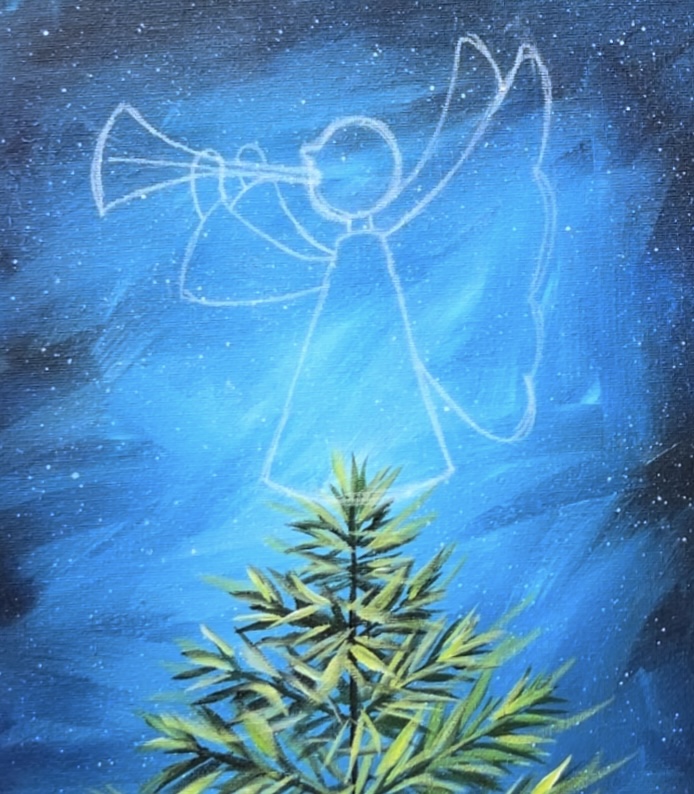
Draw her hair. At this point, we lost the “circle shape” because the hair shape goes outside the lines of that circle.

Erase lines not needed. Then draw a small curve for her eye.
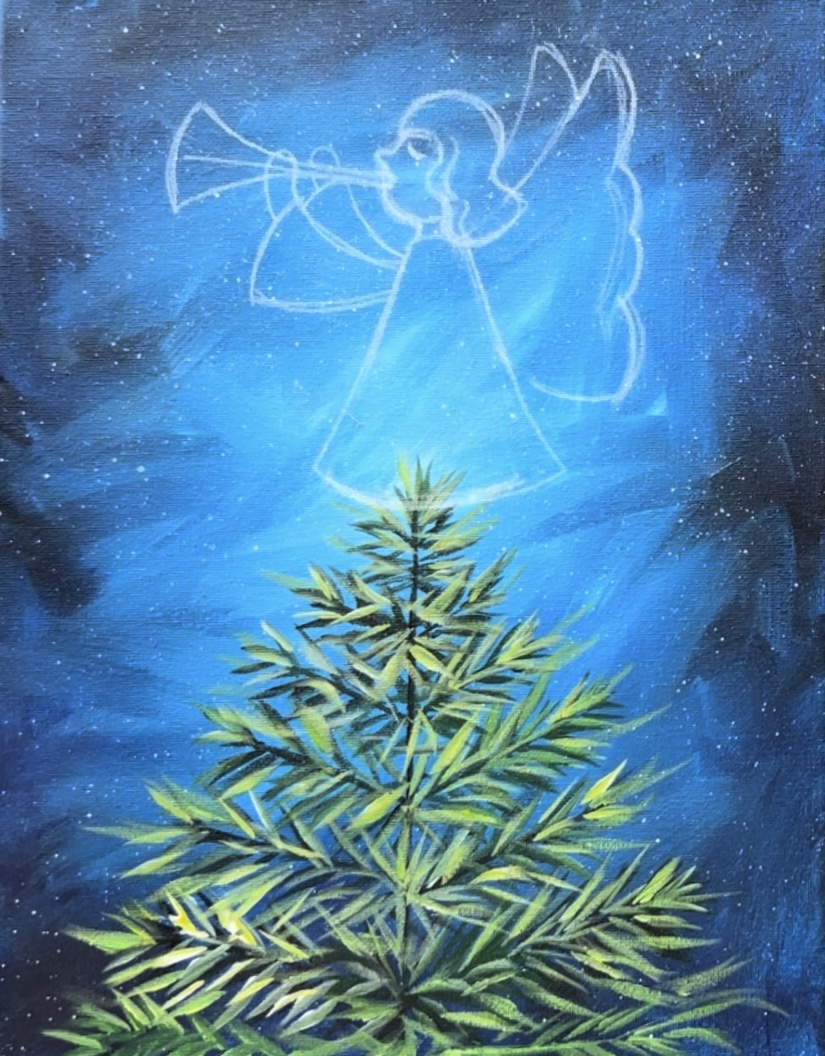
4. Paint Angel
Mix a pale skin color on your palette by mixing 1 part light pink, 1 part titanium white and a very small dot of primary yellow. You are also welcome to customize this color!
Use a #4 round brush to paint the face. You will have to paint over her eye. Paint her nose and neck and paint around the hair.
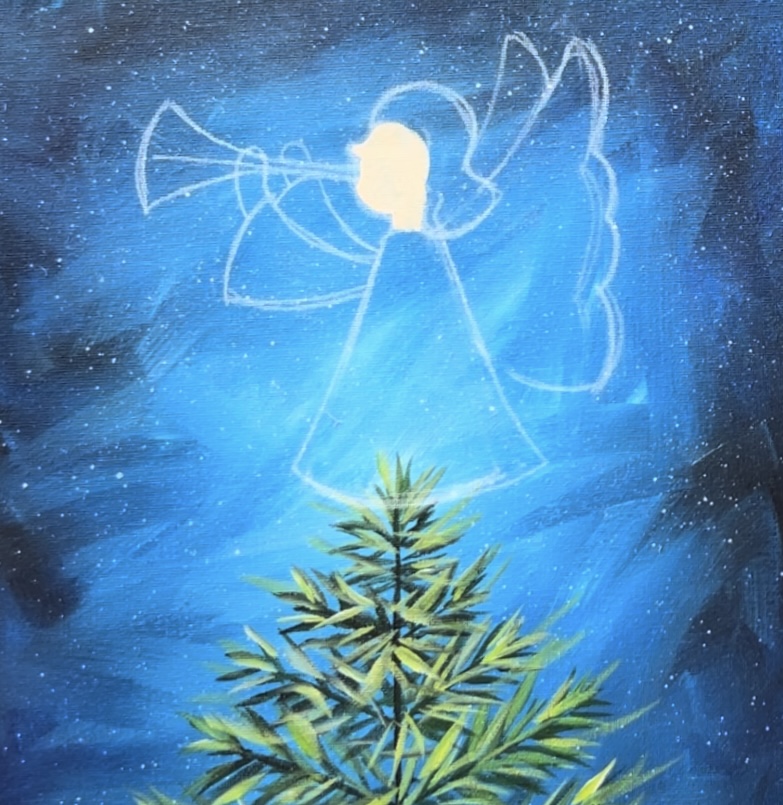
Next paint the first layer of her hair. This is “primary yellow”. Add a tiny bit of white to the yellow to help it be more “opaque” against the dark background.
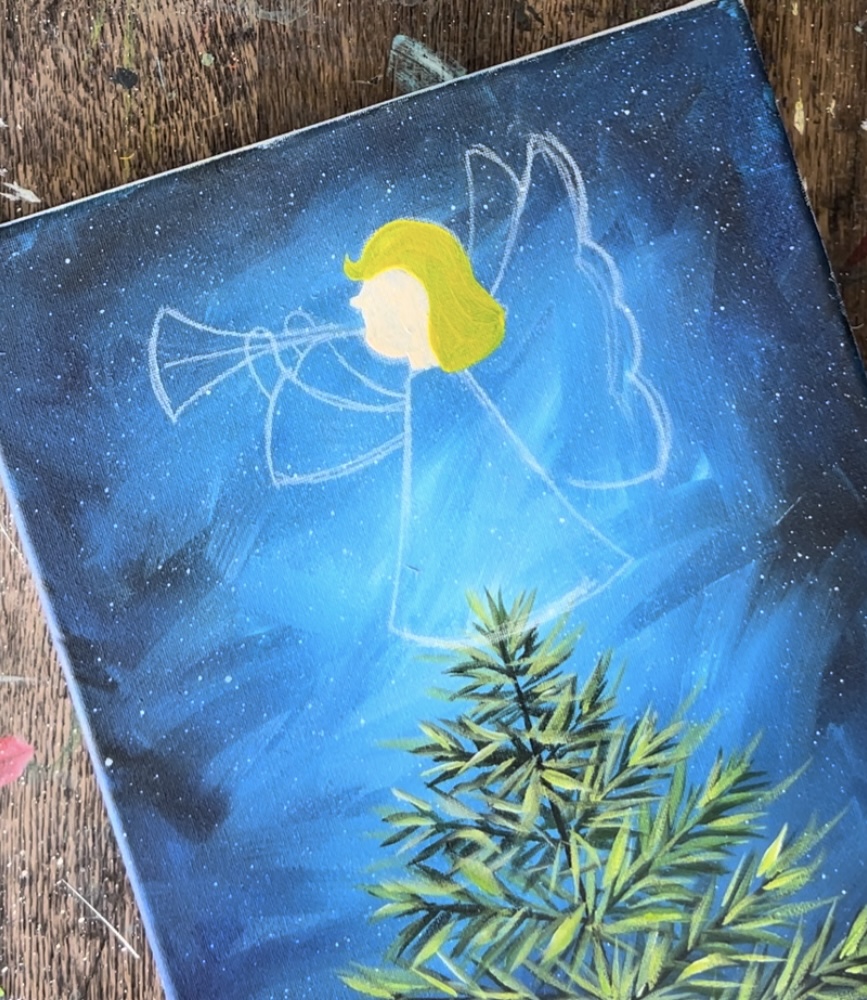
Paint the trumpet using the same yellow/ white color.
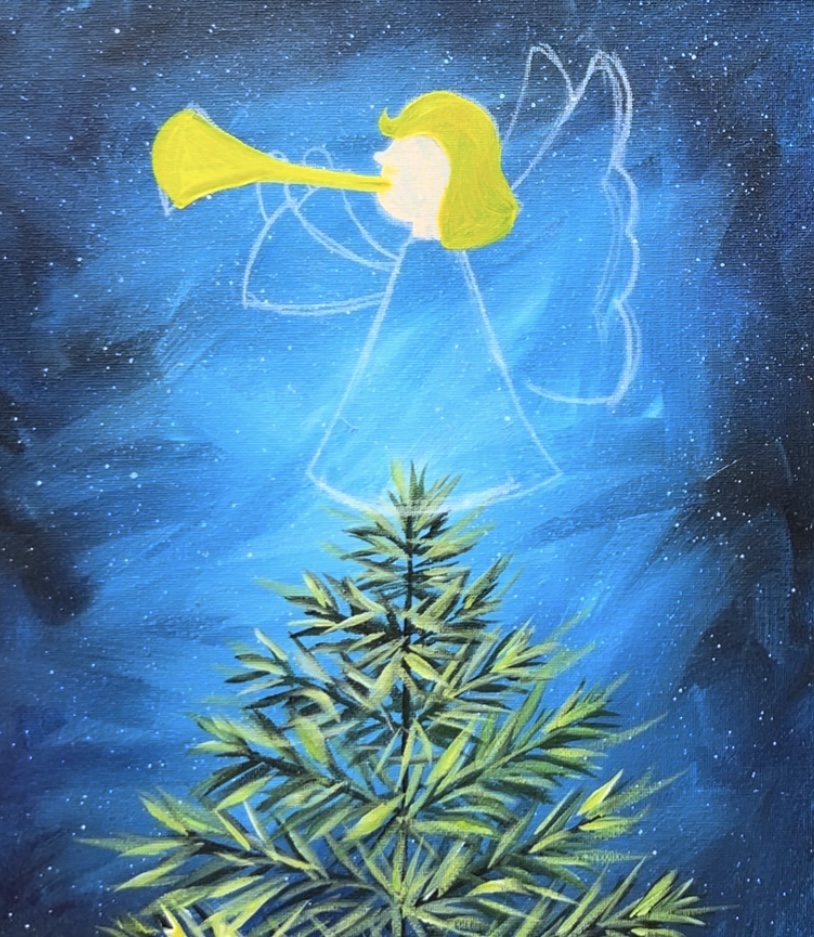
Then paint her sleeves. The front sleeve is pure titanium white. For the back sleeve, add a tiny bit of black to the white to make it a light to medium gray color. This helps the sleeve to stand out. Then paint her eye with mars black. You can use a fine black paint pen for this step! I also outlined the mouth part of the trumpet, however, I did not like this so I paint over it later.
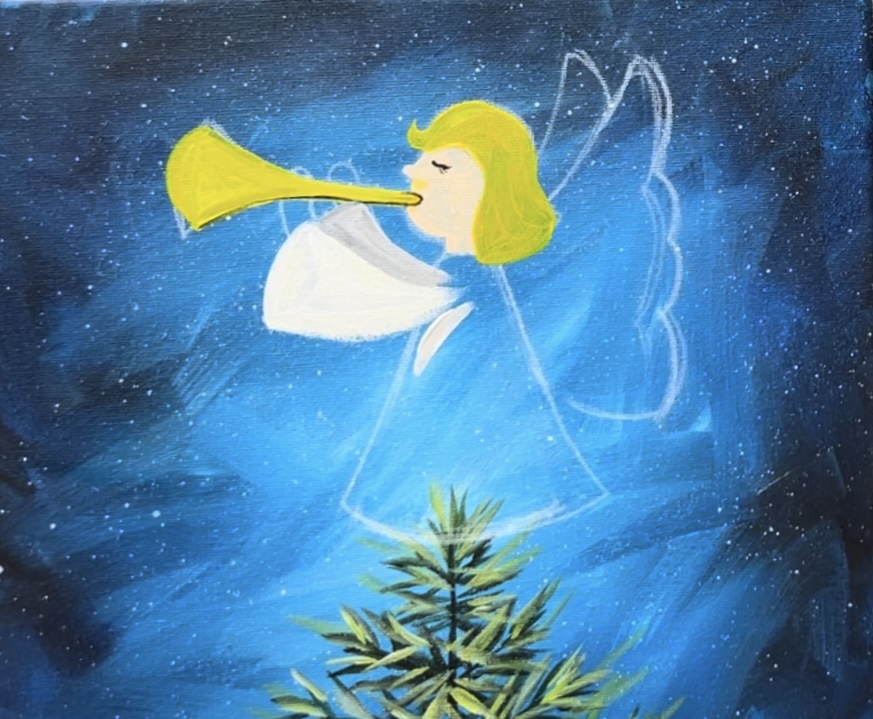
Start painting the rest of her dress with white and a tiny bit of gray at the top. Just paint the top part for now. We will use a #12 bright brush to paint the bottom part so we can create some pretty “sheer fabric” texture towards the bottom.
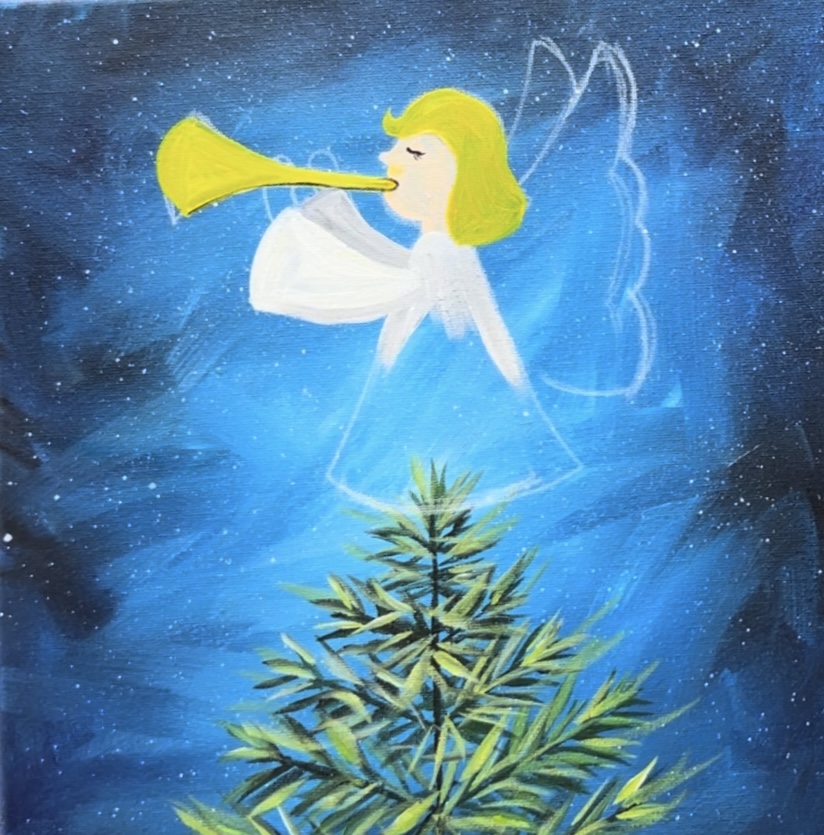
Switch to a #12 bright brush. For the bottom of the dress, “dry brush” the edges. Use the full width of the brush and only a small amount of white on the brush. If needed, wipe off excess paint to achieve the dry brush style. Brush downwards on the edging of the bottom of her dress to create the sheer color. The edging on the bottom of her dress is uneven like “tulle” fabric. You will go outside of the lines of the drawing.
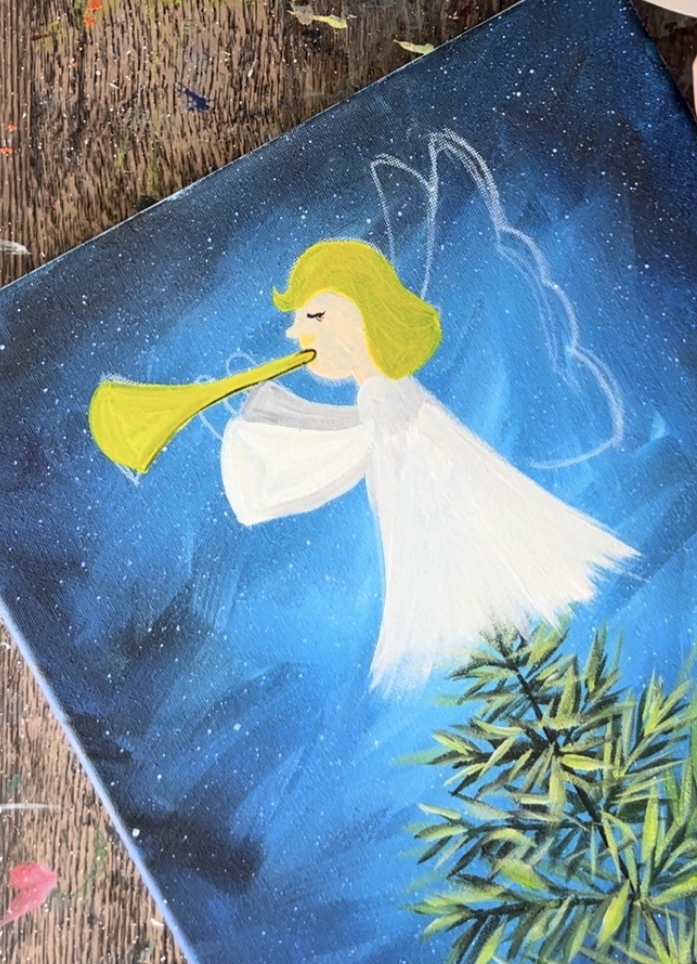
Add some fresh “phthalo blue” to your paint palette. Then load a tiny bit of the blue onto your brush. Dry brush/ blend some of this blue on the bottom of the dress. This will create pretty color variation! Make sure you are not adding too much blue or it will blend too much into the background. The dominate color needs to be bright white!
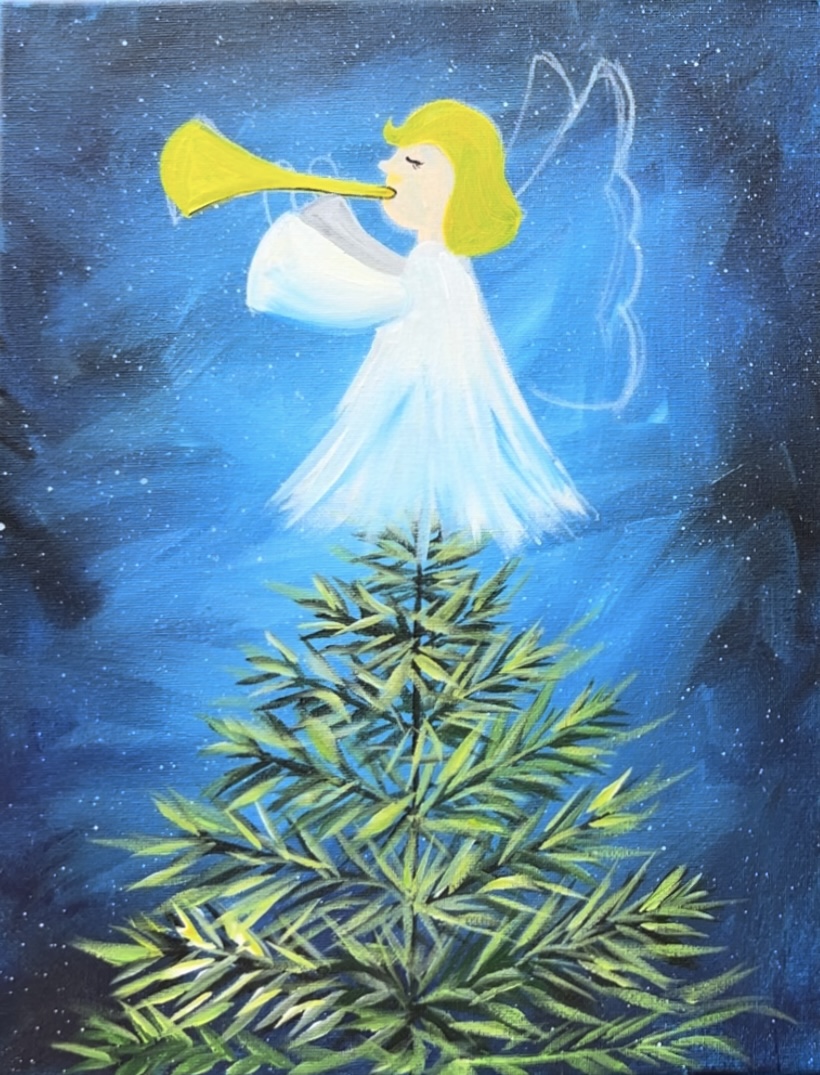
Add a little bit of this blue to the bottom of her sleeve for shadowing.
Then use either the round brush or 12 bright brush to paint her wing. Start by painting it said white.
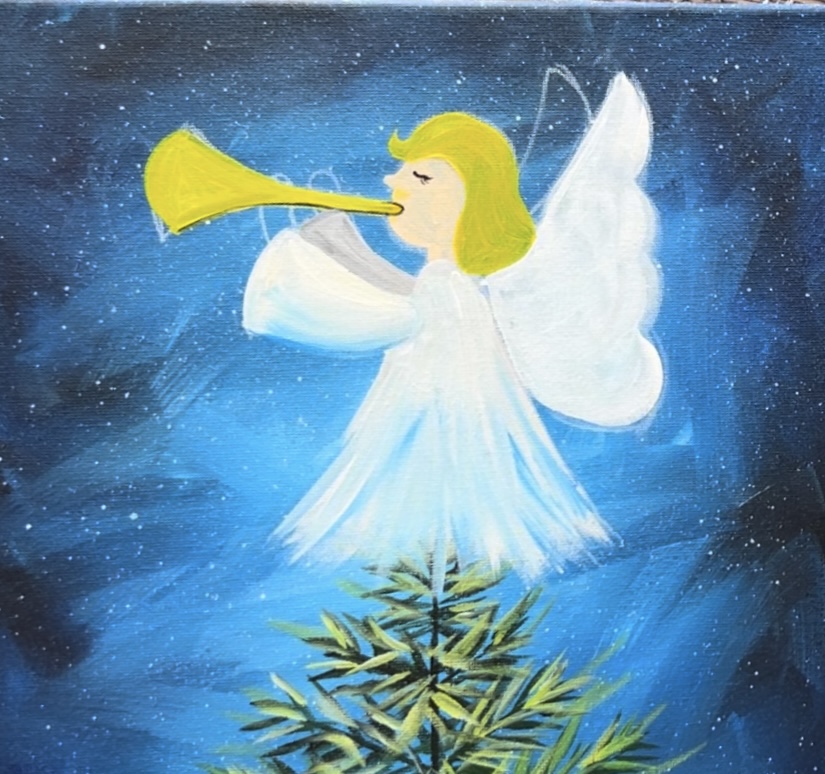
Then, before the white dries, blend a small amount of black onto the wing. Start by outlining the inner “scalloped edging” of her wing with black. Then use the bright brush to drag that black gently into the white with lines going towards her back. Use just a little bit of black for this step so the wing doesn’t turn too dark!
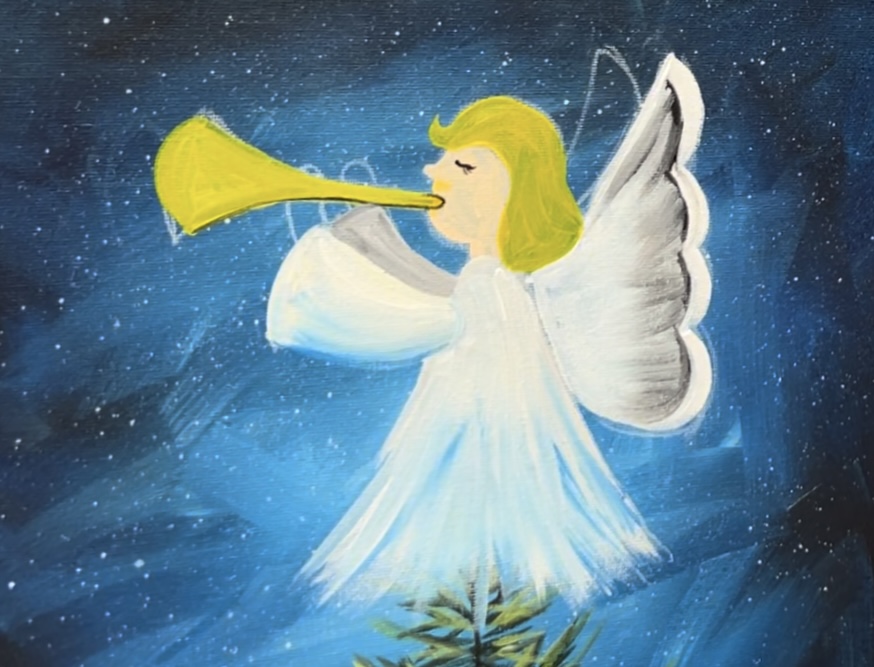
Add a little black to her back wing as well.
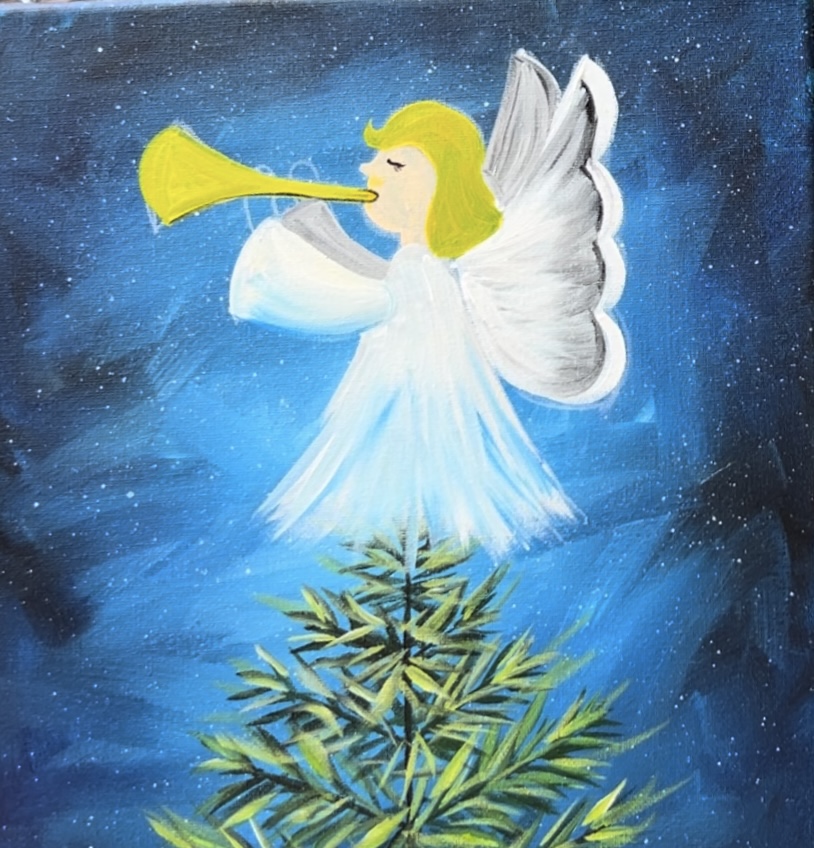
Next, paint the texture on her hair. Use the #4 round brush and a combination of yellow mixed with white for lighter strands and “raw Sienna” mixed with yellow for darker strands. Paint wavy lines to create the texture and layer on different colors.
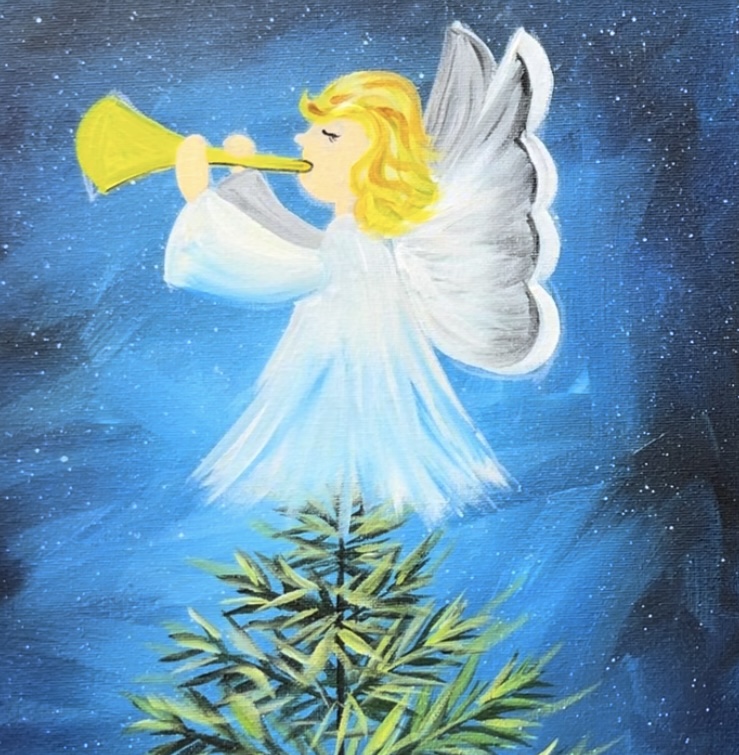
Add gold accents to her wings next! Use the #4 round brush and gold to add gold over the black areas of her wings. Then drag that gold in lines going towards her back. This gold color is a translucent color! It will look sheer over the first layer of her wings. I only added it on the inner edges of her wings but left the rest of the wing bright white. Additionally, you can add gold accents to the bottom of her dress. Drag gold lightly upwards. I only did this towards the bottom and left the rest of the dress white.
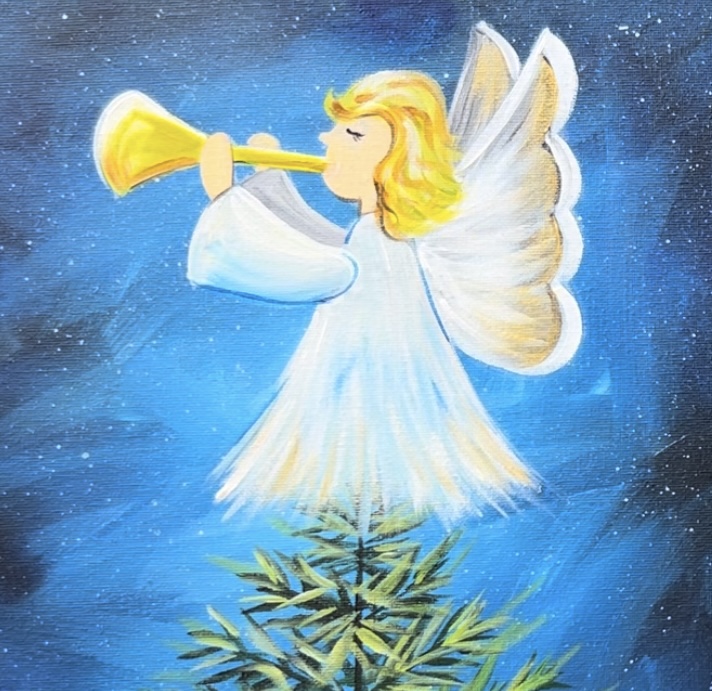
Some other details you can do for the angel are “loose outlining” with either blue or black. Some of the edging of her sleeves and dress can be outlined as well as her hands and edging of her hair.
Highlight the trumpet by painting white towards the top and far left edge/ opening of the trumpet. Use “raw Sienna” to paint the bottom parts of the trumpet and blend it with the yellow. The raw Sienna acts as a good “dark gold yellow” color to help us shade darker parts.

5. Paint ornaments & stars
Use a #4 round brush and titanium white to paint white circles for the ornaments all over the tree.
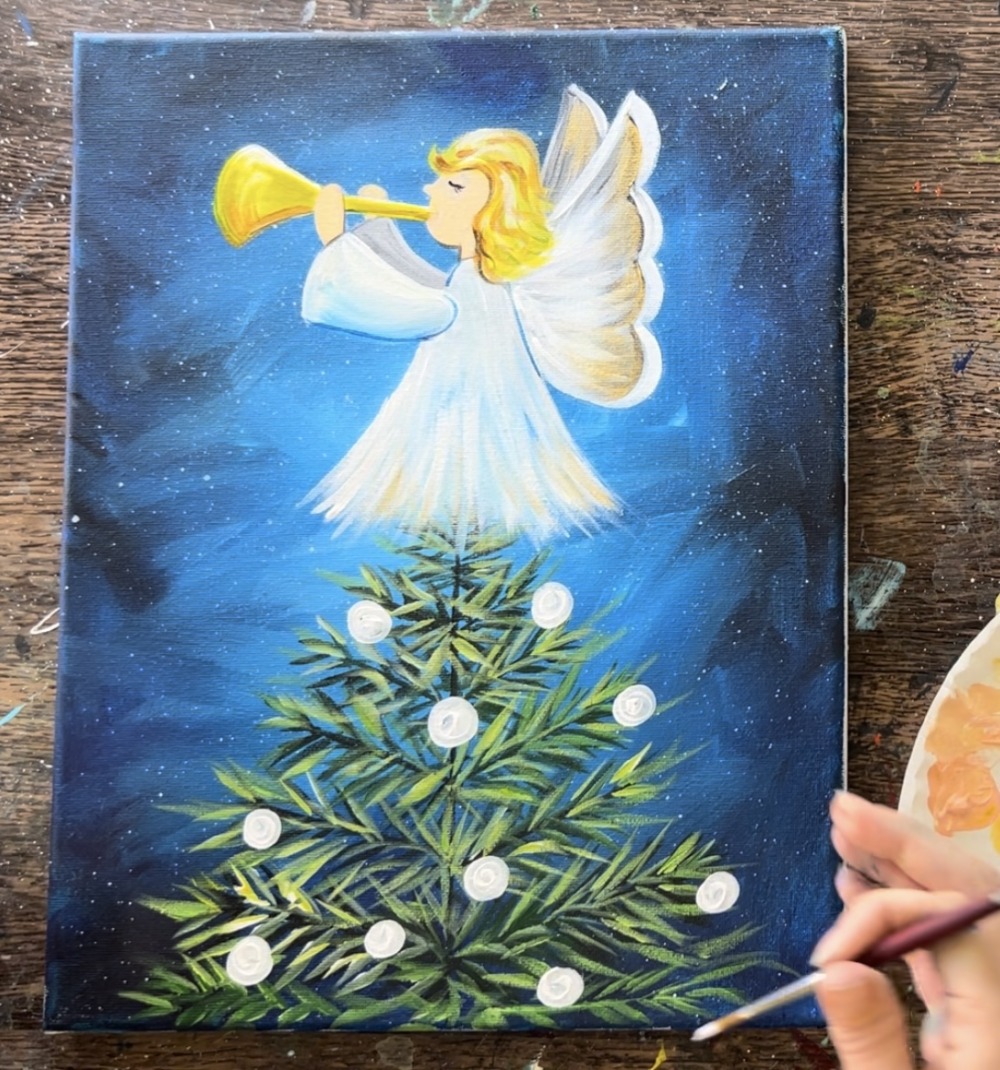
While your ornaments are drying, paint stars in the sky. I used a #8 round brush for its fine tip to paint these “twinkle stars”. You can also use a white paint pen or any fine point paint brush. Paint them all over the sky! You can even do one distinct large star for the “Star of Bethlehem”.
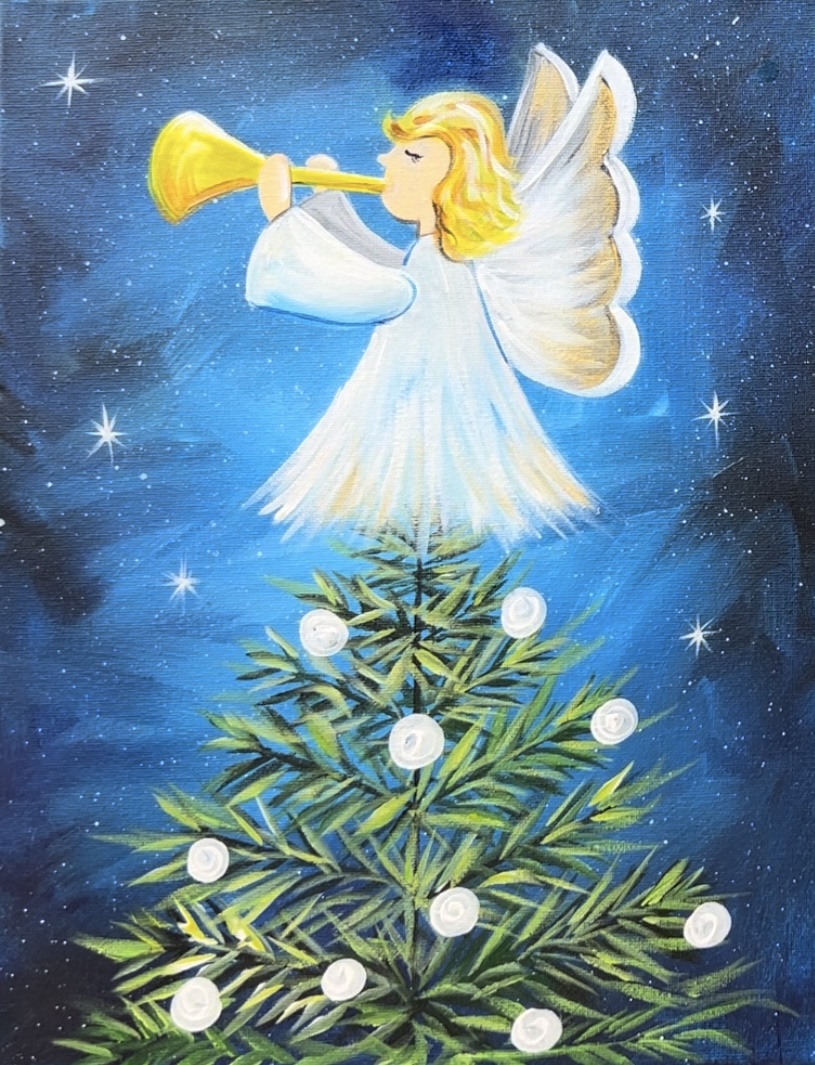
After your ornaments dry, paint them different colors! I did “napthol crimson” for the red ornaments, “deep violet” for the purple ornaments and “primary yellow”, “phthalo blue mixed with white”. You are welcome to customize your ornaments!
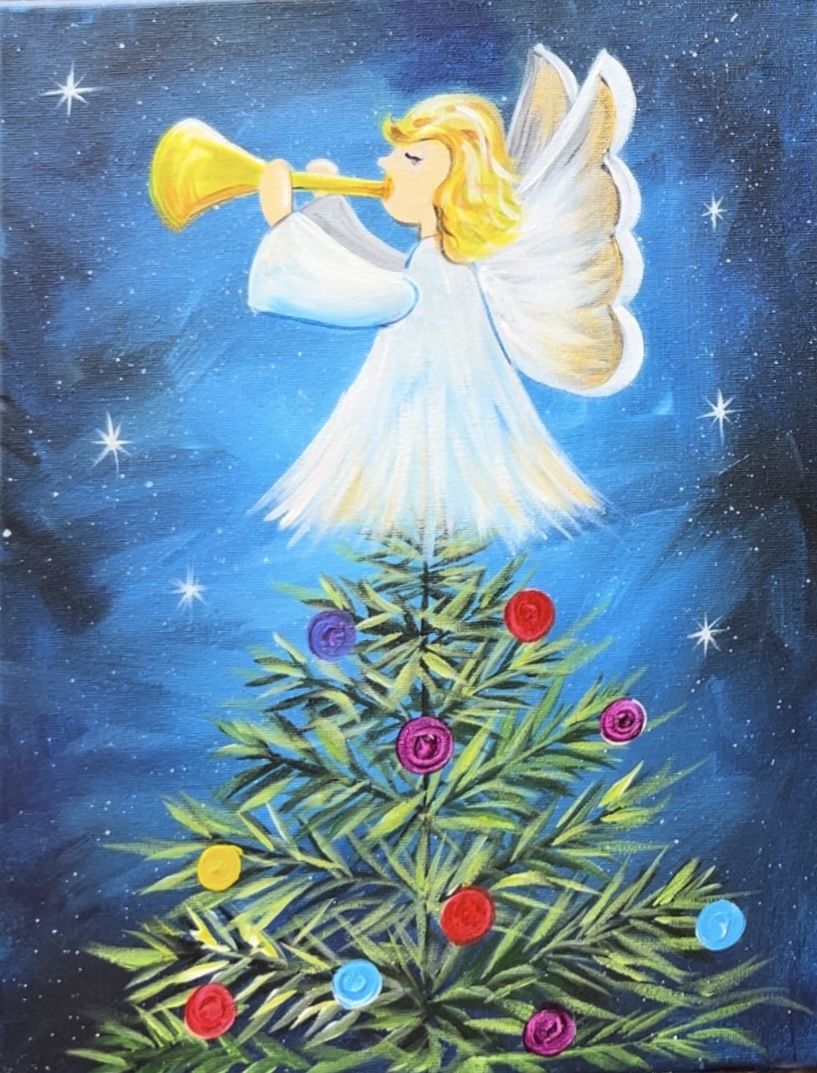
Then paint the gold garland on the tree! Use a #4 round brush and gold paint to dot a string going in a zig-zag direction on the tree. Additionally, I did little gold dots for the hangers of all the ornaments.
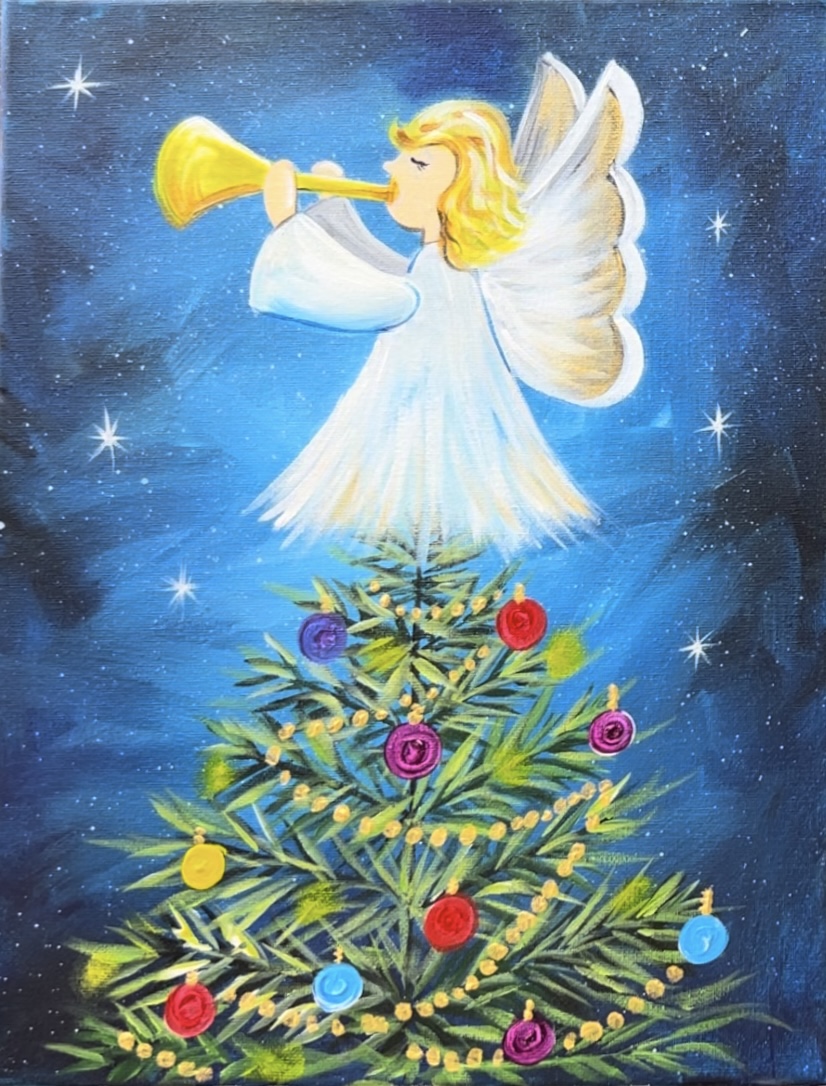
Paint lights on the tree next! Use primary yellow and your index finger to paint little blurry dots.
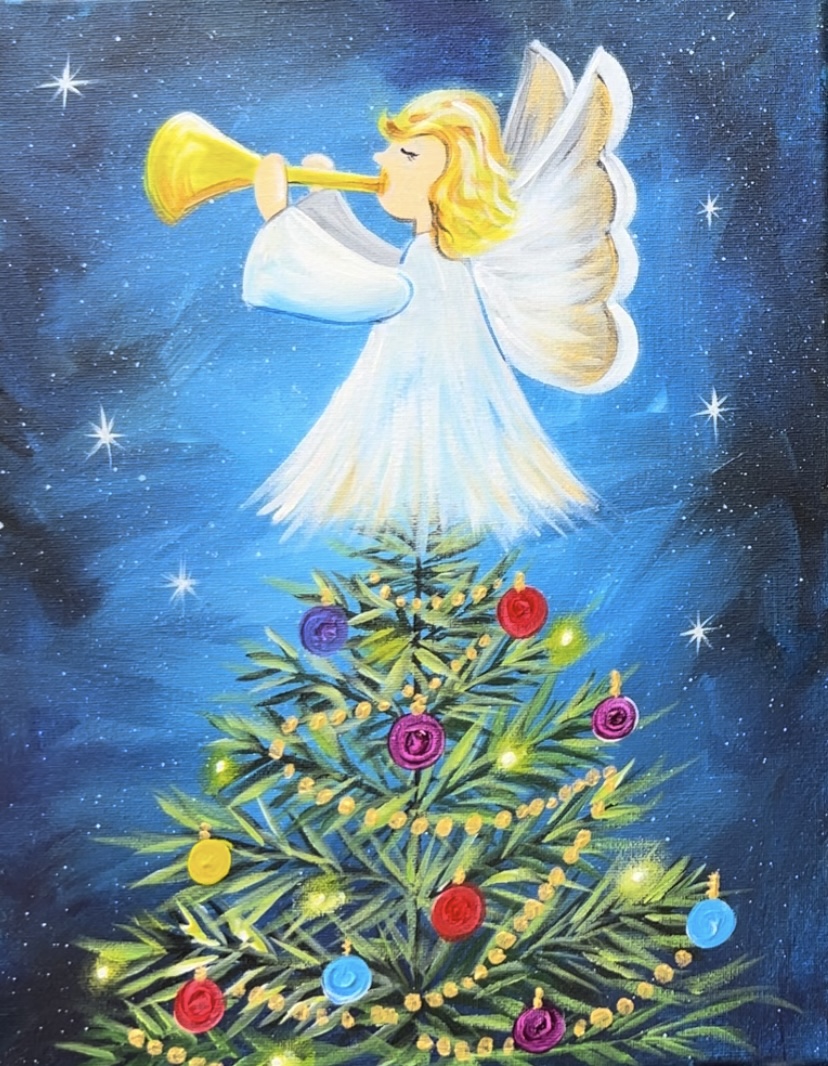
Then paint a white dot in the middle of all of your blurry yellow dots. This will really make it look like glowing lights!
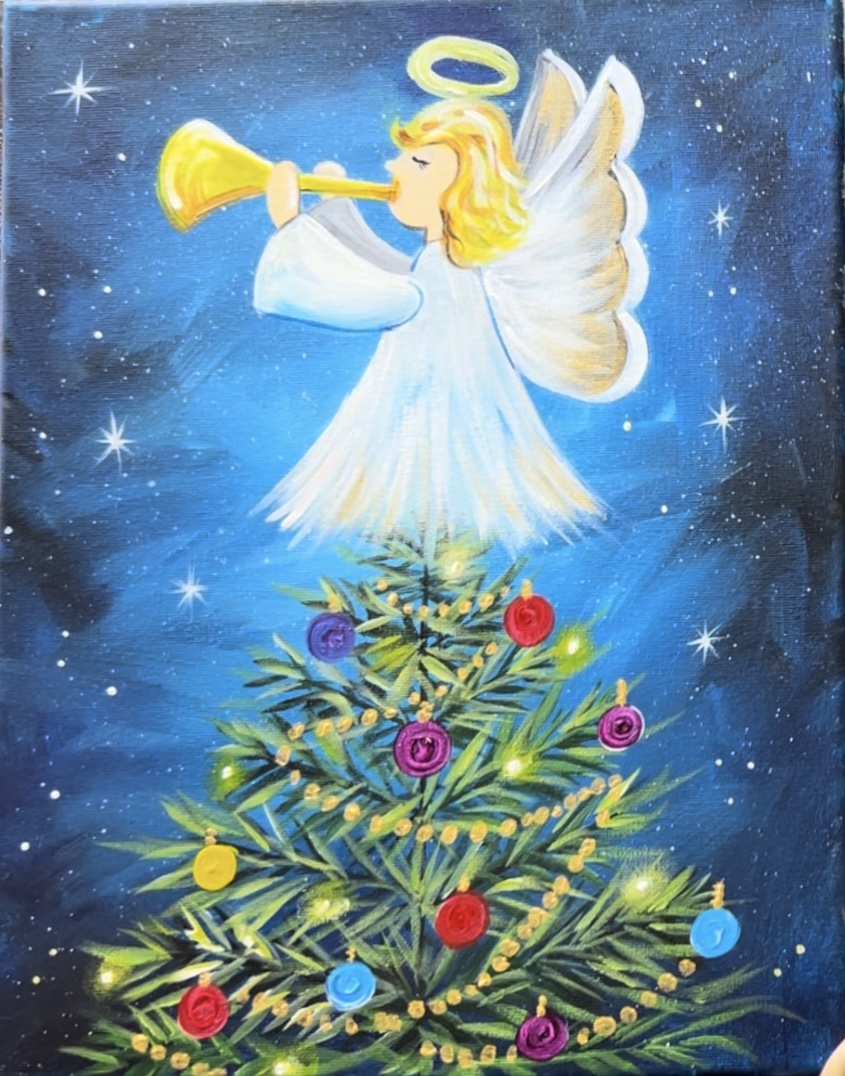
I also painted the angel’s halo! It helps to draw the halo out first. Then use the round brush and titanium white and yellow to paint it. Adding white to your yellow will make it look really bright.
Finally, when your ornaments dry, paint a white highlight on the upper left of all of the ornaments. This is just a simple curved white line. Then do a little black “squiggle line” on the lower left of all the circles for the shadows. This will really make your ornaments look shiny!
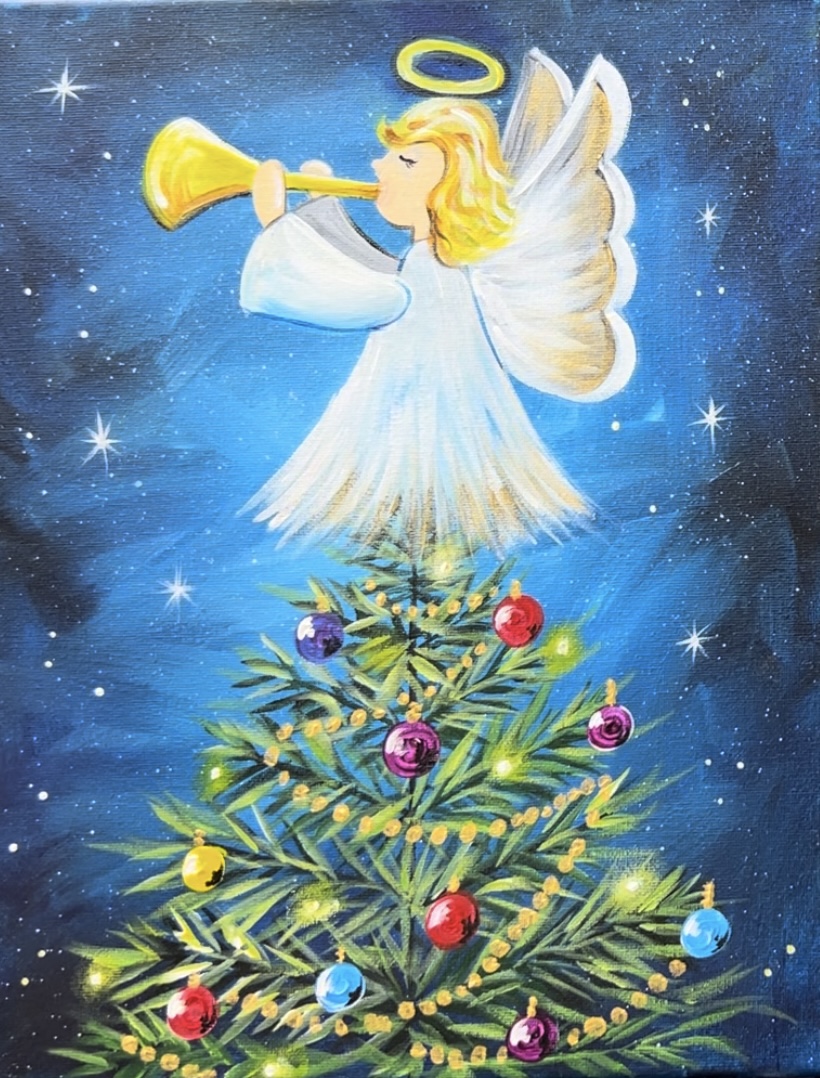
Finished
