Would you like to save this?
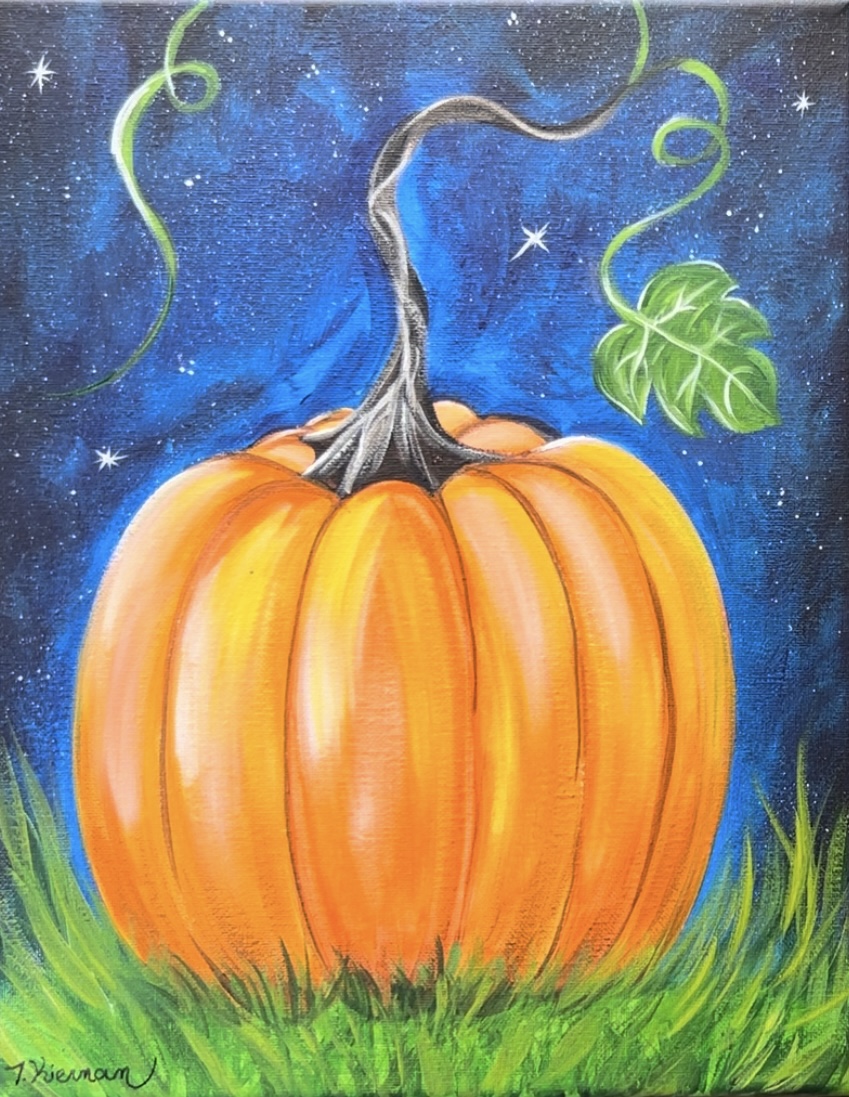
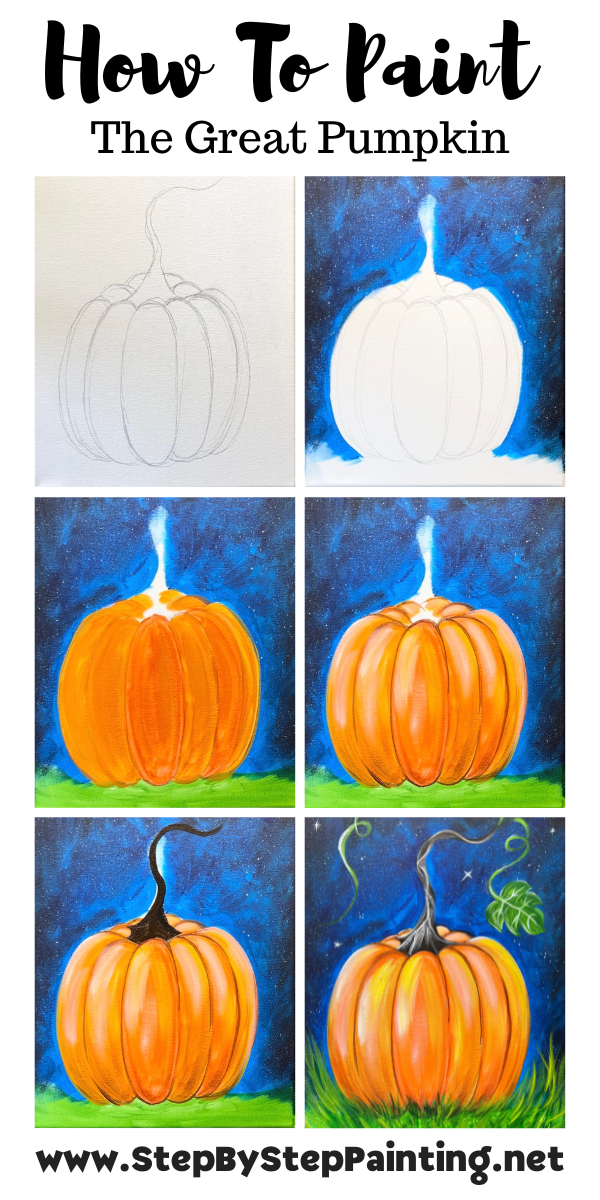
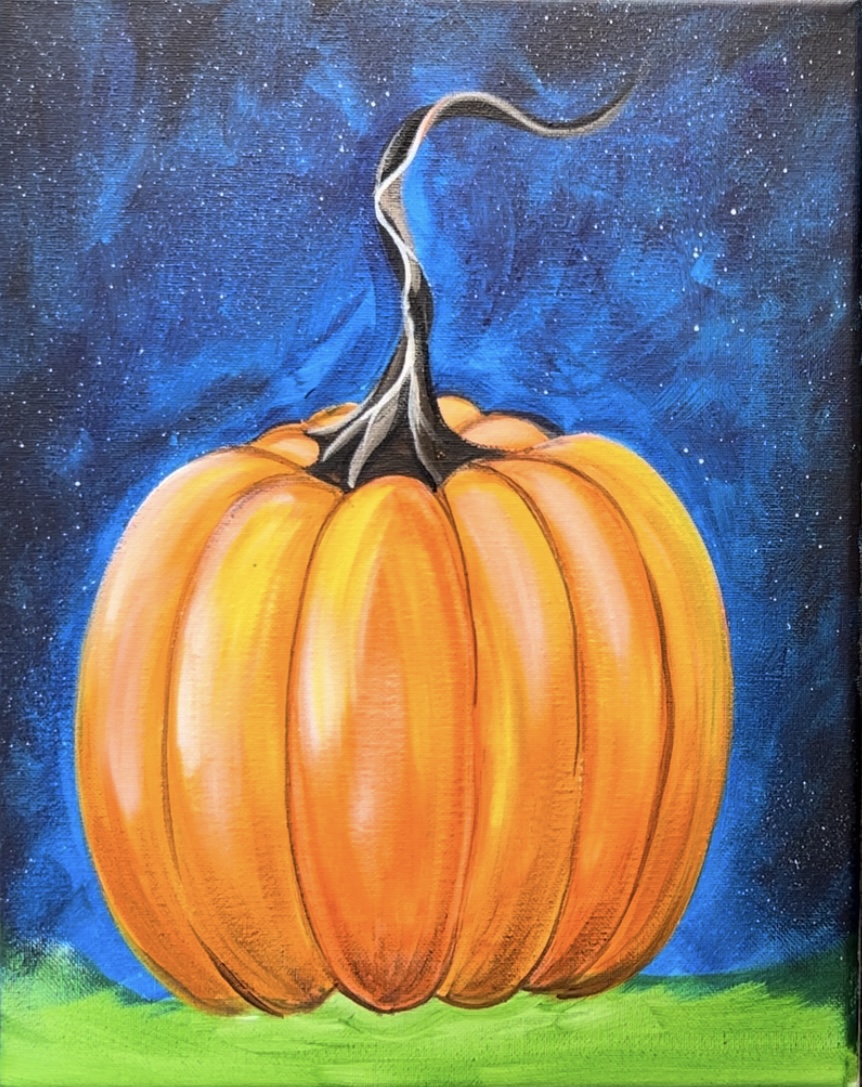
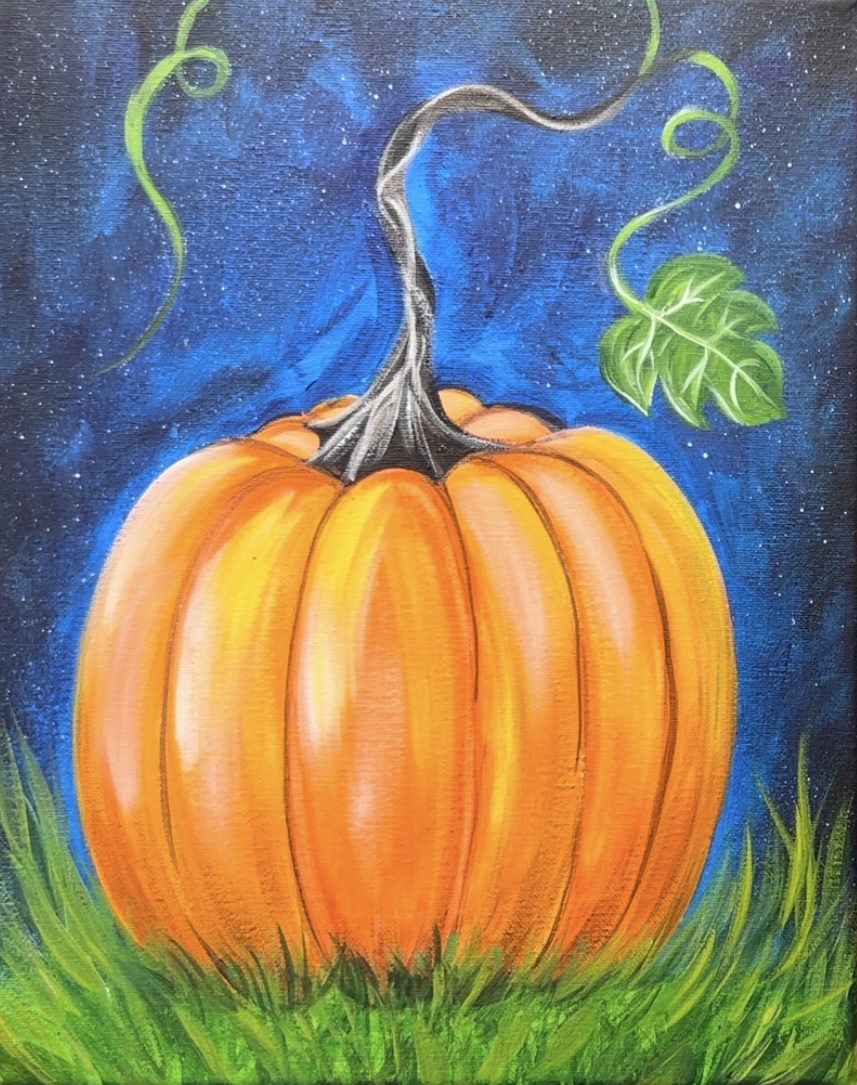
Learn how to paint a simple yet whimsical pumpkin. “The Great Pumpkin” is a great beginner lesson for how to paint a realistic looking pumpkin! We will be learning how to add shading and highlighting to really make our pumpkin “pop”!
Enjoy and happy painting!
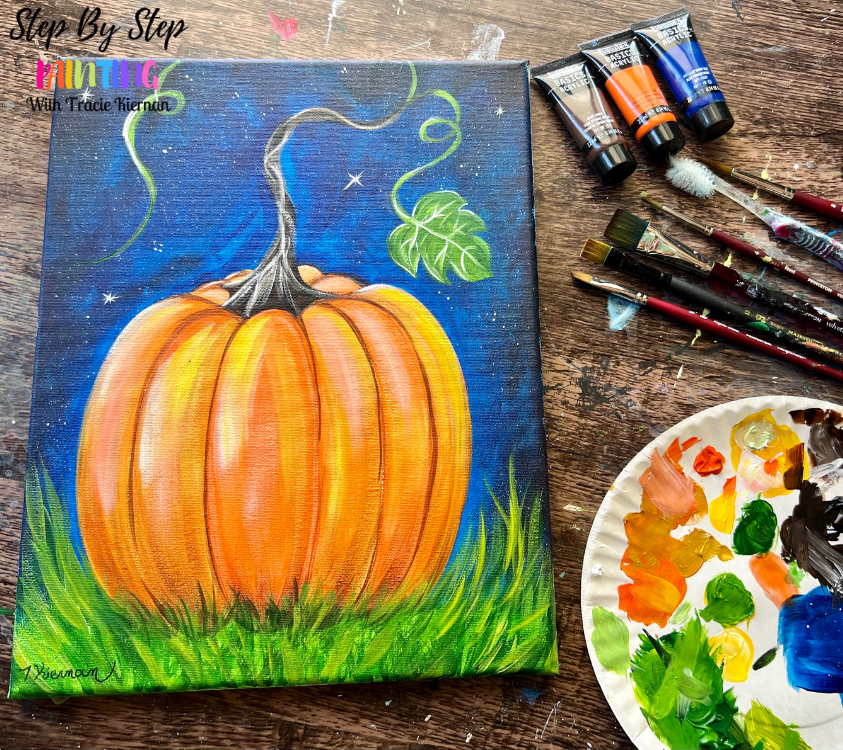
Materials
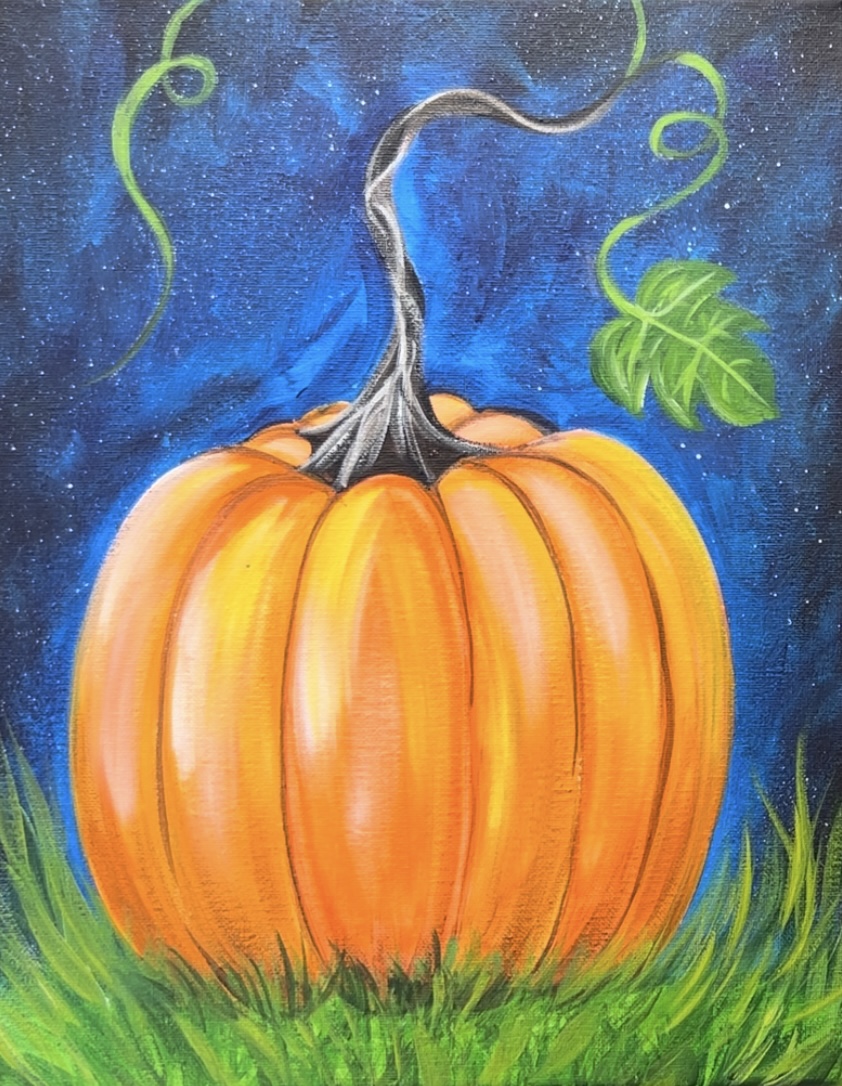
The Great Pumpkin - Acrylic Painting Tutorial
Paint a detailed pumpkin, also known as "The Great Pumpkin". This painting will focus very specifically on pumpkin painting techniques.
Materials
- 11 x 14 Canvas
- Acrylic Paint (I use Liquitex BASICS)
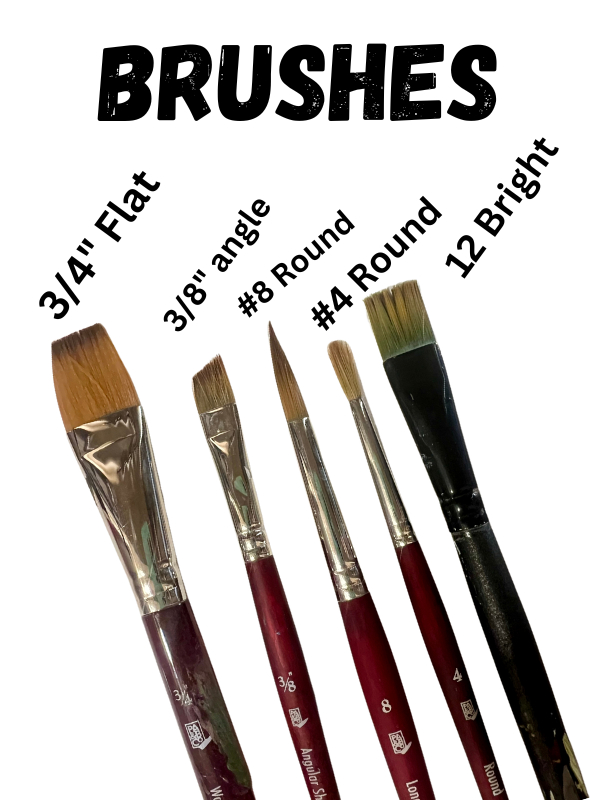
- Brushes
- Pencil
- Toothbrush for splattering stars (optional)
Colors
- Titanium White
- Mars Black
- Burnt Umber
- Cadmium Orange Hue
- Primary Yellow
- Yellow Oxide
- Hooker's Green Hue
- Phthalo Blue
Brushes
Color Palette

Directions At A Glance
Video
Step By Step Instructions
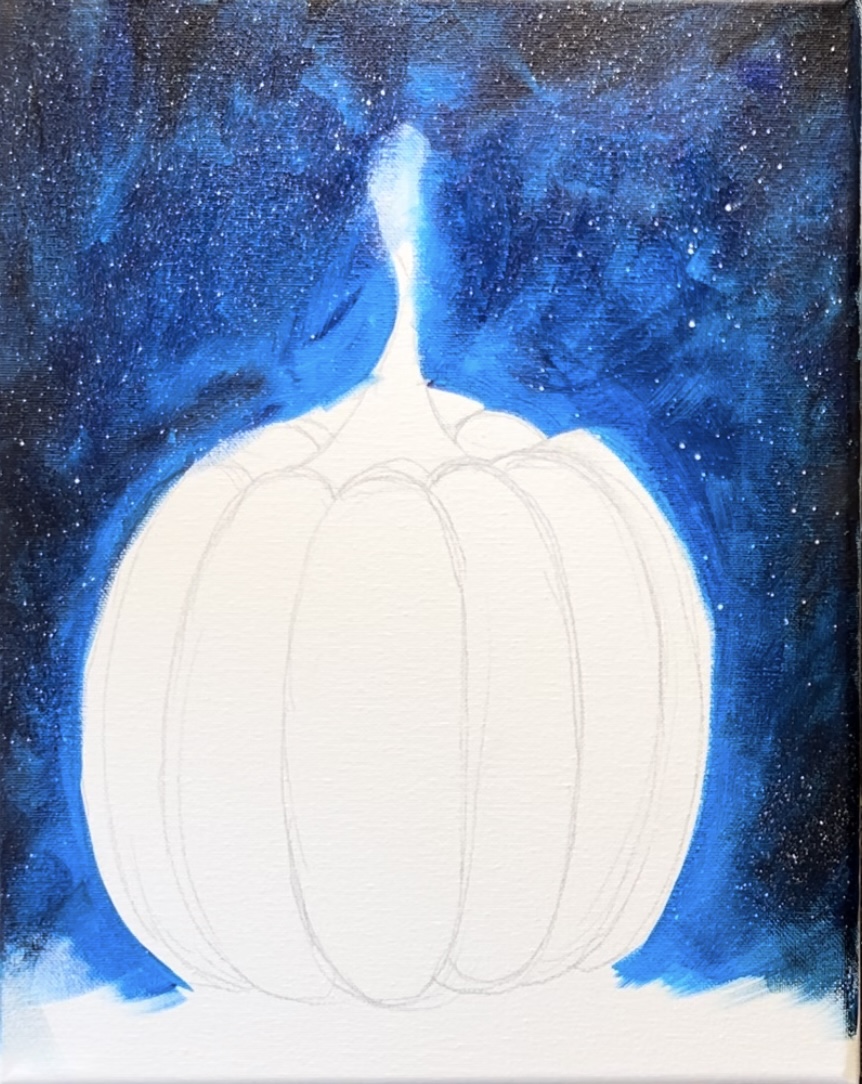
1. Draw Pumpkin
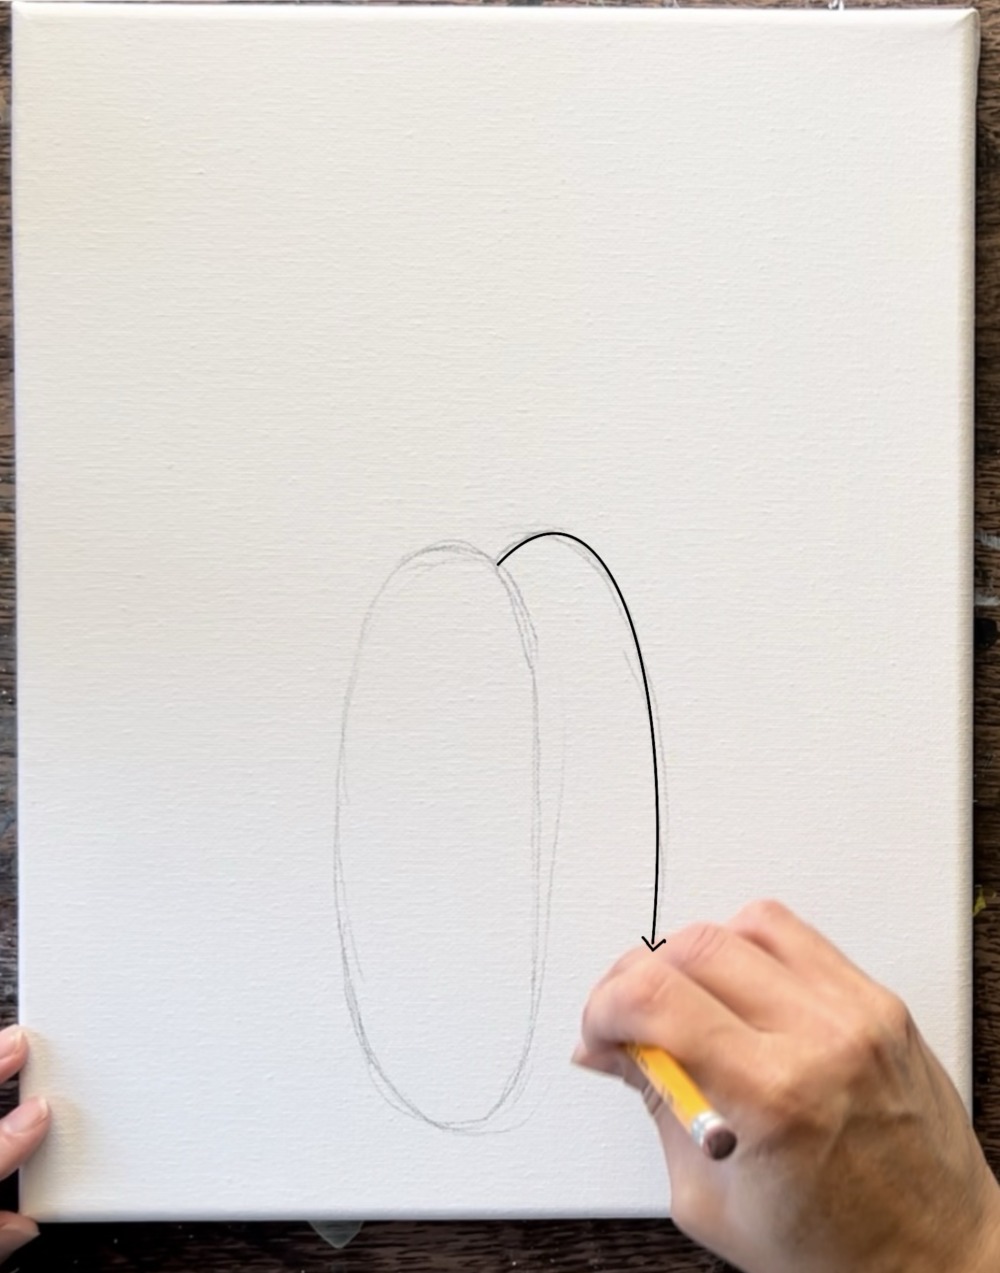
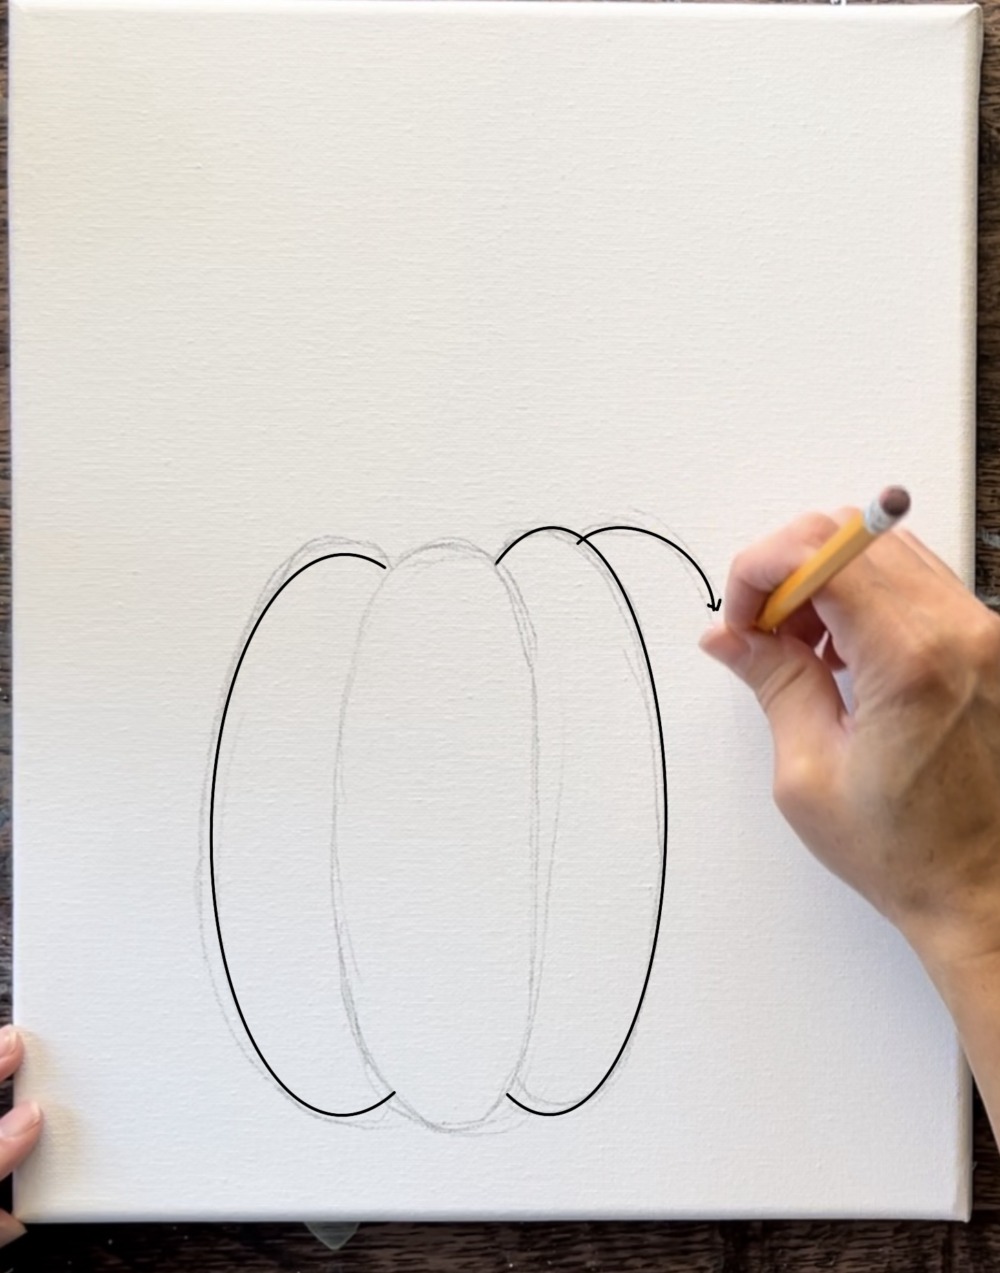
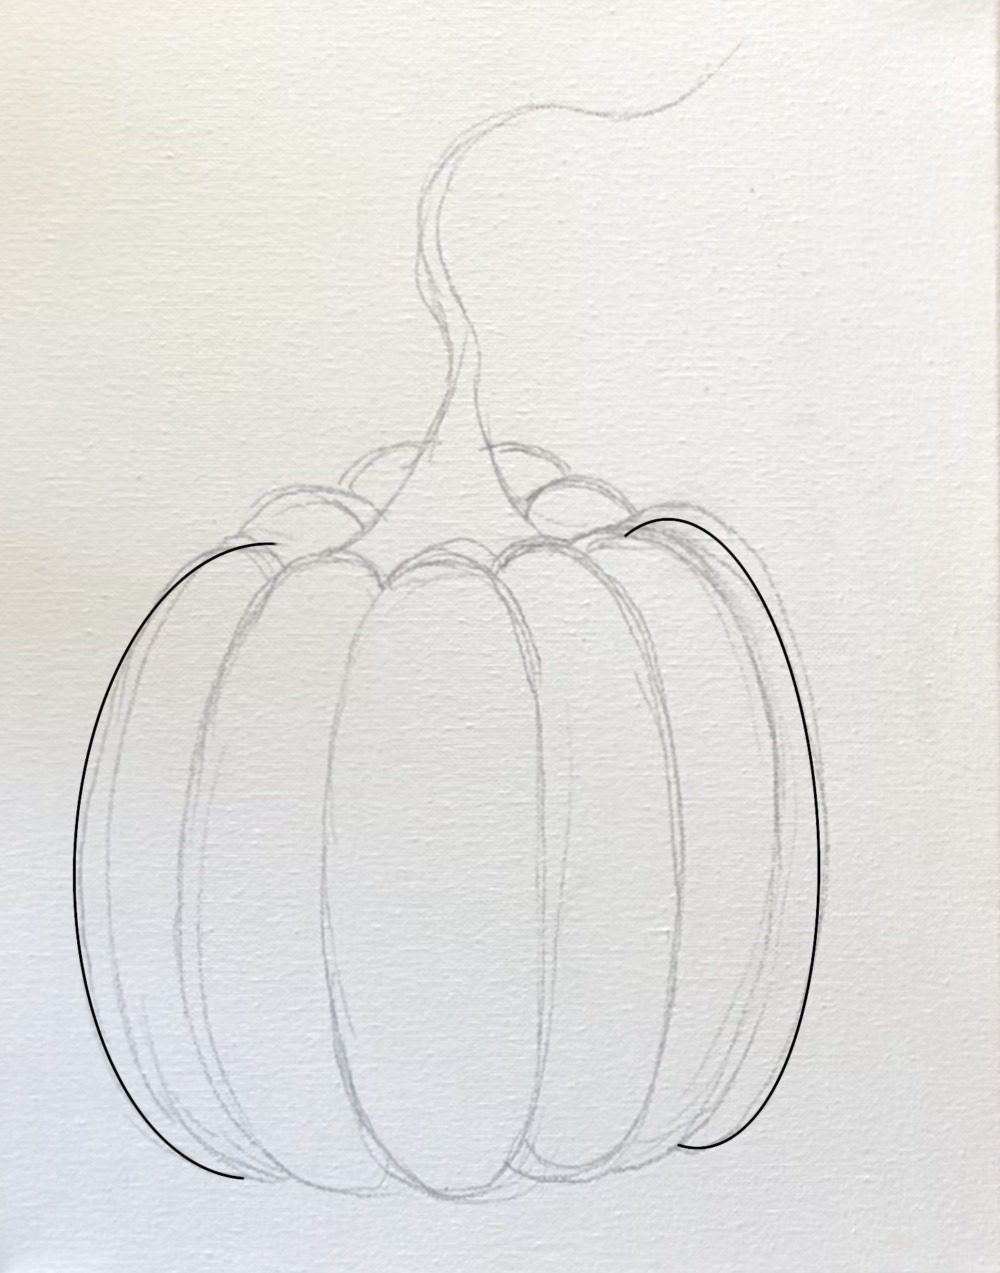
Position your canvas vertically. Use a pencil to lightly sketch this pumpkin. I like to draw a large oval first and then add curved lines to the left and the right of it. This first oval shape will define how tall the pumpkin is.
The height of my oval is about 8.75″ and about 2.25″ wide. This does not have to be exact.

Next, draw another curved line. Start on the top just next to the center oval and sketch your line downwards to form a curve. It should also create a curve “bump” on the bottom and top of the pumpkin.
Repeat this on the other side.
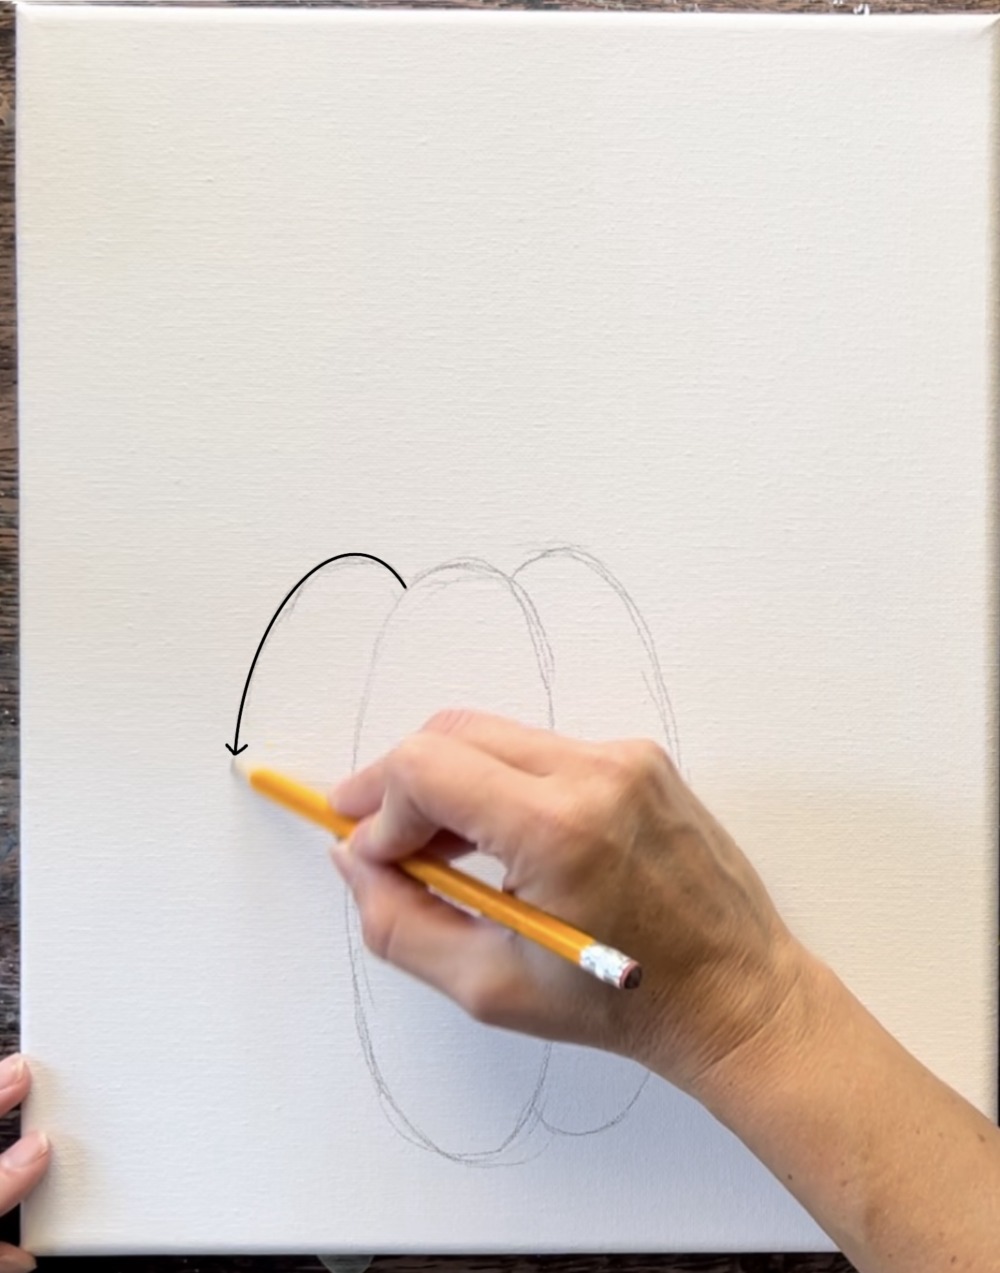
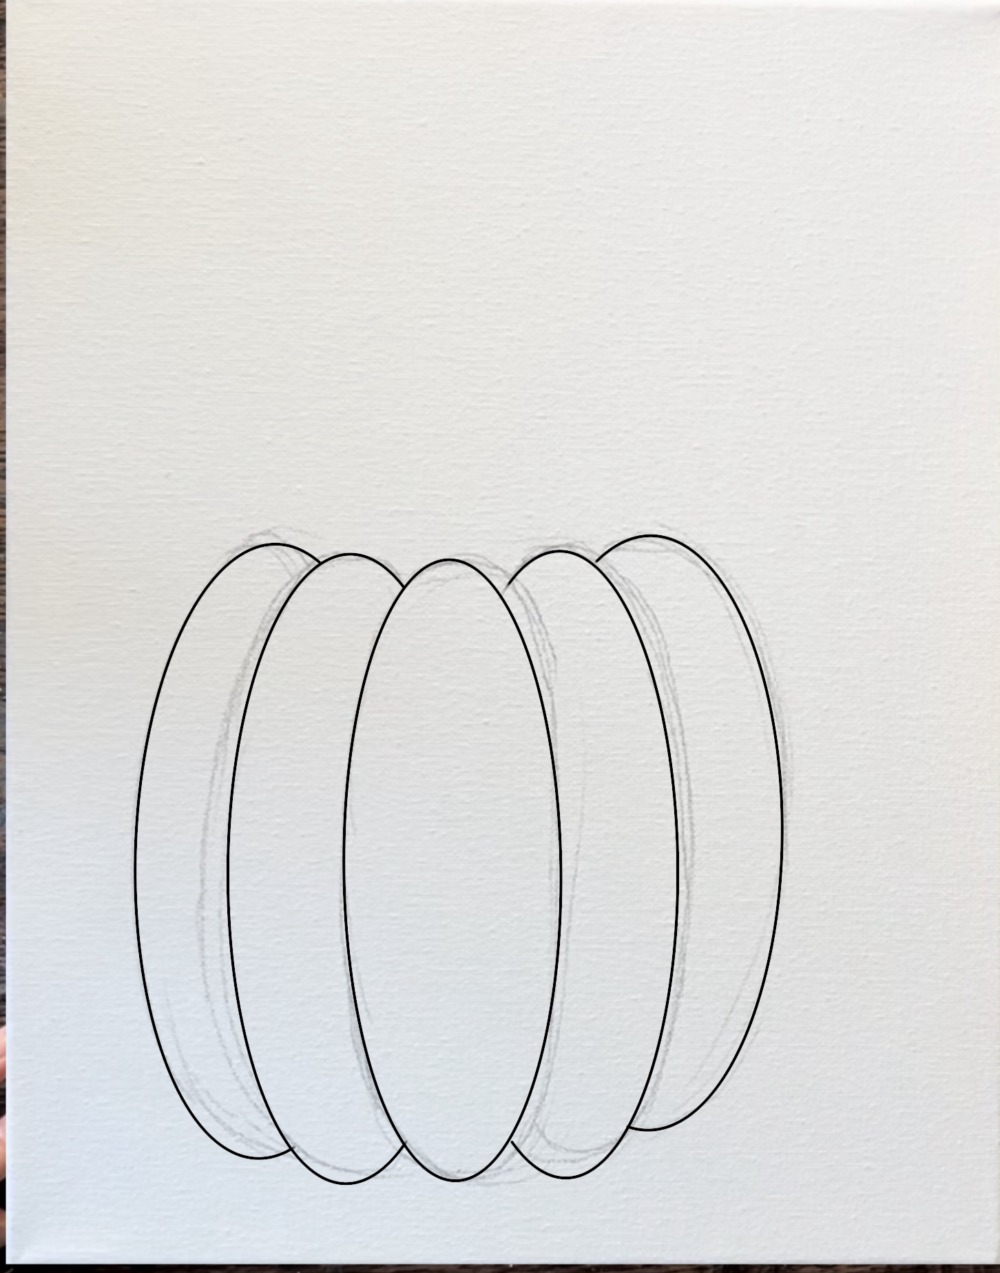
Draw another set of curved lines on each side.
I did two sets of curved lines on each side of the center oval. Later, I did another two smaller, more narrower sets of curved Ines.
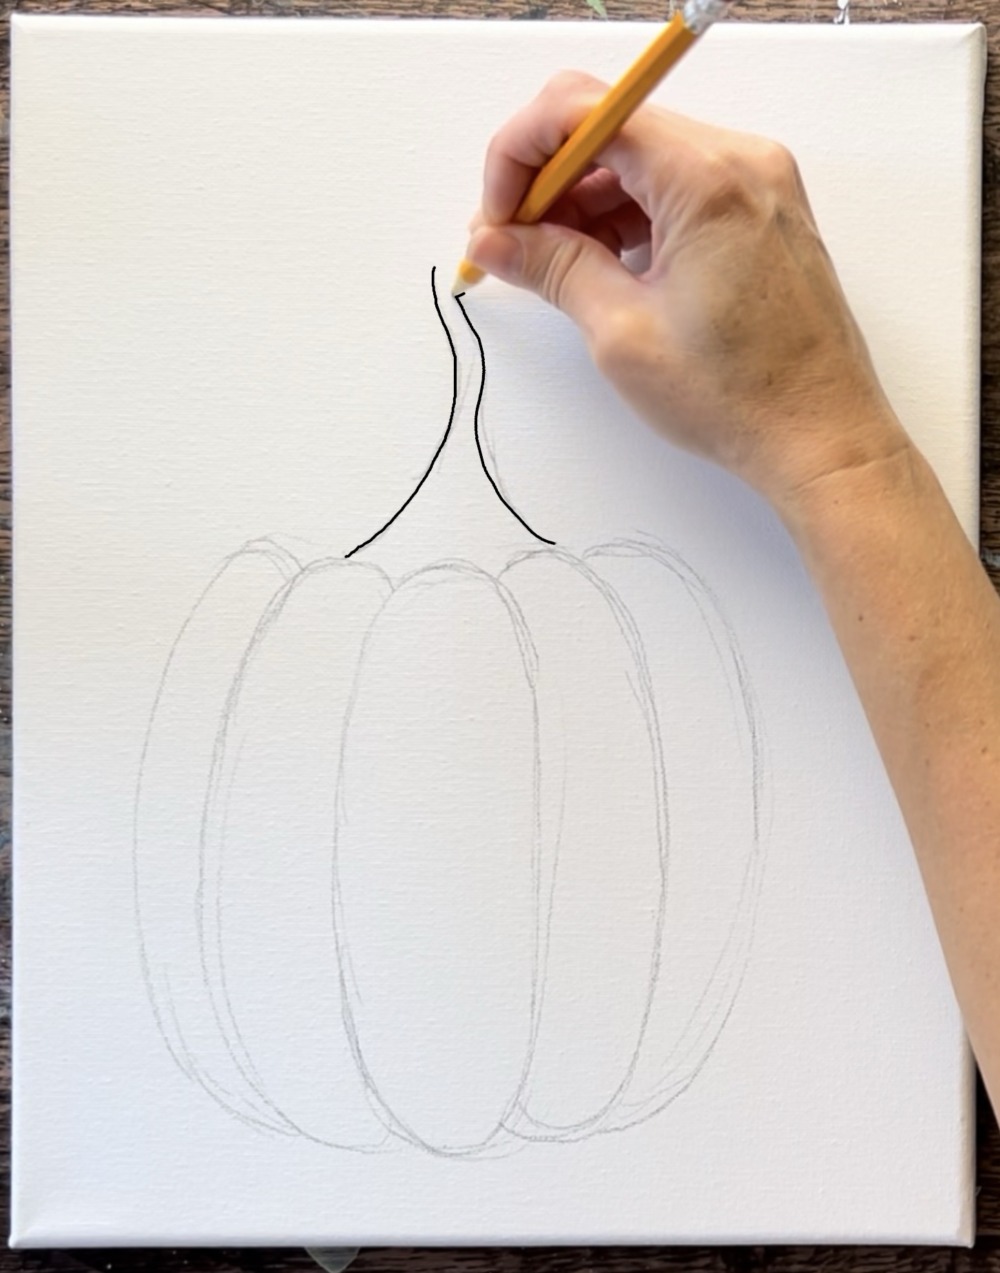
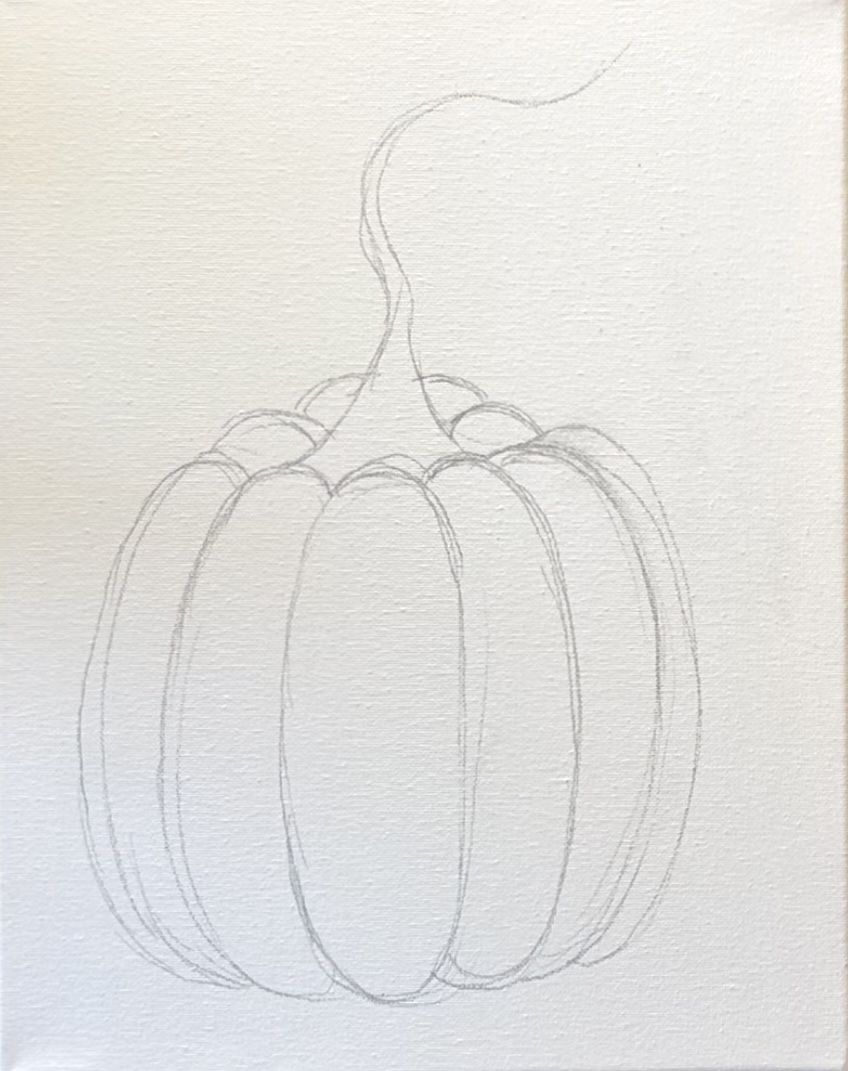
Next, draw the stem of the pumpkin. This starts on the top of the “bumps”. To make your stem more “whimsical”, you can draw it so that it twists/ curves and goes to a point. The stem also starts out wide and then gets very narrow.
Draw for more curved lines/ bumps on the top area of the pumpkin that we see behind the stem.
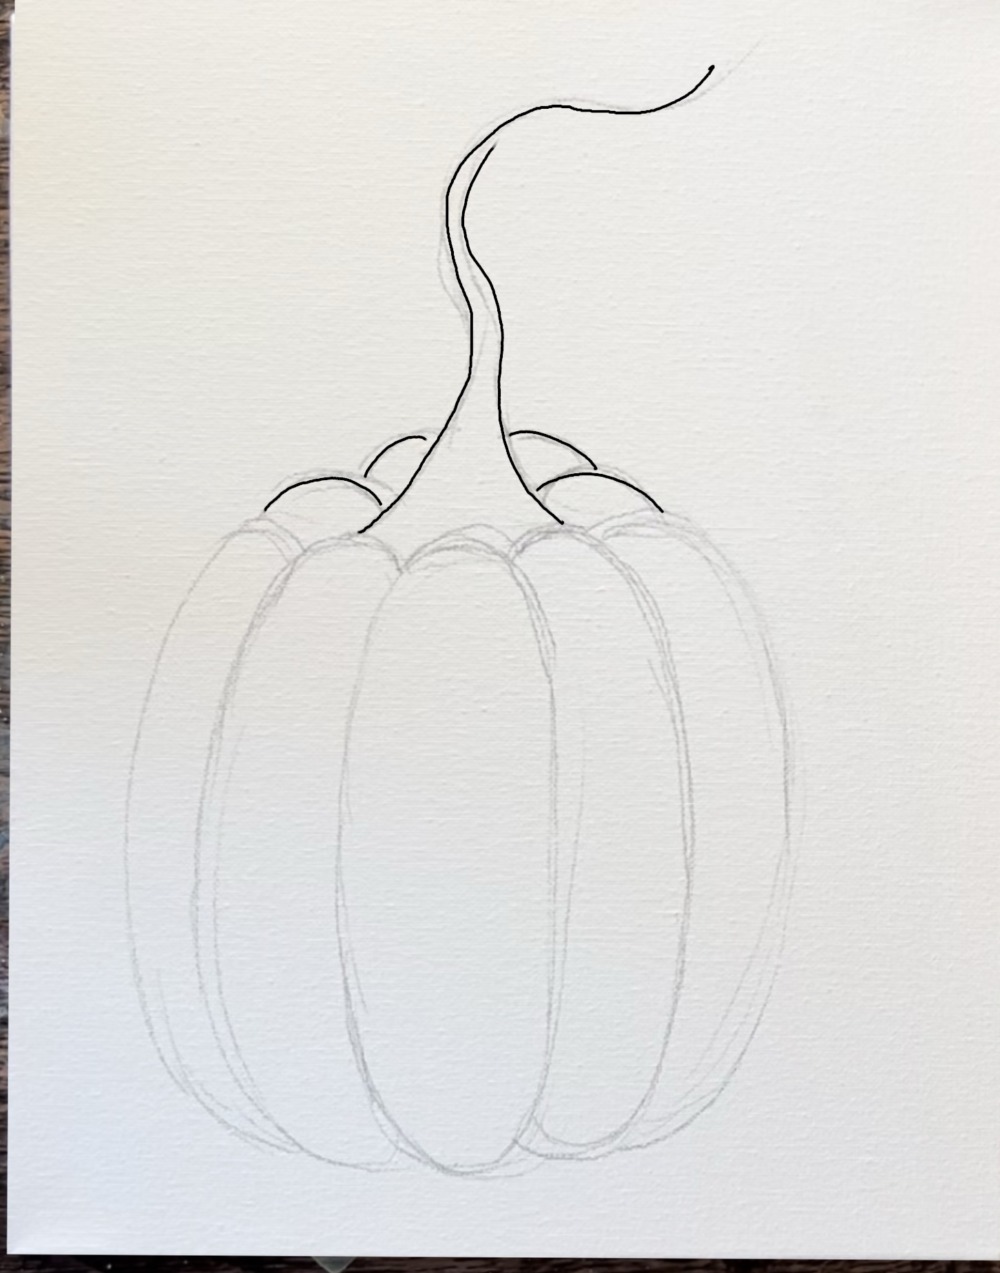
Optional: draw two more curved lines on the pumpkin. With my final painting, I ended up with three curves on the right side of the center oval and two curves on the left side. That added curve on the left side was just to widen that curve that is already there. It’s up to you how many curves you want on the pumpkin! Adding more would widen the pumpkin if you want to make it wider.
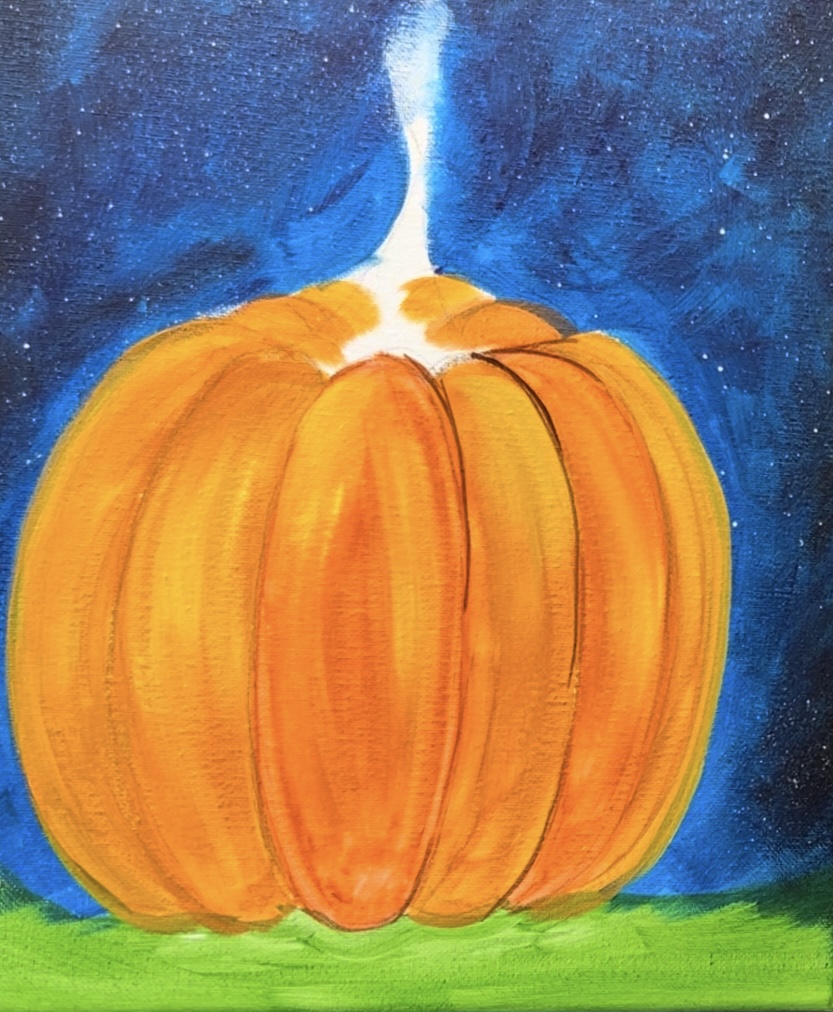
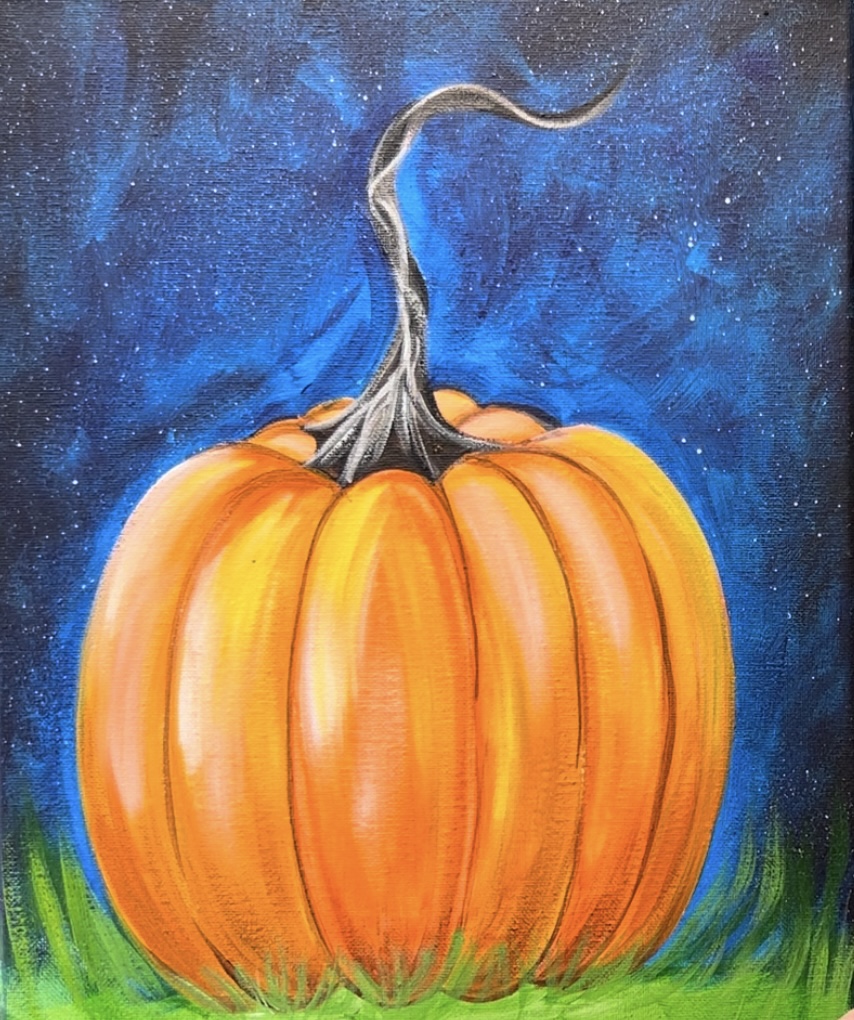
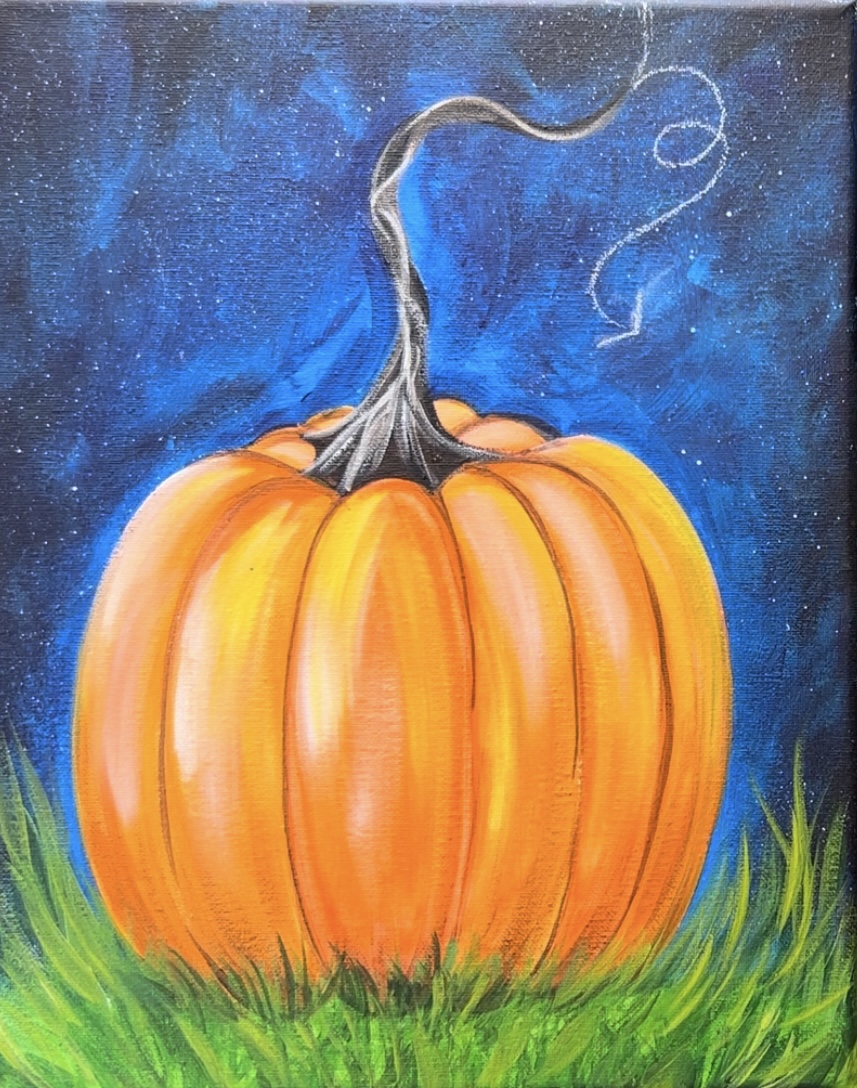
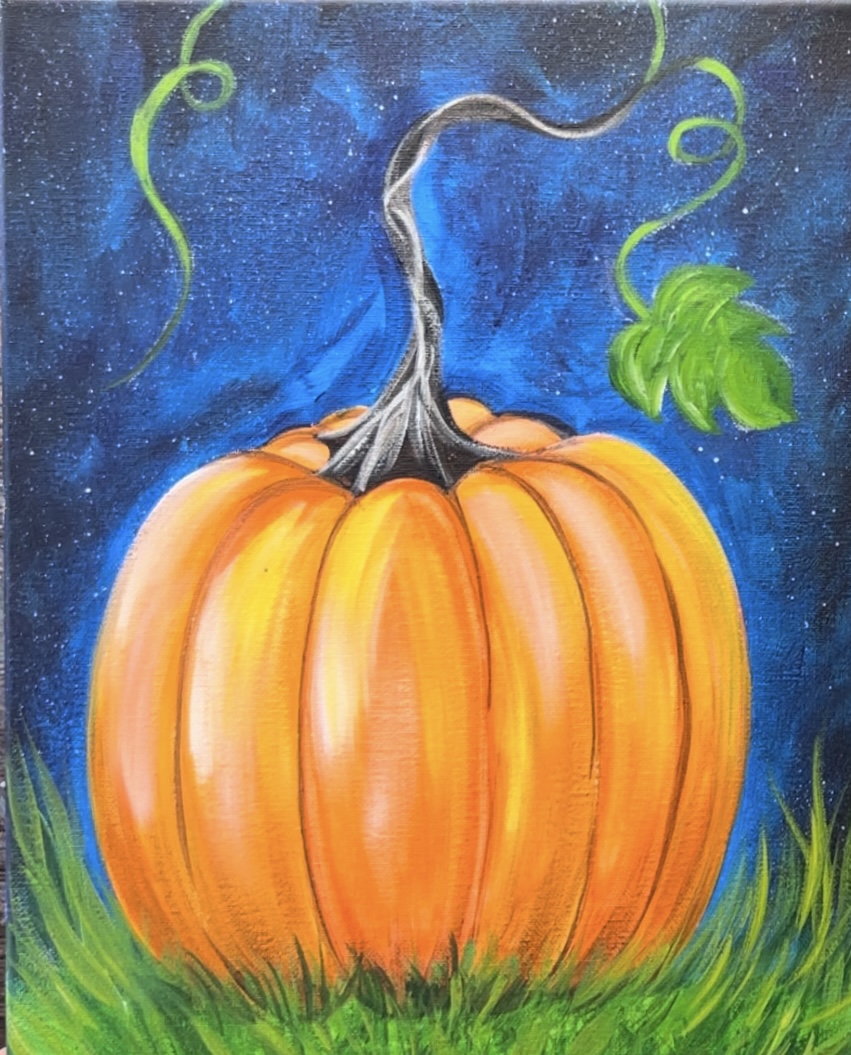
My final sketch of the pumpkin looked like this below!
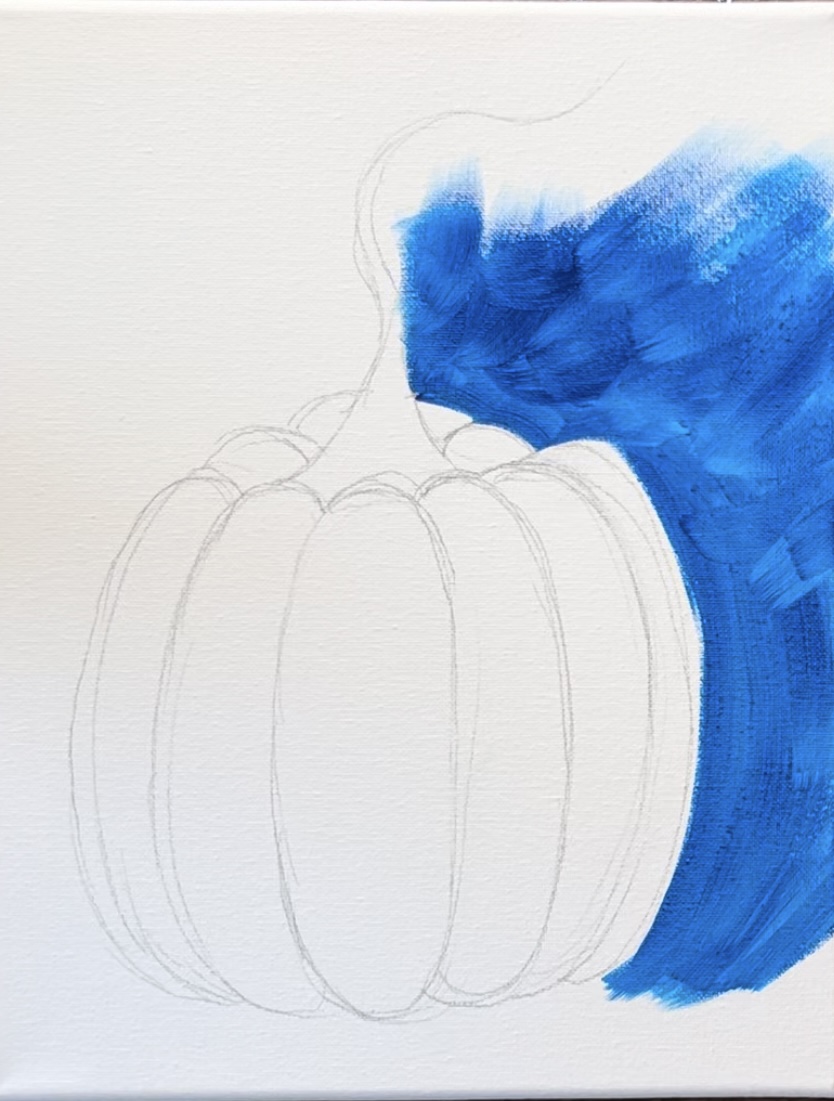
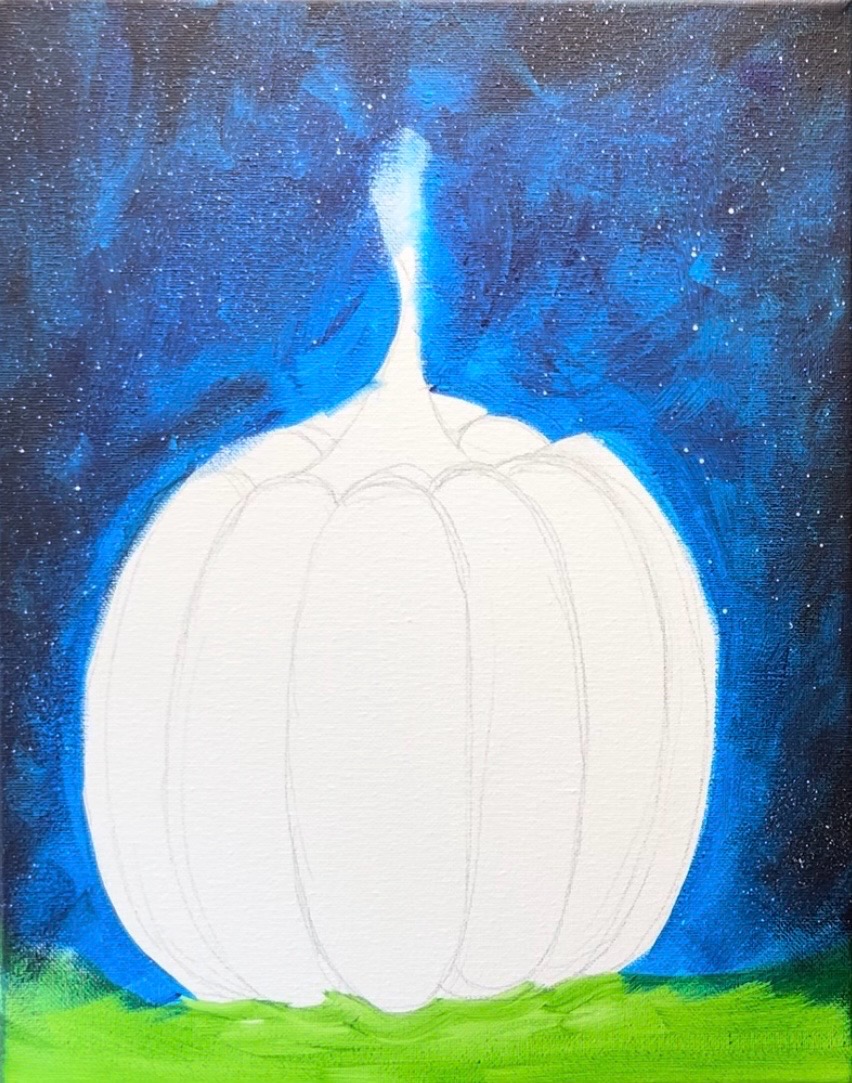
2. Paint Background
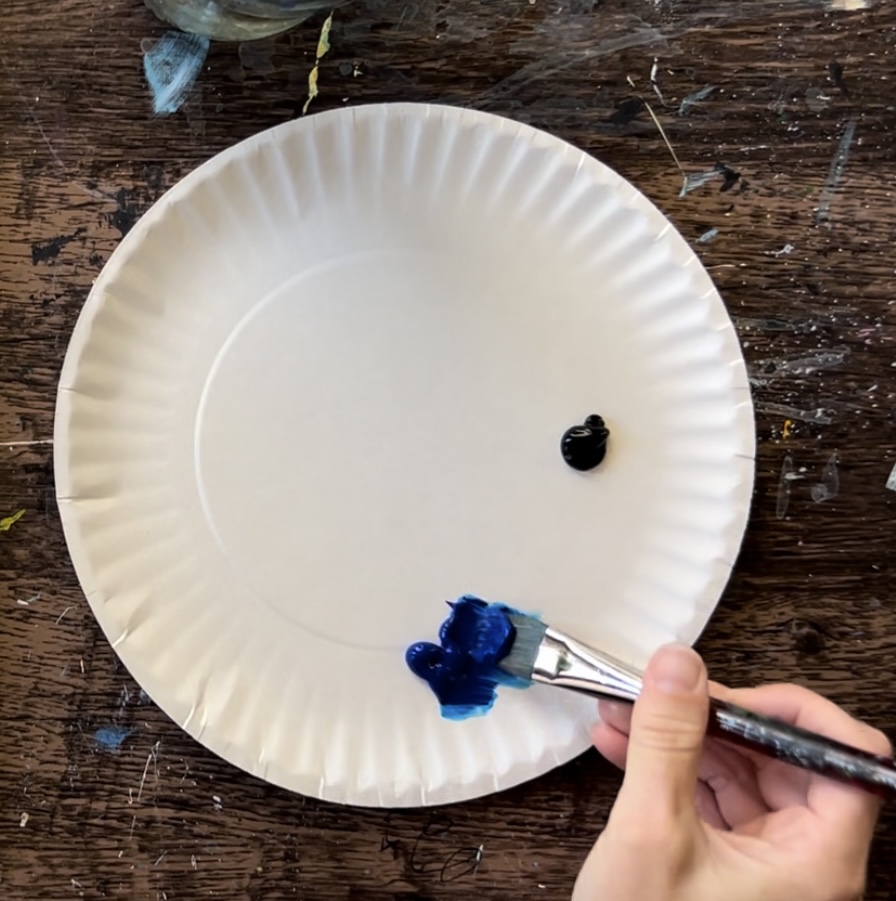
Load your paint palette with the two colors: “mars black” and “phthalo blue”. Use a 3/4″ wash brush. Load it into just the blue.
Start painting the background/ negative space around the pumpkin. It’s helpful to “cut in” and “outline” the edges of your drawing.
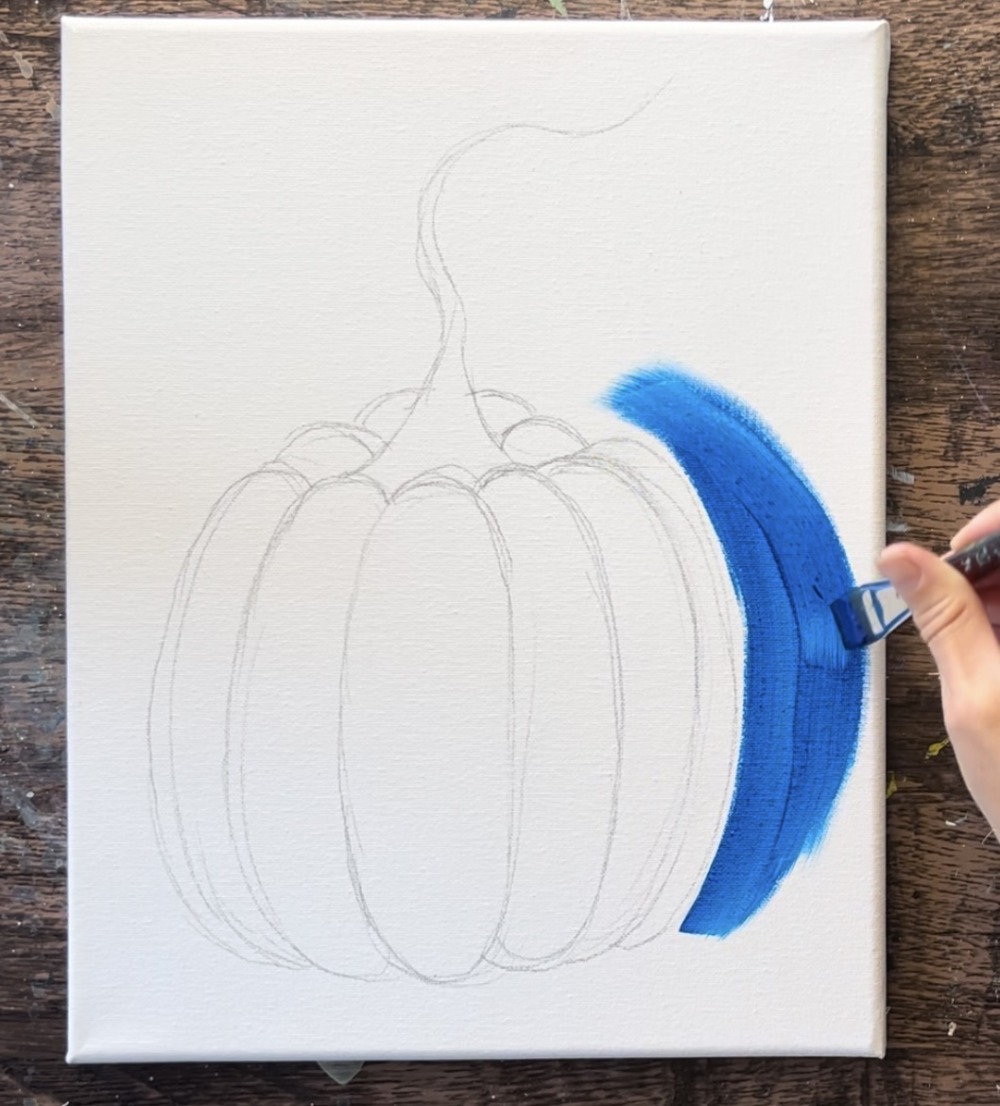
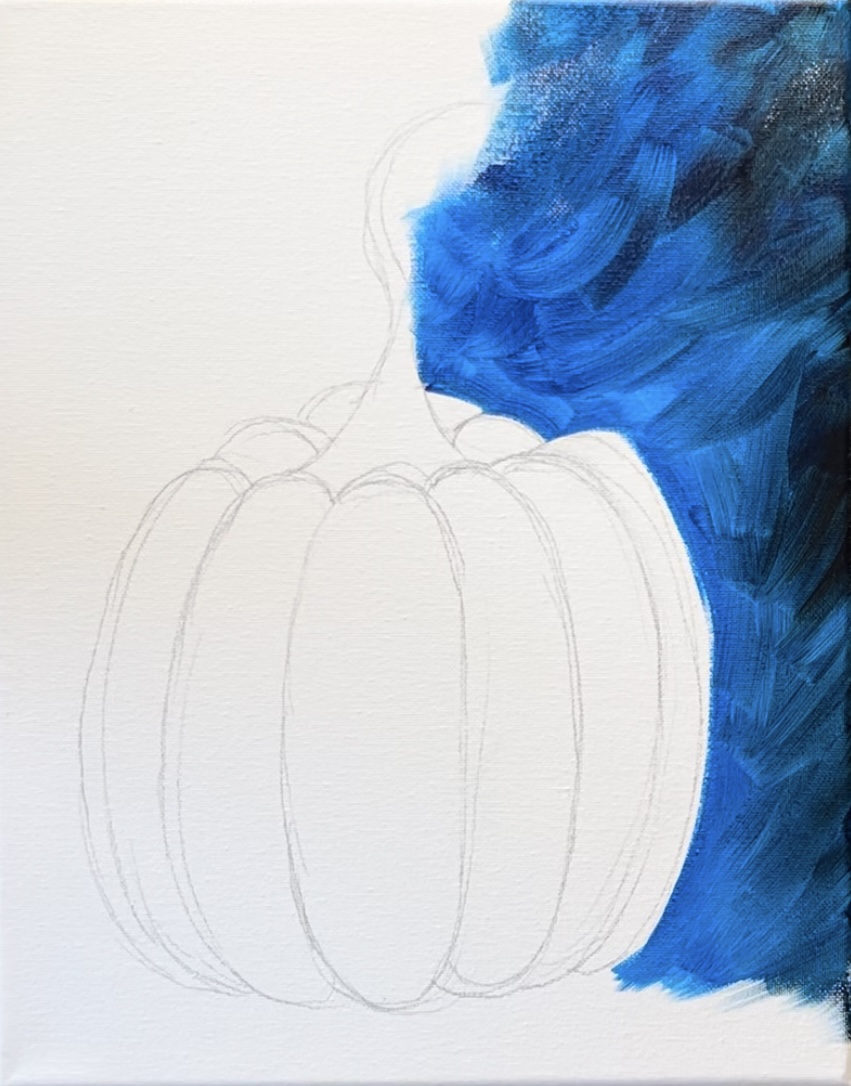
Then as you fill the background outwards, make your paint strokes go in a more textured direction by painting different angles.
Then, as you approach the edges of the canvas, add little bits of “mars black” to your brush. Blend the little bits of black into the blue so the edges become much darker in the background.
Leave the bottom 1″ of the canvas blank where the grass will be.
Fill the entire background with this technique. Try to paint as close as possible to your drawing. If you need to leave a lot of the stem area open, you can always paint more sky background later after we paint the stem in.
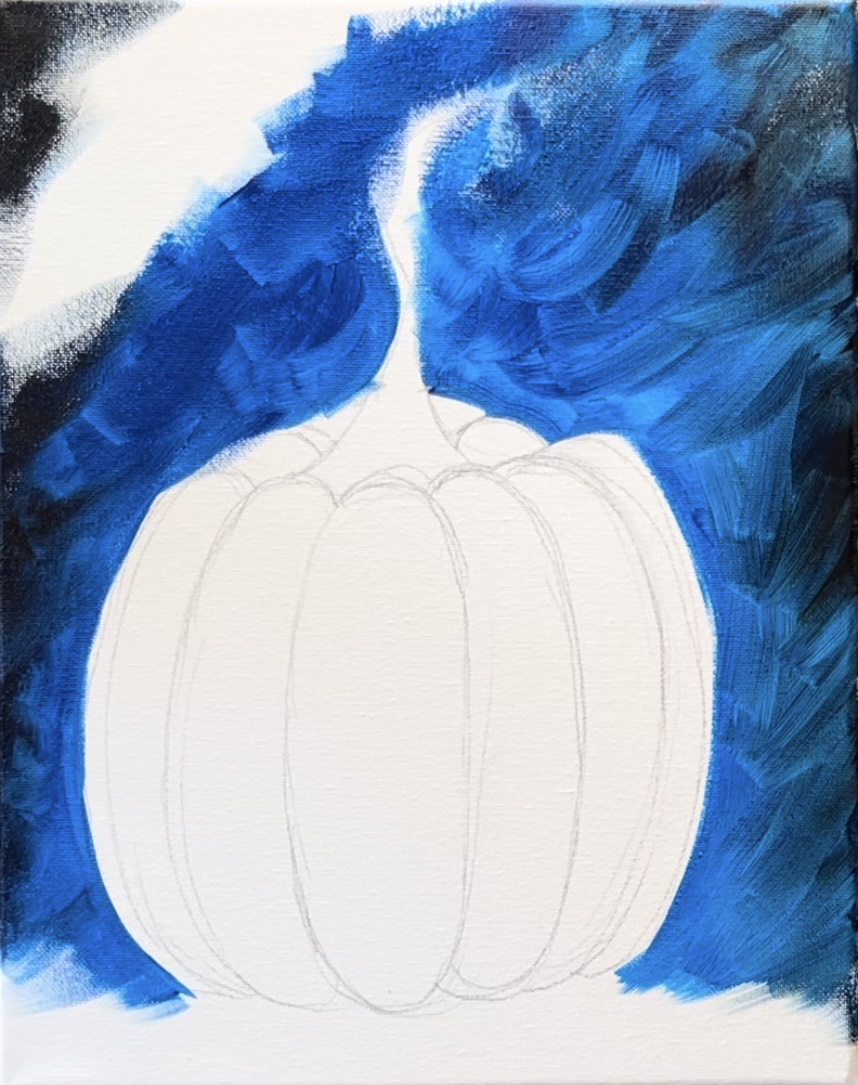
I did a second coat in the background but left the area just around the pumpkin as a 1st coat only. This allows the area around the pumpkin to be just a bit brighter!
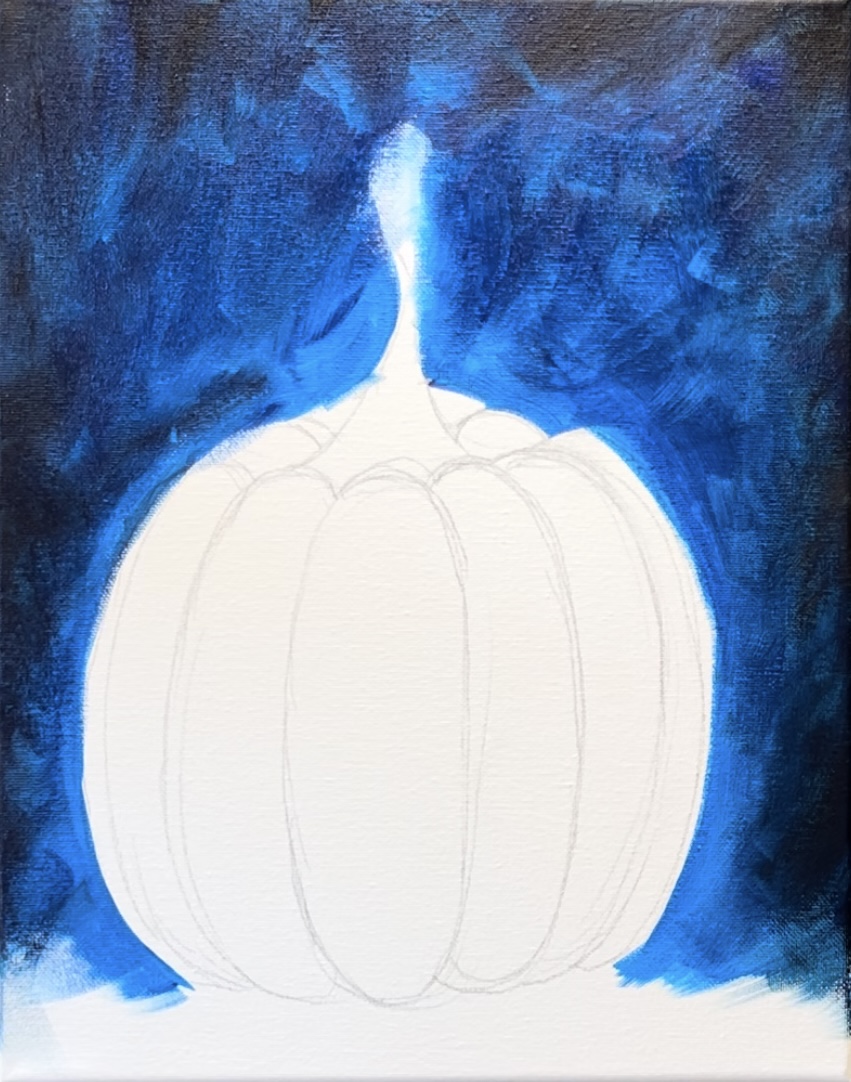
Next, use a toothbrush to spatter little white specks of stars all over the sky. Be sure to test this on a different surface first. The consistency of the white paint should be thin but not dripping.
Wait for this to dry or use a blowdryer to speed up the drying process.
3. Paint First Grass Layer
Rinse the 3/4″ flat wash brush. Then paint the bottom area with “hooker’s green hue”. This is just left and right paint strokes for now with the intention to fill the blank area in green. We will do grass texture later.
4. Paint First Layer Of Pumpkin
Use a #12 bright brush for filling in the first layer of pumpkin. (If you don’t have this brush, you can actually use the 3/4 wash brush or even a round brush for this).
Start with just “cadmium orange hue” and fill in your center oval shape.
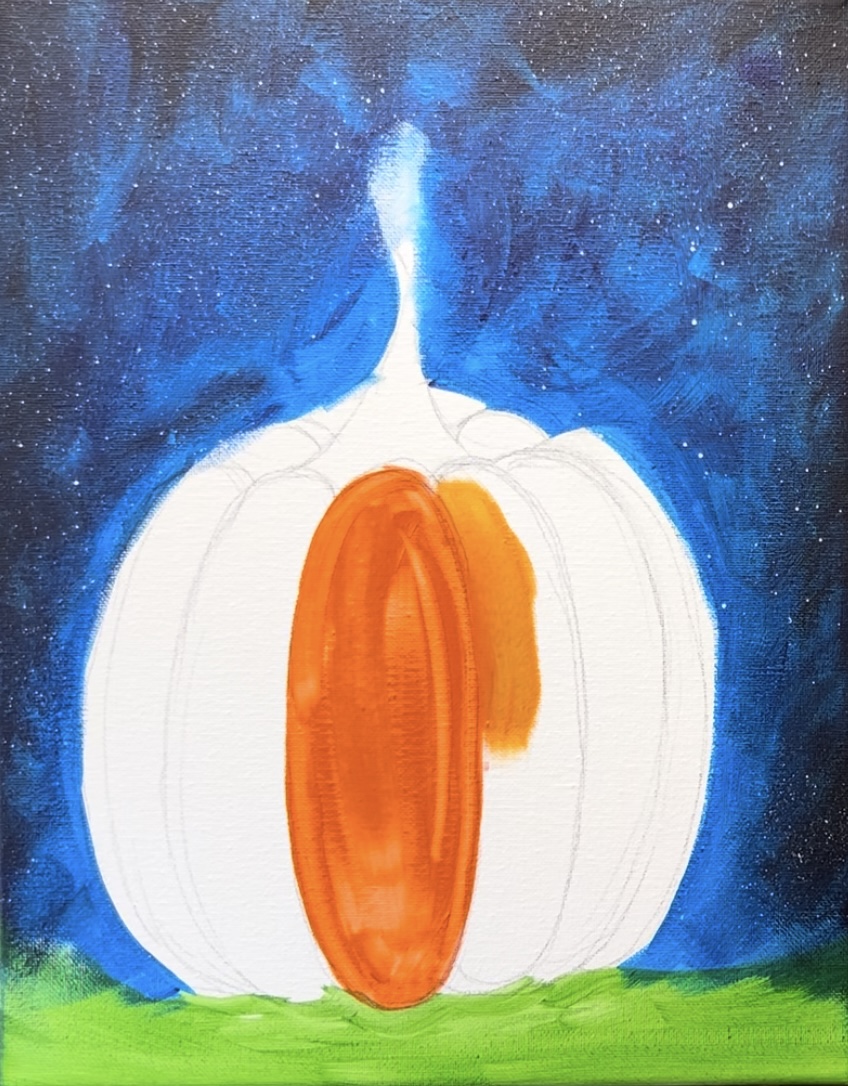
Then load your palette with “yellow oxide”. Mix the orange and yellow oxide together on your paint palette. Paint the next two curved areas with this color. That yellow oxide will alter that orange a bit. We want each of the curved areas to be slightly different in color so they stand out. Also, as you paint each curve, you want to make sure your paint strokes are going down in a curved direction. I start on the top of the “pumpkin bump” and then stroke my paint downwards.
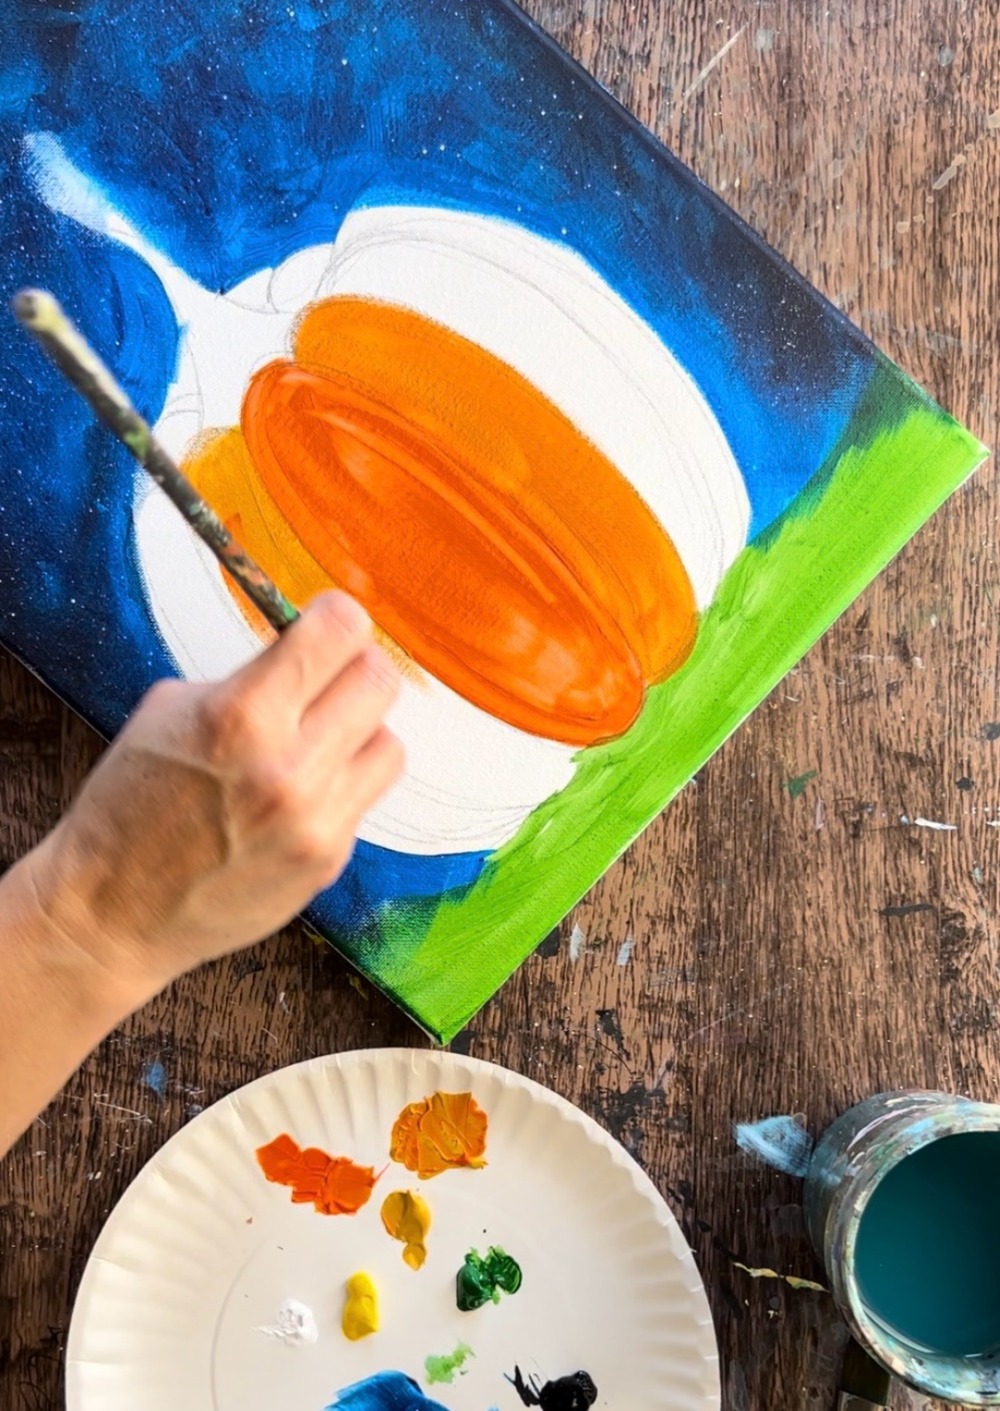
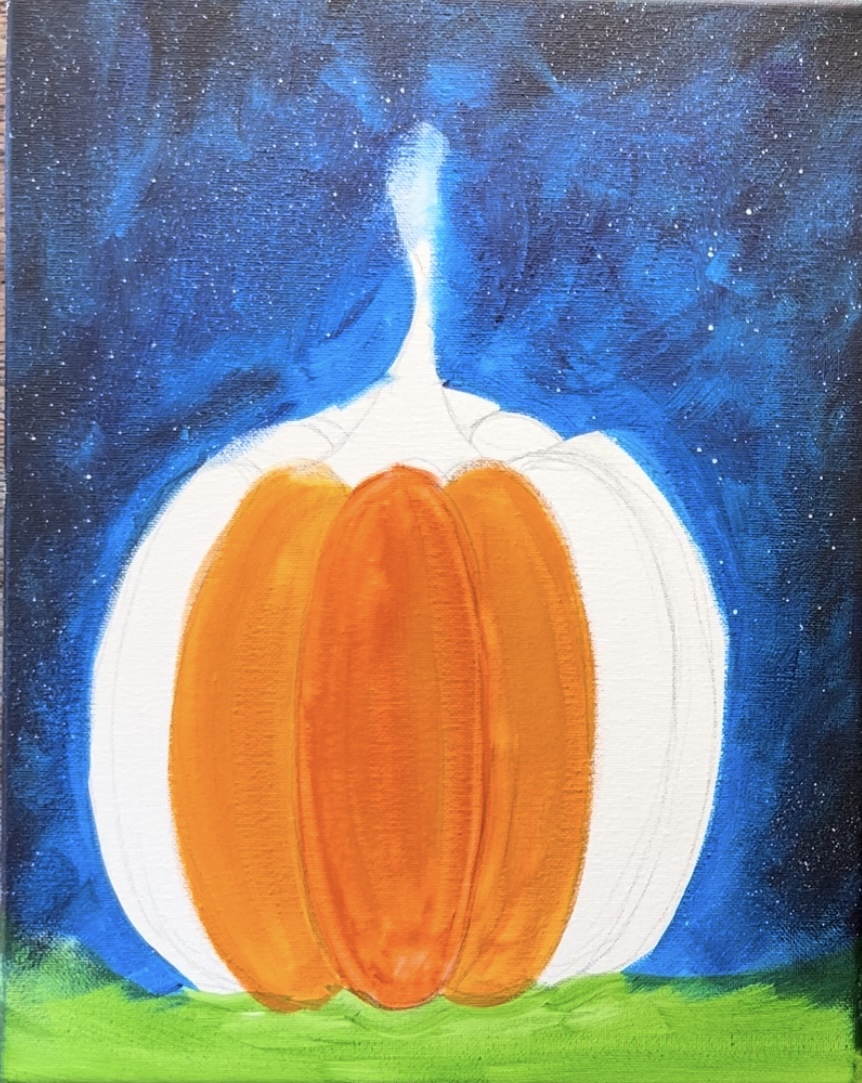
Fill the next set of curves in. For these, I added more “orange” to the color. Fill in the top curve pieces that we see behind and around the stem. Fill these in so they go in a curved direction and alter the color slightly with the orange and yellow oxide.

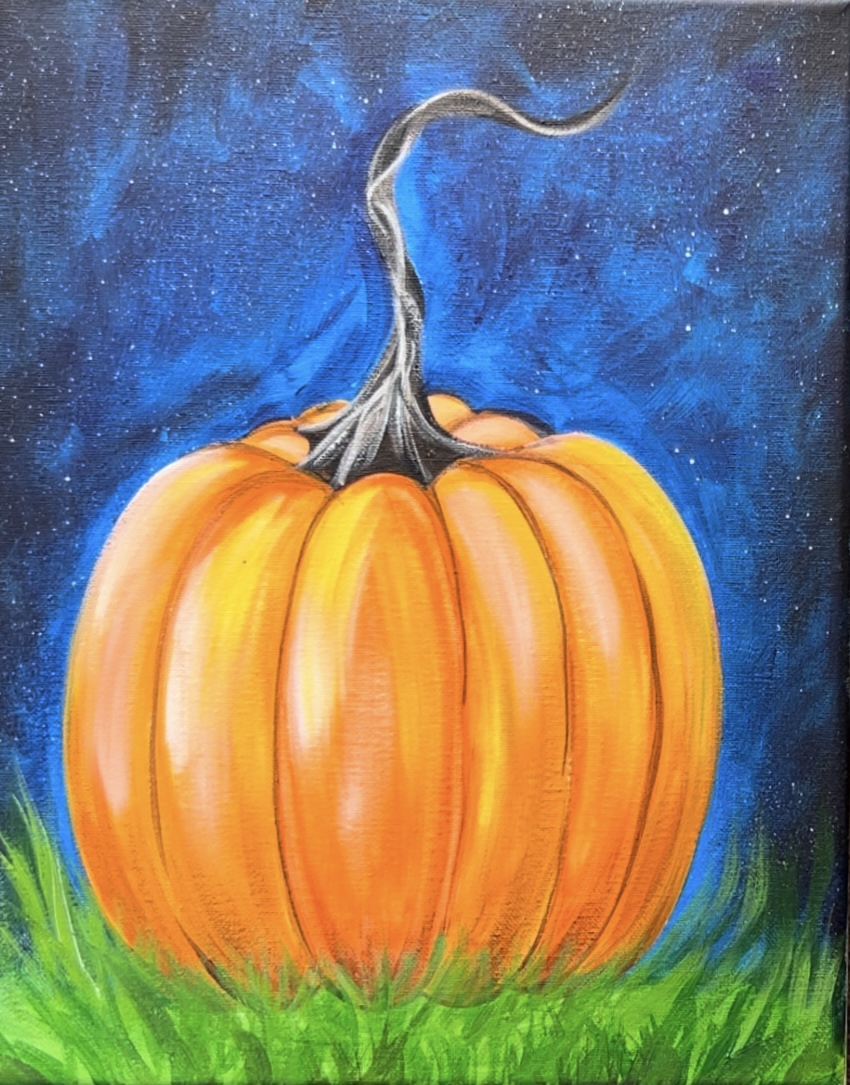
Your pumpkin will look “flat”. However, as we add shadowing and highlights, it will start to have more dimension.
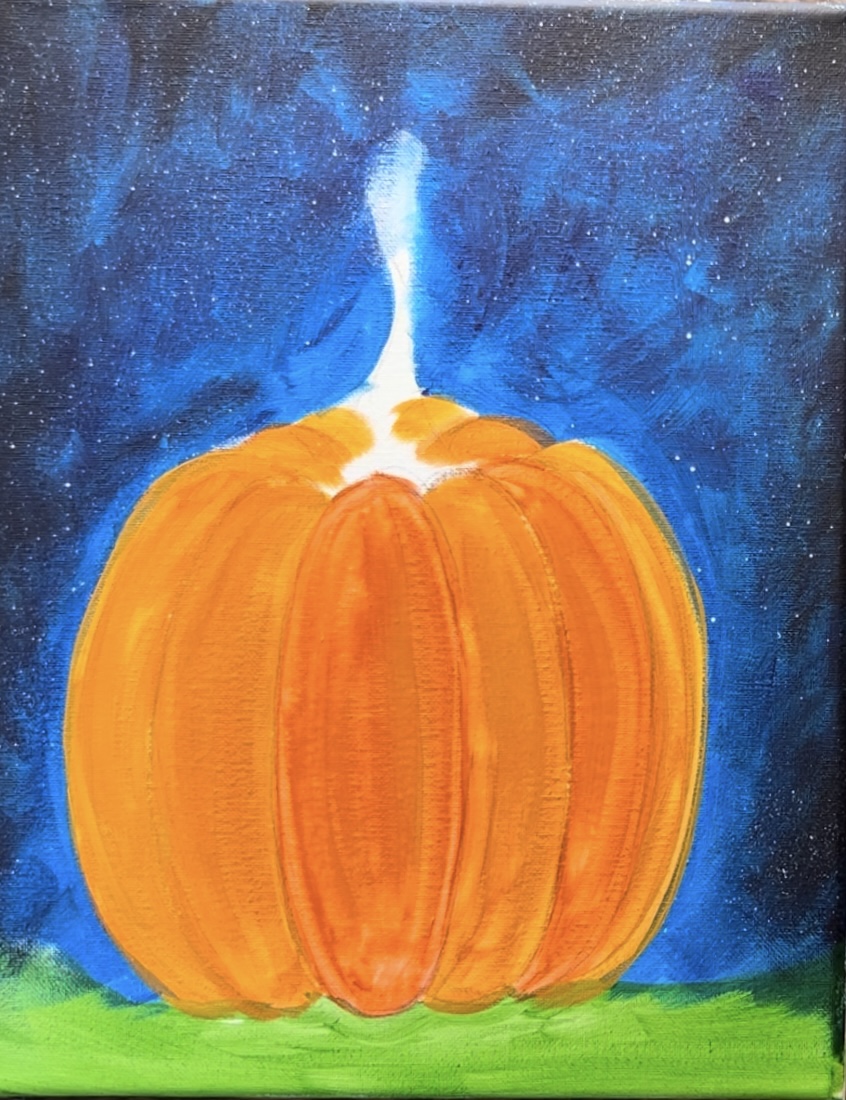
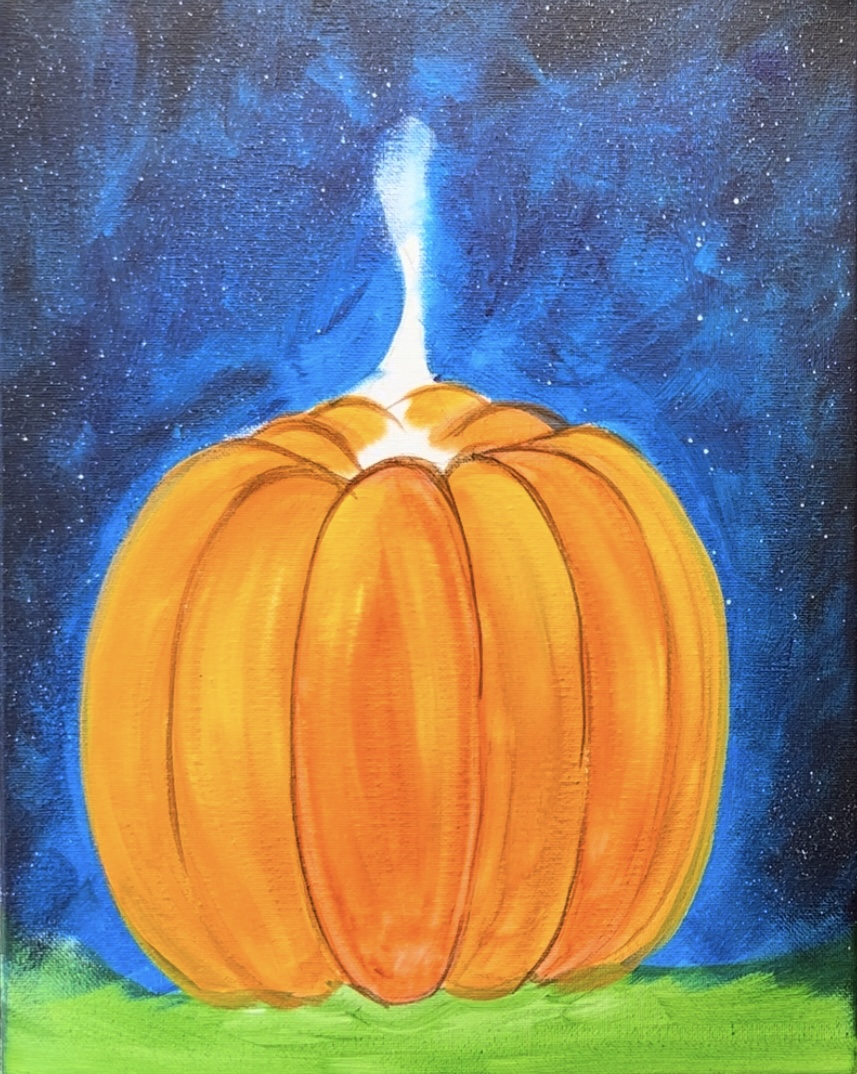
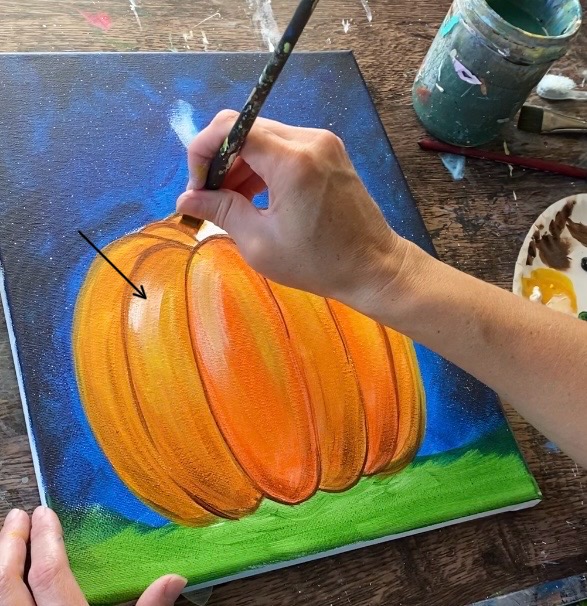
5. Paint First Highlight Layer Of Pumpkin
You don’t need to wait for this to dry all the way. However, if your color is saturated, I would recommend letting it dry a bit so this layer of highlight will show up and not blend in too much.
Load your paint palette with “primary yellow”. Mix about 1 part yellow, 1 part orange and 1 part white. This will make a light yellow-orange color. Use the #12 bright brush to “drag paint” from the top center of the oval and downwards. I did two curved strokes on the top of the oval. Do this sort of “dry brush style”. This means we aren’t adding a lot of paint to the brush. We also aren’t covering up all of the first layer of orange.
Repeat this for each of the curves on the pumpkin. Make sure you are curving these strokes depending on what side of the pumpkin you are painting on. All of these highlights are towards the top of the pumpkin. The bottom quarter of the pumpkin is more shadowy. Also, make sure you don’t add the highlights over the curve lines (what we drew with pencil). We want to keep those lines dark.
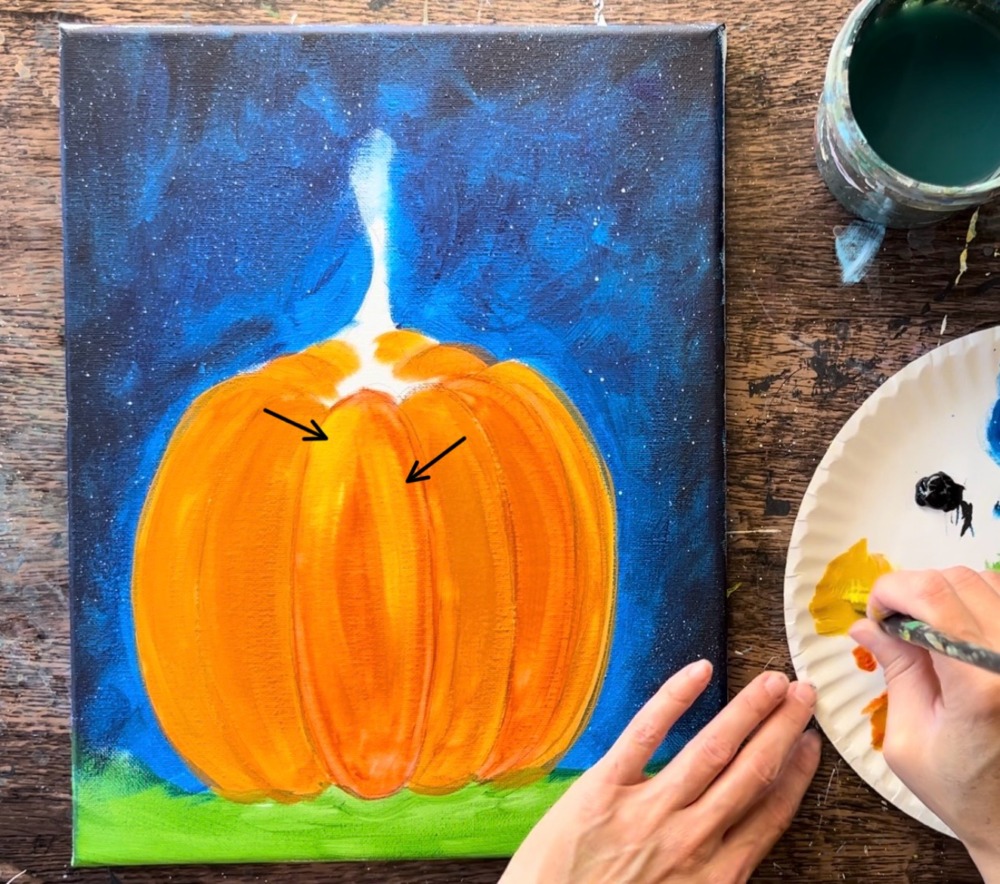
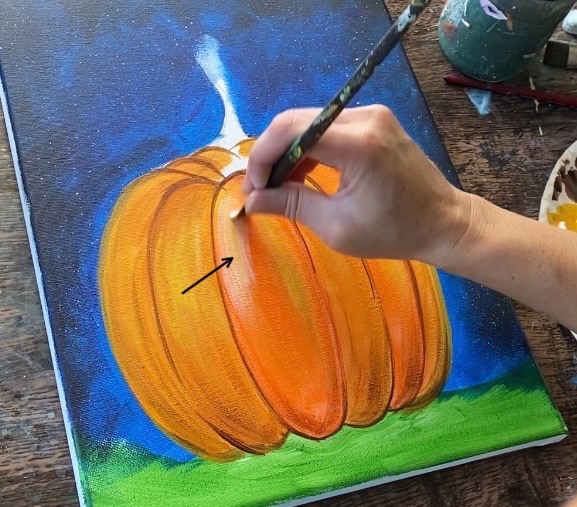
6. Paint Dark Lines On Pumpkin & Add Shadows On Bottom
Use the 3/8″ angle brush and “burnt umber” to loosely outline the lines in between each of the curves. Alternatively, you can do this with a round brush.
Then, use the 3/8″ angle brush to “dry brush” brown lines on the bottom of the pumpkin. This will create shadow in that area. If you need to, mix orange with the brown so it isn’t super dark.
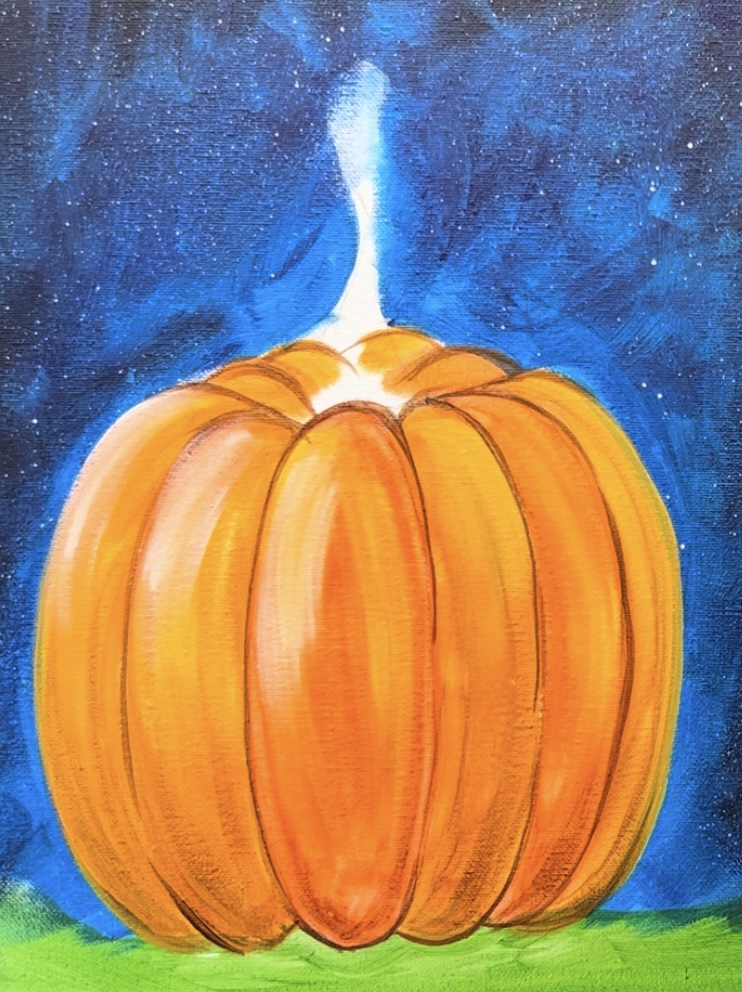
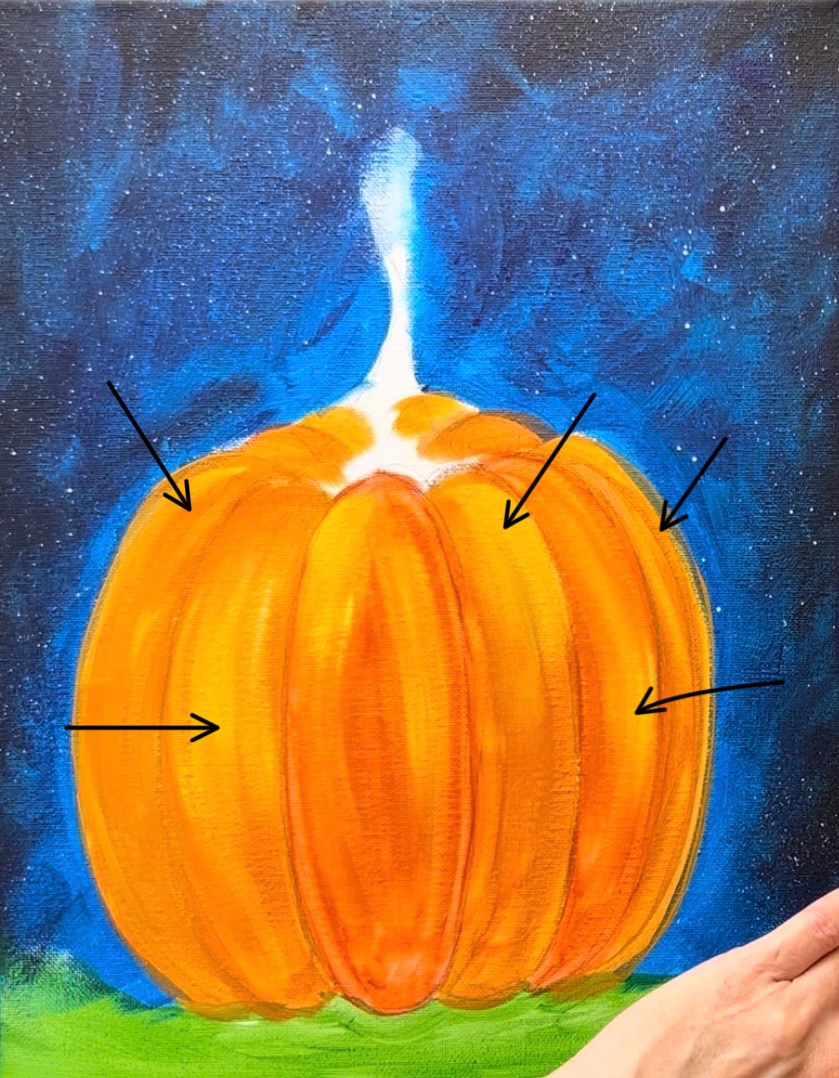
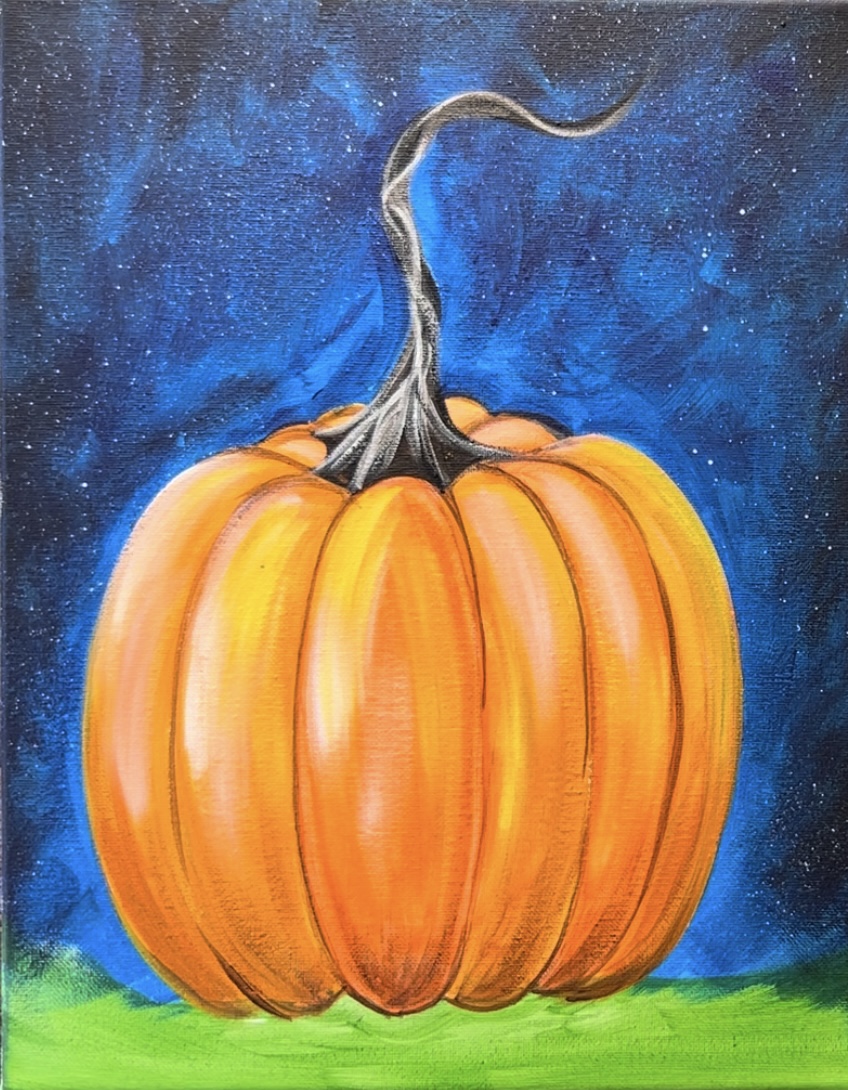
7. More Pumpkin Highlights
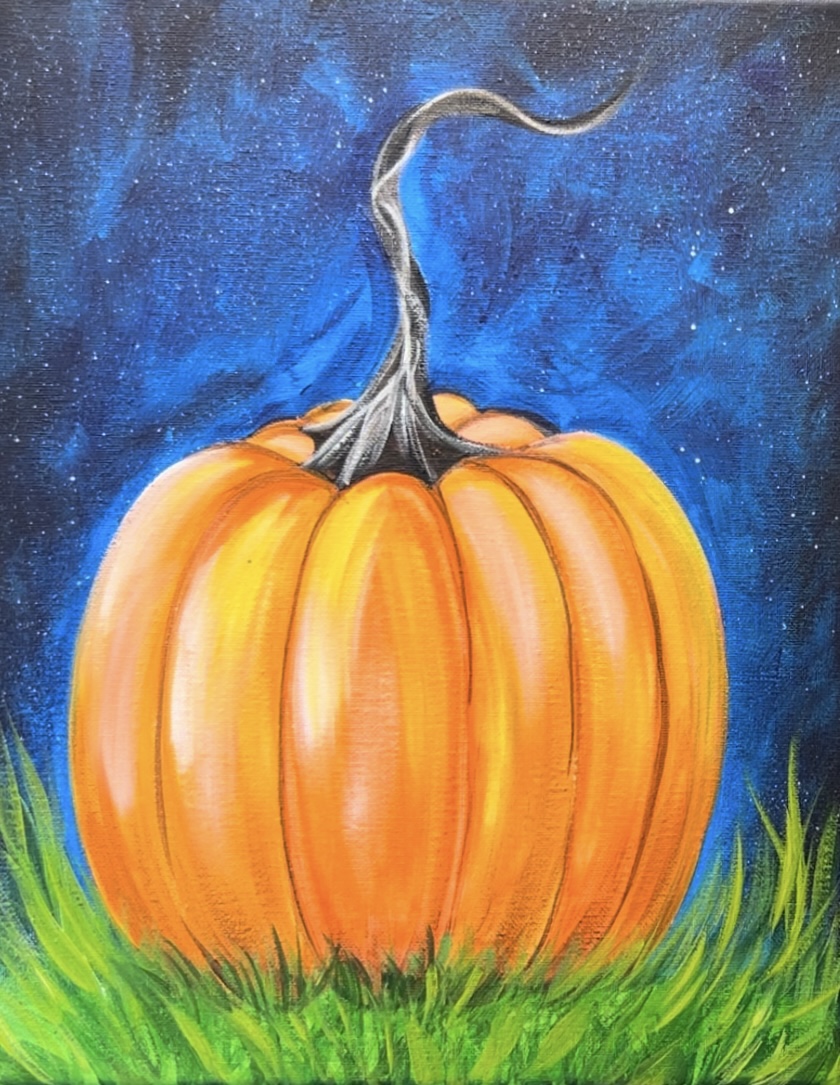
Adding more highlights to the pumpkin will create more depth and make it look shiny! When we add these highlights, we are adding them so they are lighter each time but also don’t cover as much area as the previous set of highlights.
I did more highlights. This time, I mixed a lighter color using the orange, white and yellow. Use the 12 bright brush and paint more “dry brush” curved strokes. If needed, add more white to your brush for a brighter highlight.
Do this on each of the curves of the pumpkin and only towards the top of the pumpkin.
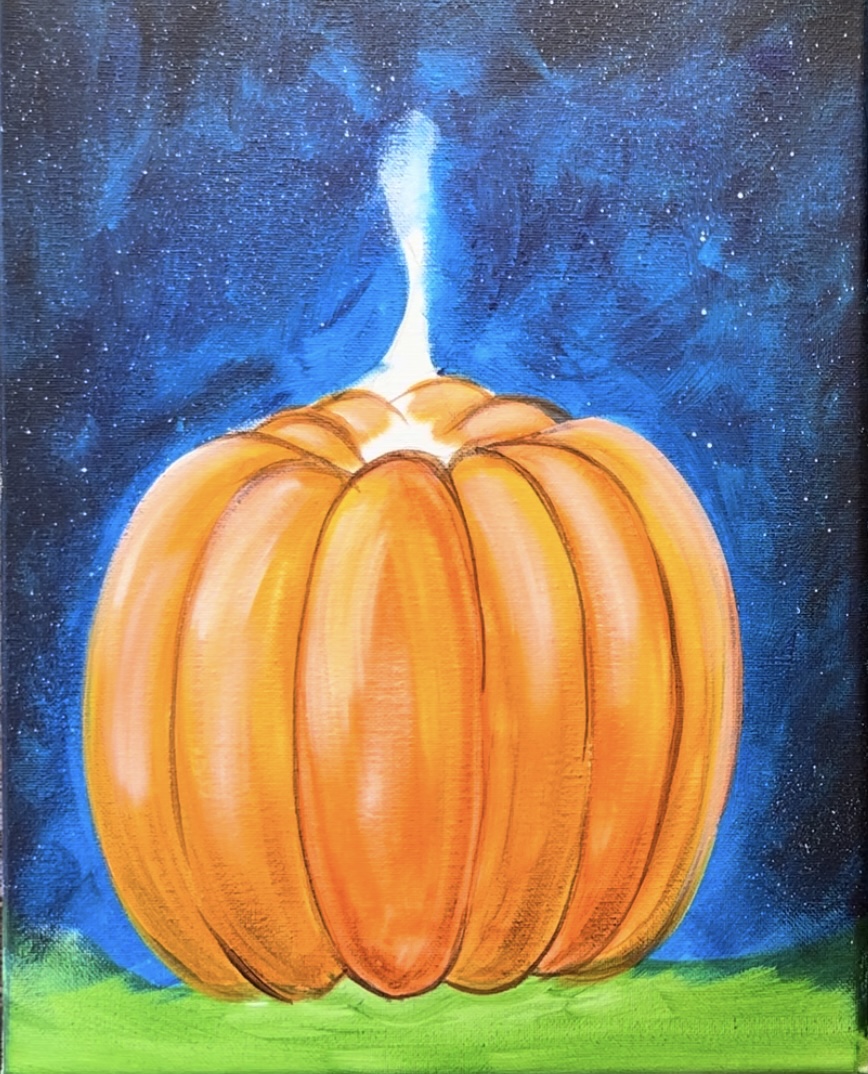
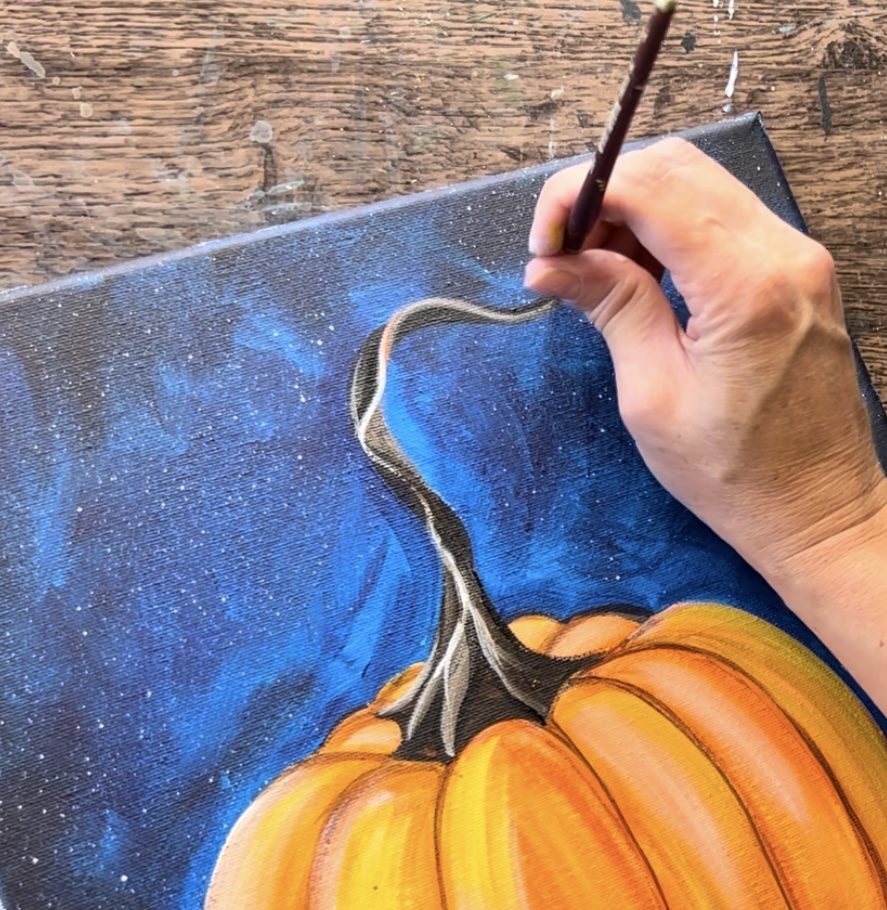
8. Paint Stem
Mix brown and black on your paint palette. Use the #4 round brush to paint the stem. It’s okay if some white from the background is still leftover. The base of this stem is “scalloped” and lines up with the top bumps of the pumpkin.
If needed, go back and retouch up the background sky color.
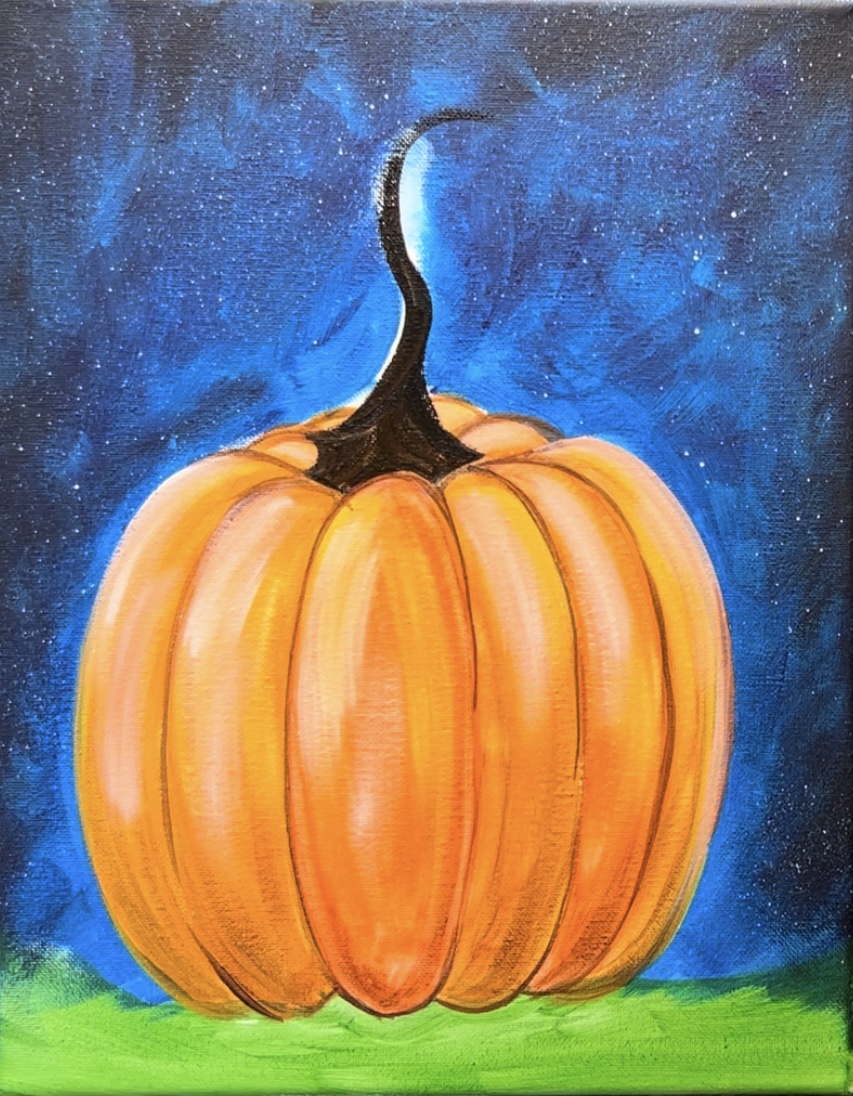
Next, highlight and add texture to the stem. Mix a small amount of white into your dark brown color. You don’t want this to be too light yet. This first layer is sort of a medium color. Use the #4 round brush to paint curves that start on the bottom of the stem and gather together on the right. Then paint on side of the stem towards the top where it gets much more narrower.

Go back with the dark brown color and paint over parts of the lighter color to give it that spiral texture look. Then add a few more texture lines on the stem.
Tip: Yours will look different than mine and that is okay! Every painting is unique!
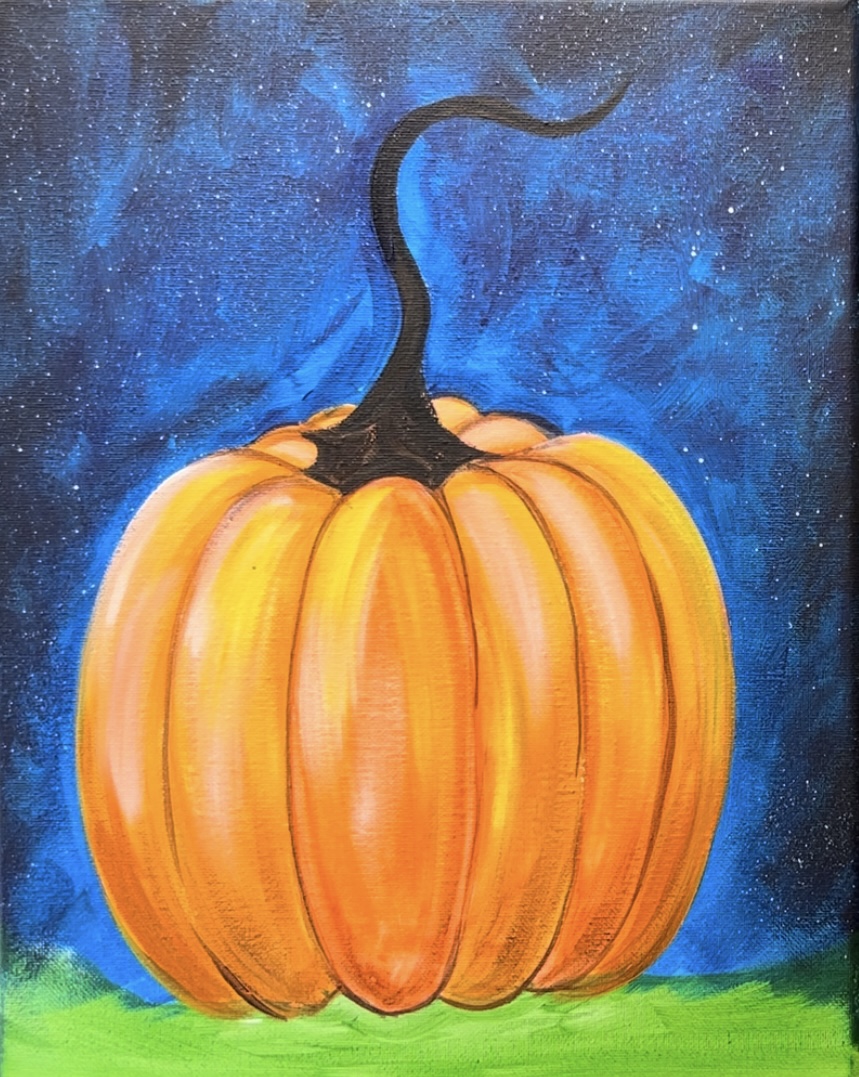
9. Paint Grass Texture
Use the #8 round brush to paint the grass texture. Start with just the “hooker’s green hue” and paint tall pieces of grass on the left and the right. As you paint each blade of grass, you can put pressure on the brush at first to make the blade thicker on the bottom and then go thinner on the top.
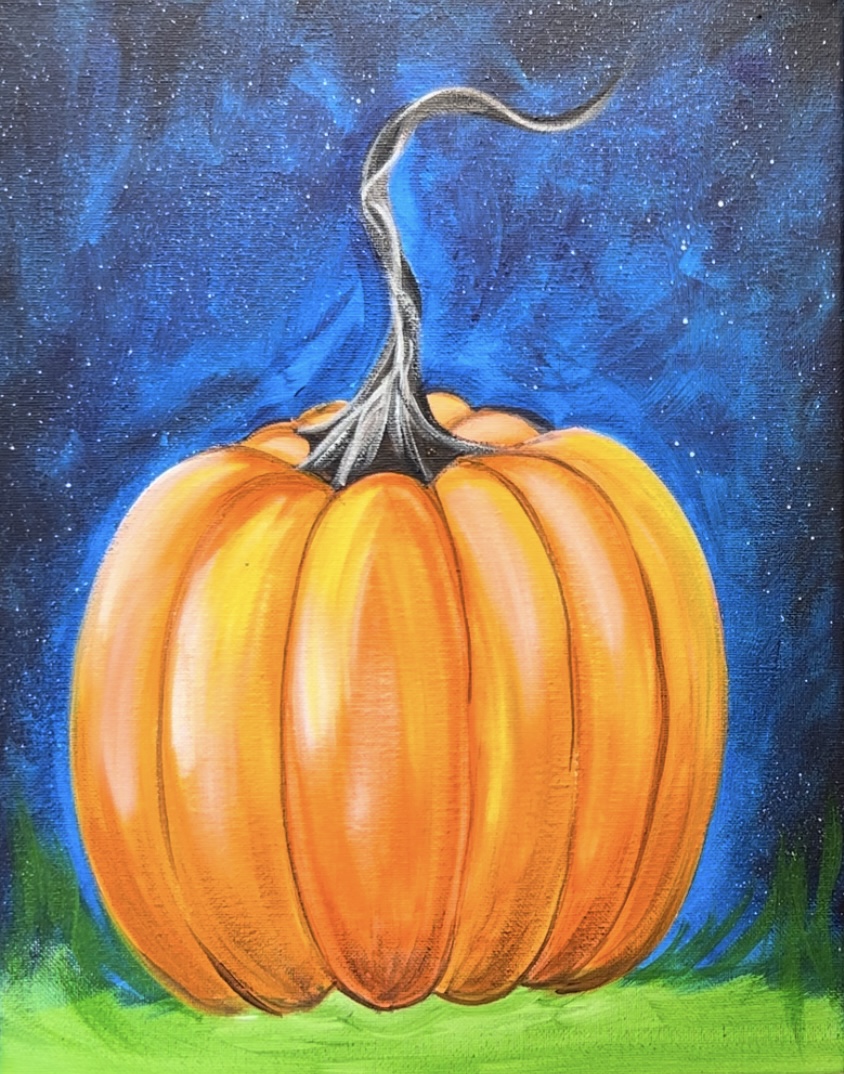
As you layer this grass, mix a little yellow and white into the green so that it shows up lighter. Paint smaller grass blades along the bottom of the pumpkin that overlap the bottom.
Paint this grass texture all the way to the bottom edge of the canvas.
Add darker pieces of grass on the bottom of the canvas. Then layer on lighter pieces. I usually alternate between light and dark and layer on multiple pieces of grass until it looks full and varied with lights and darks.
10. Draw and Paint Vine & Leaf
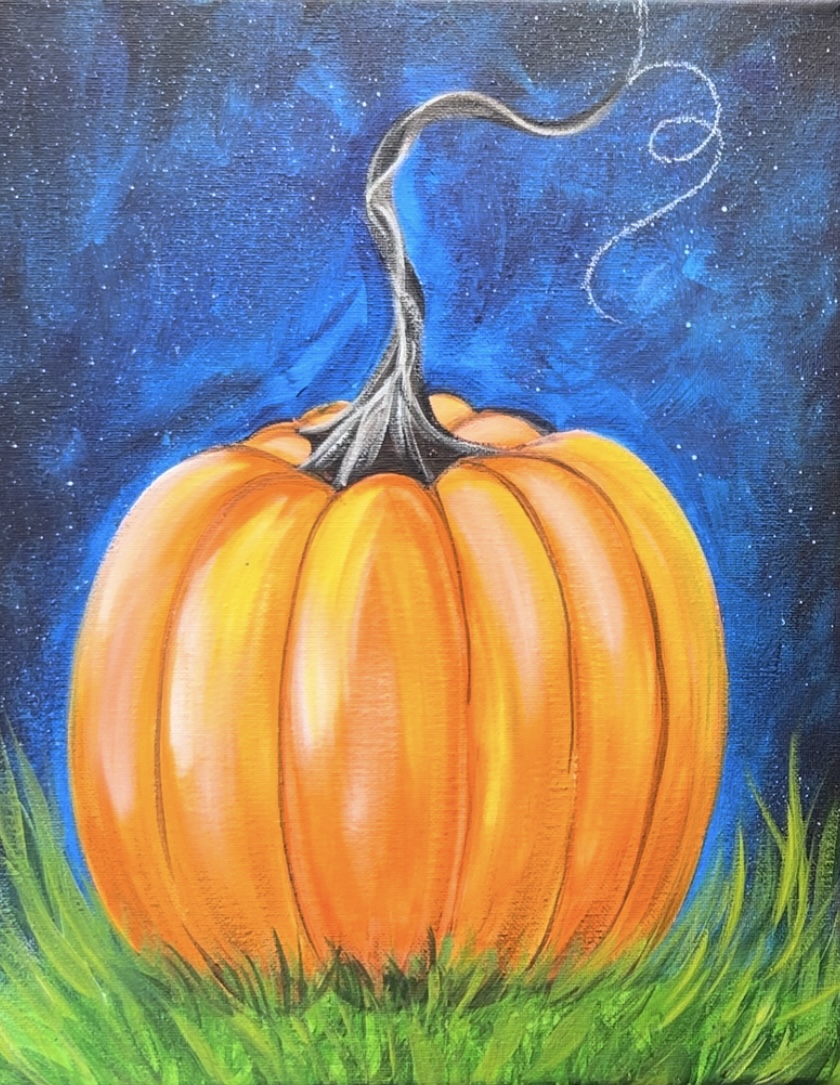
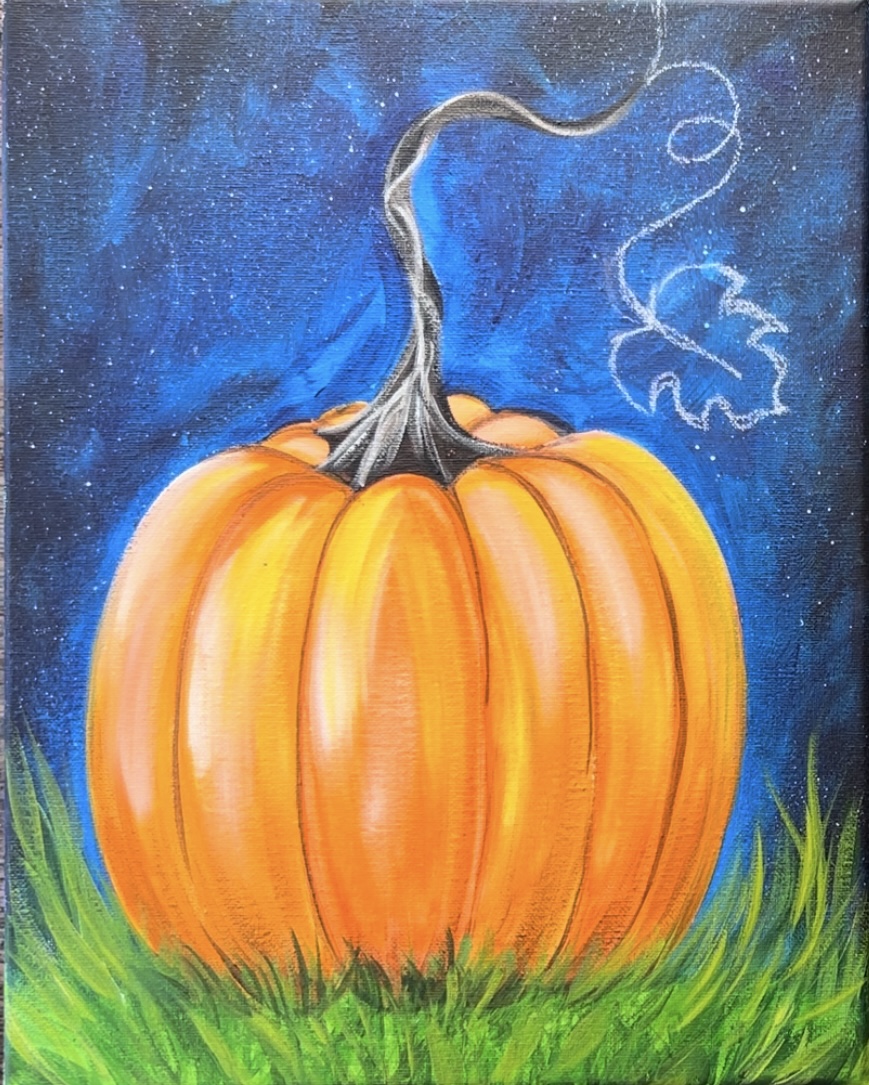
Use a piece of chalk to draw the vine which attaches to the stem. Draw a spiral loop line. I made my stem split in two. The top vine goes off the edge of the canvas and then dangles back down on the left.
To draw the life, draw an obtuse angle that attaches to the vine line.
Then form the shape of the pumpkin leaf. Draw two blades that curve and go to a point. Then draw a curved and pointed tip in the center of the leaf.

Draw another vine on the left (this is the left part that dangles down). You are definitely welcome to change the design of this vine or even add more leaves!
Use the #4 round brush to paint the vines. Use the green and mix a little white into it so it shows up on the dark background. I also varied this green so some of it was darker and some lighter.
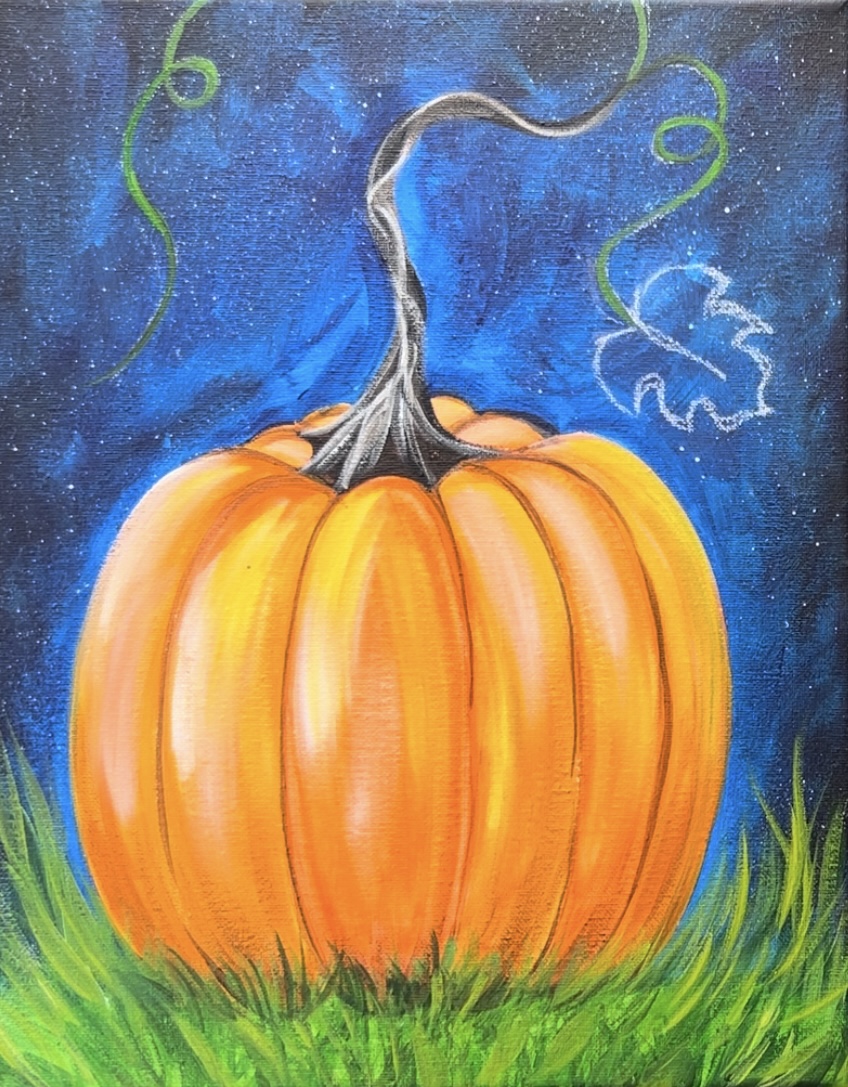
Paint the leaf in. I made this leaf a little lighter towards the bottom and darker towards the top. You can, however, just paint it all the same.
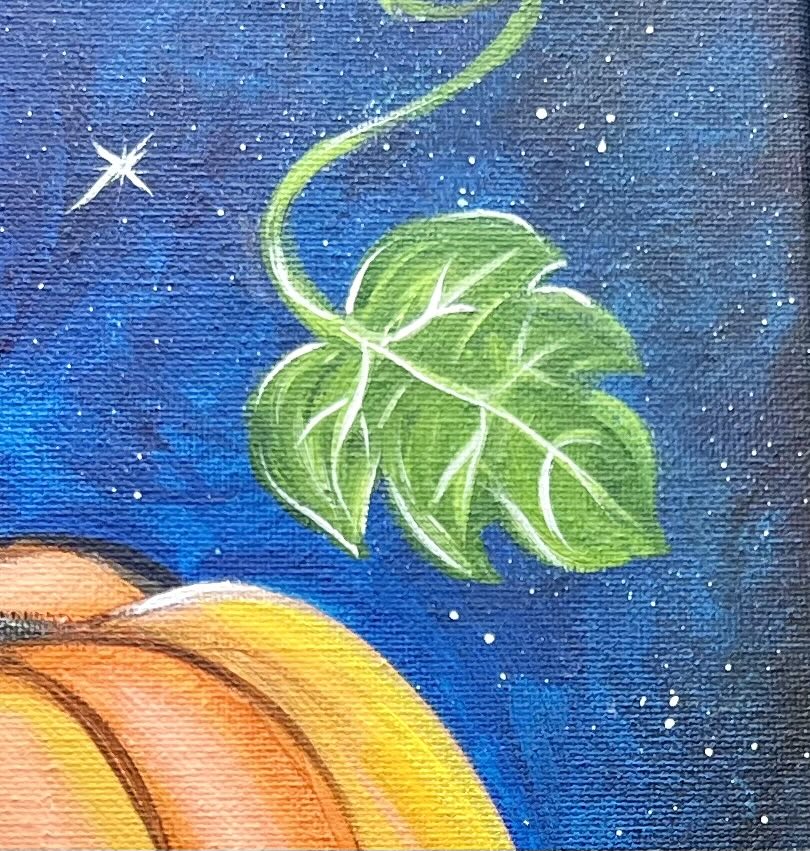
Then I used the point of the #8 round brush to paint the veins of the leaf. Mix a lighter color of green so that it will show up (add white into green to make it lighter). Paint the centerline of the leaf and then paint little “Y” branch lines that extend on each of the blades of the leaf.
Optional: Add another layer of veins on the leaf but this time with more white and make the lines thinner. Additionally, I outlined some of the outer edges of the leaf.
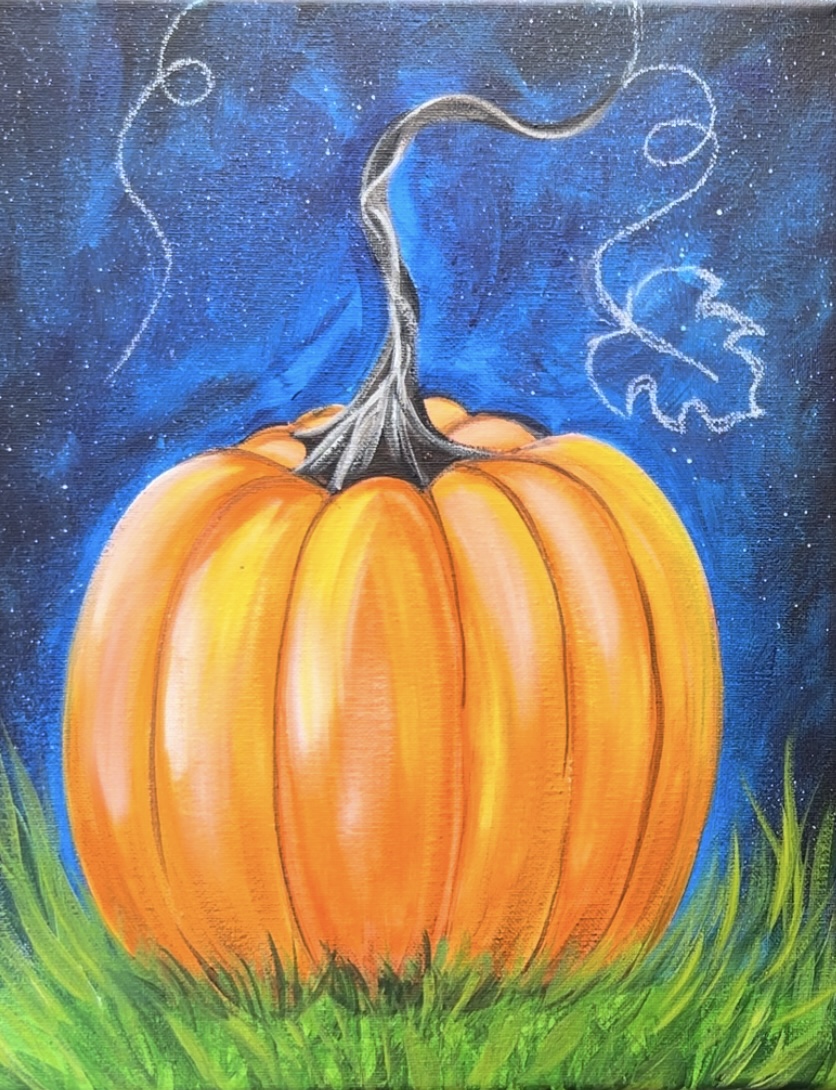
Below is a close up of the final leaf.
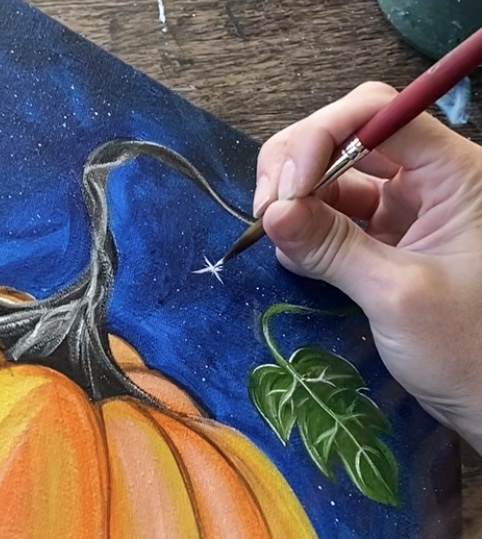
11. Paint Stars
The last step in this painting is painting those twinkling stars! This really adds to the magic and whimsical theme of this pumpkin painting. I like to use the point of the #8 round brush to paint these stars. Start by painting a small dot. And then drag the paint from the dot to create the different points of the stars. You can paint stars all throughout the sky!