

Would you like to save this?
I love squirrels! They remind me of camping or being up north in the forest somewhere in Northern Arizona! We do get a few squirrels in Phoenix, although they are not seen as often. They are just so much fun to watch!
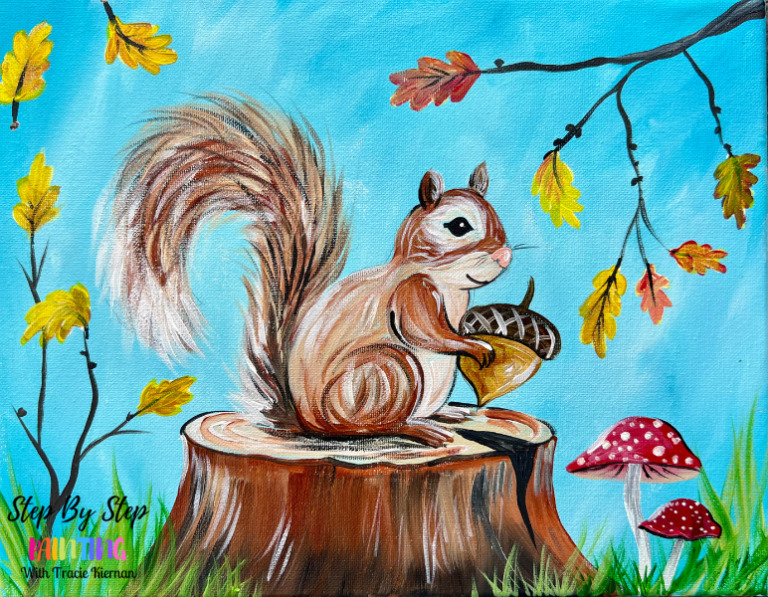
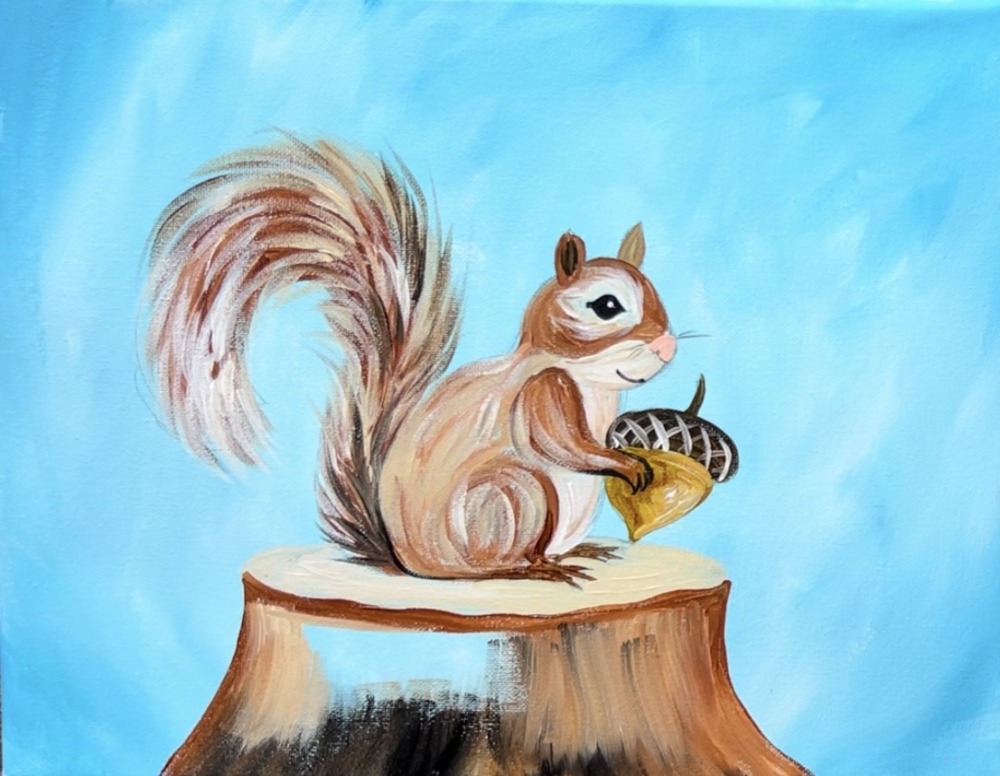
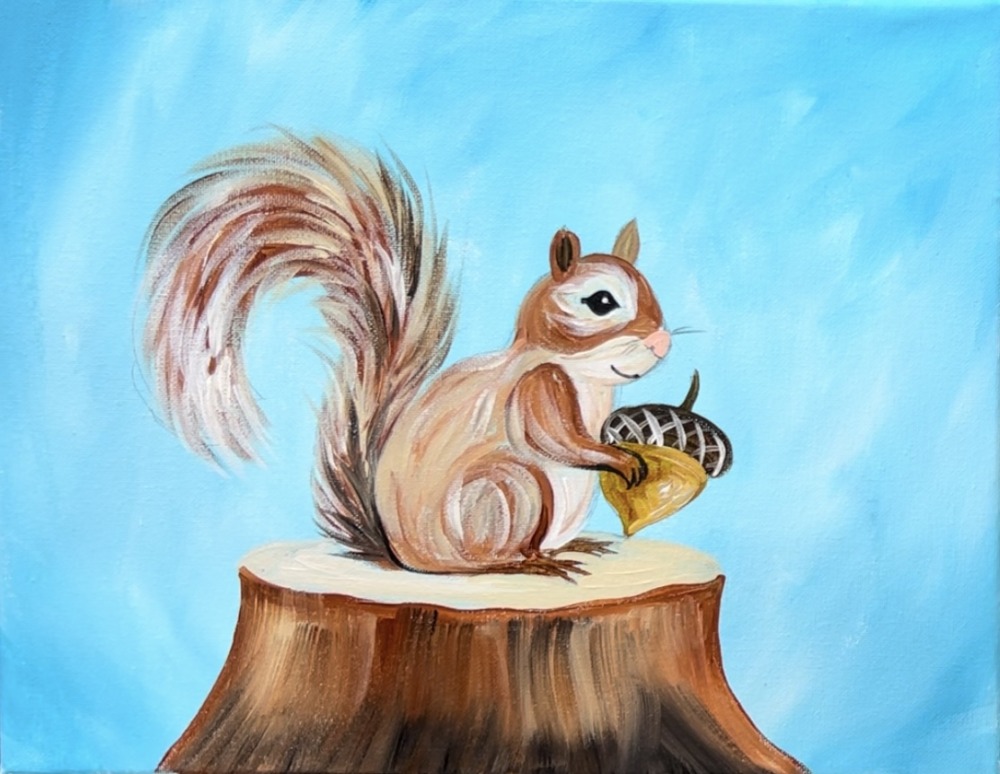
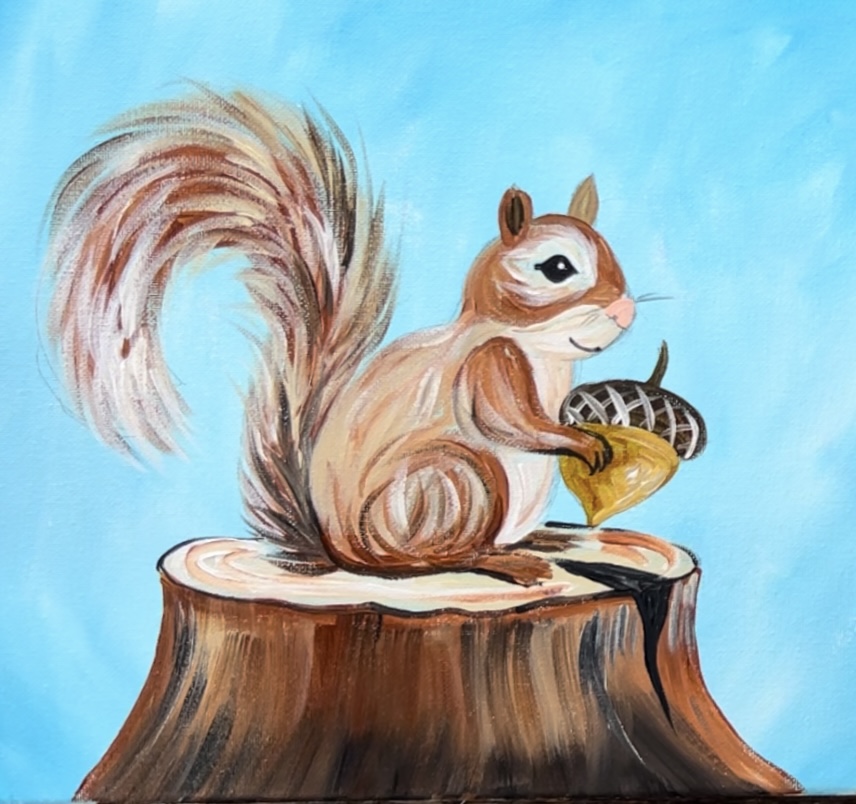
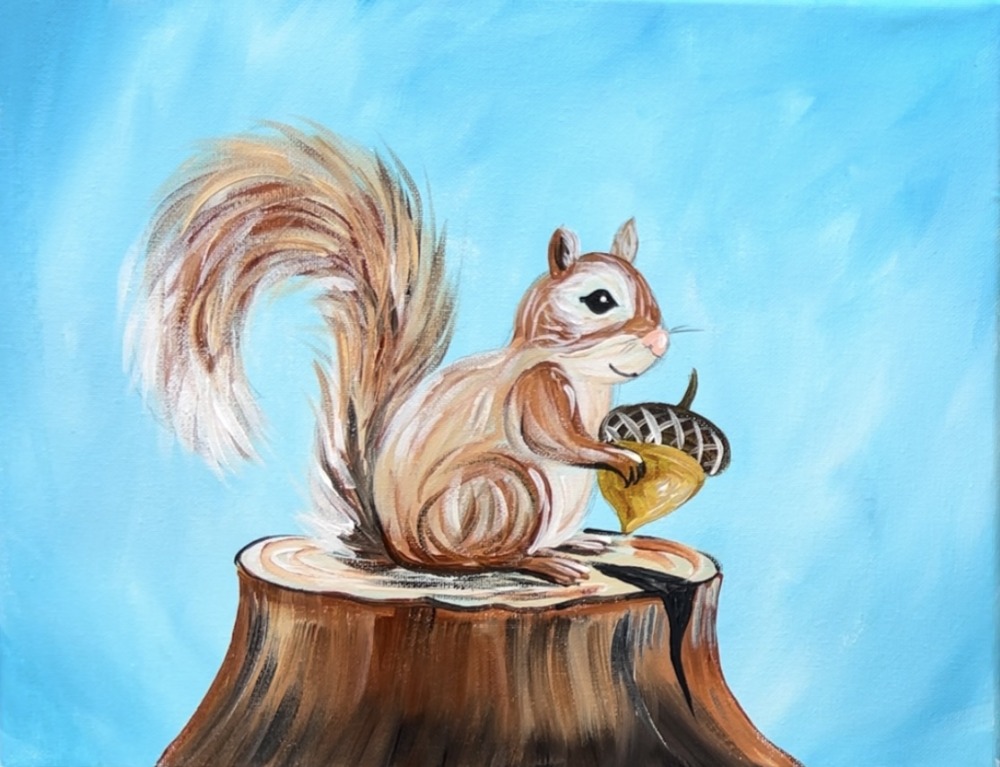
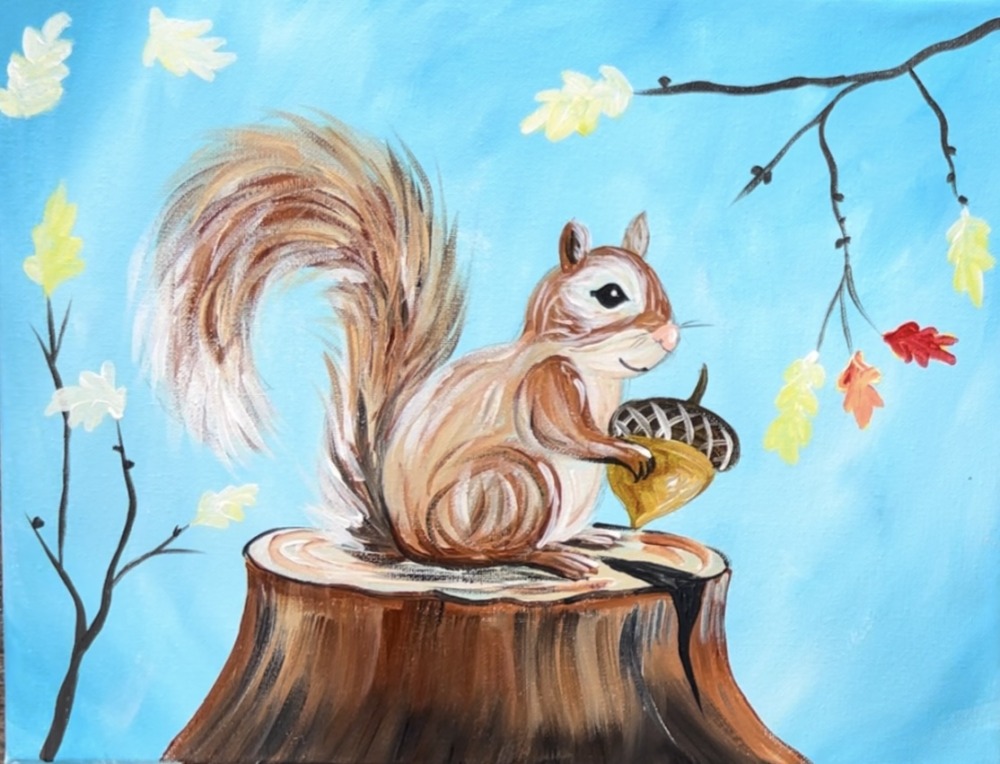
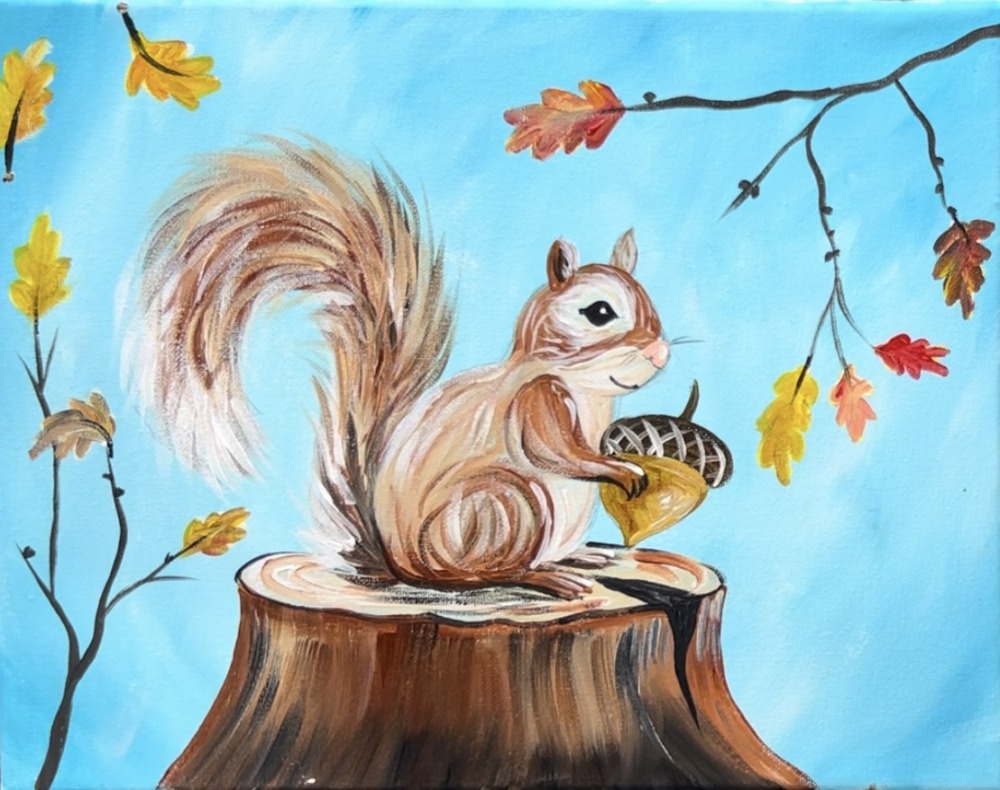
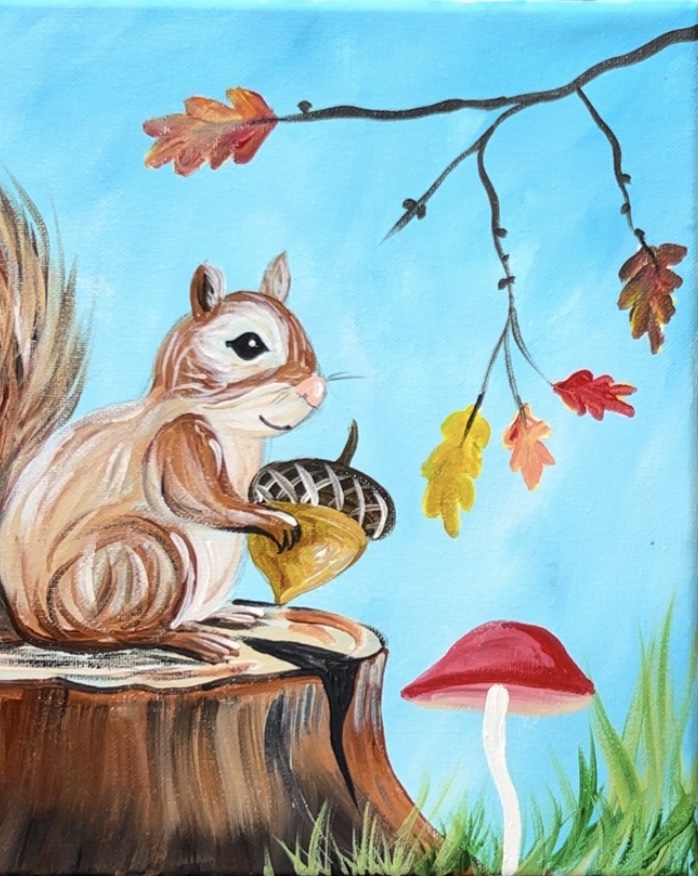
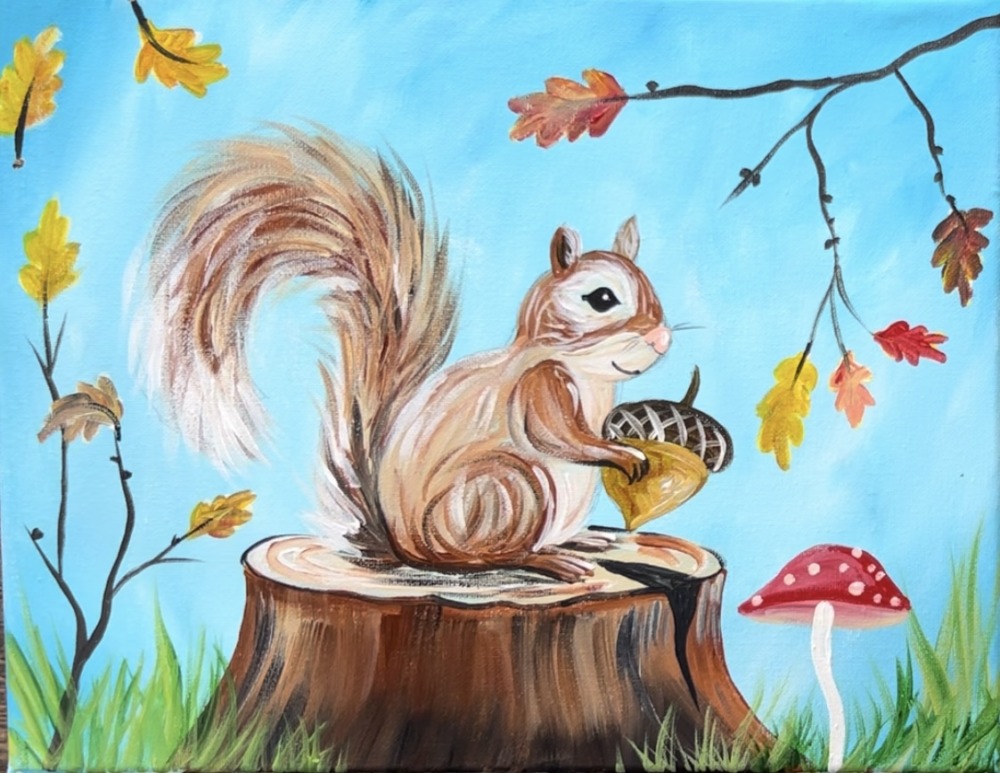
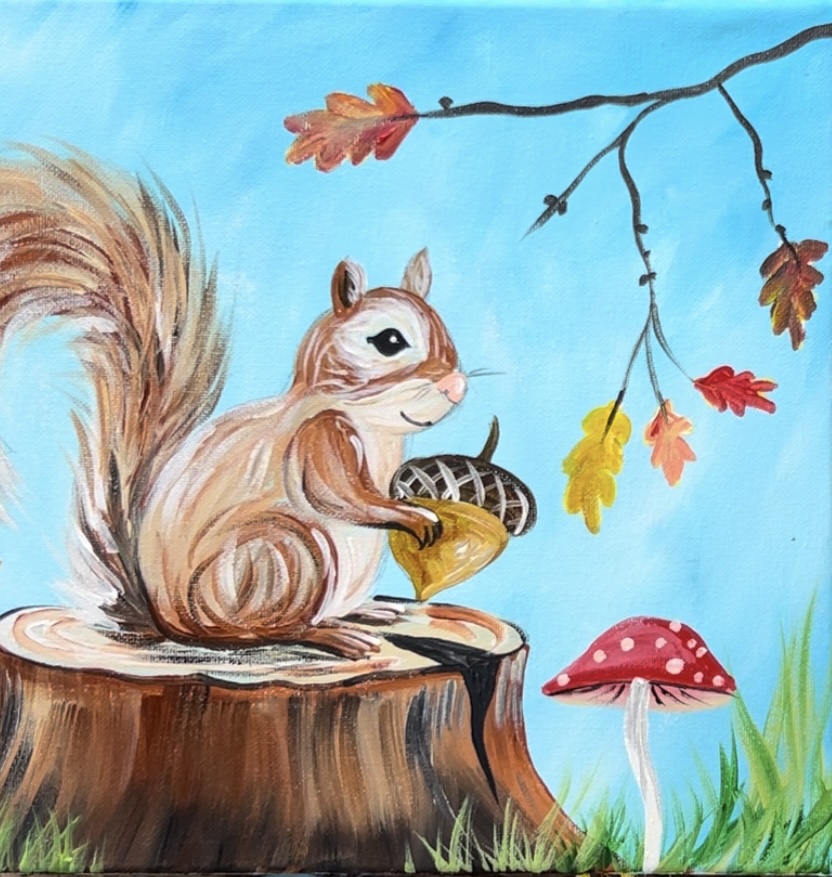
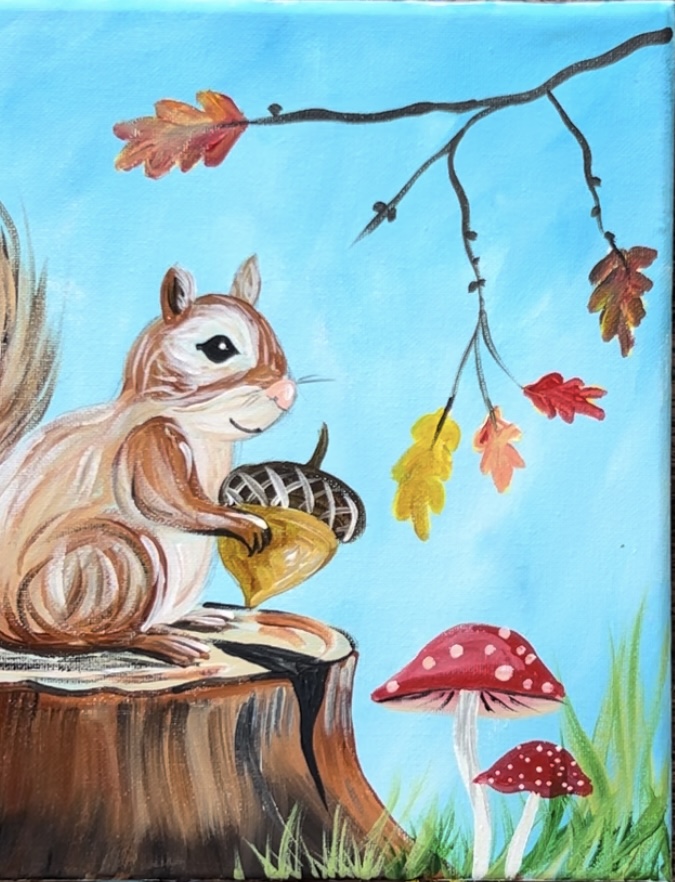
In this painting, we will be doing a fall themed squirrel. He is holding an acorn and surrounded by oak leaves! My favorite part of this painting is the tail! That was so much fun to paint because of the texture and layering on different colors.
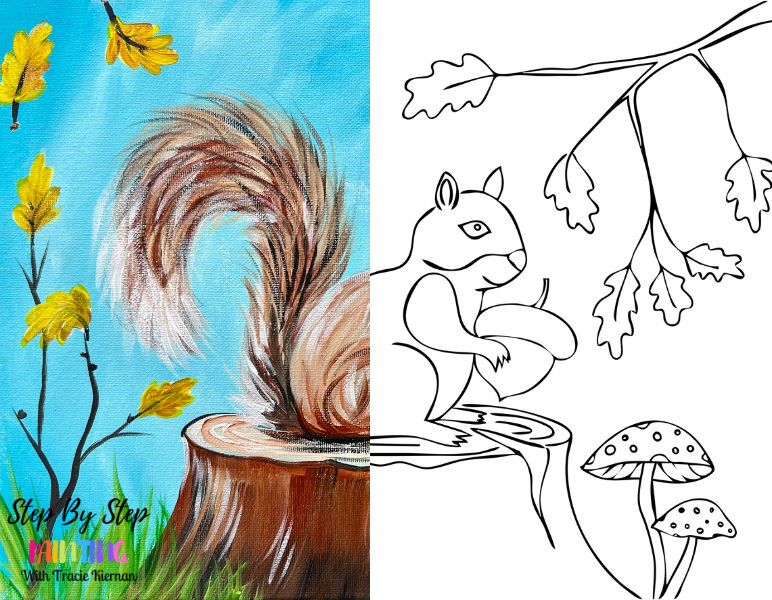
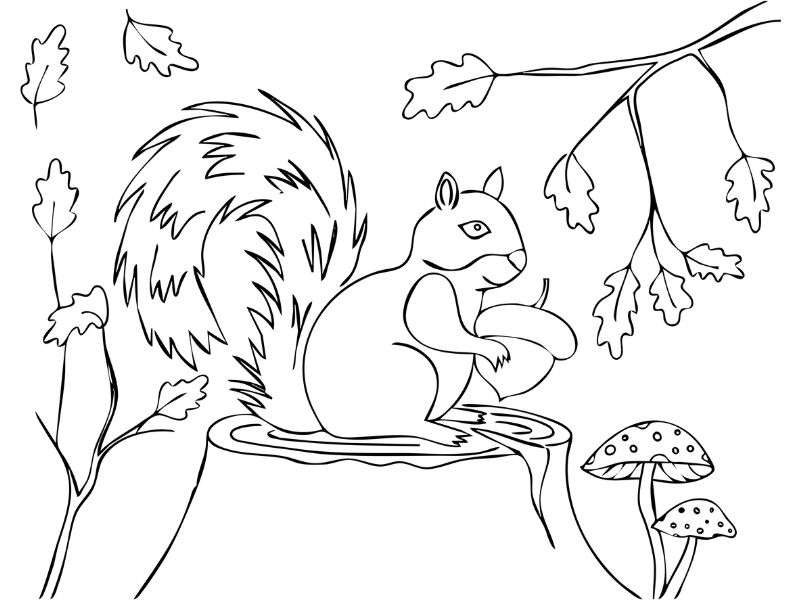
There is a drawing portion of this painting and I’m also providing a traceable template if you need it.
Enjoy and happy painting!
Materials
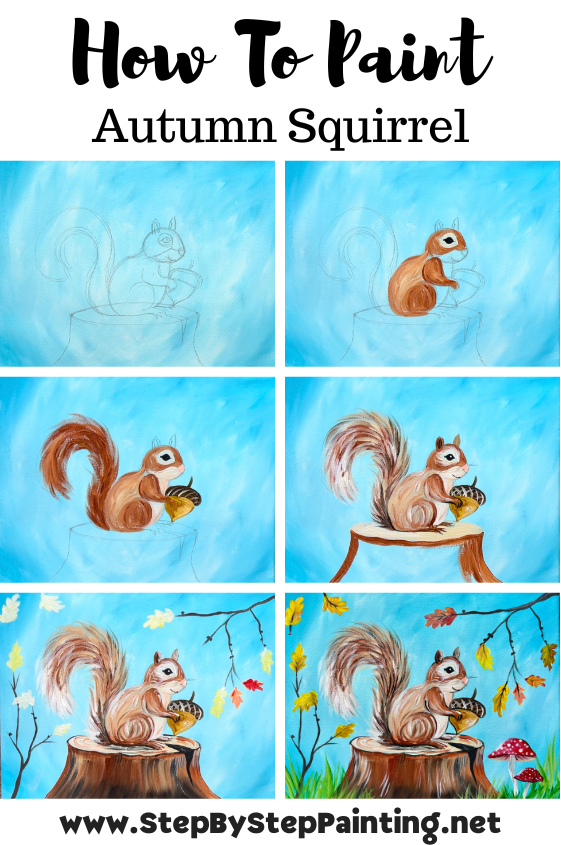
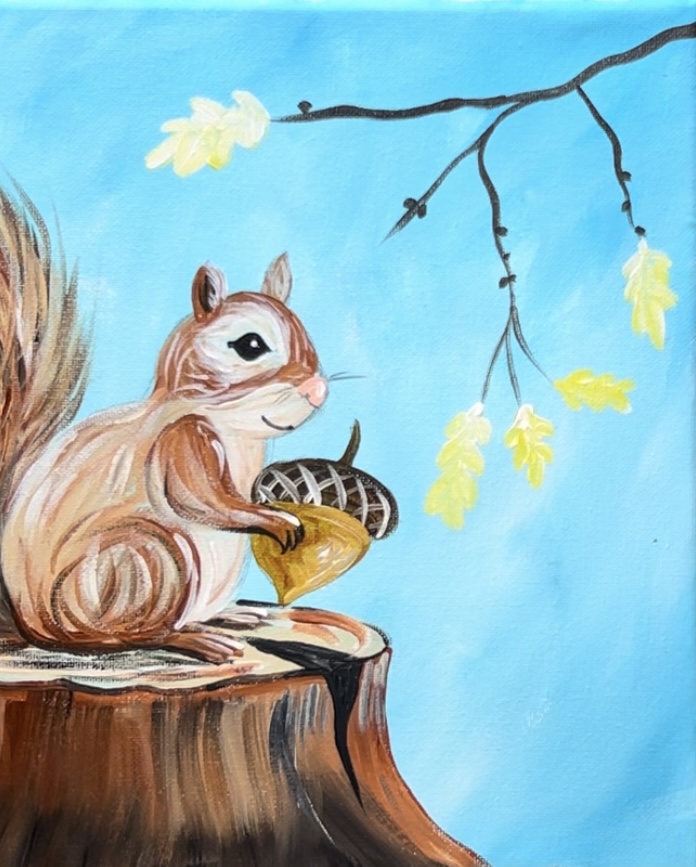
Autumn Squirrel - Acrylic Painting Tutorial

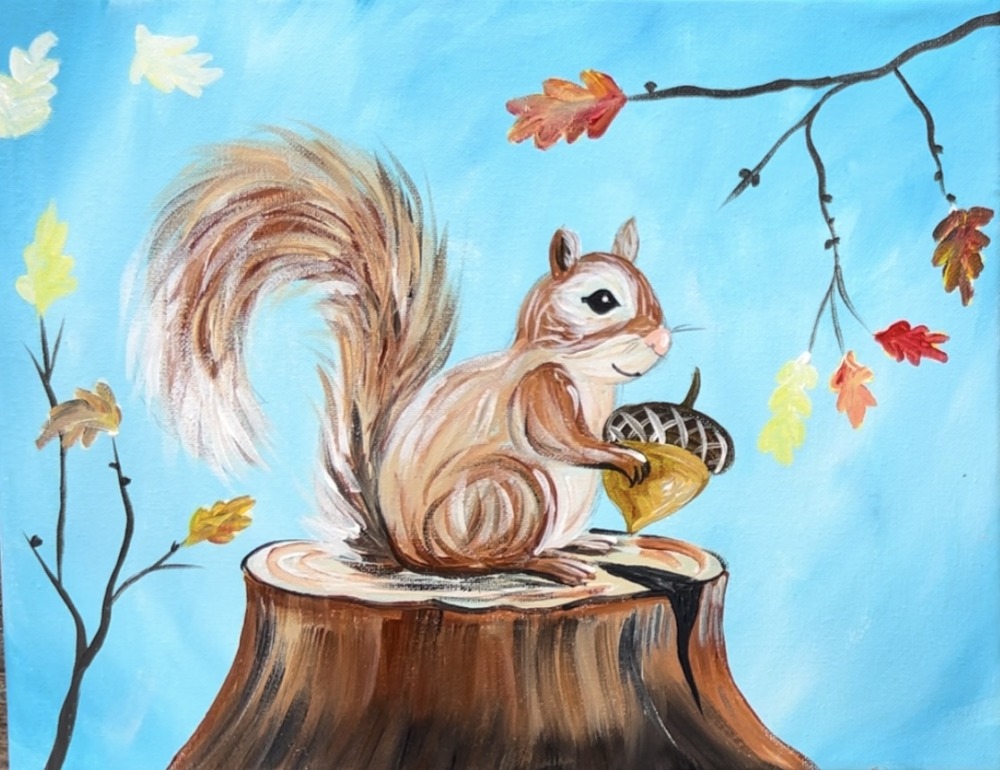
Paint a cute squirrel holding an acorn on a tree stump surrounded by autumn oak leaves.
Materials
- 11 x 14 Canvas
- Acrylic Paint
- Paint Brushes
- Optional Traceable
- Optional Graphite Paper If Using Traceable
- Pencil
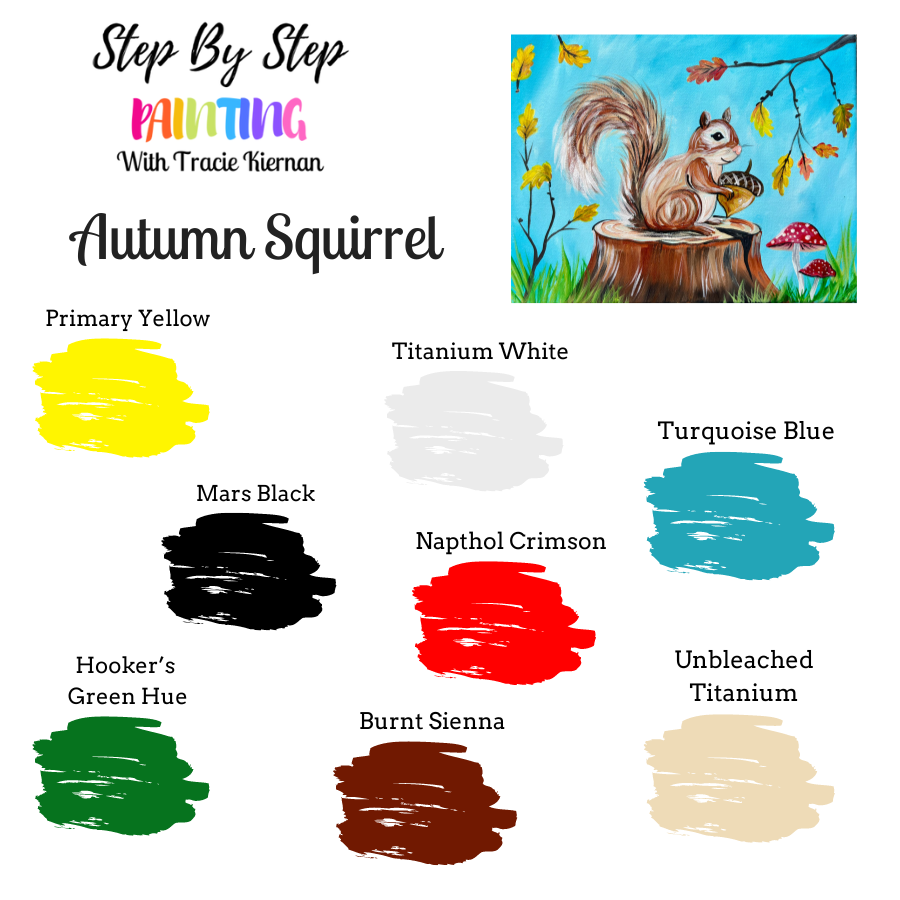
Colors
- Titanium White
- Mars Black
- Burnt Sienna
- Napthol Crimson
- Primary Yellow
- Hooker's Green Hue Permanent
- Turquoise Blue
- Unbleached Titanium
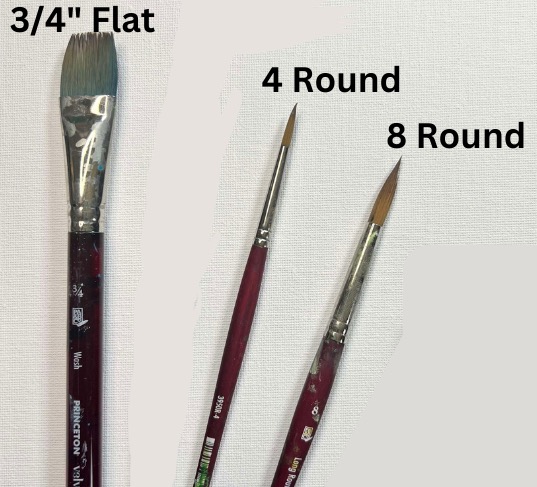
Brushes
Color Palette
Also not pictured: “light pink” is used for the nose of the squirrel. If you aren’t using light pink, you can mix red with white to create a pink!
Brushes
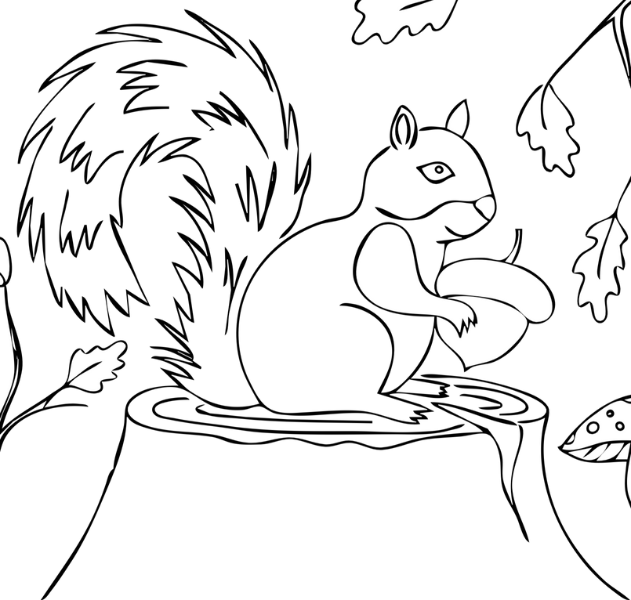
Optional Traceable
Directions At A Glance
Video:
Step By Step Instructions
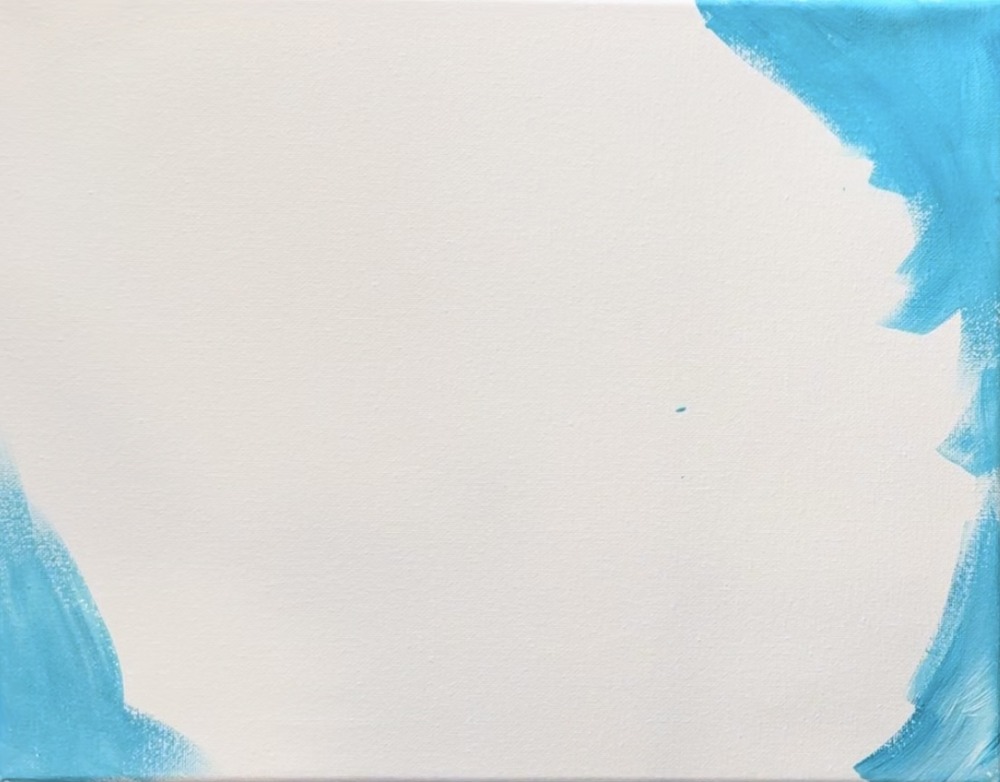
1. Paint Background
Load your paint palette with the colors: titanium white and turquoise blue. Note: you can change the color of the background by switching “turquoise blue” out for a different color.
Load the brush into 1 part turquoise and about 3-4 parts white. Turquoise is a dark, strong color so you only need a little bit. Then use the full width of the brush to paint different angle paint strokes. Start on the outer edges of the canvas.
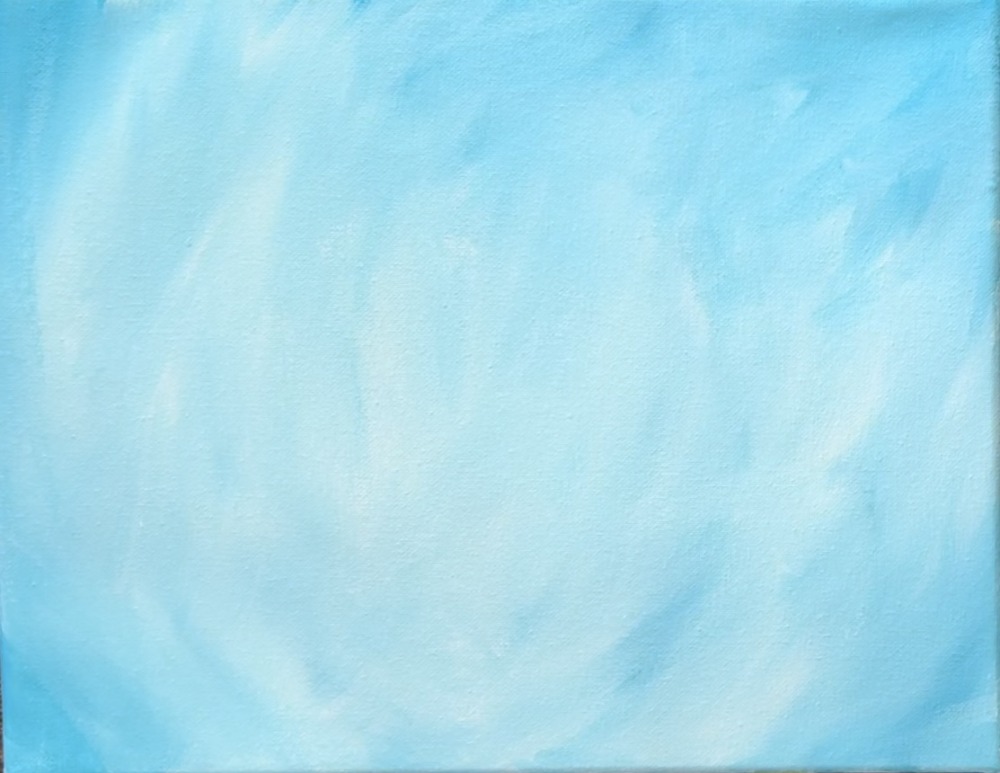
As you work your way to the center of the canvas, add more white to your brush. You’ll need a lot of white for this background! Continue to paint large, angle paint strokes with the color gently blending on the canvas.
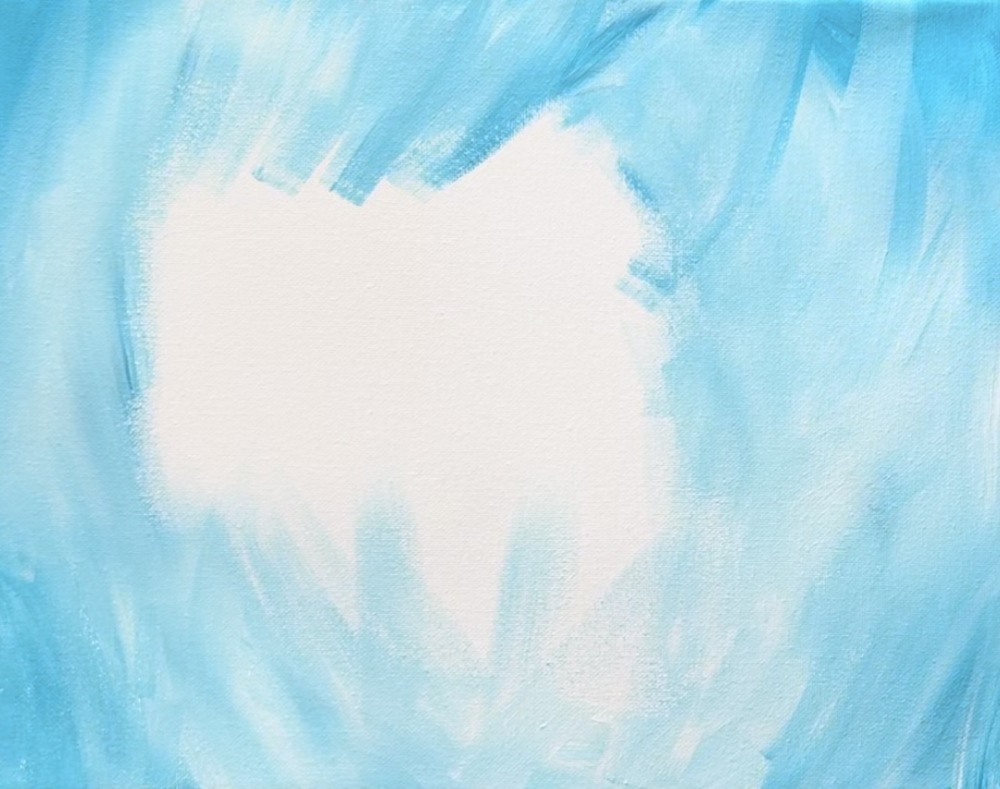
Allow the center of this painting to be lighter!
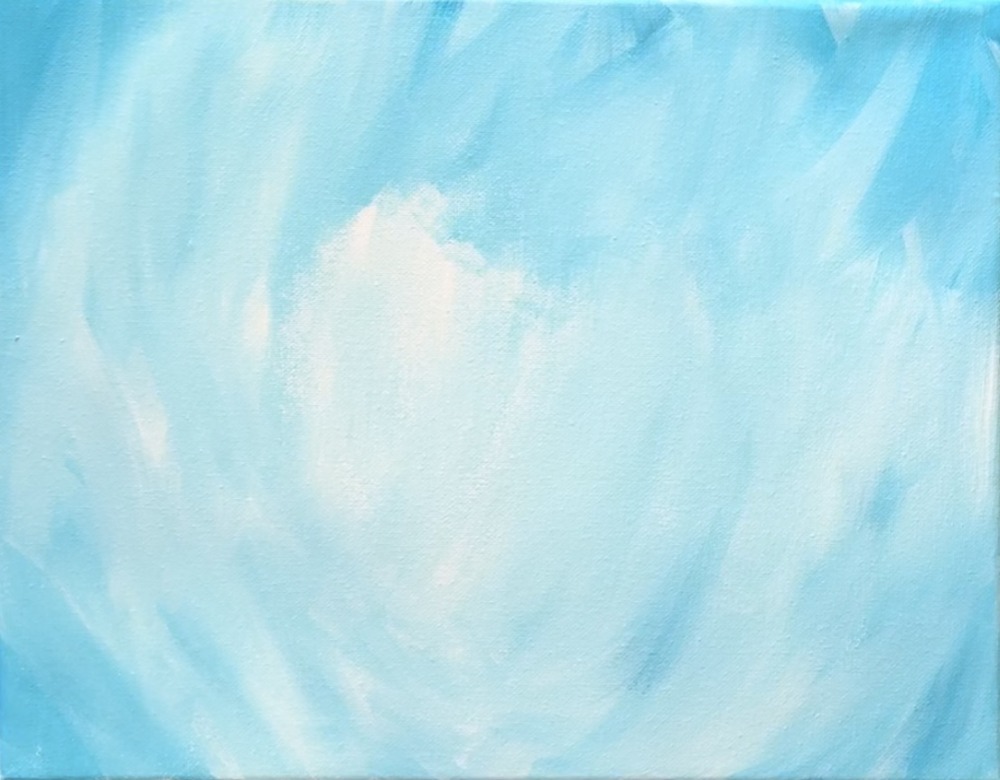
If you want a more smoother background, brush over your paint strokes and blend them further.
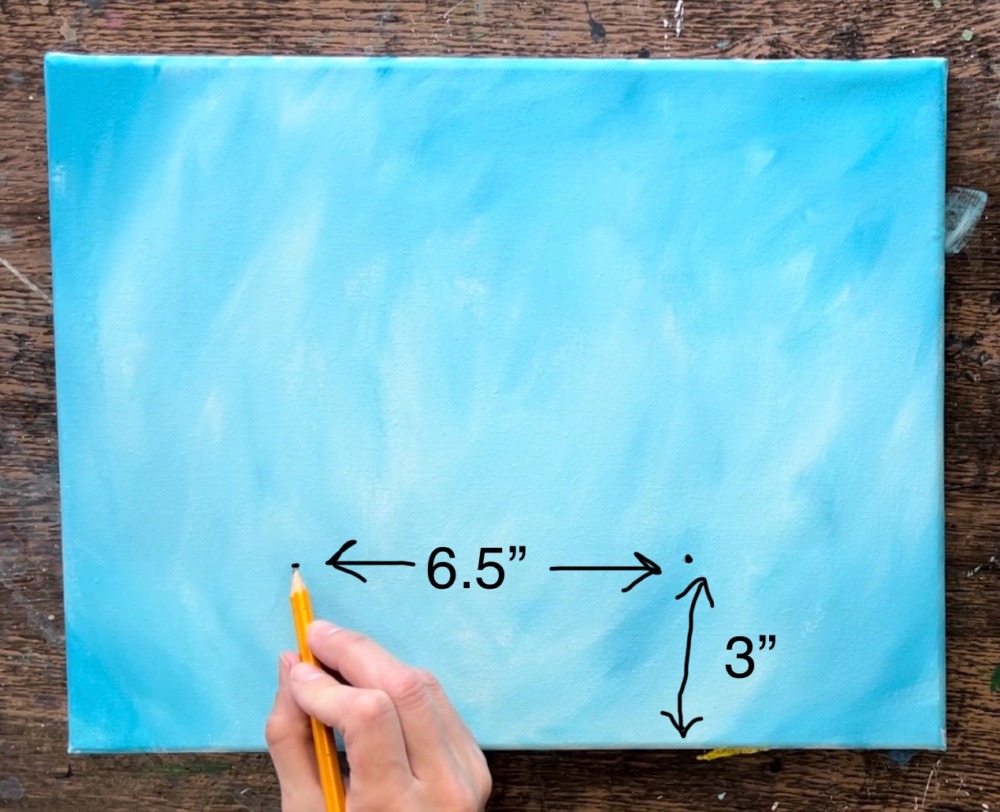
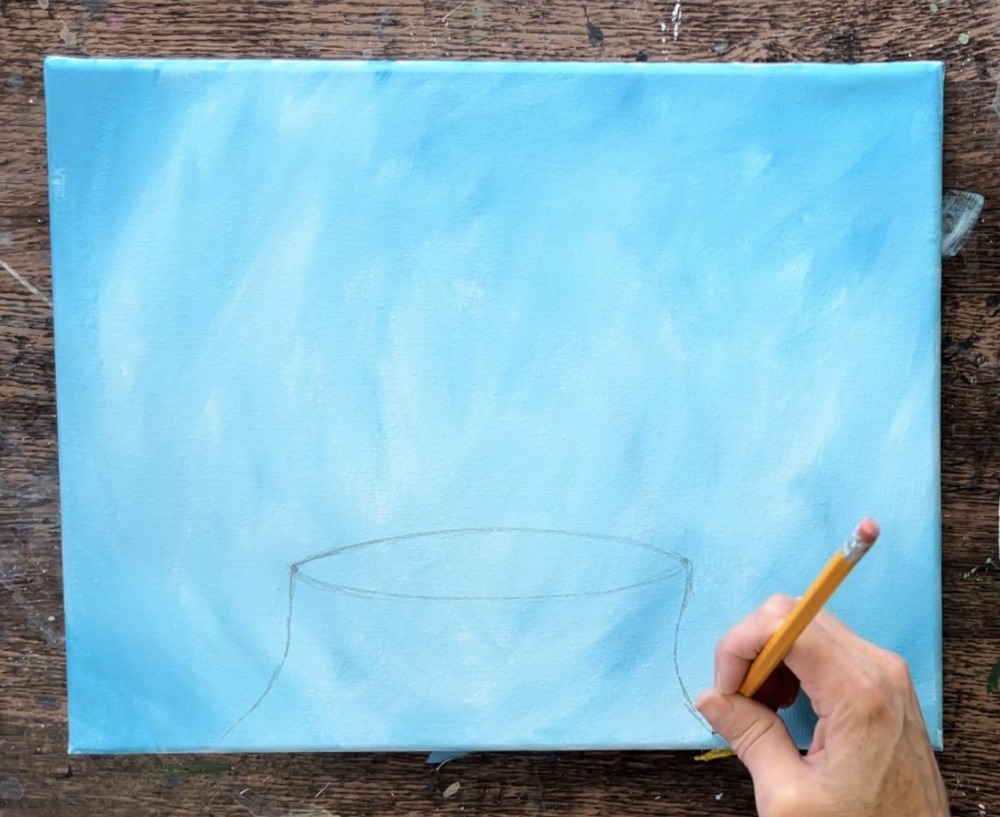
2. Draw Tree Stump
You can use the traceable for this step or draw this with me!
Start by drawing the tree stump. Draw two points that are about 6.5″ apart and about 3″ high.
After drawing these two points, draw an ellipse shape that connects the two points. This shape is the flat top part of the tree stump.
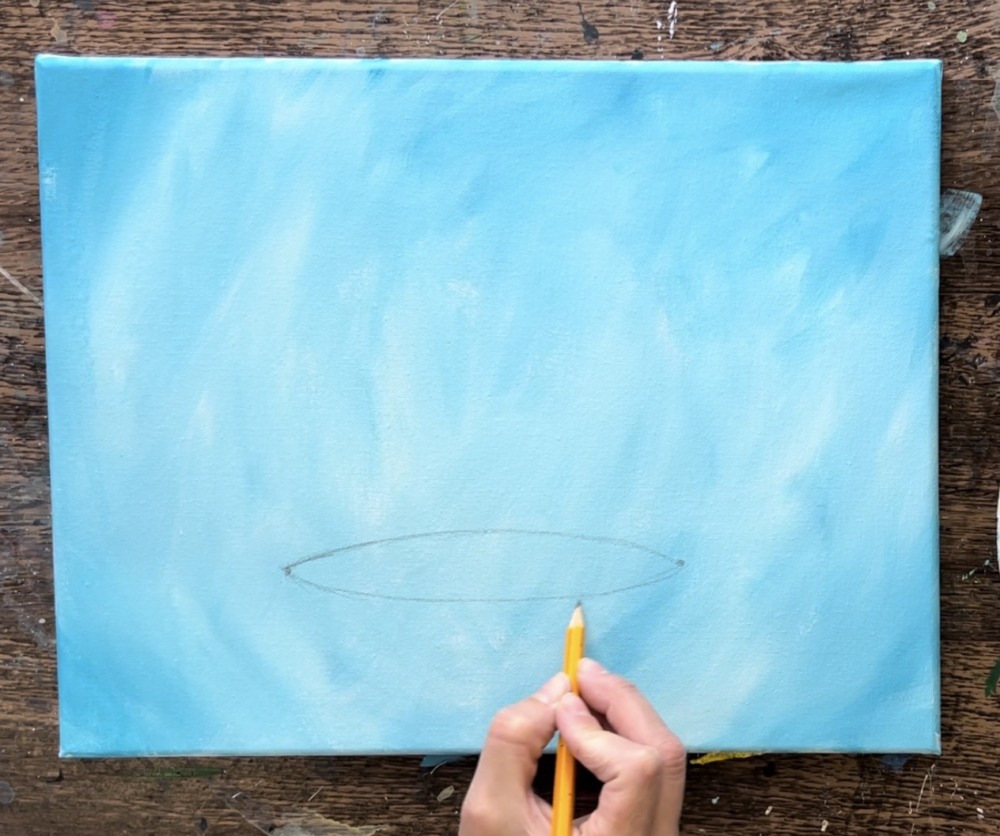
Then draw two curved lines going down to the bottom edge of the canvas on each side of the ellipse shape. These are the sides of the stump.
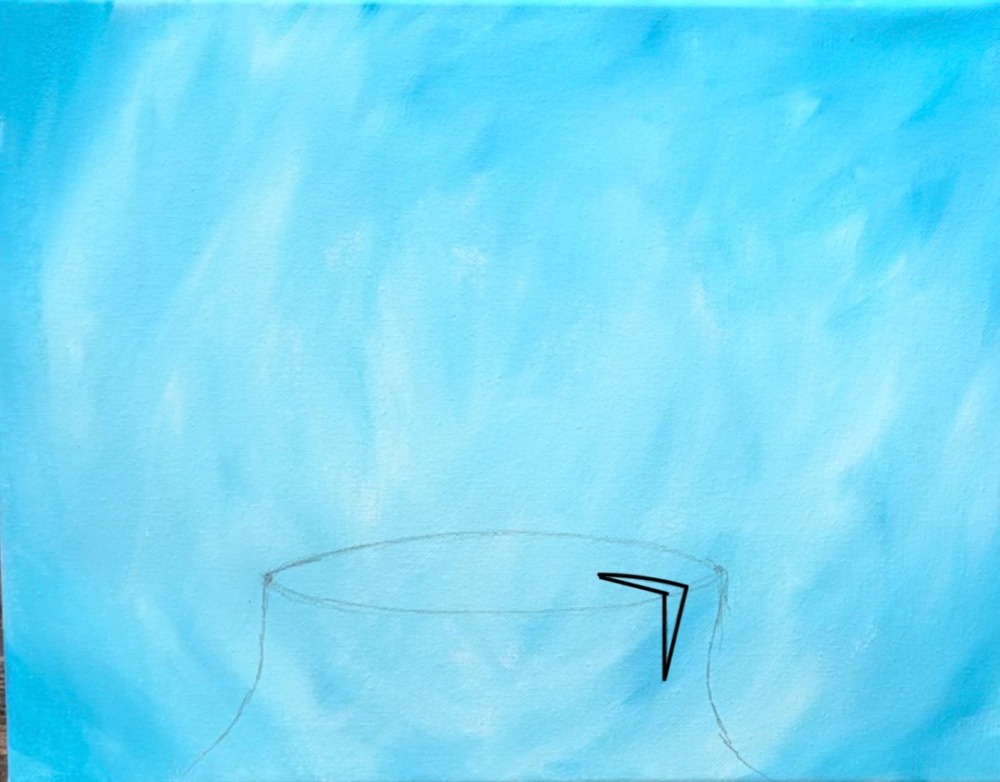
Next, draw a little notch in the tree stump. Draw a small triangle going flat on the top of the stump and then draw another triangle connecting to it and going vertical on the side of the stump.
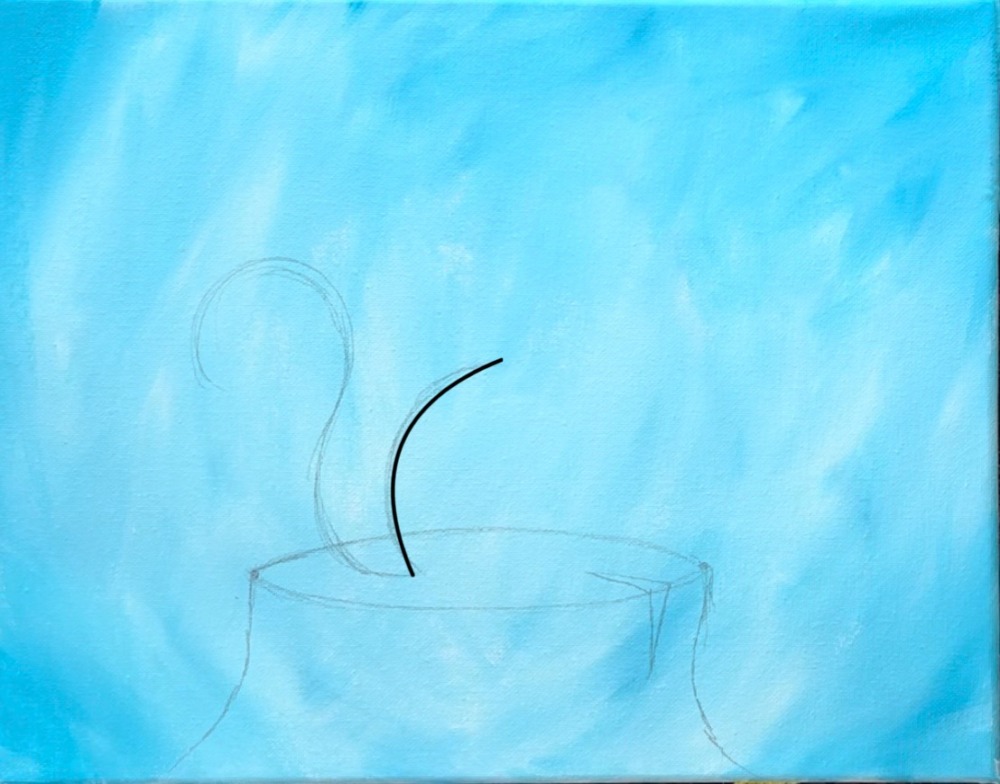
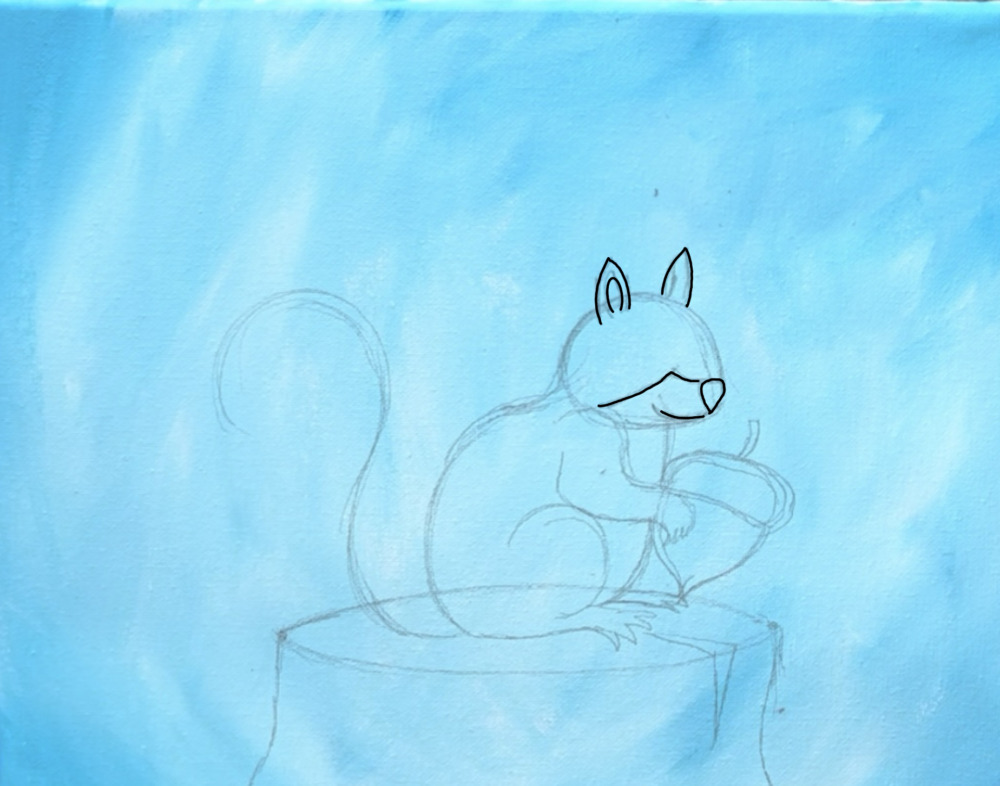
3. Draw Squirrel
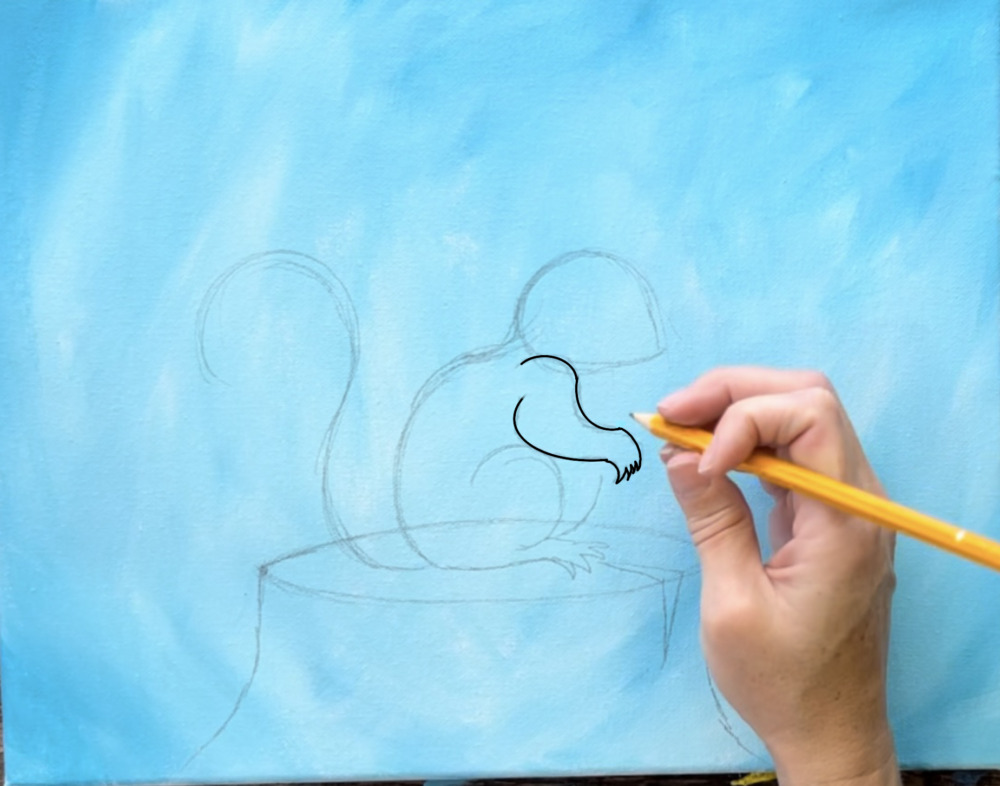
Start by drawing an “S” line for the squirrel tail.
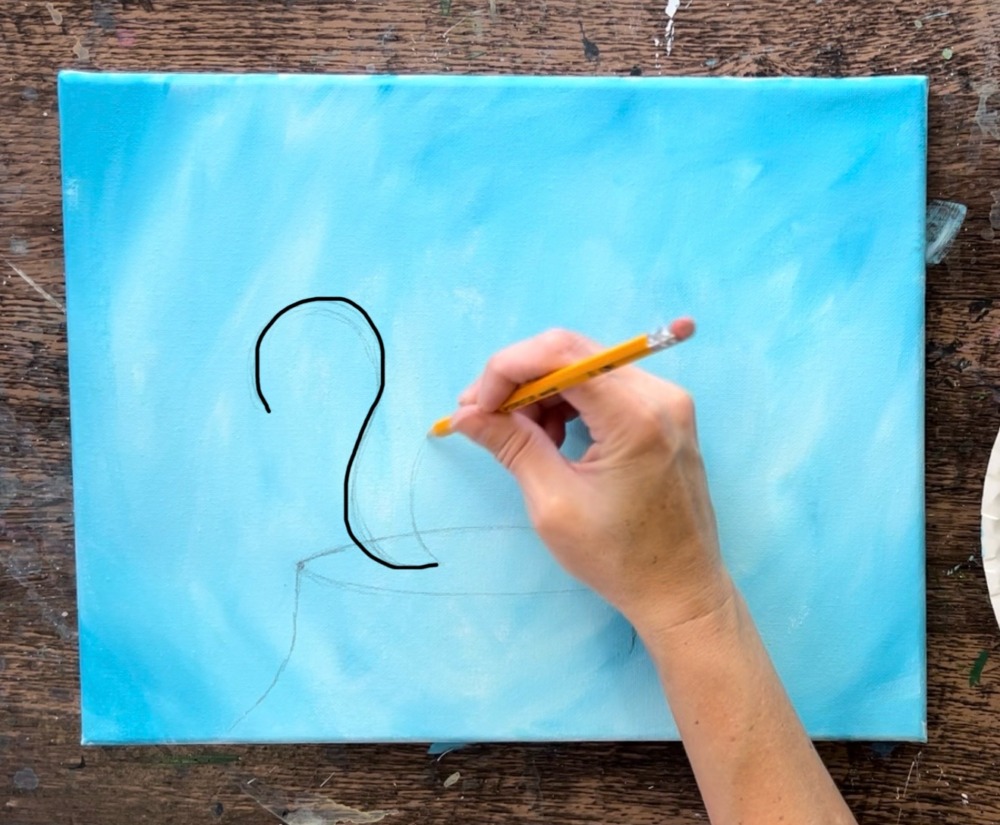
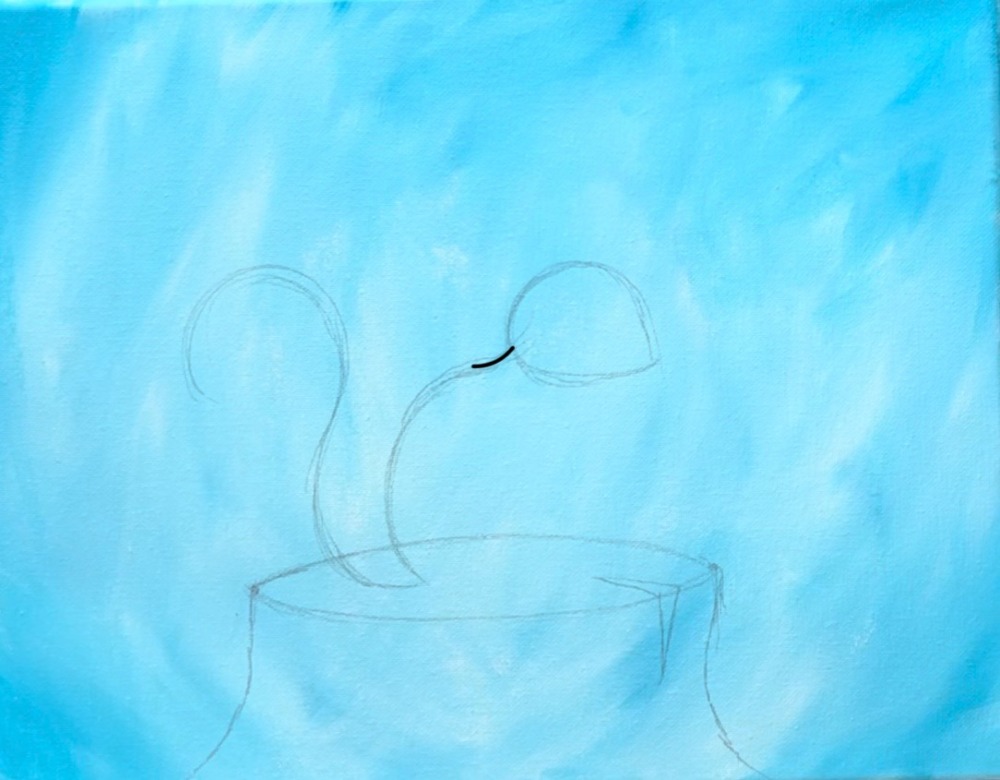
Then draw an arc for the back of the squirrel. The bottom of this arc connects to the bottom of the squirrel’s tail.
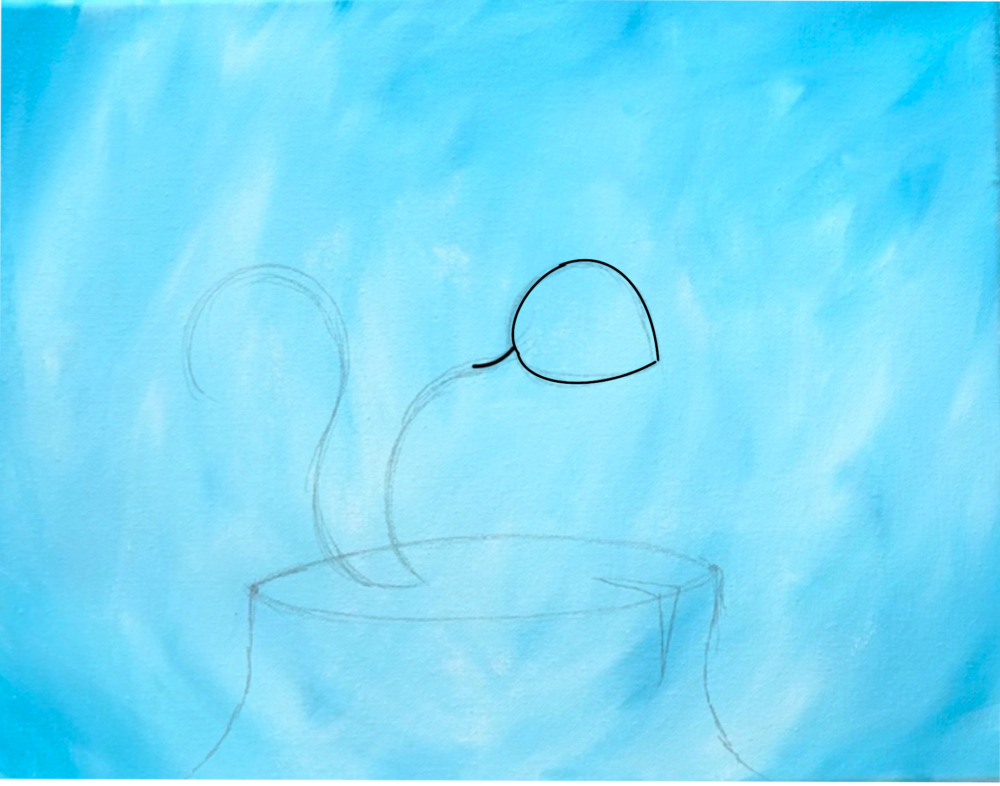
Draw an almond shape for the head. Note that there is a small curved line that dips down on the top of the back and connects to the bottom of the head.
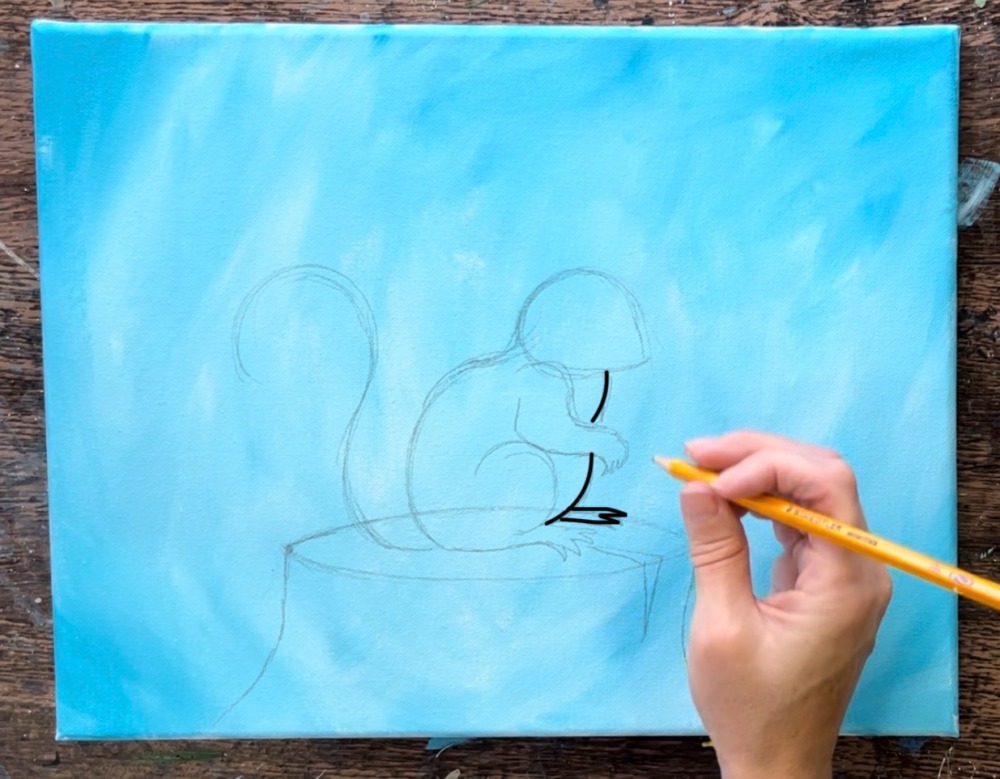
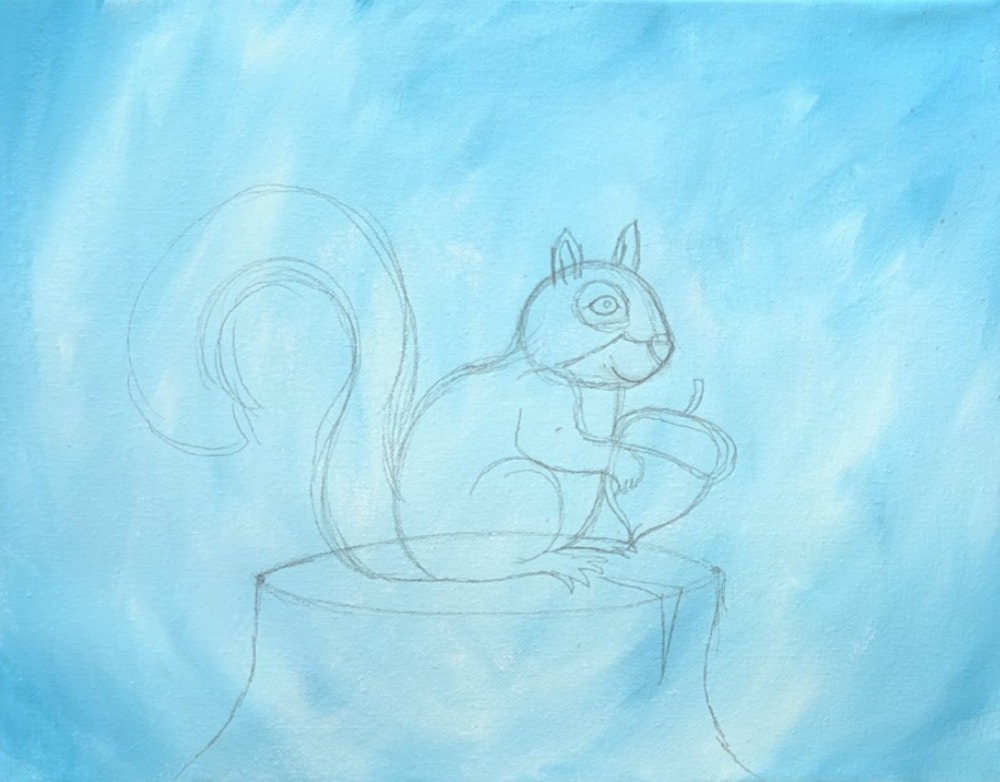
Draw the side leg. This is a very circular shape that has a large opening on the left. Draw the bottom foot as a very basic horizontal rectangle shape with pointed toes.
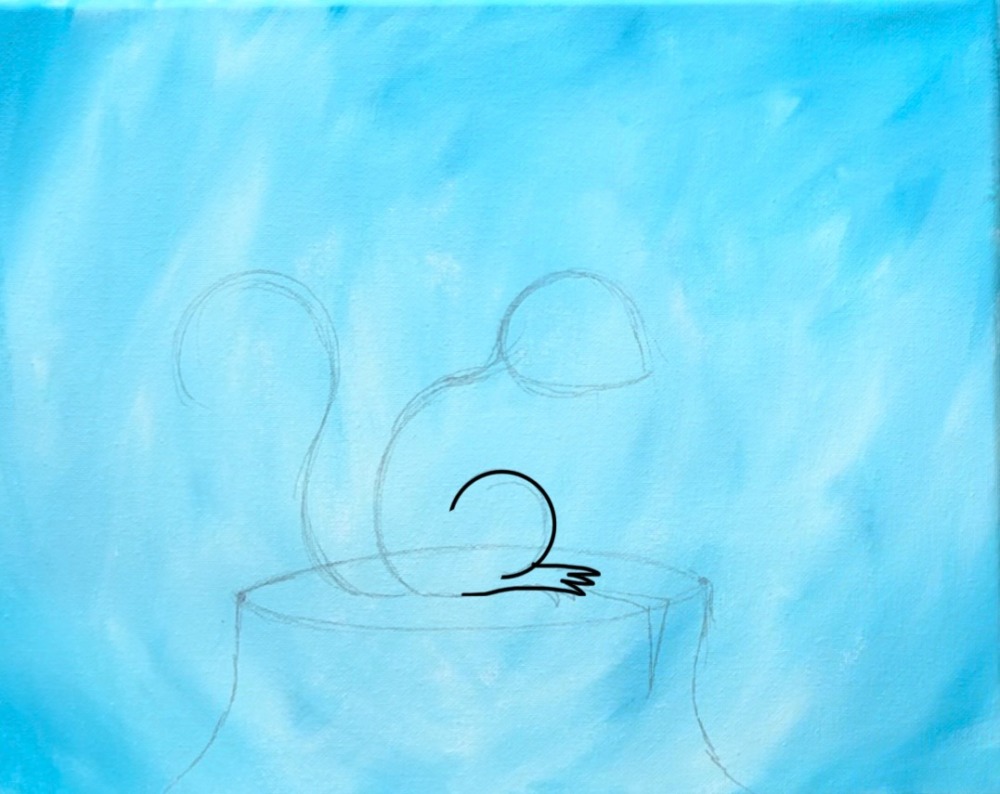
Next, draw the arm. This is an “L” shape with a small hand that curves slightly down. Draw the belly as a curved line in front of the leg.
Draw the back foot as a simple shape similar to the front foot. Also draw a slightly curved line for the chest area.
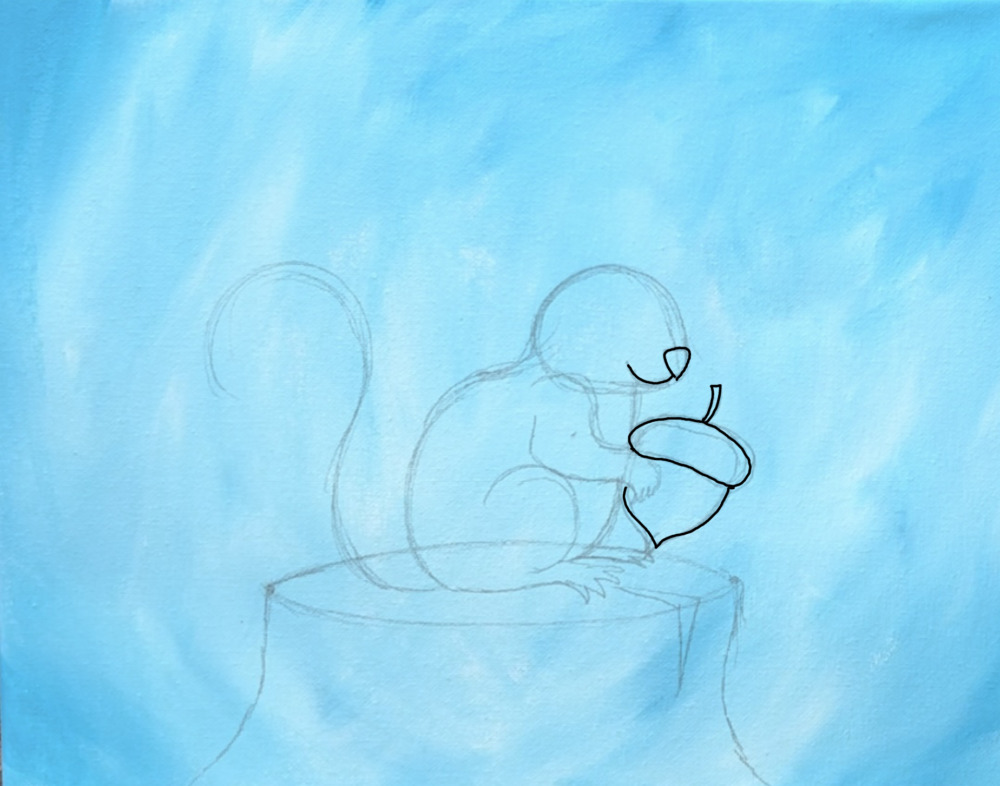
Next, draw the acorn. This will go under the hand area to make it look like the squirrel is holding the acorn. We don’t see the back hand.
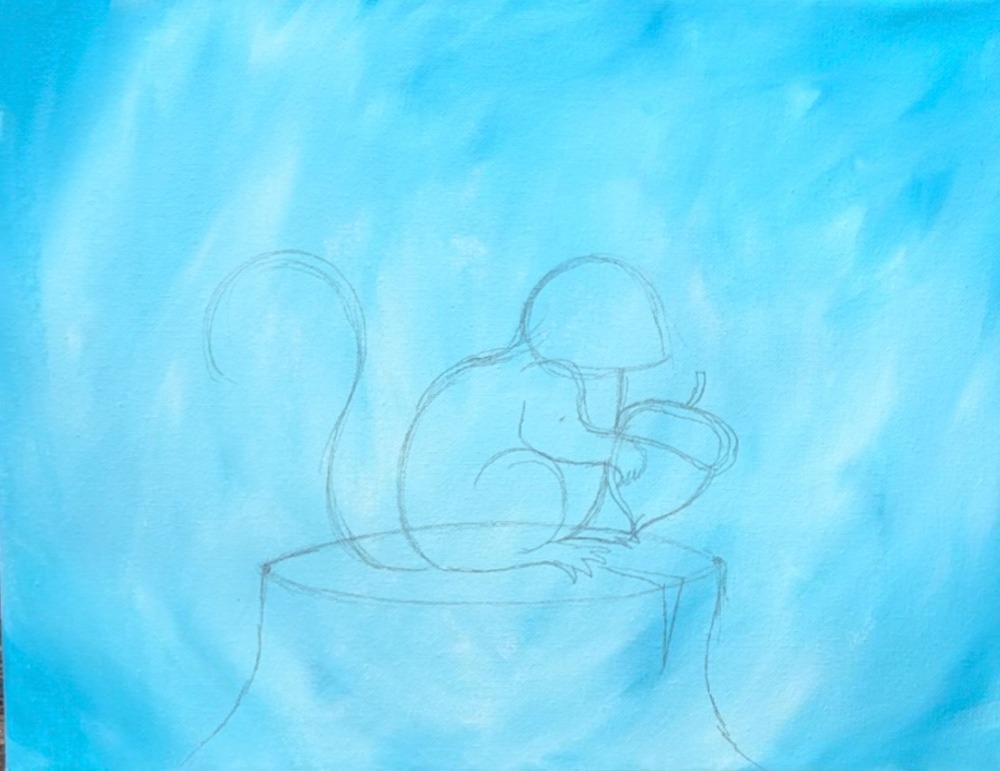
Then paint a rounded triangular shape for the nose and draw a curve with the mouth.
Then draw a curved line area above the nose and mouth. This area is blocked for a lighter color. Draw the two ears. The one on the left is shown as overlapping part of the top of the head. The one on the right is shown behind the head.
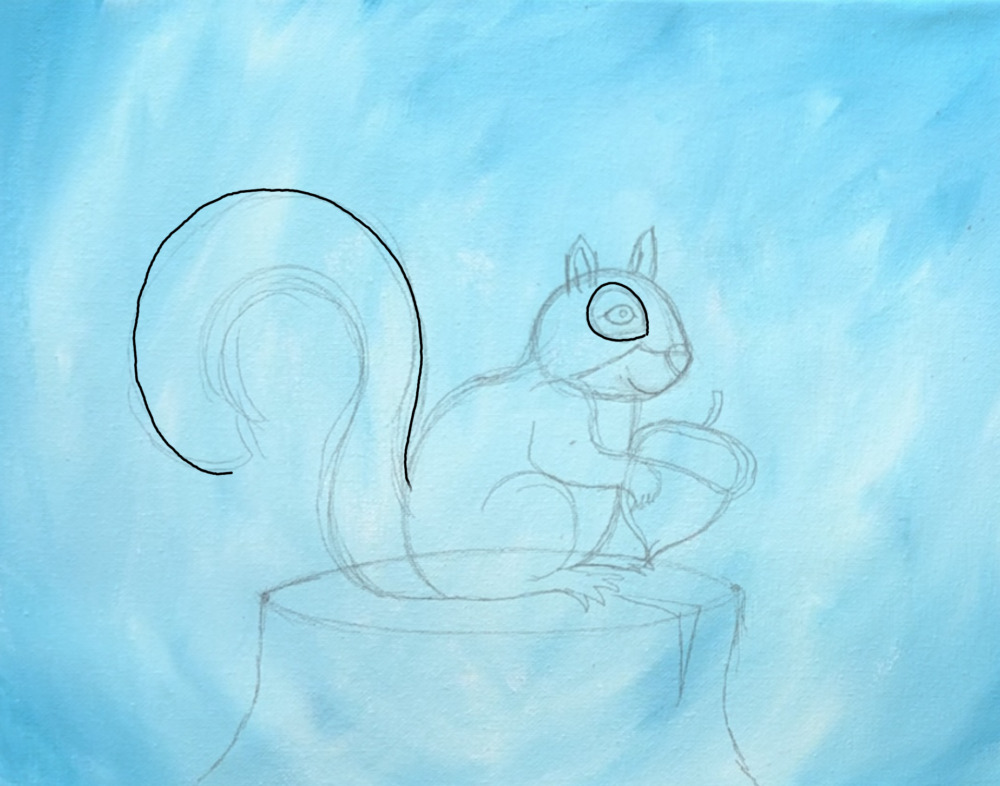
Draw a larger almond shape around the eye. This will be a blocked area for a lighter color when we paint the squirrel in. Also, draw another line for the tail to form it into a shape.
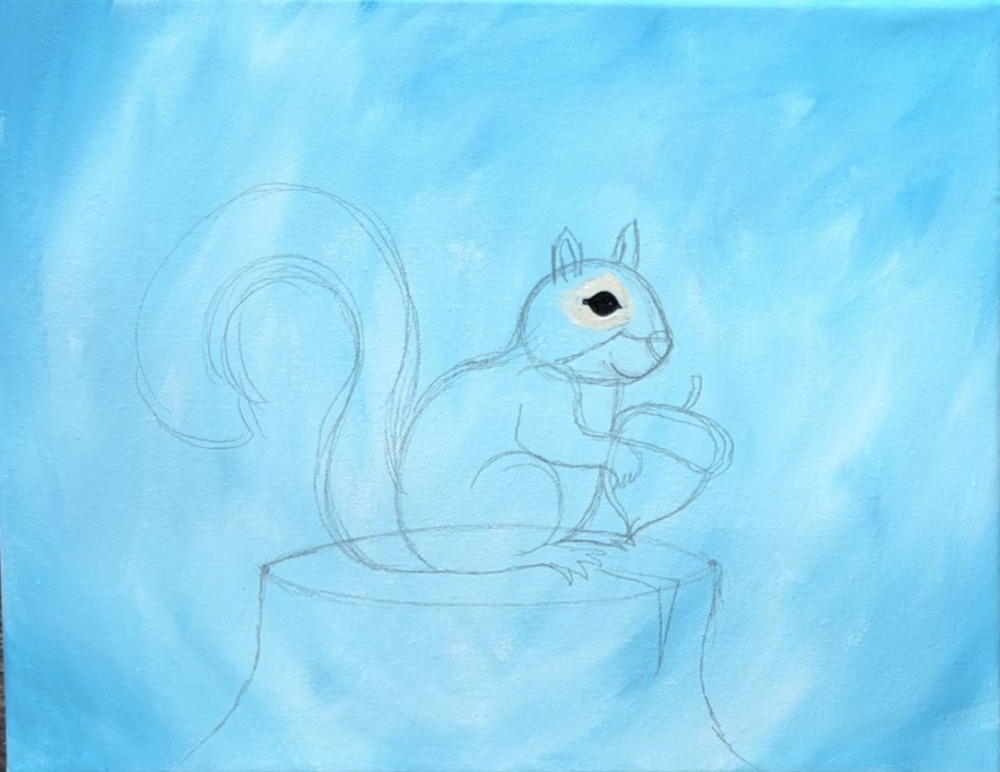
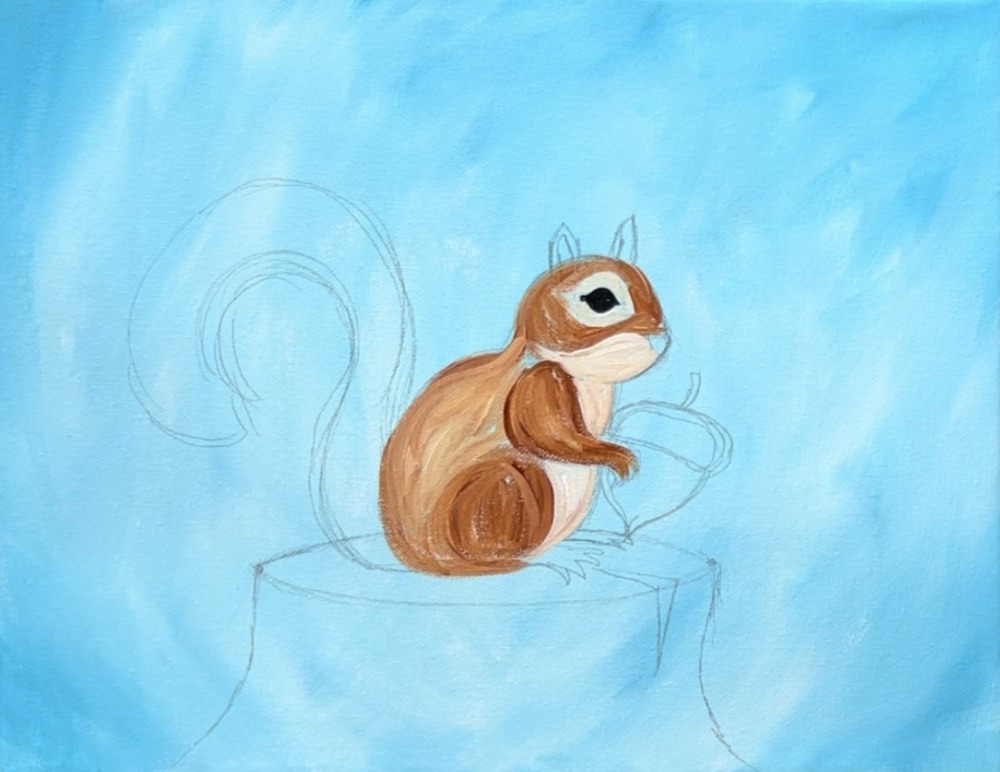
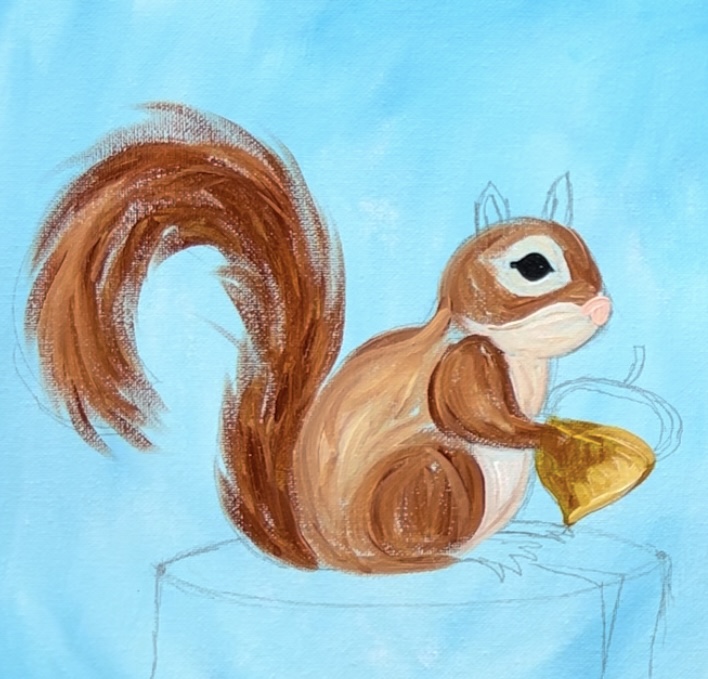
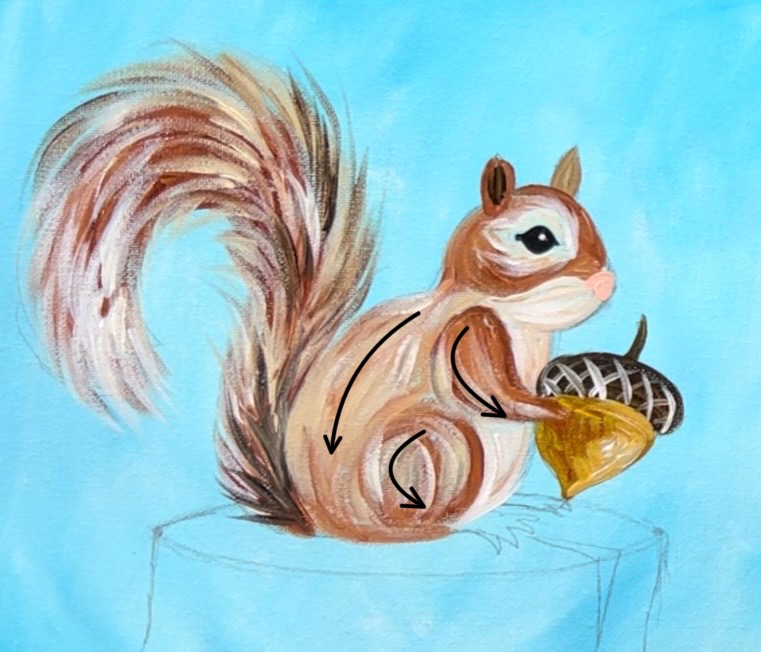
4. Paint Squirrel
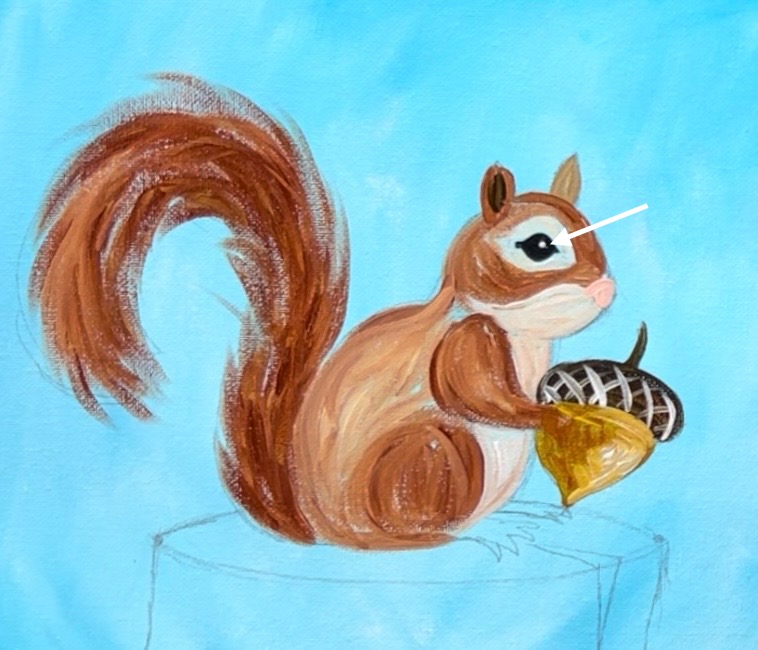
Use a #4 round brush and “mars black” to paint the eye in.
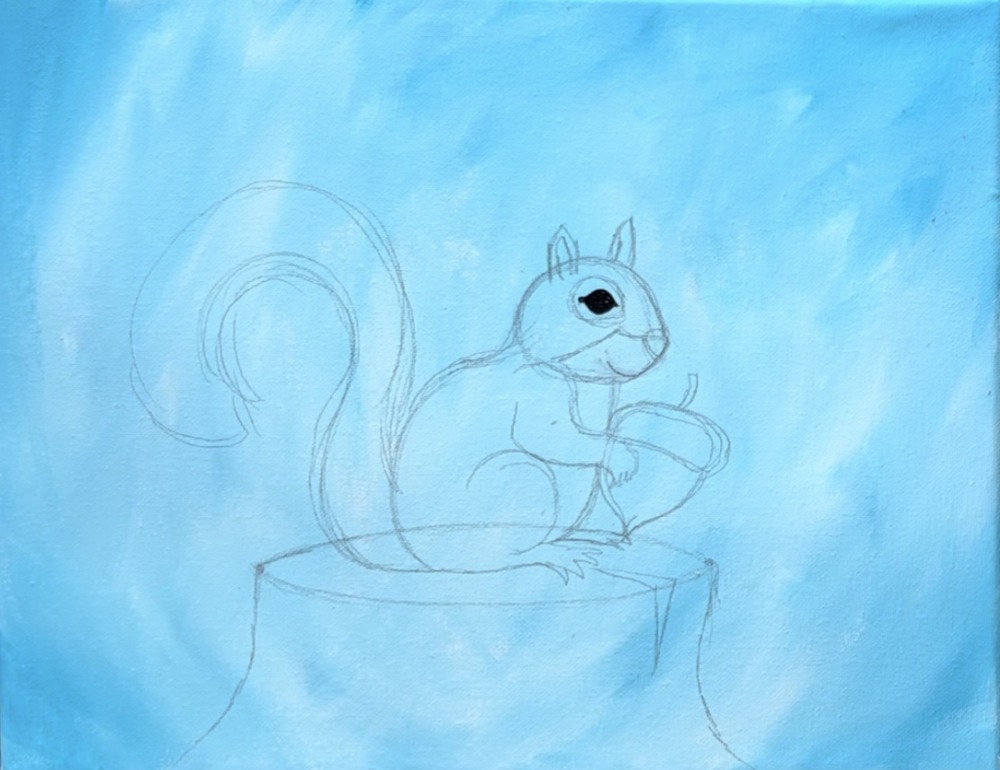
Rinse the brush. Use the color “unbleached titanium” to paint around the eye. Be careful not to let the black bleed into the lighter color. If needed, dry the eye first before continuing.
Next, mix “unbleached titanium” with “burnt sienna”. Paint the rest of the head around the eye. Your paint strokes should be going in the shape of the head/ around the eye shape.
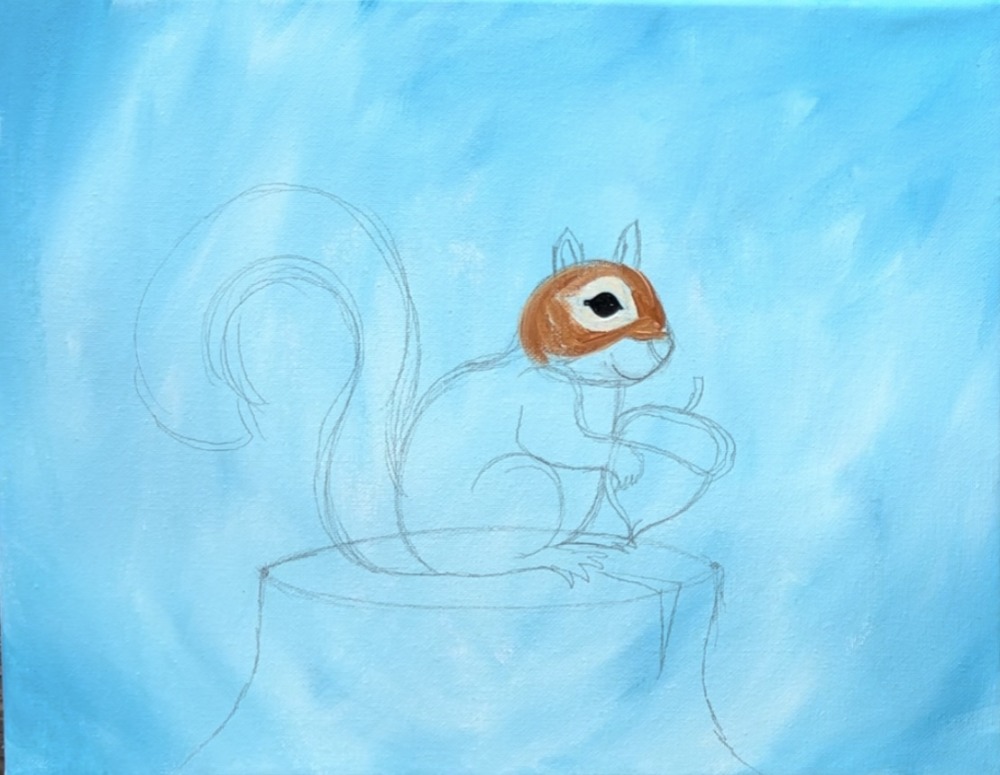
Tip: paint short paint, sketch like paint strokes. Outline the edge of the back and bottom of the legs.
Then fill in the back area. This is a slightly lighter area than the arms and side leg. When you paint the side leg, paint your strokes to go in a circular direction.
Tip: at this part of the painting, we really are just blocking in “base color” on the squirrel. Don’t worry about fur texture paint strokes right now.
Next, use the color “unbleached titanium” mixed with a small amount of “burnt Sienna” (this is the same color as the area around the eye). Paint the chest/ stomach area and under the head area.
Tip: you don’t need to rinse the brush between changing colors. If it seems “overloaded”, you can wipe the brush. However, different colors on the brush are fine and can blend right onto the canvas to create pretty “color variations”.
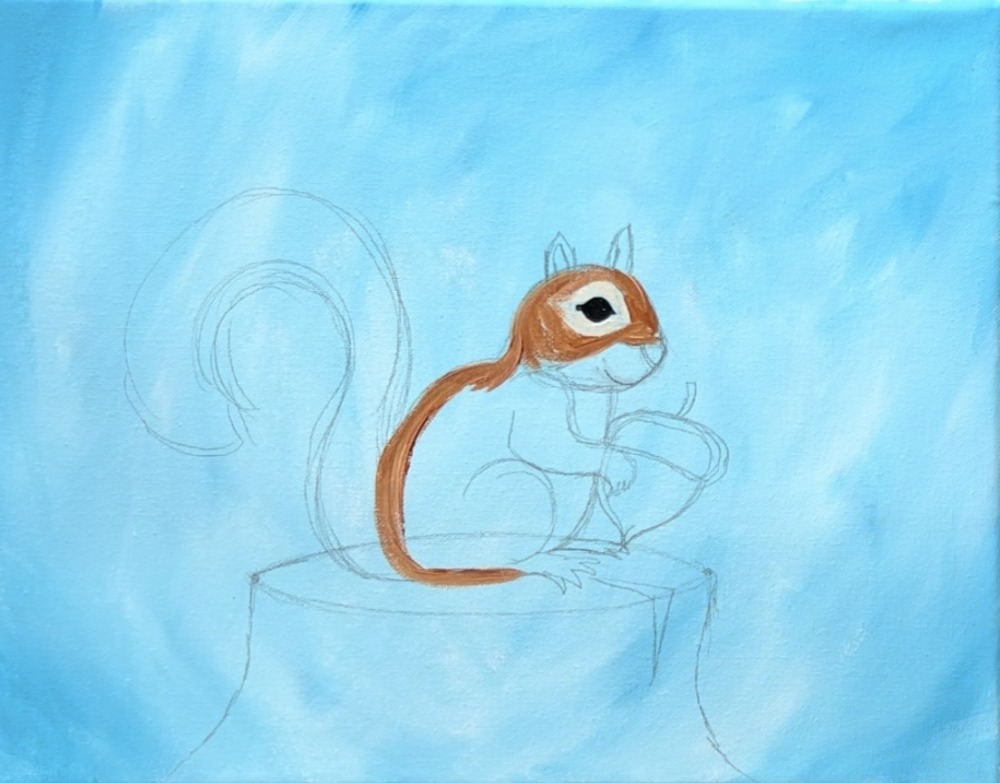
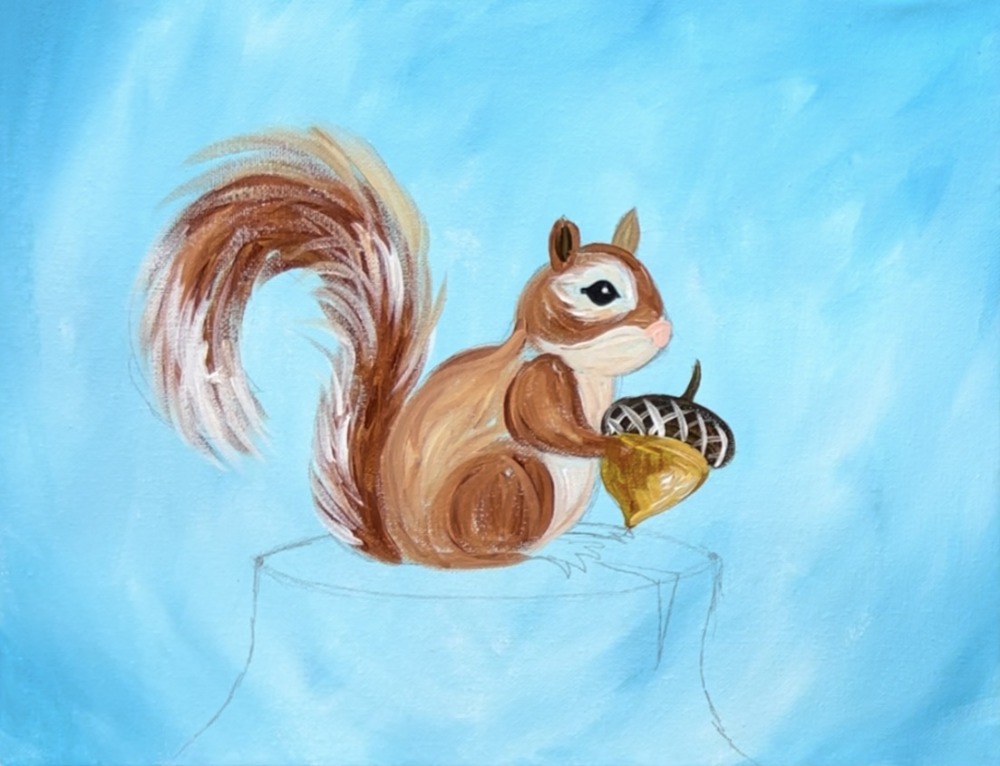
Then start painting the tail! Use the color: burnt sienna. Paint “sketch like” paint strokes going in the direction of the curve of the tail.
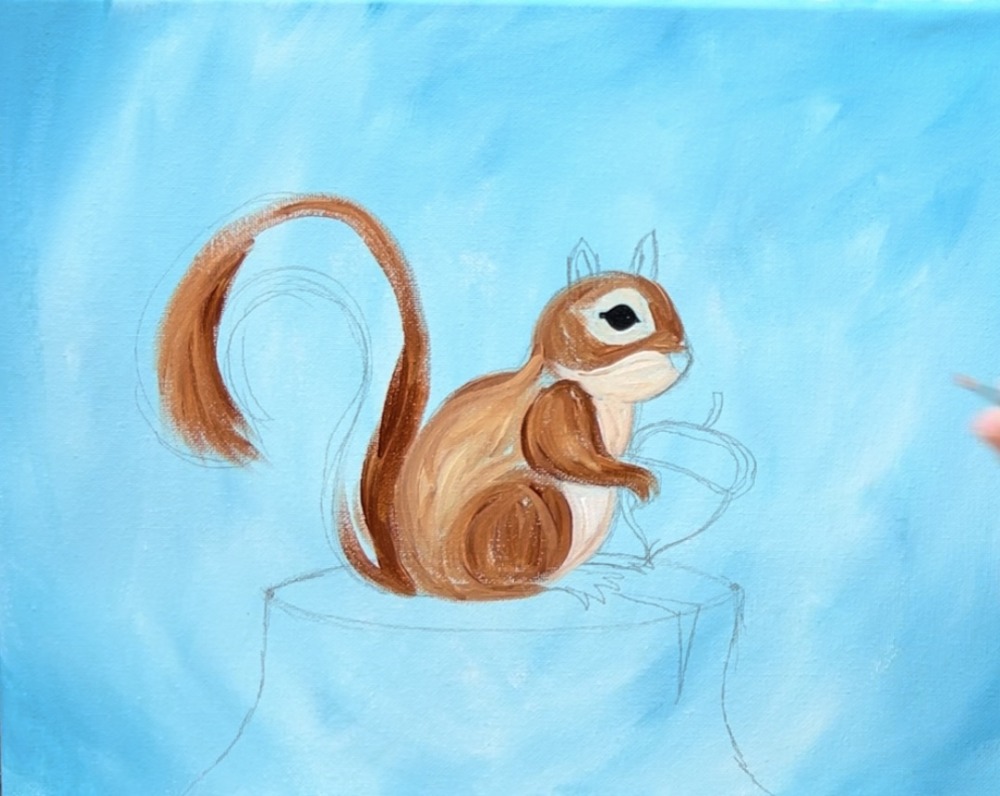
Fill this in with “fur” or “sketch like” paint strokes. I basically started at the bottom and slowly worked my way to the end of the tail.
Let the tail dry a bit. We will be adding more layers on that later!
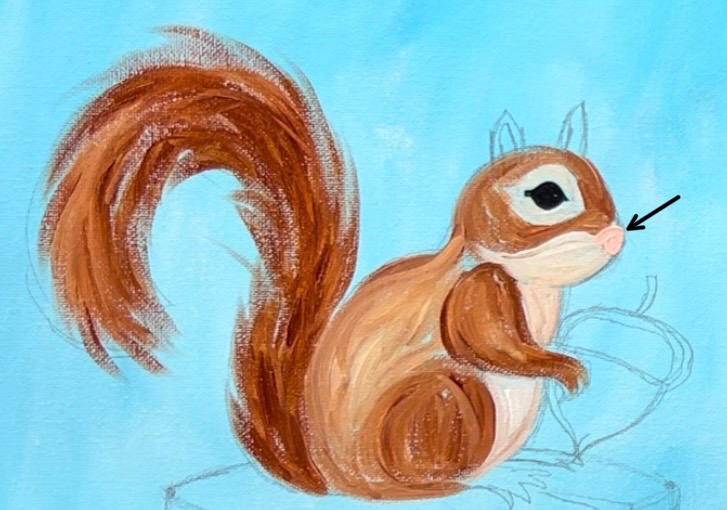
Next, paint the pink nose! I used the color “light pink” for this. If you aren’t using that color, you can actually mix white with a little bit of red.
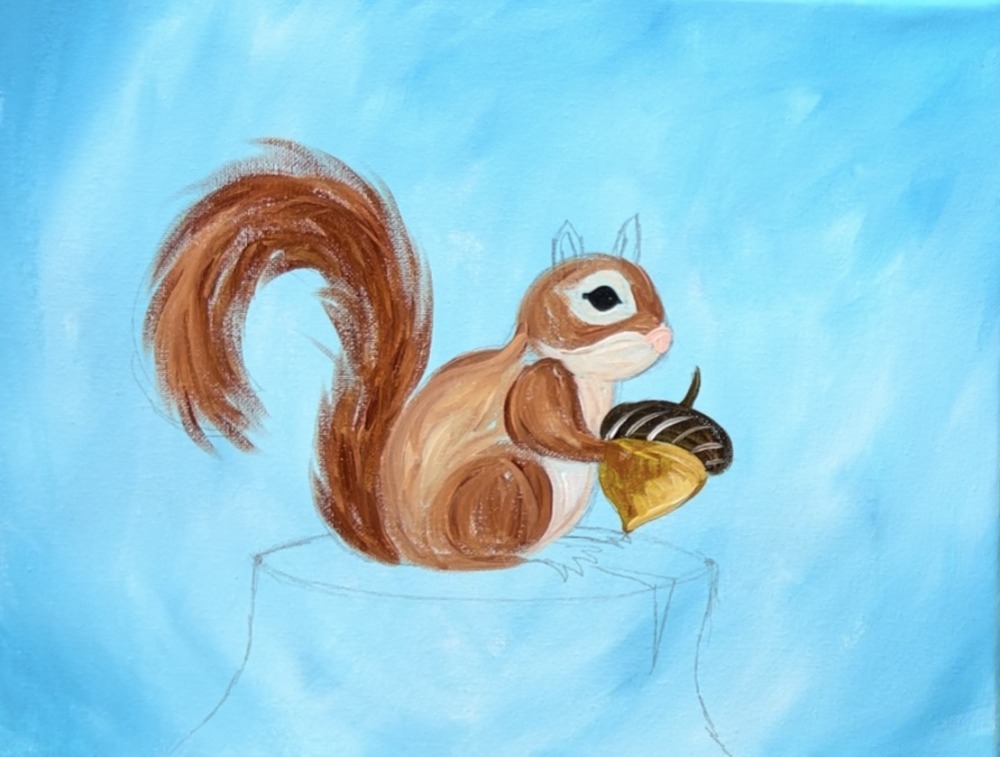
Paint the acorn next! You’ll want to make a “golden brown” color on your palette. Add “primary yellow” on your paint palette. Then mix “burnt Sienna” with the “primary yellow”. Add more yellow than brown to create a golden brown color. Then paint the bottom of the acorn with this color. You might end up losing the “hand” or painting over the hand and that is okay! We can always repaint that and outline it later.
Then mix a dark brown on your palette by mixing about 1 part “mars black” and 3 parts “burnt sienna”. Paint the top of the acorn with this dark brown.
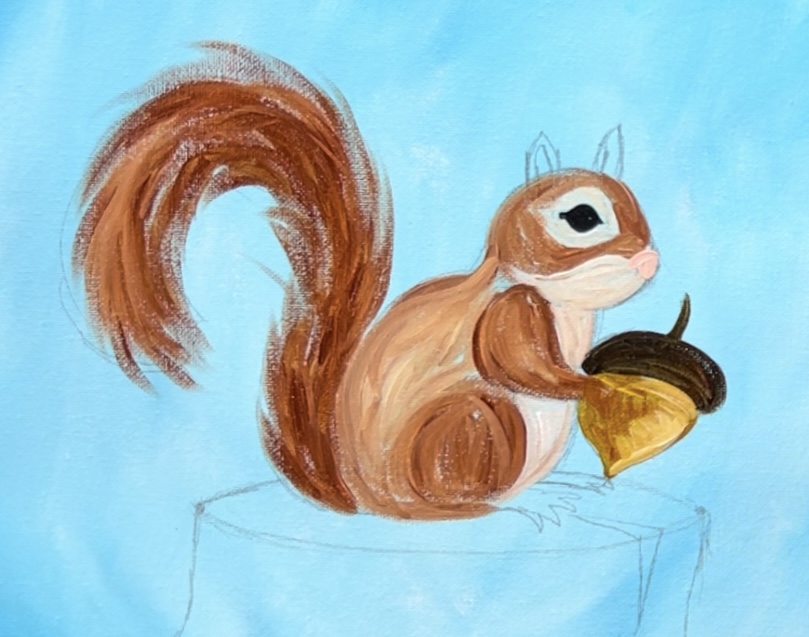
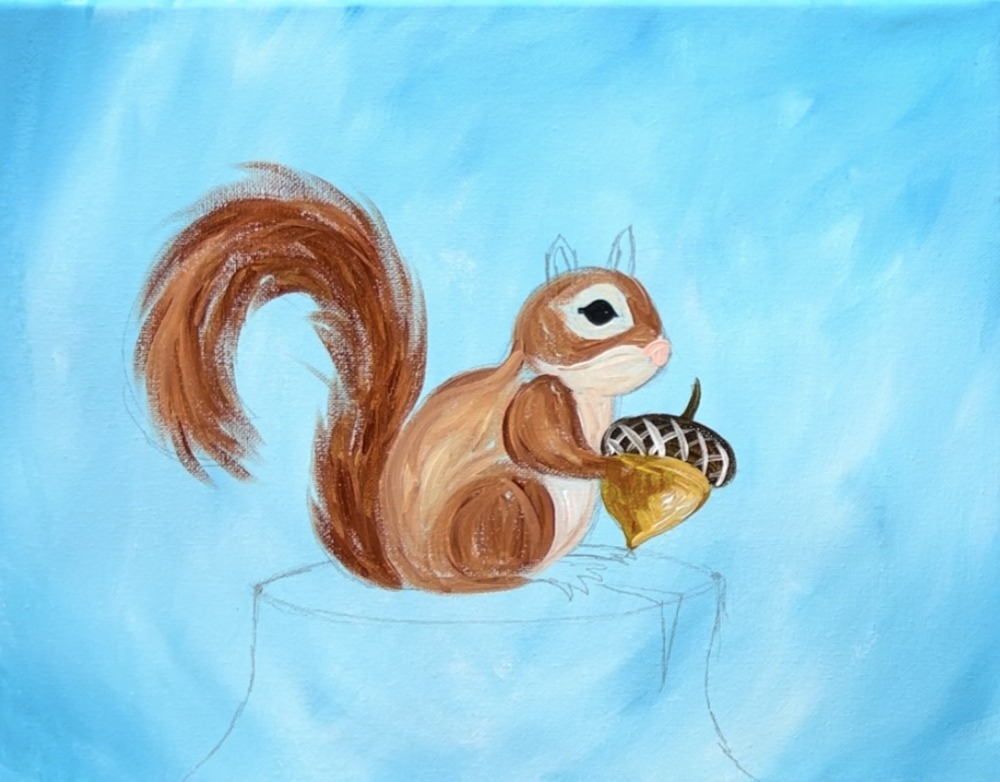
Next, paint small diagonal lines on the top portion of the acorn using titanium white. This may blend with the brown a bit if the brown isn’t dry.
Paint diagonal lines going the opposite direction.
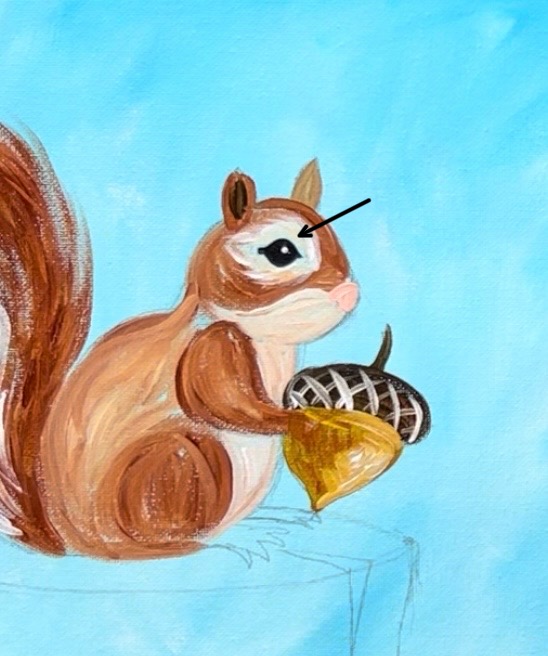
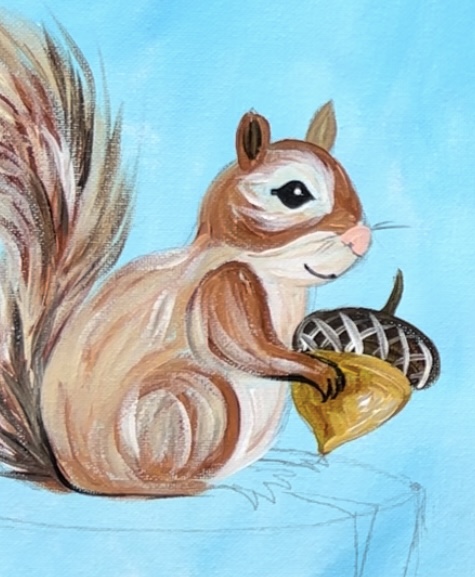
Use the round brush and “titanium white” to paint a very small white dot on the eye. Paint the ears as well! I used “burnt sienna” for the outer parts of the ears and that dark brown for the inner part of the ear.
After painting the white dot on the eye, add some loose “fur paint strokes” around the lighter part of the eye. This was done with “unbleached titanium” and these are loose paint strokes that go around the edges of that lighter color blocked area around the eye.
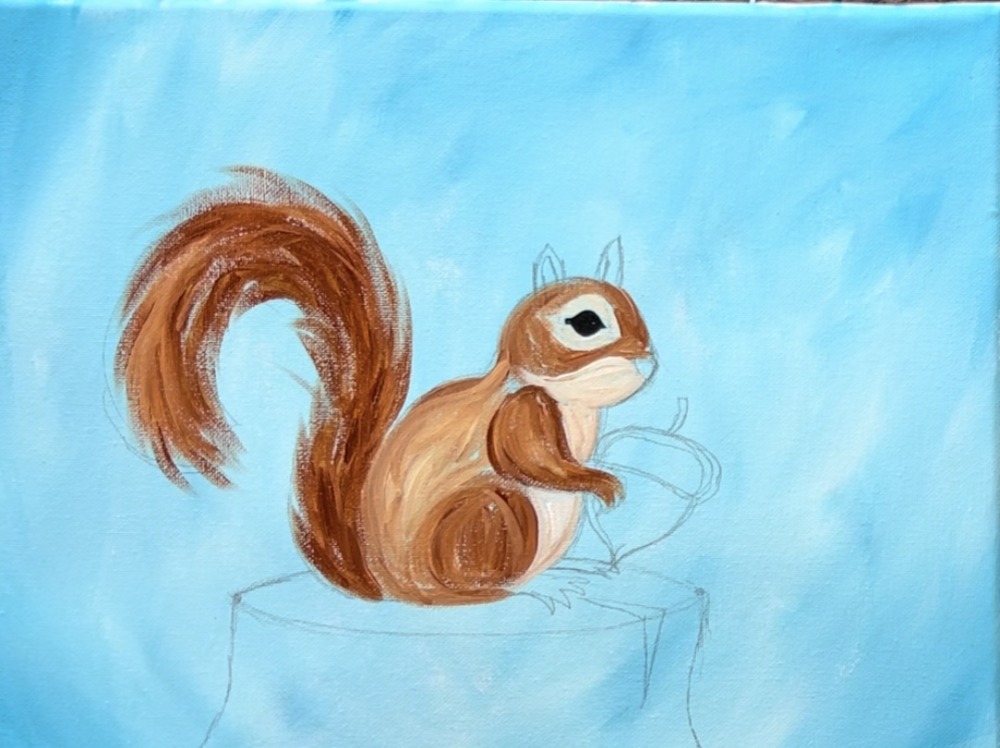
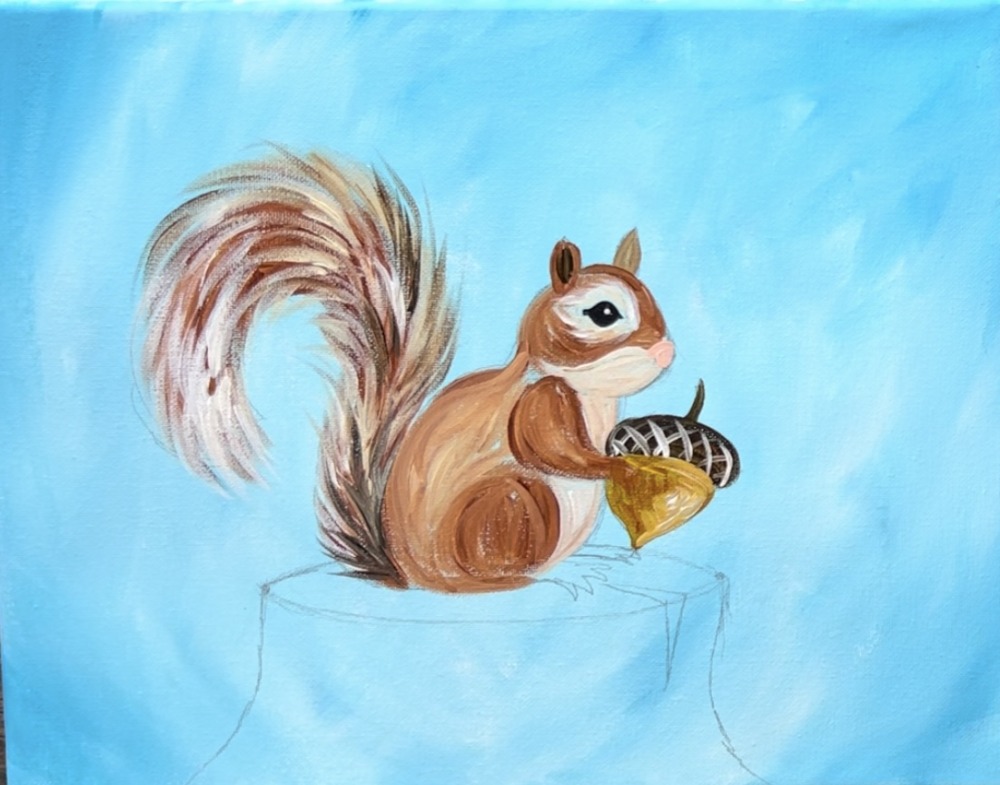
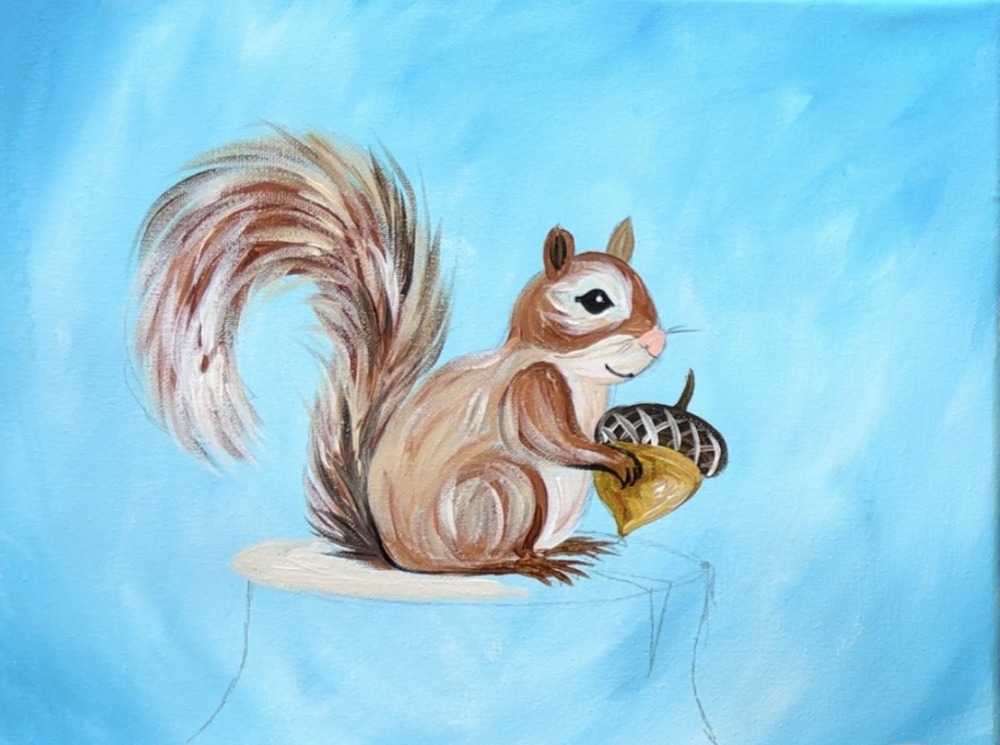
Then add your next layer to the tail! This is done with the #4 round brush. Paint more “fur” or “sketch like” paint strokes but with a lighter color this time! Because we are doing light over dark, it will show up and create a textured look. Add white fur strokes to the tip of the tail and on the far left edges. Add “unbleached titanium” fur strokes on the top edges and somewhat in the center.
Then add dark brown fur paint strokes. Add this darker brush towards the very bottom of the tail and close to the squirrel’s back.
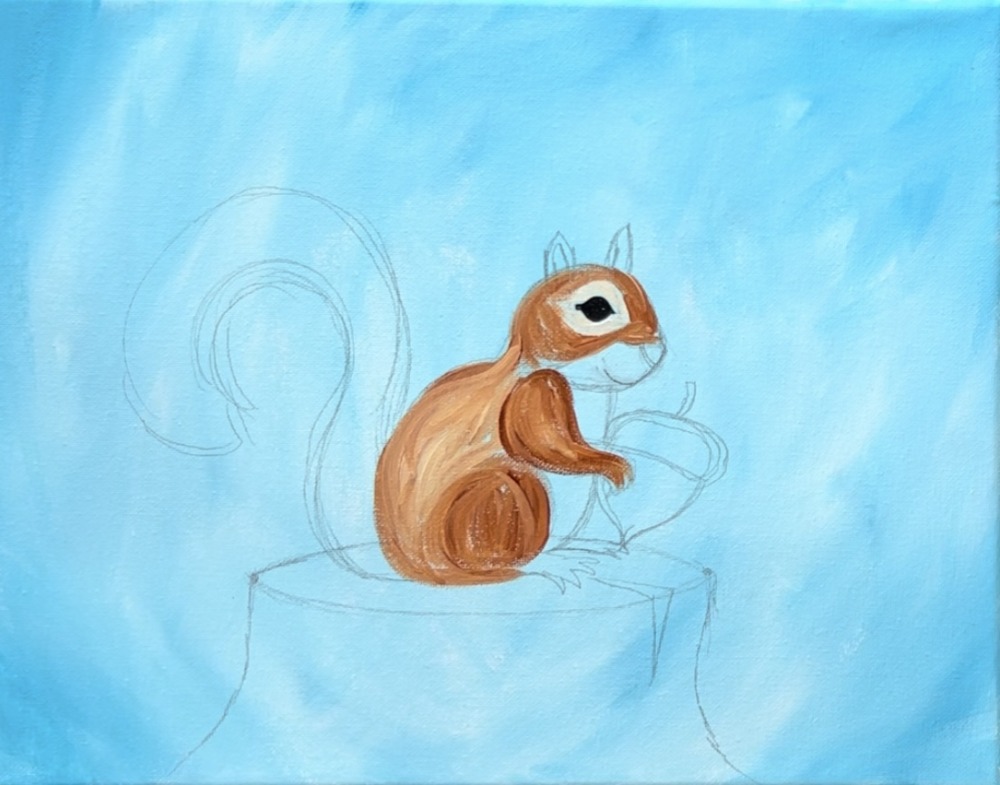
Add fur texture to the rest of the squirrel. This fur texture is not “big paint strokes” like the tail. They are smaller and looser paint strokes that curve/contour in the direction of the shape. Use “a color that is a few shades lighter than the area you are filling in.
Use “unbleached titanium” mixed with a small amount of “burnt Sienna” and go back over parts of the squirrel’s back, leg and arm with these small paint strokes.

Next, paint the smile, outline the hand and paint whiskers. When you do the whiskers, you need a very light hand to get those very thin paint strokes! Alternatively, you can use a paint pen or even a toothpick and paint for that step!
Paint the feet very loosely. You may end up painting over them anyway when you do the tree stump. For now, I just painted them with “burnt Sienna” and didn’t worry about the details in the feet yet!
5. Paint Tree Stump
Use “unbleached titanium” and the #4 round brush to paint the flat top of the tree stump.

Paint the side of the stump with “burnt Sienna”.
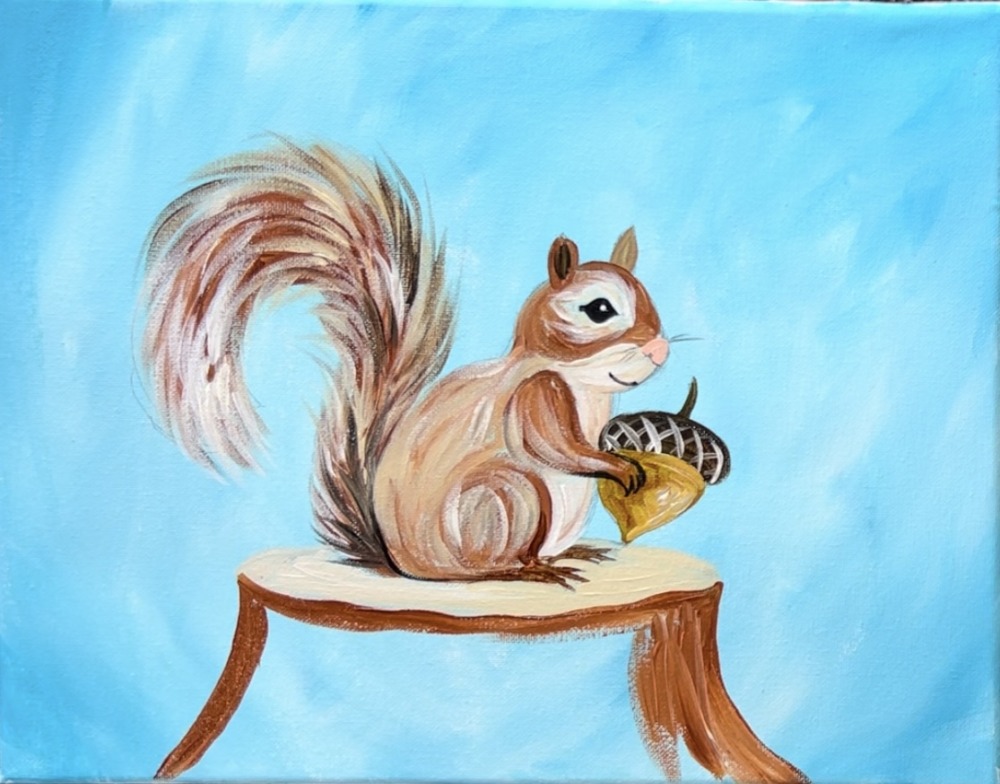
I switched to the 3/4″ flat wash brush to help you fill this tree in. Add more black towards the bottom and blend with the brown at the top. You want the bottom of the stump to be darker and more shadowy. Add bits of beige in there as well and have it gently blend with the color. Basically you want to create word grain texture with the paint that gently blends together but not all the way.
Paint the two “triangles” solid black. This creates the notched opening on the stump.
Use the #4 round brush and “mars black” to outline the outer rim shape of the tree stump.
Paint “tree ring” texture on the flat part of the stump. I used “titanium white” to paint tree rings at first. But this didn’t show up enough against the beige background. Then I went back with “burnt Sienna” and painted more tree rings so the darker color shows up. This is basically oval shapes on the flat part and goes around the squirrel.
Outline the legs with black and paint a little bit of “shadow” under the squirrel using dry brush and black paint. Dry brush is basically small amounts of paint on the brush that get applied to the canvas very lightly.
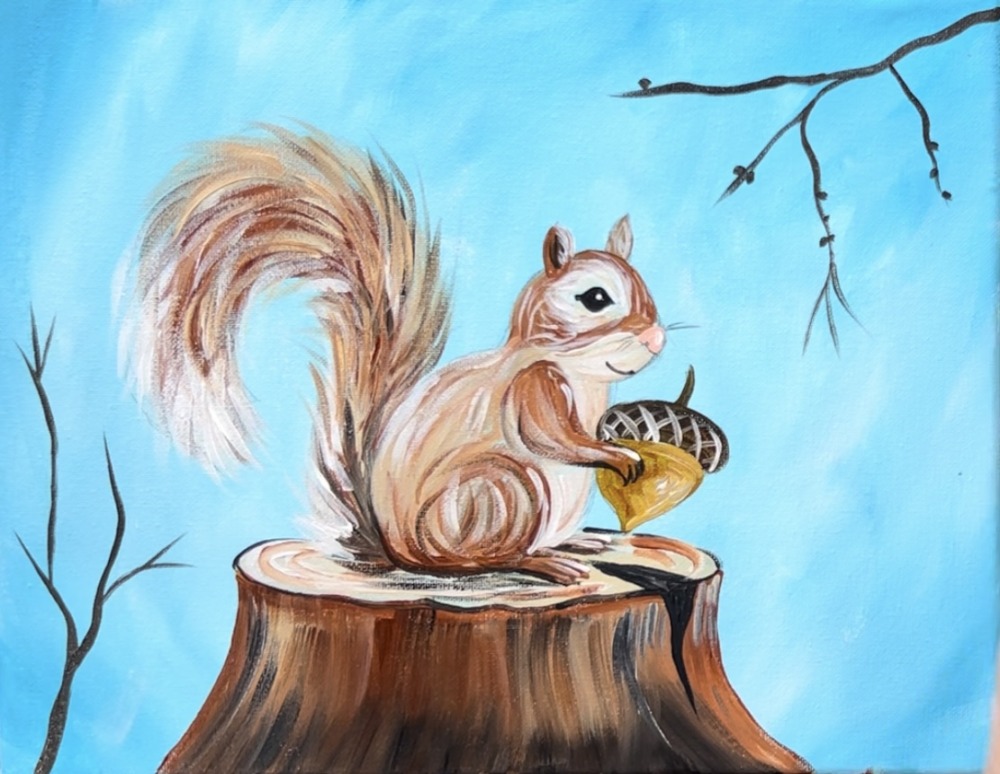
6. Paint Oak Branches & Leaves
Use the #4 round brush and dark brown paint to paint the branches.
Tip: loosen the paint to a thinner consistency to allow for better flow! This makes painting branches easier.
I did two sets of branches. One on the lower left and one on the upper right.
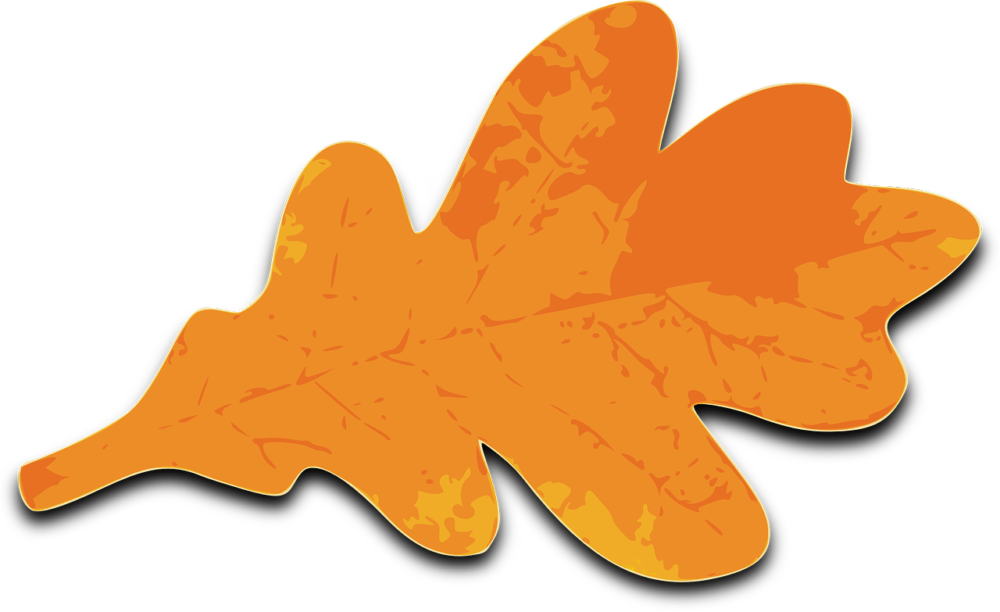
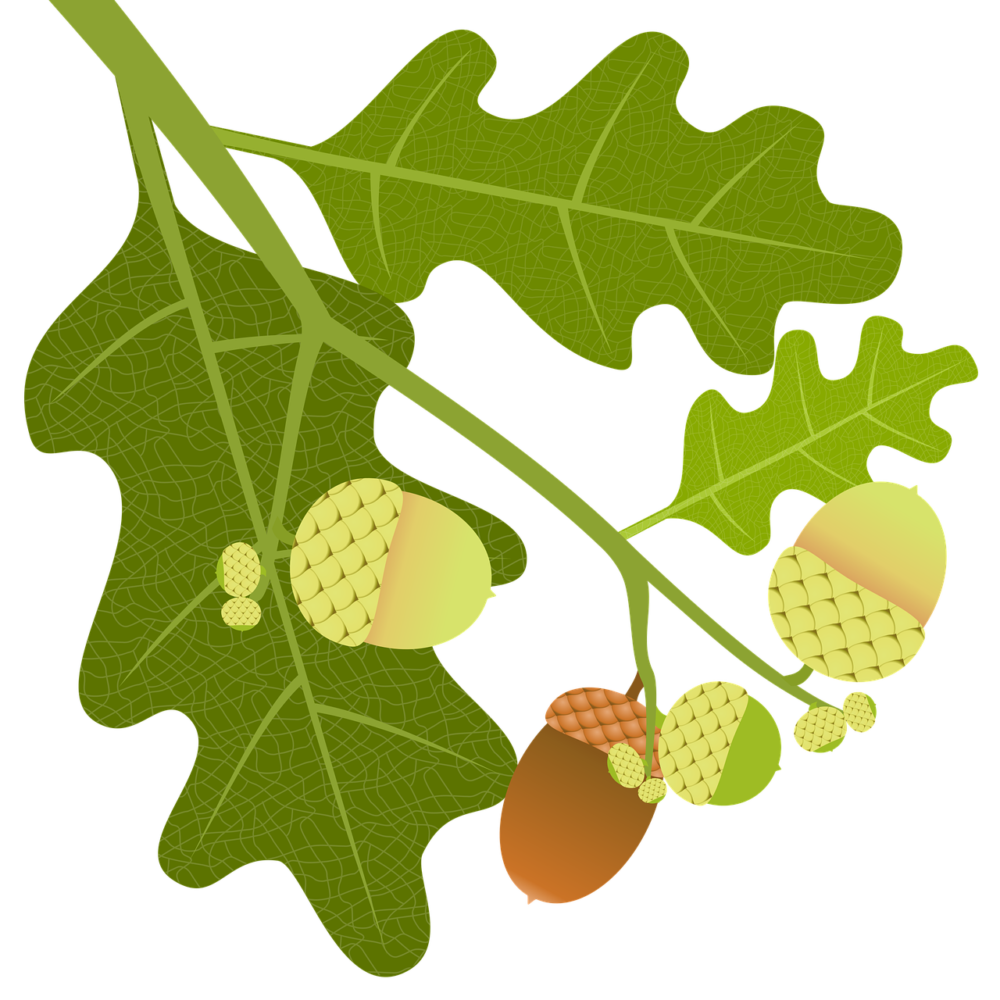
Paint the oak leaves. You can pre-draw these leaves if needed or simply paint them without drawing. Oak leaves are narrow leaves with rounded notches along the sides. It helps to look at pictures of oak leaves to mimic their shapes. I recommend painting the leaf shape white first so the color will show up bright against the background. I did the leaves with yellow mixed with white.
Paint leaves that are flying in the air. Also, not all branches have to have leaves. After the first layer dries, you can add color in the second layer over the leaves. I used a combination of: “naphthol crimson”, yellow mixed with red to make orange and little bits of brown.
Randomly paint those colors over the leaves and let the colors blend to create different combinations. You can also have some of the leaves still green!
After the leaves dry, you can paint the line in the middle of the leaf and the stems of the leaves that are falling in the air.
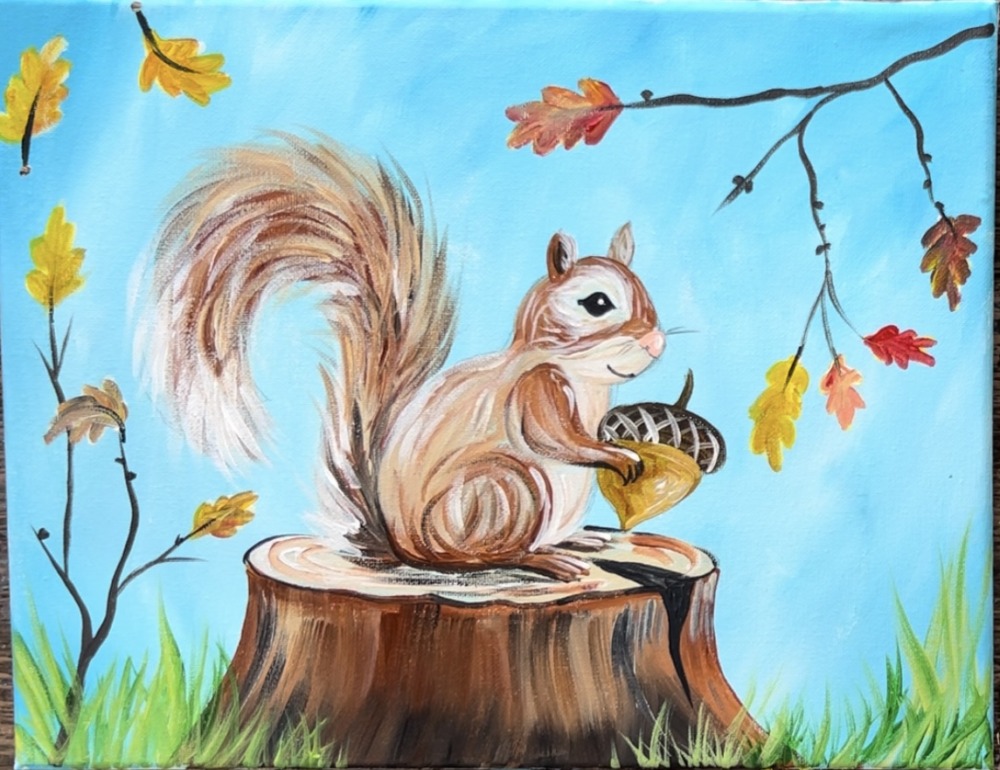
7. Paint Grass
Use the #8 round brush for the grass. I find this brush very useful when painting grass strokes because the point of the brush is fine but you can also create larger paint strokes because the base of the bristles is larger.
Load “hooker’s green hue” onto your paint palette. Mix little bits of “unbleached titanium” into the green to create different variations of color. Start on the bottom of the canvas and stroke upwards. Release the pressure of the brush to create thinner paint strokes.
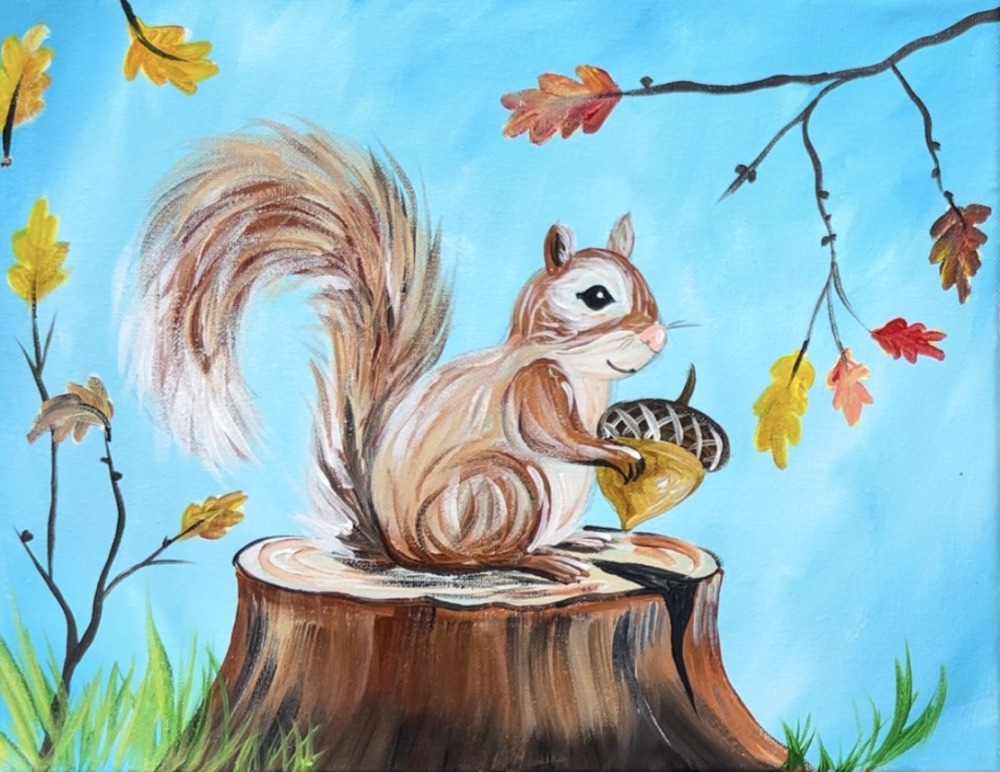
Allow your grass to sway and go in different directions. Some grass pieces are taller. The grass pieces in front of the log are slightly smaller. I also left an area with shorter grass where the mushrooms will be painted.
8. Paint Mushrooms
Use the #4 round brush and the “naphthol crimson” to paint the top of the mushroom. This is a flat “saucer” shape. Then use the beige color to paint the under opening of the mushroom.
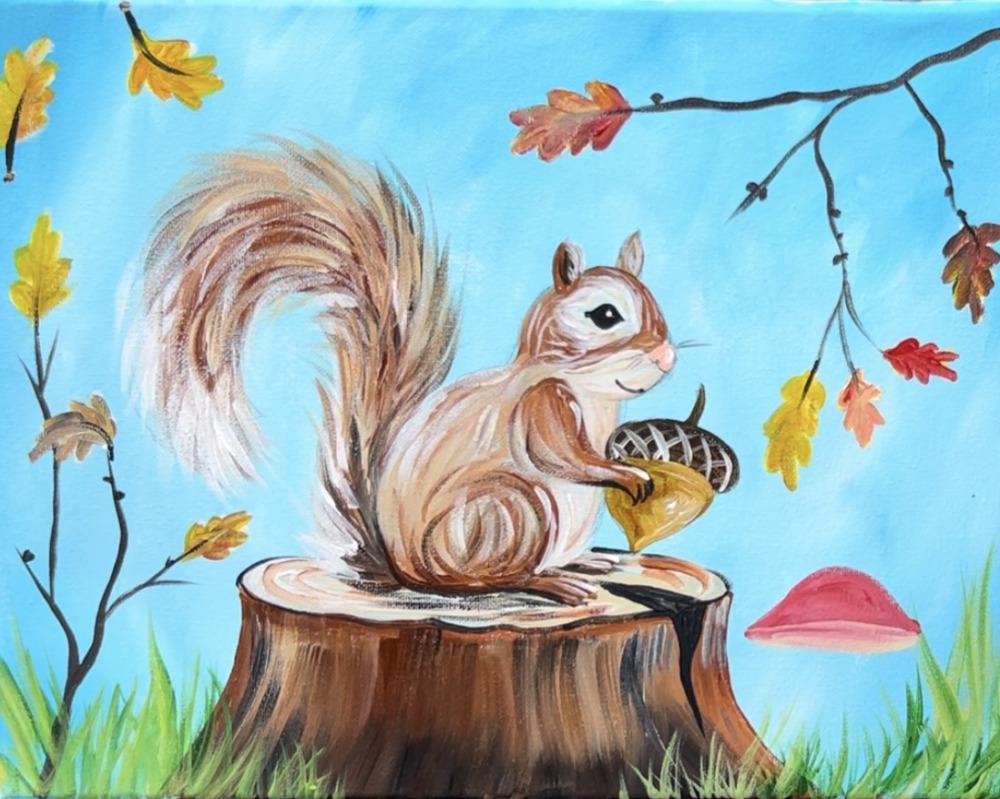
Use “titanium white” to paint the stem of the mushroom.
Paint small white circles on the mushroom (after the red dries).
Use mars black to paint little diagonal lines on the opening part of the mushroom.
Paint a second, smaller mushroom to the right of the first mushroom. This one does not have the “under opening” showing.

Paint the stem and the little white dots.
9. Final Touch Ups & Finished!
Final touch ups are optional and personal to your painting and what you want to add! I added more leaves. I also painted little black lines on some of the leaves. Another touch up I did was add a few light colored lines on the tree stump to add to the texture. You could also add highlights. I added a white highlight to the squirrel’s nose, the top of the hand and the top of the feet.