Would you like to save this?
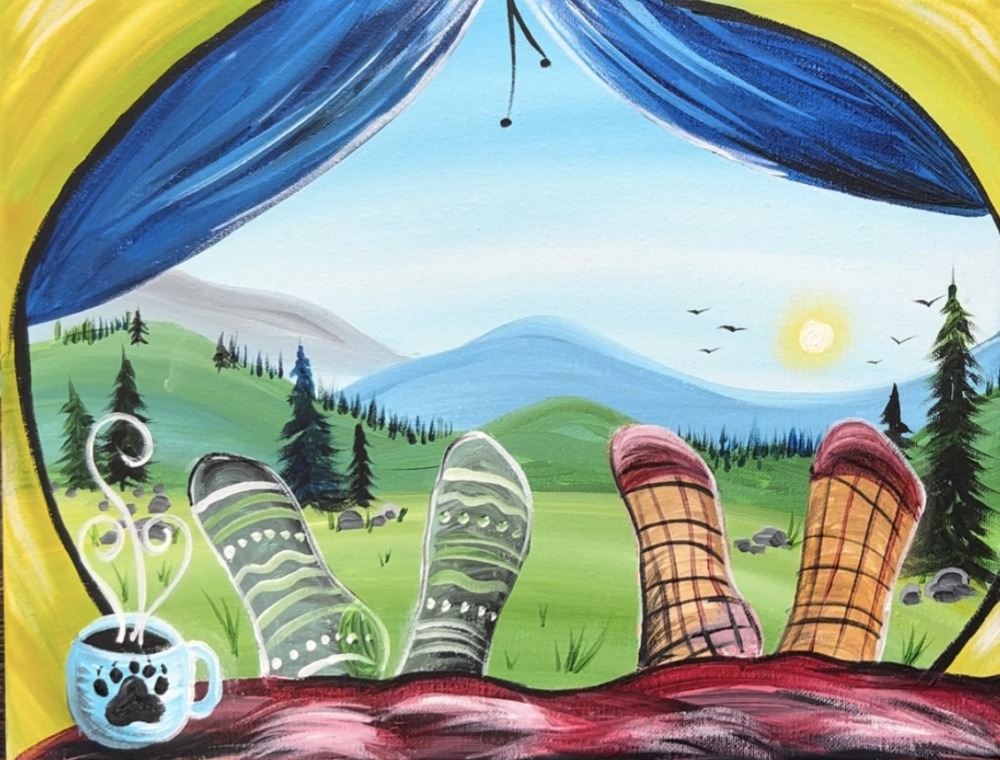
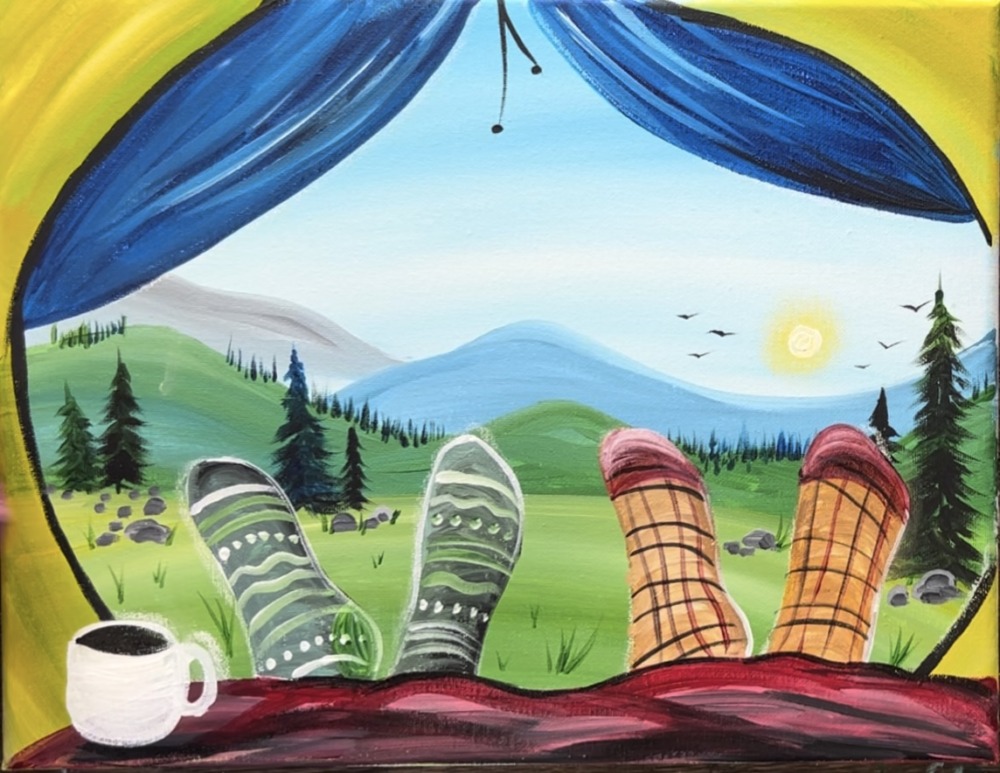
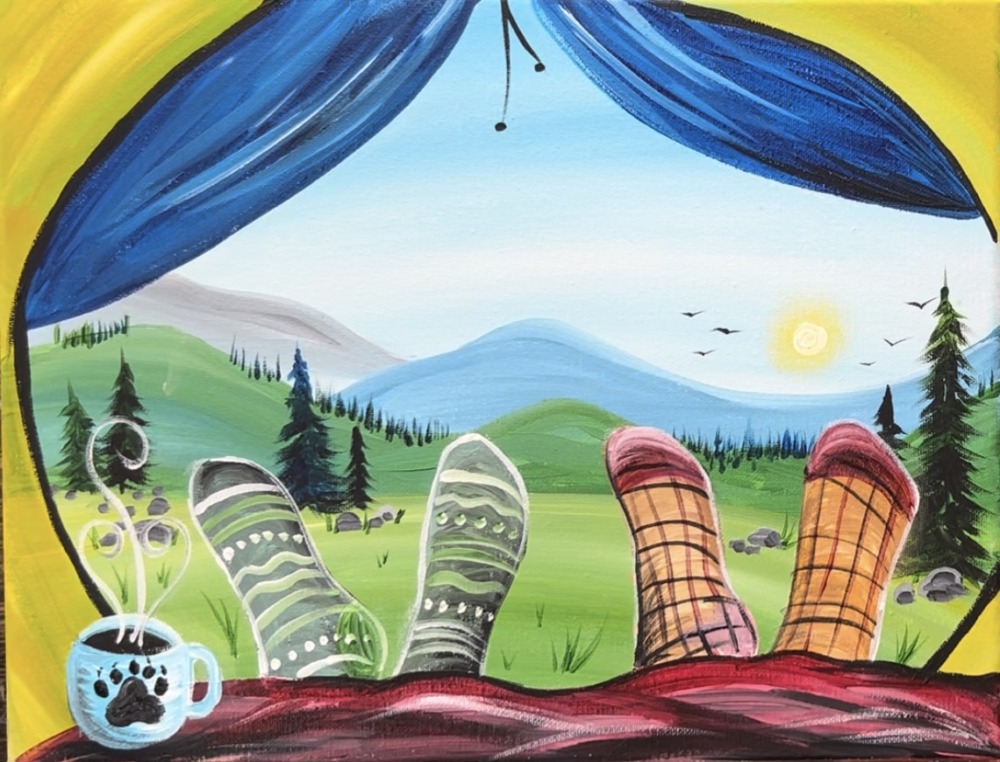
Wake up in a tent with a hot cup of coffee and a beautiful country view! This acrylic tutorial will show you how to paint a simple landscape viewed from inside a tent. You can also add custom colors and patterns to the socks and coffee mug.
Enjoy and happy painting!
Materials Needed:
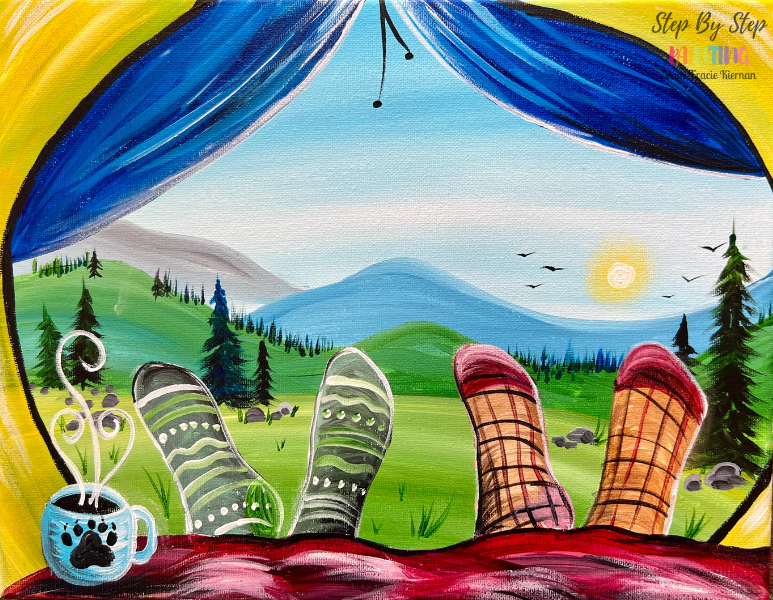
Cozy Camp Morning - Acrylic Painting Tutorial

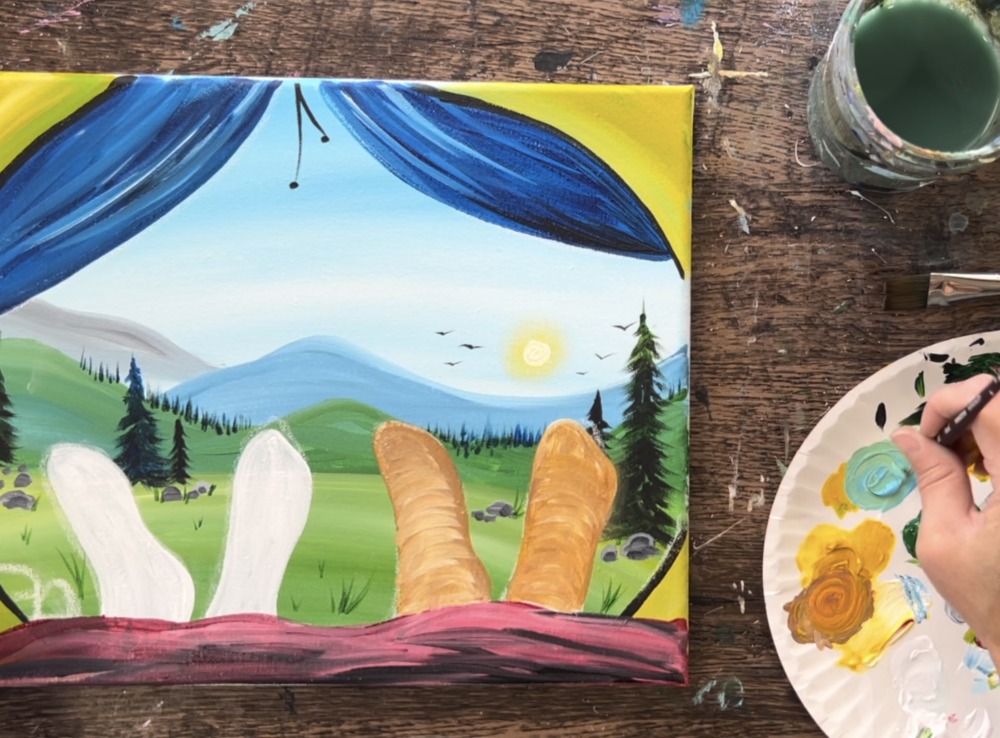
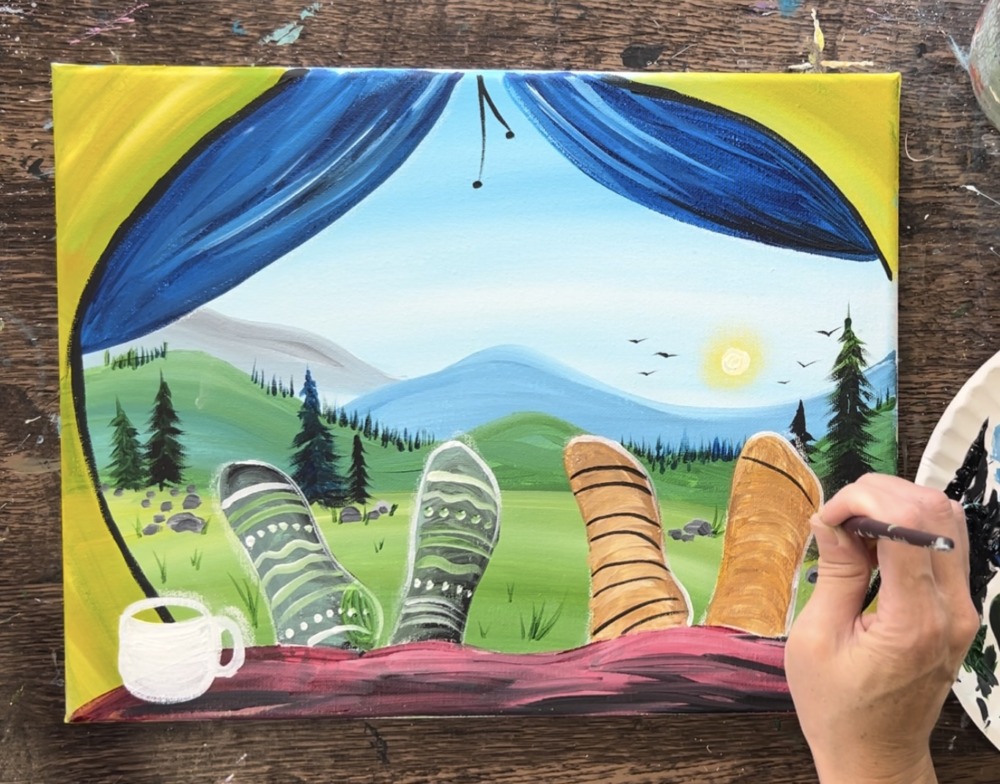
Two pairs of fun patterned socks sticking out of a tent with a morning cup of coffee.
Materials
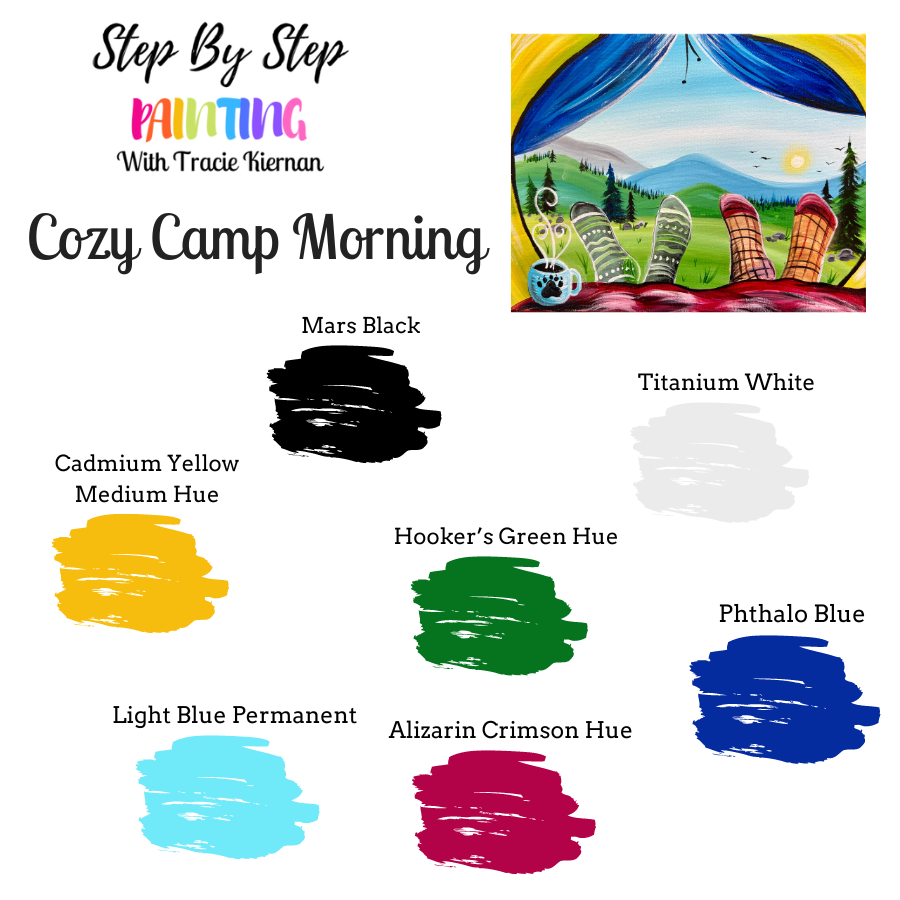
Colors
- Titanium White
- Mars Black
- Light Blue Permanent
- Alizarin Crimson Hue Permanent
- Cadmium Yellow Medium Hue
- Phthalo Blue
- Hooker's Green Hue Permanent
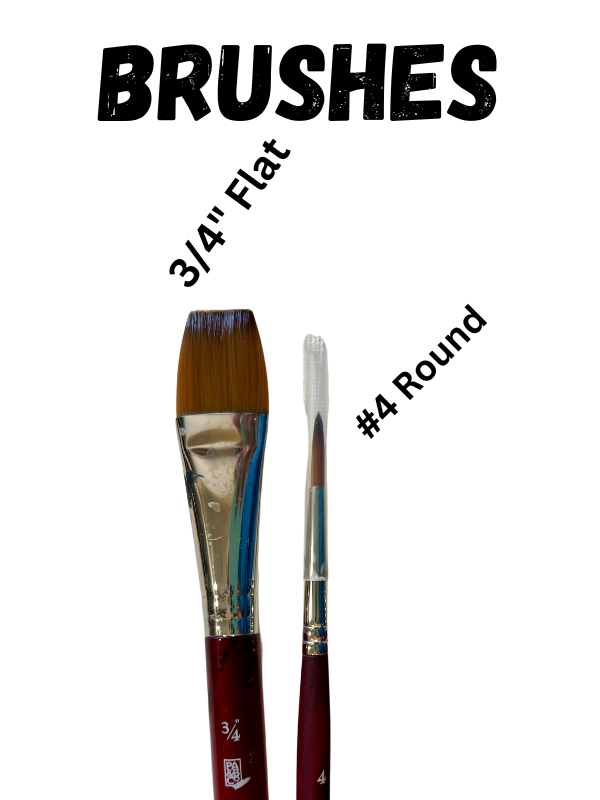
Brushes
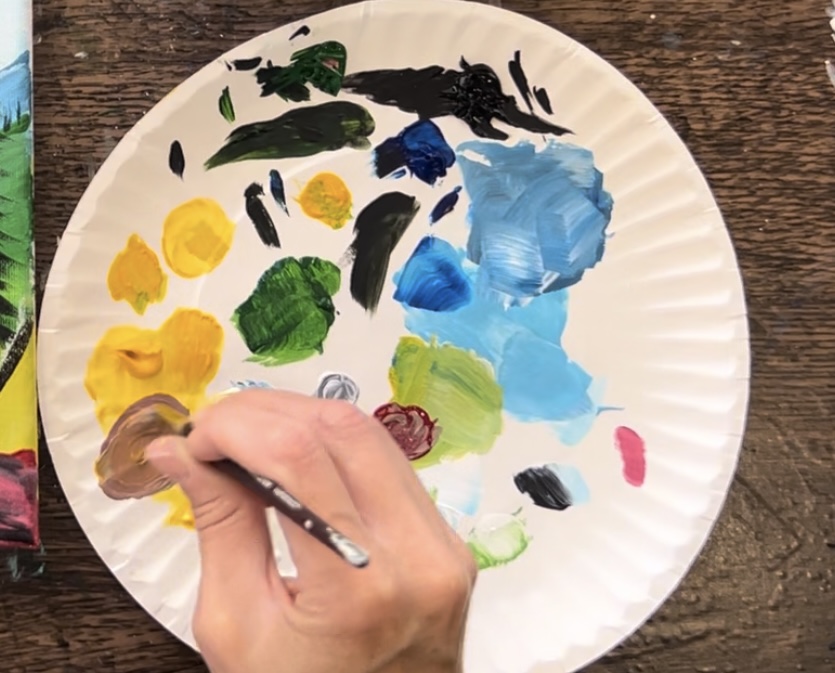
Color Palette Visual:
Brush Visual:
Directions At A Glance:
Video:
Step By Step Instructions:
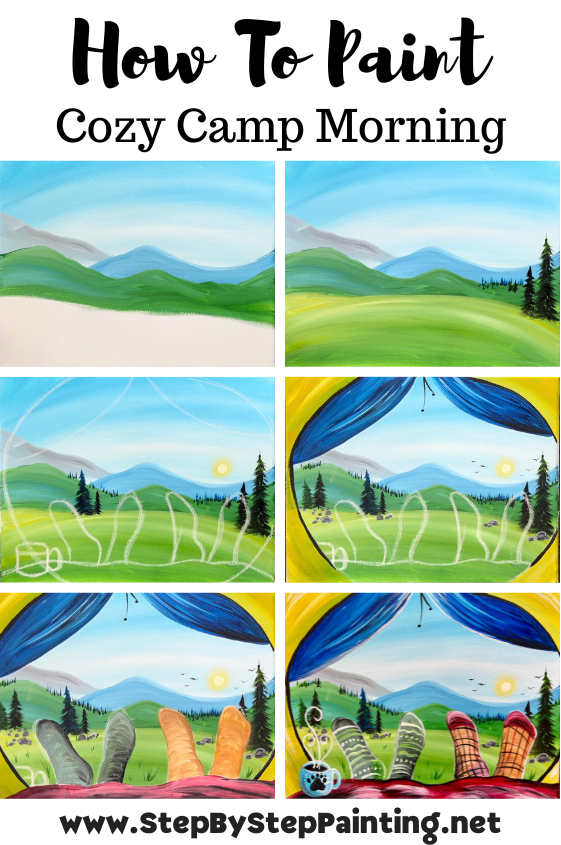
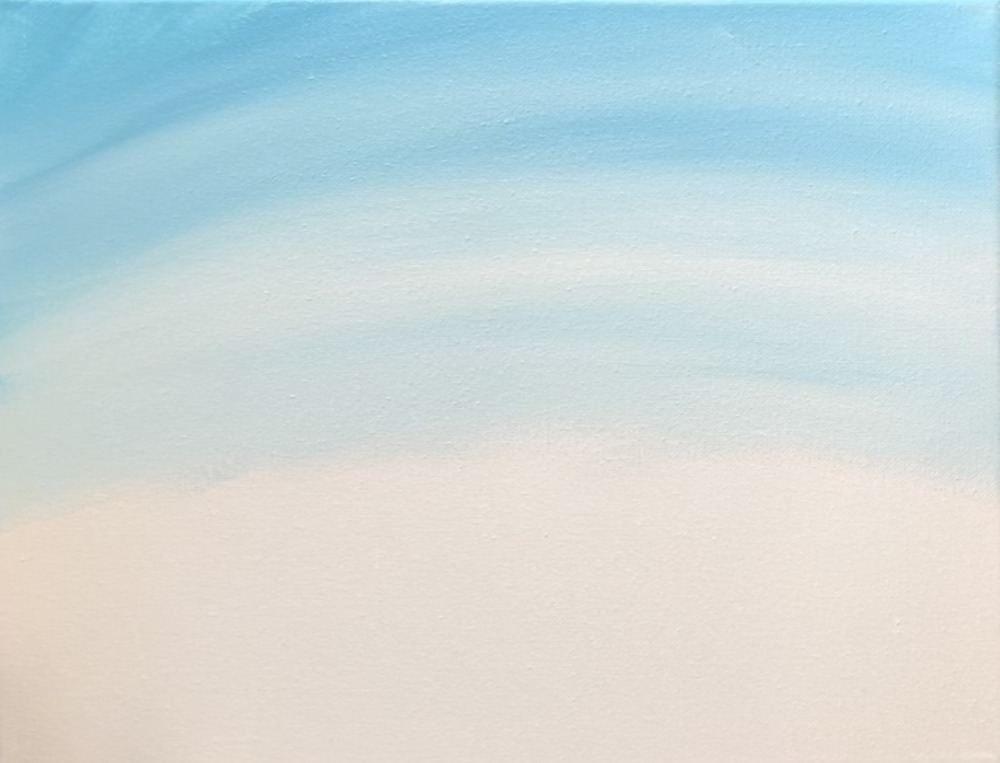
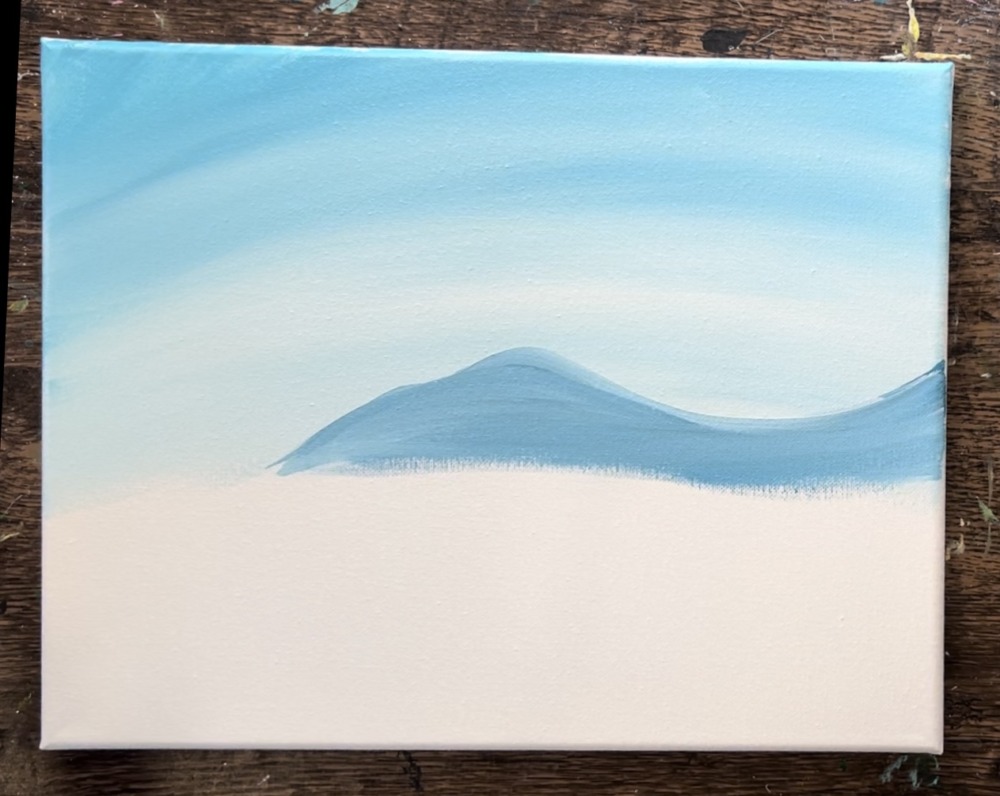
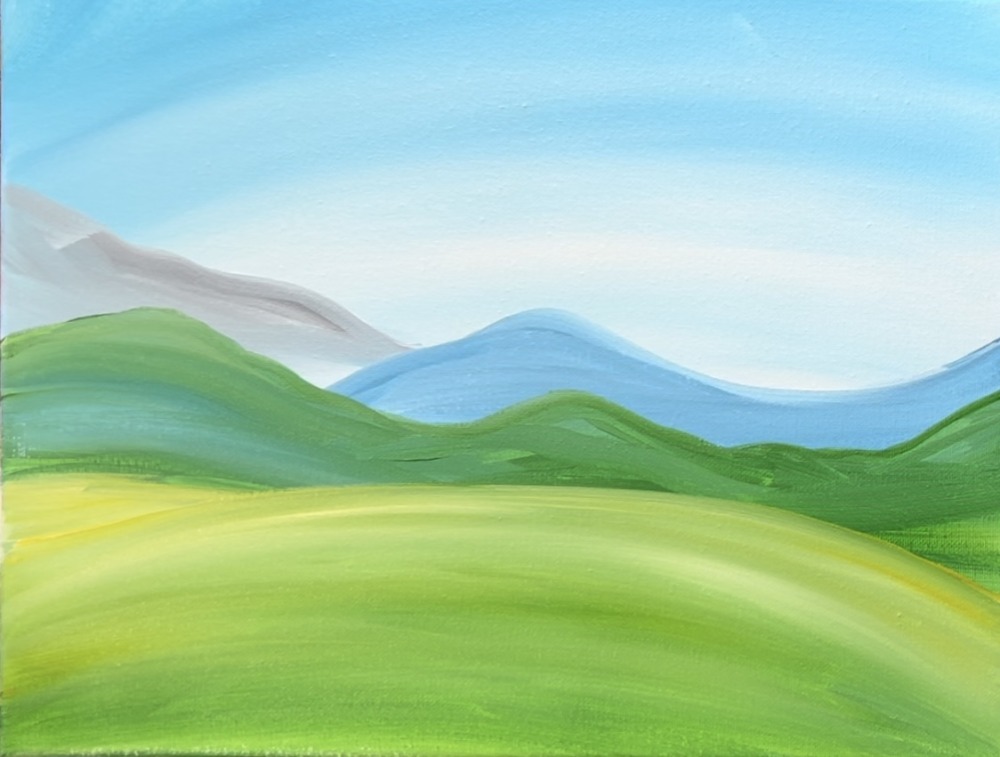
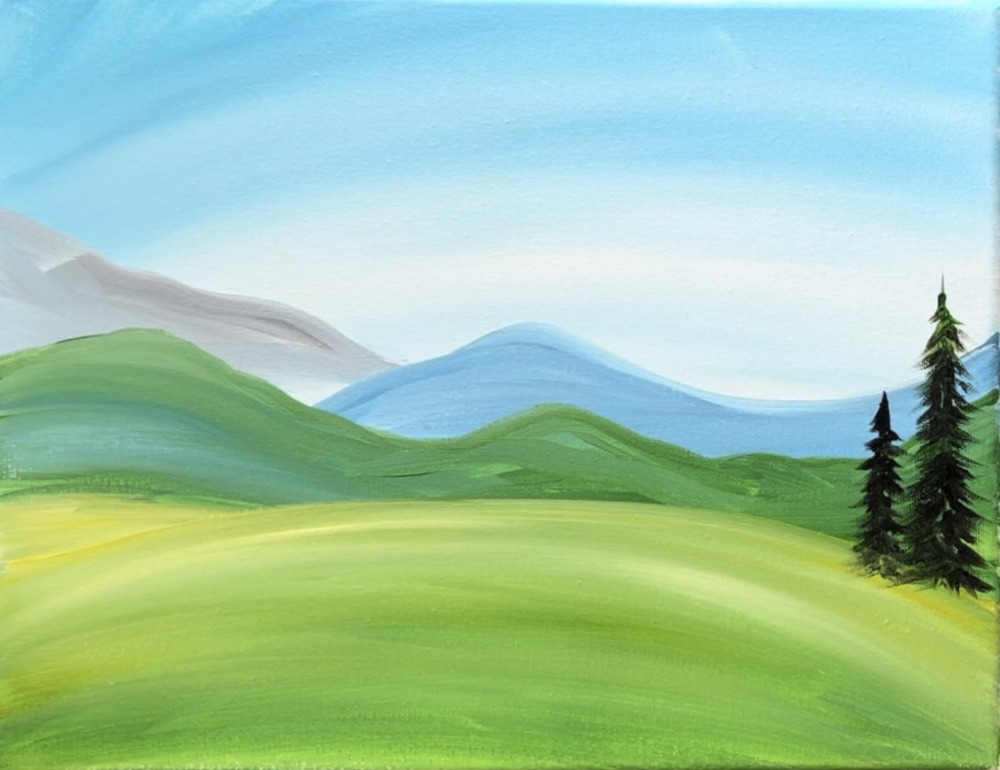
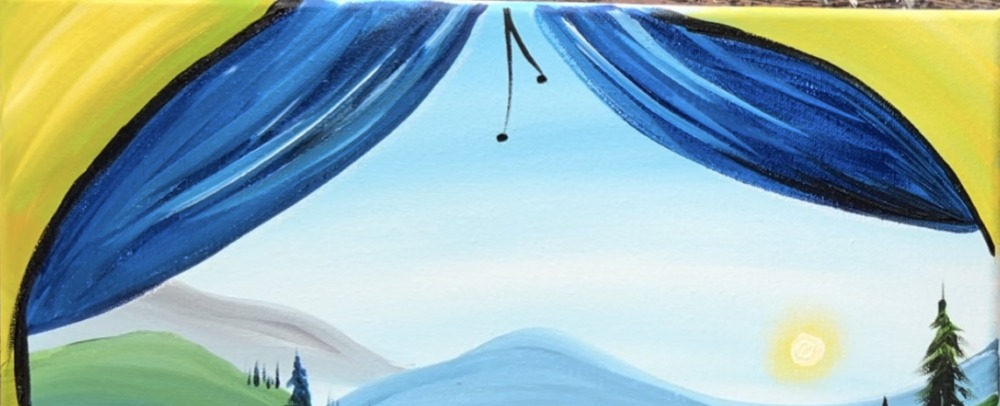
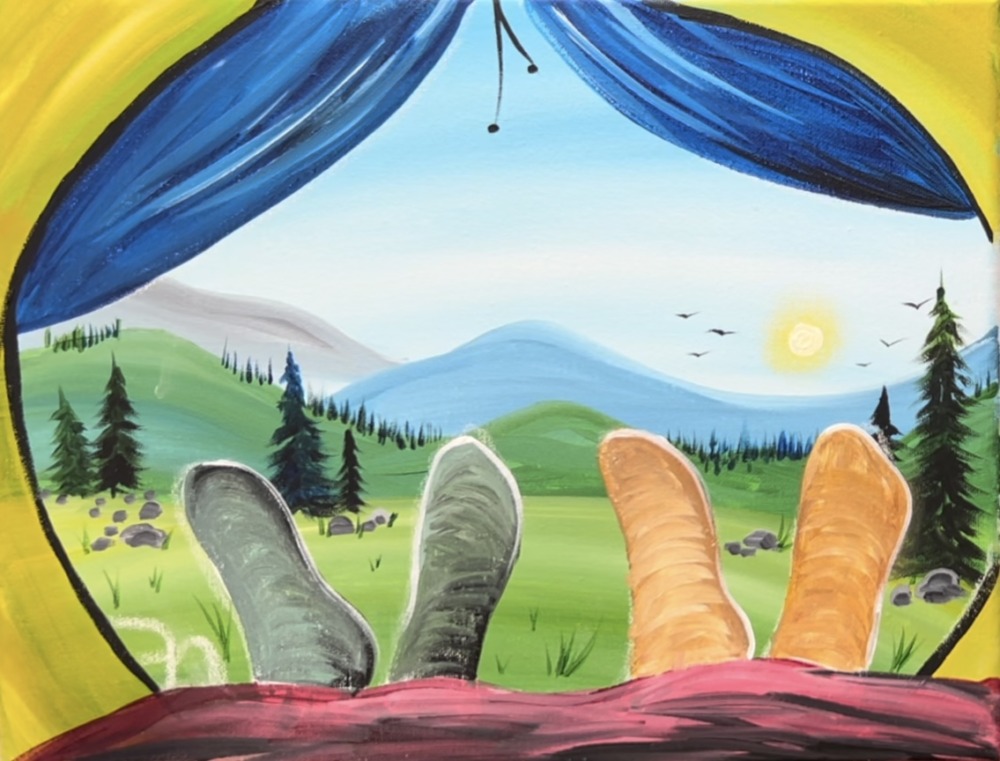
1. Paint Sky
Load your paint palette with the two colors: “titanium white” and “light blue permanent”. Use a “3/4 flat wash” brush to paint the sky. Start by loading your brush in just the light blue and paint long, curved paint strokes from the left end of the canvas to the right.
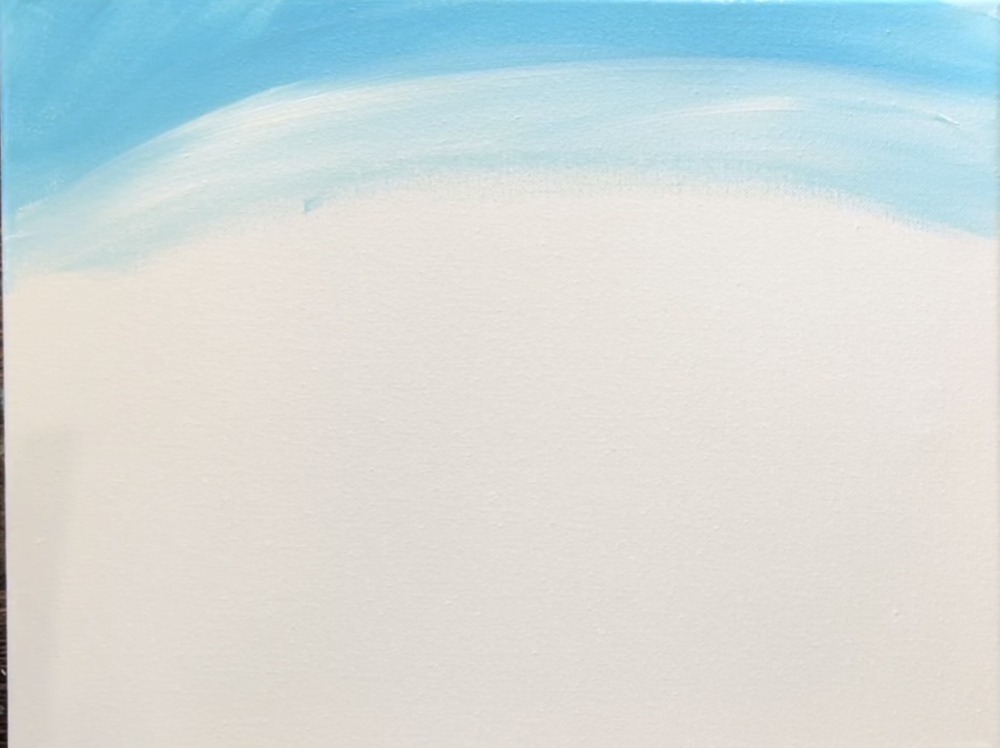
As you work your way down, gradually add white to your brush and blend it with the sky. Allow the sky to get lighter as you work down. Go almost over halfway down the canvas and stop. The sky paint strokes go in a slightly curved direction and you do not need to blend your colors all the way.
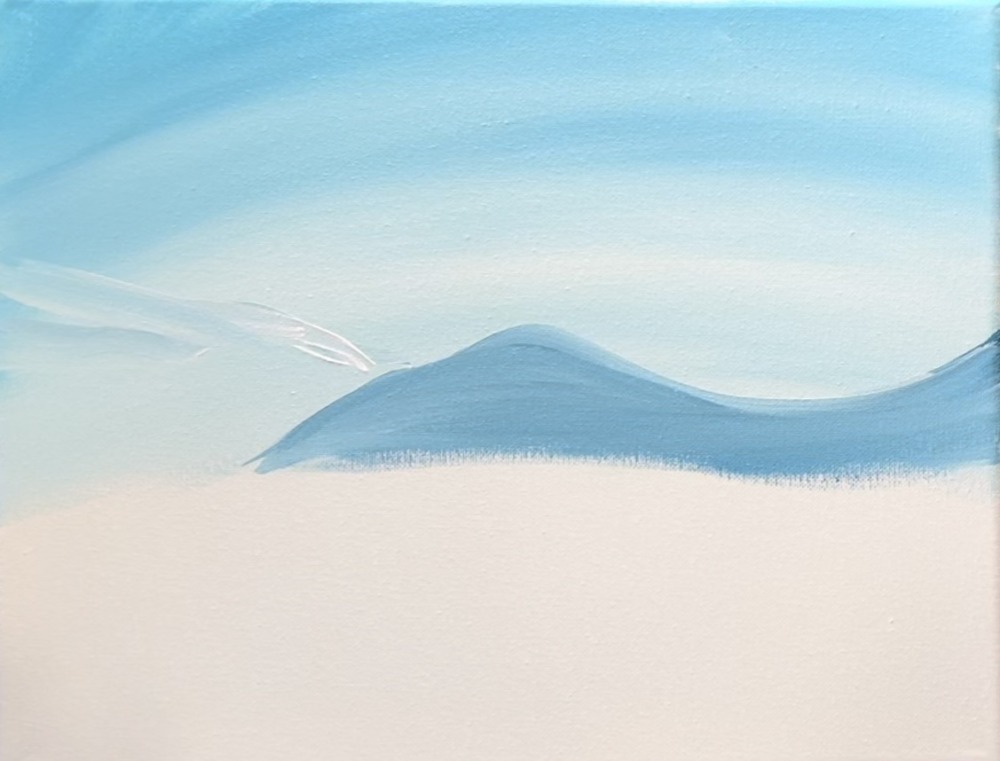
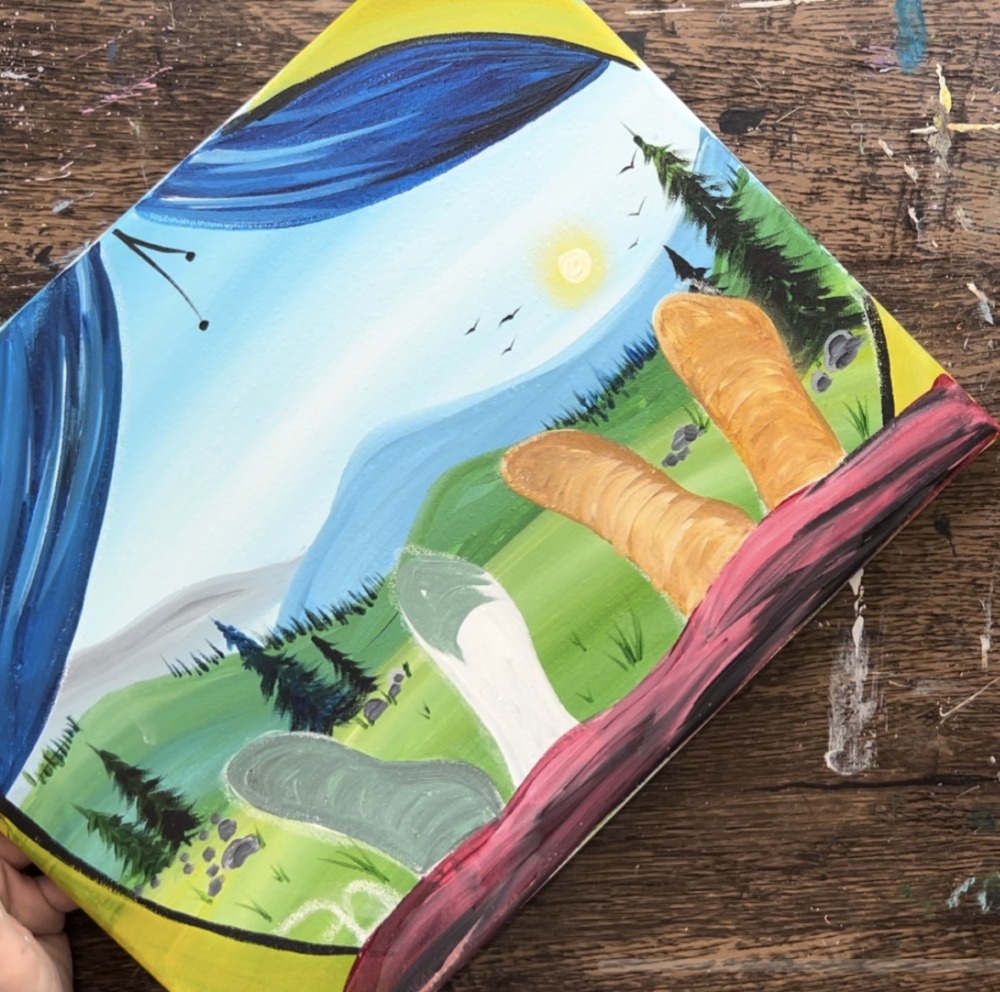
2. Paint Mountains
Create a “gray-blue” color on your paint palette by mixing 2 parts “phthalo blue”, 1 part “mars black” and 2 parts “titanium white”. Adjust this color until you get a medium gray blue color. Use the 3/4″ flat brush and start on the right of the canvas approximately at the “midpoint”. Then use the edge of the brush to paint the mountain line.
This line dips down on the right and then goes up to another peak and then dips down slightly again. The mountain stops and doesn’t go all the way across. It stops at about 3-4 inches on the left of the canvas.
Fill this mountain in solid with the gray-blue color. Only go down about an inch with this mountain.
Next, paint the light colored mountain on the left of the blue-gray mountain. This time, mix a whole bunch of white into the gray-blue color on your brush. This will create a very light gray color. Use the end of the brush to define this mountain line. I made it go diagonally upwards.
Then add a tiny amount of black into it to make it more of a gray. This light gray mountain goes behind the blue mountain. Fill it in and, if needed, go back and repeat the edge of the gray-blue mountain so that it looks like it is in front of the gray mountain.
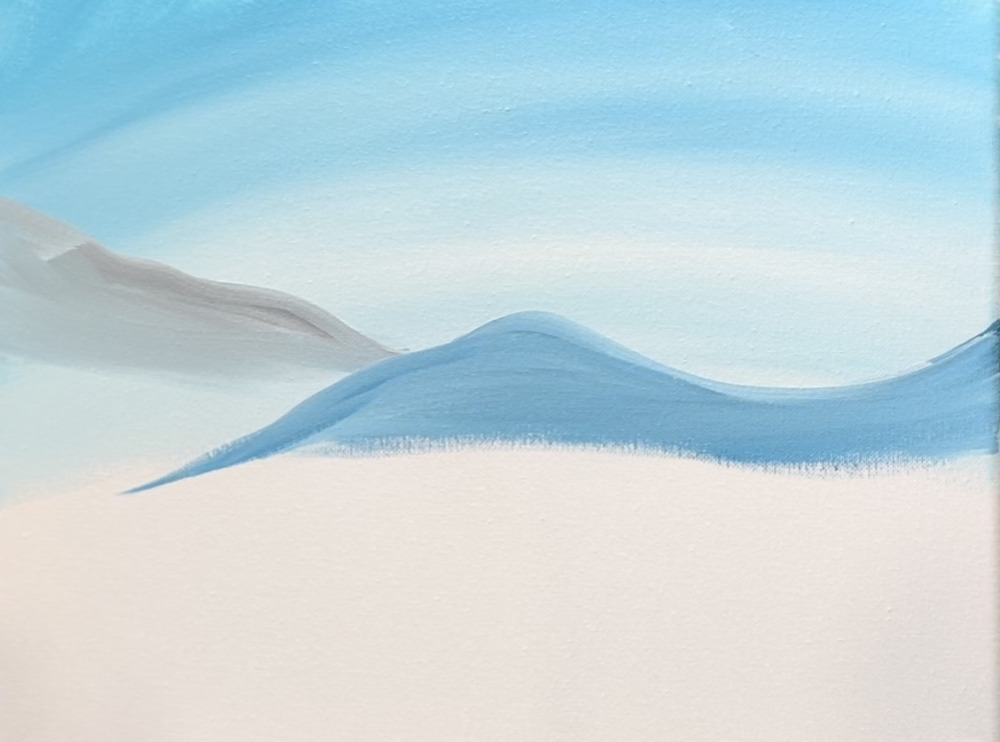
Next, paint the green mountain line. Add “hooker’s green hue” to your paint palette and mix it with the “gray blue” color on your paint palette to make a dark blue-green color.
This mountain overlaps the blue and gray mountains. It also doesn’t have very high peaks.
Fill the mountain in. Leave about 2-3 inches of space on the bottom of the canvas. If you go down too far, that is find because we will paint the “foreground land” over part of this dark green mountain area.
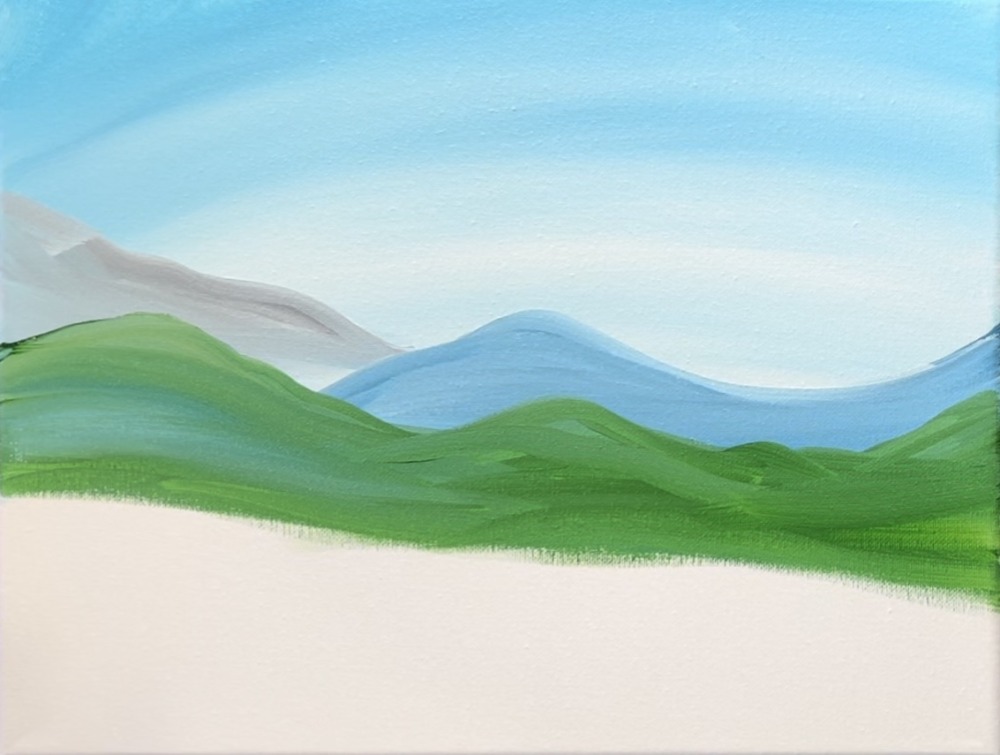
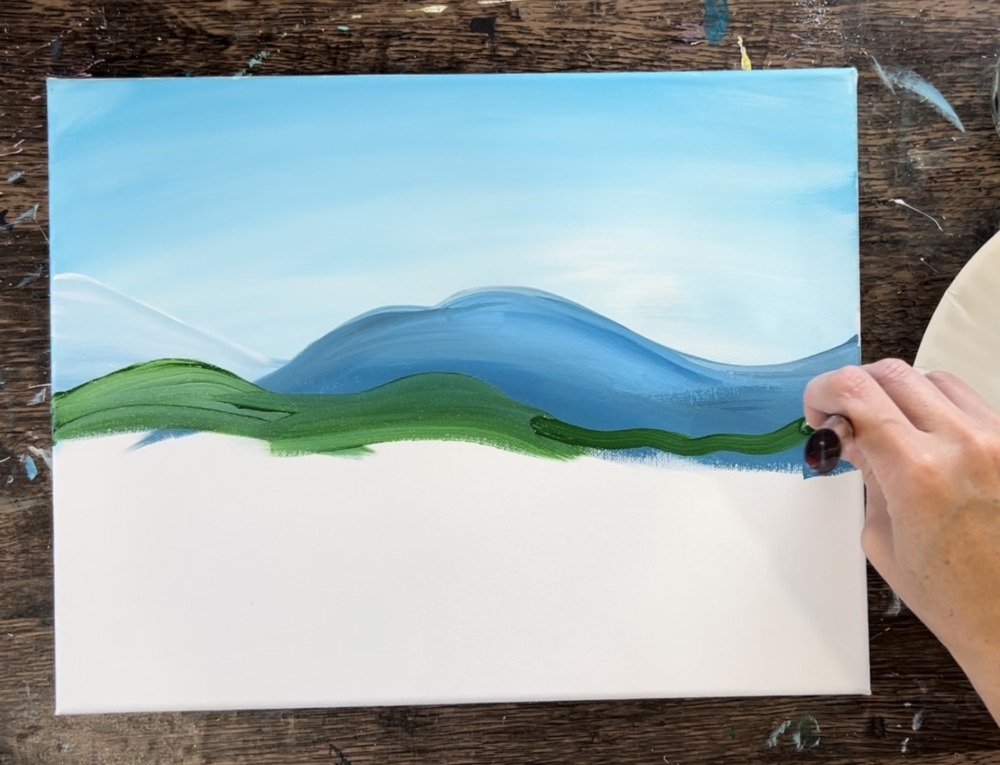
Next, mix a yellow-green color on your palette. Add “cadmium yellow medium” to your palette. Mix 1 part yellow, 1 part white and 1 part green on your paint palette. If needed, add more yellow or white in it. This color should be much lighter than the dark green mountain.
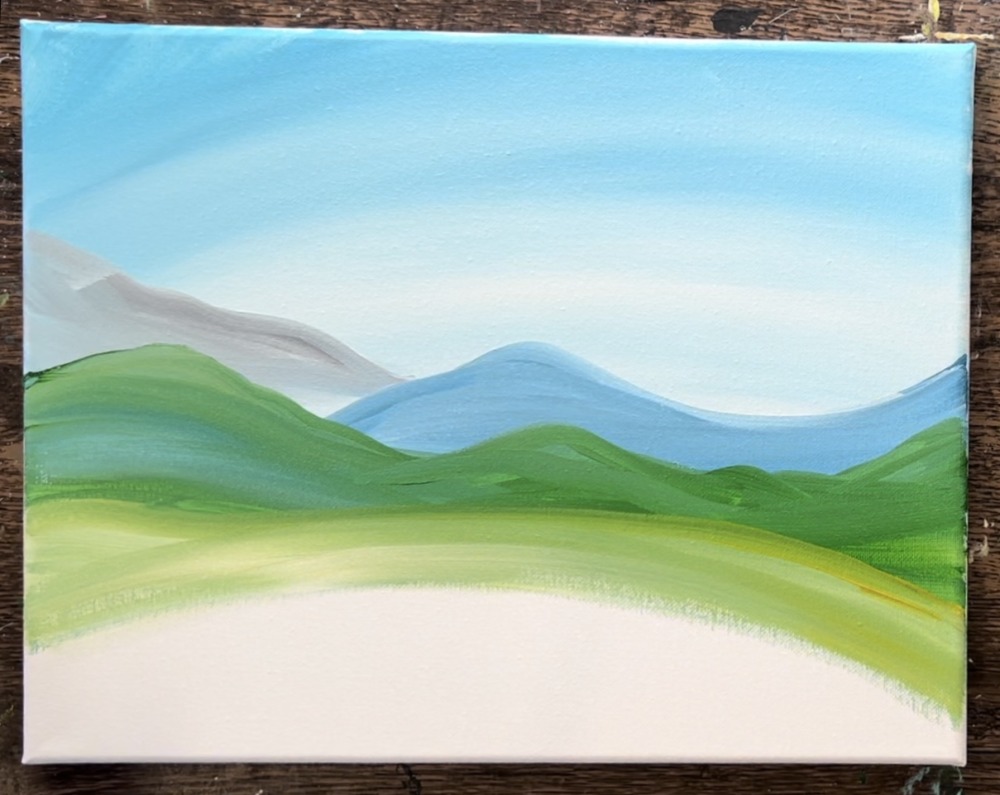
Paint a large curved area that slightly overlaps your dark green mountain line. This area of the land is a large hill and doesn’t have mountain peaks. Fill the rest of your canvas in solid with this yellow green color. Add slightly more “hooker’s green hue” to your brush so the bottom of the land area is slightly darker and the top of the hill is slightly lighter.
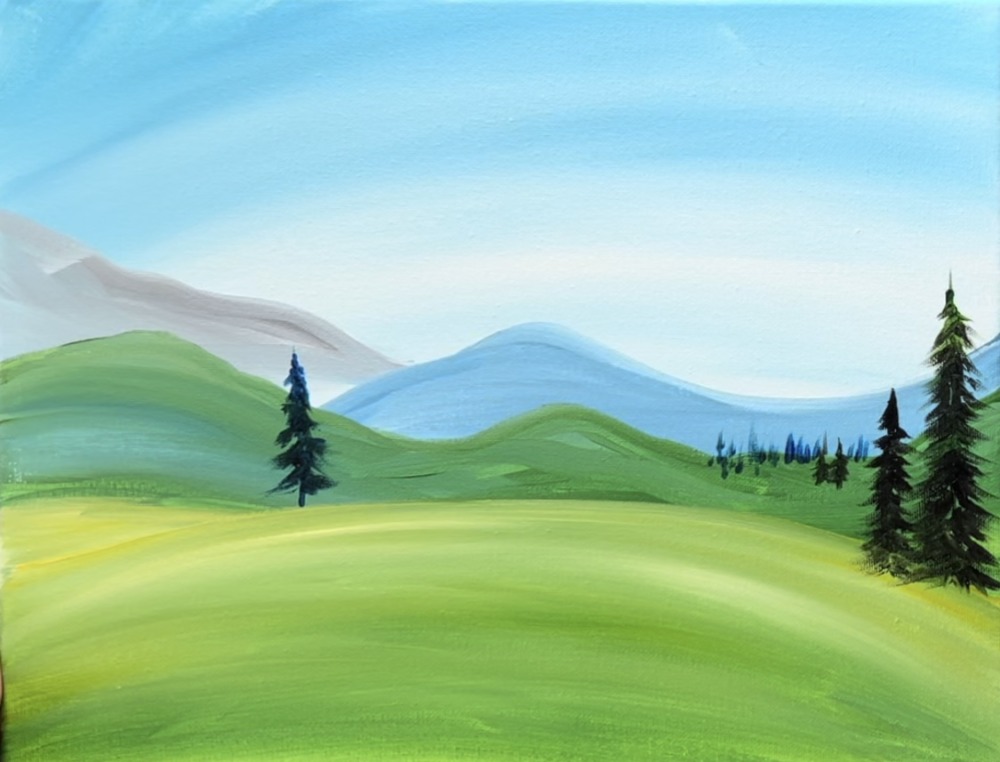
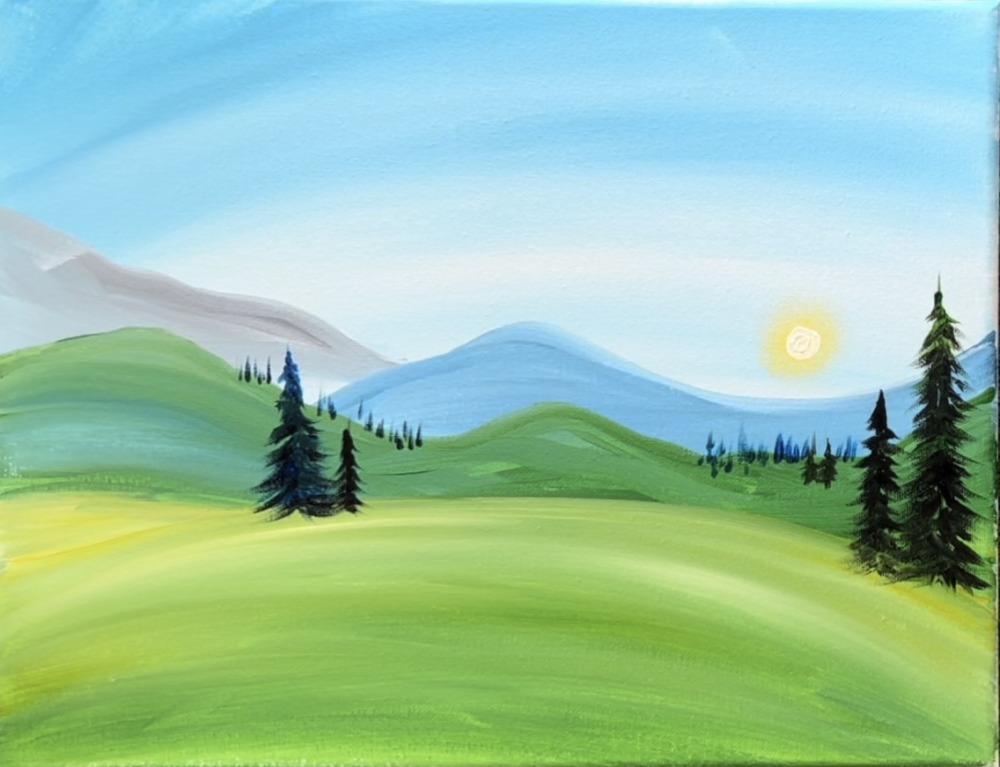
3. Paint Trees
Use a #4 round brush to paint the trees. Mix a very dark green on your palette by mixing 2 parts “hooker’s green hue” and 1 part “mars black”. On the right side of the canvas, paint a vertical line. Then paint branches by curving your paint strokes in a downwards direction.

As you work your way down, make your tree slightly wider by painting wider branches.
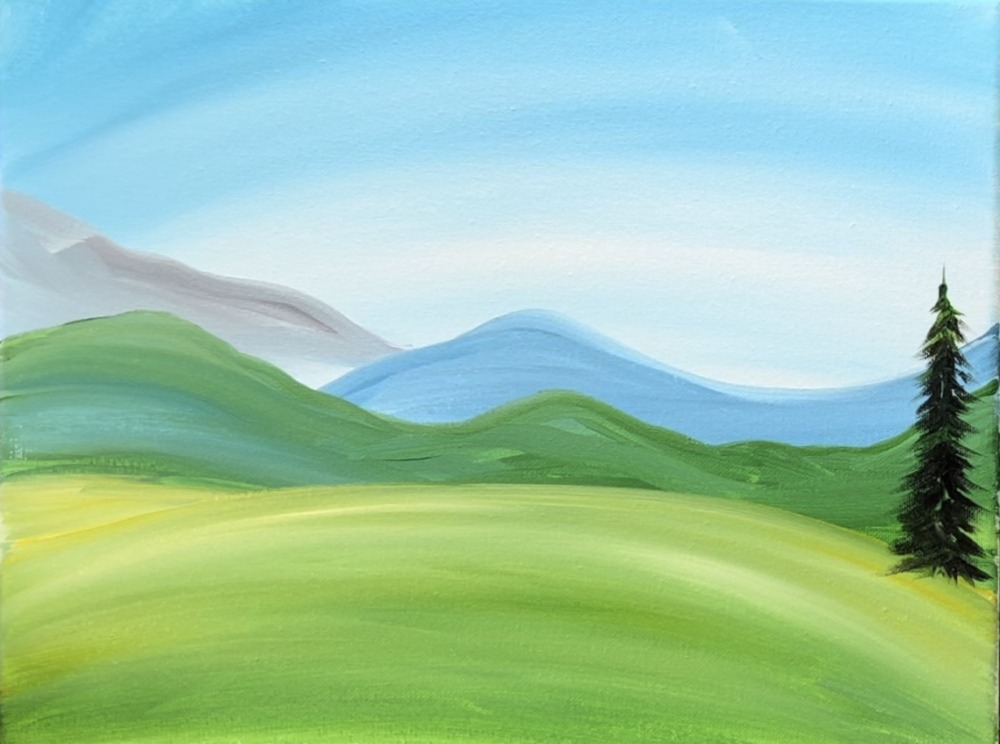
Paint a second tree to the left of it but make this tree slightly shorter.
Paint more trees further in the distance. This time, these trees need to appear tiny because they are further away. Paint these trees by painting little vertical paint strokes.
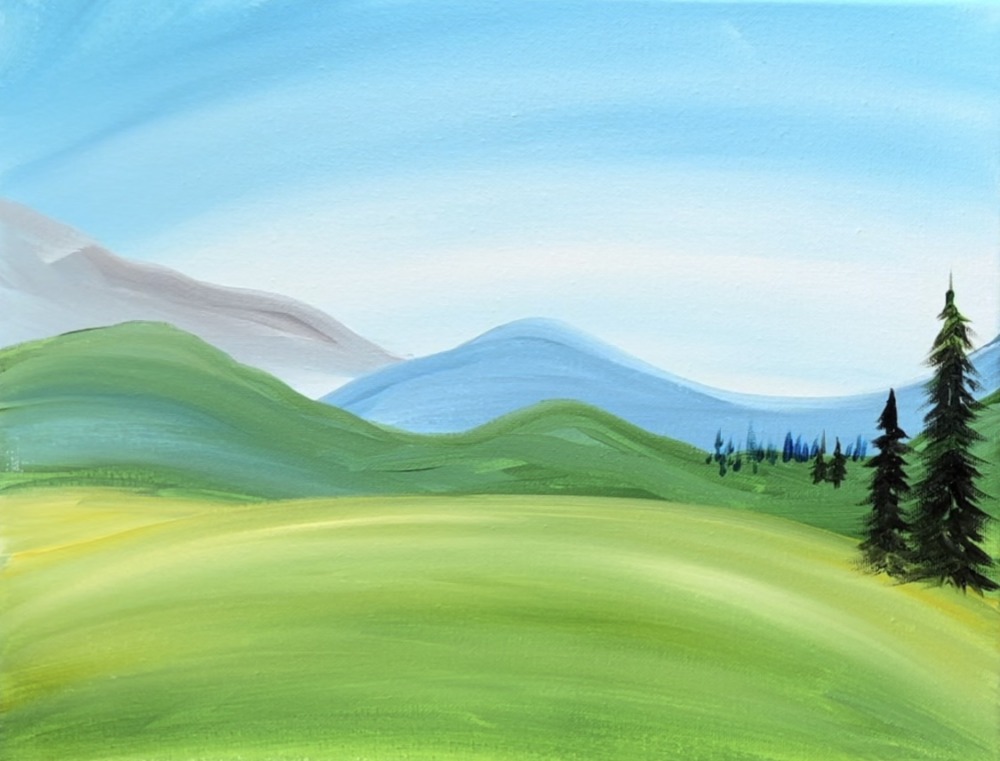
You can use “phthalo blue” mixed in with the color of your trees to create more color variation.
Paint trees on the left side of the landscape. I did a medium size tree on the top of the light green hill.
Paint more trees that are on top of the dark green mountain line (these are just vertical paint strokes).
4. Paint sun
Use your index finger to paint the glow of the sun. To do this, mix equal parts yellow and white together. Load a small amount of this light yellow paint on your finger and then “smear” a blurry circle above your mountain where the sun will be.
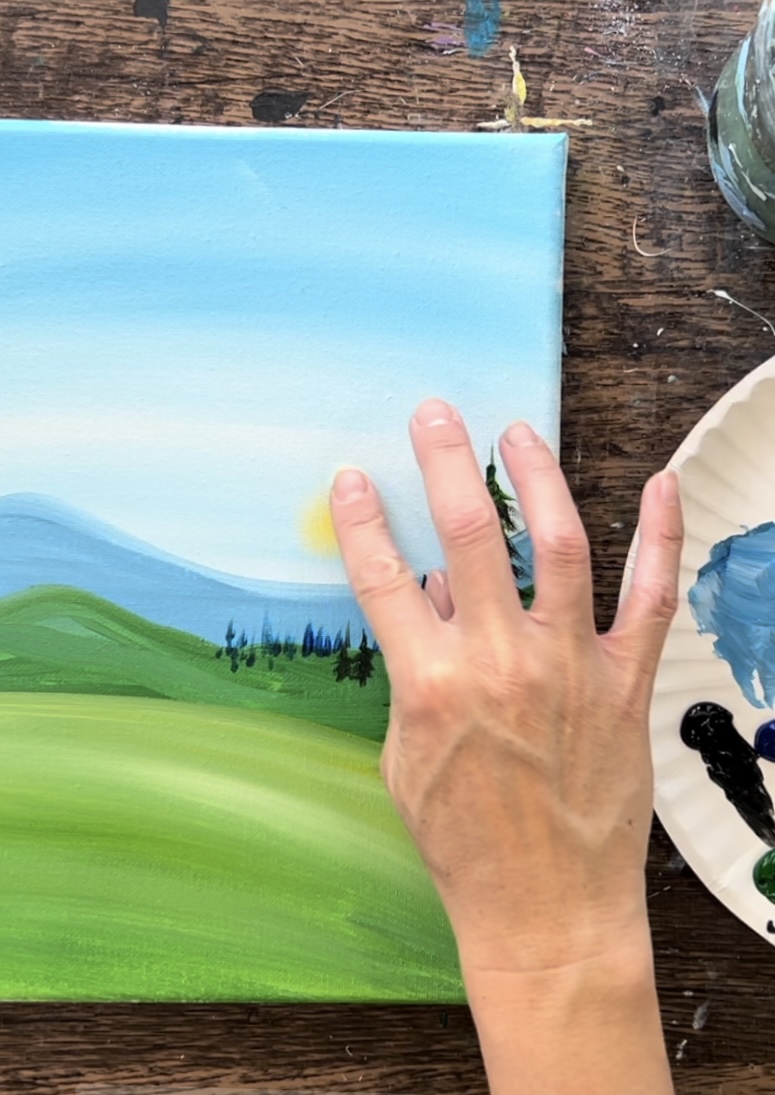
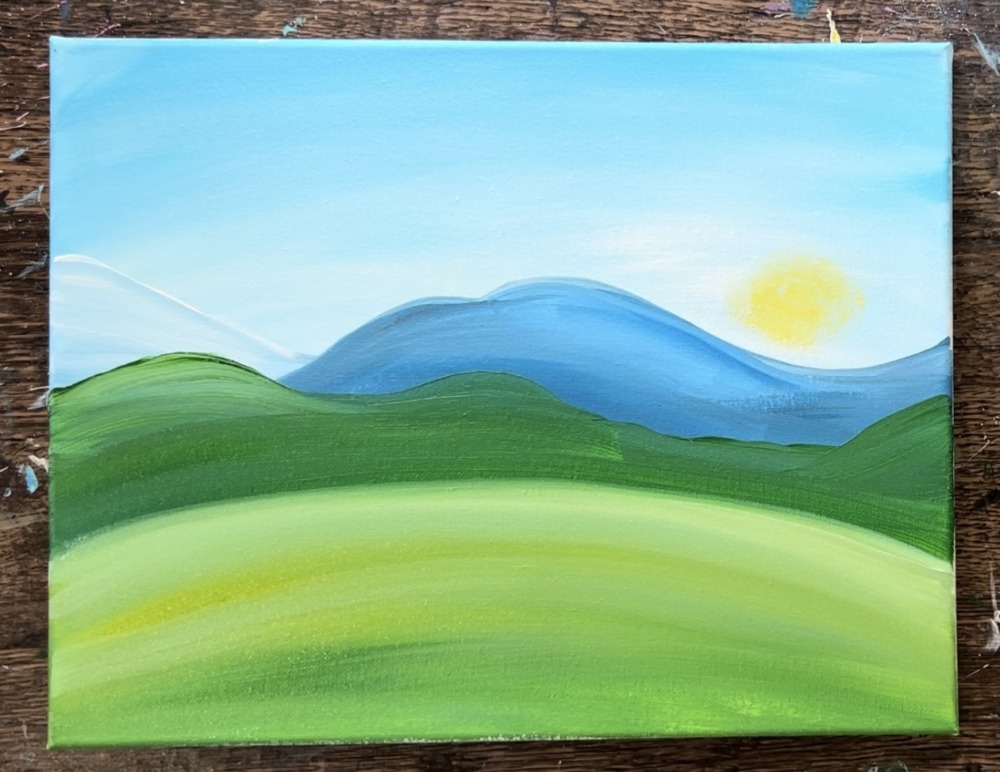
After painting this “blurry circle”, use a #4 round brush and just “titanium white” to paint a small white circle inside.
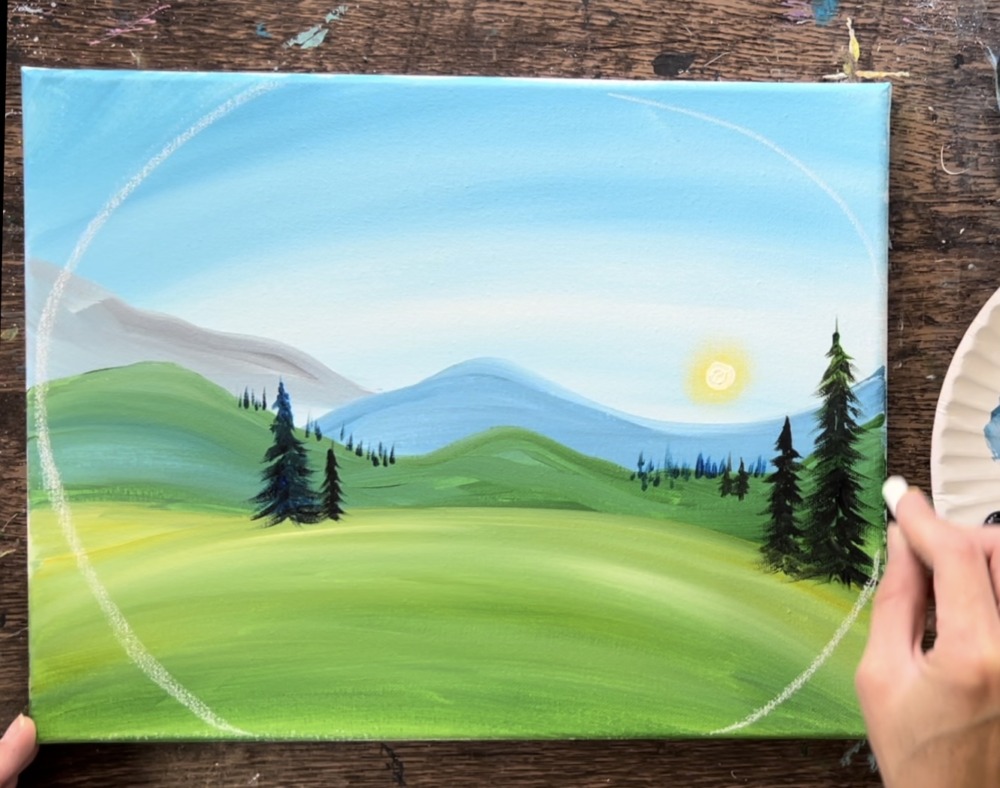
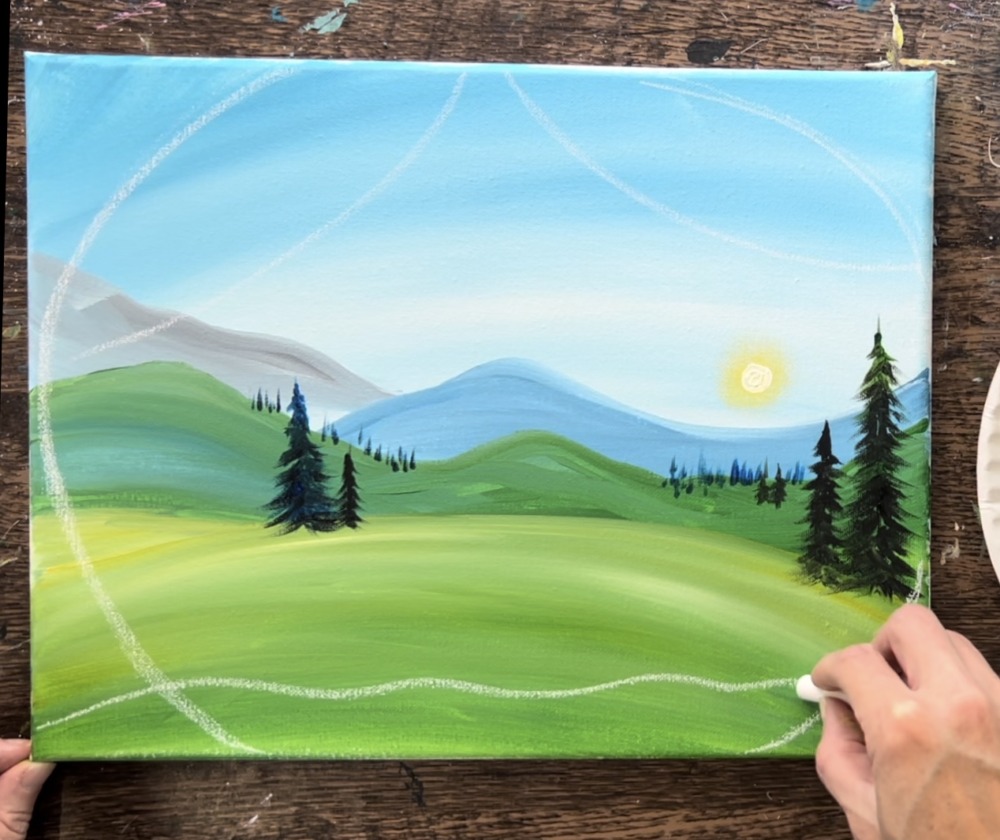
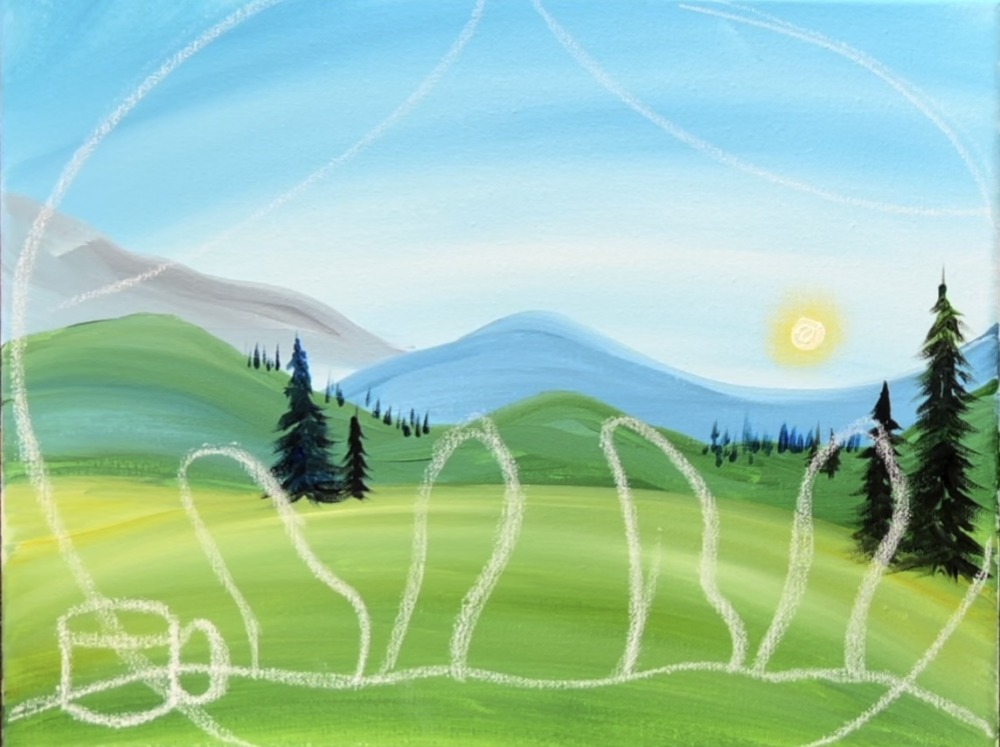
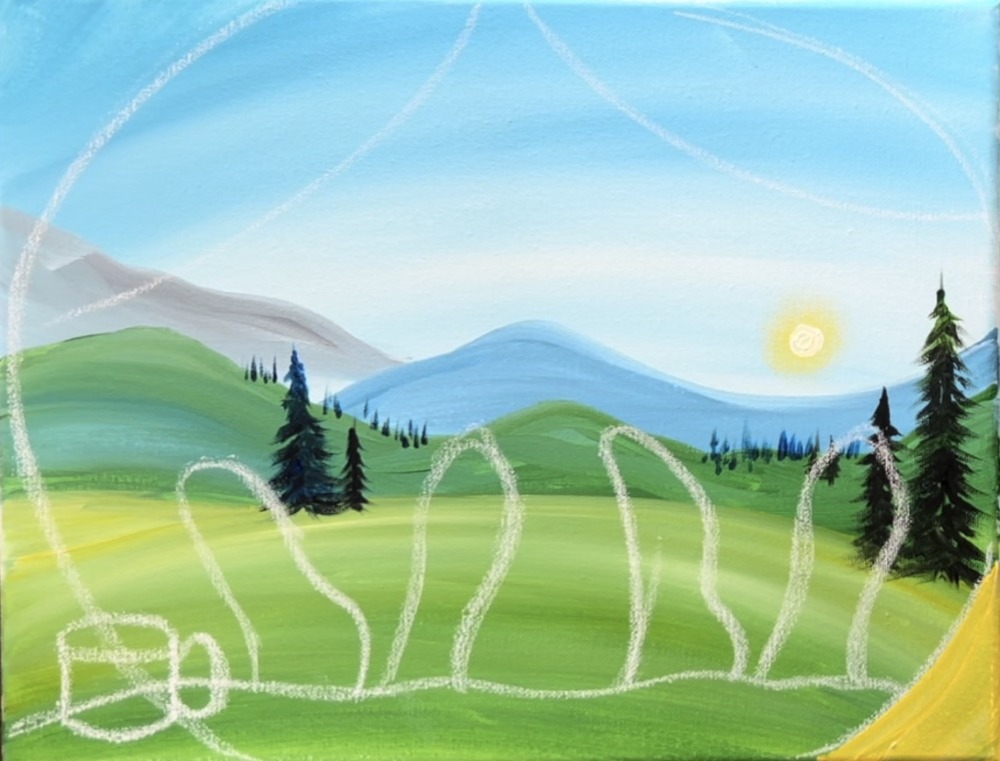
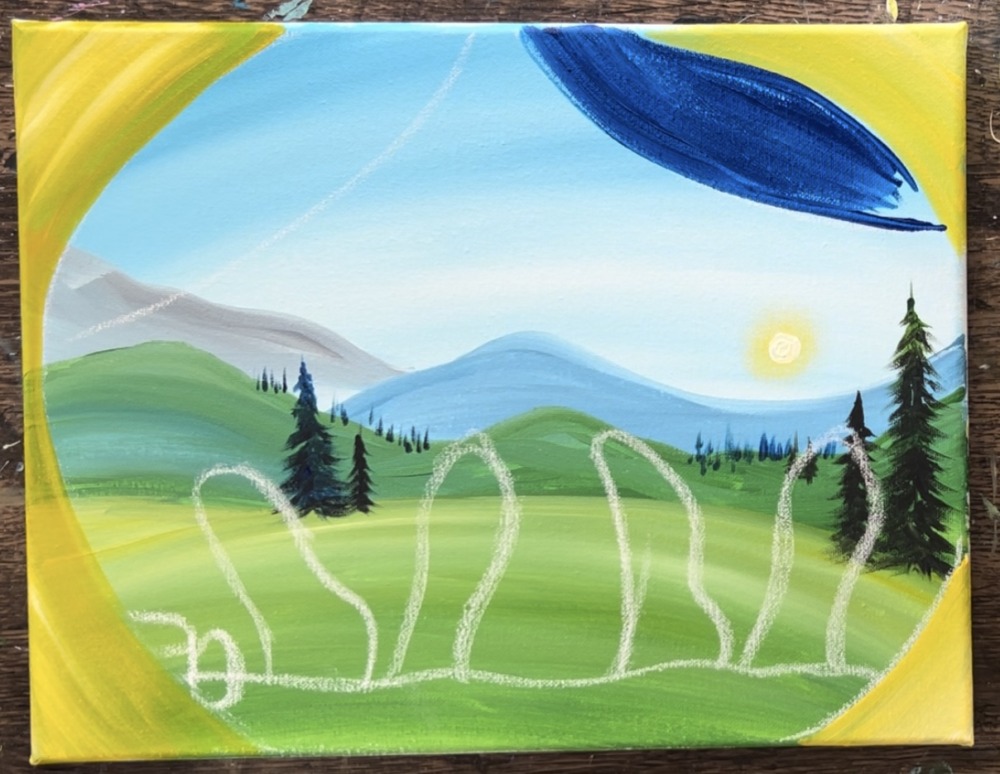
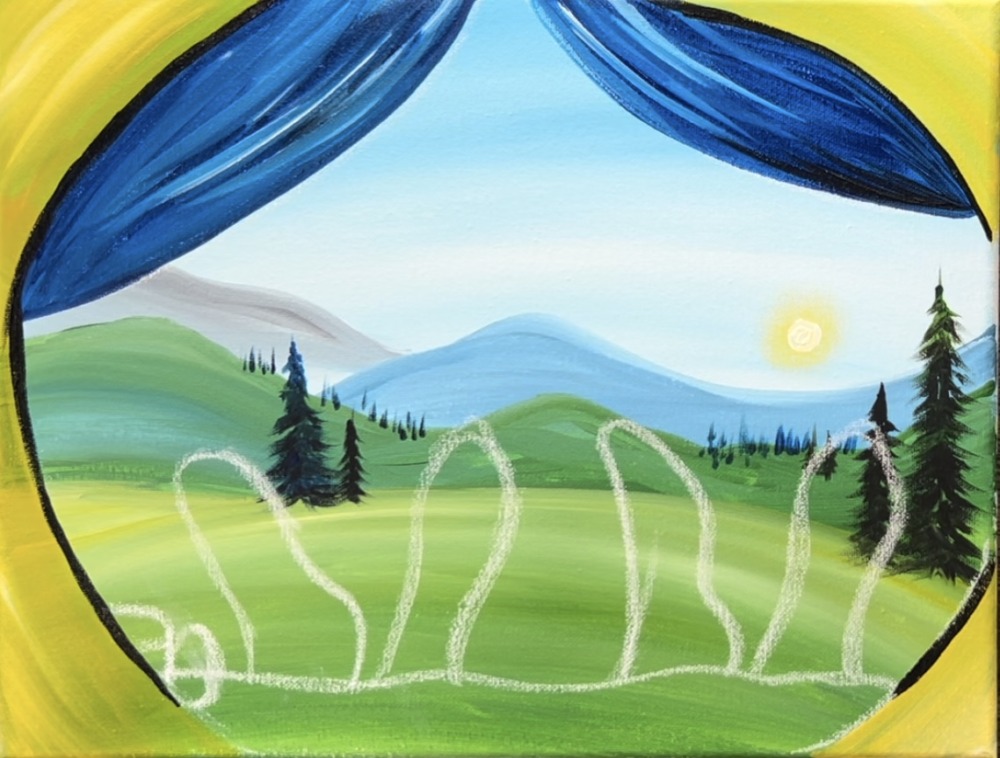
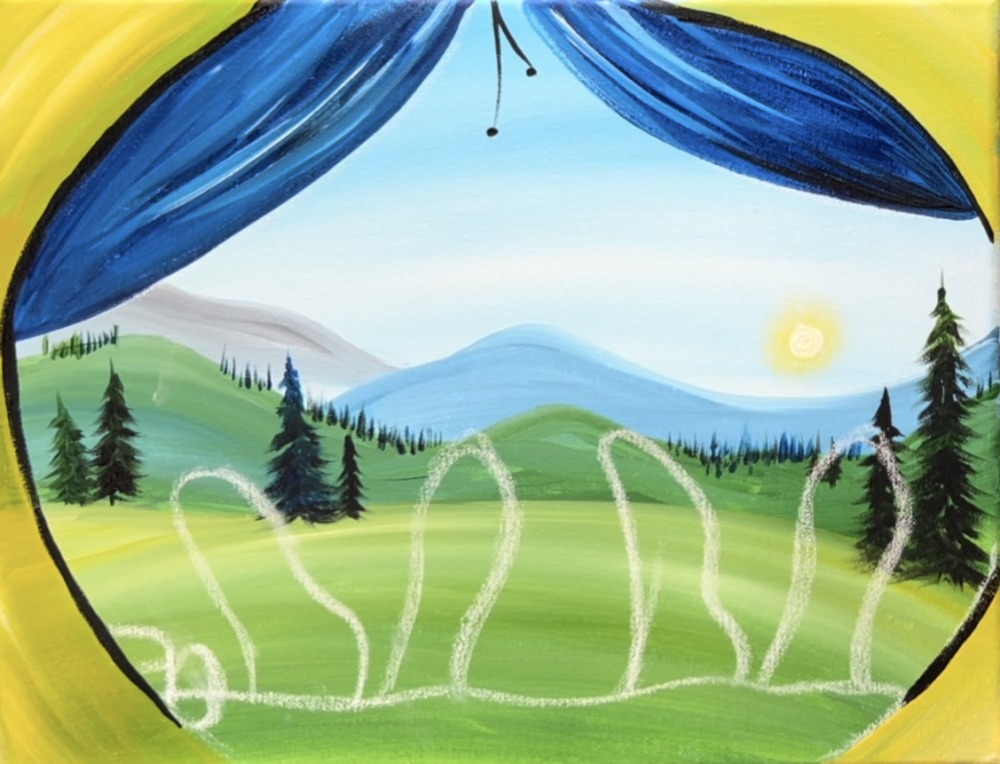
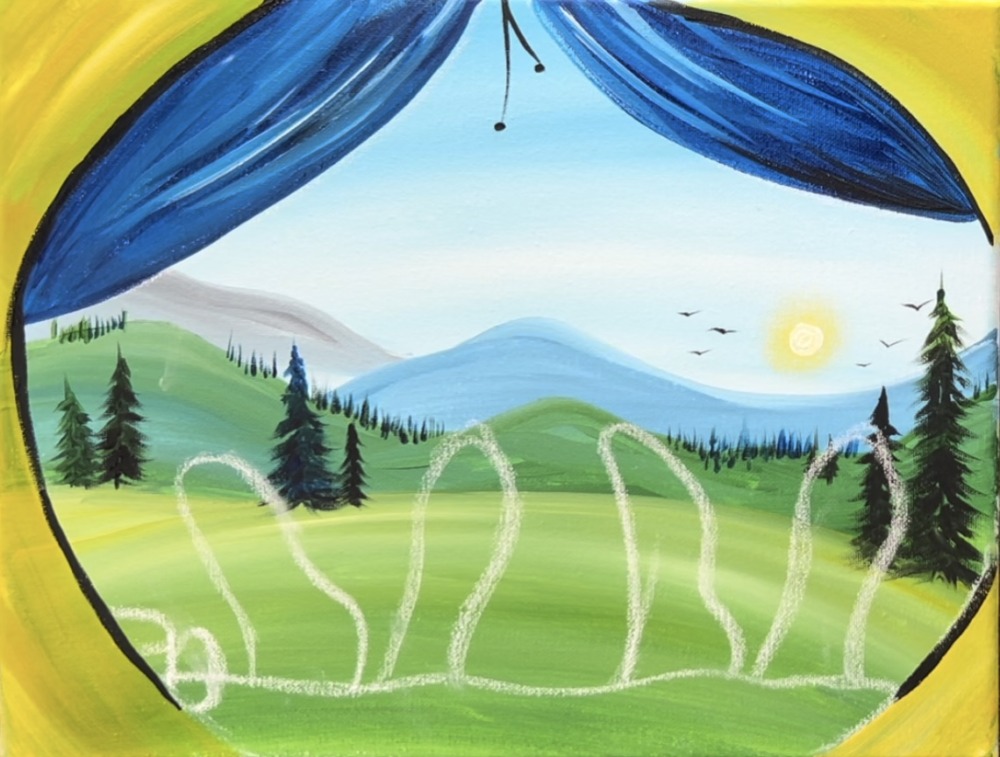
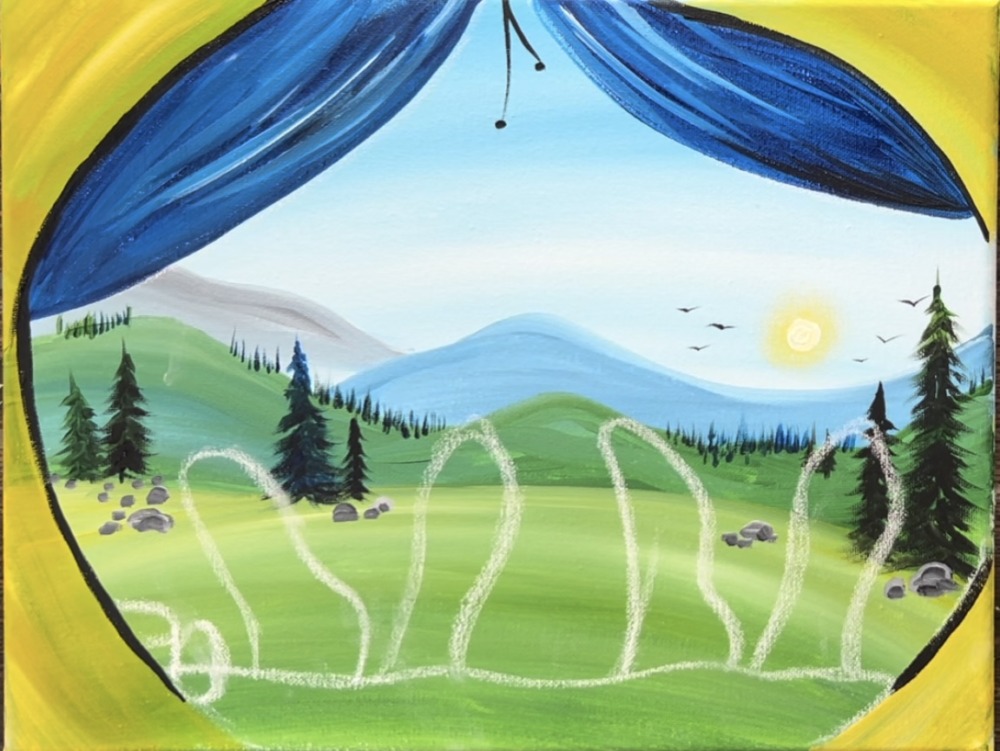
5. Draw Tent & Feet
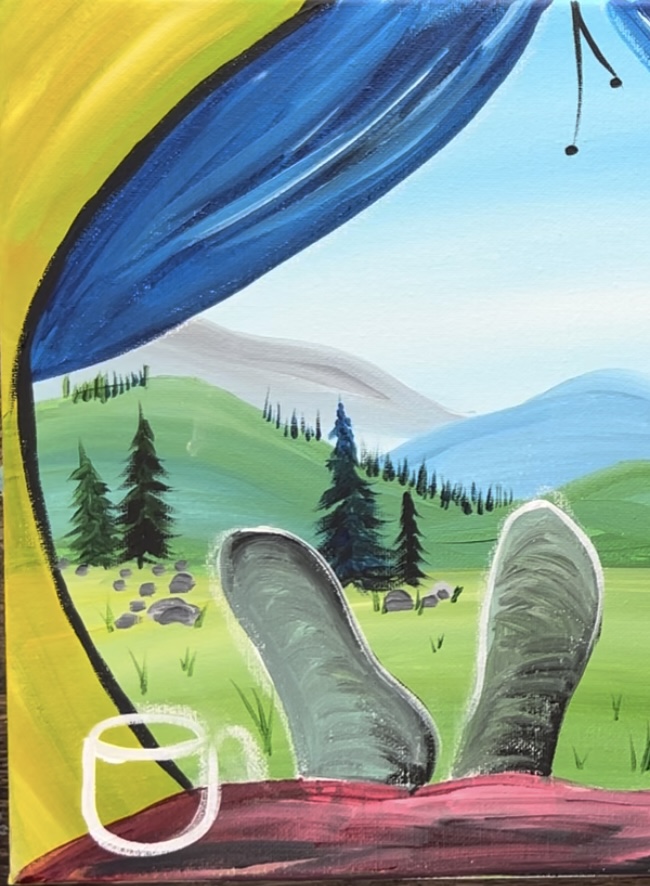
Make sure your painting is dry before doing this step. Use a piece of chalk to draw the border of the tent opening. On the left, you can see the entire curve. On the left, the opening is cut off the edge of the canvas.
Then draw the feet. The best advice I can get for drawing these feet is to use your own feet as a model! Put on socks and position them how they would be if you were sticking your feet out of a tent. Also, keep the drawing very simple! We don’t see the ankles because the blanket is covering them. So just draw the arch, heel, rounded toe edges and top of foot. Also, both sets of feet are almost identical in the direction they are going. You are definitely welcome to change this or even create more feet!
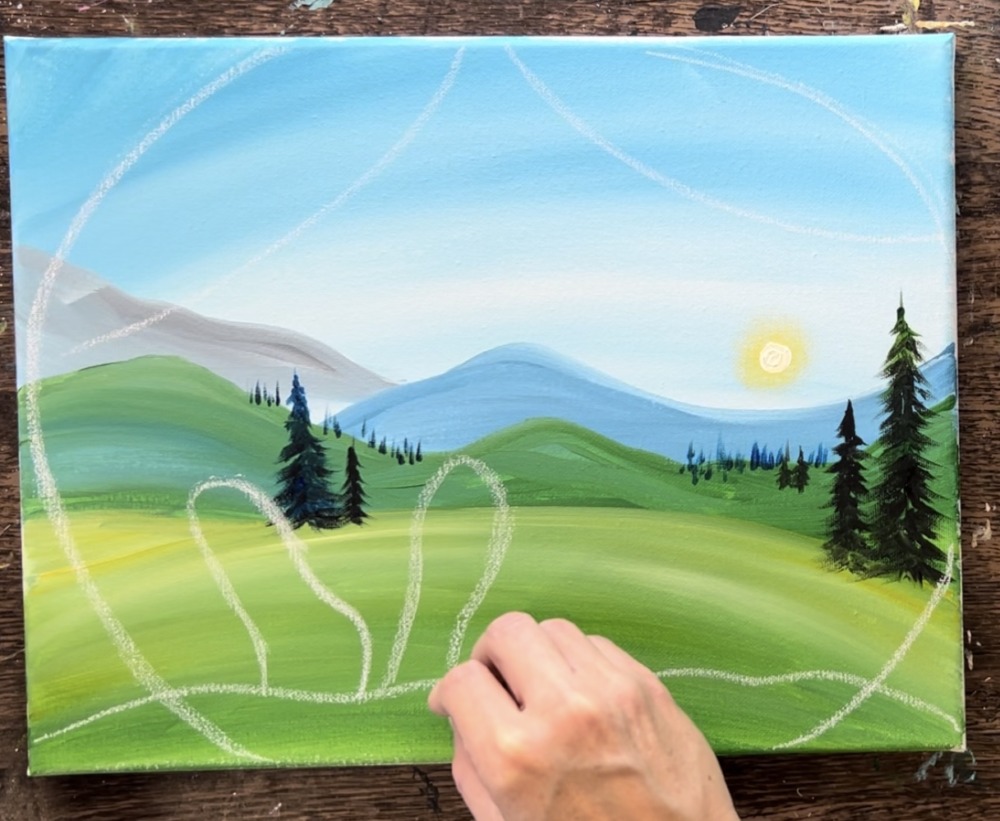
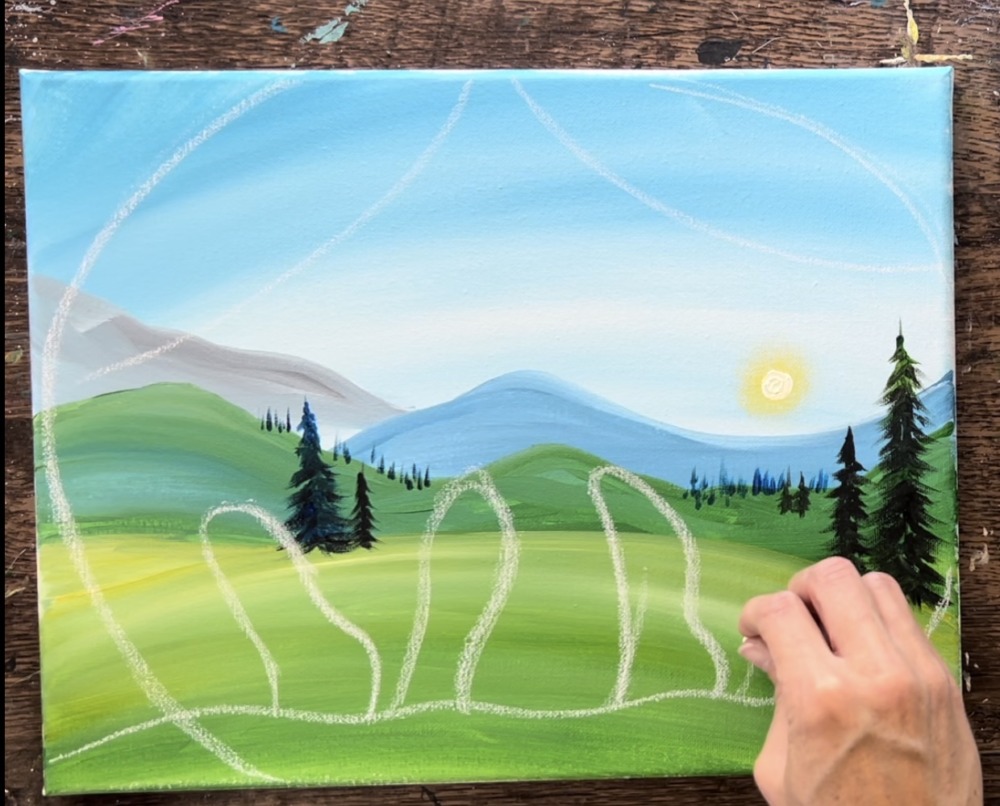
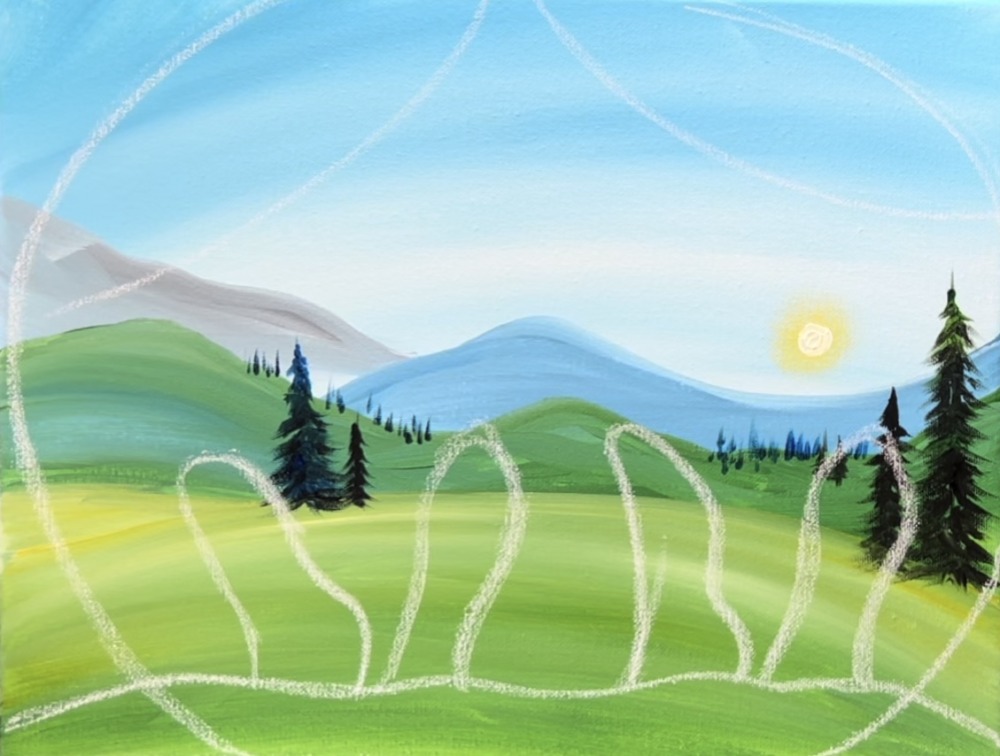
Lastly, draw the little coffee mug on the lower left. If you want to get creative, you can add other things such as a lantern or even a campfire outside of the tent!
6. Paint Tent
Use a 3/4″ flat wash brush and yellow mixed with white (about equal parts). Paint the curved corners of the tent opening and paint them in the direction of the curve.
Do this on all four corners of the painting.
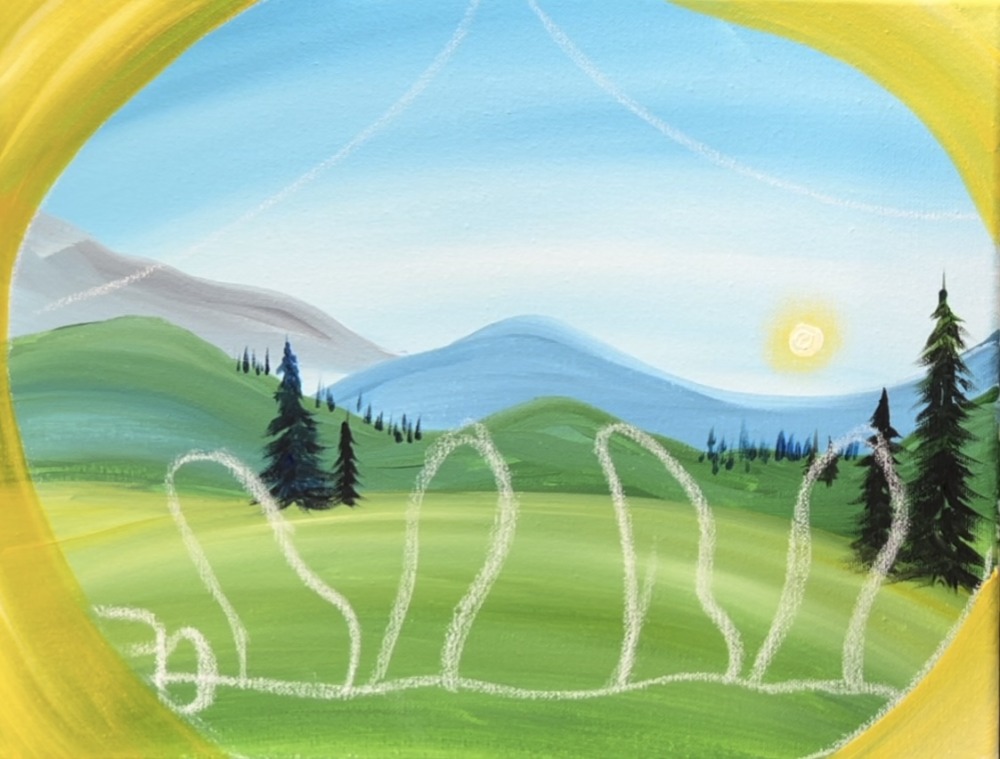
Then paint the blue fabric/ opening of the tent. Rinse the 3/4 wash brush and load it into just “pthahlo blue”. Paint both of these curved fabric areas.
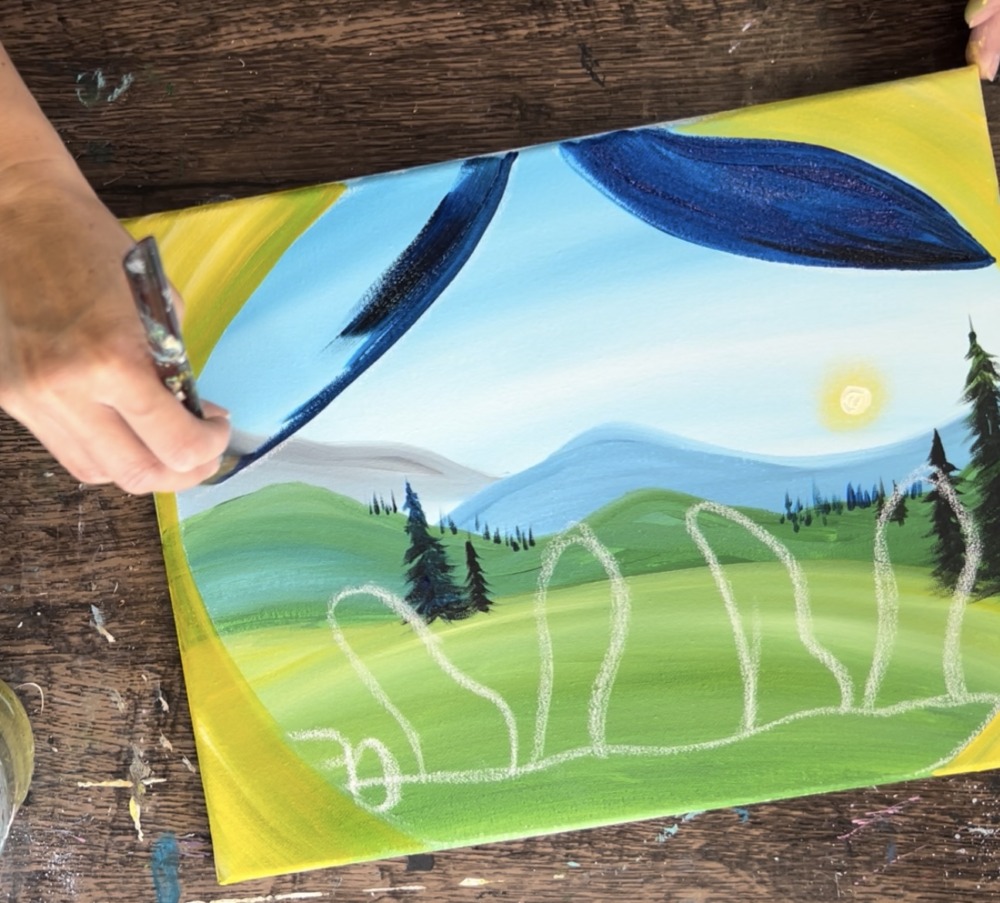
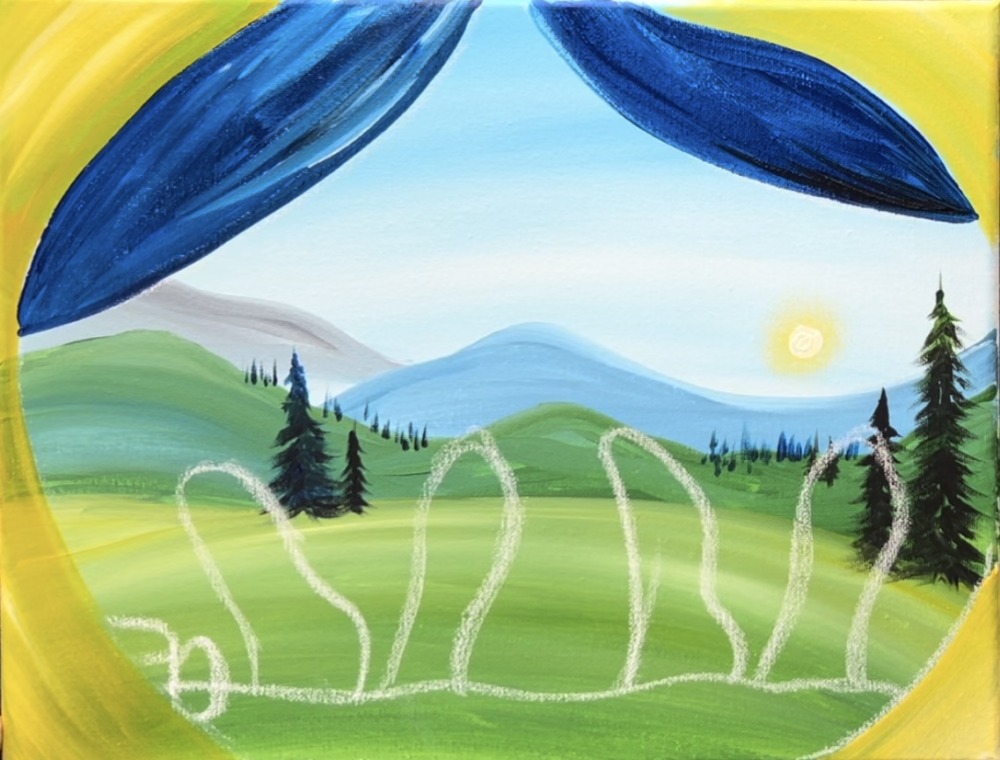
To create more of a “wrinkle” look in the fabric, blend a small amount of “mars black” towards the bottom of the blue fabric. Use just the edge of the brush to create thinner paint strokes. Then wipe the brush off and blend “titanium white” wrinkle lines towards the top.
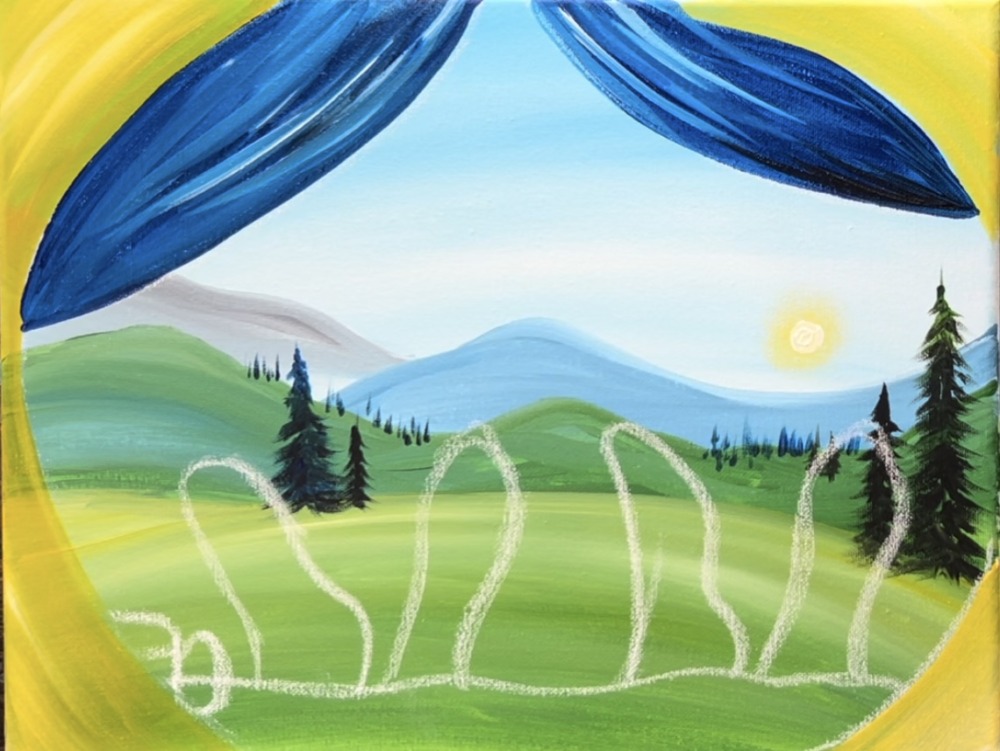
Use a #4 round brush and “mars black” to outline the edge of the yellow part of the tent.
Next, paint little “bungee cables” dangling from the center of the tent opening.
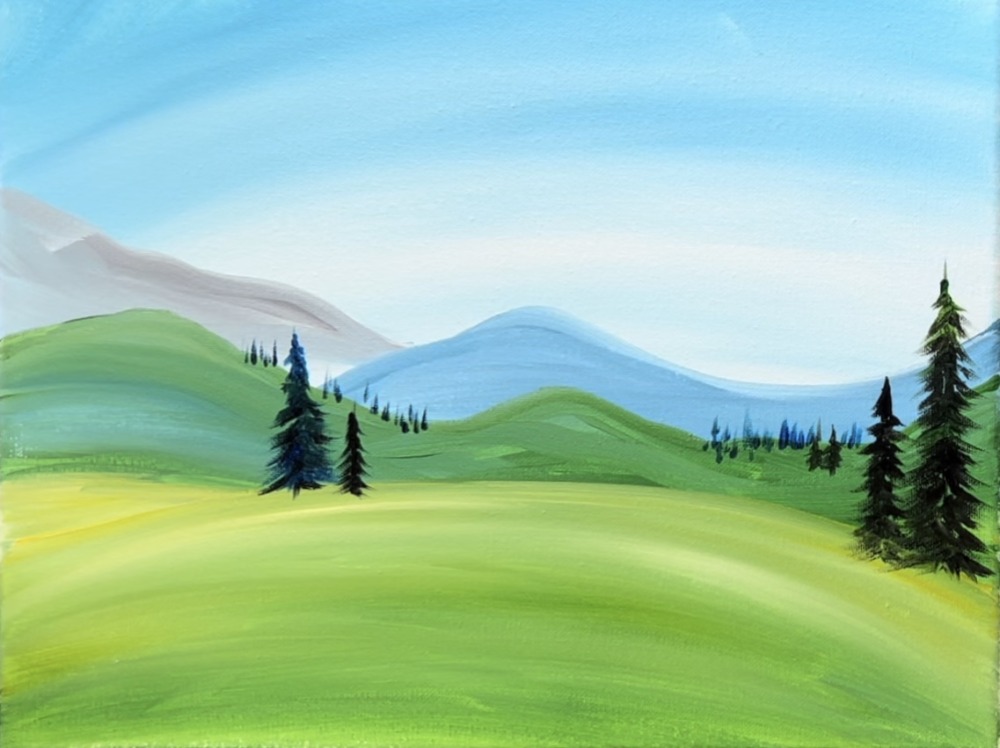
7. Paint More Trees & Paint Birds
Now that you have the tent and feet areas defined, you can add more trees to your landscape wherever there is an open space. I added more trees on the left.
Paint little birds around the sun on the right side of the painting.
8. Paint Rocks (optional)
Use the #4 round brush to paint small gray rock clusters around the landscape in the distance. Make the gray by mixing black and white.

Use black to add a little shadowing in the rocks.
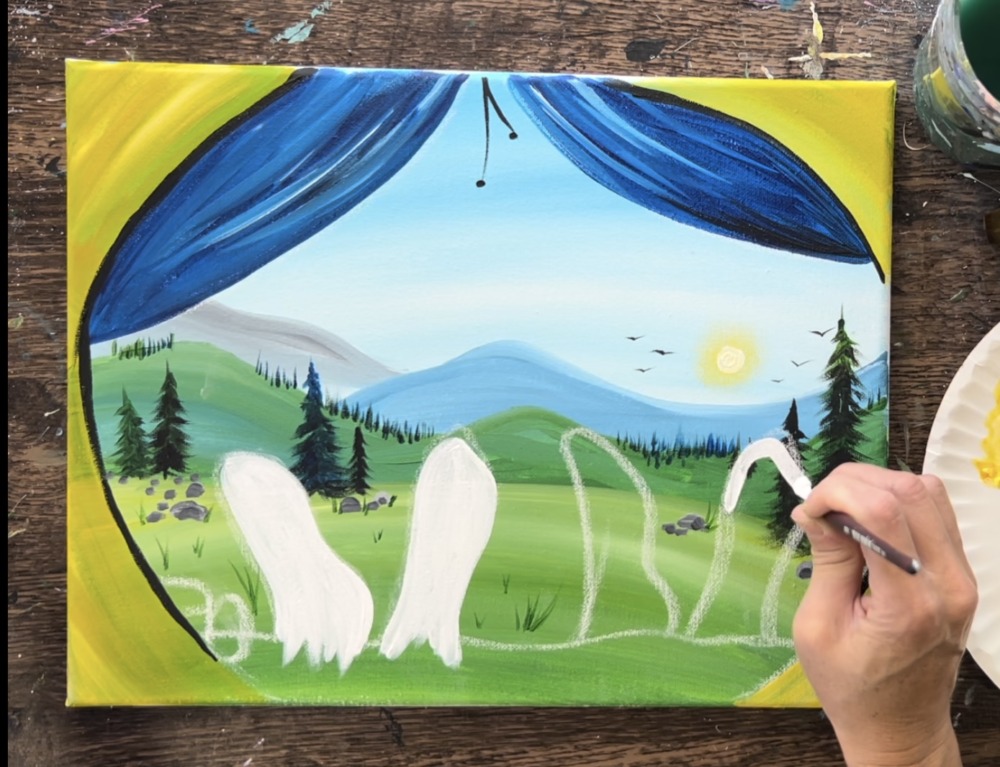
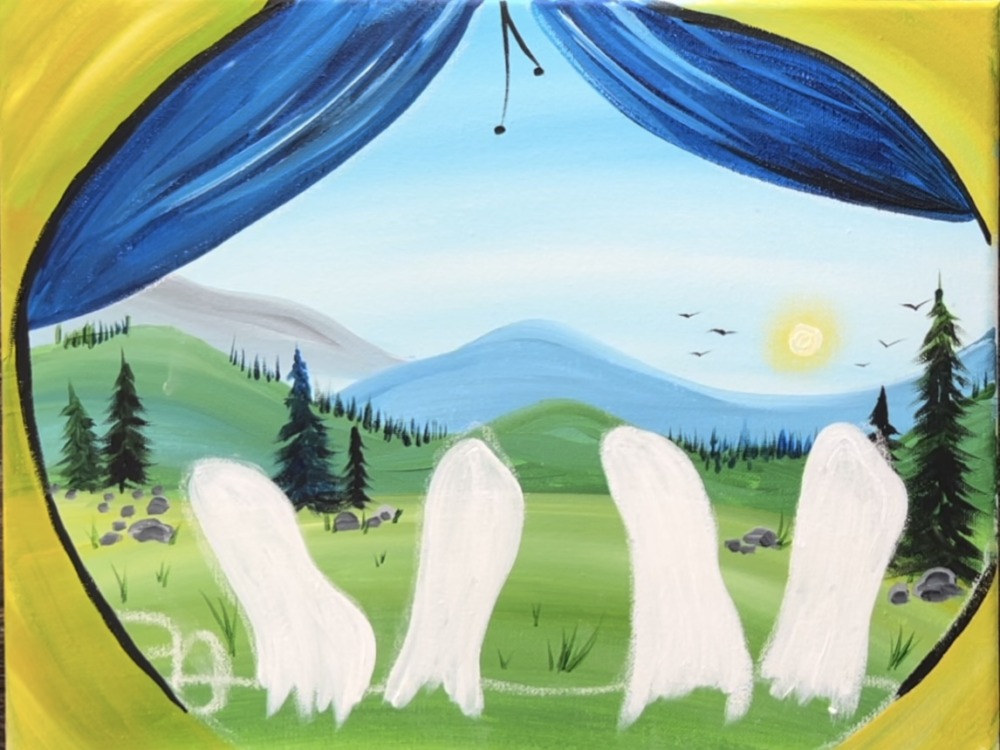
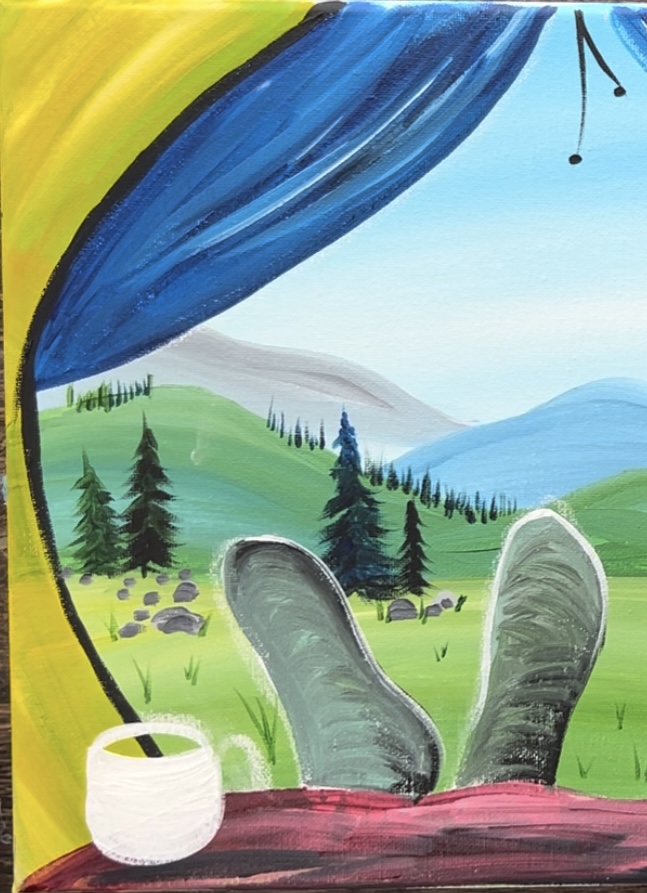
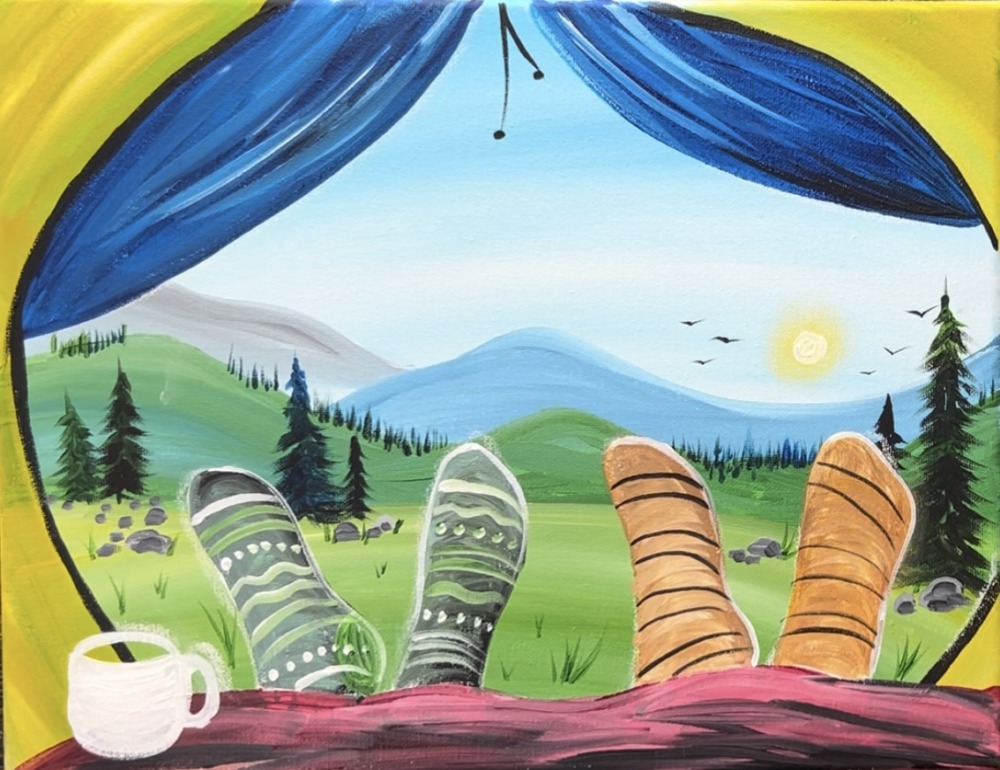
9. Paint Socks White
Use the #4 round brush and titanium white to paint the socks solid white. You’ll need to do this first before painting colors and patterns on the socks.
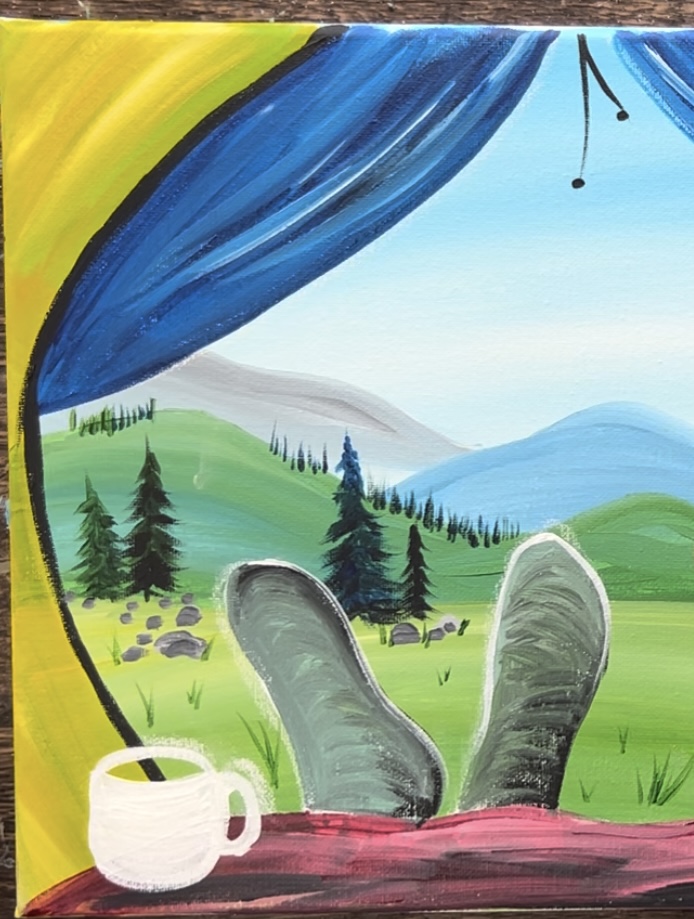
10. Paint Blanket
Load your paint palette with “alizarin crimson”. Use the 3/4″ flat brush to paint the blanket.
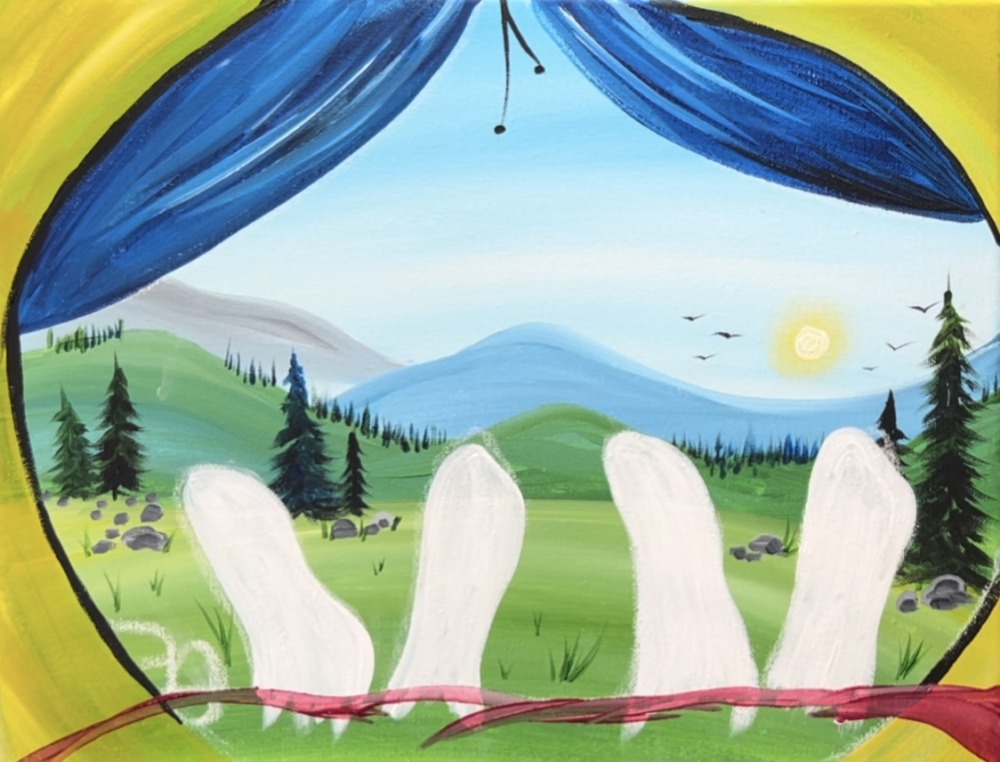
Add white into the magenta color to allow for coverage since this color tends to be “see through”.
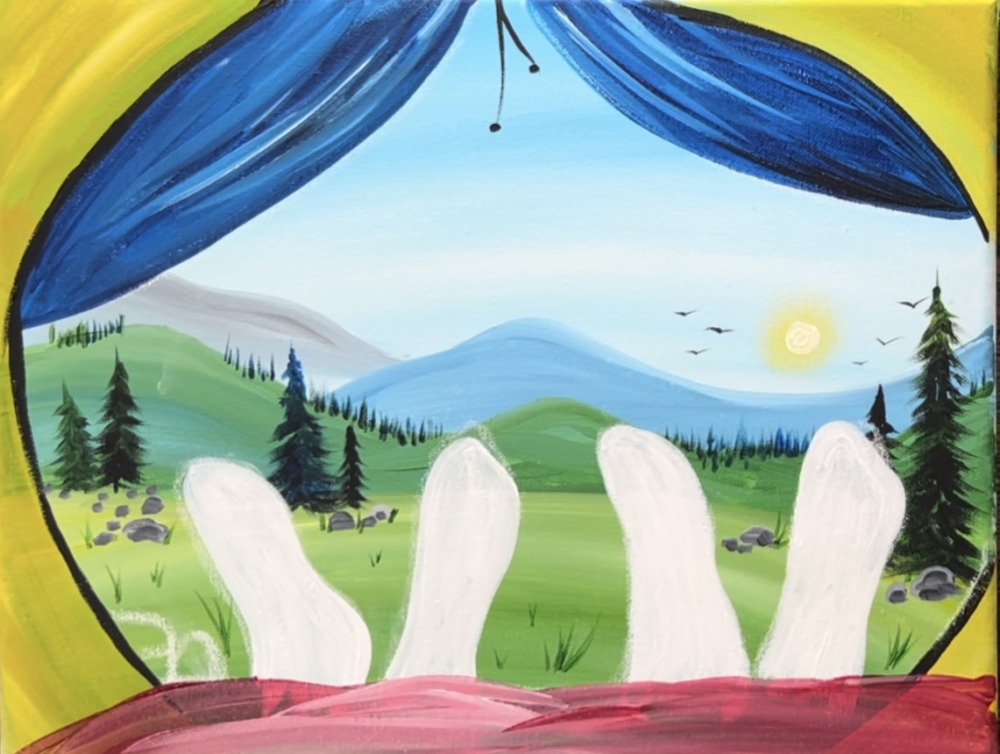
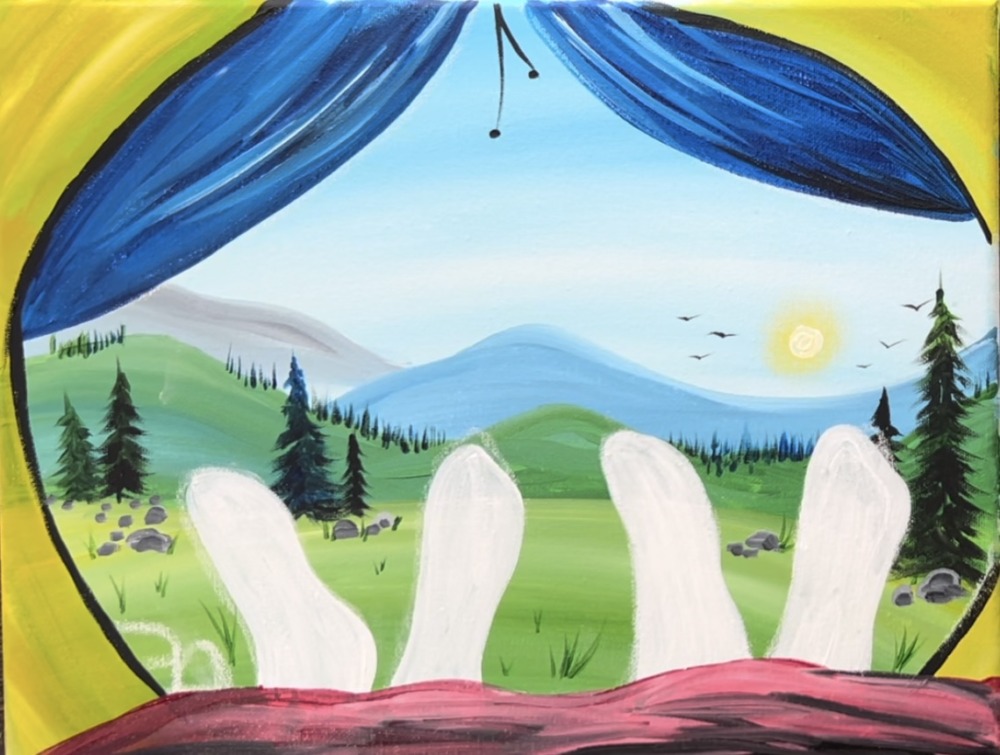
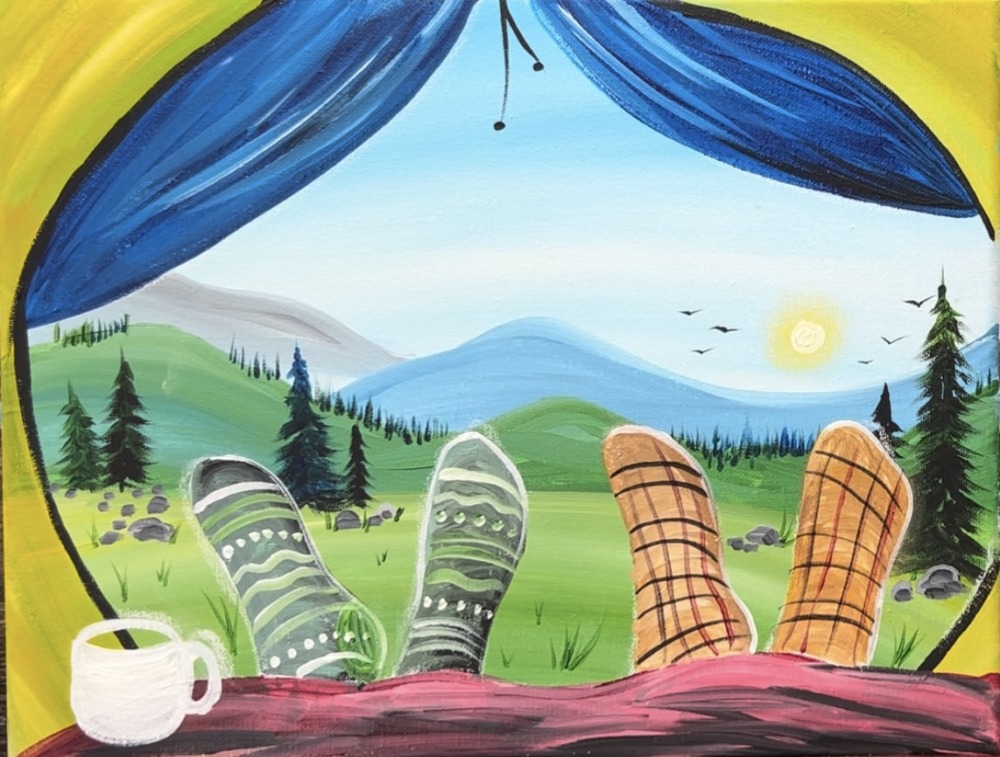
11. Paint Colors On Socks (you can customize these colors)
After the white dries, paint the socks with the base color. I created “natural” colors that would still stand out against the green background. The socks on the right are a brown-orange color and the socks on the left are a dark green-gray color.
To make the brown-orange color, I mixed yellow, blue and the magenta color together. Add a little more yellow into it to make it more of an orange. Then add a bit of white into the color. You may have to experiment with it a bit.
Use the #4 round brush to paint these socks.
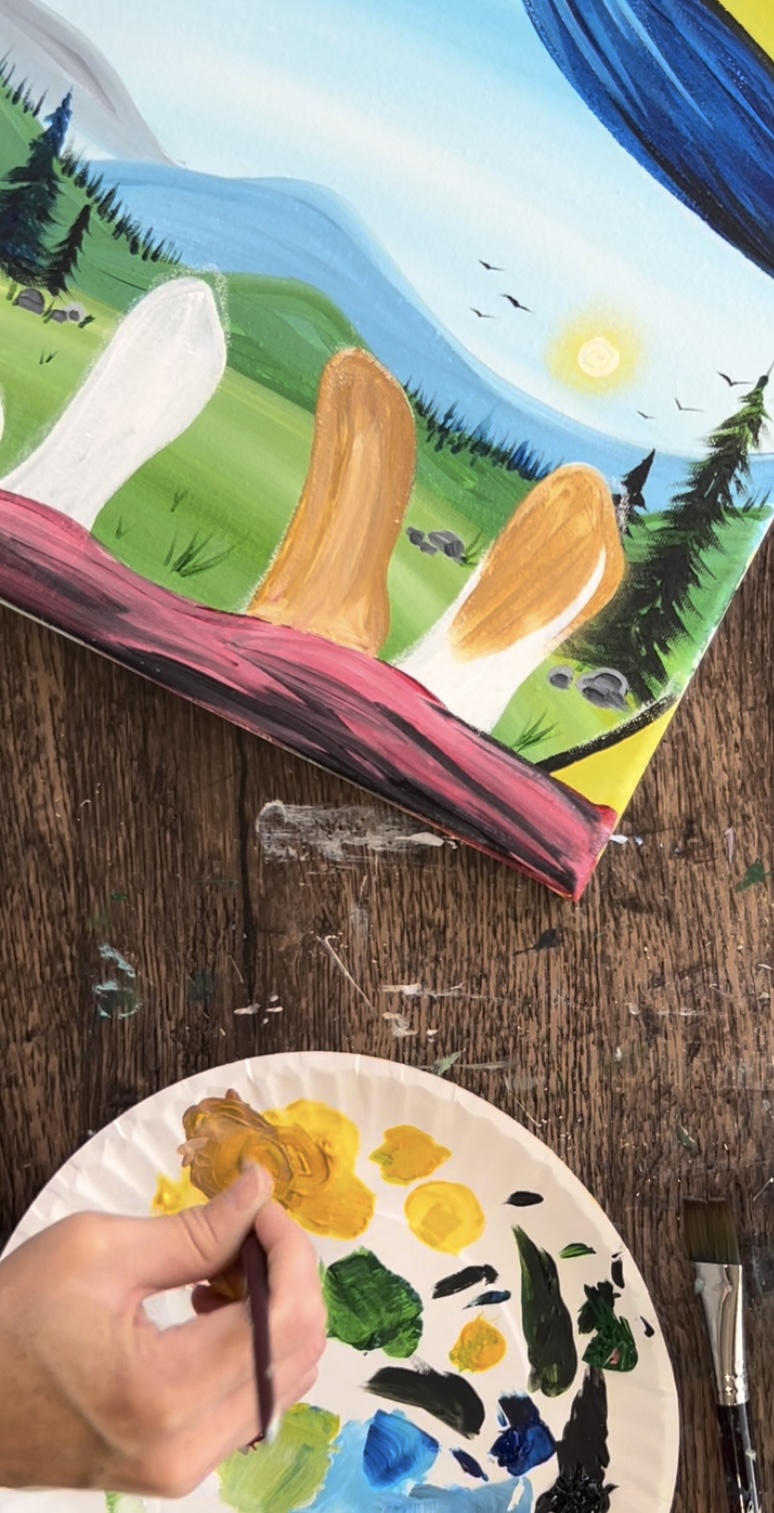
Make your paint strokes go in a curved direction. This gives the foot/sock a little more form.
To make the gray-green color, I mixed light blue with green and added black and white into it. Add little bits of black until it gets darker. You want to make sure the color of the socks have enough contrast to show up against the green background.
Paint the second pair of socks. Make sure your paint strokes go in a curved direction to form the shape of the foot.
Use a clean #4 round brush and add a small amount of titanium white to it. Loosely outline the edge of the feet. This white outline adds a little bit of “backlighting” to the feet but also helps them to stand out.
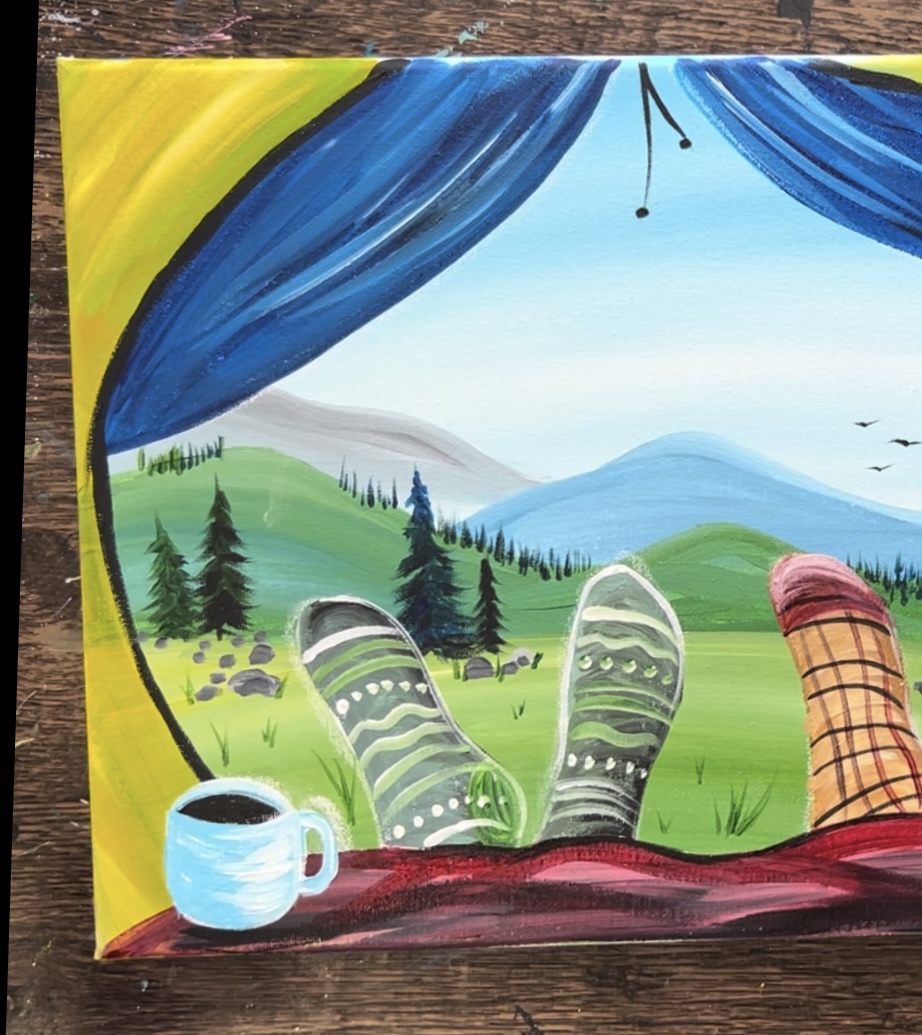
12. Paint Mug White
Use the #4 round brush and titanium white to paint the mug. We need to paint this white first before we can paint it a color.
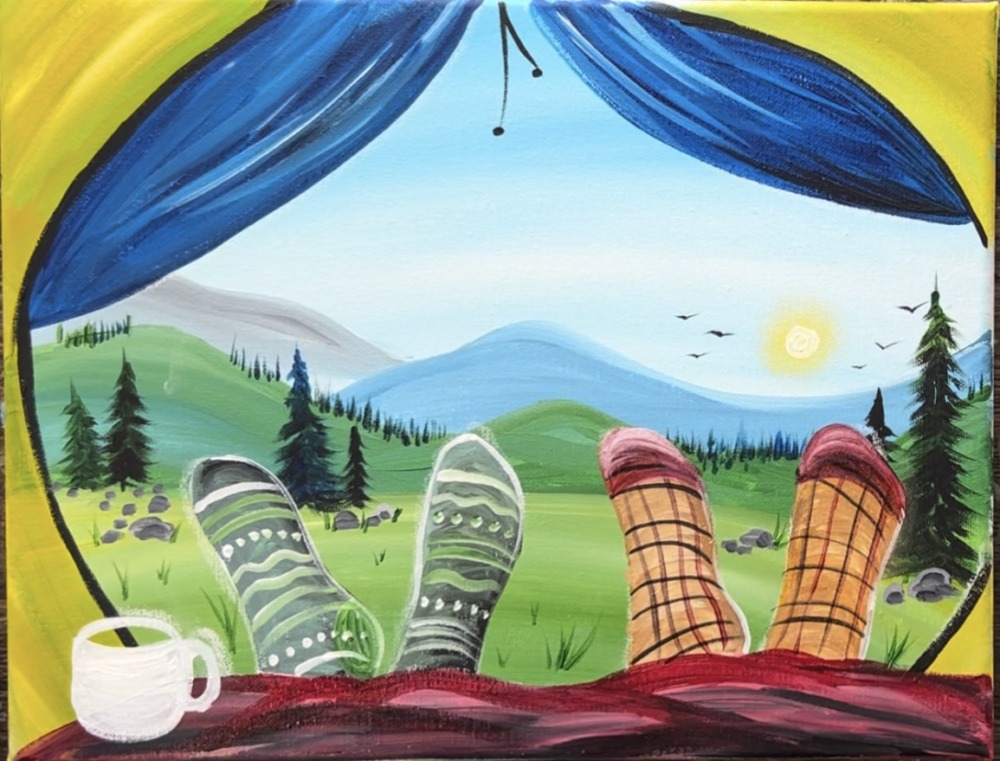
13. Paint Patterns On Socks
You can customize these designs or even make mismatched socks! For the socks on the left, I did stripes, curvy lines and dots to create patterns. I used the #4 round brush and white mixed with a little green to paint these patterns. Make sure that any of the lines/ patterns go in a curved direction.
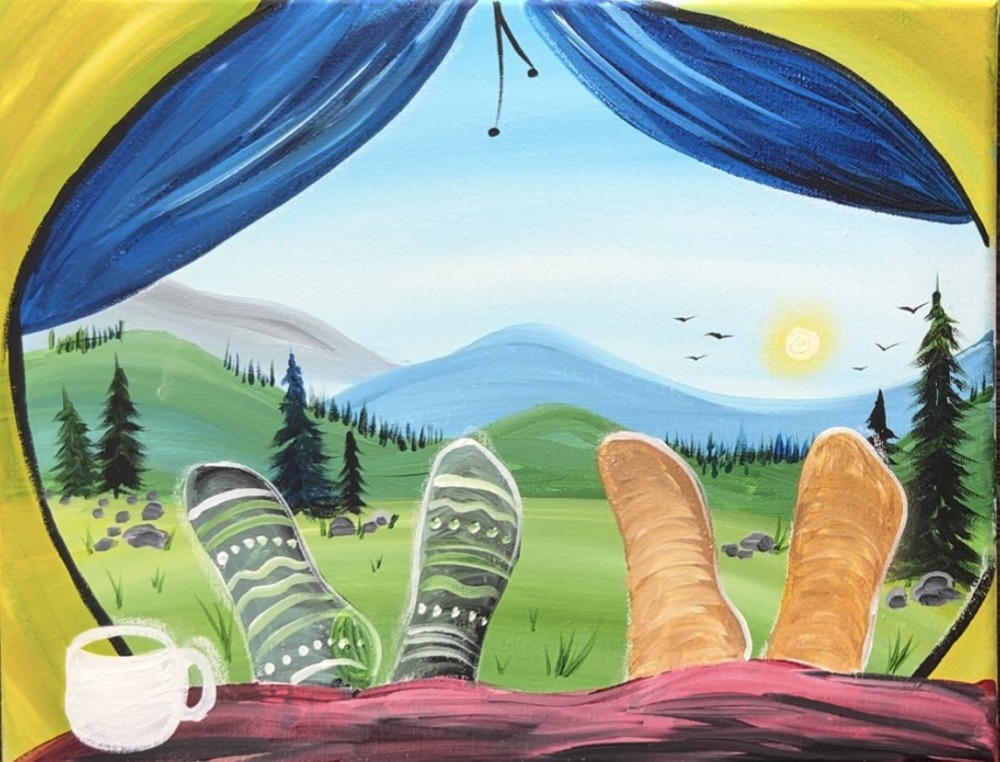
For the socks on the right, use “mars black” and paint curved stripes.
Then paint vertical stripes (that go in the direction of the angle of the foot). I used the magenta color for this.
Then paint the toe tips on the socks on the right with the magneta color. Blend a little white on the top edges.
14. Continue To Paint Mug
Paint the opening of the mug with black.
Then use “light blue permanent” to paint the mug. Add a little white and blend it in on the right side. Paint curved strokes to create form on the mug.
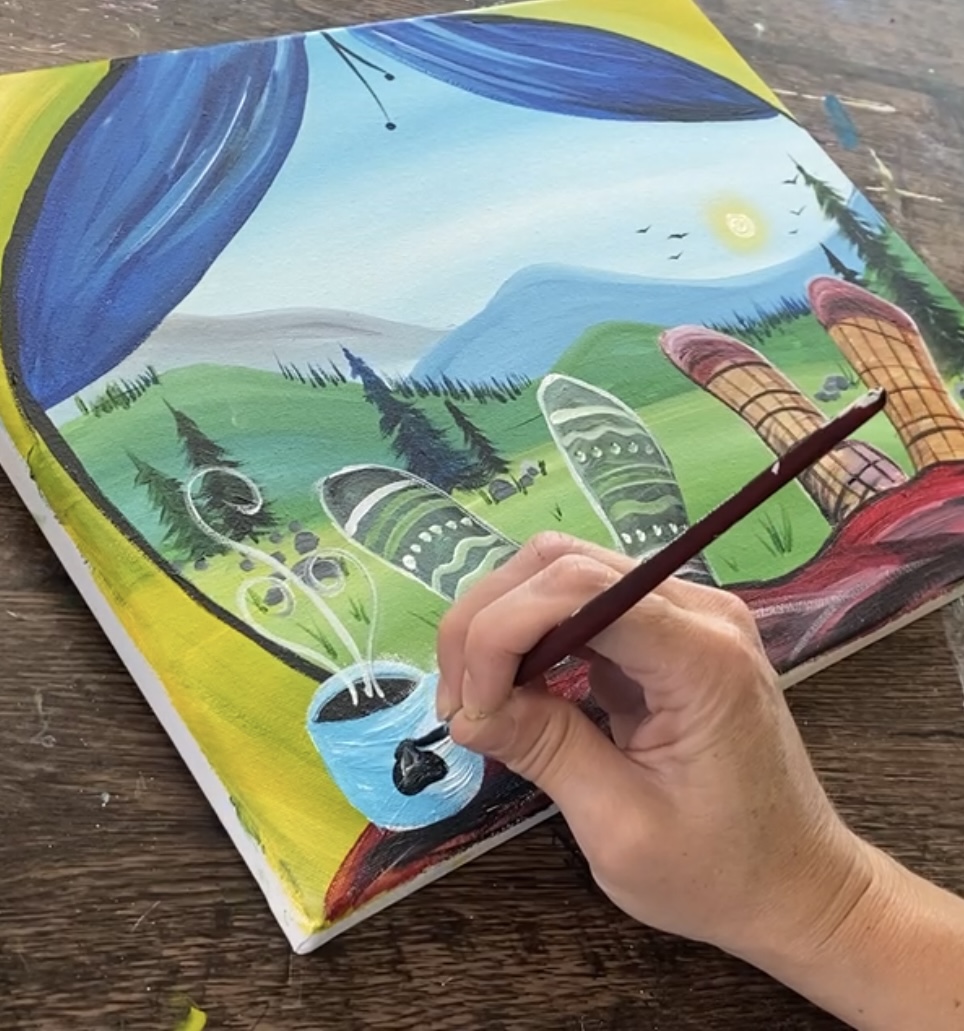
Then paint steam lines using just the titanium white. Paint a bear claw on the mug using mars black.
Finished!