Would you like to save this?
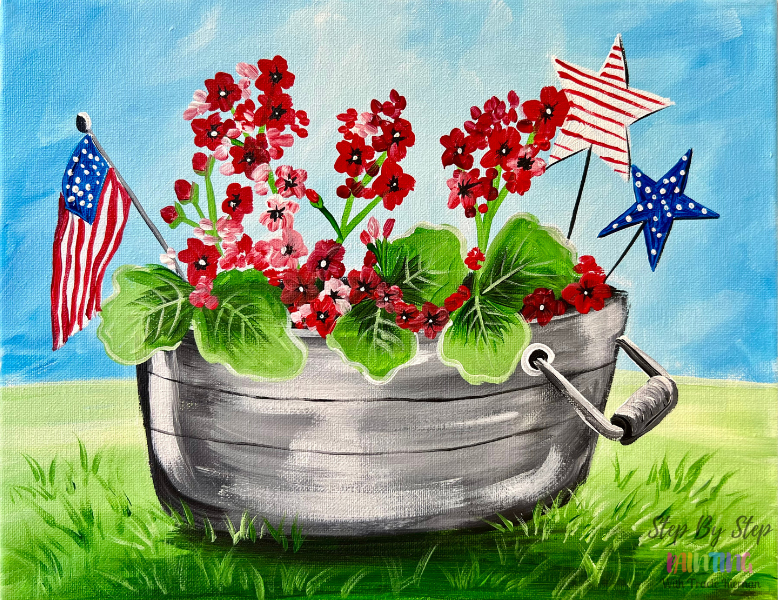
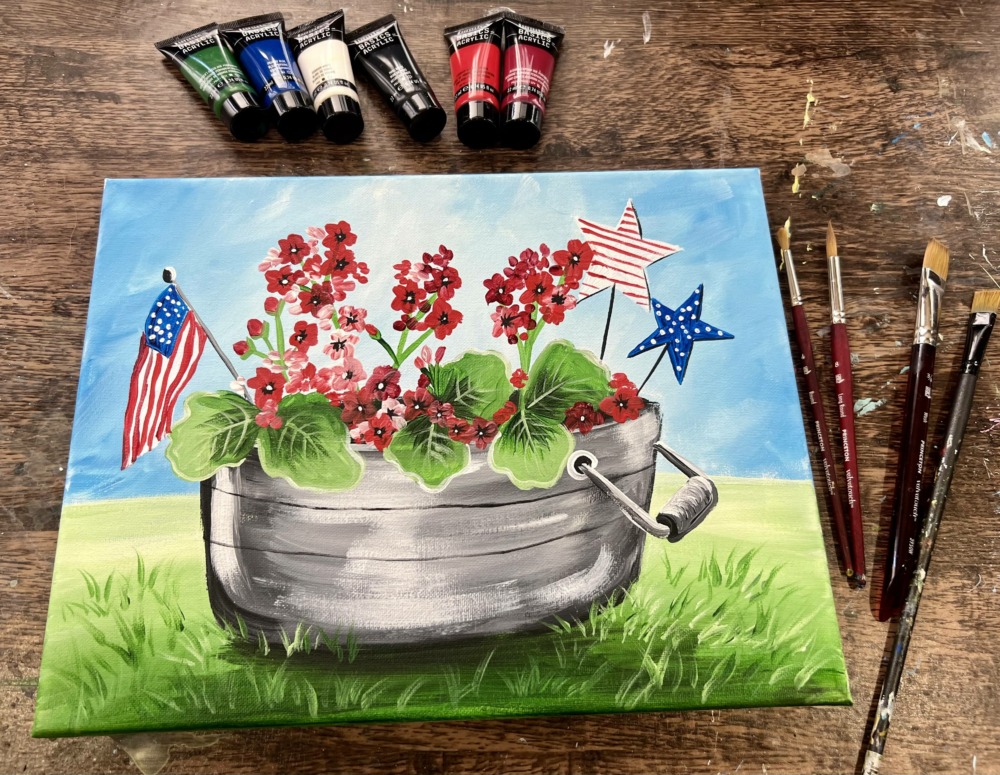
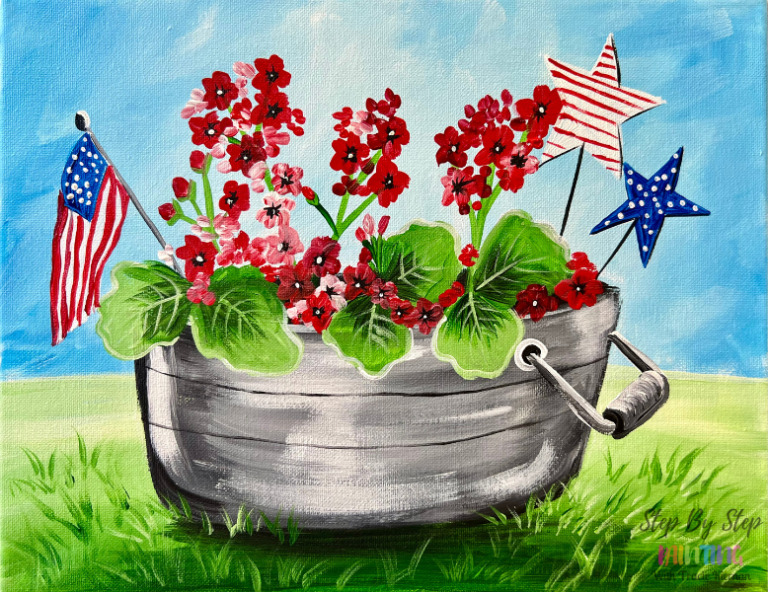
Paint an arrangement of red geraniums with red, white and blue USA decor inside a steel oval bucket. This acrylic painting is demonstrated on an 11 x 14 canvas with only 6 acrylic paint colors.

Enjoy and happy painting!
Materials Needed
Countryside Geraniums Acrylic Painting Tutorial
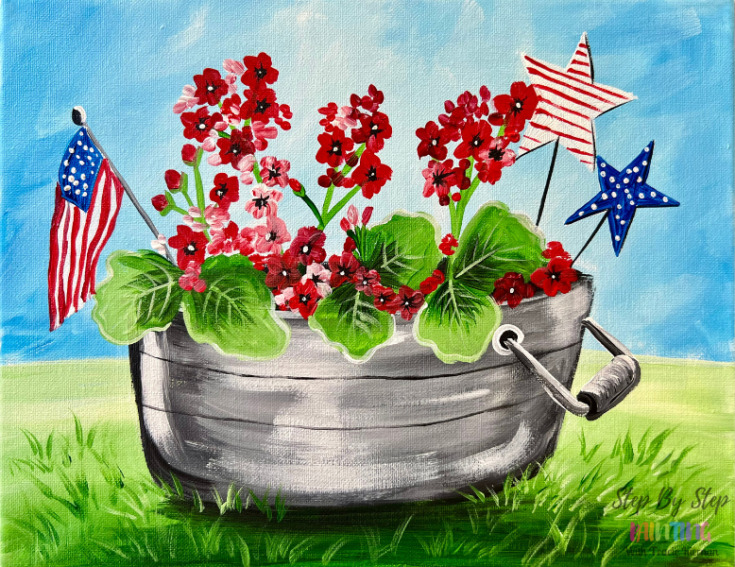
Paint a metal bucket with geranium arrangement and flag/ American decor.
Materials
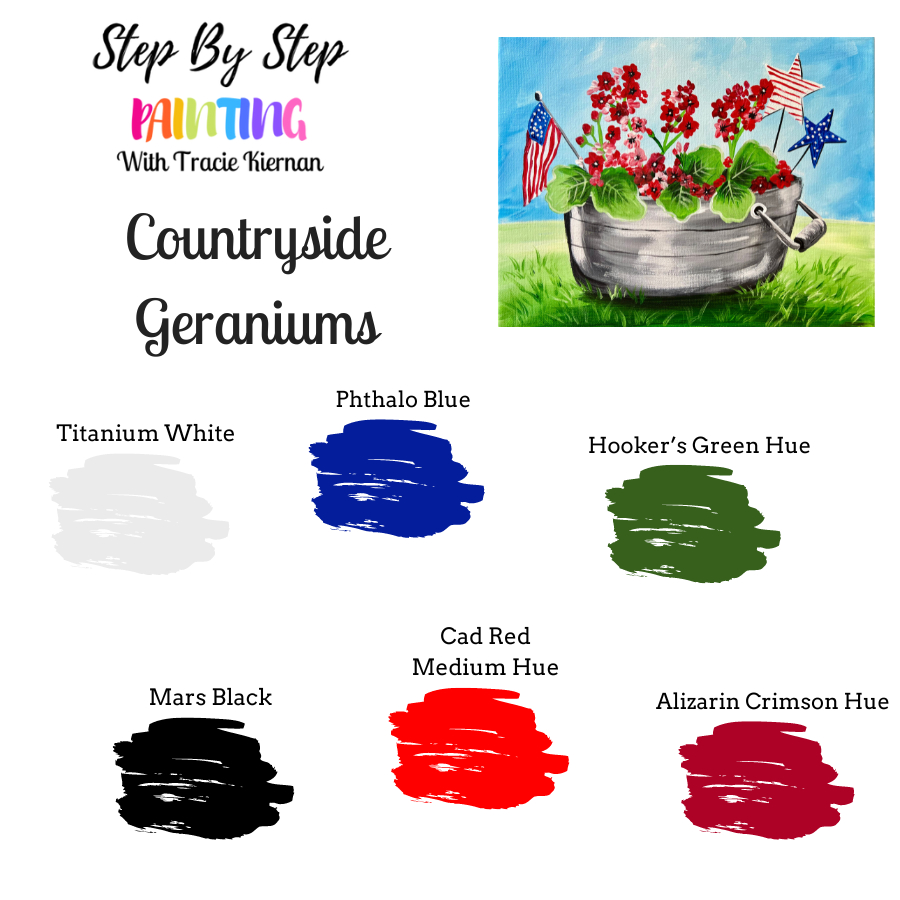
Colors
- Titanium White
- Mars Black
- Hooker's Green Hue
- Phthalo Blue
- Alizarin Crimson Hue
- Cadmium Red Medium
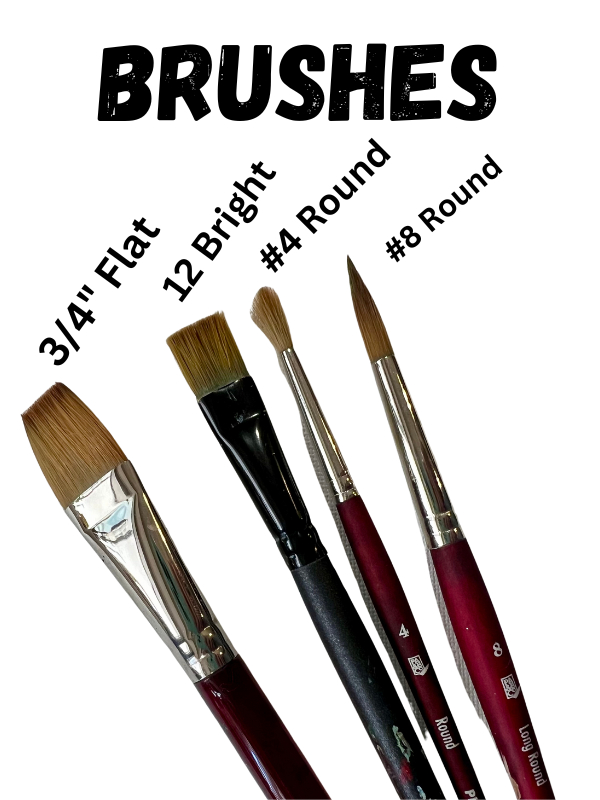
Brushes
Color Palette
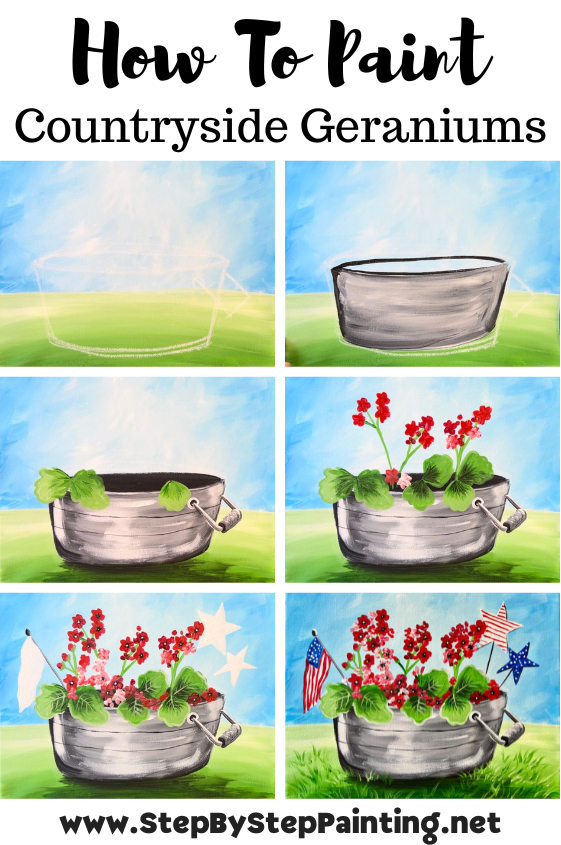
Directions At A Glance
Brushes
Video
Step By Step Instructions
1. Paint Sky
First, you’ll need to draw a line horizontally across the canvas to divide up where the sky will be and where the grassy ground will be. Measure about 4″ from the bottom of the canvas and draw a horizontal line.

Load your paint palette with the colors: phthalo blue and titanium white. Use a 3/4″ flat wash brush to mix a very light blue on your palette (about 1 part titanium white and 4 parts phthalo blue). You don’t need to blend this color all the way.

Start in the middle of the canvas (above the line where the sky is). We will be painting a very light blue “blob” area. Paint medium sized paint strokes going in different direction that blend on the canvas.

As you work your way outwards, continue to keep this middle area light blue. We will be gradually adding darker blue as we approach the edges of the canvas.

Add a little bit more phthalo blue to your brush and paint the edges of the canvas but keep blending your paint strokes with the light blue color.

Basically, we want a really light and bright center on the sky and slightly darker edges. This bright center will help create some really great “contrast” in our flowers later on in the painting!

2. Paint Ground
Load your paint palette with “hooker’s green hue permanent”. Use the 3/4″ wash brush. Start on the bottom of the canvas and paint left and right paint strokes that go all the way across.

As you work your way up, gradually lighten the green with “titanium white” paint. You want to create a gradient of dark green at the bottom and light green way in the distance.

Blend your dark green and light green together.

Wait for this to dry before going onto the next step.
3. Draw Oval Bucket
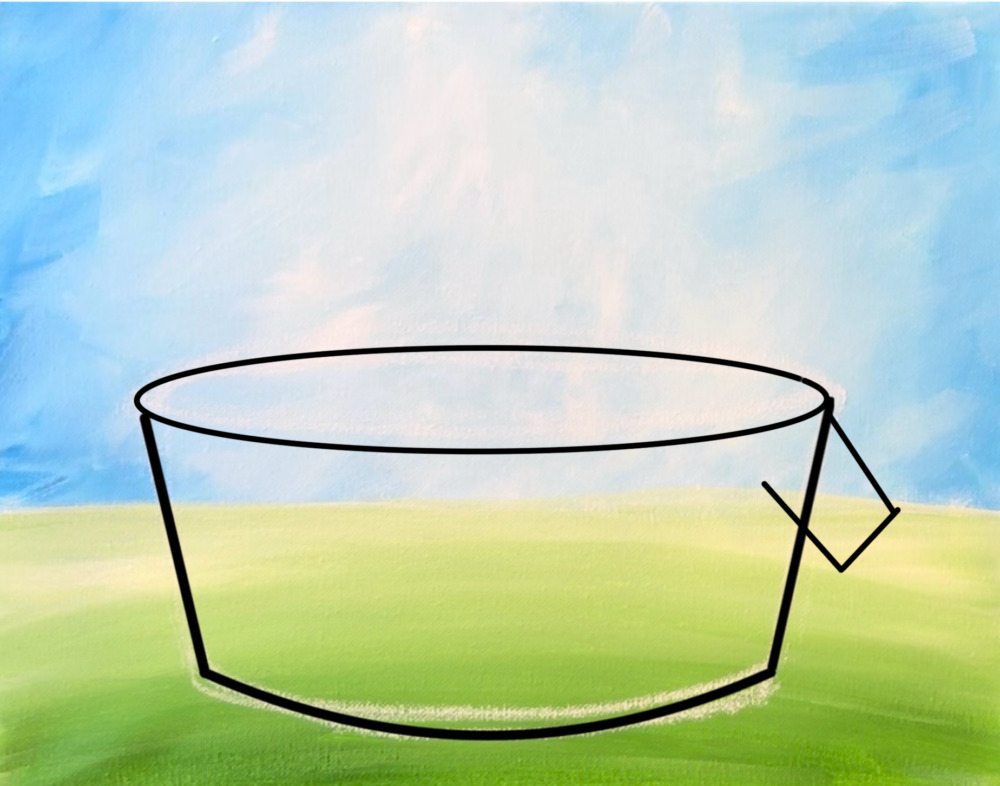
In this next step we will be drawing the oval metal bucket/ container. I recommend using a piece of chalk, however, you can also draw this with a pencil.
Start by drawing a long slightly curved line. I left about 1.25″ of space below this line at its lowest part in the curve. The width is about 7.5″.
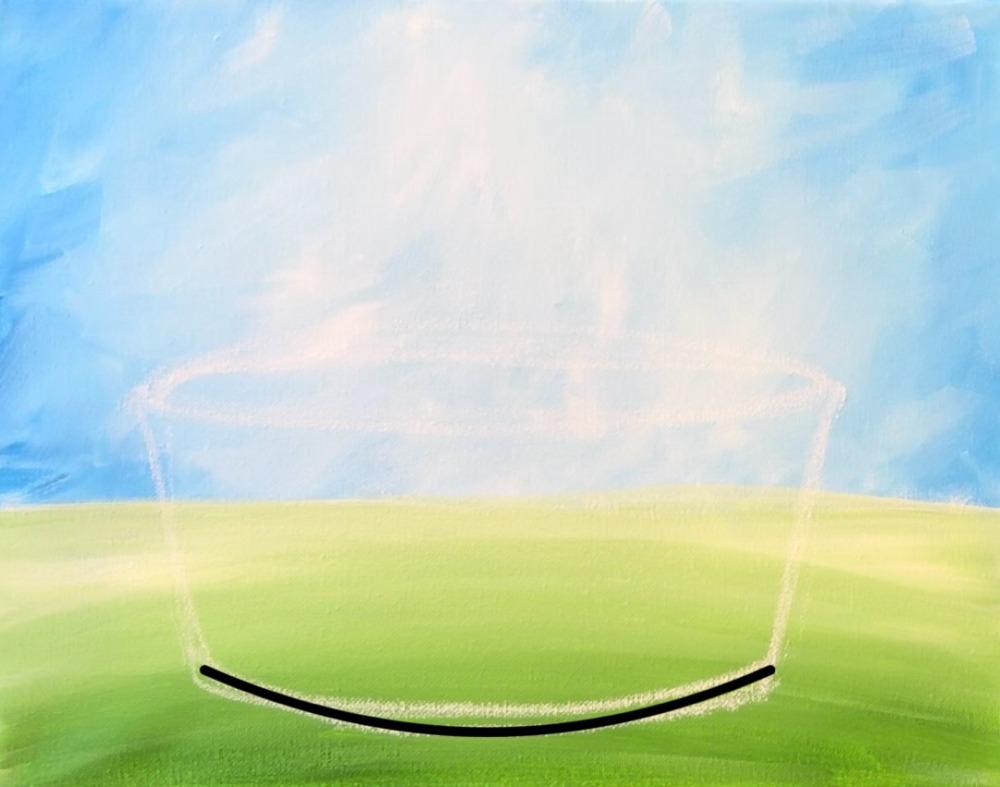
Then draw two diagonal lines for the sides of the bucket.
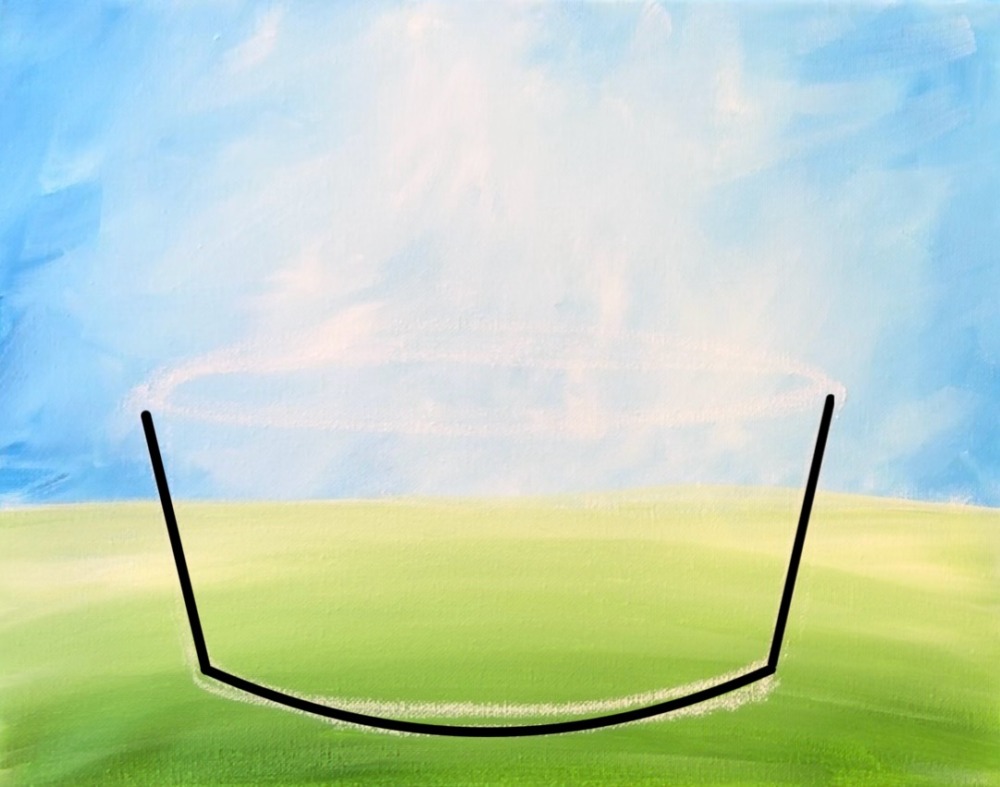
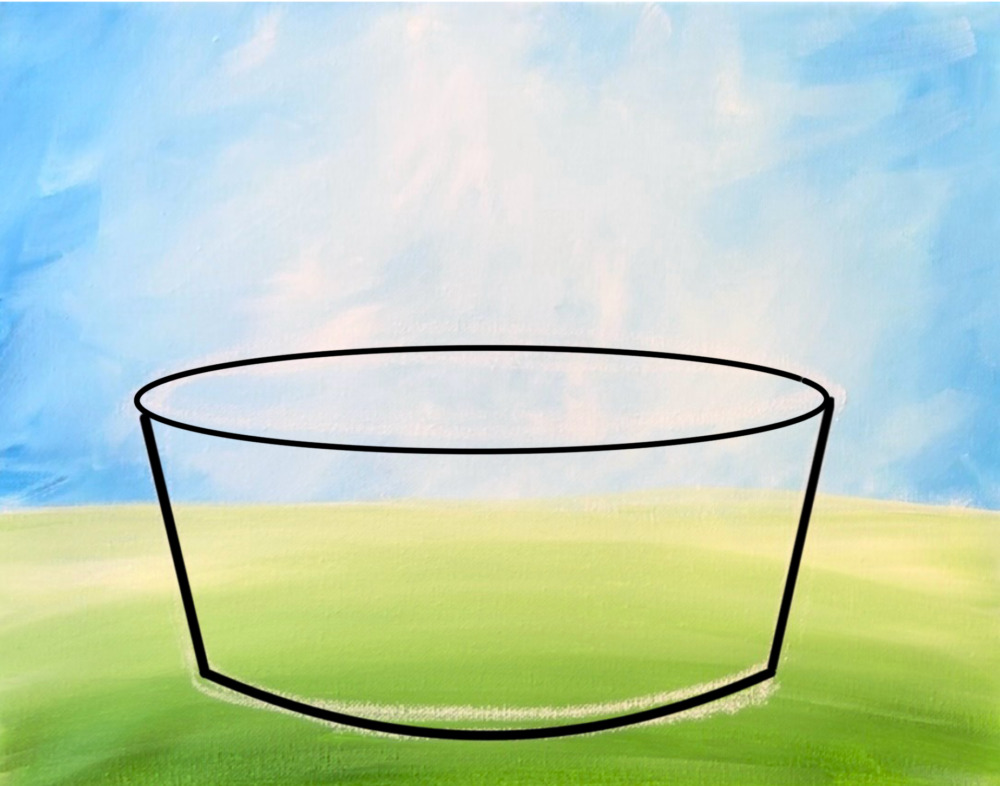
Optional: dry the handle on the right side of the bucket. This can also just be painted in later without having to draw it.
4. Paint Oval Bucket
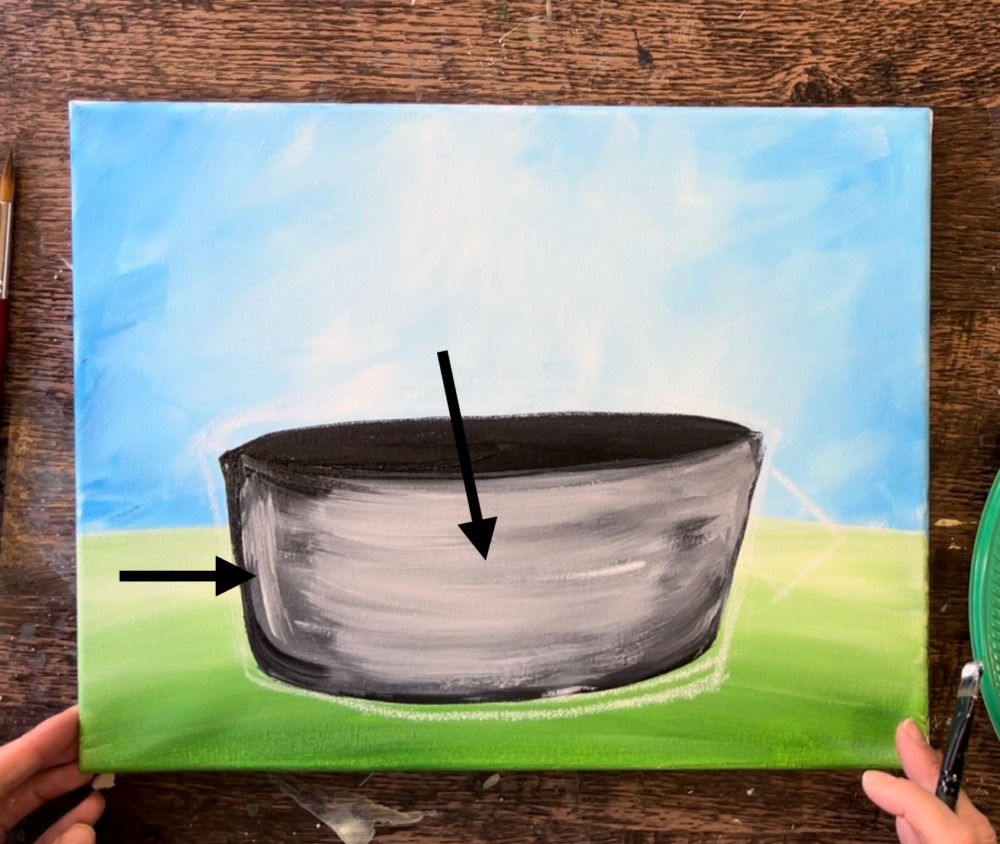
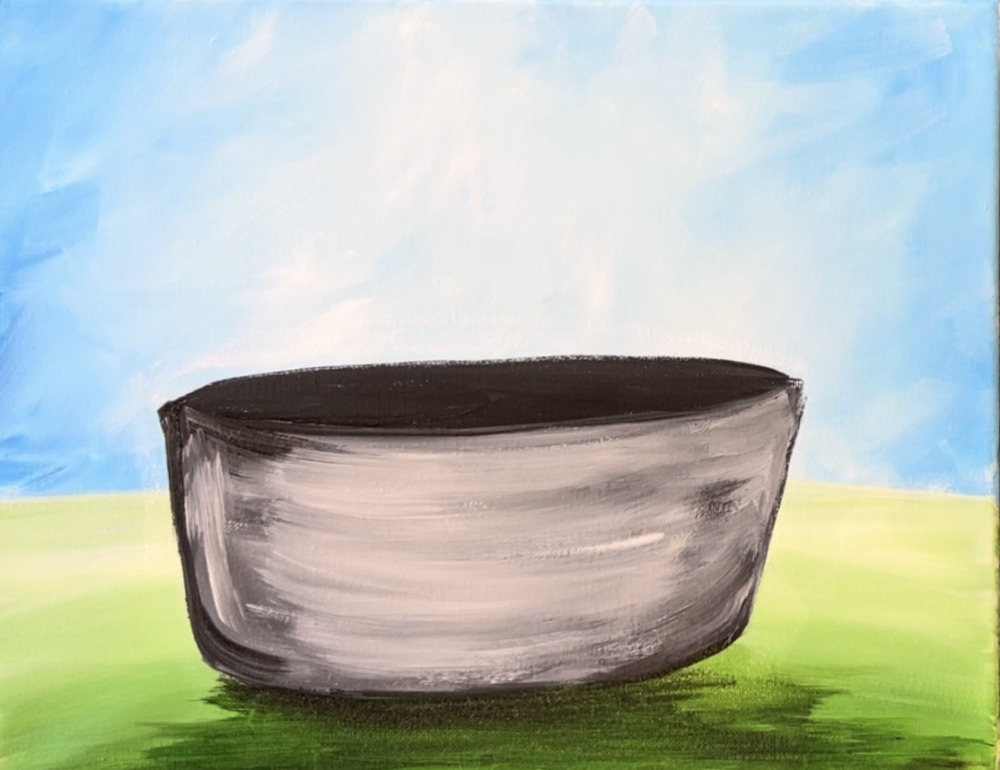
Load your paint palette with: “titanium white” and “mars black”. Mix about equal parts black and white together.
Use the #12 bright brush to outline the inner edges of the bucket.

Outline the oval opening as well.
Then fill in the body of the bucket using the full width of the paint brush and paint curved strokes. Add more white on your brush so that it appears lighter than the initial outlined part.


Allow the color to vary with streaks of lighter gray/white that does not blend all the way. This will create a “metal look”.

Next, fill in the opening of the bucket with solid “mars black” paint.

Add shadowing to the bucket on the sides by making it darker. Use the full width of the 12 bright brush and only a small amount of black paint on the brush to do this. Gently drag the color on the edges and go in a curved direction.

Next, I added some light gray highlights on the far left side and in the center of the bucket. The far left side has a highlight going parallel to the far left edge of the bucket. The light gray in the middle is going in a curved direction. Later we will add some brighter white highlights to this bucket but this needs to dry before we can do that!
5. Paint Shadow
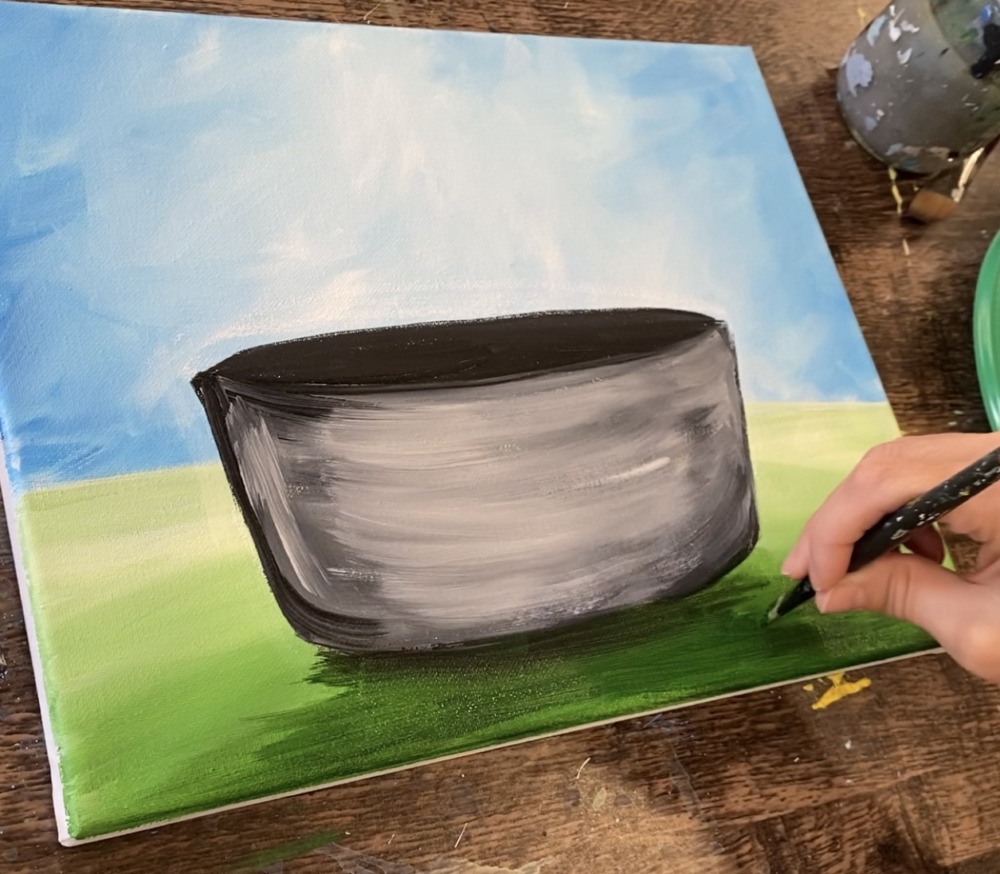
On your palette, mix a very tiny amount of “mars black” with “hooker’s green hue”. Use the #12 bright brush to paint shadow under the bucket. Paint in long, curved strokes. This is a “blob” area under the bucket.
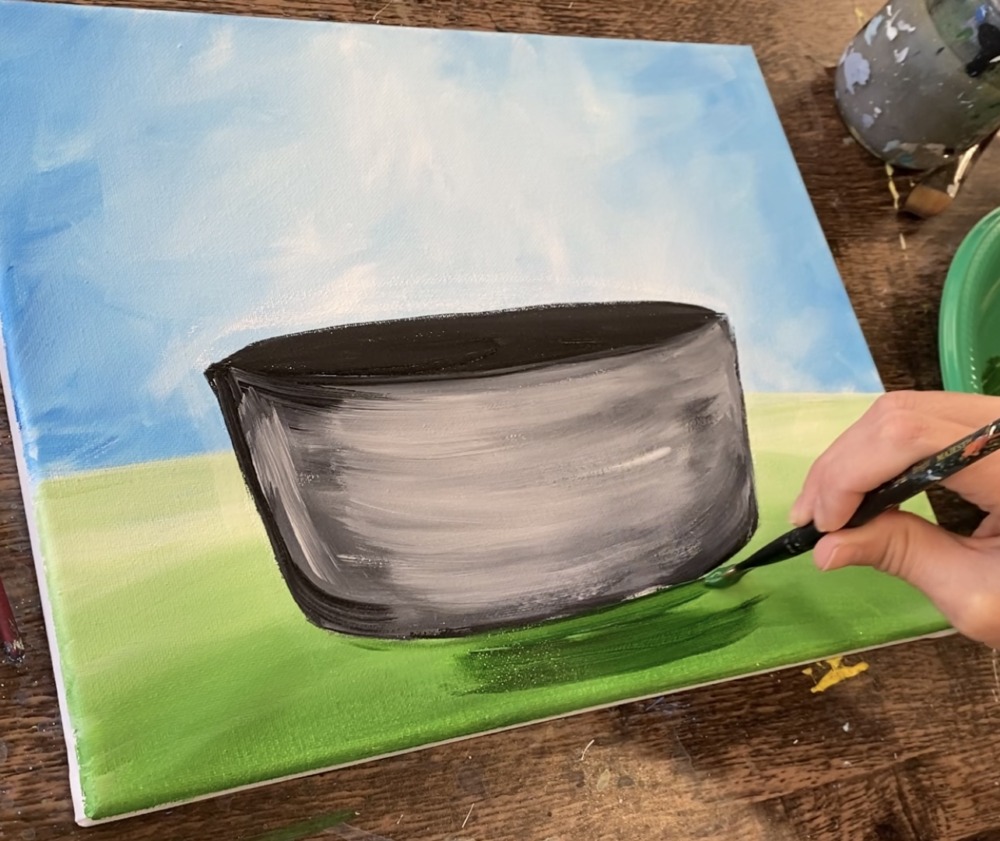
Go all the way to the bottom edge of the canvas.

Then add a bit more black/green just under the bucket to make the shadowy area extra dark in that area. Blend it out into the rest of the dark green.
6. Paint Handle
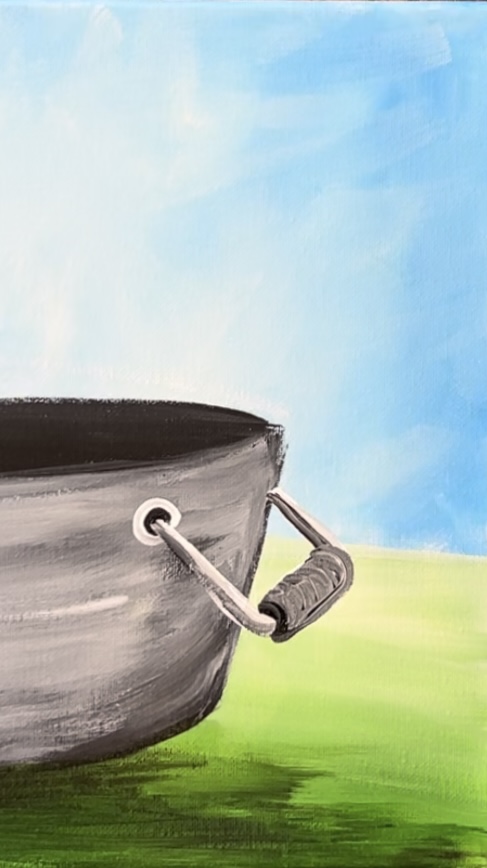
Use the #4 round brush and “titanium white” to paint the side handle of the bucket. Paint two diagonal lines going downwards and then another diagonal line to connect them.

Then paint a small oval shaped handle.

Use the #4 round brush to paint a small black circle around the white diagonal line. Then paint a small white circle around the black circle.

Add shading to the handle. Use dark gray (black mixed with white) to paint the bottom edge of the handle.

Then paint the little cylinder on the handle with gray. Paint this in a curved direction to get the shape of the handle. Paint the opening black (the part you see on the left).
Next, use the #12 bright brush and titanium white to paint highlights on the bucket. Paint a vertical mark on the left and a curved mark on the top and bottom. Then paint another highlight on the upper right corner.
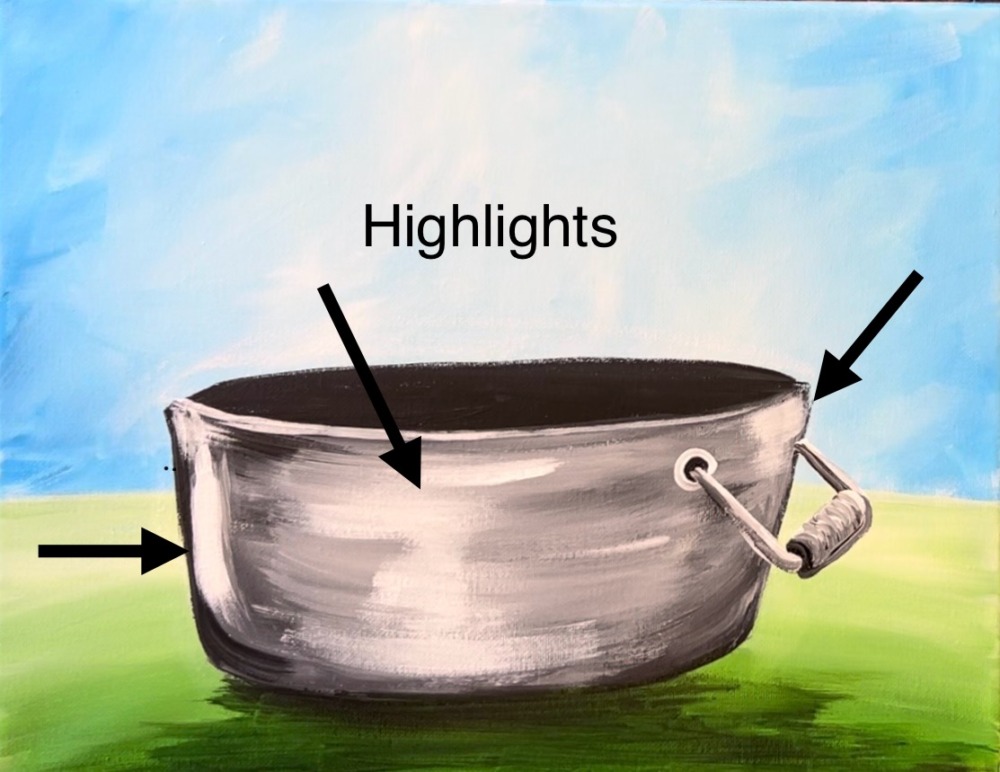
Next, paint two curved and very thin black lines on the bucket. You can use either the round brushes to do this. It helps to water the black down slightly to do these lines.

7. Paint Leaves
Mix “hooker’s green hue” with “titanium white” on your palette (about 2 parts 1 and 1 part green). You’ll need this first layer to be light in color so it can cover the dark background of the bucket.
Start by painting these leaves so they are hanging over the edge of the bucket. Geranium leaves are rounded and scalloped at the edges.
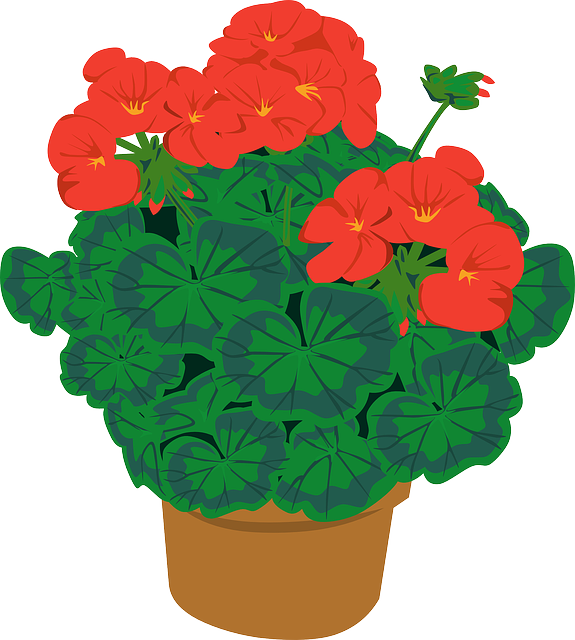

After painting them light green, add just “hooker’s green” to your brush so you can get a darker layer of green. Then at the base of each of the leaves, drag the dark green paint up in a diagonal direction. This will make the bottom half of the leaf dark green (the part closest to where the stem would be).

Paint a few more leaves going in different directions. You don’t need to paint the stems of these leaves.

8. Paint Stems
Use a #4 round brush and the same green you used for the leaves to paint stems. These are longer lines sticking up from the inside of the bucket. Each line branches out into three parts. I did three main stems as pictured below. More will be painted later.

Then paint another layer of dark green at the bottom of each of the leaves. This time, add a small amount of “mars black” into the “hooker’s green hue”. Then drag the #4 round brush with this dark green and go in diagonal directions. Don’t cover all of the other darker green layer.

9. Paint Flowers
Load your paint palette with “cadmium red medium hue” and “alizarin crimson hue”. Start by painting little five petal flowers using the end of the round brush to “stamp” the petals. These little flowers are starting just on the ends of the stems you painted.
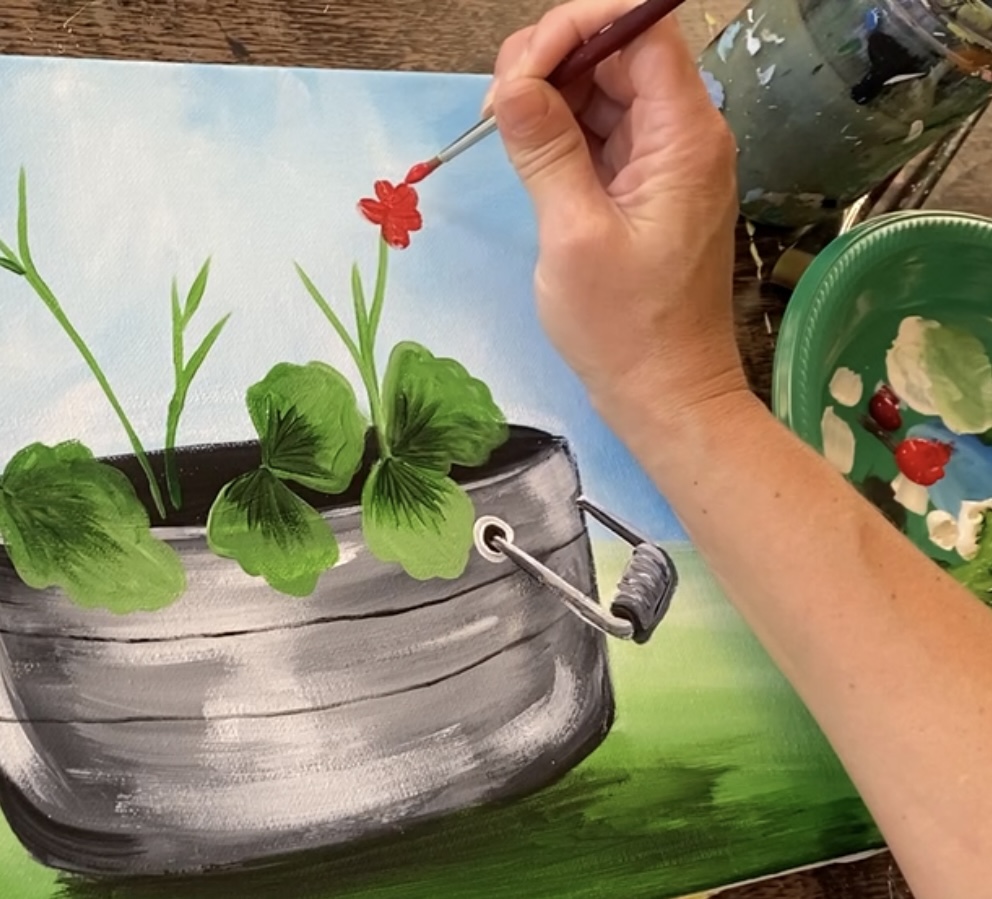
As you paint the flowers, you can use both the “alizarin crimson” and the “cadmium red medium” to paint different variations of red.

Some of the flowers are just little “dots” or “marks” made with the paint brush.

Mix a little “titanium white” with the reds on your palette to make different tint of red (light red). This will create even more color variation in your geranium flowers.

Fill the opening portion of the bucket with more little flowers and dots of paint. You can overlap some of the leaves and stems with more flowers as well.

Next, we will add some contrast in some of the flowers that we painted as “five petaled” flowers.
Use the #8 round brush and “mars black” to paint little diagonal lines in the centers of each of the flowers. This will help make the center of the flowers very dark and create some contrast!

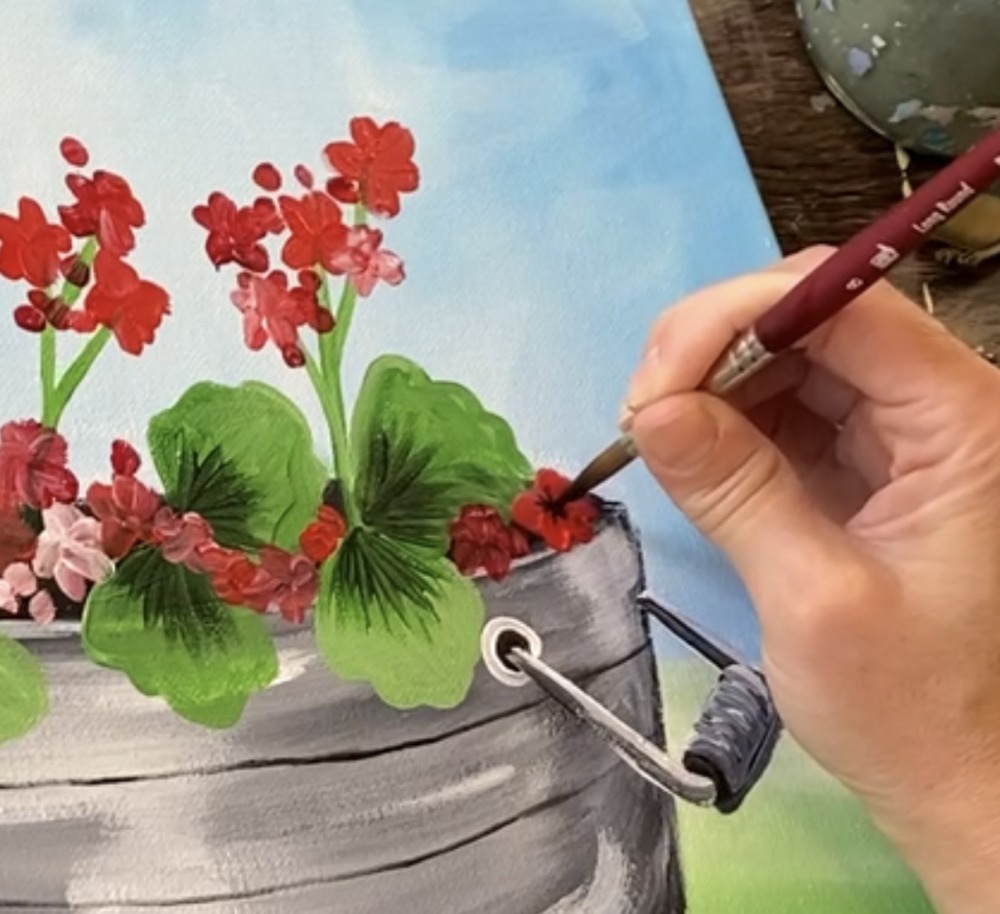
Only do the black little lines in the centers of the 5 petal flowers.
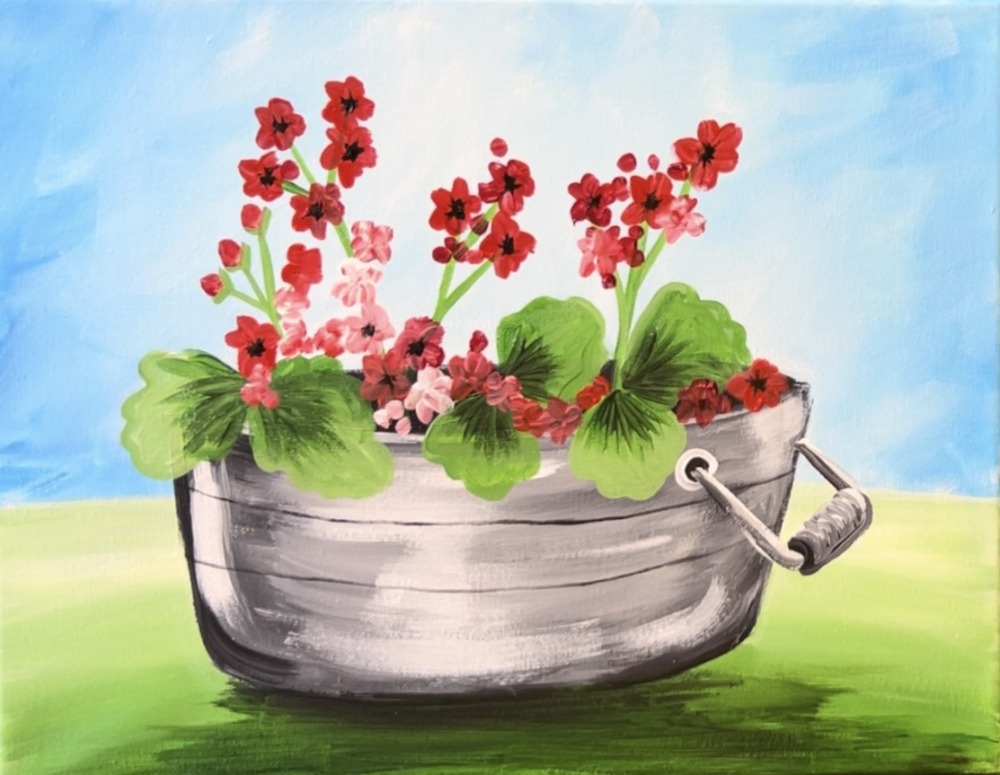
Then rinse the brush. Paint a small white dot in the center of each of the flowers that have the black.
Below is a closeup of the flower (after leaf and more stem details are added in later steps).
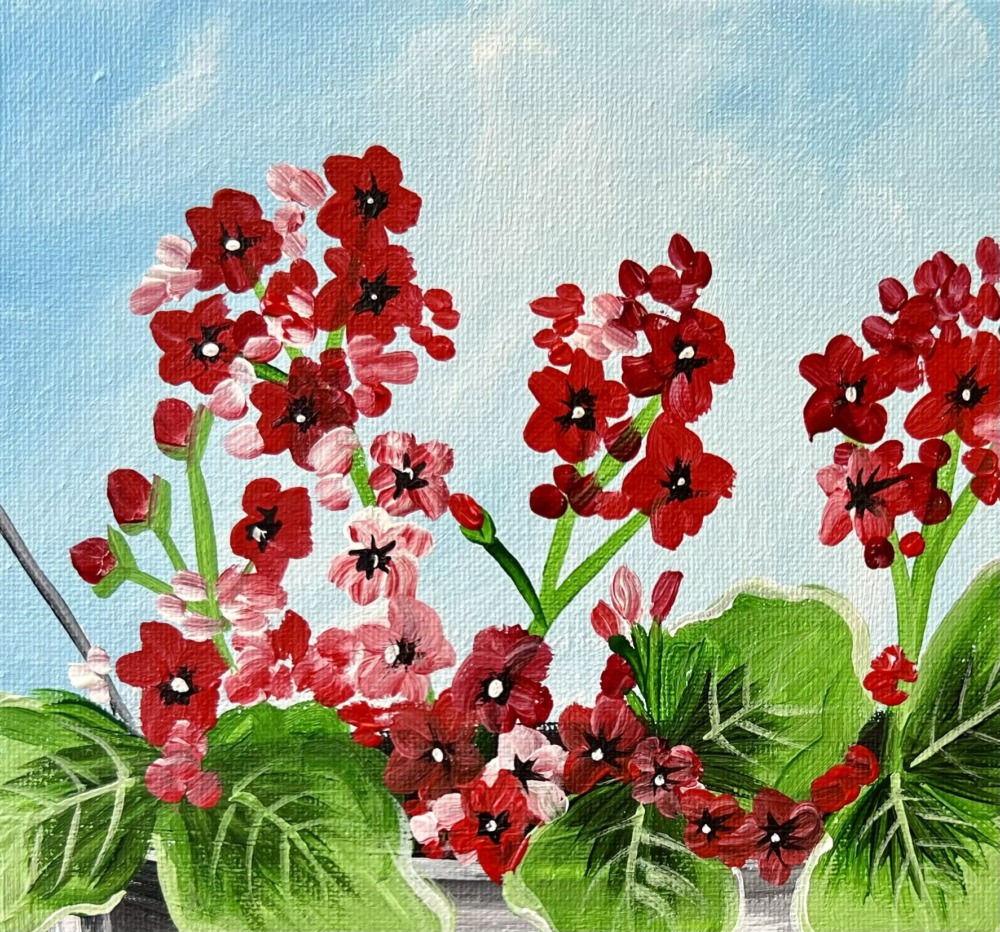
Next, we are going to detail the leaves more. Mix a light green on your palette by mixing “titanium white” with the “hooker’s green”. (About 3 parts white and 1 part green). This should be a lighter tint of green than the first light green layer we did. Outline the outer edges of the leaf.
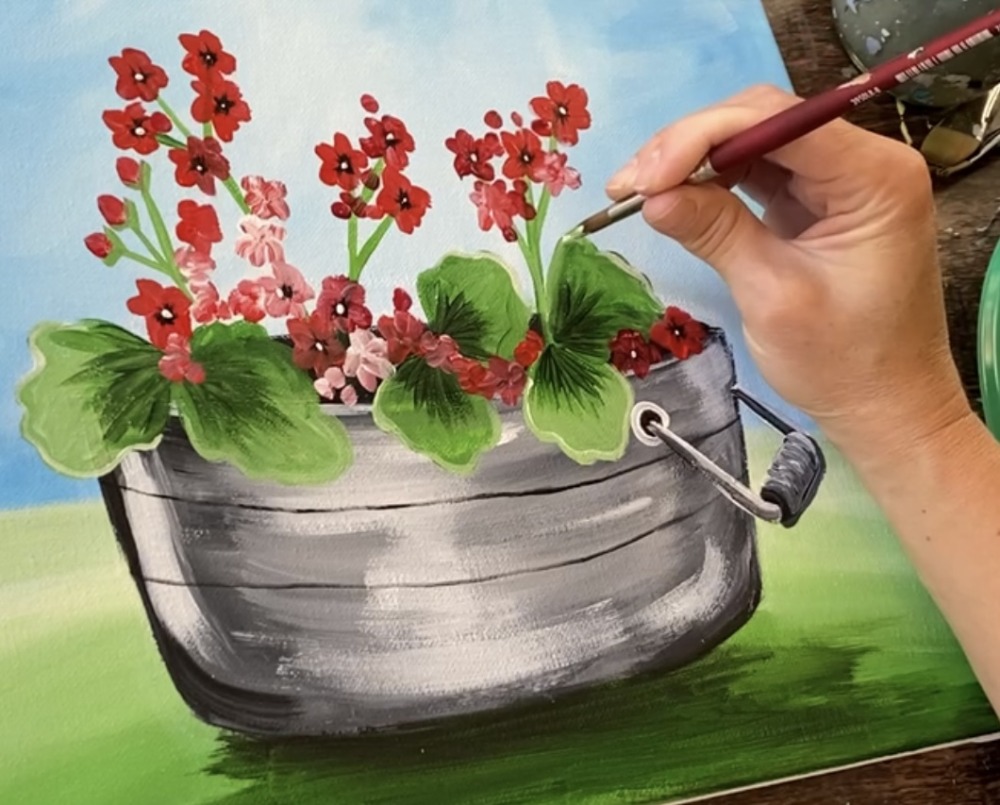
Then add leaf vein lines in the center but adding a center diagonal line and then little vein lines stemming out from the center line.
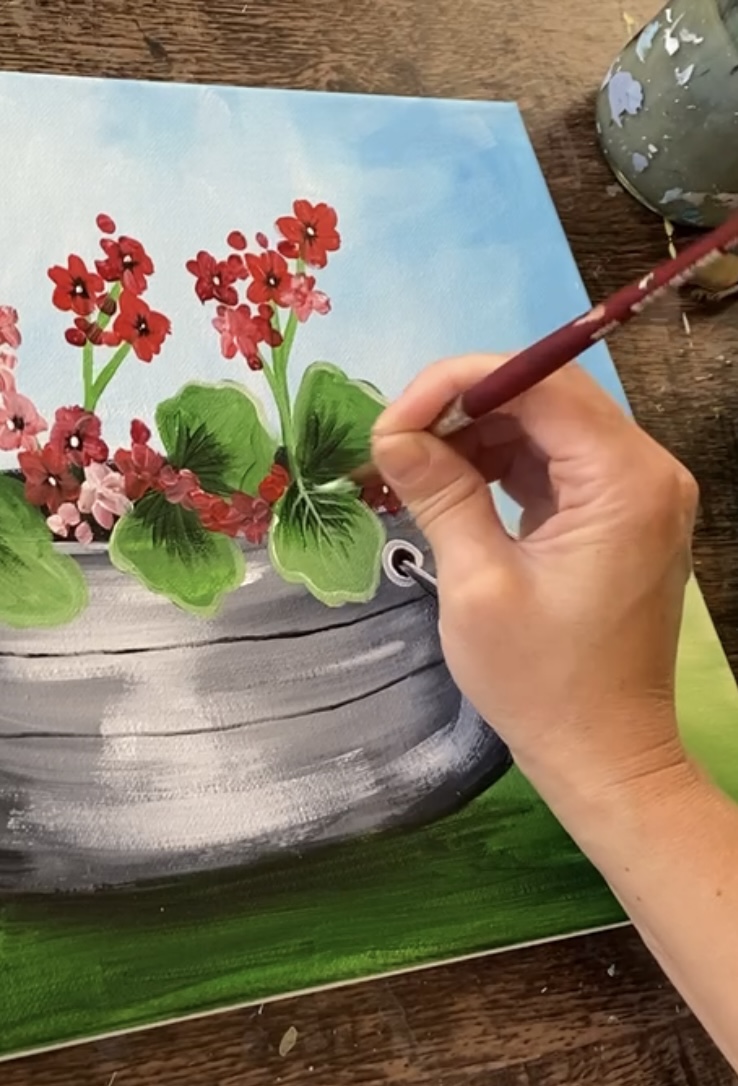
Do this to each of the leaves!

10. Paint Flag & Stars
Use the #4 round brush to paint the flag pol. Paint a diagonal line with titanium white mixed with mars black. Then paint a small black oval on the end of that line.

Rinse the brush. Then use either of the round brushes (I used the #8 round) to paint two stars. I did one larger star and one smaller. Both are on the right side.
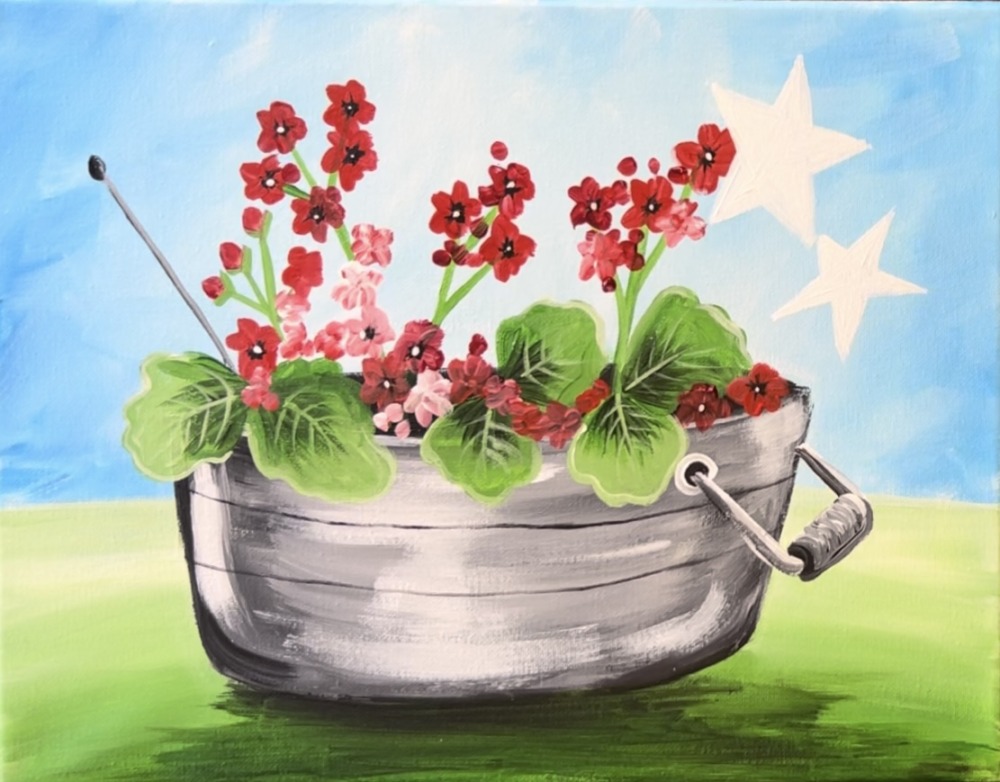
Paint a white flag hanging down from the pole. This shape isn’t exactly a rectangle. It has four sides and wavy edges as if the flag fabric is hanging down.

Next, use either of the round brushes to paint black on the right side edges of the stars.

Then paint red stripes (or a custom design) on the star on the left. Use either of the reds and a round brush to paint these strips.

Next, paint the upper right rectangular corner of the flag with “phthalo blue” and paint the star with “phthalo blue”.

Use a #4 round brush and either of the reds to paint the stripes of the flag. You don’t have to fit exactly 7 red stripes and they can by “running” into each other or hidden because of the way the fabric is hanging down.

Then paint little white dots for stars and little white dots on the blue star.

11. Paint Grass
As a final detail in this painting, we will paint little grass blades on the green brown. This adds some pretty texture!
Use the #8 round brush (for the small pointed bristles) to paint the grass blades. Mix on your palette a light green (hooker’s green and titanium white). It should be a “tint” of green that is light enough to show up on the dark shadowy part of the ground under the bucket.

Paint little clusters of grass blades that are going at different angles and different directions. I painted quite a few grass blades that overlap the bottom portion of the bucket.
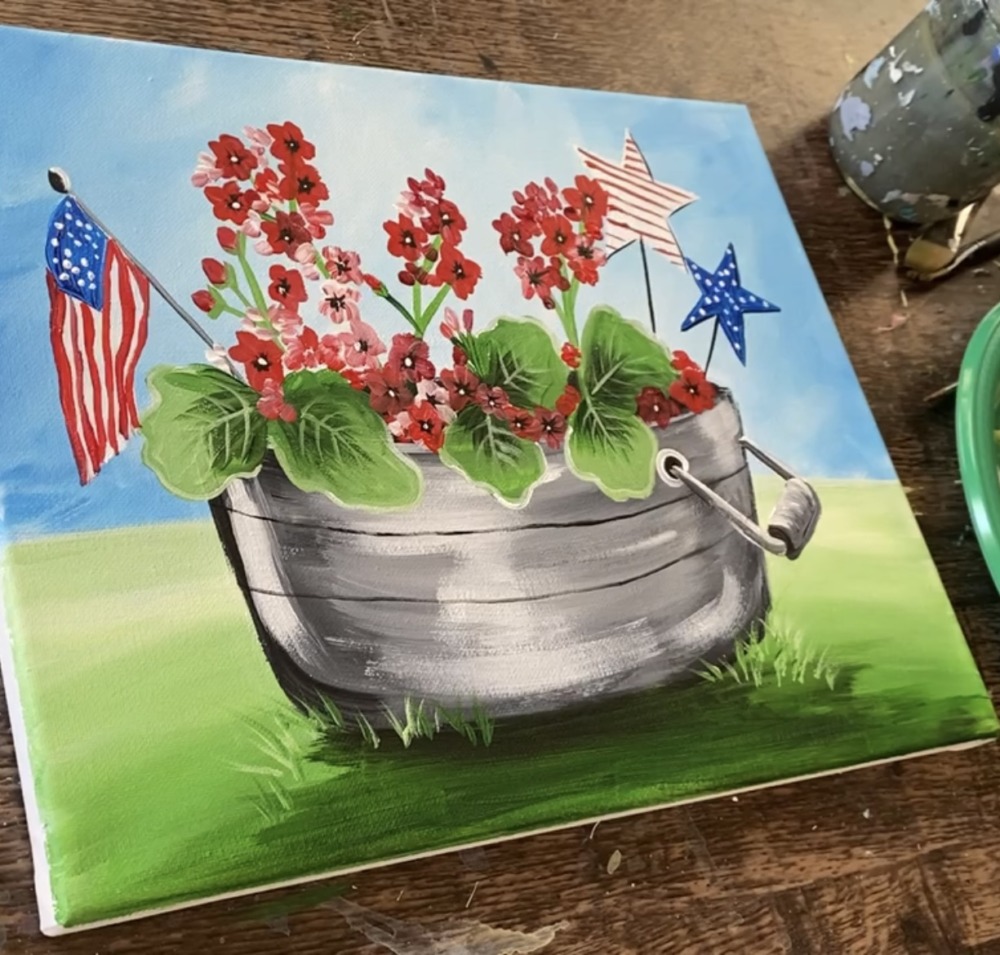
Vary your green so that some of the grass blades show up darker and some lighter. you can also add a little bit of black to your green to create darker grass blades.
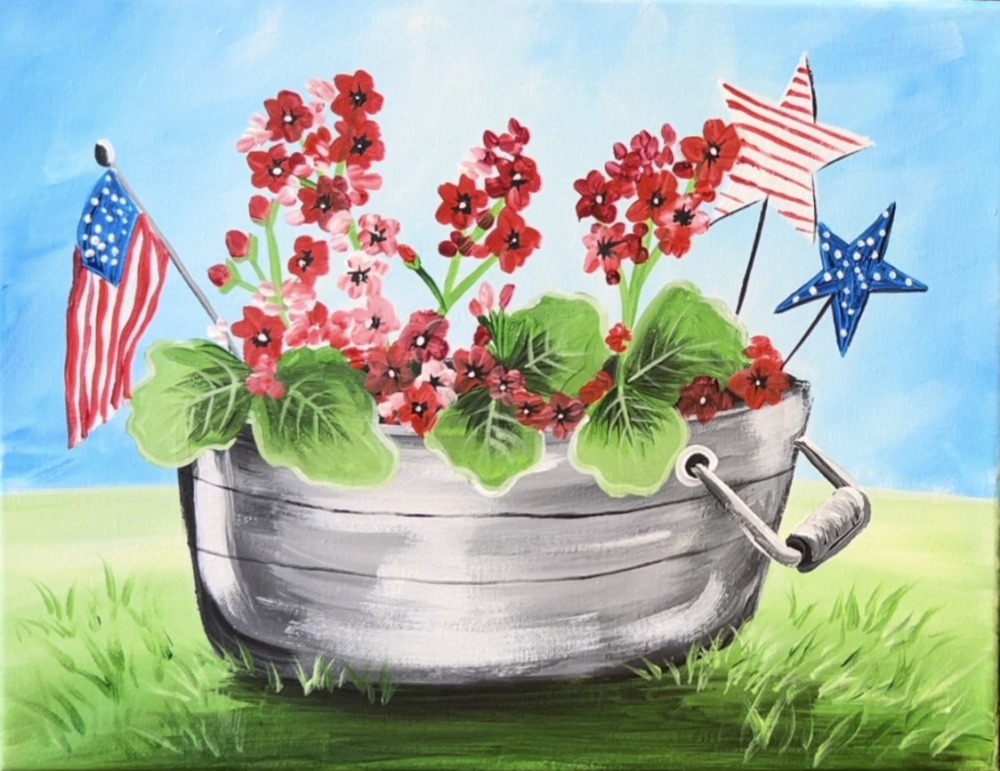
Notice the direction of the glass blades. The ones on the right side are mostly going towards the right. The grass is going the opposite direction on the left side of the bucket.
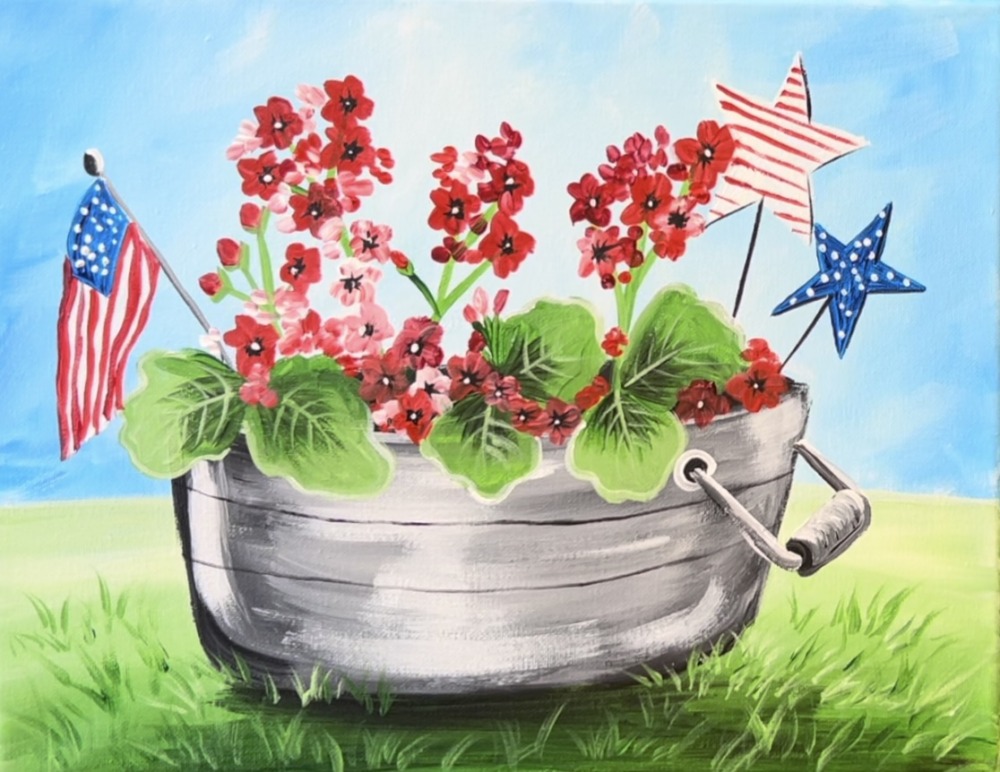
I painted this grass texture mostly on the bottom area of the painting. There are a few grass blades in the distance, however, I didn’t add grass everywhere in the distance (where the very light green is).
Finished!

Hey! Do you have the apple barrel craft paint substitutes for this painting? Thanks!
Yes! So this one you can use: “Flag Red”, “Holly Branch”, “Bright Blue”, “Black”, “White”. Then for the other red, I would use “Bright Magenta” and mix it in with the “Flag Red”.
Love this. Is there a traceabke