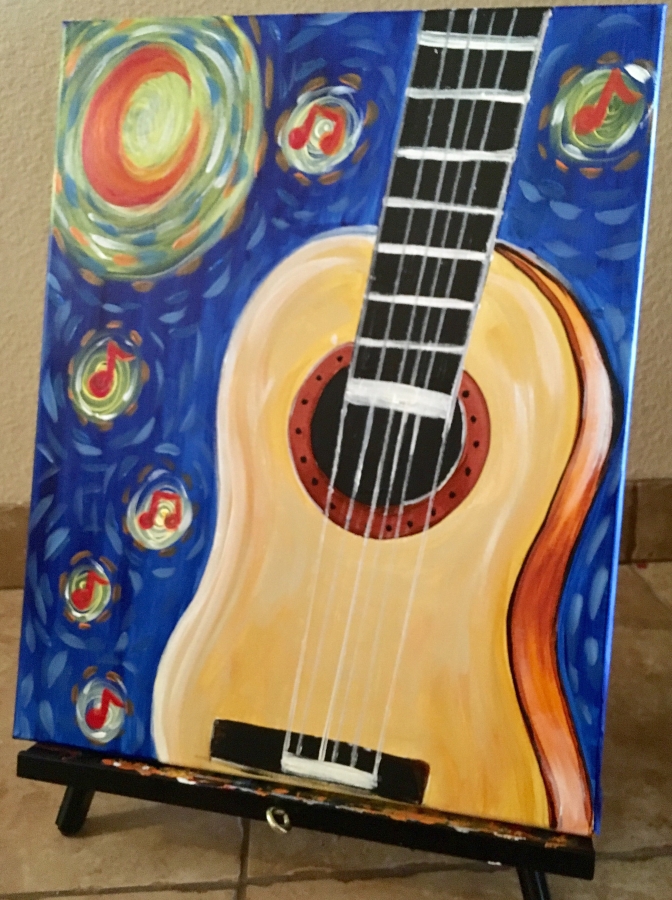
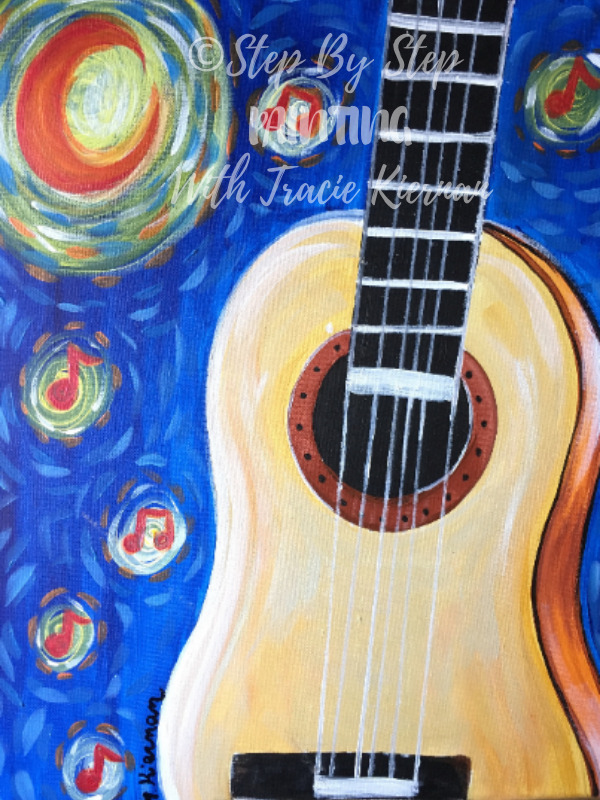
How To Paint Guitar Starry Night (“Guitarry Night”)
Description:
In this tutorial you will be guided step by step with my process pictures and a full video. If you don’t like the starry night, you can definitely add something different to the background!
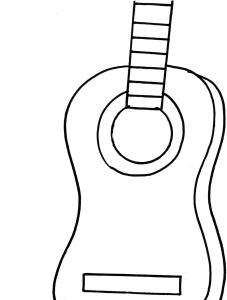
It looks great as a plain blue background but you can also switch the colors and add things that inspire you too! The traceable is provided so you can ease any anxiety about having to draw the guitar.
Credit for the music note stars goes to my husband who came up with that idea rather than just doing stars!
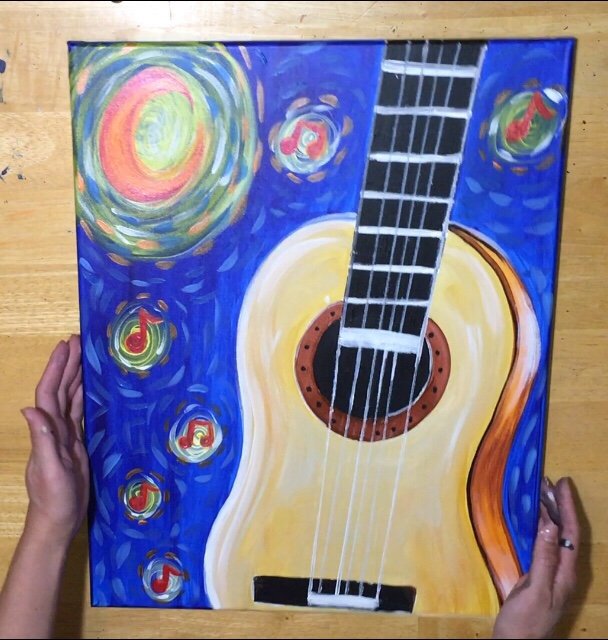
Enjoy and happy painting artists!
Tips For Painting With Kids:
This painting is an EXCELLENT kids painting! I encourage you to paint along with your kids, see what inspiration they come up with in designing their guitars! If they want to stick with starry night, that is perfectly fine! It could also be a great learning opportunity to study Vincent Van Gogh’s original Starry Night Painting.
They may need the guitar traced on a smaller canvas because the 16 x 20 is a large area for little hands to paint. Also, they may need extra assistance in tracing the guitar. I find that outlining it with a sharpie for them helps (and helps for adults too because you’ll be able to see the drawing)!
Materials:
- 16″ x 20″ Canvas
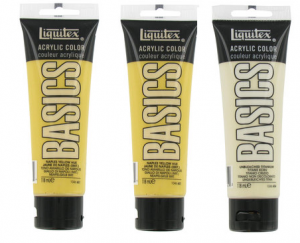
- Acrylic Paint (I used Liquitex BASICS) Match whatever brand you have on hand!
- Cadmium Red Medium (Bright red)
- Cadmium Orange (Bright Orange)
- Phthalo Blue (Dark, Deep Blue)
- Cerulean Blue (Light Blue)
- Unbleached Titanium White (This is a very light, almost light oak color)
- Naples Yellow (Dark-Medium Yellow. Almost like a yellow-oak color)
- Cadmium Yellow Medium (Bright Yellow)
- Yellow Oxide (Dark Yellow)
- Burnt Sienna (Dark Reddish Brown)
- Titanium White
- Mars Black
- Paint Brushes
- 1″ Flat
- 1/4″ Flat
- #3 Round
- #1 Round
- #0 Round (If you don’t have a paint pen for the strings)
- Ruler
- White Paint Pen (Optional but it helps when doing the guitar strings)
- Traceable
- Graphite Paper
- Drawing Pencil
- Easel (I love these Hobby Lobby easels!)
Traceable:
Click here to go the the Printable PDF library.
Print each on a 8.5 x 11 piece of paper. Or, if you are doing this on a smaller canvas, use the guitar that is on one sheet instead of two.
If you are doing this on a smaller canvas, then scale down instead of scaling up or print the guitar that is attached together. Click here to go to instructions about how to scale up or down your printer settings.

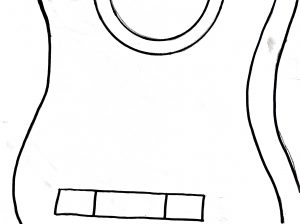
How To Draw The Guitar (super simple!):
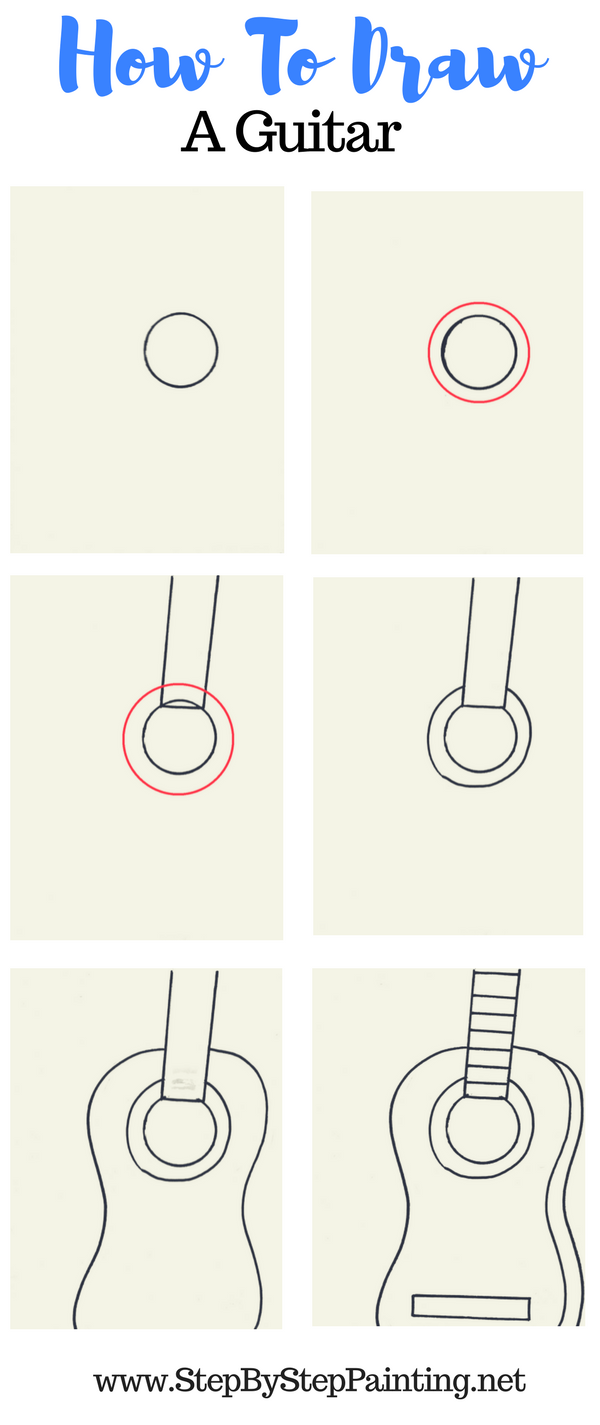 Tip: Use a circle or a compass to draw the two circles and use a ruler for the guitar neck!
Directions At A Glance:
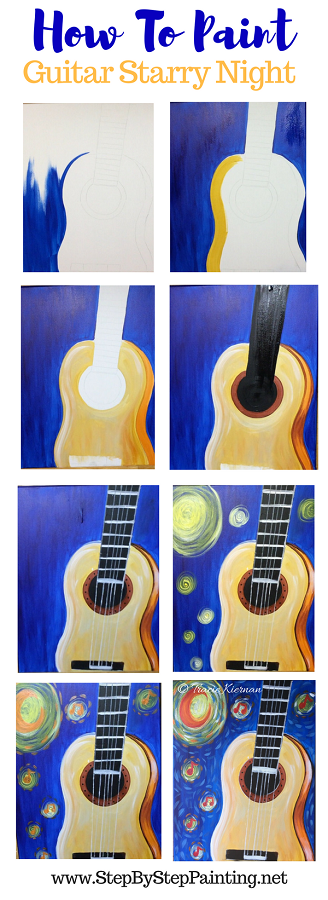
Video:
Step By Step Pictures:
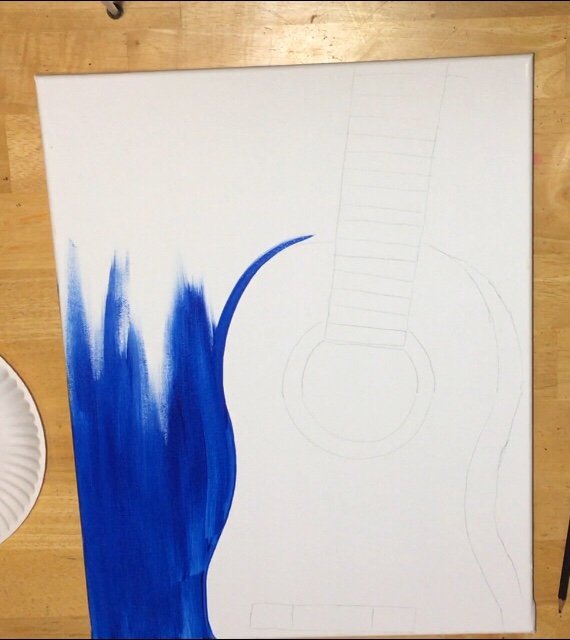
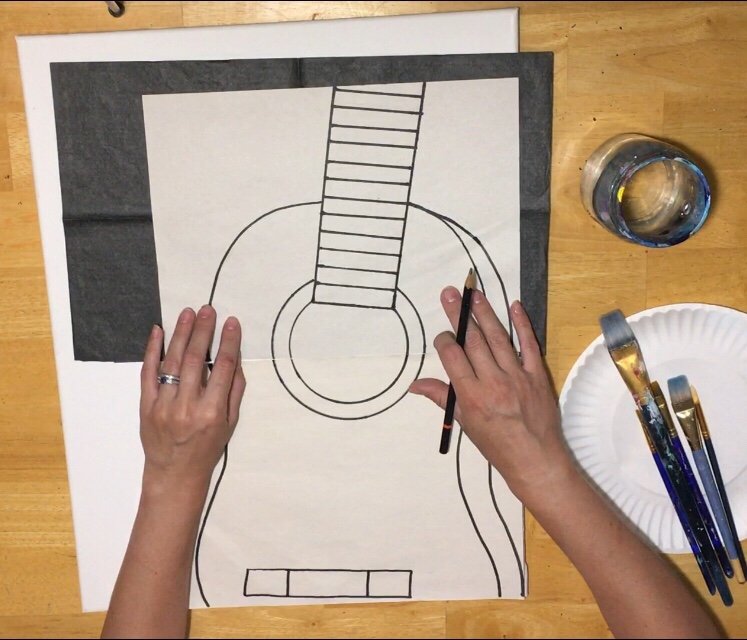
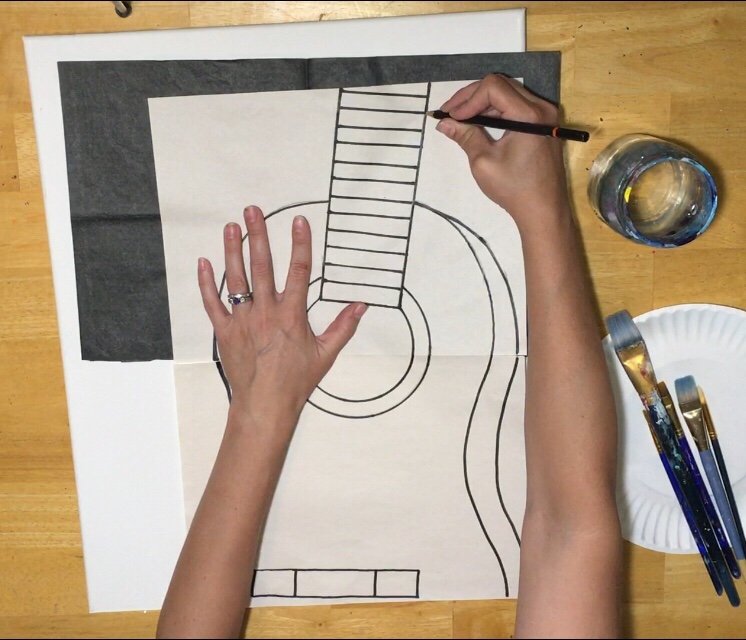
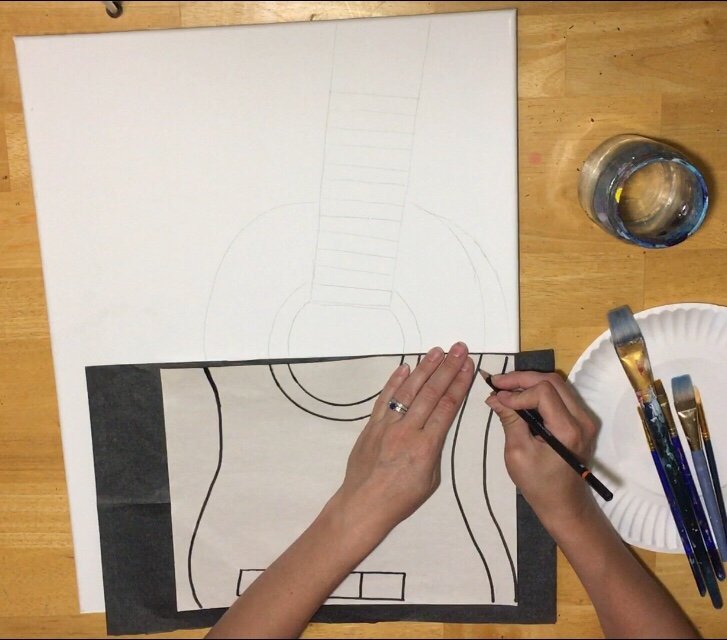
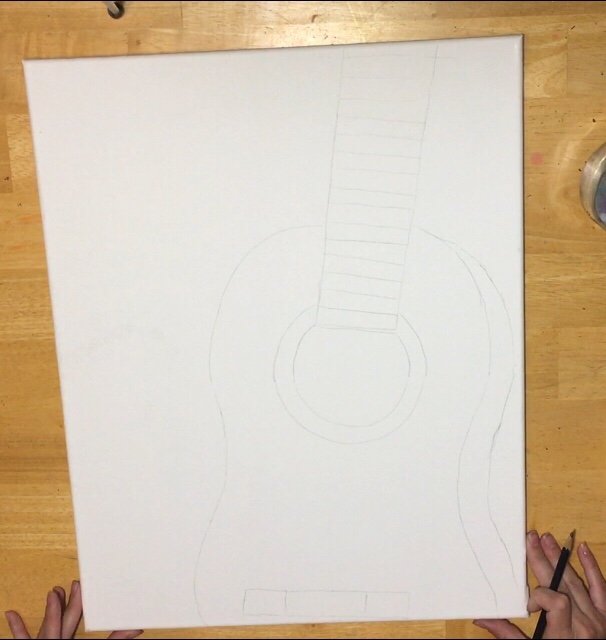
1. Trace or draw the guitar on the canvas
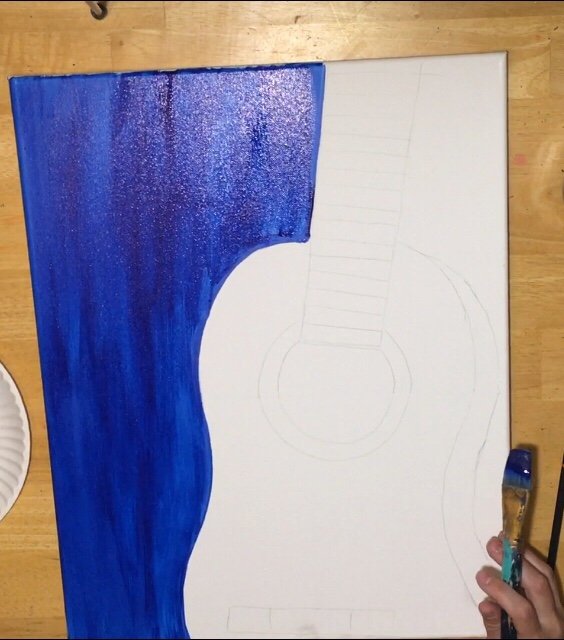
The print out is on two separate sheets of paper because this guitar is BIG. It takes up almost all of my 16″ x 20″ canvas. Go back to the traceable section of this tutorial for some instructions about printing. I used graphite paper to transfer the guitar onto my canvas. Note that the top part (the long vertical handle) had to be drawn some more on my own to fill up the rest of the canvas.

2. Paint The Entire Background Phthalo Blue
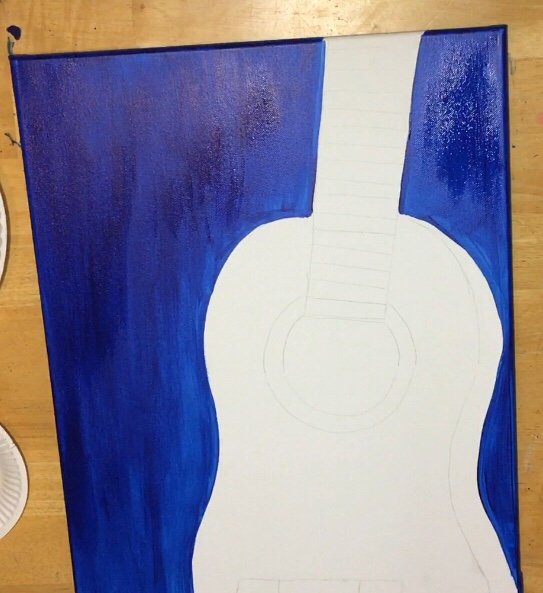
I used a 1″ flat brush and the color Phthalo blue to paint the background. The color was thinned “slightly” with water to help it spread.
What I’ve discovered is if you thin acrylic paint too much with water, it might have issues with drying and binding to the canvas correctly.
Make sure your strokes are going up and down. You can outline the shape of the guitar slightly to help you paint around it too! 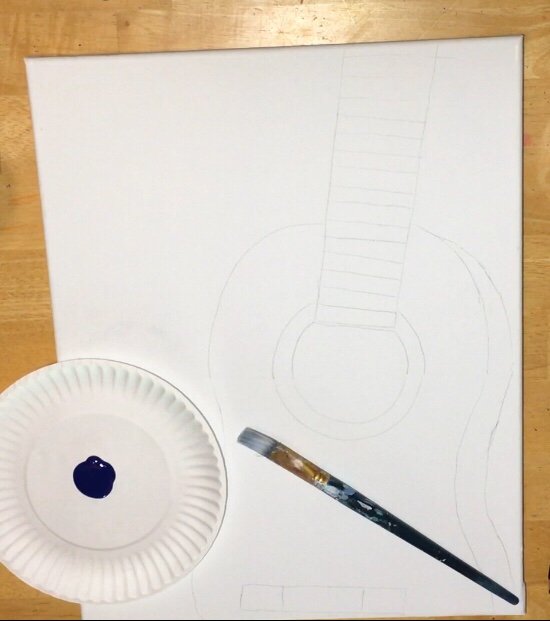
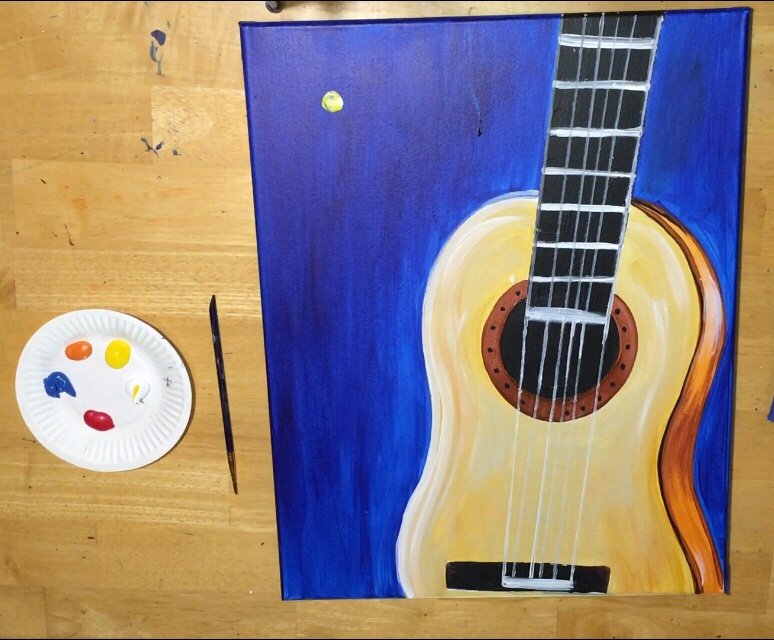
3. Use the colors: Yellow Oxide, Naples Yellow and Unbleached Titanium White to paint the guitar.
Next, I used a 1″ flat brush and the colors: Yellow Oxide, Naples Yellow and Titanium White. First, start with Yellow Oxide and paint with the curves of the guitar. Each stroke is “flowy” and contouring. Without rinsing the brush, add in Naples Yellow and then Titanium White. There really was no rhyme or reason where I applied each tint of yellow but it is lighter on the left side and towards the top of the guitar. I just let the colors mix on the canvas. 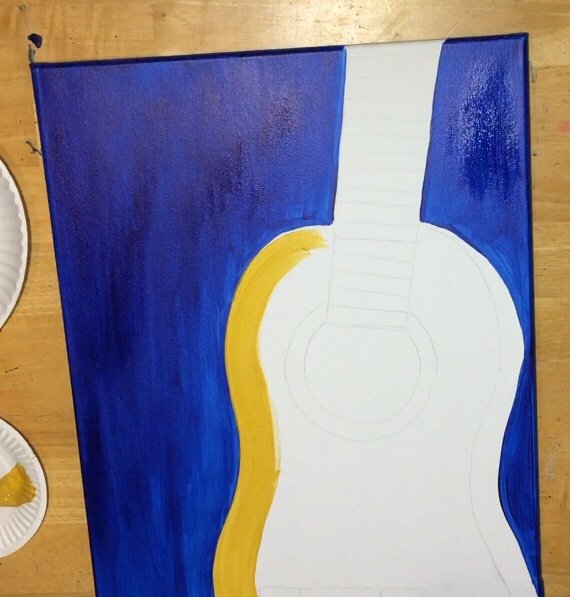
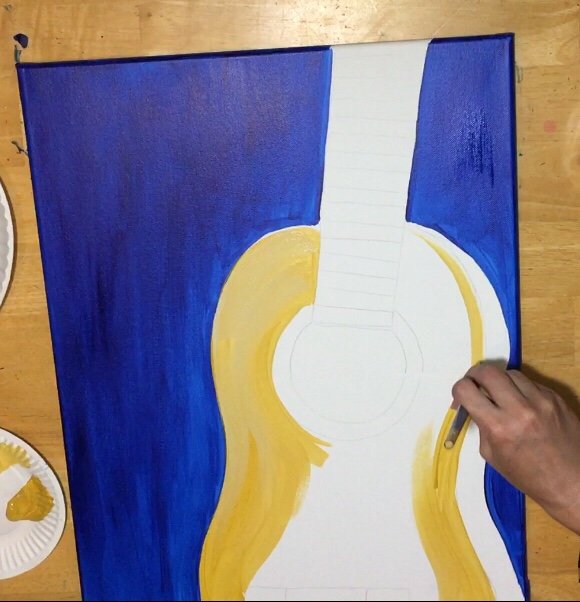
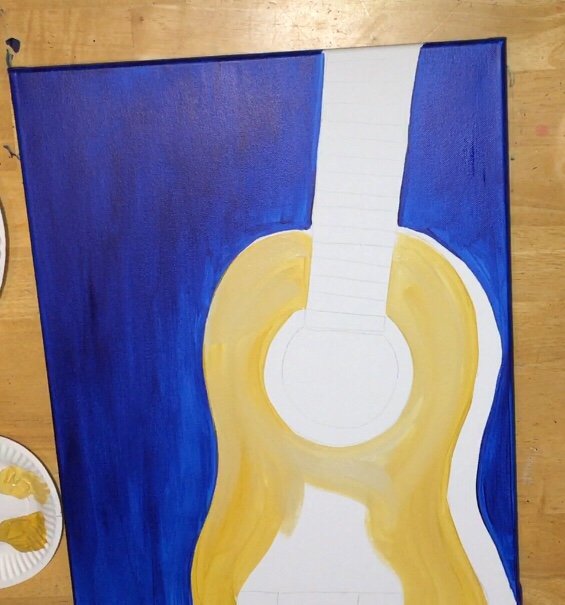
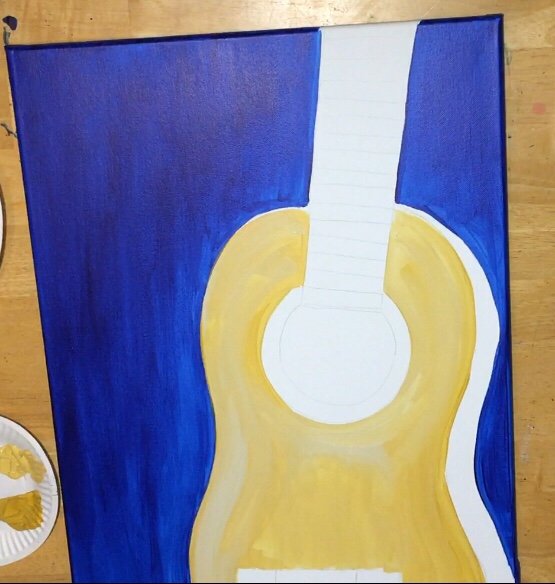
4. Paint The Side Of The Guitar Cadmium Orange
Then I painted the side of the guitar (the part that makes it look 3D) with cadmium orange. Again this stroke should contour the shape of the guitar! Also I added in some cadmium orange on the right side of the body of the guitar!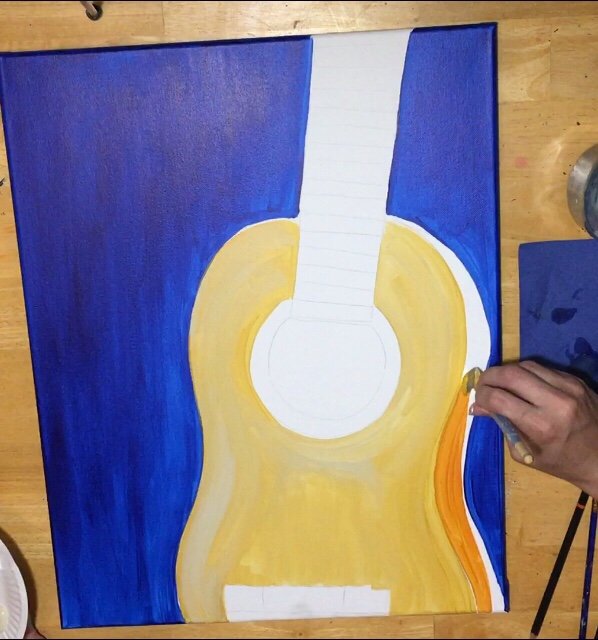
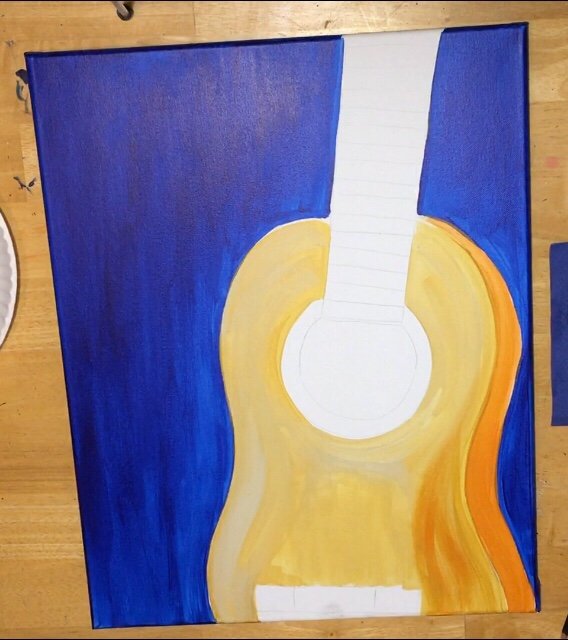
5. Paint some Titanium White “highlights” on the guitar body.
Next I painted just a few contour titanium white lines on the body of the guitar. This just gives it some more dimension and interest! I did this around the circle and on the left side of the body. It’s ideal if those yellows aren’t dry yet so it blends right in!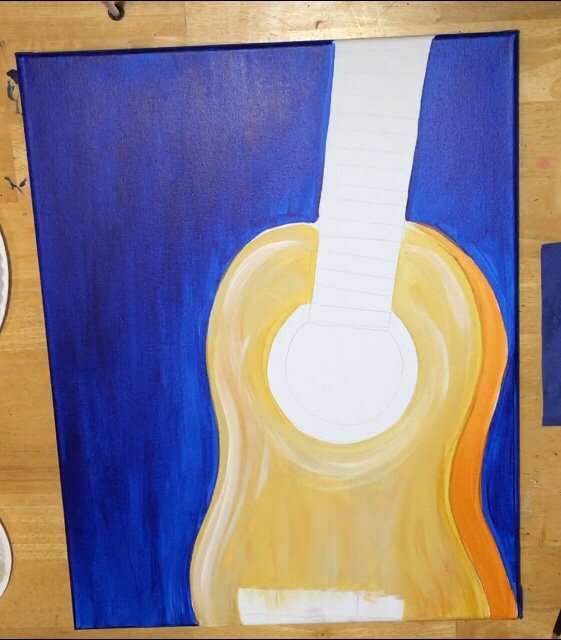
6. Outline the side of the guitar with Burnt Sienna
Then I used a #3 Round brush and burnt sienna to outline the side of the guitar. Also, I added some shadow dark area on the “dip” area of the curve on the right. Then I painted in the round sound hole with a 1/2″ flat brush and burnt sienna.
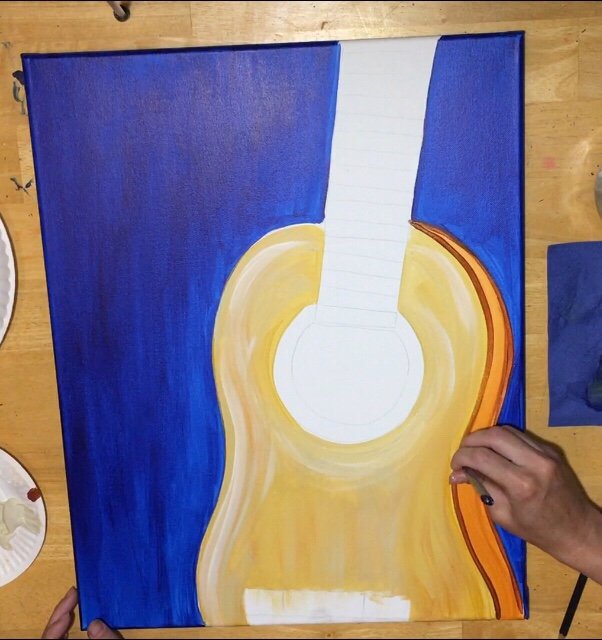
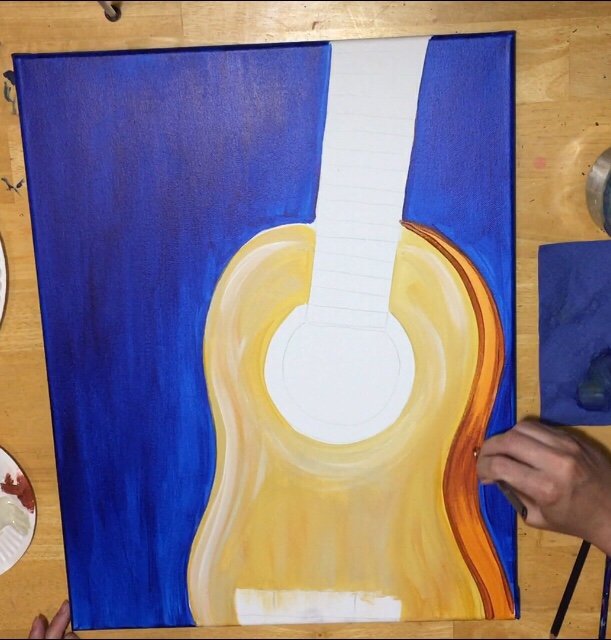
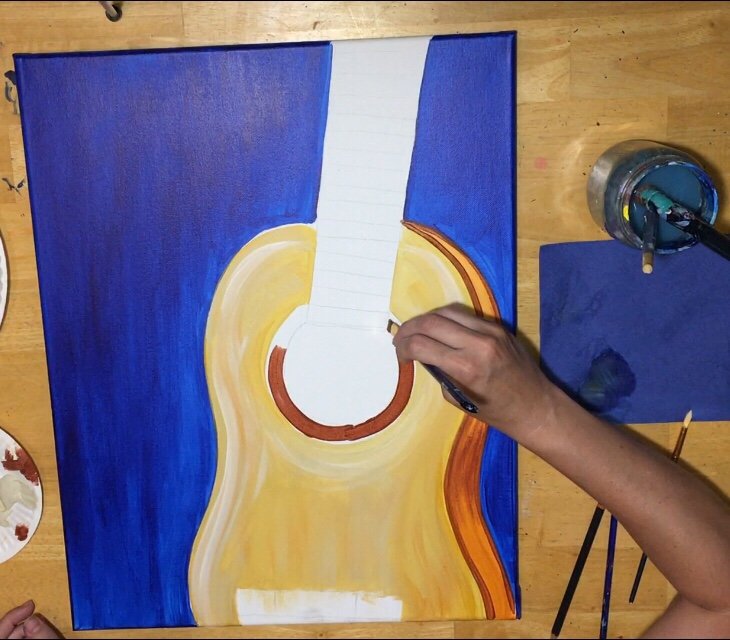
7. Paint the sound hole and entire neck with mars black.
Next I used my 1″ flat brush to paint that entire inner circle and neck. Make sure your strokes go with the shape. For example, my strokes in the circle were going in a circle shape and my strokes on the neck where going diagonal with the lines of the neck.
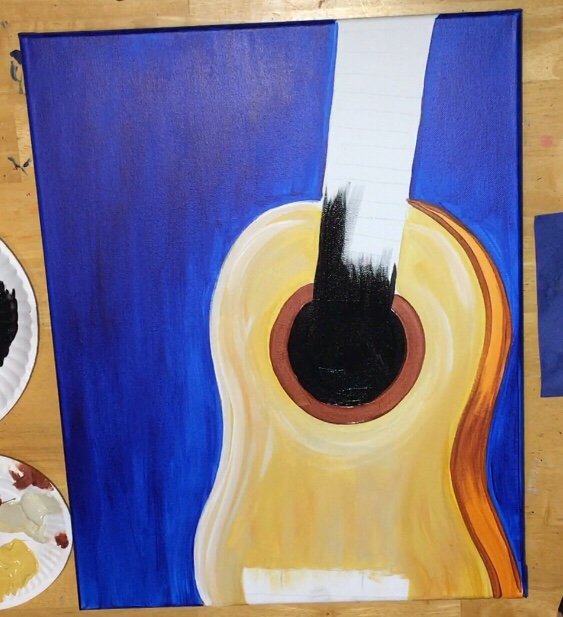
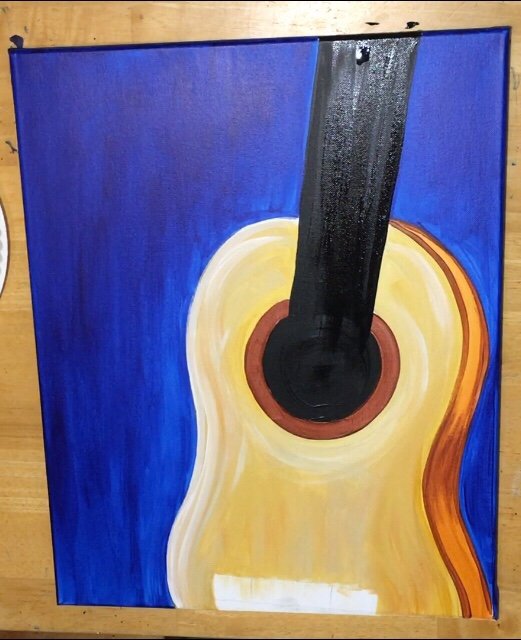
8. Define the line where the neck begins.
Then, I grabbed a small #1 brush and titanium white. I painted the line where the neck begins so I can help define this shape. Actually, I wanted to do the fret lines at this point but my black wasn’t dry yet so I stopped here! 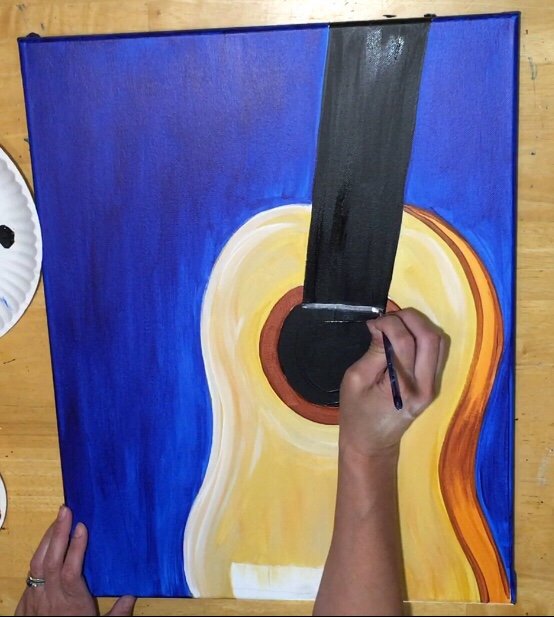
9. Outline some black on the side & add dots to the sound hole circle.
While I waiting for that black to dry more, I went in with a #1 round brush and that black and outlined the side of the guitar again. This was done slightly to where I could still see some brown left under that line. Then I painted little dots on the circle of the sound hole. 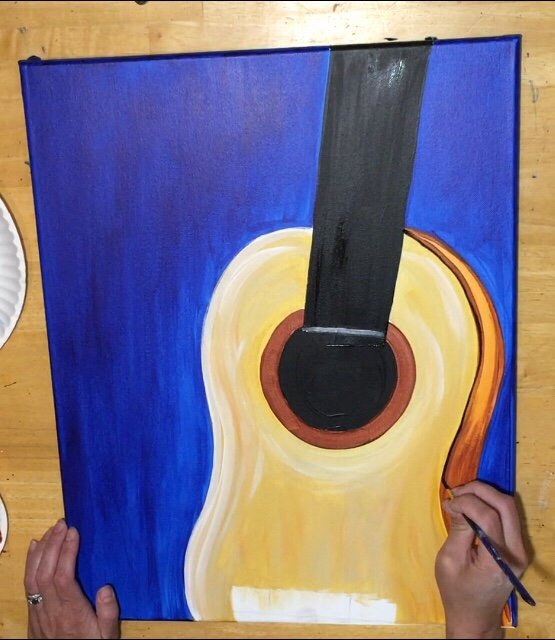
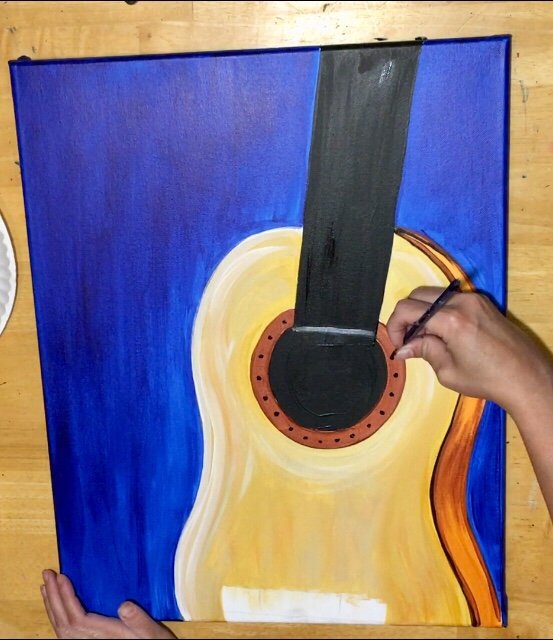
9. Use a white paint pen or a small round brush to draw the fret lines.
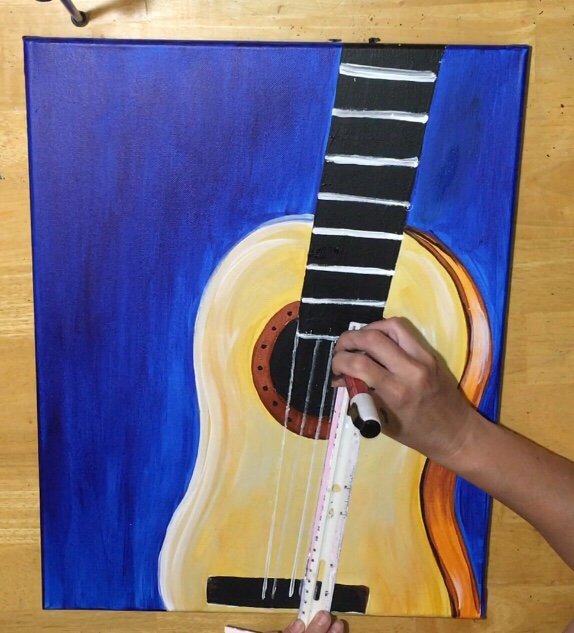
Okay, I’ll admit, this part got a little “meh” for me. If I were to redo this painting, I don’t think I would use the paint pen again. It takes away from the “character” of the painting. Any how, I used a white paint pen and a ruler to draw the fret lines. Each line is about 2 fingers apart. Definitely estimate this. 
10. Paint the guitar strings.
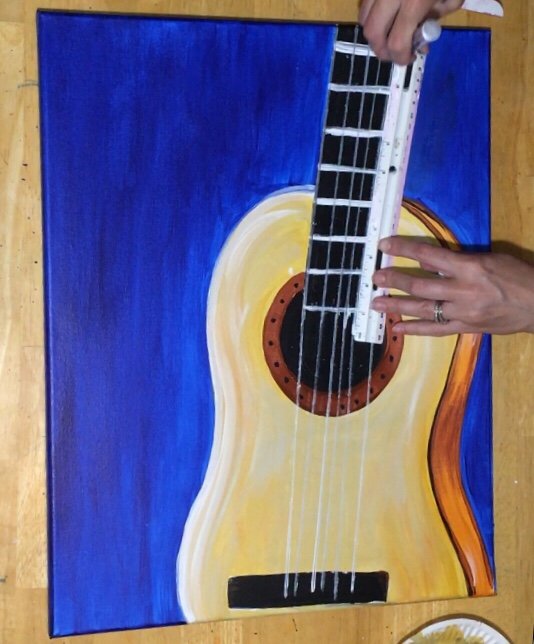
Again, I used a ruler and a paint pen to draw the strings. The paint pen I was using was running out of paint, gah! So I had a rough time with this step. Anyhow, to get the lines to be straight, I used a ruler. Again, I think it would also be fine if the lines weren’t straight and if you free handed them with a small round brush!
I did the bottom part of the strings where they overlap the bridge first and then the top where they overlap the neck. You can go in any order!
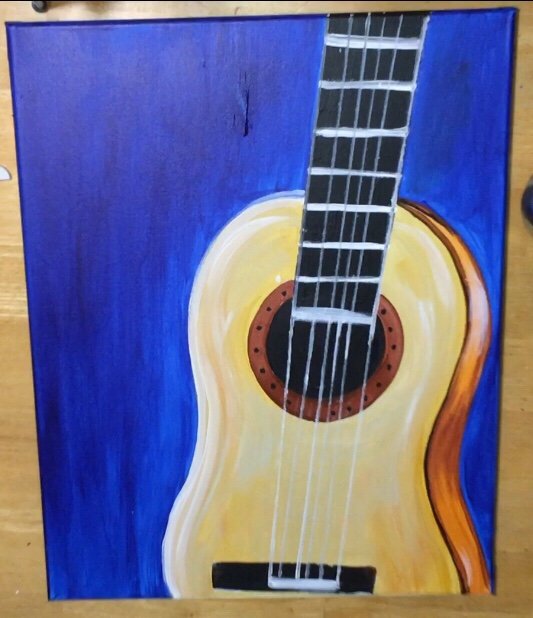
I think it turned out alright in the end! The inconsistency of my marker running out kind of works for this painting.
ALSO, go in and draw a white rectangle at the bottom of the guitar where the strings attach to the bridge.
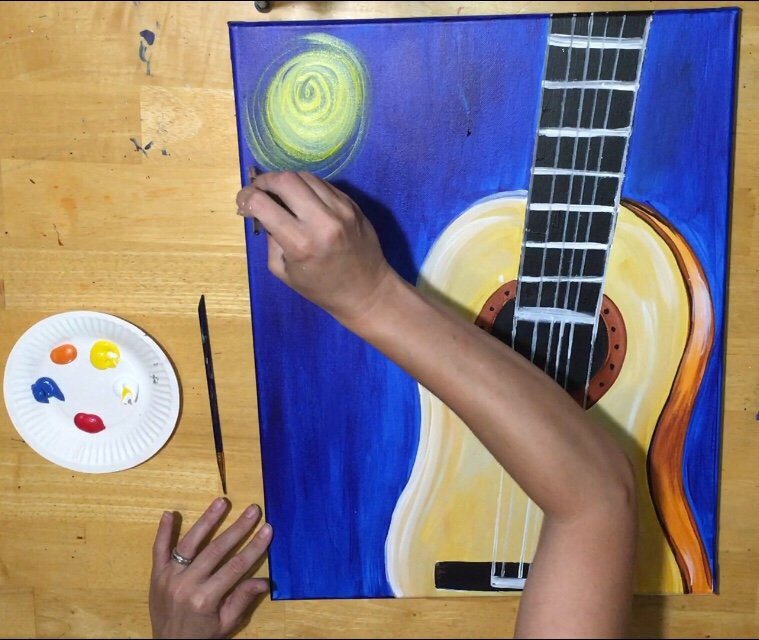
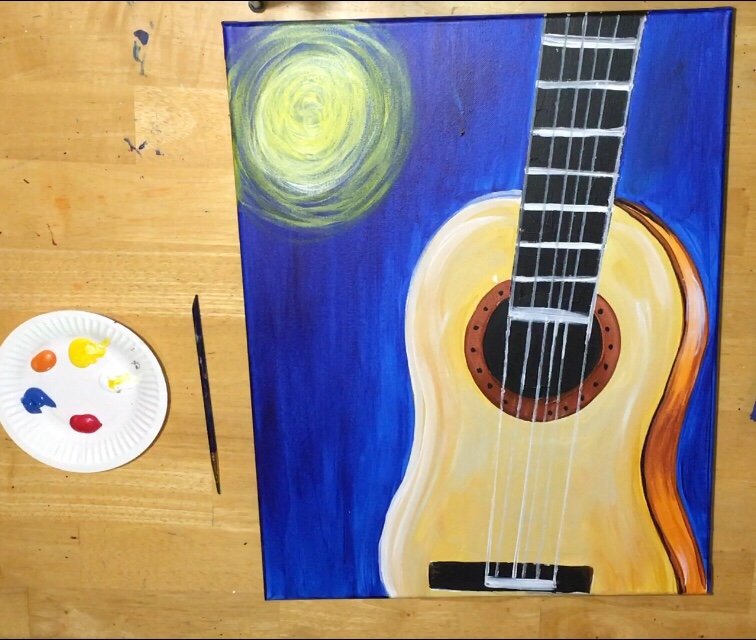
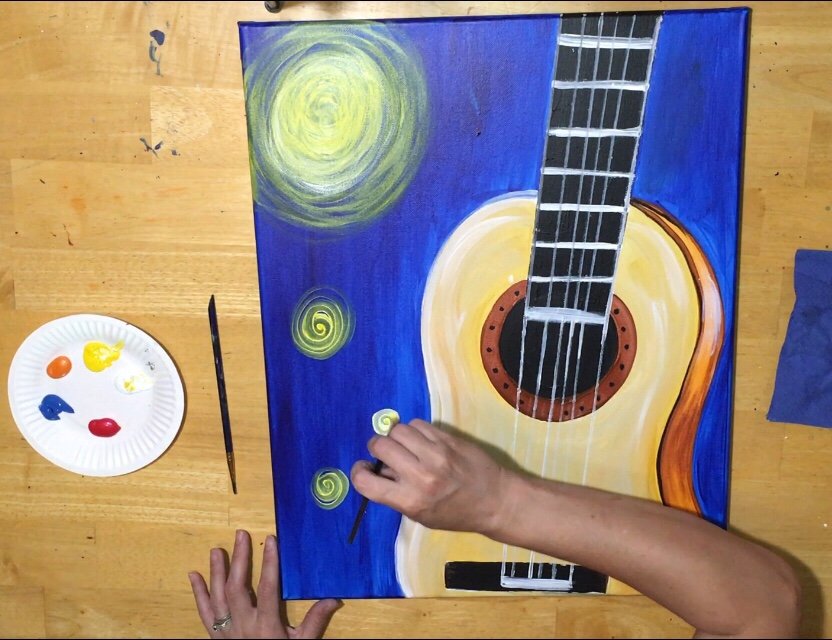
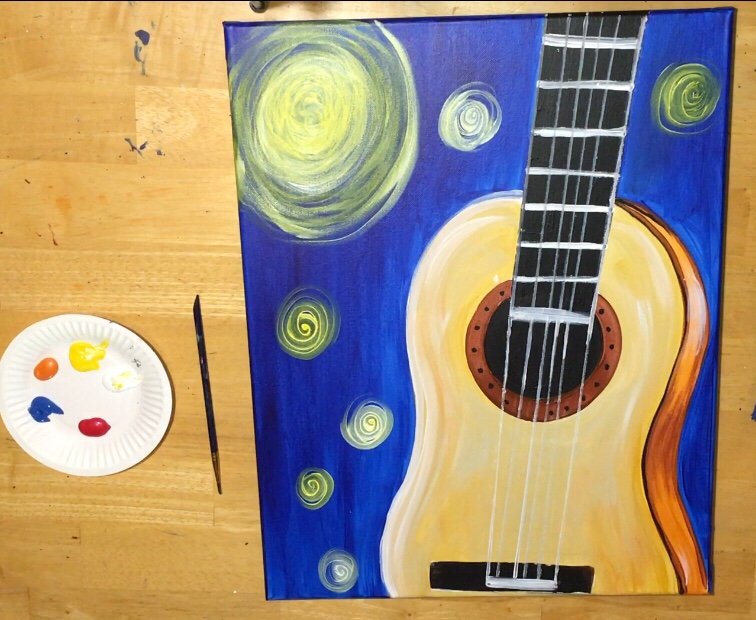
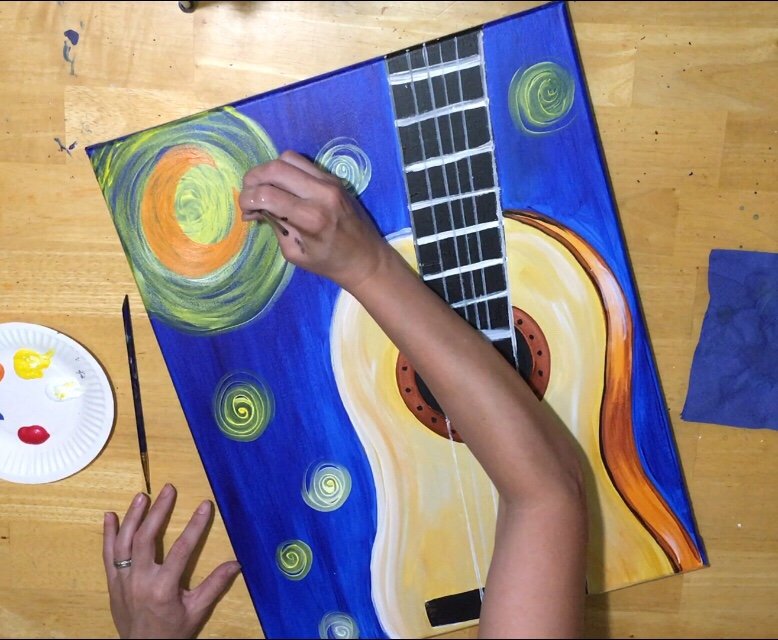
11. Use a #3 Round Brush To Paint Circles In The Sky
For the sky, I used a #3 round brush and both titanium white and cadmium yellow medium. Basically, I dipped my brush in BOTH of those colors and painted a large circle in the upper left. This was going to be my under layer of the crescent moon.
Continue to paint small circles throughout the canvas. The middle is essentially more solid and it kind of fades out. When I paint my circles, I like to start in the middle and work my way out like a spiral.
12. Paint The Crescent And The Stars (Music Notes)
I used cadmium orange to paint a crescent moon as well as all the small music notes inside the circle. Of course, if you don’t want music notes you can always paint little circles to represent stars!
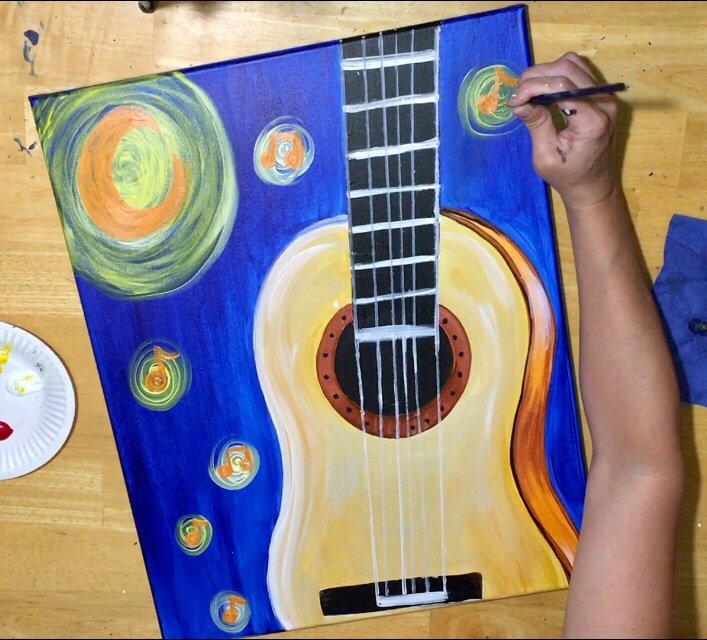
13. Paint Cadmium Orange Dash Lines
I used a #3 round brush to paint dash lines around the star music notes. This was also done with cadmium orange. Then I painted two rows of dash lines around the moon. 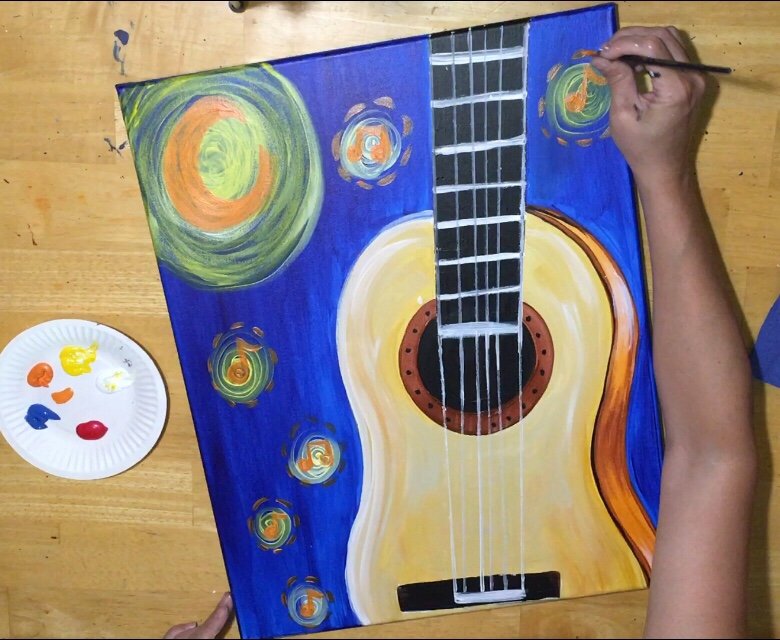
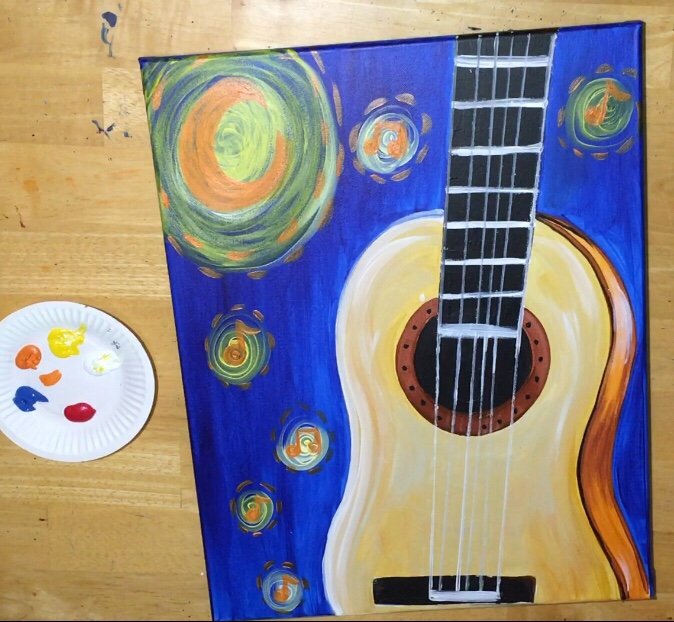
14. Paint Cadmium Red Medium On Moon & Stars
I went over the cadmium orange with red. This helped to darken the moon and stars a bit. I didn’t completely cover that orange, just covered it enough to tell there is orange underneath!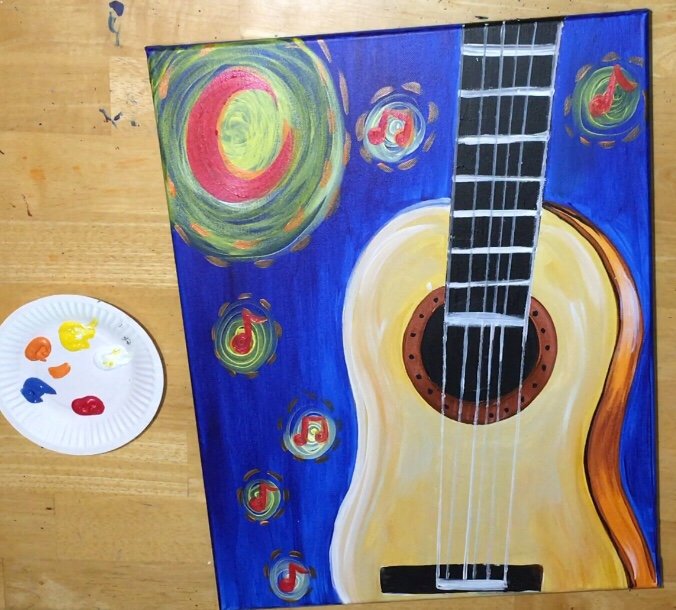
15. Paint Some White Dash Lines
Then I painted white dash lines on the inside of the circles of the moon and stars. Now…you can follow exactly what I did or just kind of go with what your brush is telling you! If you want to add white dash lines elsewhere or omit the white, it’s up to you! 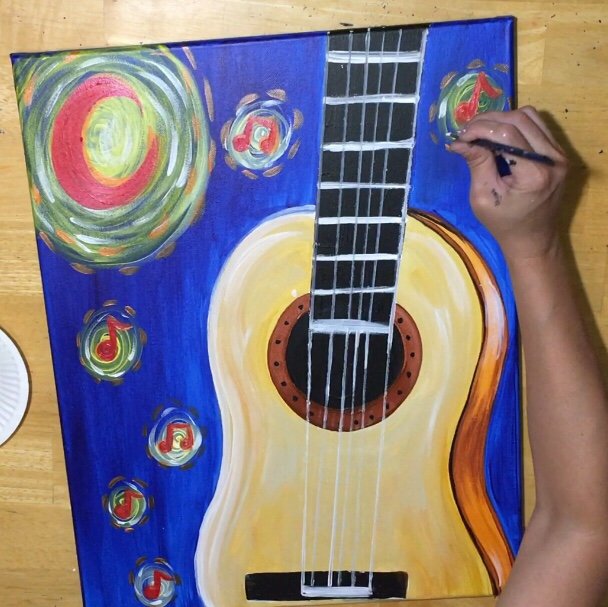
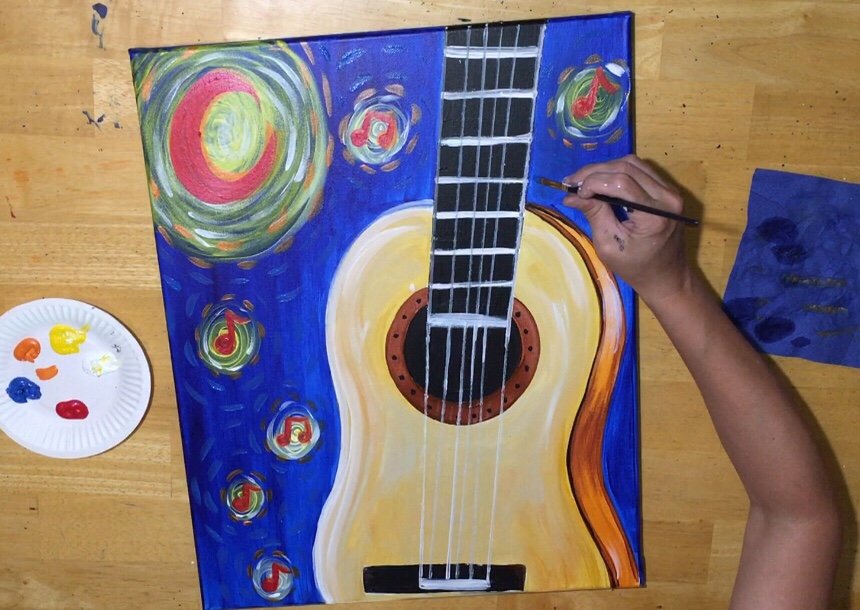
16. Paint Dash Lines Of Cerulean Blue + Titanium White Throughout The Sky
I used a #3 round brush and this pretty cerulean blue! Basically paint the dash lines going in a circular form around the music notes and the large moon. Think of it like ripples in water! The lines radiate from each circle and eventually go off the canvas.
ALSO to lighten the blue in some areas, I mixed a bit of titanium white into it. So some of the blue is mixed with white and some isn’t. The cerulean might not show up as well against the phthalo blue, and if this is the case, definitely add some white into it!
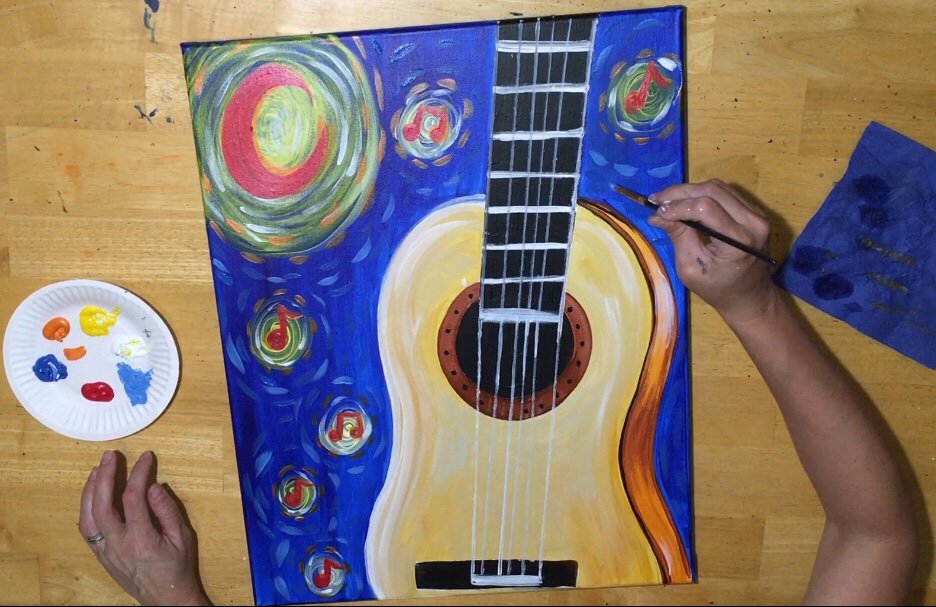
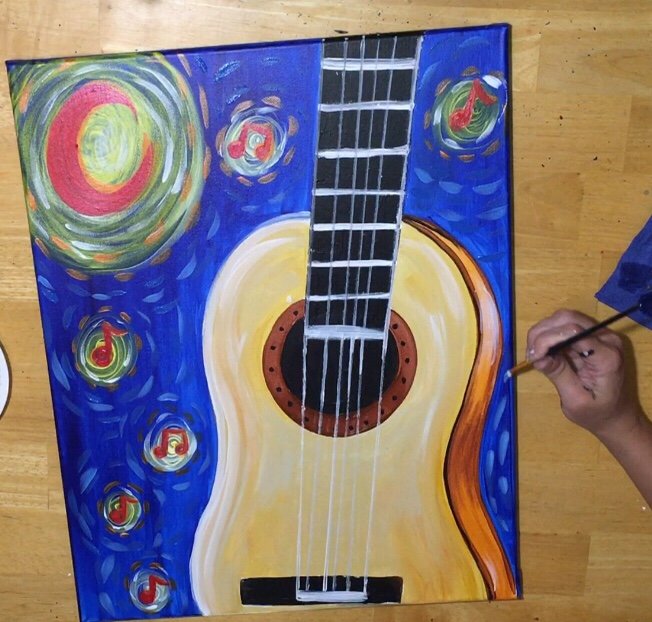
Finished!
Sign your name and share!!!
