Would you like to save this?
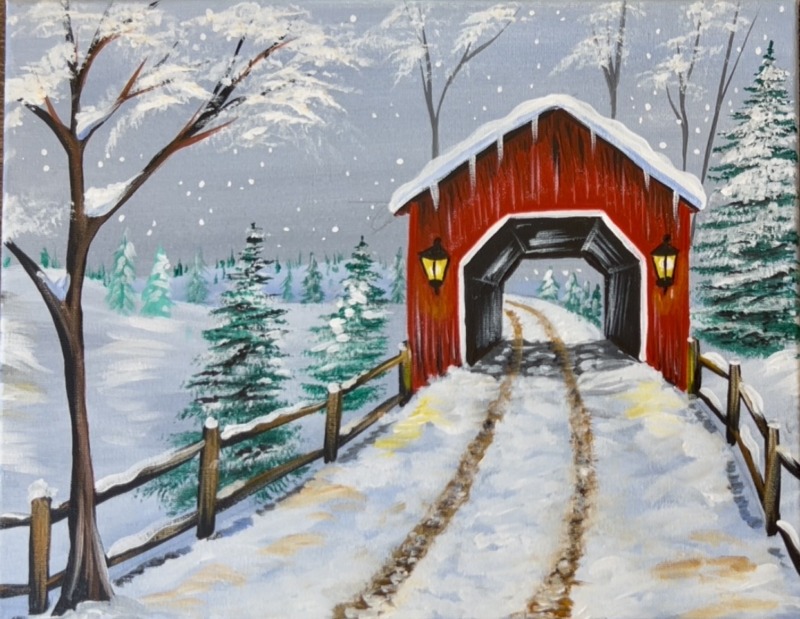
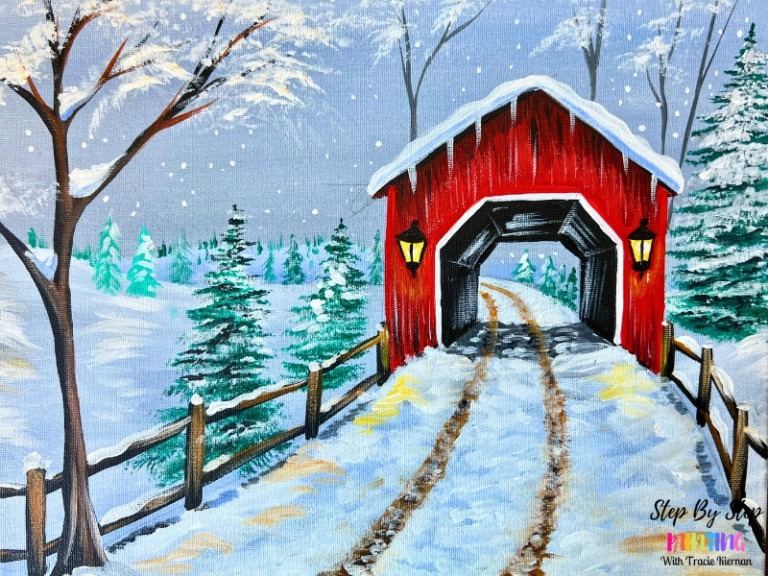
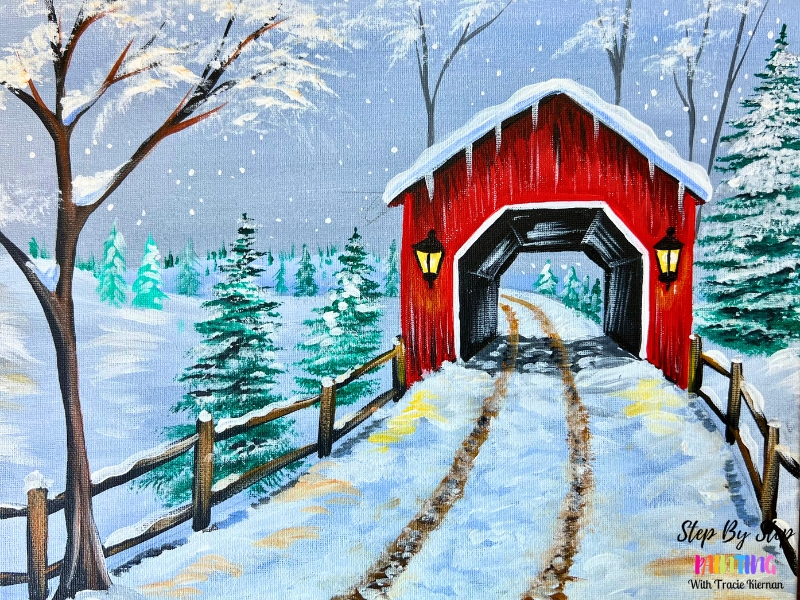
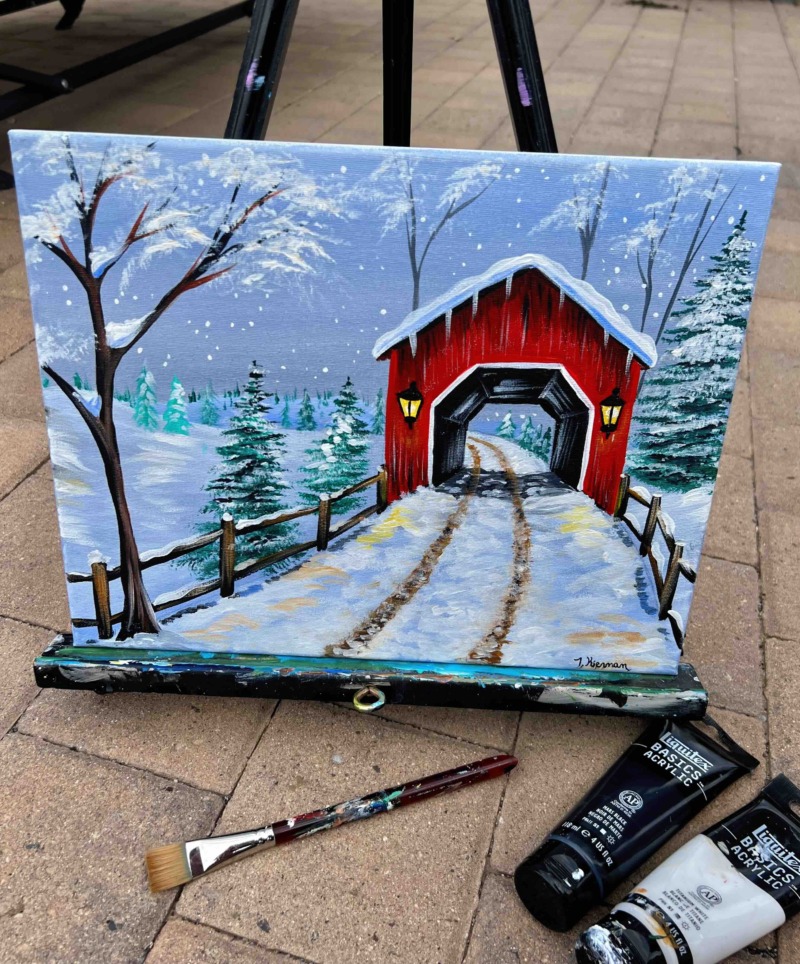
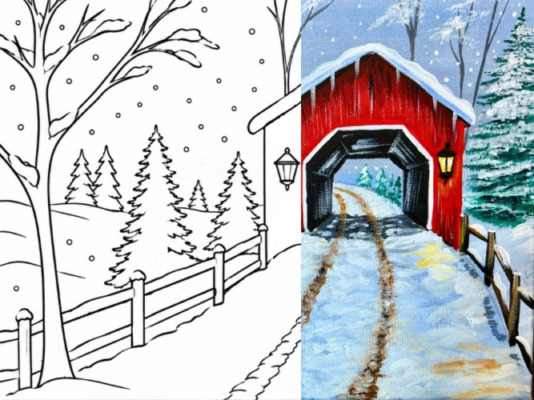
Step into a peaceful winter wonderland with this charming covered bridge nestled among snow-covered evergreens! In this acrylic painting tutorial, you’ll learn how to create a beautiful snowy landscape featuring a bright red covered bridge, frosty trees, falling snow, and a winding path leading into the winter forest.
We’ll break the painting down into simple, manageable steps as you build the soft winter sky, layer the snowy hills and evergreen trees, and bring the rustic wooden bridge to life with bold red paint and contrasting dark details. Warm glowing lanterns and golden-brown tire tracks add the perfect touch of cozy charm against the cool blues and whites of the snowy scenery.
Grab your brushes and favorite winter colors, and enjoy creating this inviting seasonal landscape that captures the magic of a snowy day!
Enjoy and happy painting!
Materials
The Bridge To Winter - Acrylic Painting Tutorial
Paint a beautiful winter path going under a covered bridge. This tutorial will show you how to paint a snowy landscape with various evergreen and deciduous trees.
Materials
- 11x14 Canvas (or any size)
- Acrylic Paints
- Ruler & Pencil For Drawing
- Brushes
Brushes
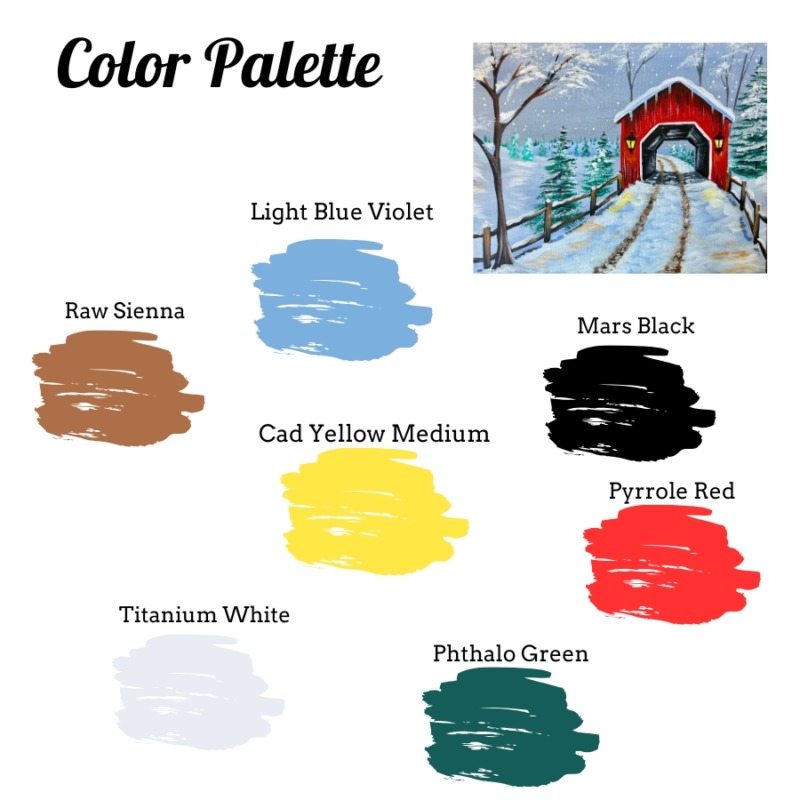
Colors
- Mars Black
- Light Blue Violet
- Titanium White
- Raw Sienna
- Phthalo Green
- Pyrrole Red
- Cadmium Yellow Medium
Color Palette
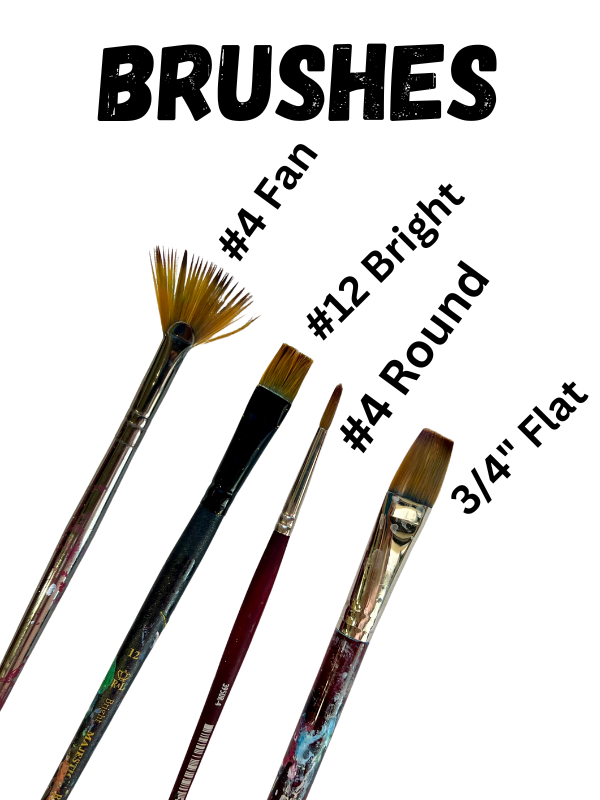
I recommend a fan brush that has bristles that are a little more stiff, shorter and not as widely spread out. This gives you more control of the brush as opposed to a very soft, large and wide fan brush. Here are two recommendations: This “Stiff” Bristle Fan Brush, This Princeton #2 Fan Brush.

Directions At A Glance
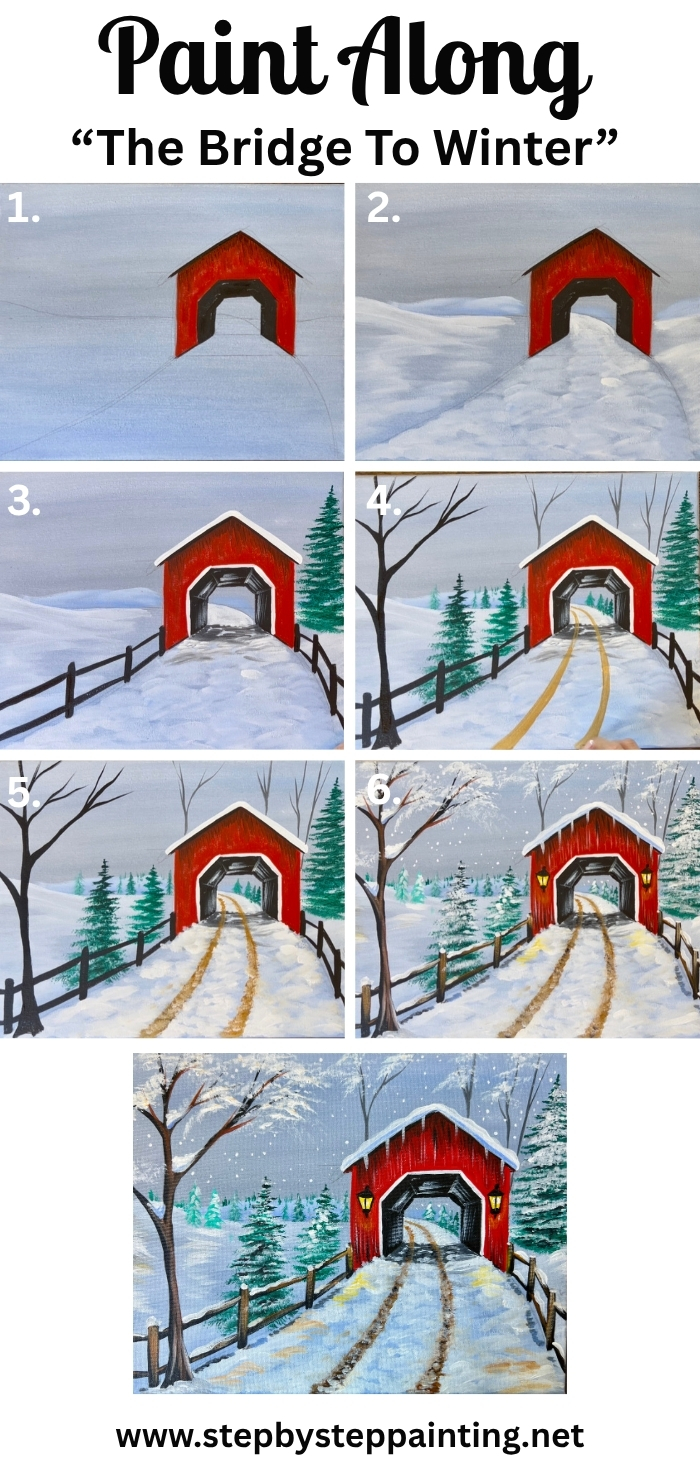
How To Purchase/ Download
This tutorial is available in my digital download shop! Download the video, PDF written instructions (without ads) and bonus traceables! Learn more here.
Video
Coming soon!
Step By Step Instructions
1. Paint entire canvas “blue gray”
The entire canvas is to be filled with a thin layer of a light blue-gray color. To make this color, mix about 4 parts “light blue violet”, 1 part “mars black” (just a small dot of black is all that’s needed) and about 2-3 parts white. Mix it on your paint palette and slightly water down to a thin consistency.
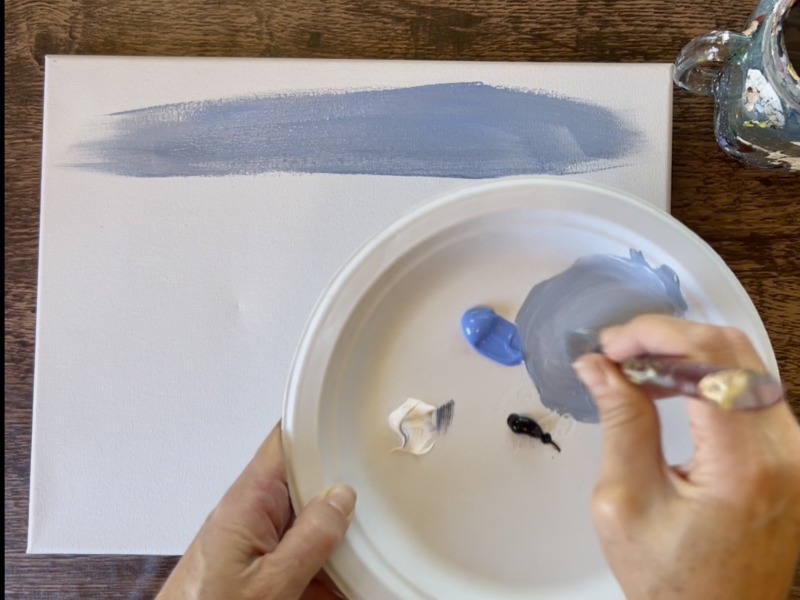
Next, use the 3/4″ flat wash brush and paint left and right brush strokes to fill the entire canvas a thin layer of this gray-blue color.
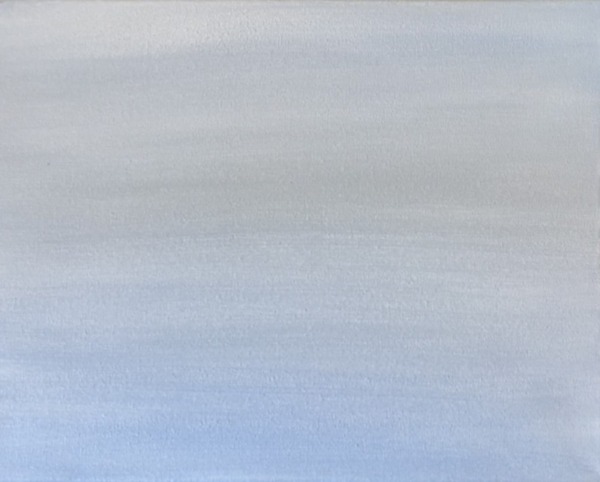
Let this dry before going onto the next step.
2. Draw Covered Bridge/ Landscape Lines
The dimensions of the drawing below are approximate to help you with spacing and sizing for an 11×14 canvas and do not have to be exact.
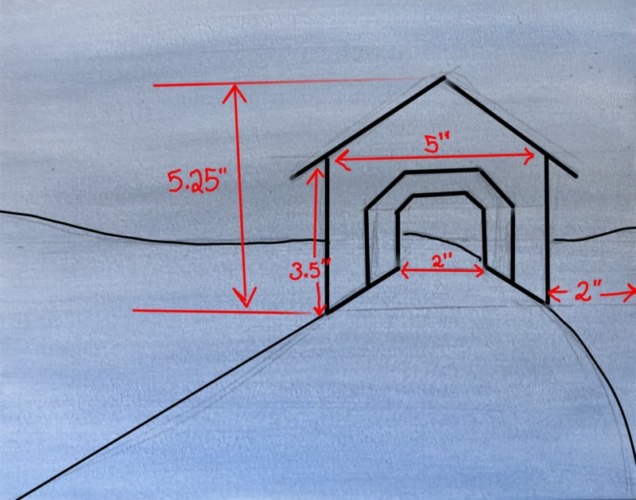
Use a pencil and ruler to draw a “horizon line” down the center of the canvas.
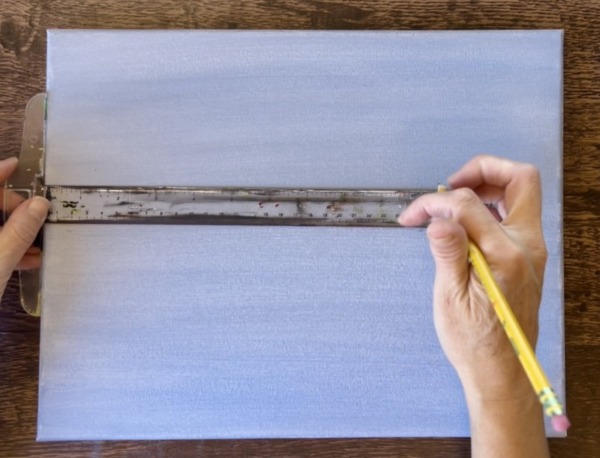
Then sketch the covered bridge. I find it easy to sketch the shape of the building first and then go back and use the ruler to straighten the lines. Start the building about 2″ from the right edge of the canvas. The building overlaps the horizon line to where the horizon line crosses the center of the side walls of the building. The width of the building is about 5″ wide.
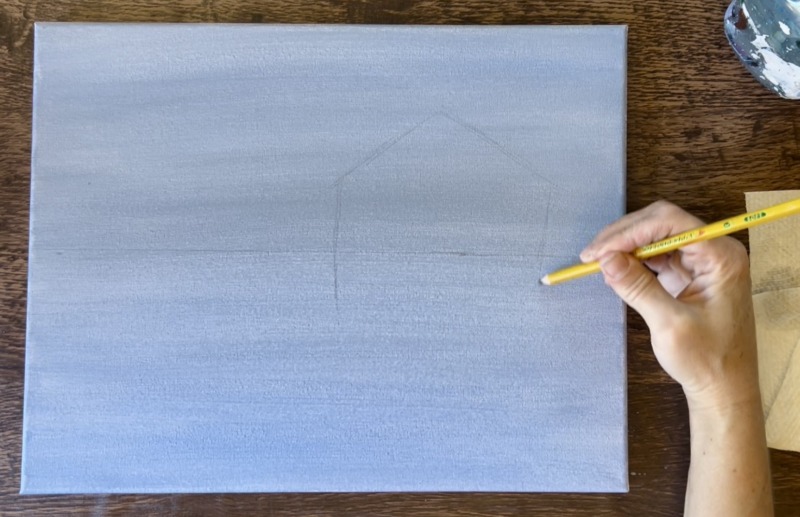
Draw the opening of the bridge by drawing a set of diagonal lines that go inwards on the bottom of the building.
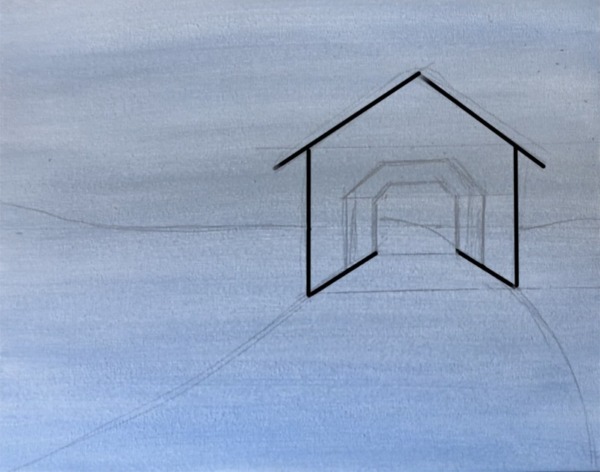
Then draw the interior part of the bridge with beveled corners. You can draw horizontal guidelines (the blue lines in the image) to help line up the building. After sketching it with pencil, go back with a ruler to straighten the lines.
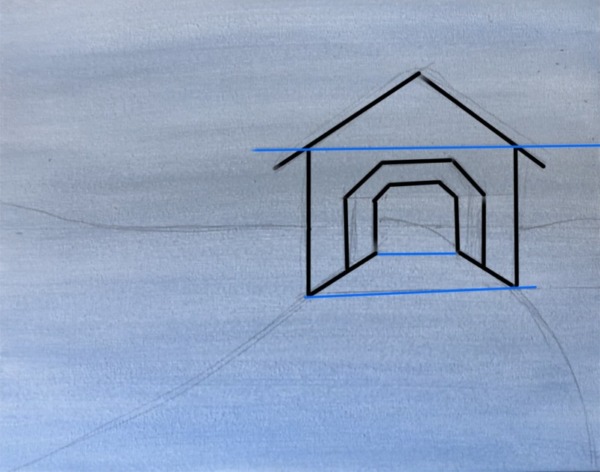
Then draw the road. Use the diagonal lines of the building as the angle to start the road. Draw a set of lines that go outwards and all the way to the bottom left and right corners of the canvas. Then draw a curved line on the other side of the tunnel to make the road look like it narrows and curves to the left. Then, instead of a straight horizon line, go back over the line and make it slightly wavy/ like a low hill.
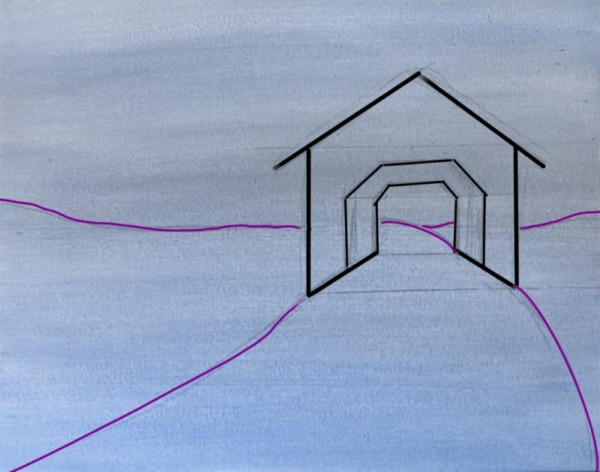
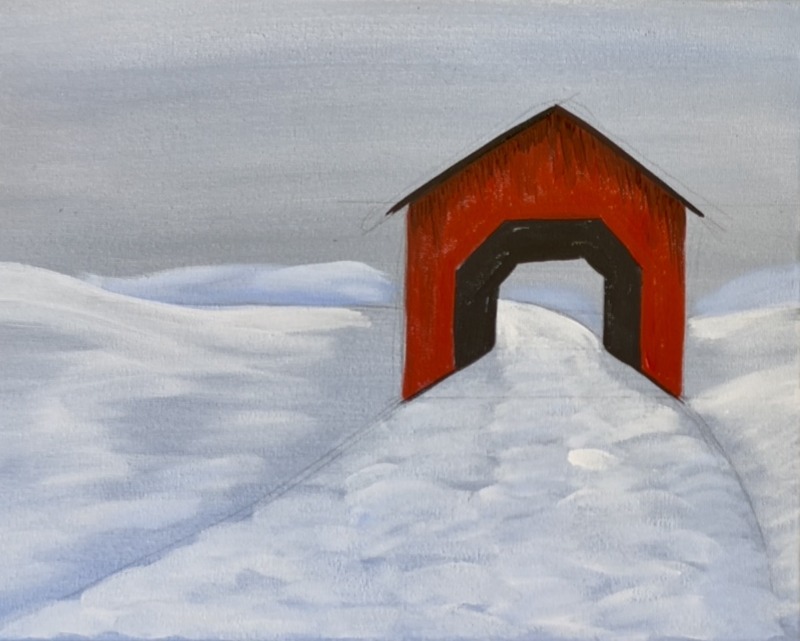
3. Paint Covered Bridge First Layer
Use a #4 round brush and mars black to paint the entire under portion of the bridge.
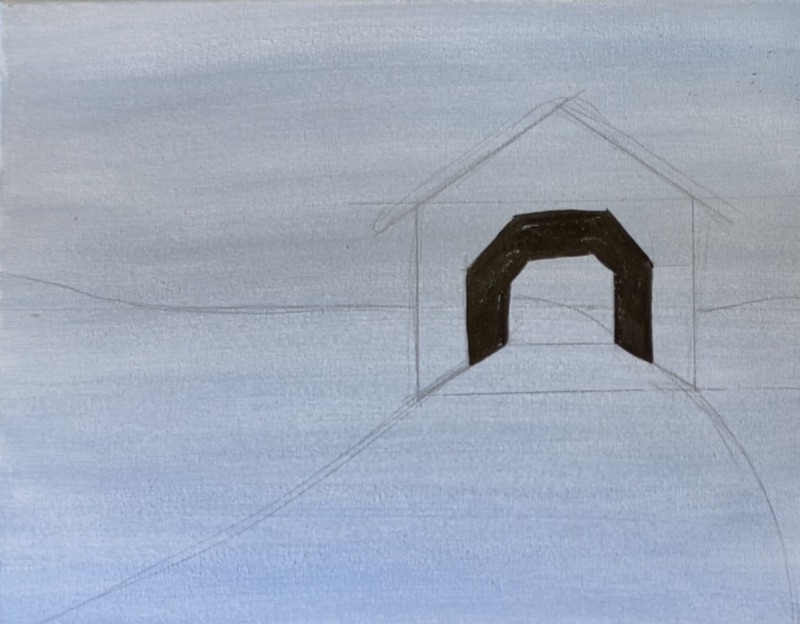
Next, use the color “pyrrole red” to paint the front face of the building. Then add shadow on the very top of the roof. Mix 3 parts red to 1 part black and paint vertical marks blending with the red at the top of the building. This creates shadowing where the roof will be. Then use solid black to outline the top angled edge of the roof.
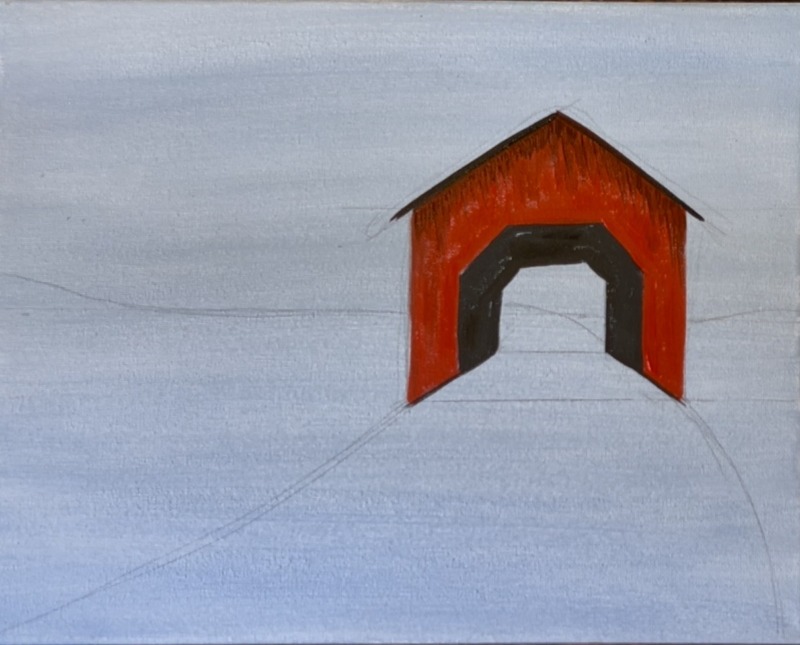
4. Texture Snow (First Layer)
Use a #12 bright brush. Mix 1 part “light blue violet” with 3 parts “titanium white”. Note: you don’t want this layer to be pure white but you want it to be lighter than the background color. You will be using the background color as the shadowing of the snow. Use the #12 bright brush to make small, curved textured marks in the road. Don’t cover all of the background/ leave some gaps between your brush marks.
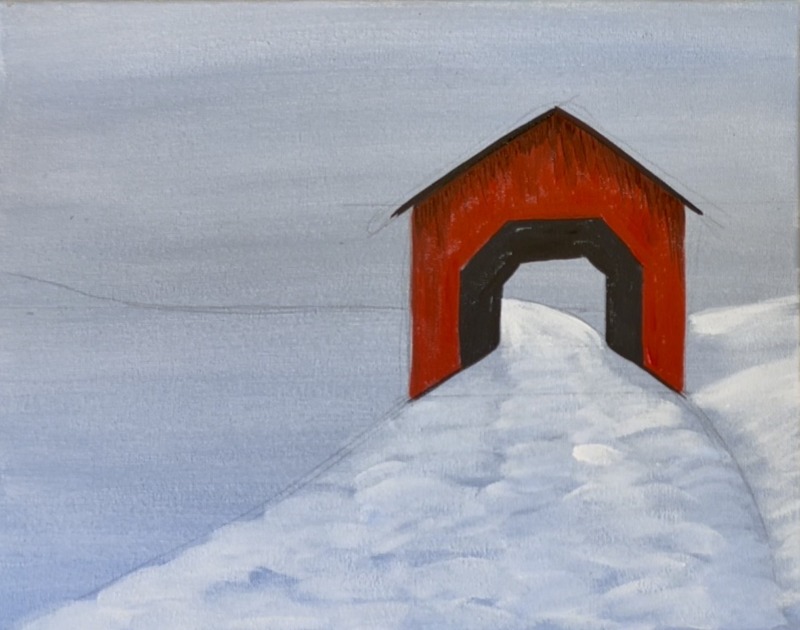
Use the #4 round brush to paint smaller marks in the snow under the bridge and through the bridge where the road curves. Then use the #12 bright brush to paint the area of the landscape around the road. Leave a gap with the darker gray background where the road lines are. Paint smoother brush strokes for the area around the road. Then paint low hills just above the horizon line way in the background. Add just a little more “light blue violet” to the color of the snow in the background to make those hills look more shadowy in the distance.
5. Snow On Roof, Edging & Shadowing
Use the #4 round brush and pure titanium white to paint snow on the roof. This is a thick layer of snow and leave a black line still showing under the white snow. Then use the white to paint the trim of the bridge around the opening.
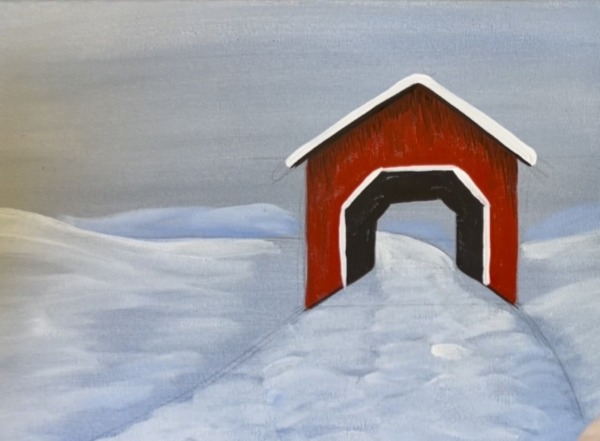
(Optional) Next, “dry brush” white on the inside part of the tunnel. Load the #4 round brush into white and wipe off about 80% of the paint. Lightly brush angled lines that go parallel to the angle of the black inside of the building. This highlights the interior of the bridge.
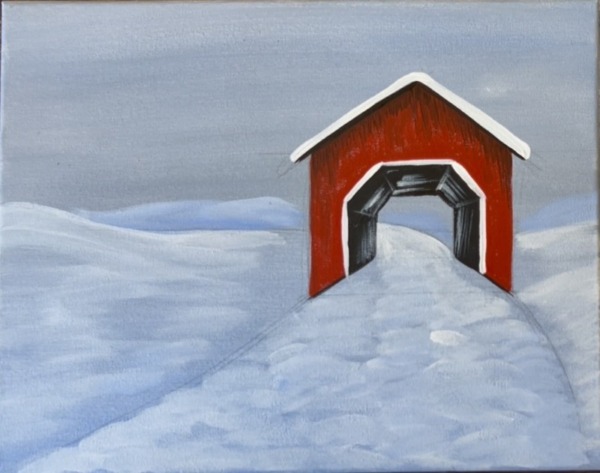
Paint shadow on the snow under the tunnel where the black opening is. To do this, load your #4 round brush in equal parts black and white. Then paint small horizontal brush marks to create dark shadowing on the interior ground of the building.
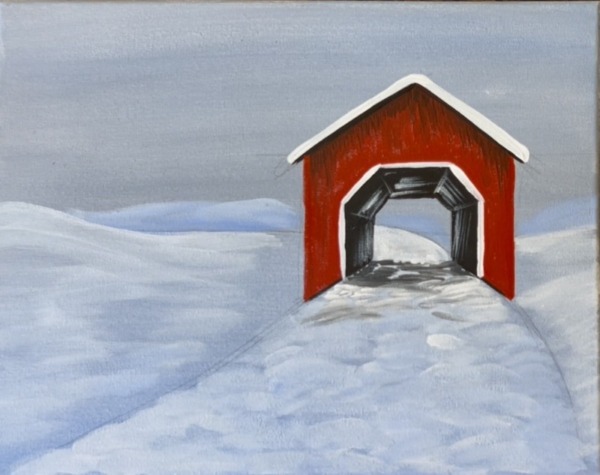
6. Fence
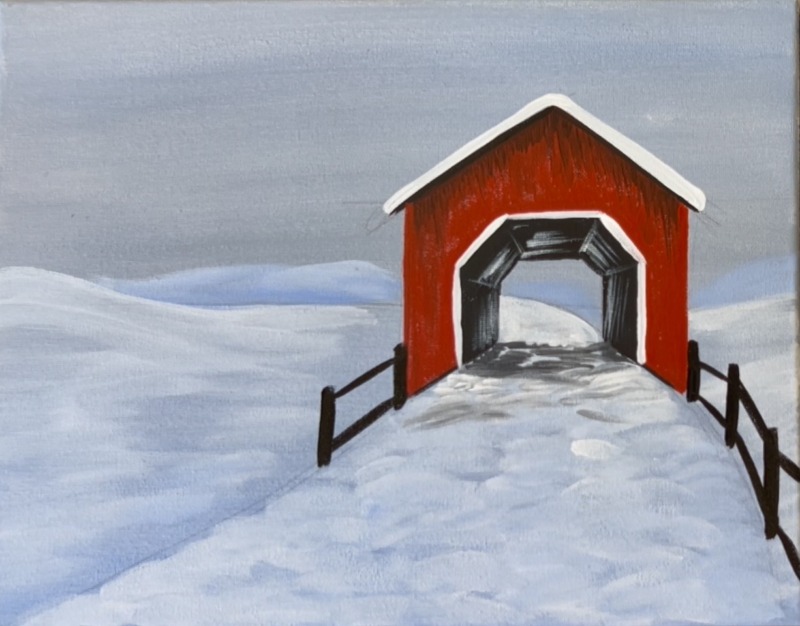
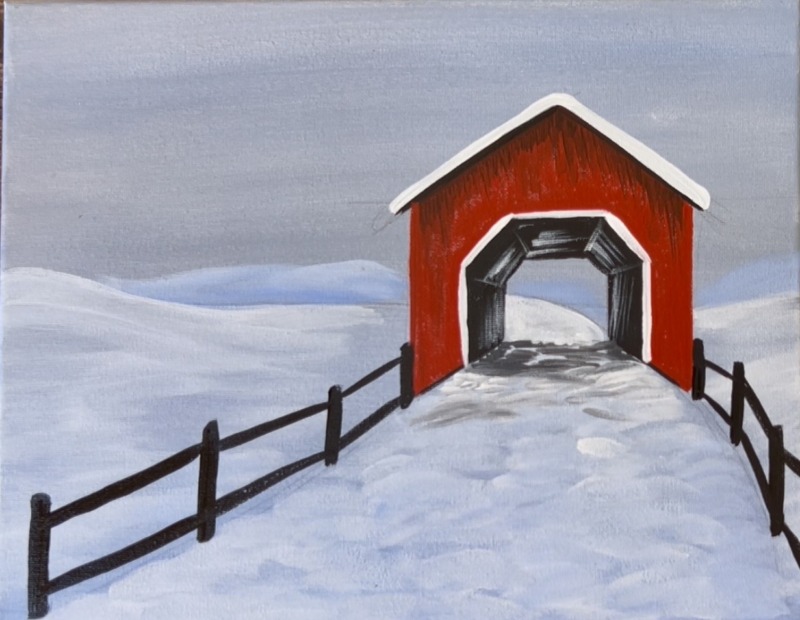
Use the #4 round brush and “mars black” to paint the fence. You can lightly draw the fence with a pencil first to help with the size and spacing. Start with vertical posts that are shorter next to the bridge structure and slightly get taller down the side of the road/ bottom of the canvas. This creates perspective in the painting. Then paint a pair of parallel lines on the top and bottom between each fence post.
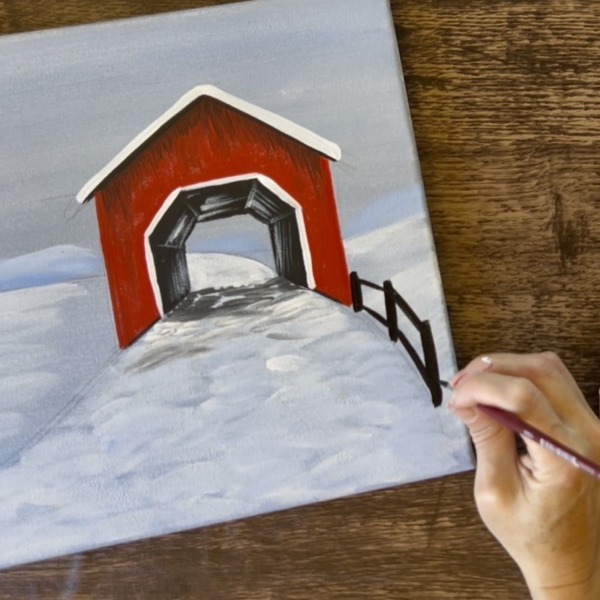
Repeat this on the left side of the painting. Note how each post gets further spaced apart the lower they are/ closer in the painting.
7. Trees
Practice this before painting on the canvas.
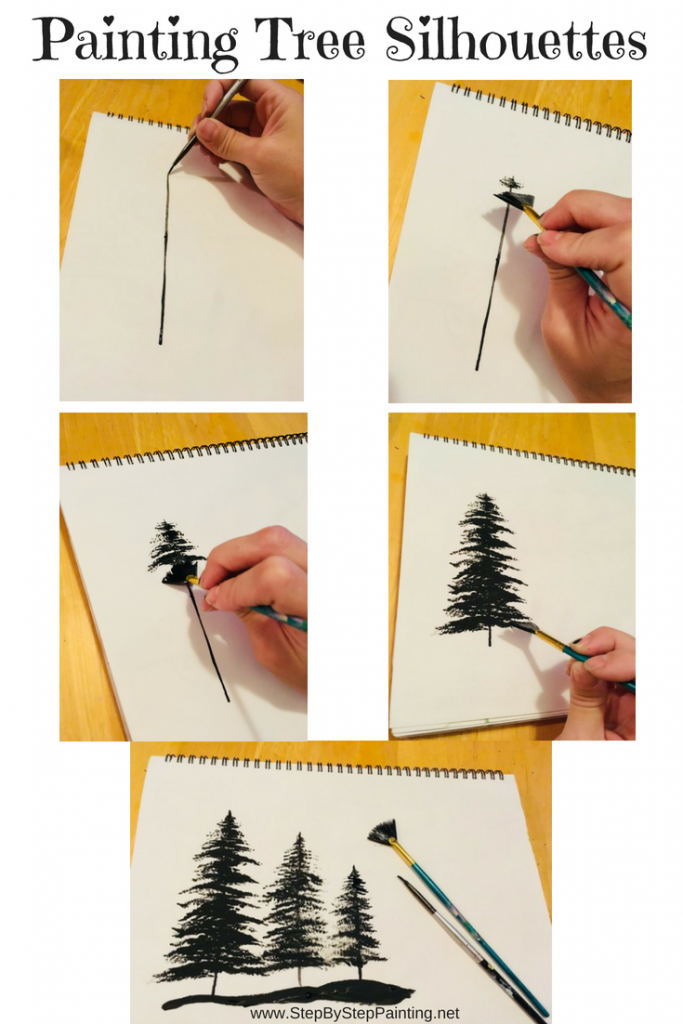
Use a fan brush to paint the spruce trees. Mix 3 parts “phthalo green” and 1 part “mars black” to create a dark green. Slightly thin the paint with water. Then load the end of the bristles of the fan brush into. It may help to paint a vertical line for the tree first (as shown in the diagram above). Start at the top. Use just the corner of the brush to paint a narrow set of branches. Stamp the brush left and right down the center of the tree. As you paint more branches down the tree, the branches get wider and bushier to form a triangular shape for the tree.
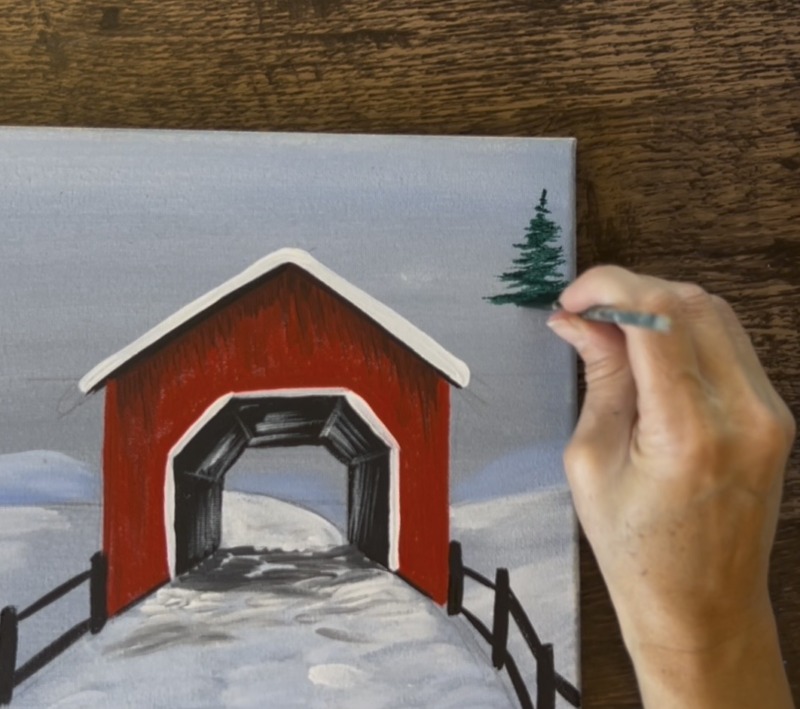
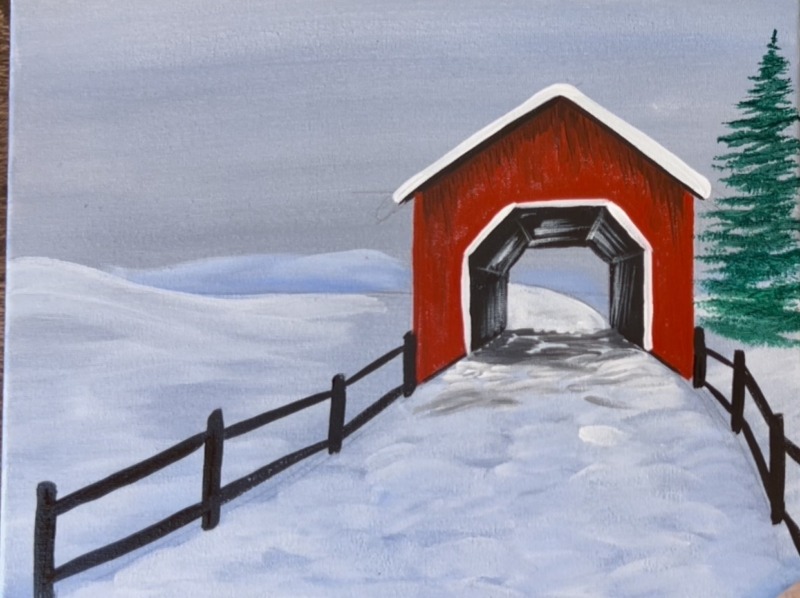
Repeat this for a second set of spruce trees on the left side of the canvas. These get painted behind the fence, however, you can paint over the fence if needed and repaint the fence to bring the trees back.
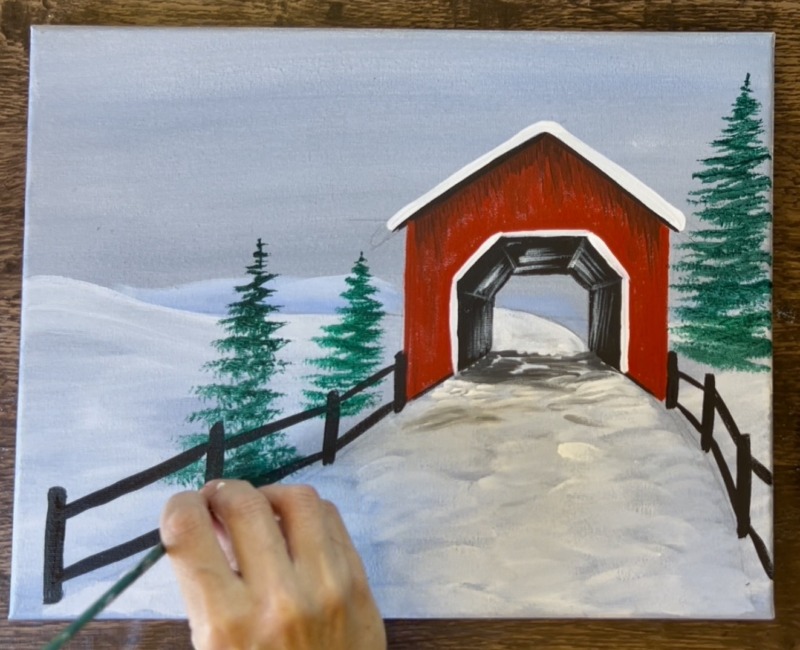
Then use a #4 round brush to paint smaller trees in the background. Since these are further away, they are not as detailed. Paint simple branches by painting curved brush marks that go downwards on each side of a vertical line. Mix a little white into the green to vary the greens. Some of the trees way in the distance may even be little vertical marks.
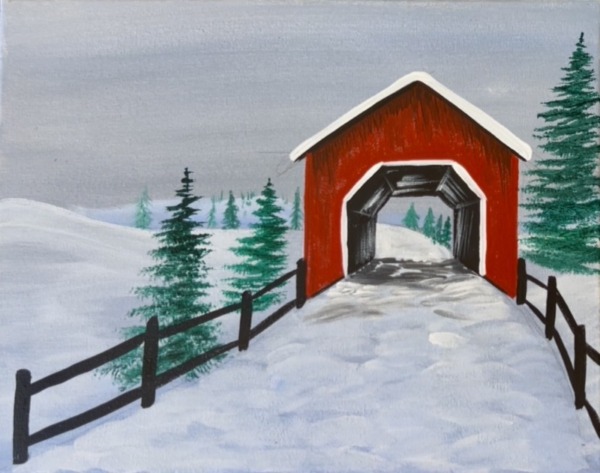
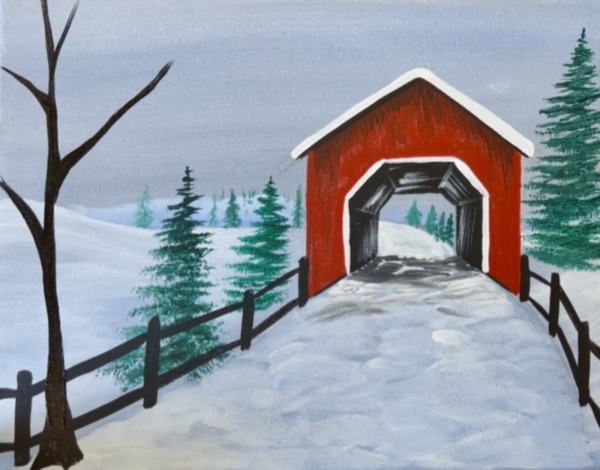
Then paint the deciduous tree on the far left of the painting. Use mars black and the #4 round brush. Start by painting the trunk as a wide trumpeted base. Then allow the trunk to become narrow and split into smaller branches that go outwards in different directions.
Paint a set of smaller branchy trees behind the bridge. Because these are further away, add white into the black to lighten the color and paint them so they are thinner.
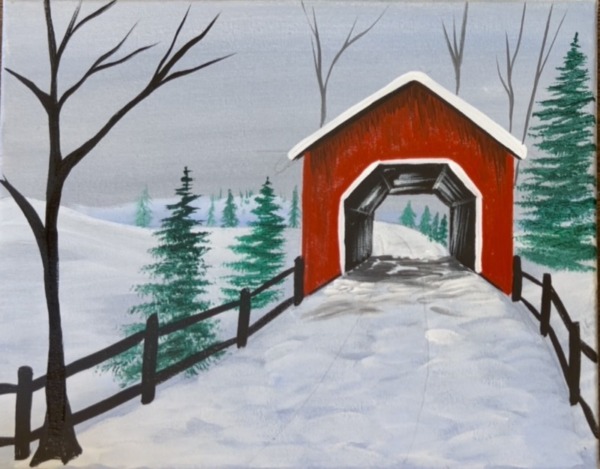
8. Tracks (optional)
Sketch the tire lines with a pencil to get the placement right. Note that the space between the lines becomes narrower in the distance and turns to the left past the bridge. Then paint the lines.
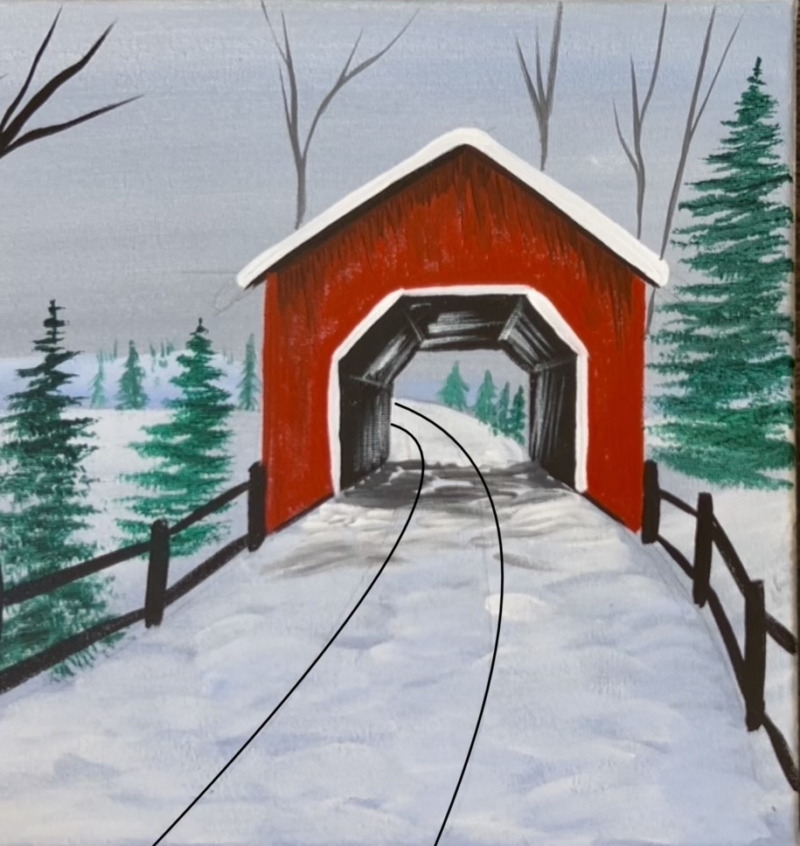
Mix a thinned down light brown on your paint palette by mixing 2 parts “raw sienna”, 2 parts “titanium white” and 1 part “mars black”. Thin the paint down with water. Then use the #4 round brush (or 12 bright brush or both) to paint a set of tire marks on the road going through the bridge. This is a thin but solid line with no texture yet.
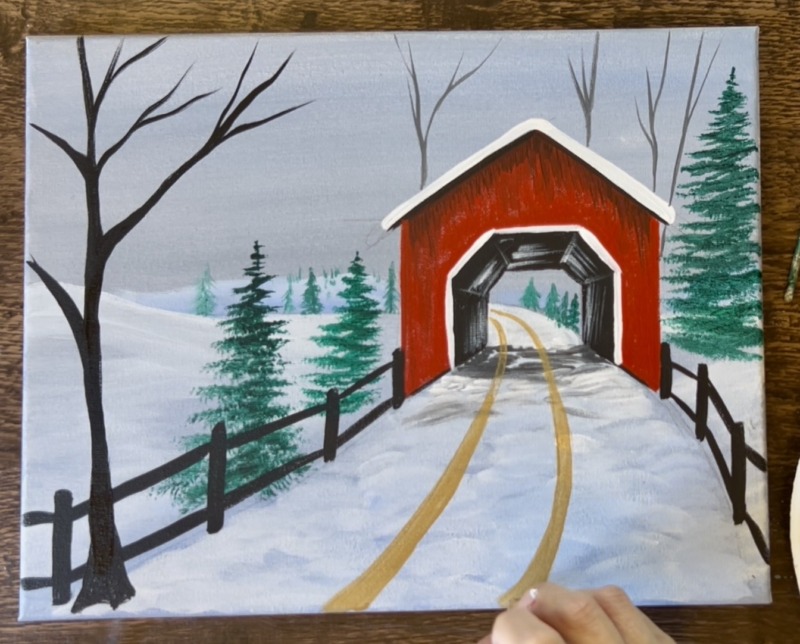
Then go back over the lines and create texture. Use the end of the brush to stamp the color over the tire lines to create similar texture to the surrounding snow. Use the round brush to stamp texture on the lines that are further away.
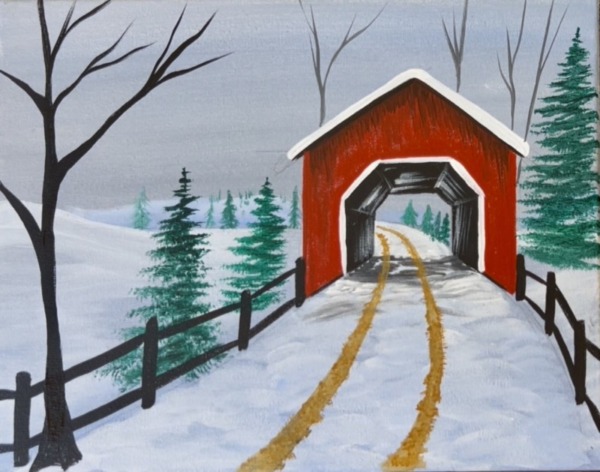
9. More Textured Snow (second layer)
Use the #12 bright brush and pure “titanium white” to paint a second layer of texture in the road area. Paint around the tire marks in almost curved brush marks to make the snow look like it’s piling up slightly more on each side of the tire marks.
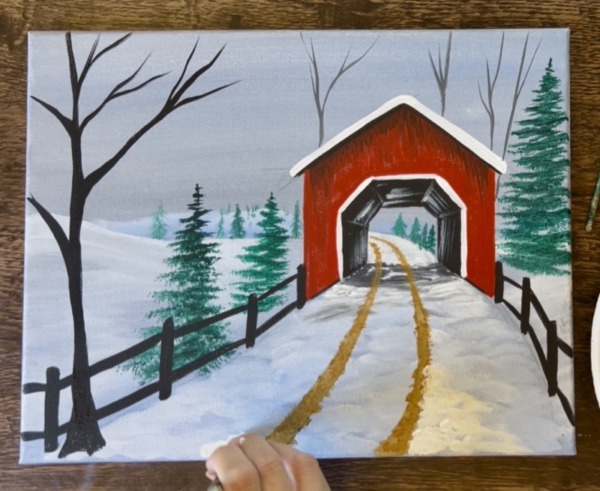
Add dabbed brush marks with the white all throughout the road area but don’t cover all of your first layer. Then add a very light amount of white dabbed brush marks over the tire tracks and allow it to blend with the brown slightly to create a muddy/ slushy snow effect. Note: if the brown has dried, double load the brush in the same light brown color and white and then add some light textured marks.
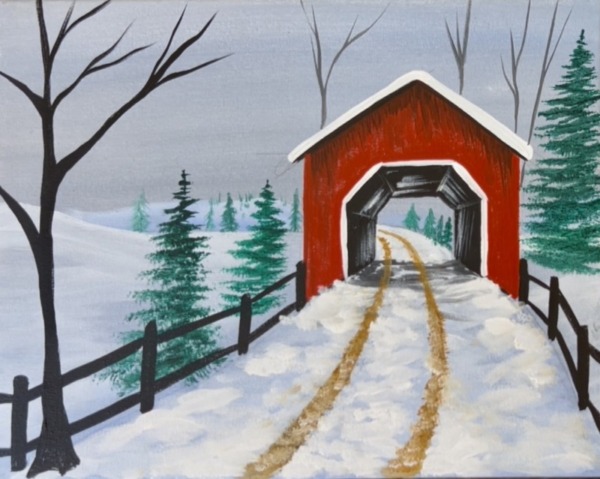
10. Highlighting Fence (optional)
Use the #4 round brush and light brown to lightly glaze over the top portions of the fence (the post and the beams). Leave the bottom portions of the fence dark and shadowy in color. Then double load the brush into the light brown and white and lightly brush the top of the fencing for extra highlights.
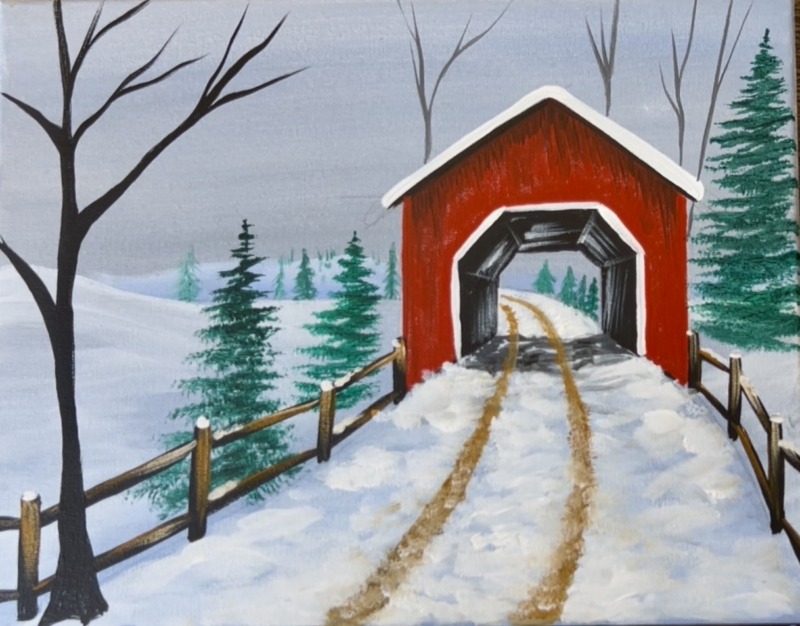
11. Snow On Trees
Use the fan brush to add a layer of snow on all of the spruce trees. Repeat the same technique that you used to paint the first dark green layer of the trees except this time use white and don’t cover all of the green. Repeat this for each of the fan brush trees that you painted.
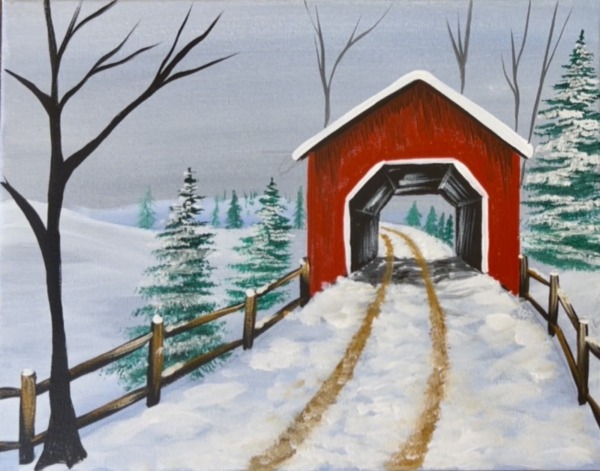
12. Lantern Lights On Bridge (optional)
Use the round brush and “titanium white” to paint two lantern shapes on each side of the bridge. These are simple trapezoid shapes with the narrow part pointing downwards.
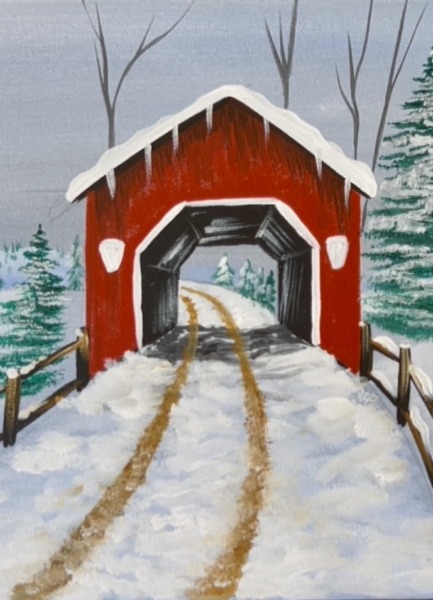
13. Icy Foliage, Icicles & Snow On Fence (optional)
Use the round brush and titanium white to paint small, narrow pointed icicles that are pointing downwards from the roof.
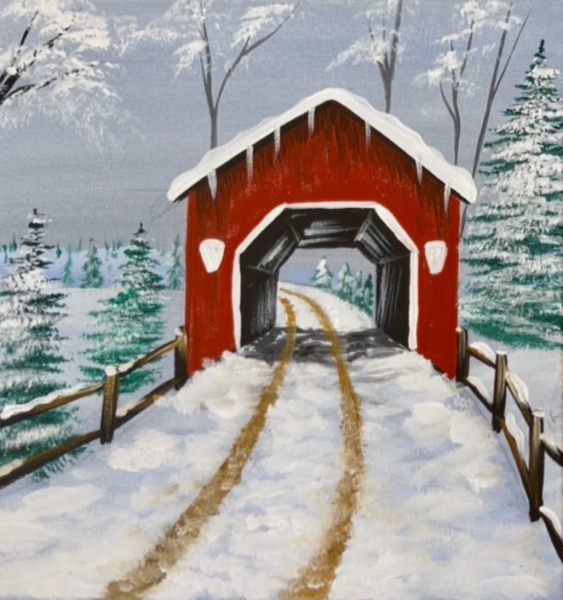
Use the fan brush and “titanium white” to stamp icy foliage on the ends of the branches of the trees. Simply use the end of the bristles to stamp curved marks.
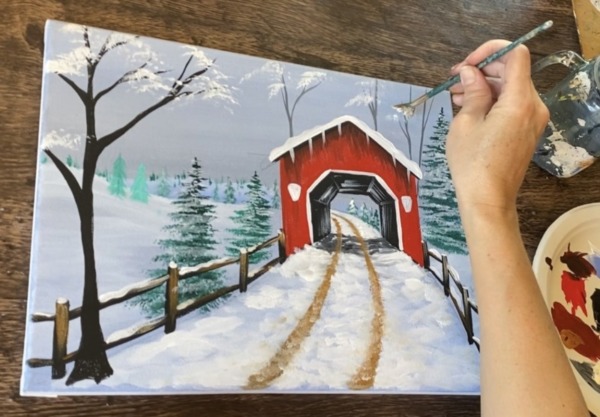
Use a round brush and titanium white to paint a layer of snow resting on the top surfaces of the fence.
14. Finish Lights and Paint Reflections On Snow
After the lanterns dry, paint the shapes with “cadmium yellow medium hue”. Then (optional), light dry brush or glaze a very light yellow reflection on the snow below the lights.
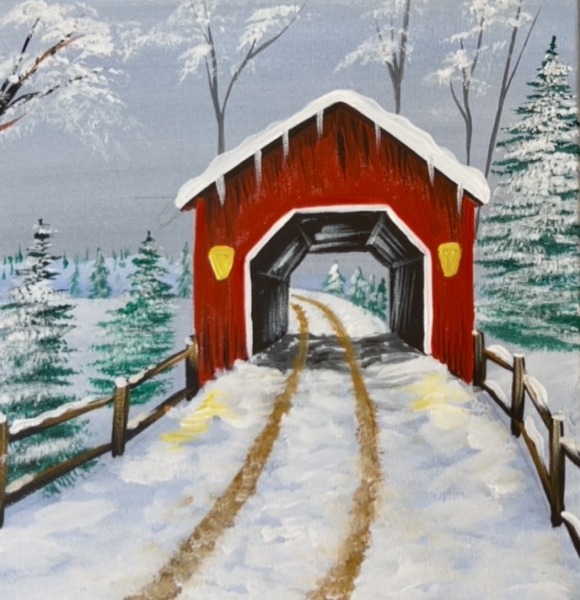
After that yellow layer dries, use black to paint a small triangular “cap” on the lanterns with a tiny circle “dot” on the very top of that. Then paint a little oval and little point on the bottom of the shapes and a line right down the middle of the light.
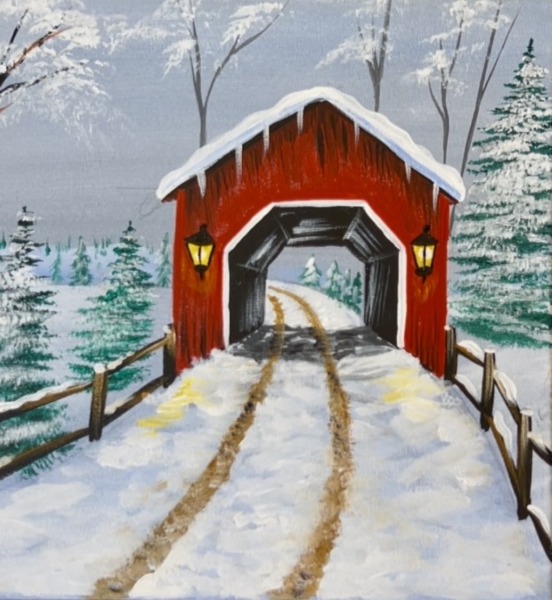
15. Final Details (optional)
Final details in this painting include:
- Paint small snow dots all throughout the sky using the #4 round brush and titanium white.
- You can paint a few vertical lines on the bridge for the “siding”. I did this with the round brush and “dry brushed” white and black lines going in a vertical direction.
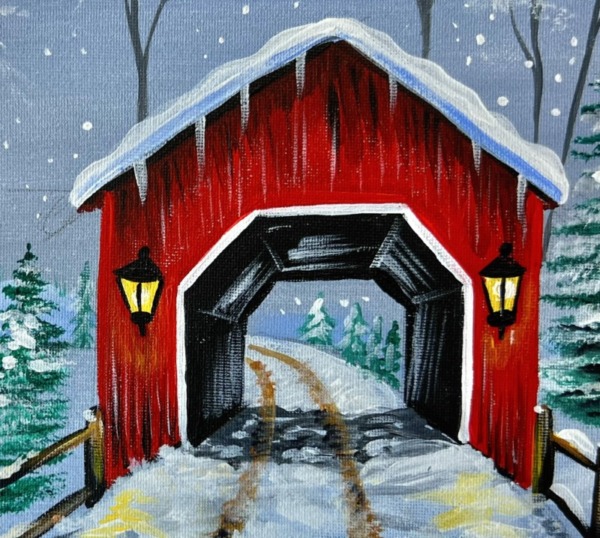
- Add more textured snow on the ground using the #12 bright brush and bright titanium white. When you add more layering on the ground, remember not to cover up all of your first layers. Add some loose horizontal lines throughout the ground outside of the road along the landscape.
- Add some light brown highlights to the large tree on the left using brown mixed with a little white. Leave the left sides of the tree trunk and branches dark and shadowy.
- Add a little bit of brown markings in the snow using light brown mixed with white and lightly paint little textured marks. I did this to simply add a pop of color in the snow on the road.