
Would you like to save this?
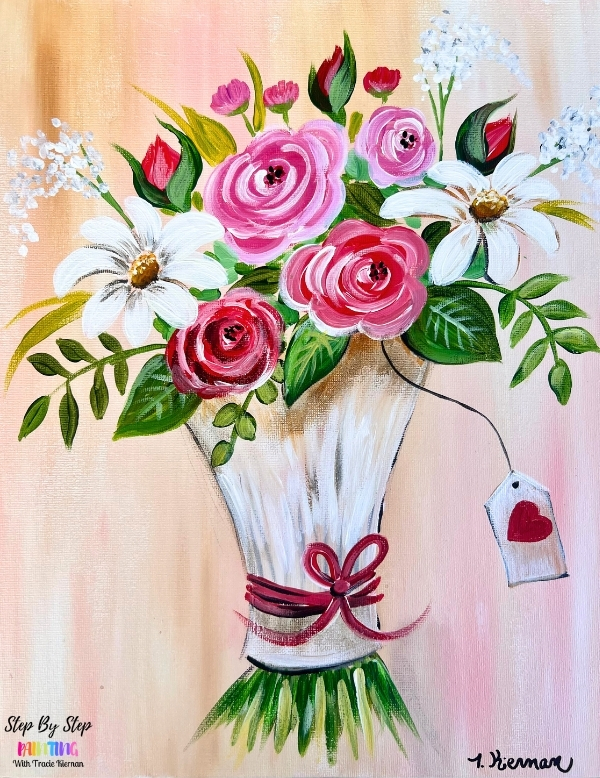
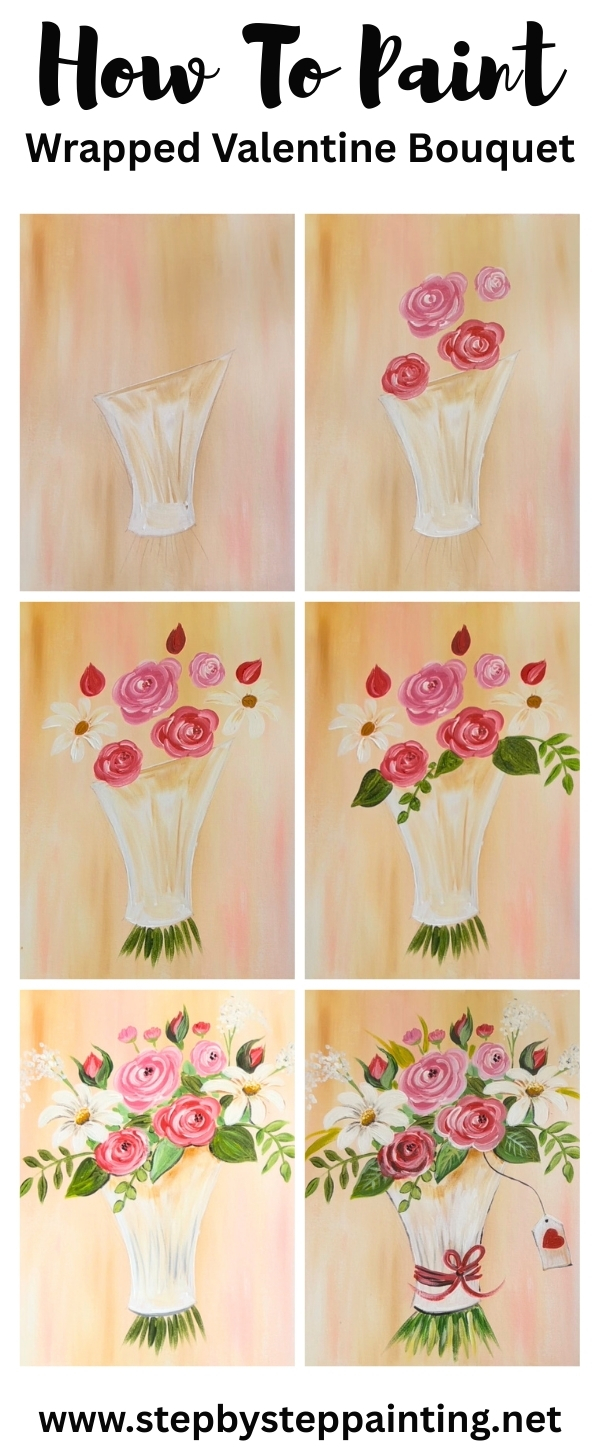
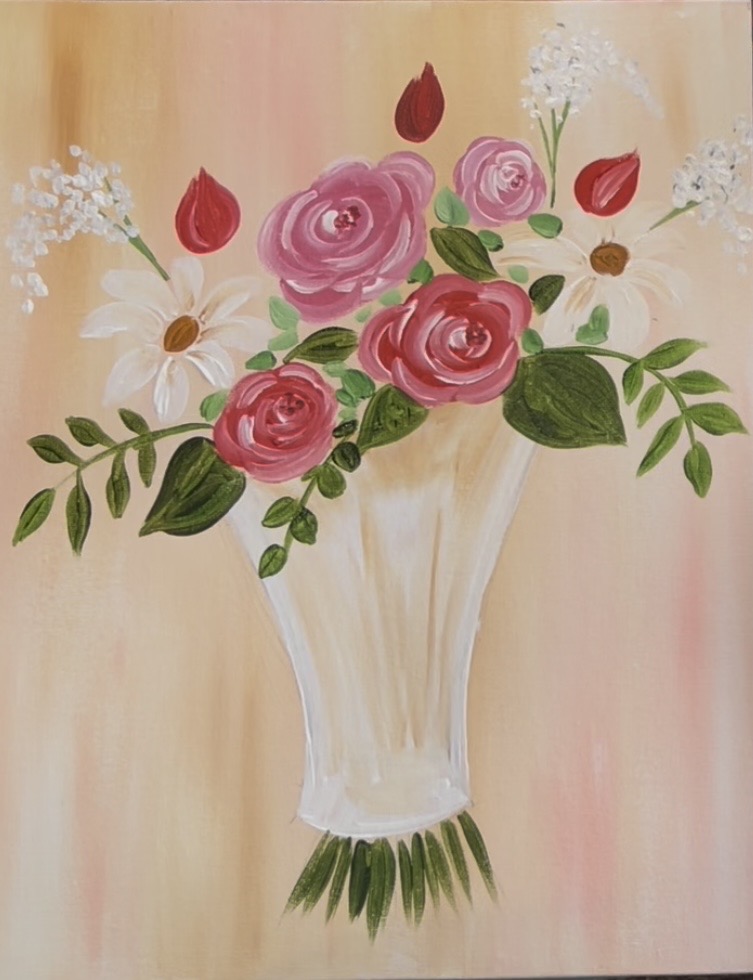
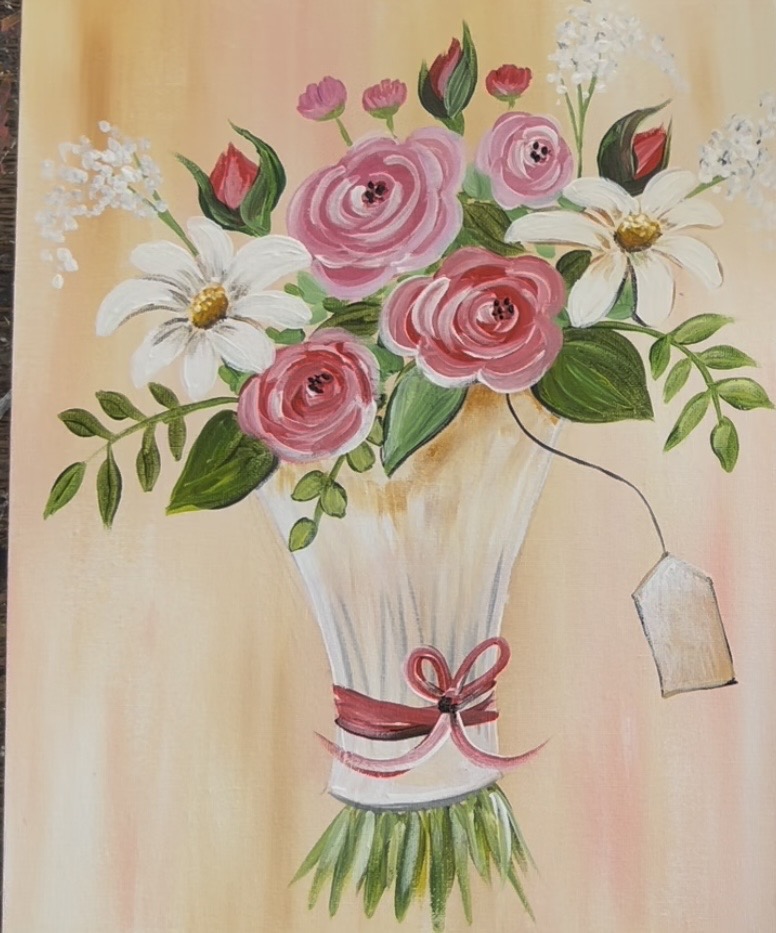
Paint a vibrant rose and daisy bouquet. This tutorial works as both a Valentine’s Day themed painting and a Spring bouquet painting!
Customize the heart tag to say “To” or change the background colors and colors of the roses.
This tutorial is an easy level painting that uses basic flower painting techniques. I will show you how to build a bouquet painting by layering on one detail at a time.
Enjoy and happy painting!
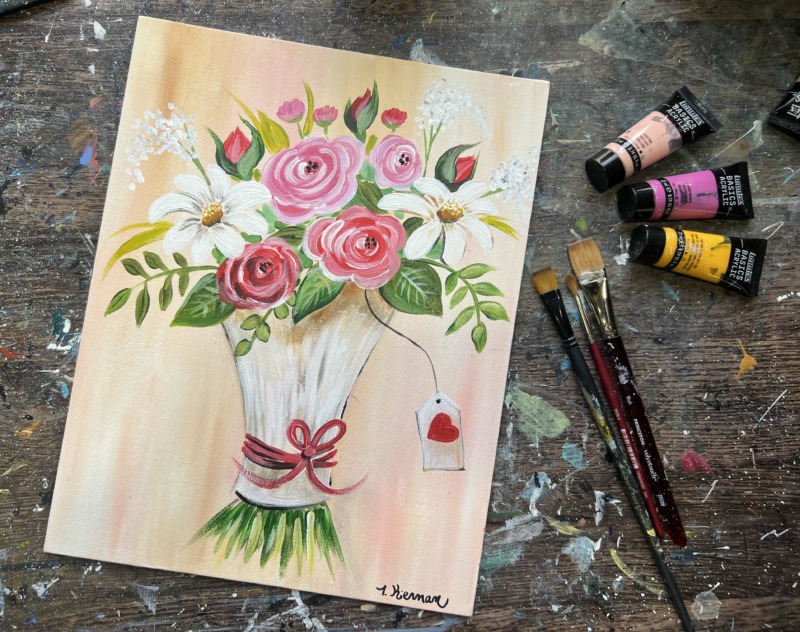
Materials
Valentine Wrapped Bouquet - Acrylic Painting Tutorial
Paint a floral bouquet in wrapped paper. This is an easy Valentine's Day theme flower painting tutorial.
Materials
- 11 x 14 Canvas
- Acrylic Paint (I use Liquitex BASICS)
- Brushes (Princeton Velvetouch)
- Pencil
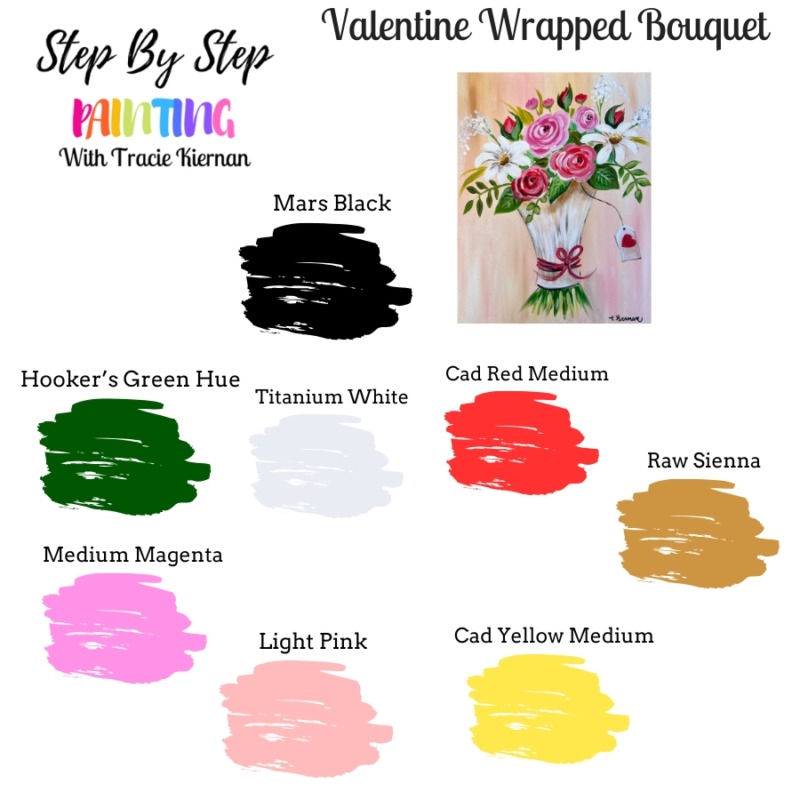
Colors
- Cadmium Red Medium Hue
- Cadmium Yellow Medium Hue
- Hooker's Green Hue
- Medium Magenta
- Light Pink
- Mars Black
- Titanium White
- Raw Sienna
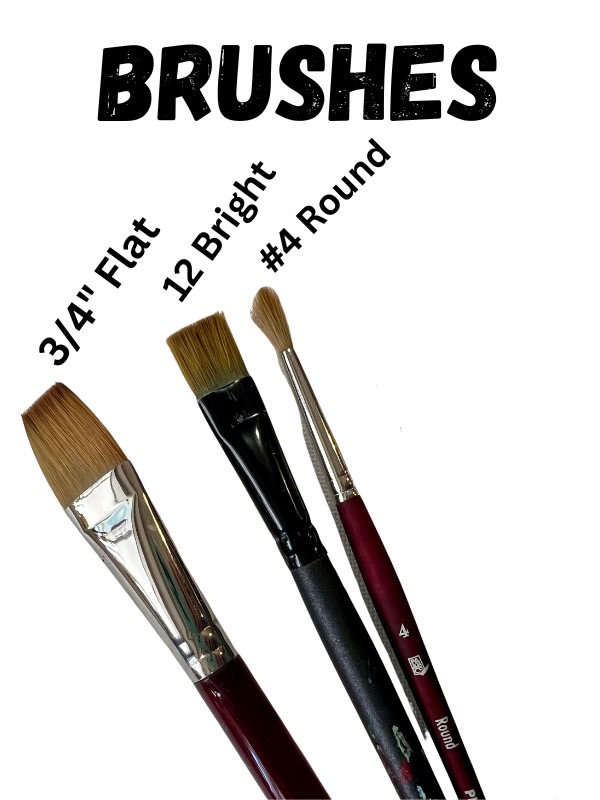
Brushes
How To Download
This tutorial can be purchased as a PDF download in my shop! You also get access to optional traceable templates and the ability to download the video. Find out more here.

Color Palette
Directions At A Glance
Video
Step By Step Instructions
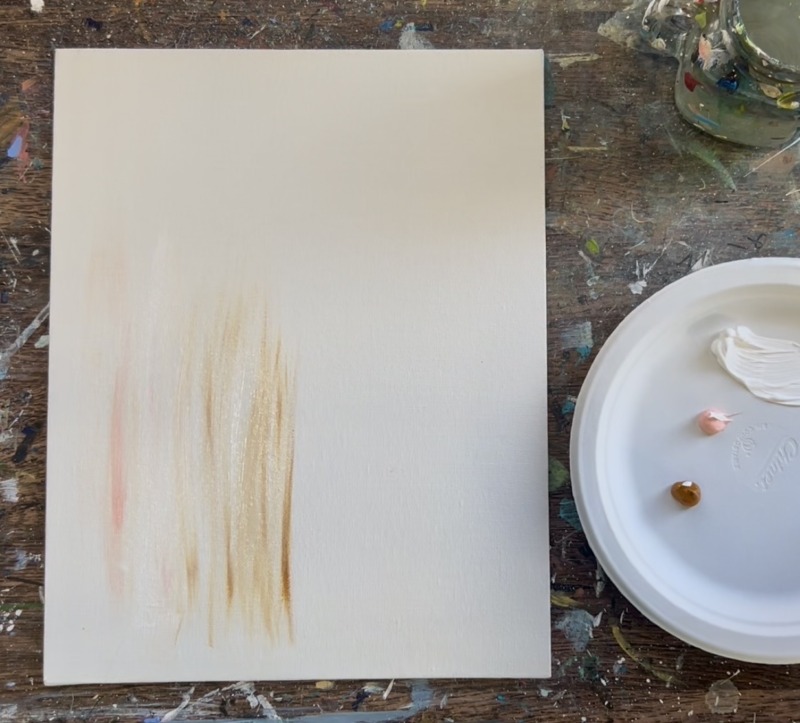
1. Paint The Background
Load your paint palette with the tree colors: titanium white, light pink and raw sienna.
Triple load your 3/4″ flat brush with titanium white (the full width of the brush with white) and add a small amount of the light pink and light brown on both of the corners. Paint vertical paint strokes that go up and down to fill the canvas.
This will create a pink-golden-beige color in the background. You want to make sure you are using a lot of the white paint color to ensure the background stays very light.
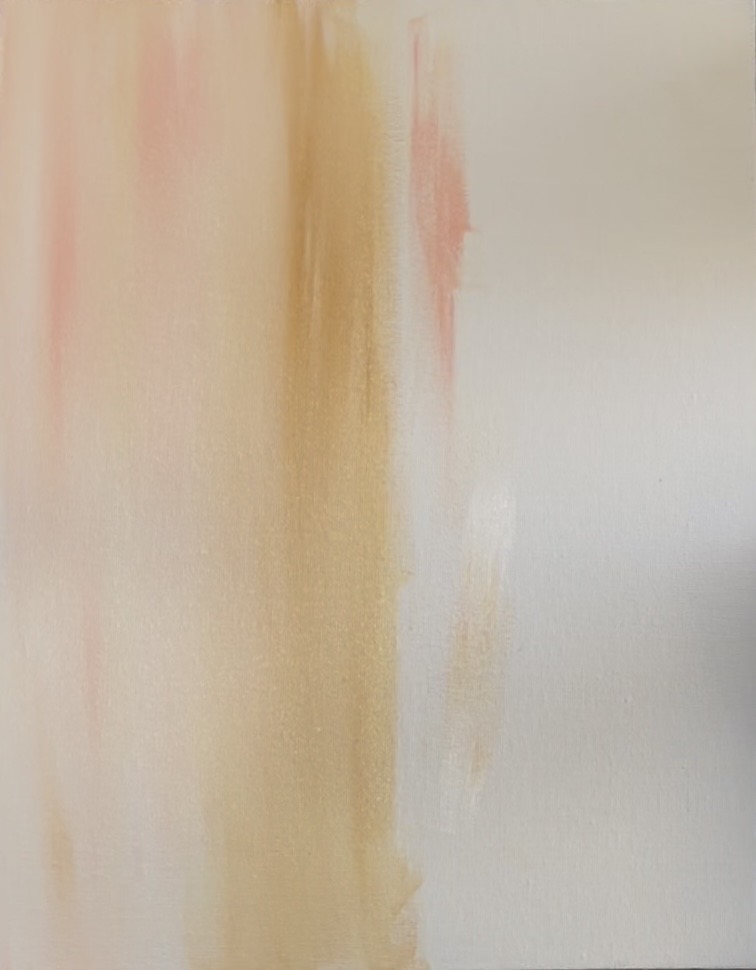
Leave a variety of streaks in the background with the light brown and light pink blending slightly together.
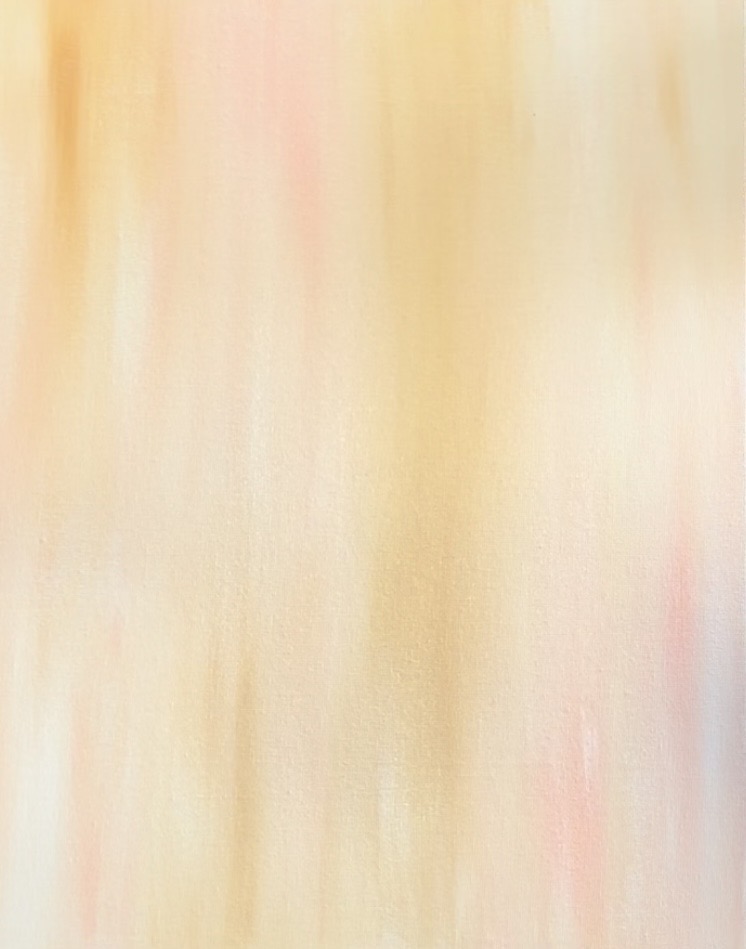
Let this dry before going onto the next step.
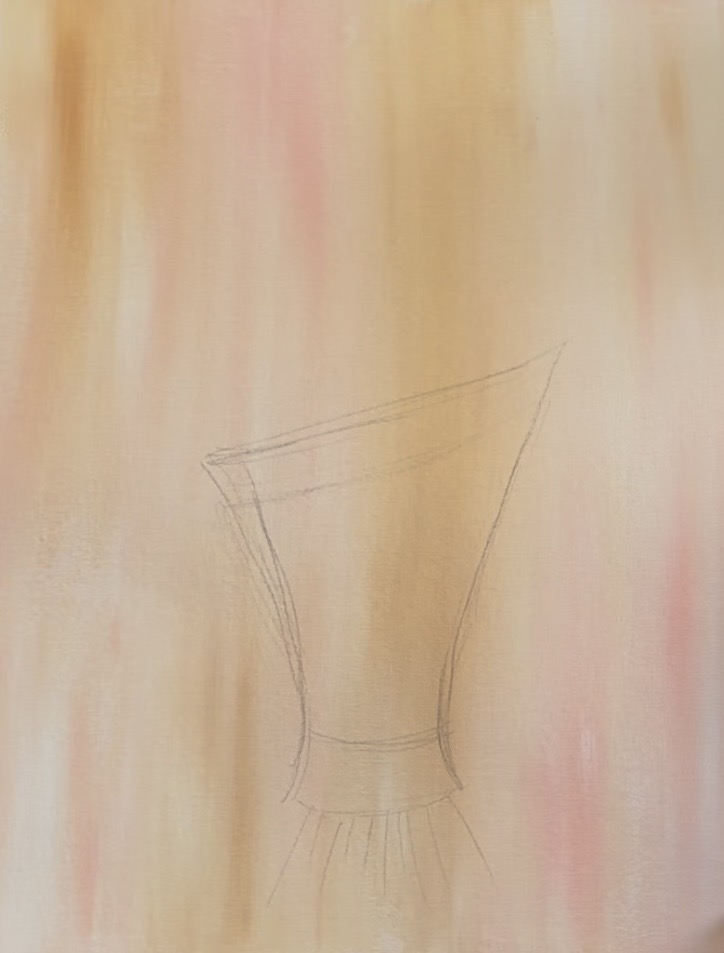
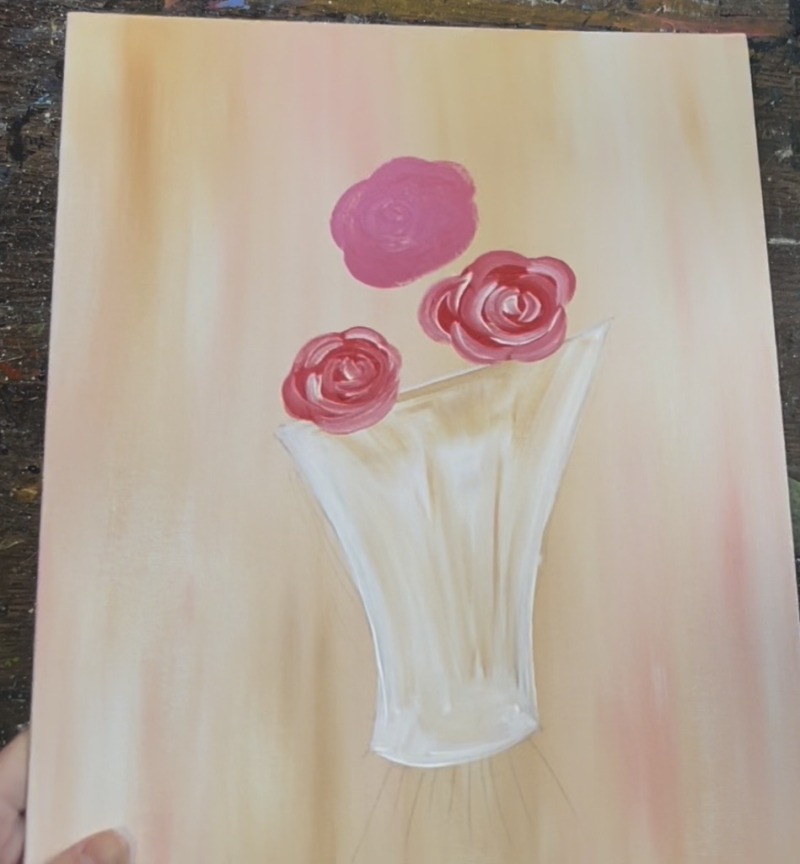
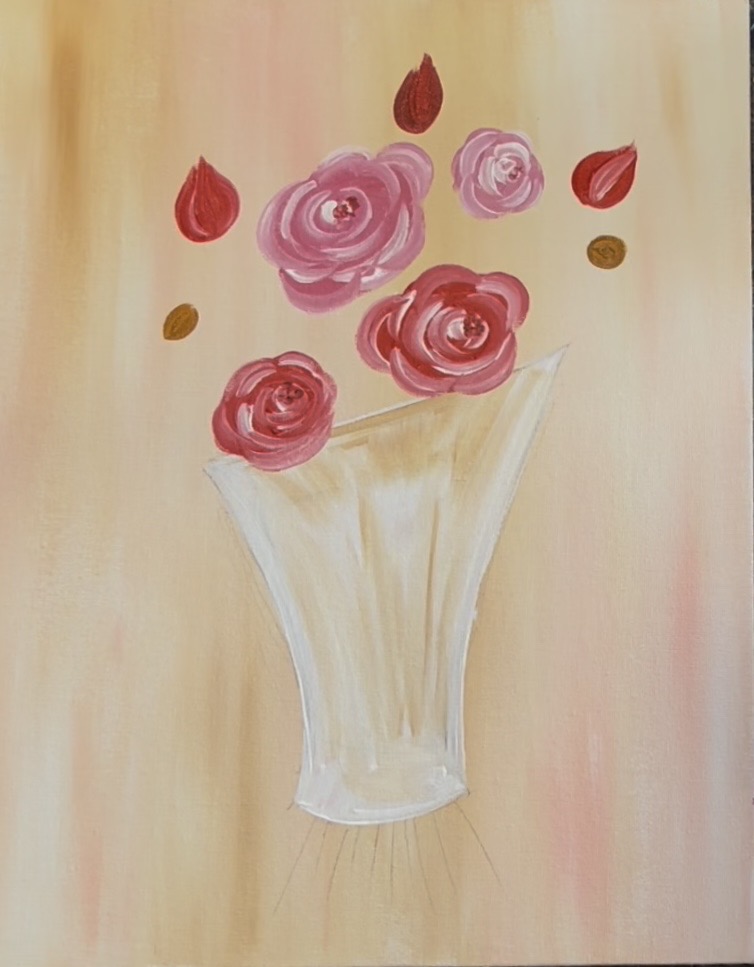
2. Draw Bouquet Paper
Use a pencil to sketch the wrapped part of the bouquet. Start in the very center of the canvas. Then draw a slightly diagonal line for the top edge of the bouquet paper. The bouquet is wider at the top and goes narrow and tapers in towards the bottom (where the bow tie will be). Then sketch lines coming out of the bottom of the bouquet paper for the stems.
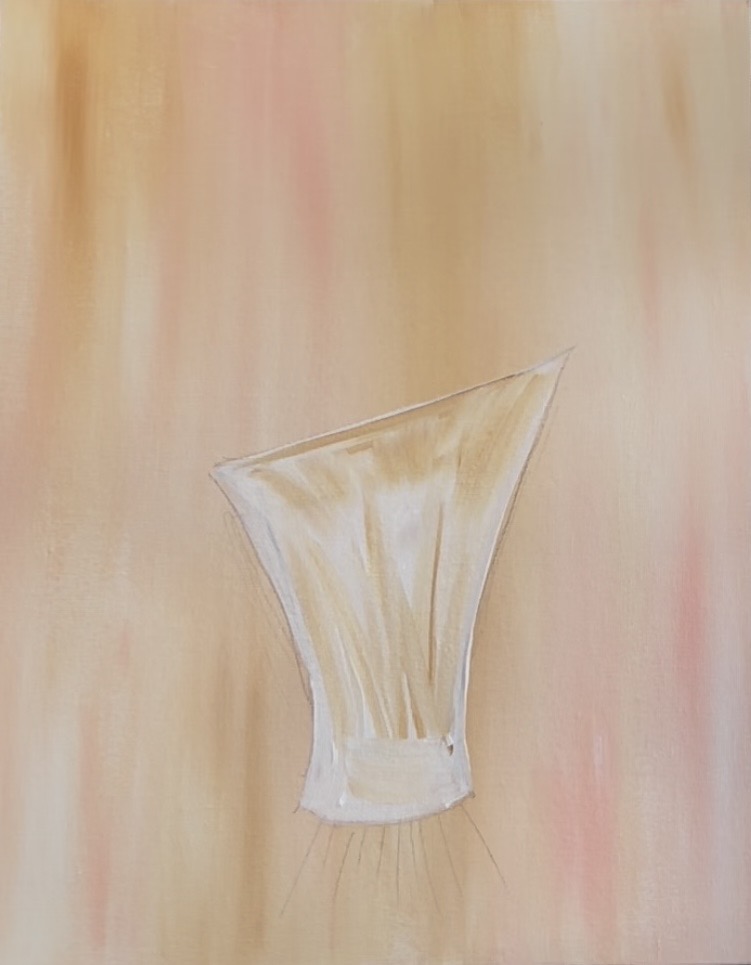
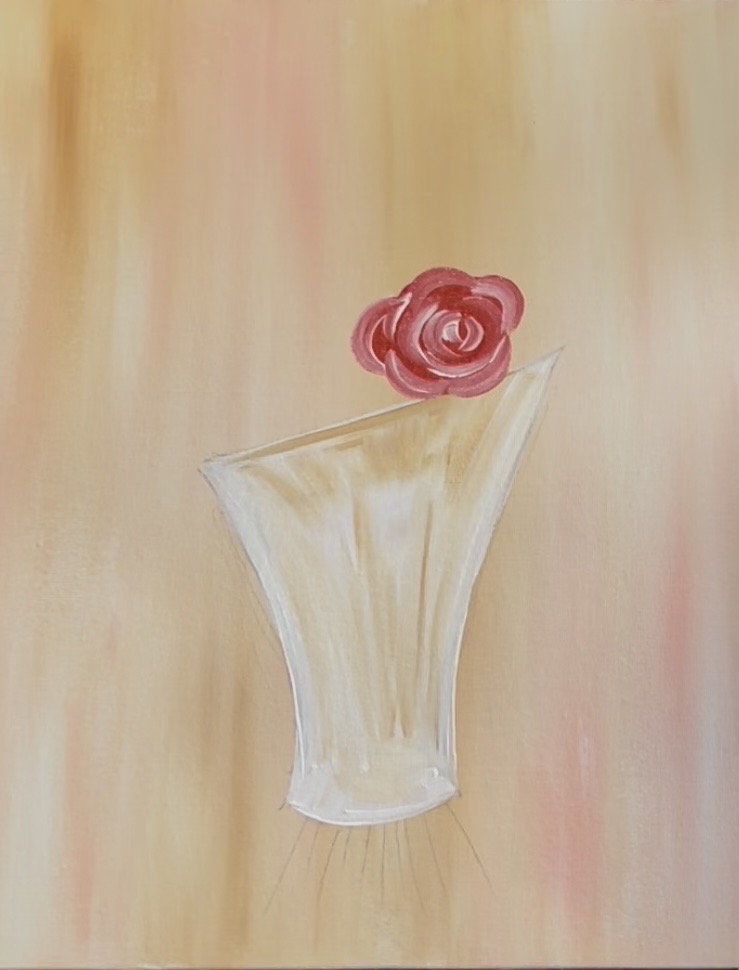
3. Paint Wrapped Bouquet Holder
Use a #12 bright brush (or the 3/4″ flat) to paint the shape of the bouquet paper a solid coat of white. Outline the inner parts of the shape and then fill in with up and down paint strokes.
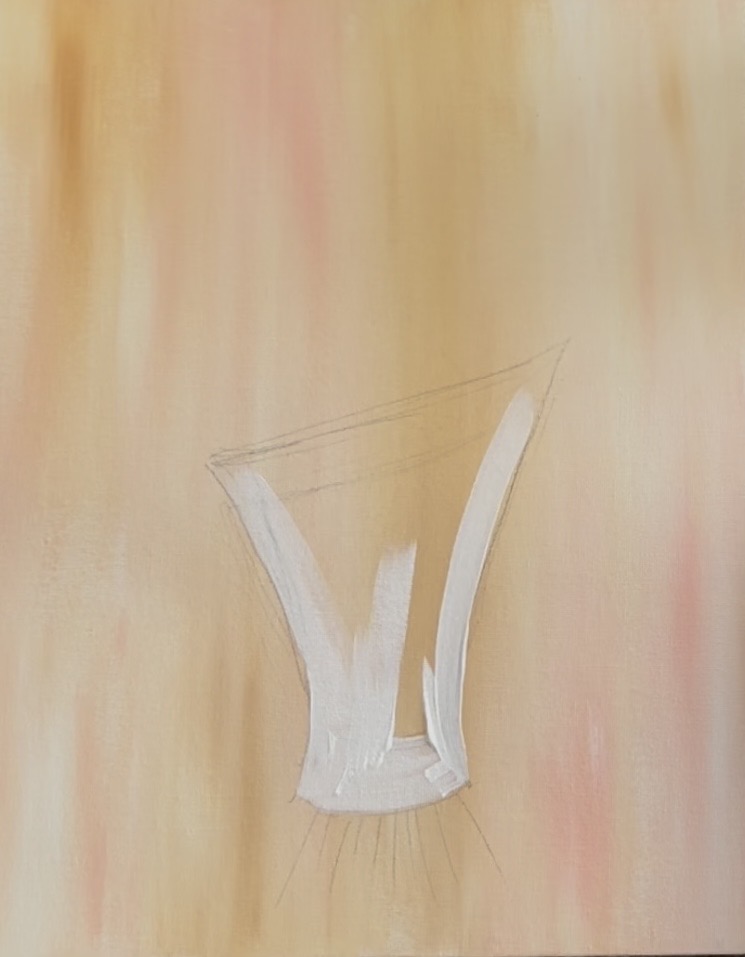
Lightly blend some of the raw sienna into the white but make sure to keep the edges bright for added contrast against the background color. Additionally, I added extra brown at the top edge of the bouquet wrap because there will be shadows from the flowers in this area.
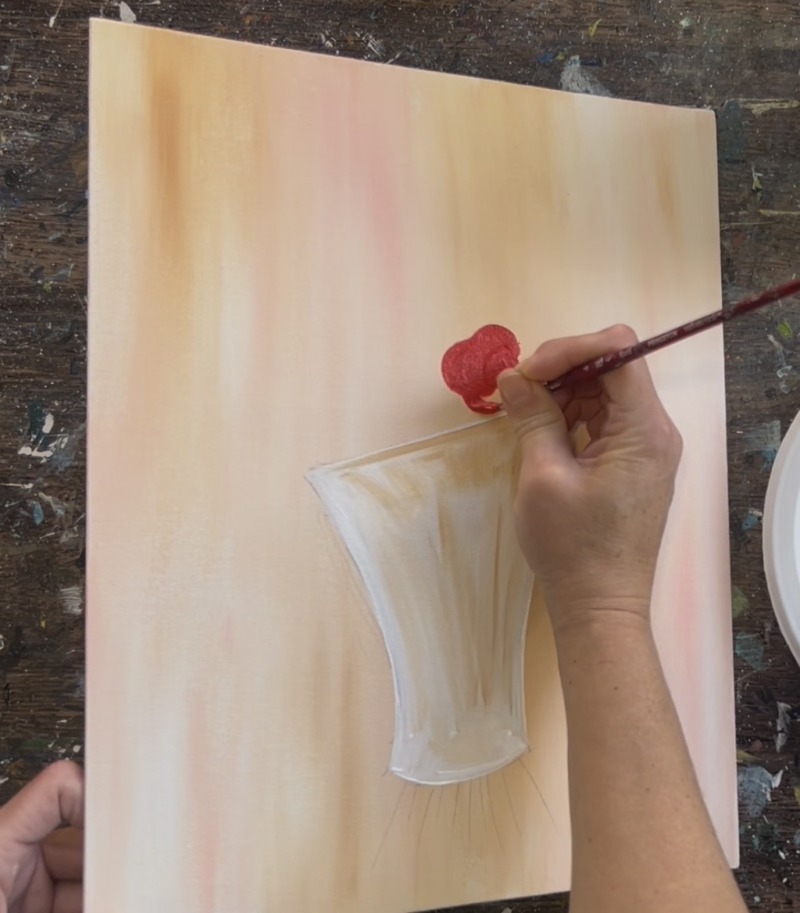
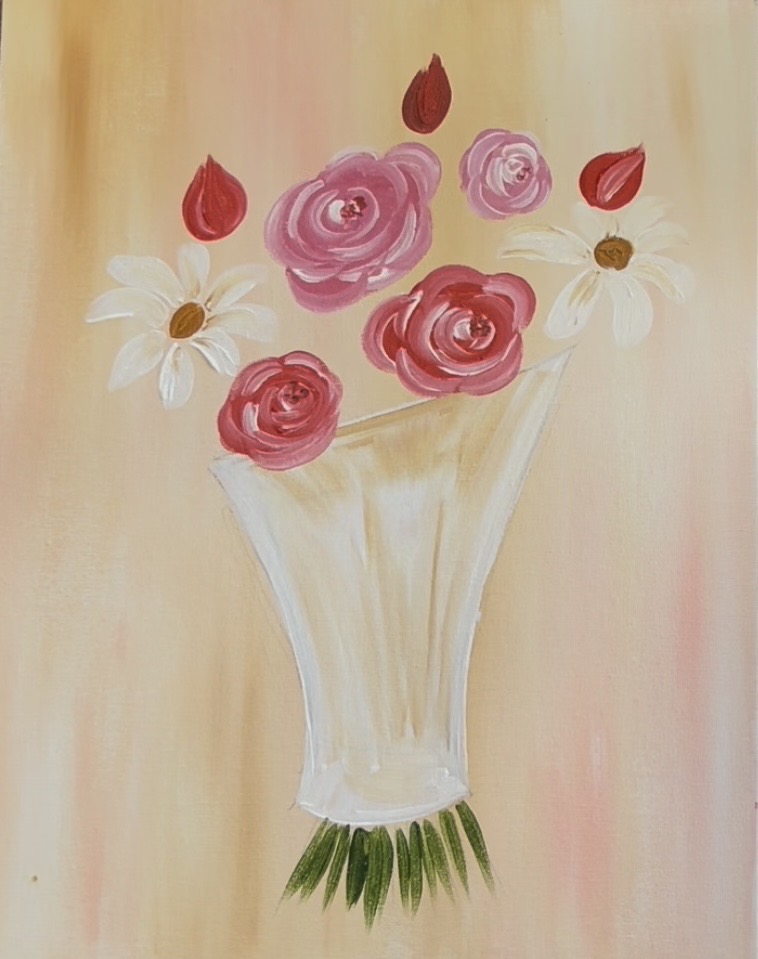
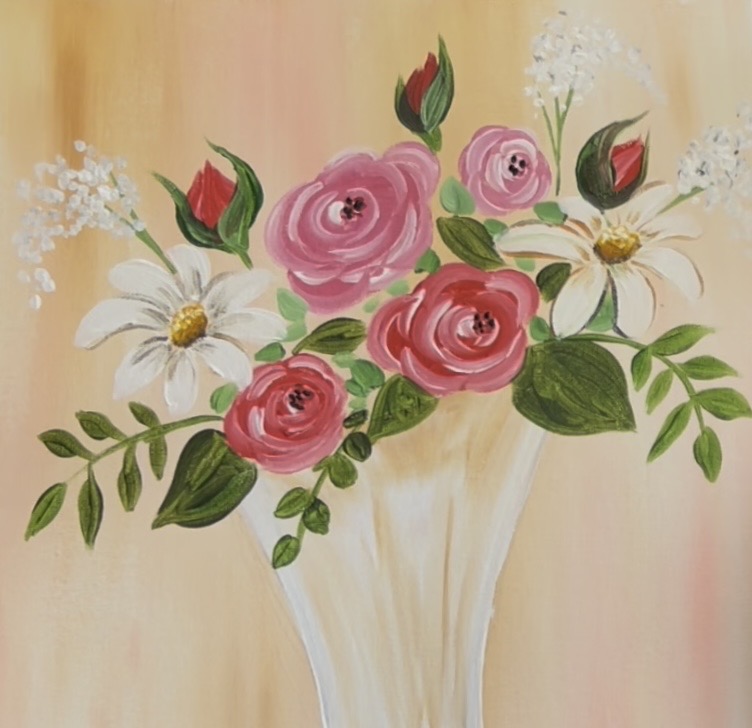
4. Paint Roses
Use the #4 round brush. Mix the color “cadmium red medium hue” with a small amount of “medium magenta”. Paint the base shape of the rose flower. I like to start out by painting a small circle and then add curved/ lumpy edges around the circle to create a solid color rose shape (as if you were looking at the rose straight on).
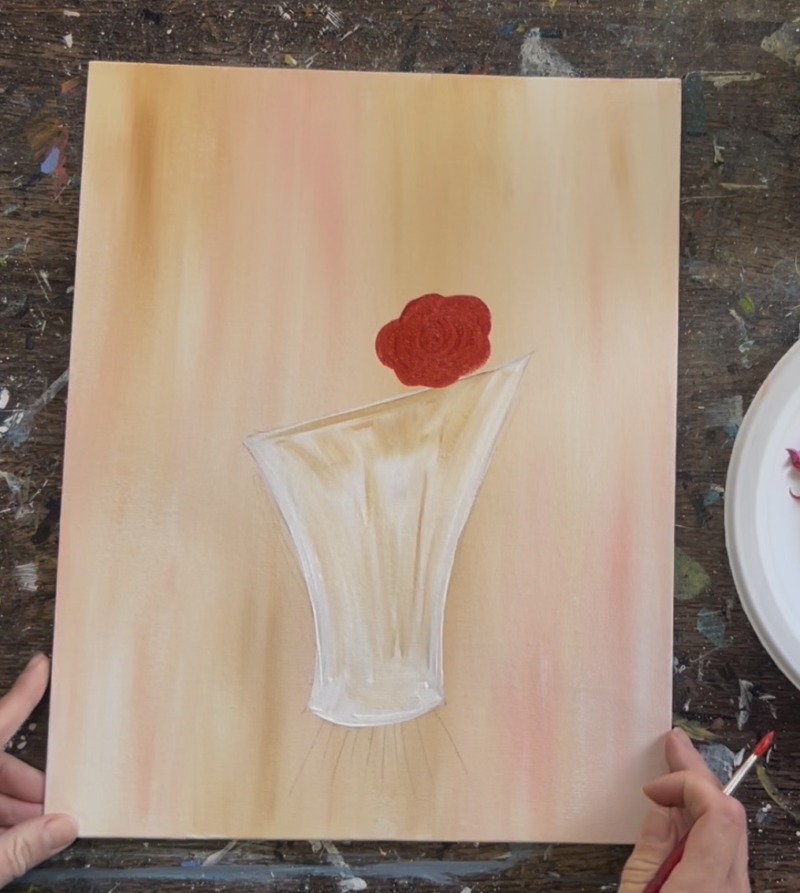
Then highlight your rose petals before this first layer dries. Wipe the brush off (but don’t rinse). Load the end tip of the bristles into “titanium white”. Start in the center of the rose and paint little curved “C” paint strokes. Your white will slightly blend with the red. Create more curved paint strokes and work your way from the center outwards. Leave a small amount of red in between the light colored edges of the petals (for shadowing).
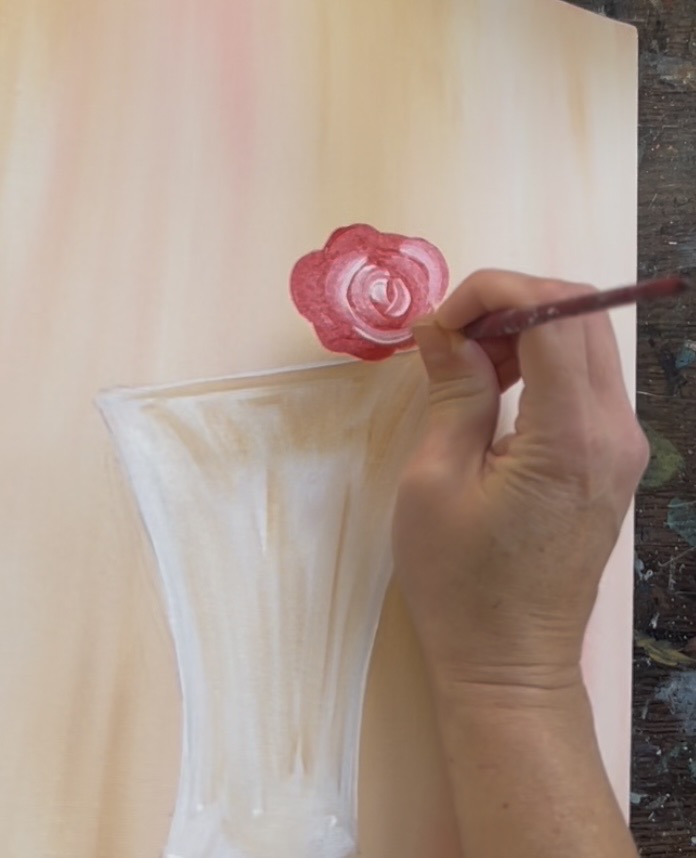
Work your way to the outer parts of the petals to create your “decorative rose”.
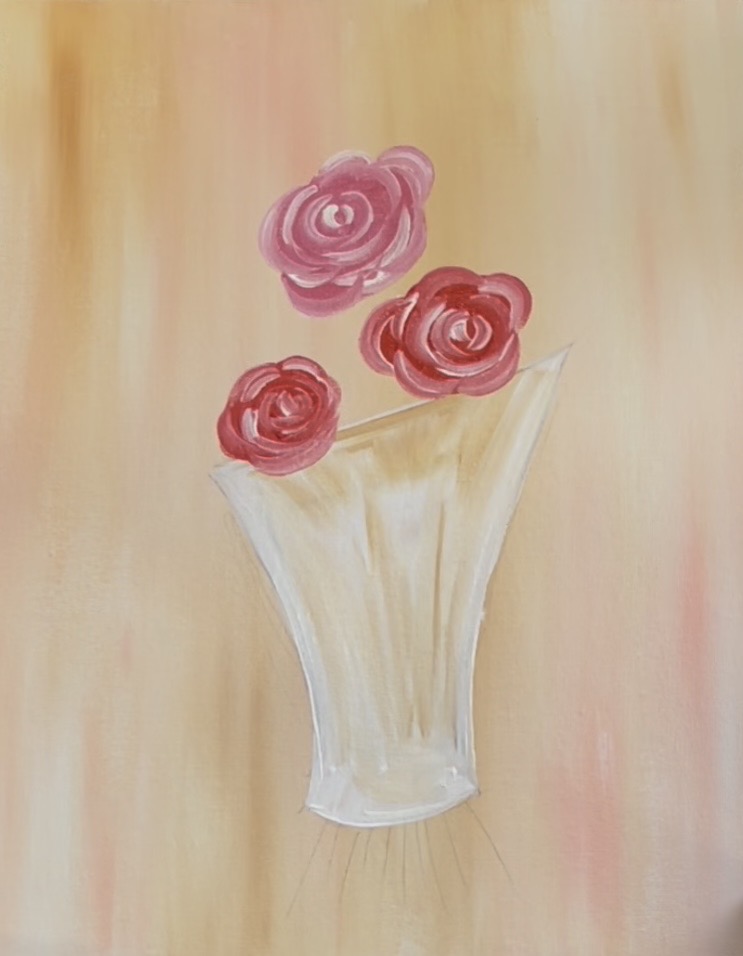
Repeat this technique again for another rose head. I did one on the left that slightly overlaps the paper.
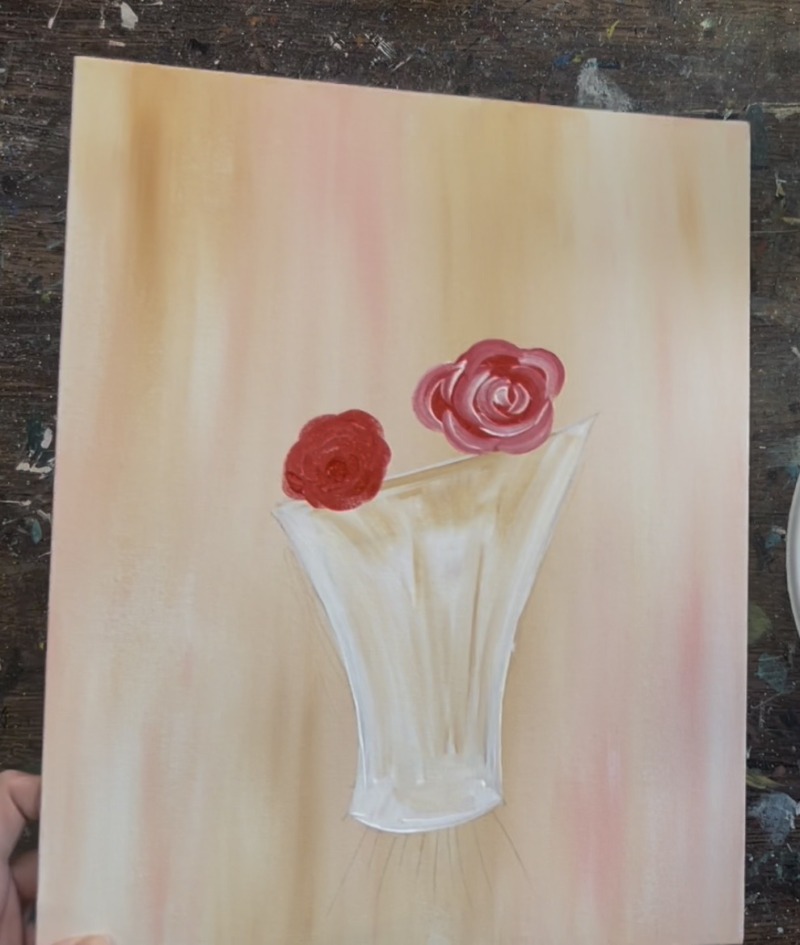
Note: you don’t have to start your light colored petals in the exact center of the rose. You can change the center to the upper or lower part of the circle. This actually changes the angle of the rose.

Next I did a slightly lighter colored rose by mixing more “medium magenta” into the red. This rose is also slightly larger. You can change the position or colors of these roses. Leave some space between each of the flowers so they aren’t overlapping or touching each other. This makes it easier for the leaves and filler we will be painting in a later step.
For the pink rose, the same technique is used with adding white to the brush. I started the center in the upper left part of the rose to change the angle of this one.
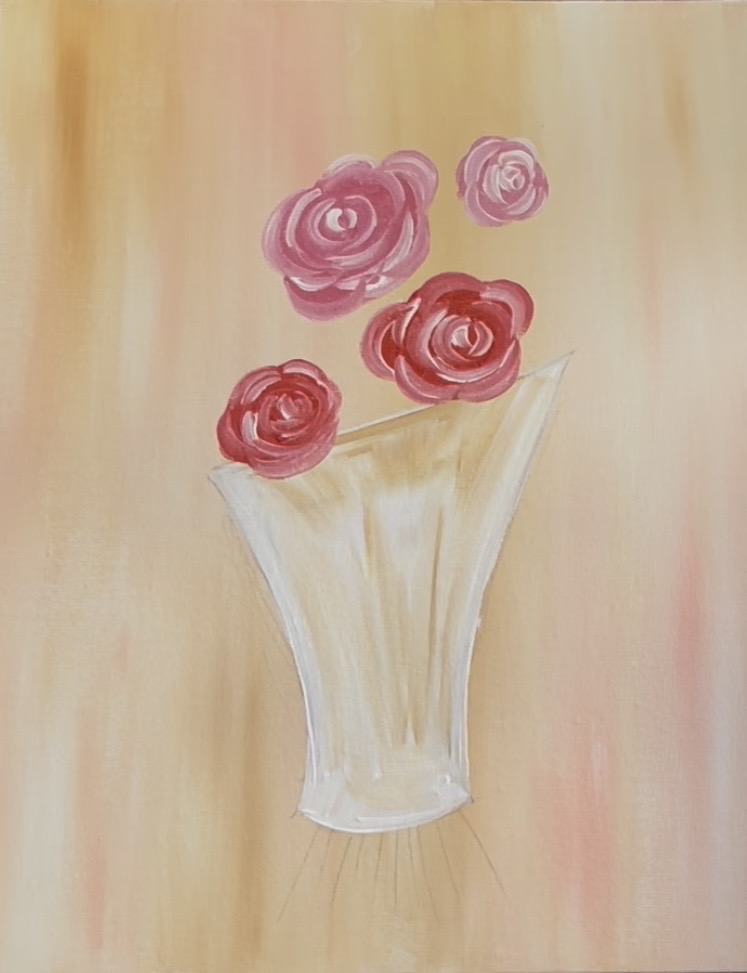
Paint a final smaller pink rose in the upper right.
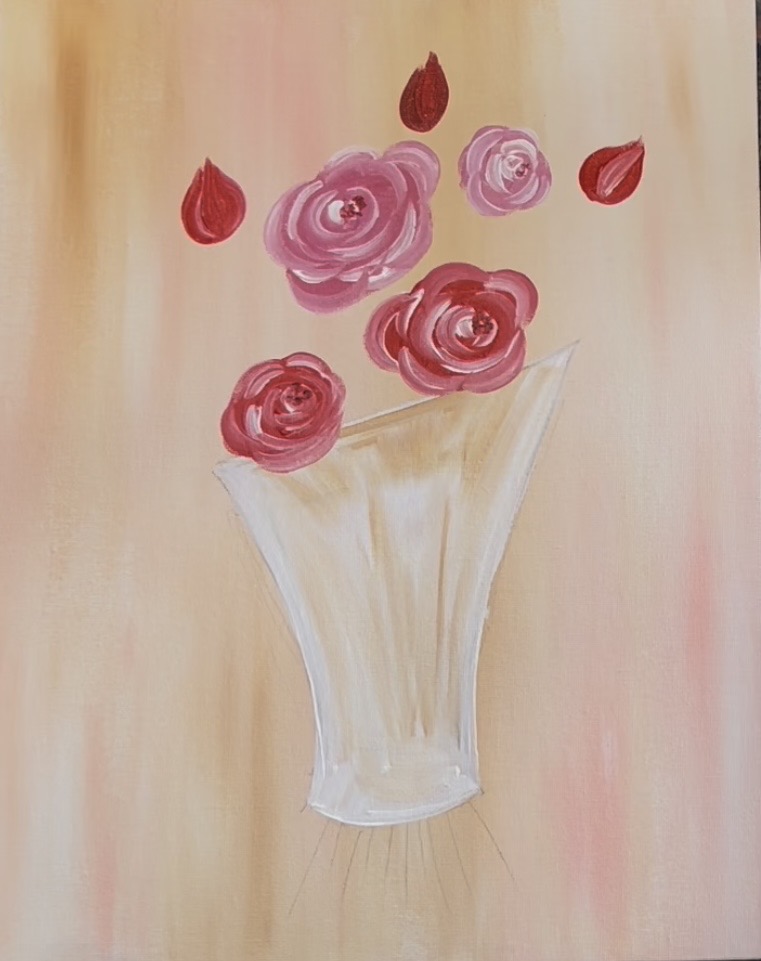
Next, paint rose buds. These are created by using the #4 round brush and “cadmium red medium hue”. You can add a touch of black or a touch of green into the red to slightly darken the red. Paint each of the buds as a teardrop shape. Use “titanium white” to slightly highlight the center of each of the teardrop shapes to make it look like a petal that overlaps in the front of the bud.
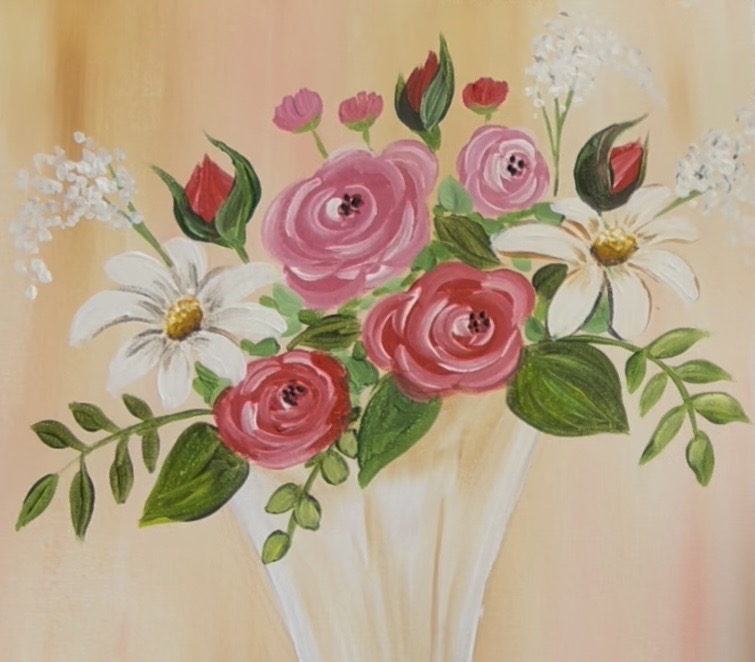
5. Paint Daisies
Use the color “raw Sienna” to paint two sets of ovals on each side of the bouquet for the centers of the daisies.
Then use titanium white to paint petals for the daisies. I like to start daisy petals at the center and stroke outwards. The base of the petal is slightly narrow and the edge is slightly wider and more rounded.
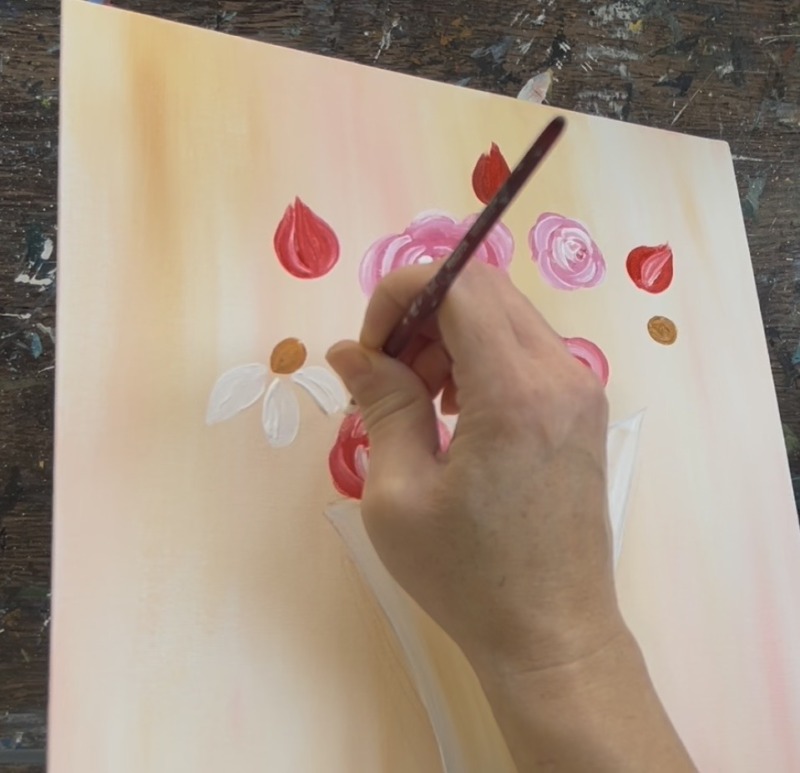
Paint the petals so they slightly curve downwards in the front and slightly curve backwards above the center oval. I intentionally did not overlap any of the petals over the other flowers.
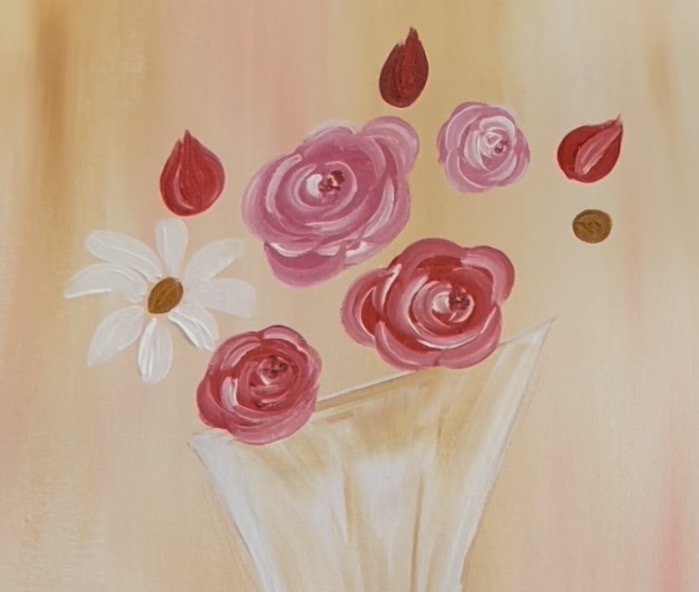
Repeat this for the other daisy. Optional: use the “raw Sienna” to add a little bit of shadowing at the bottom of each of the petals (the part closest to the center of the flower). Just a little bit is needed! If your daisy blends in too much with the background, you can add more white layers on it later. You can also loosely outline the edges of the petals in a later step.
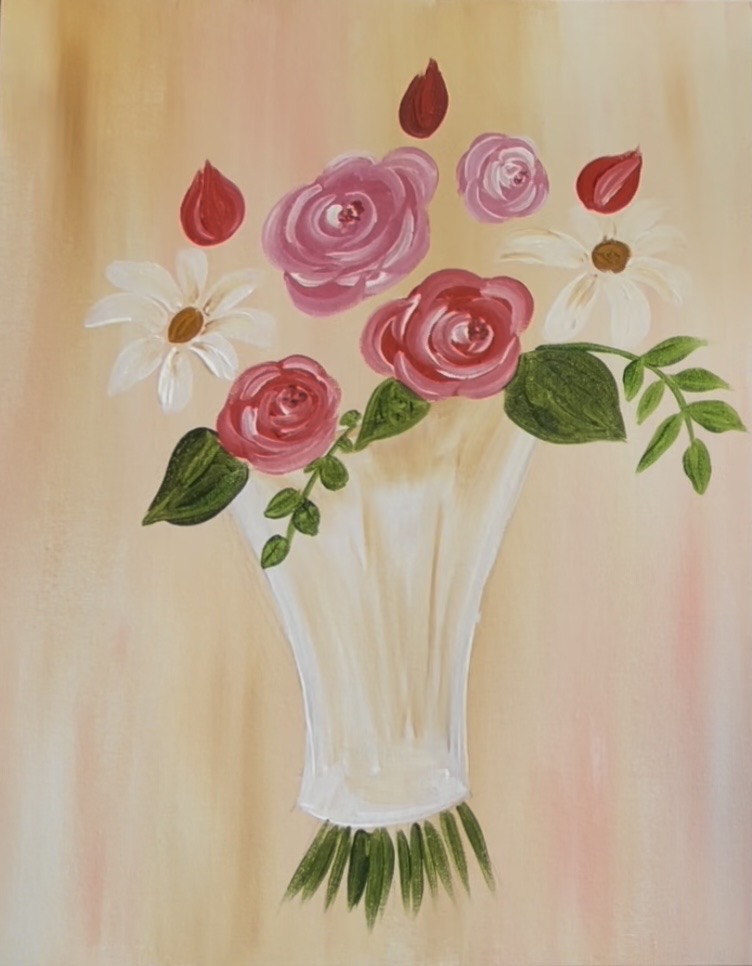
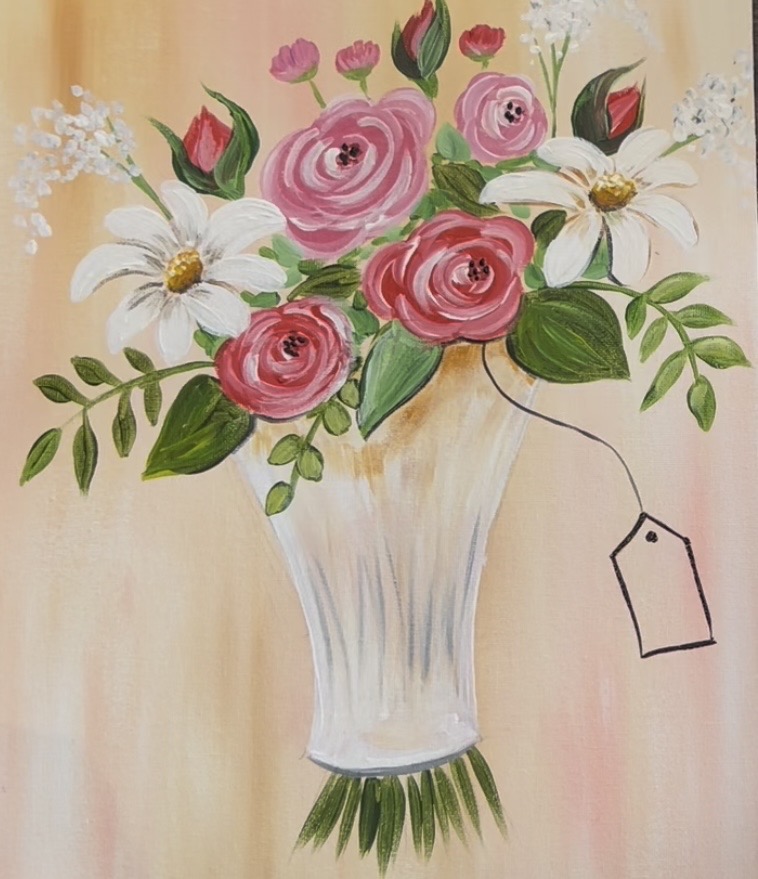
6. Paint Stems & Leaves
Use the color “hooker’s green hue” to paint the stems of the bouquet. Paint lines that come down out of the bottom of the wrapped bouquet.
Then paint the leaves. To make this green darker, mix a tiny amount of red into the green. Then paint two large leaves that slightly overlap the paper on each side of the bouquet. These leaves go under the rose heads.

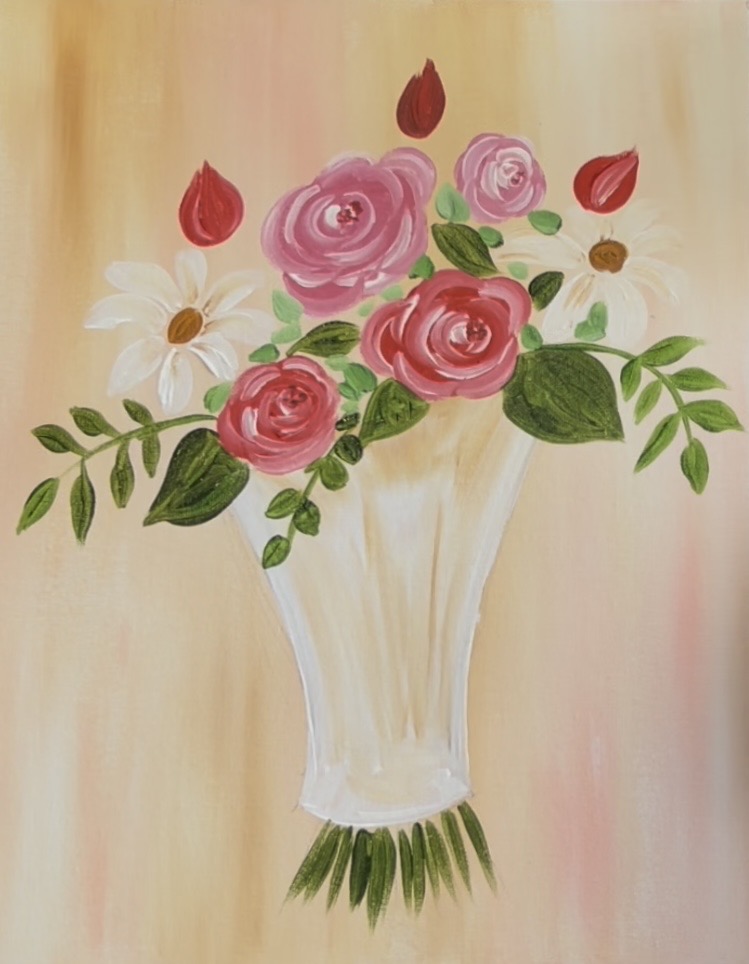
Paint a set of stem leaves that have smaller rounded or pointed leaves on each side of the stem. I painted a set of stem and leaves cascading outwards from the sides of the bouquet.
Then add some more “filler” in the gaps between the flowers. You can create variations of green by mixing white into the green to lighten it and mixing red into the green to darken it. Paint abstract paint marks that go in different angles to fill in these gaps.
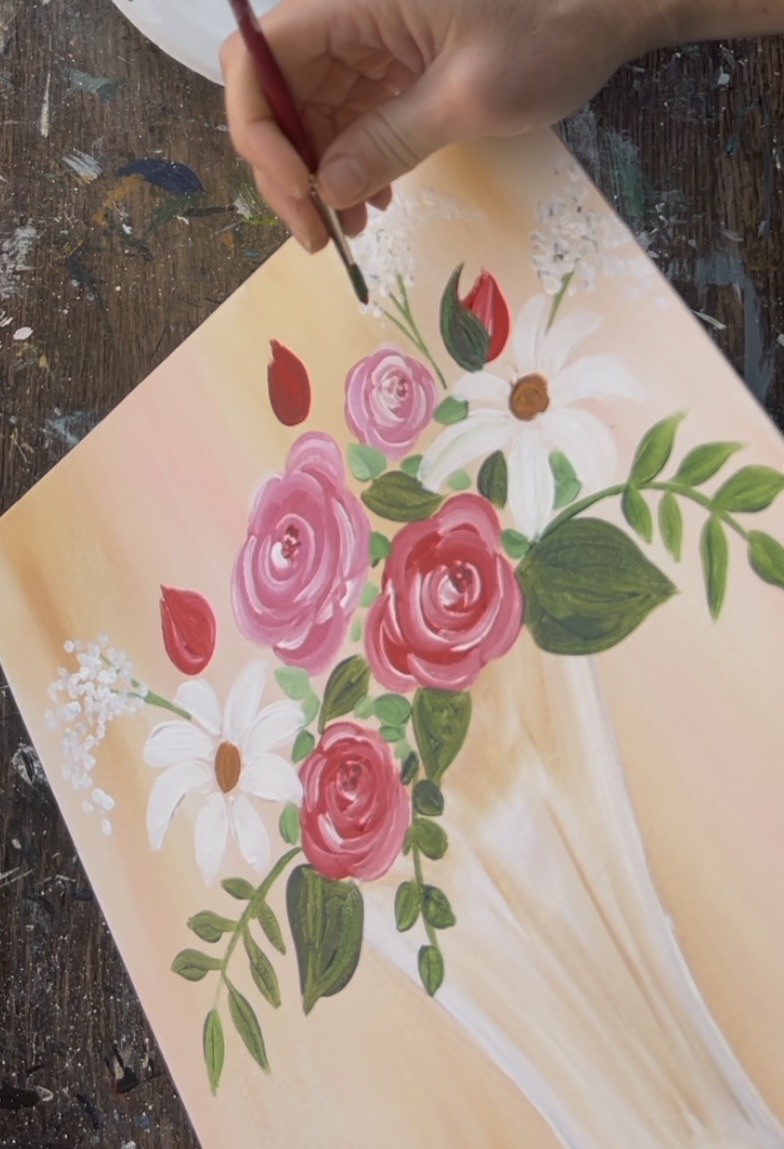
7. Baby’s Breath
Paint three small stems towards the top of the bouquet. These will be for the “baby’s breath” flowers.
Then use the end of your round brush to “stipple” white dots to create the baby’s breath flowers. I cascaded a few of them to curve downwards. Also, if you need added contrast in these white dots because of the background, add a tiny bit of black into some of the dots.
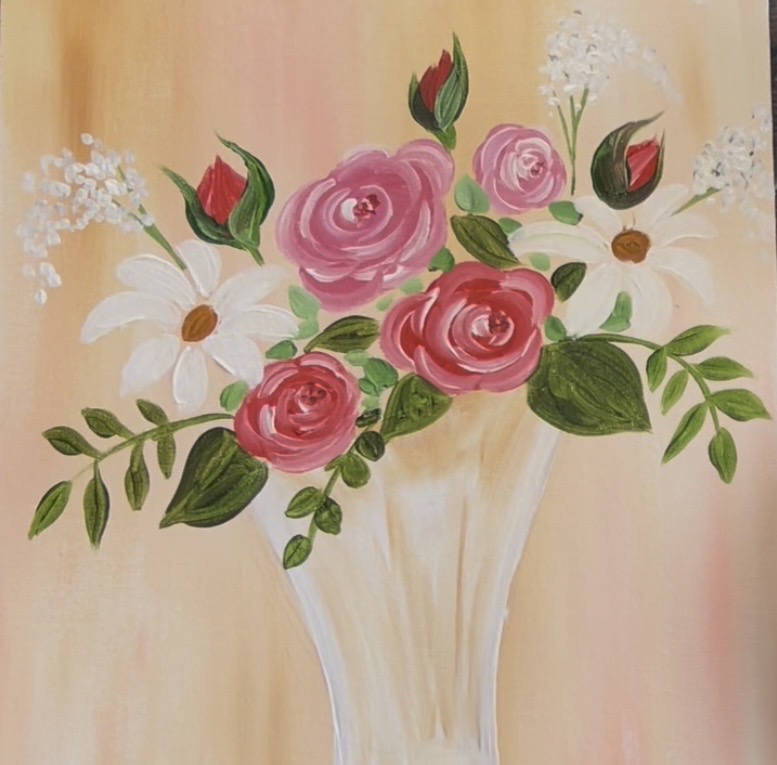
8. Sepals On Rose Buds
Use the #4 round brush and your dark green (green mixed with a tiny bit of red). Paint a rounded/ pointed leaf that overlaps 3/4 of the rose bud and goes to a fine pointed tip at the top.
Then paint a second rose bud leaf on the opposite side but much thinner. Essentially the sepal hugs the bottom of the rose bud and goes very pointed upwards. You can also paint the stem of the roses for the rose buds if they are visible in your bouquet.
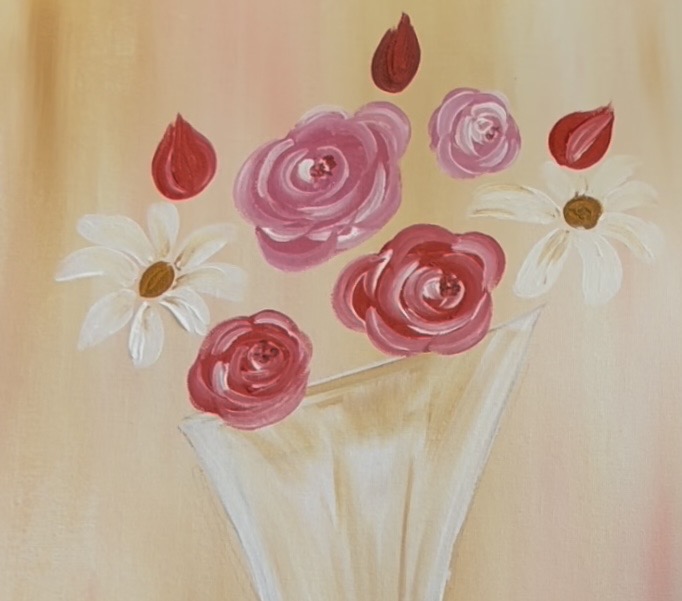
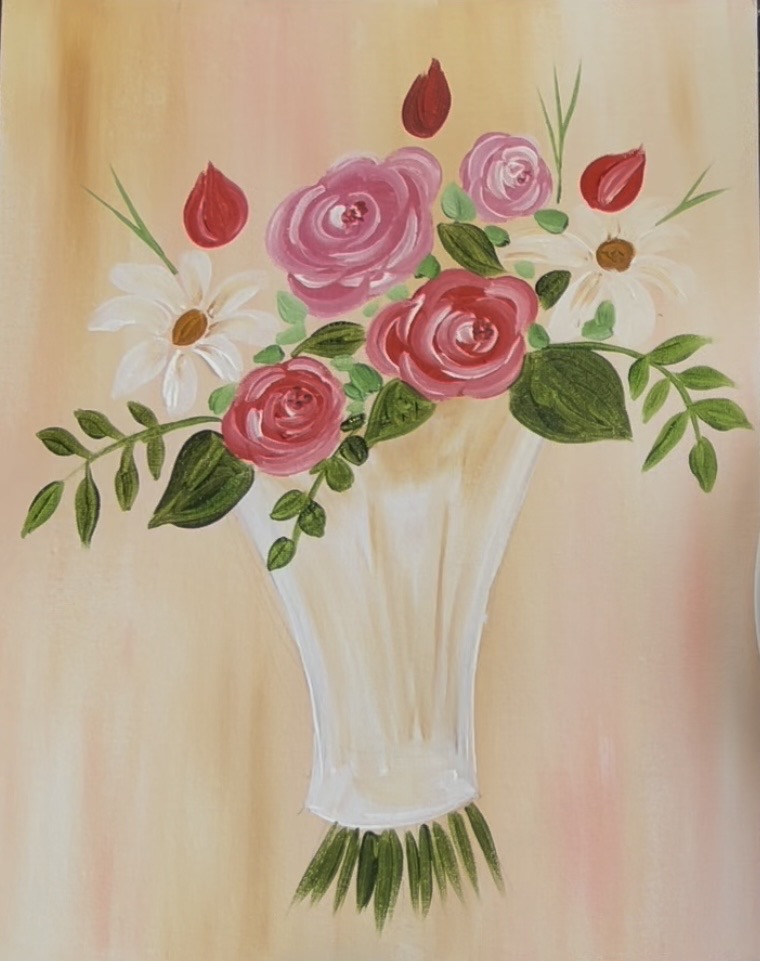
9. Daisy & Rose Details
Paint little black dots in the centers of each of the roses. Then add texture in the center of the daisies. To do this texture, load your paint palette with “cad yellow medium” and “stipple” little yellow dots on the top part of each of the ovals (leave the bottom part darker). Then add a little bit of white at the very top of that.
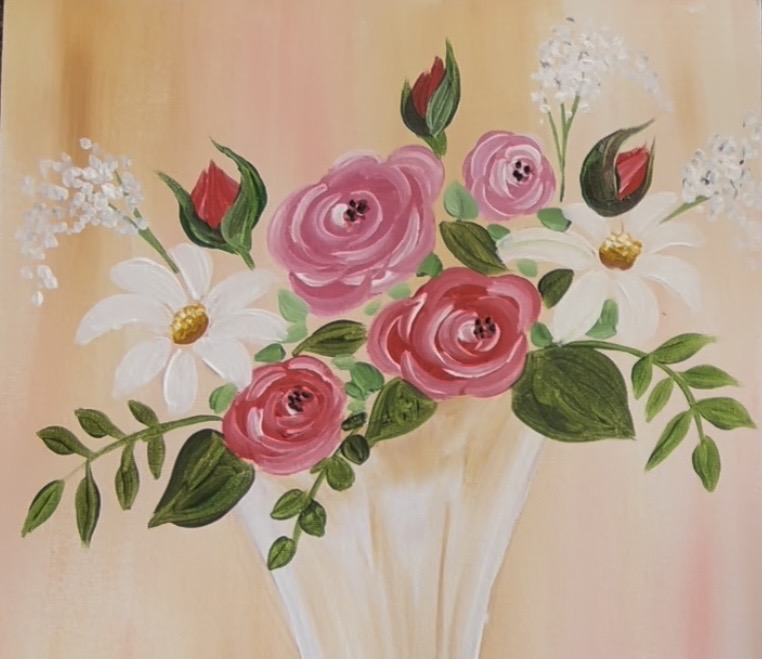
Paint a second and third coat of white over the daisy petals. If needed, you can also lightly outline the edges of the petals for added contrast. I used black mixed with brown and very loosely outlined the petals with a very thin paint line.
You can add more flowers if you want! I did three little flowers at the very top of the bouquet and then added stems to them. The left two were done with “medium magenta” and the right is “cad red medium hue”.
10. Tag & Bow
Use the color “mars black” to paint a string and tag.
Use red mixed with a little black to paint ties where the bouquet gathers at the bottom.
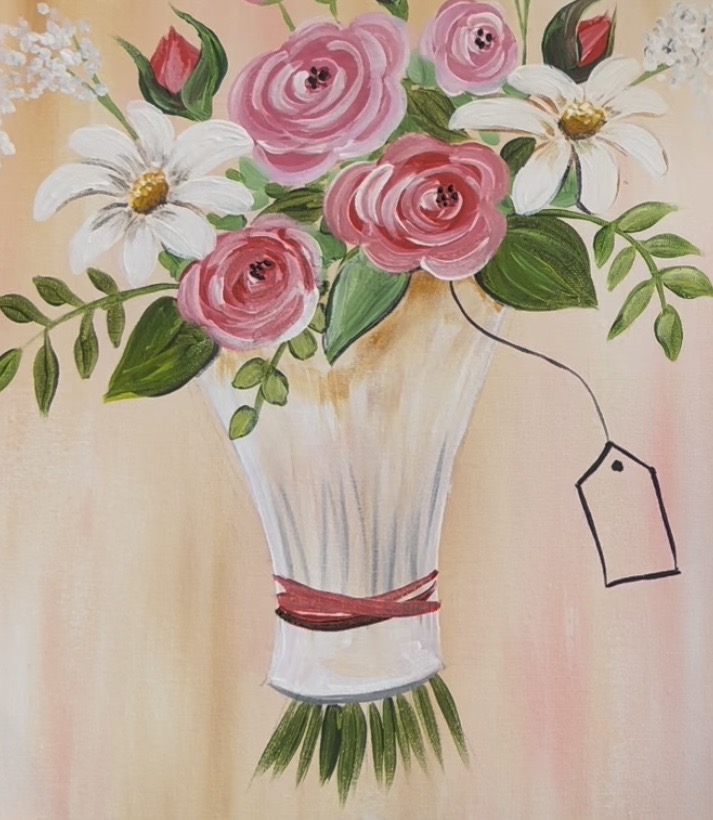
Then paint a bow tie using red mixed with a little bit of white. Paint the tag using white and blend a little bit of “raw Sienna” on the bottom of the white.
Paint a little red heart on the tag.
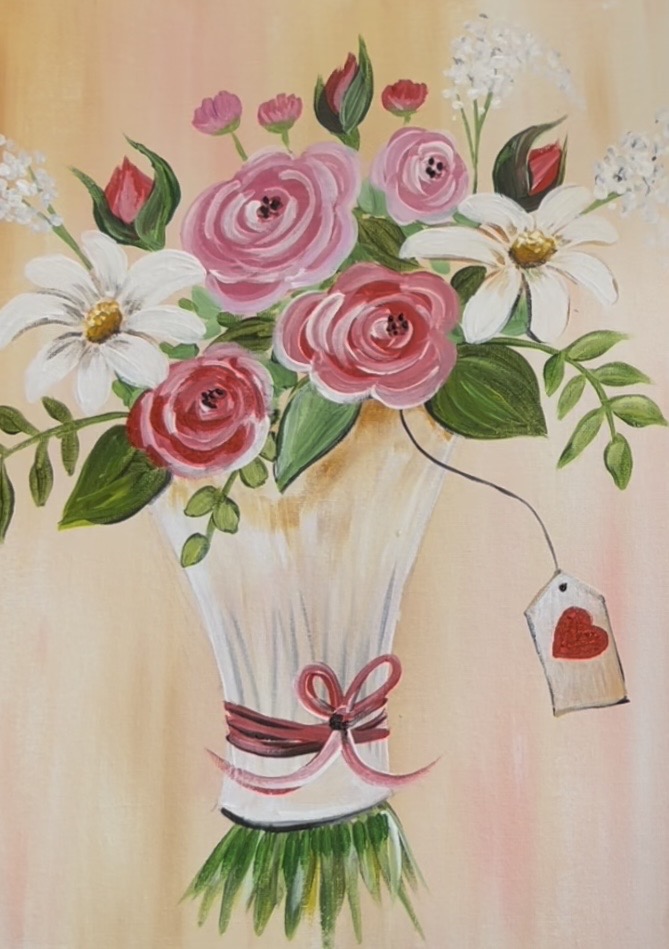
Finished!

Final touches could be:
- Adding some green mixed with yellow leaves (grass style) on the outer and upper parts of the bouquet.
- Adding highlights to the leaves. Use yellow or white mixed with green and glaze on a layer over your dark leaves but leave a lot of the dark still showing.
- Add vein lines to some of the dark leaves. Use white mixed with green and paint very thin lines down the center of each of the leaves and diagonal lines going outwards.
- Add lighter colored stems that overlap your darker stems on the bottom of the bouquet. Use a mixture of green-yellow and green-white to create these lighter stems. This adds more depth to your stems on the bottom!