
Would you like to save this?
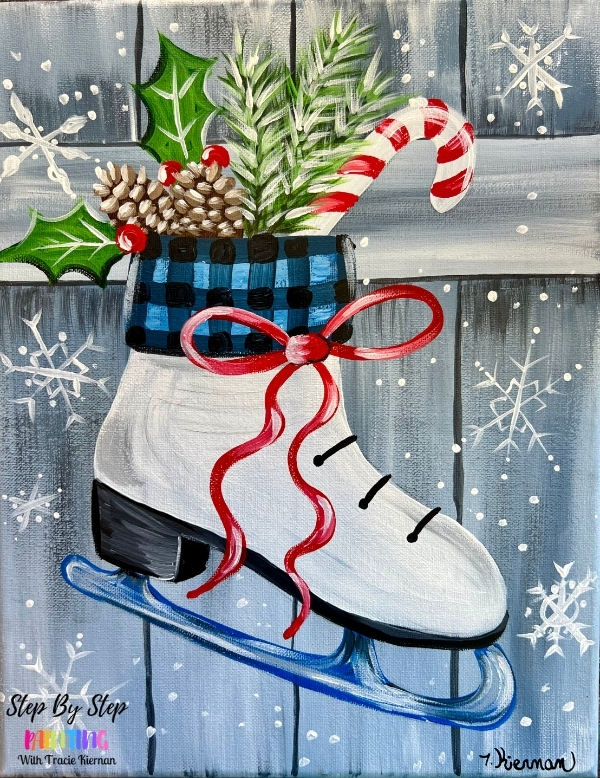
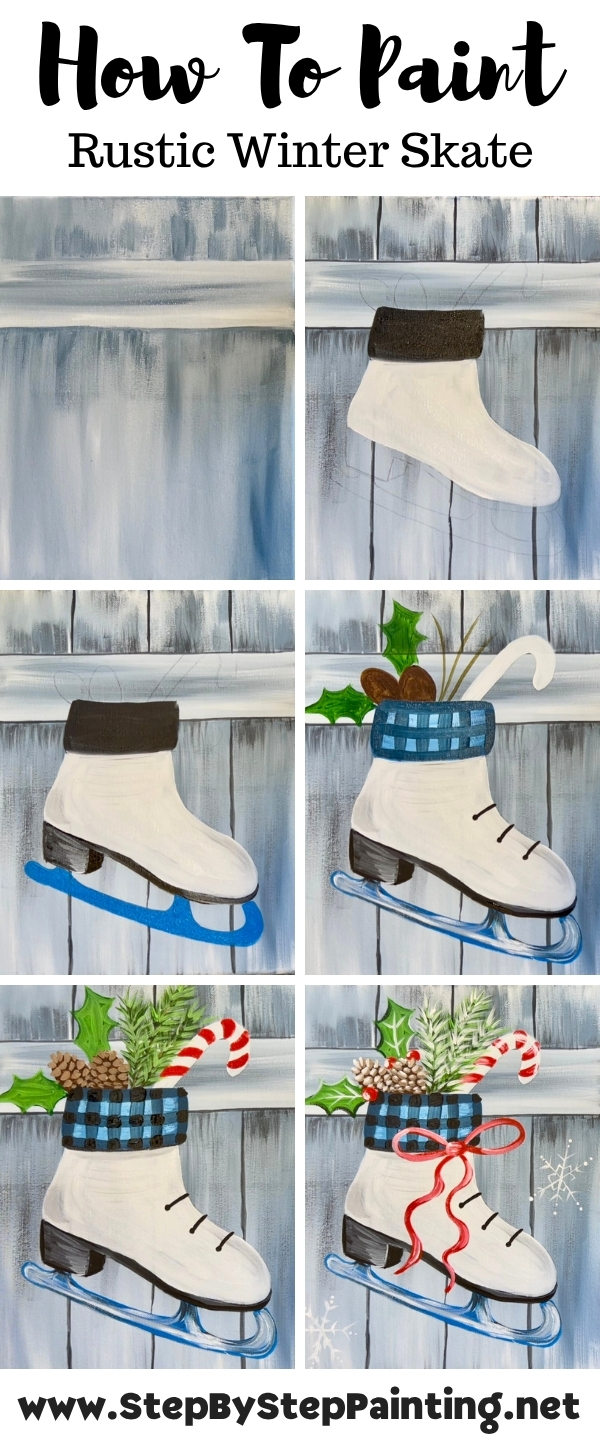
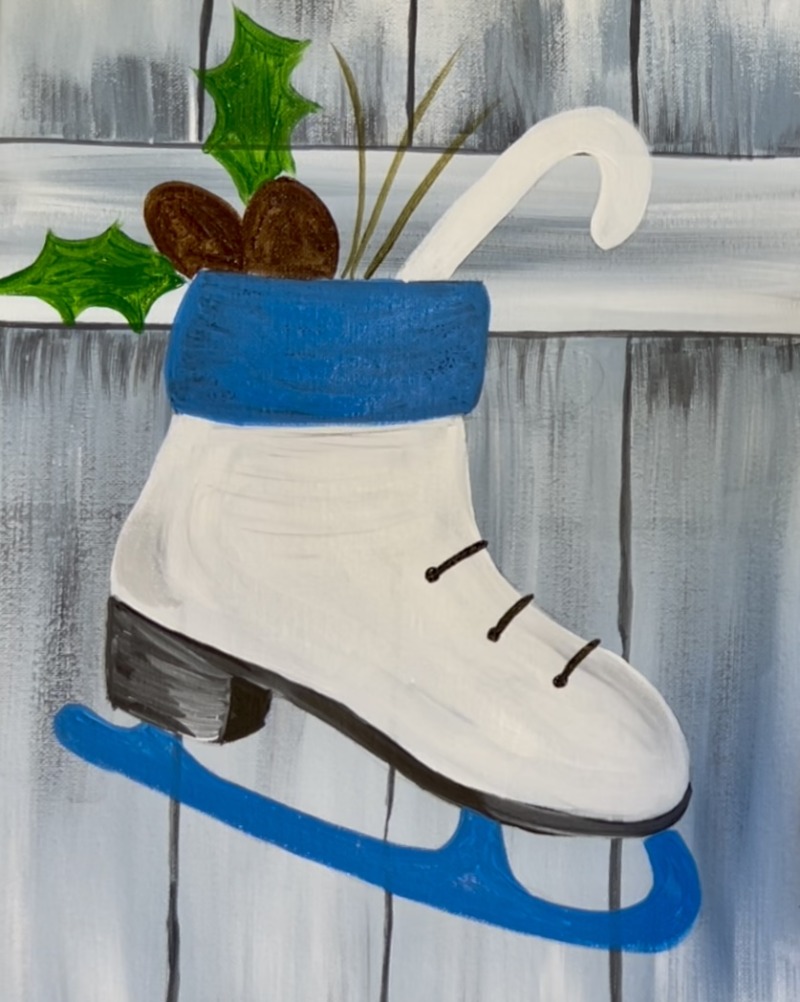
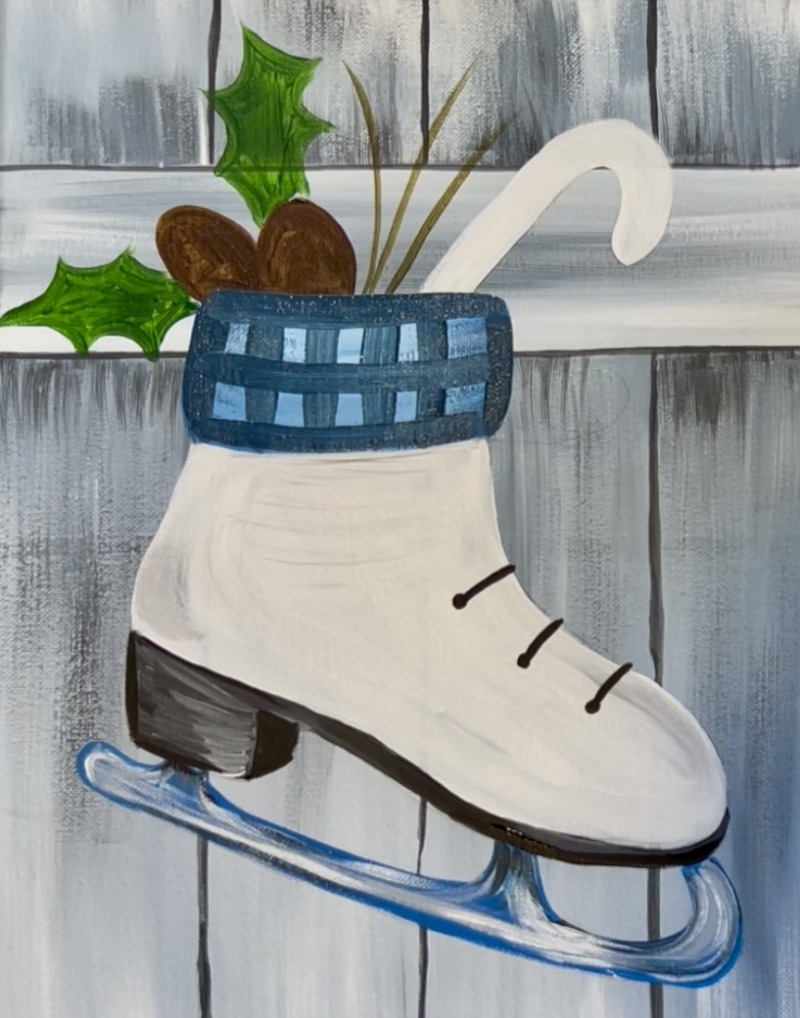
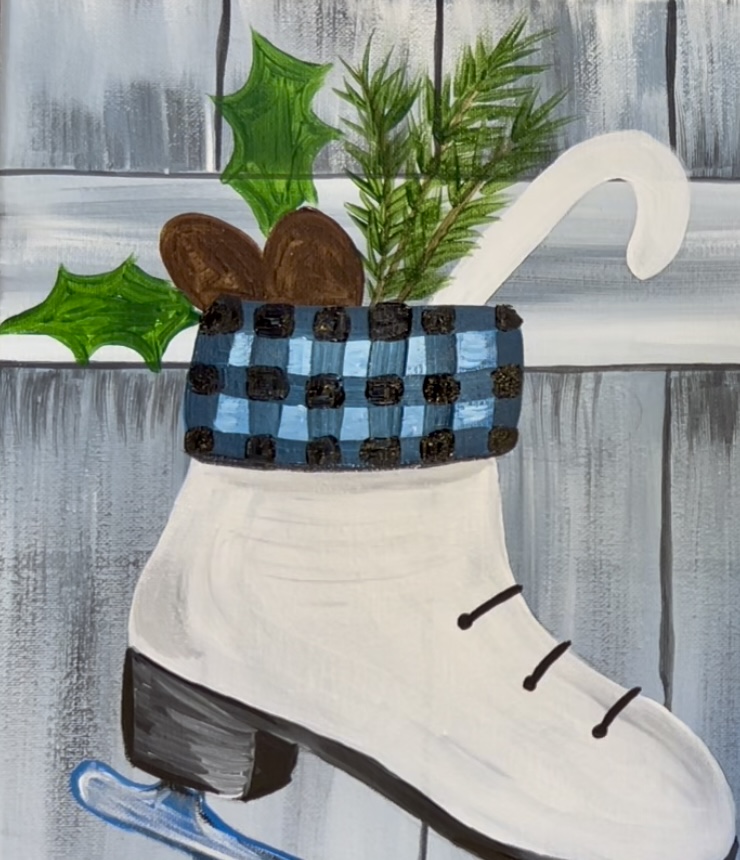
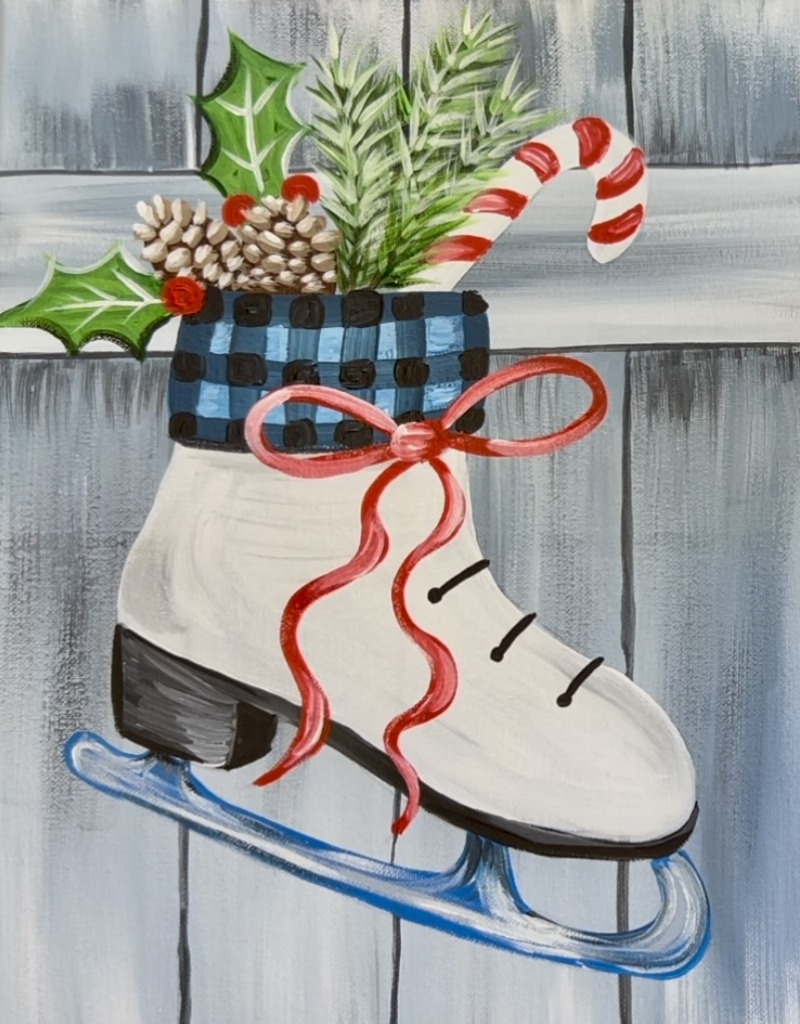
Celebrate the season with this fun and festive beginner-friendly painting! In this tutorial, you’ll learn step-by-step how to paint a classic white ice skate filled with holiday greenery, pinecones, and candy canes — all set against a snowy, wood-textured background. We’ll practice simple brush techniques to create plaid patterns, pine needles, and soft snowflakes, perfect for adding cozy winter charm.
This is an easy level painting and it has a traceable template you can print and transfer to the canvas. No drawing required in this one!
Enjoy and happy painting!
Materials
Rustic Winter Ice Skate - Painting Tutorial
Celebrate the season with this fun and festive beginner-friendly painting! In this tutorial, you’ll learn step-by-step how to paint a classic white ice skate filled with holiday greenery, pinecones, and candy canes — all set against a snowy, wood-textured background. We’ll practice simple brush techniques to create plaid patterns, pine needles, and soft snowflakes, perfect for adding cozy winter charm.
Materials
- 11 x 14 Canvas
- Acrylic Paint
- Brushes
- Pencil
- Template
- Graphite Paper
- Ruler
Colors
- Titanium White
- Mars Black
- Pyrrole Red
- Burnt Umber
- Hooker's Green Hue
- Blue Gray
- Cerulean Blue
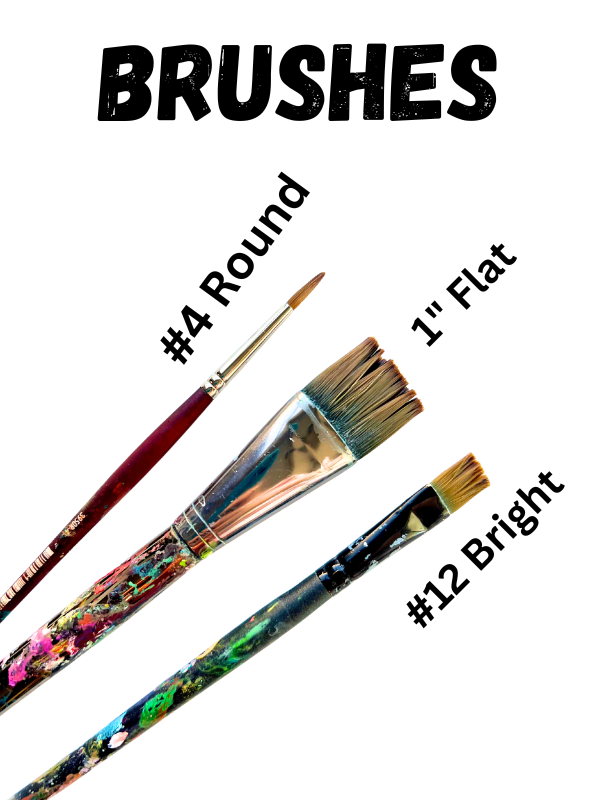
Brushes
- 3/4 Flat
- 4 Round
- 12 Bright
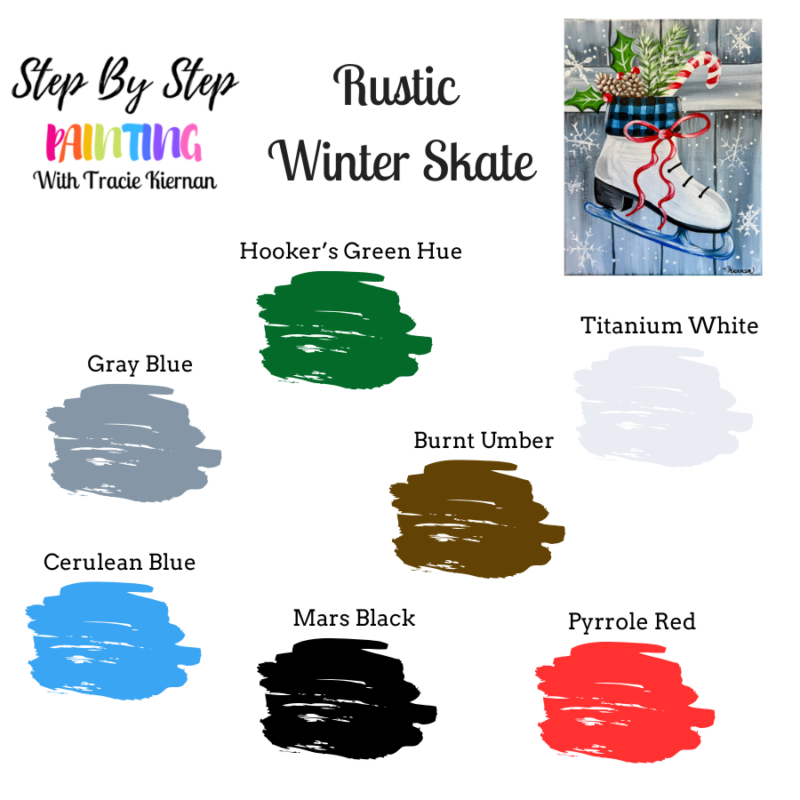
Color Palette
You can use any red for this if you don’t have “pyrrole red”. The reason I chose this red is because it is a nice, bright and opaque red!
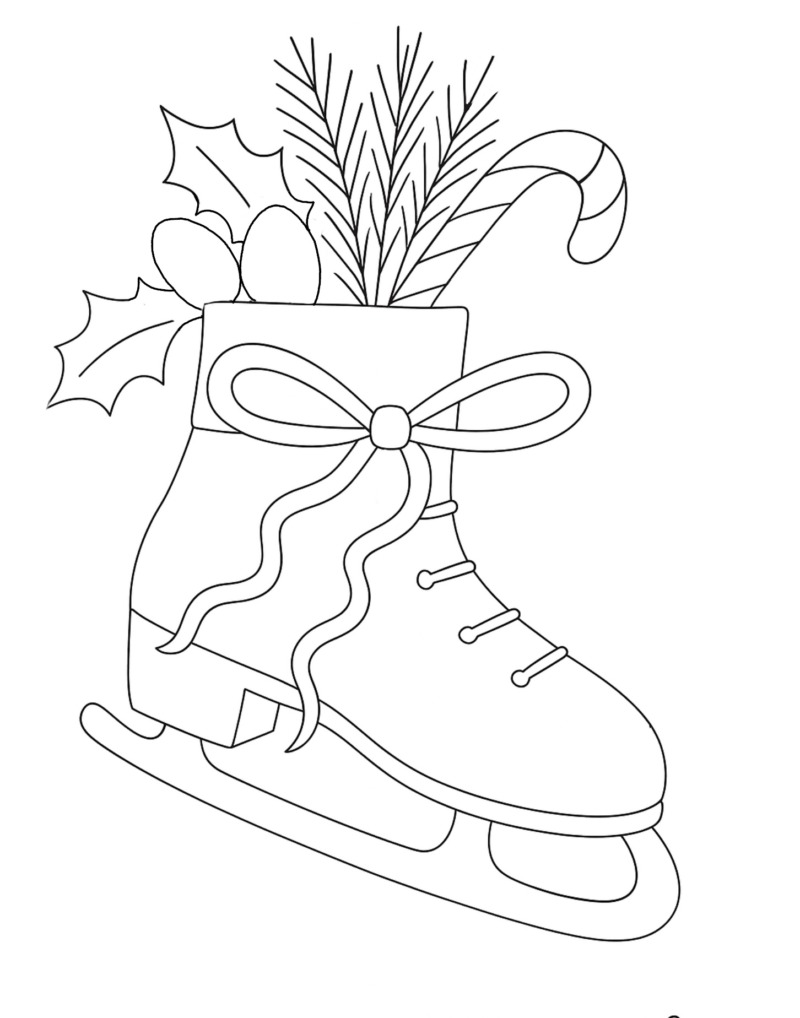
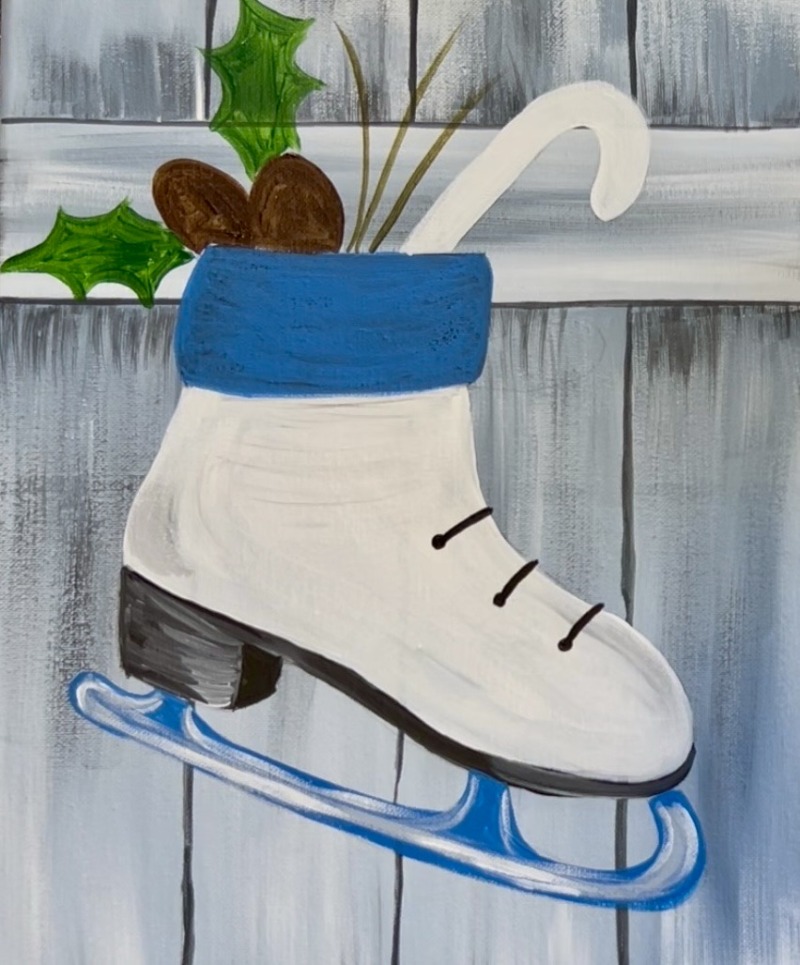
Traceable
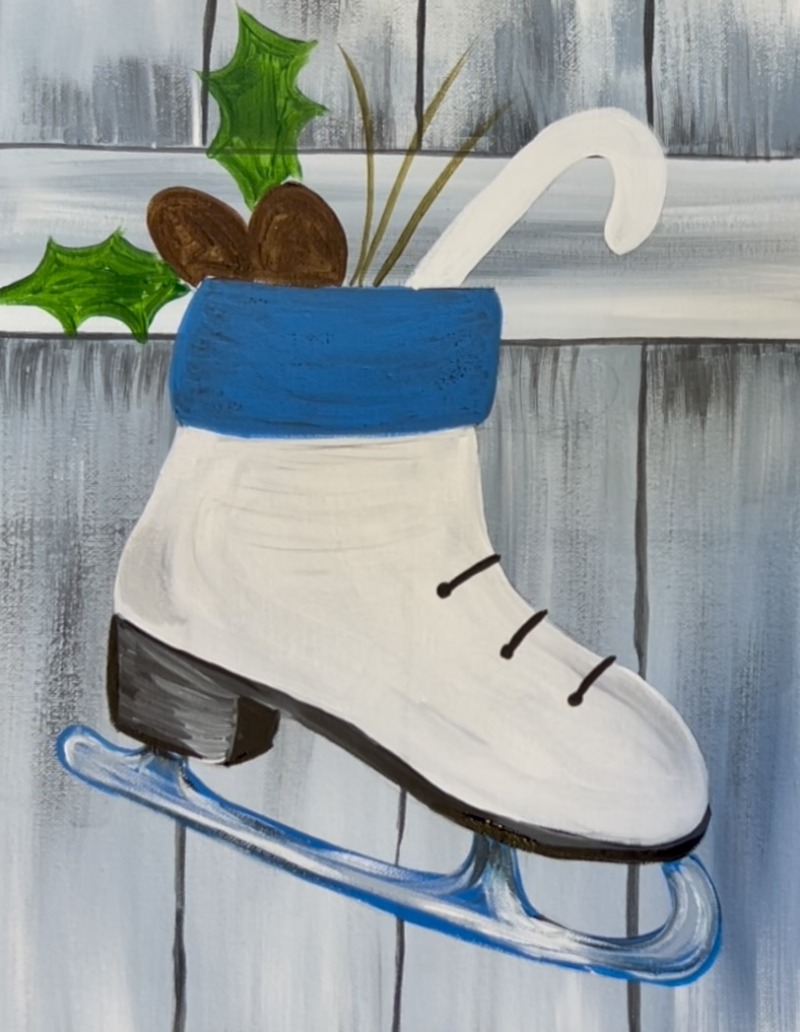
Directions At A Glance
Video
Step By Step Directions
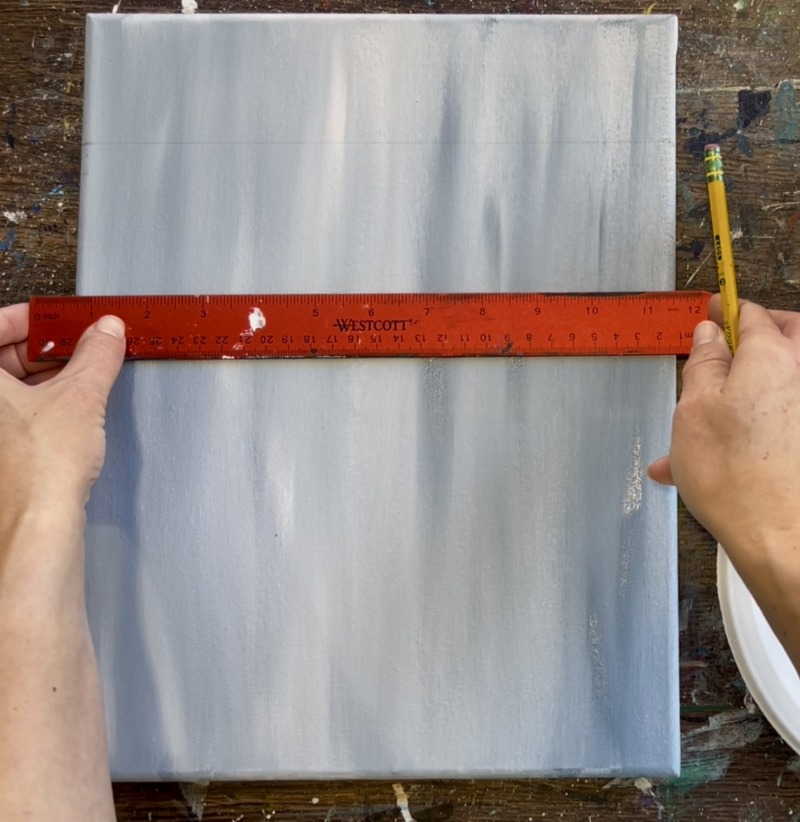
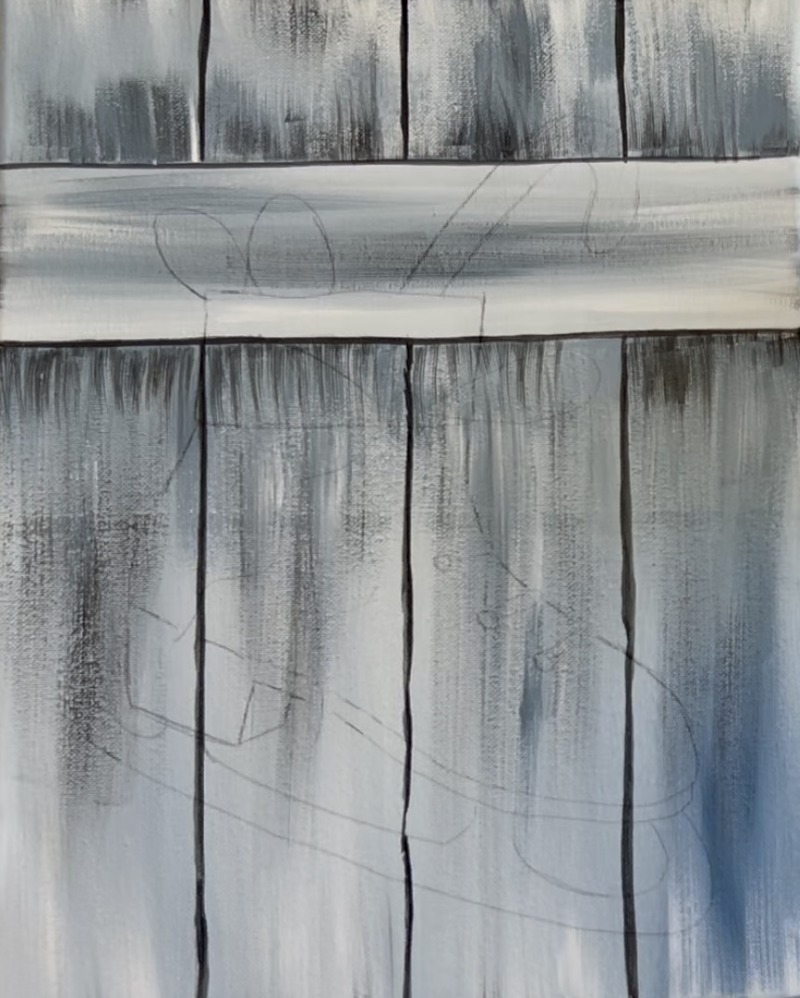
1. Paint Background
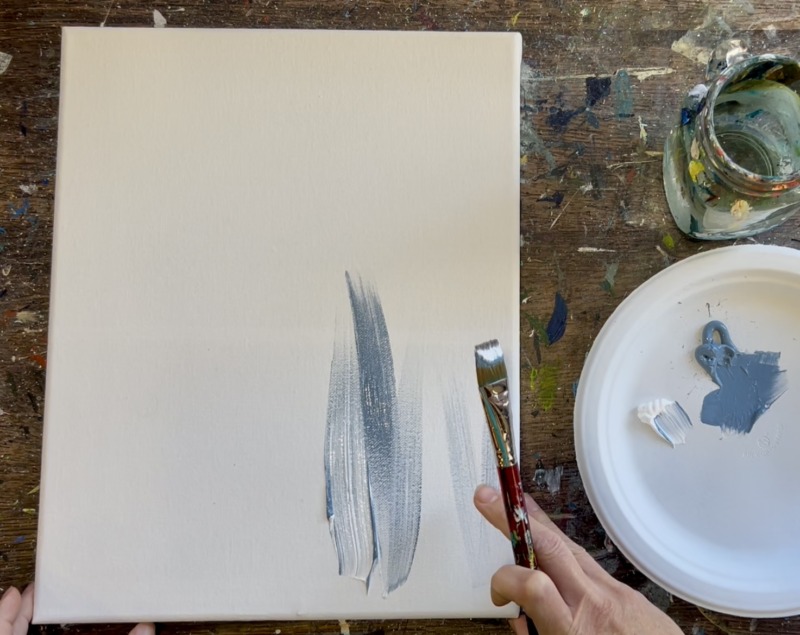
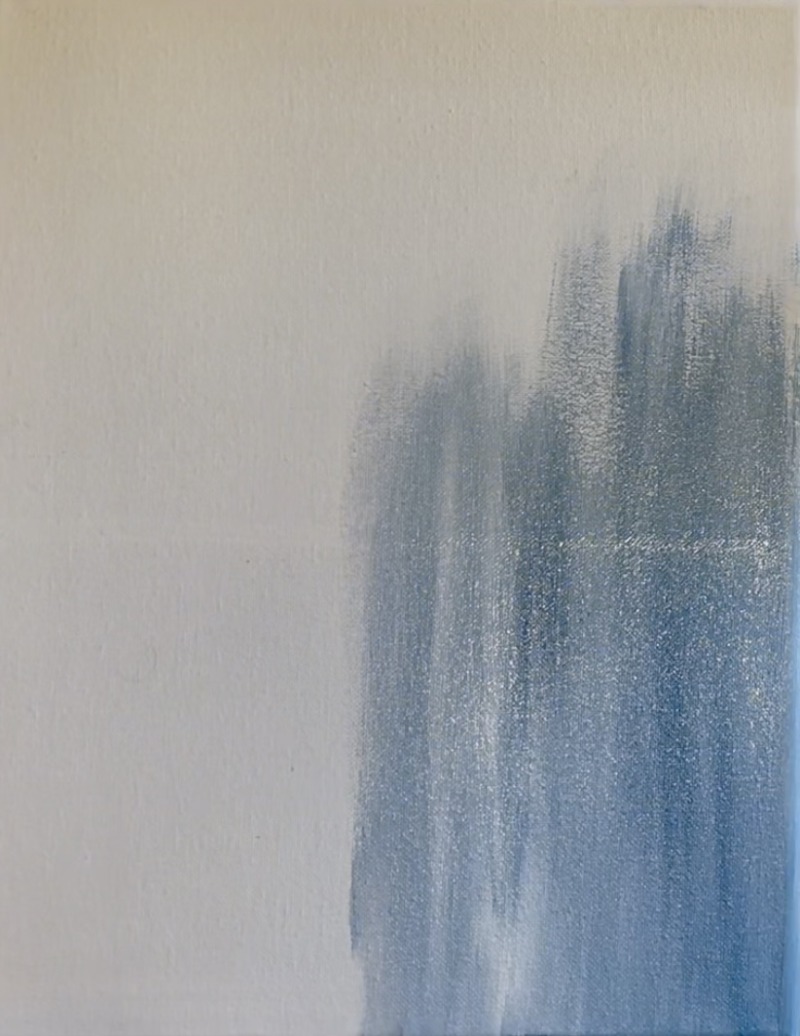
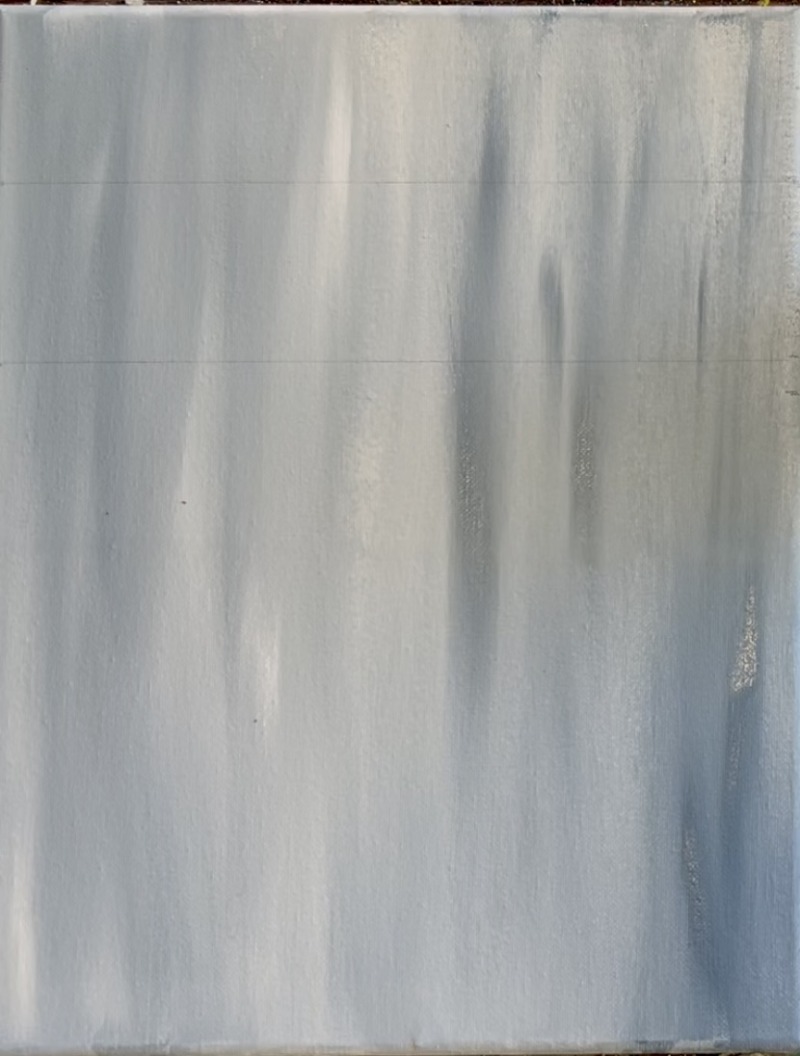
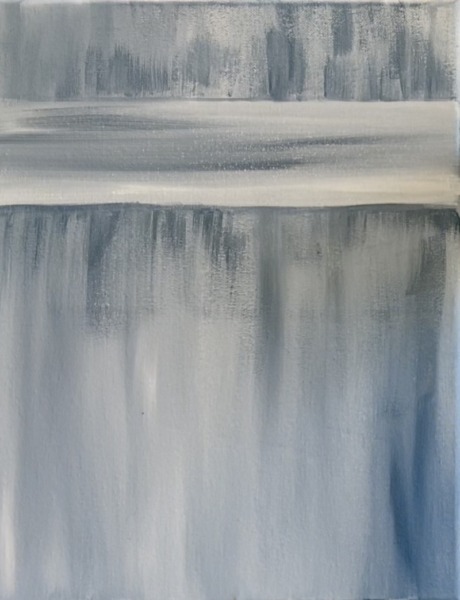
Load your paint palette with the two colors: “blue gray” and “titanium white”. Use the 3/4″ flat wash brush and double load it into both the gray and the white. Then paint up and down paint strokes and blend the two colors slightly together. Slightly water the paint down so this layer is a thin consistency.
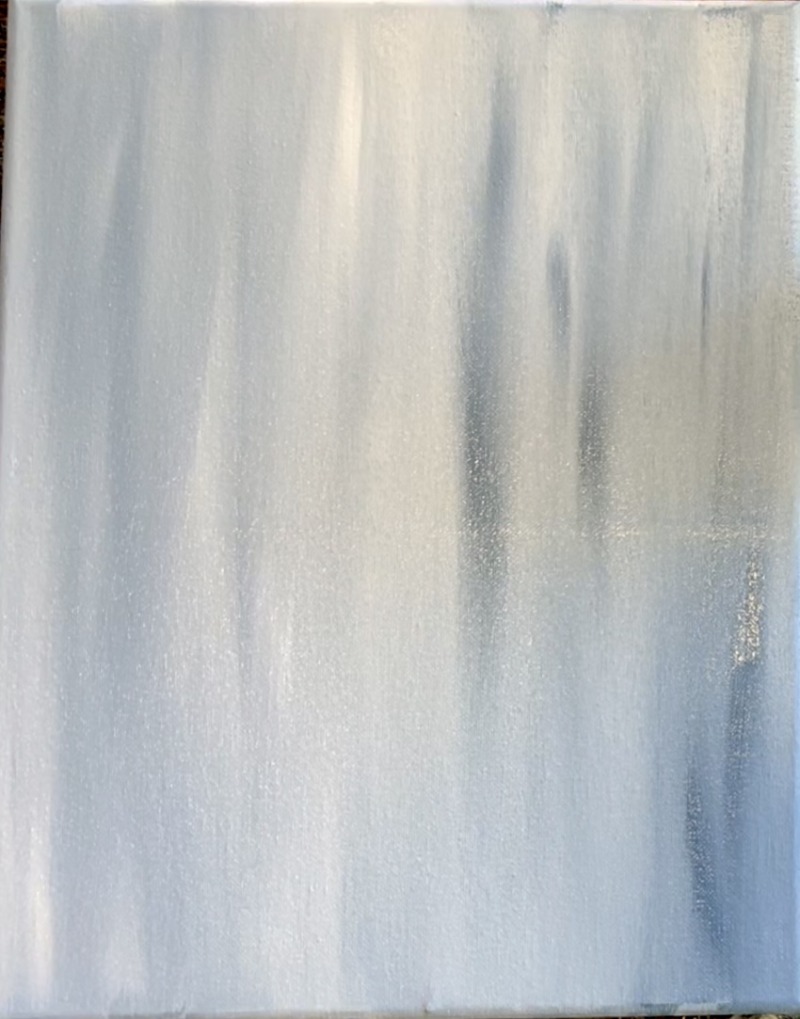
Fill your entire canvas with these two colors that blend slightly together. You want streaks of dark and streaks of light in the background.
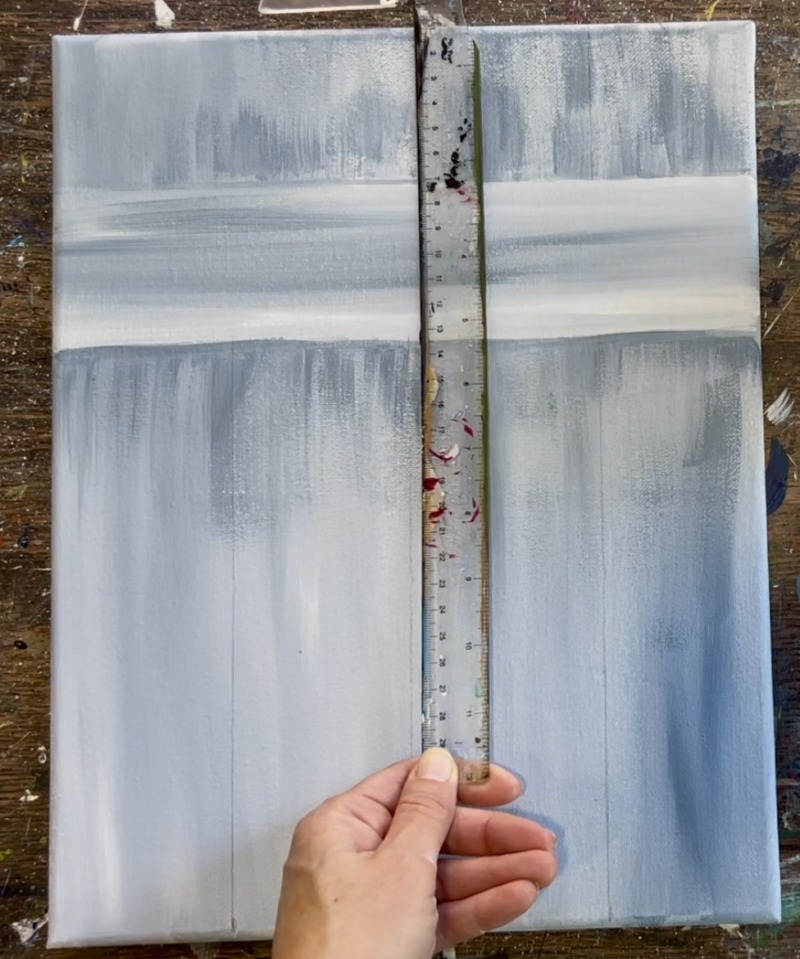
Wait for this to dry a bit. Then take a ruler and measure 2.5″ down (or estimate this) and draw a horizontal line. Then draw another line at about 2.5″ below that line. This will create the shape for the “horizontal beam” in the background.
Next, use the same two colors and the same brush to paint horizontal paint strokes to fill the horizontal beam in.
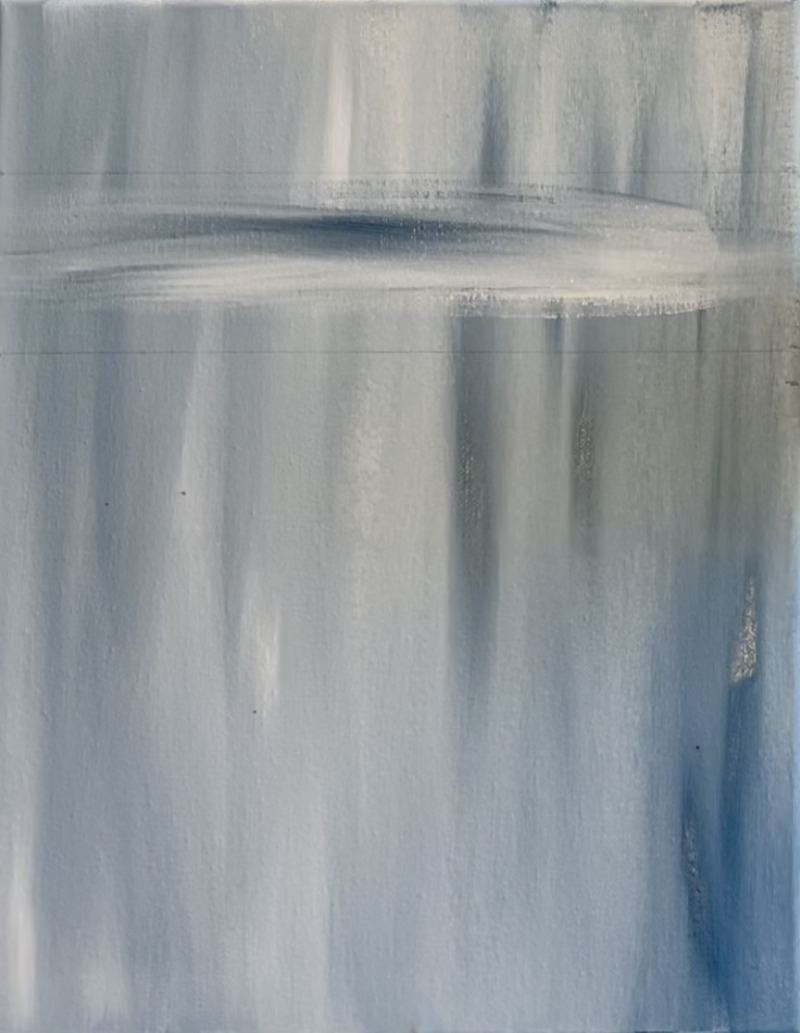
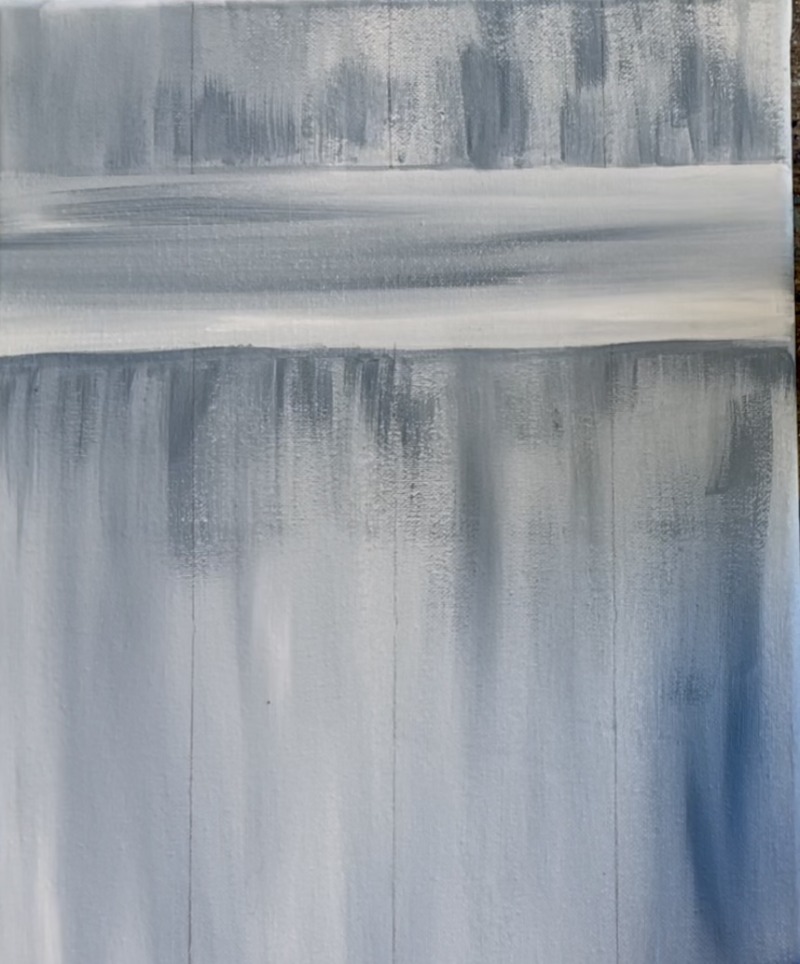
Optional: add “dry brush strokes” with more of the “blue gray”. Use the full width of the 3/4″ flat brush and drag vertical paint strokes above and below the horizontal beam to create some “shadowing”.
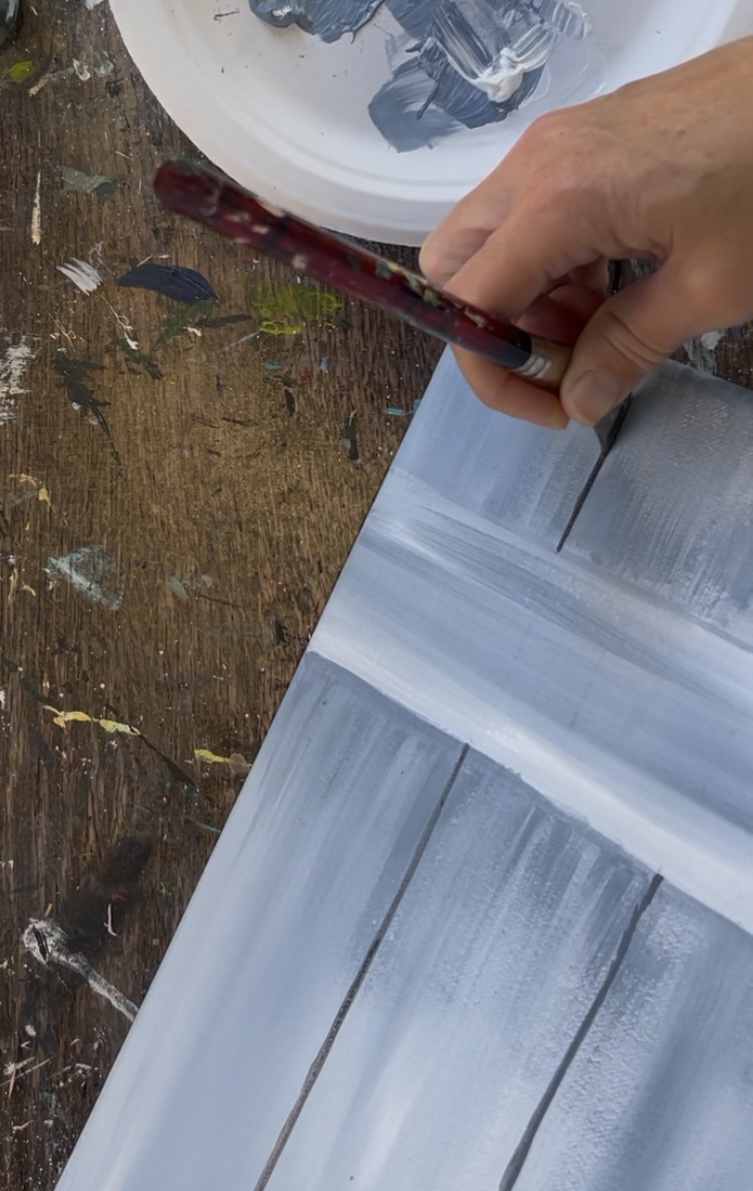
Let this dry a bit. Then use a ruler to draw vertical lines, dividing the background into 4. Draw a line right down the middle. Then draw two more lines on each side of that for a total of 3 vertical lines. Don’t draw the line over the horizontal beam.
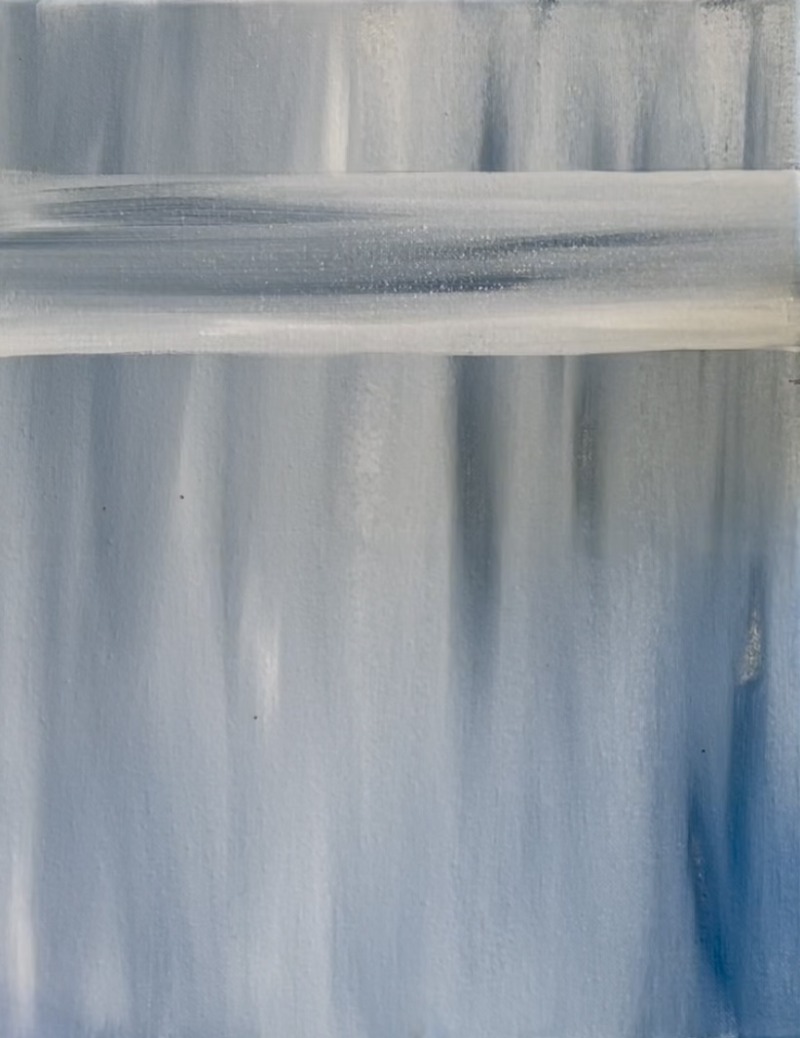
Use the 3/4″ flat brush and mix together equal parts “mars black” and “blue gray”. Use the edge of the brush to paint the vertical lines to create the gaps between each of the vertical wood boards.
Then lightly outline the top and bottom edge of the horizontal beam.
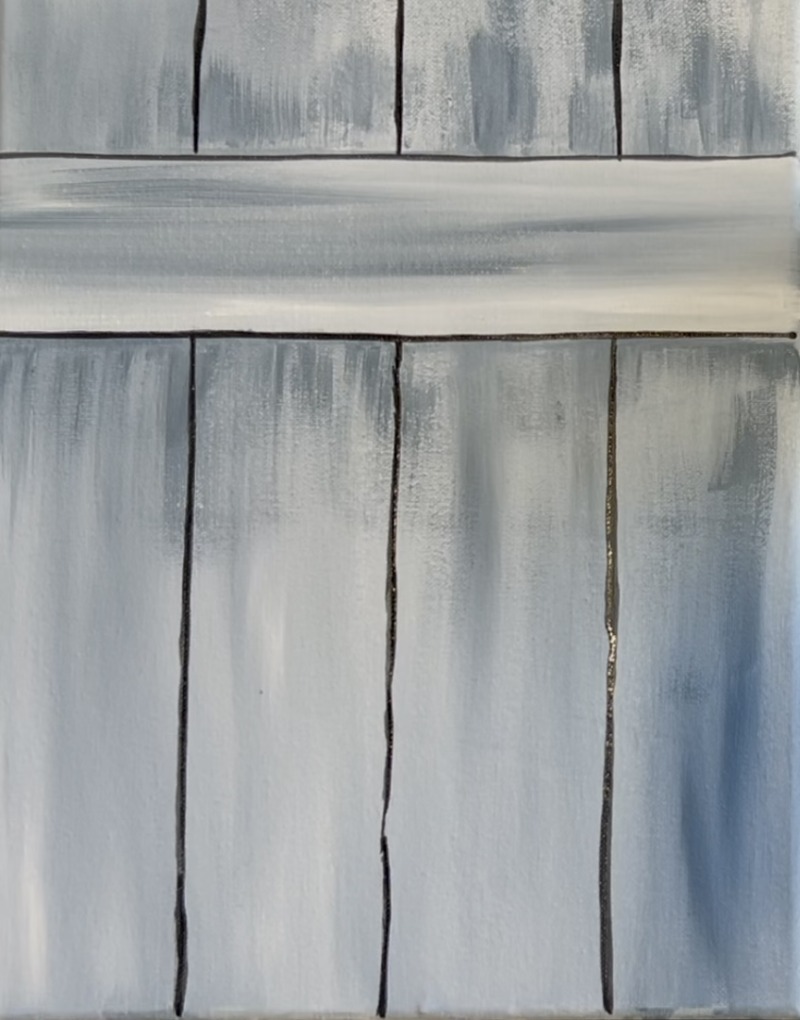
Optional: add some darker shadowing above and below the beam (this is repeated from earlier only it goes a little darker). Mix black with the blue gray colors and use the full width of the brush to drag vertical paint strokes above and below the horizontal beam.
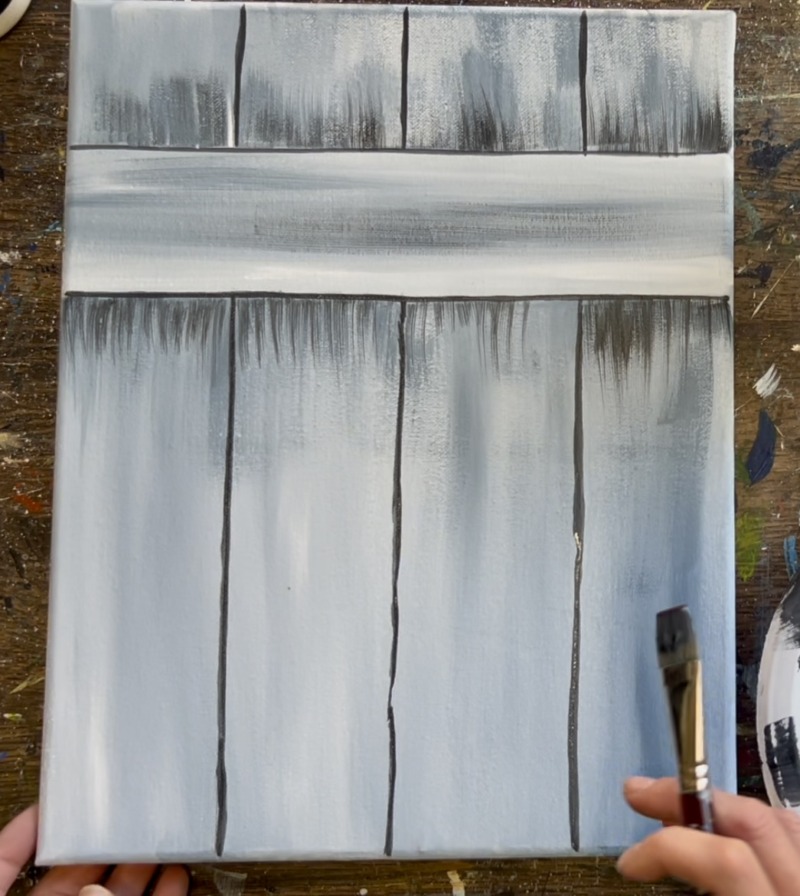
Add a few more darker strokes using the full width of the brush on the vertical panels.
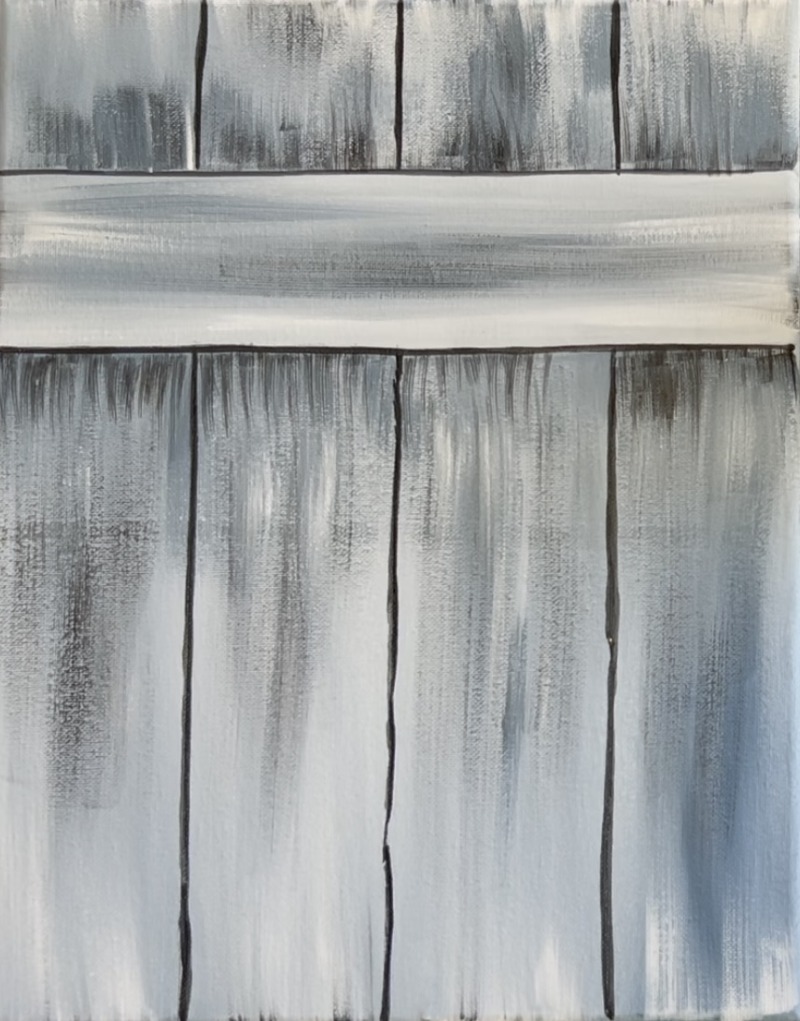
Wait for this to dry before going onto the next step.
2. Use Template To Trace Skate Over Background
Print the template and tape the two sheets together. Place a sheet of graphite paper below the template. Position the skate so that it is on the canvas and centered (the paper should be exactly 11 x 14 but you can adjust the position on the canvas if needed). Then firmly trace the design so that it transfers to the background.
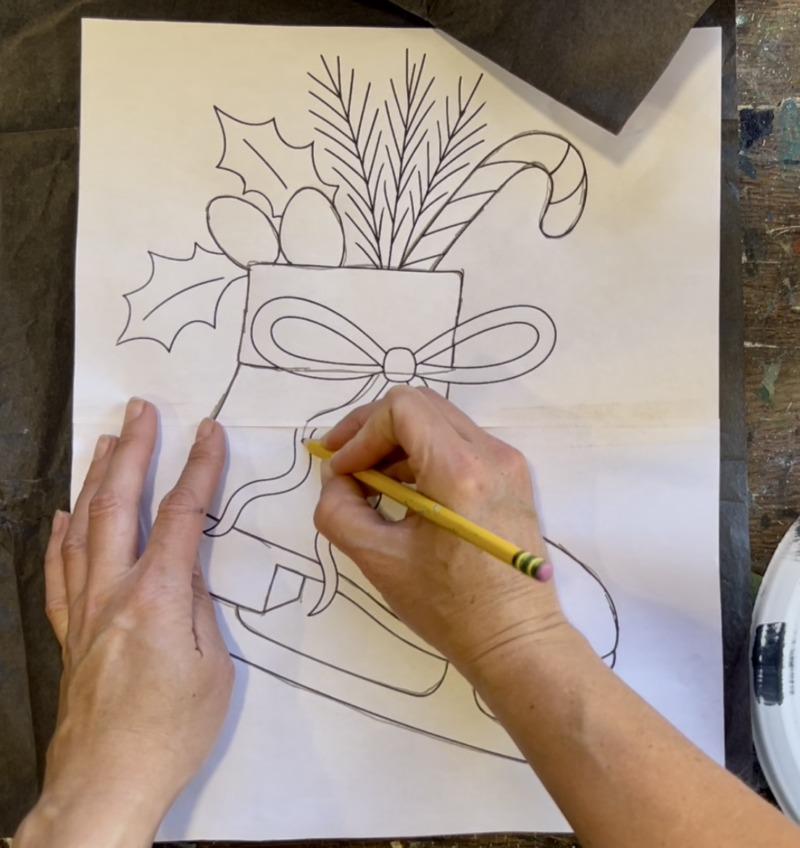
You can opt to trace only parts of the design (such as just the skate) or the whole thing.
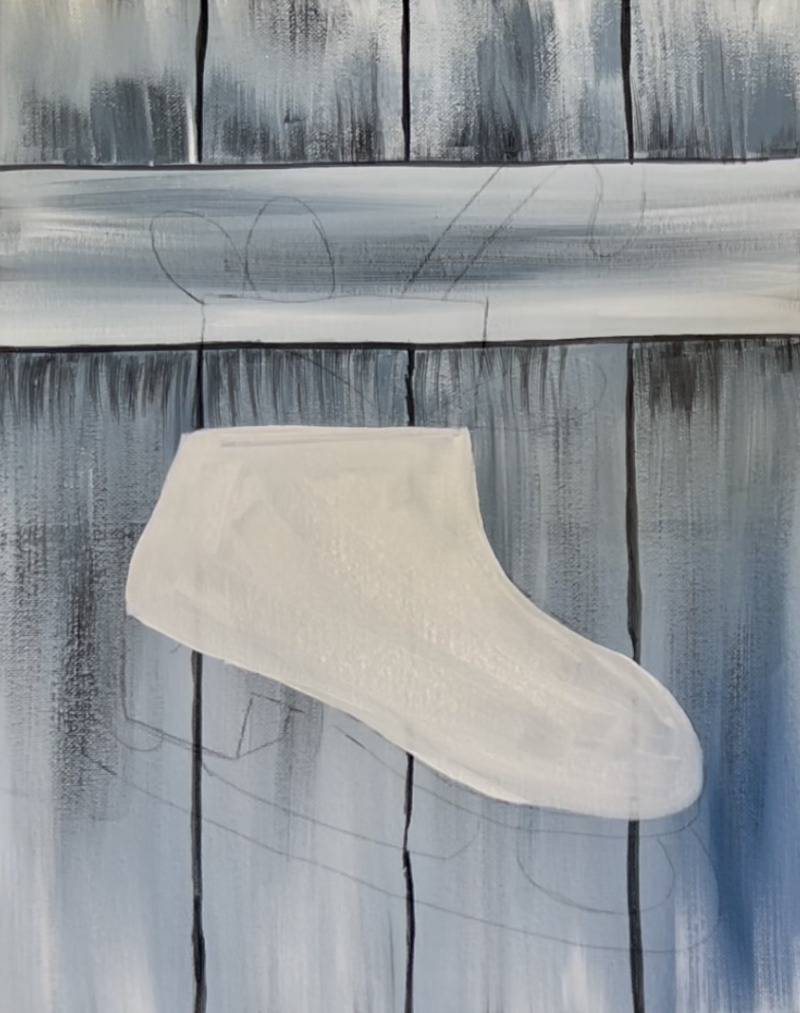
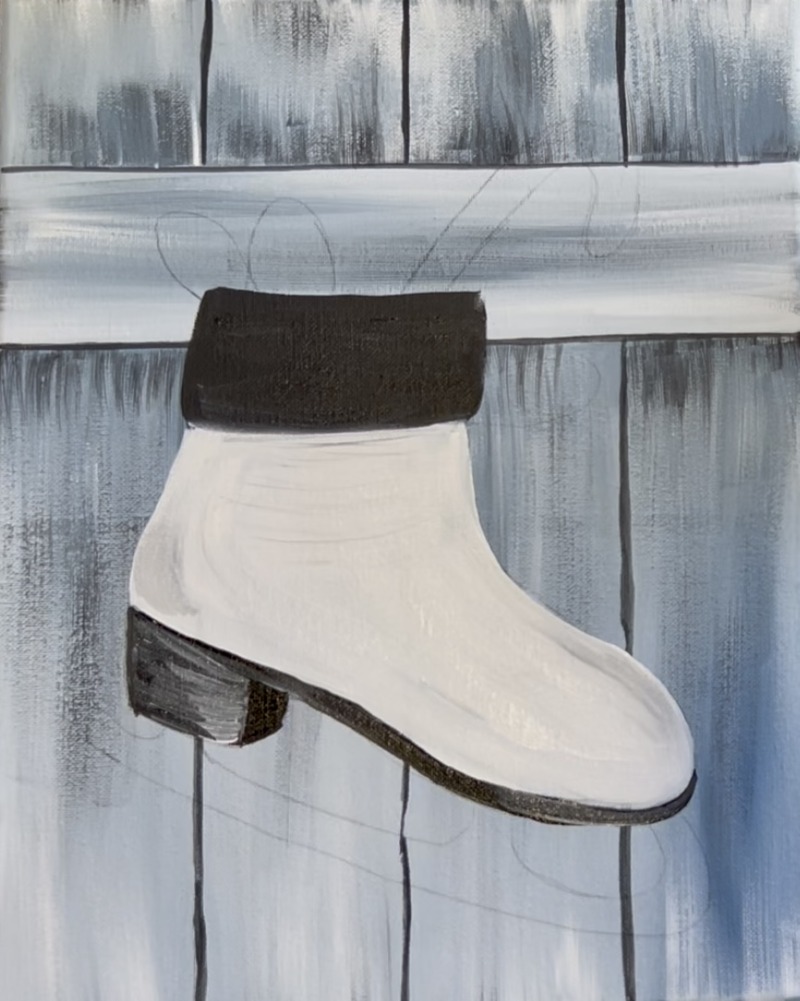
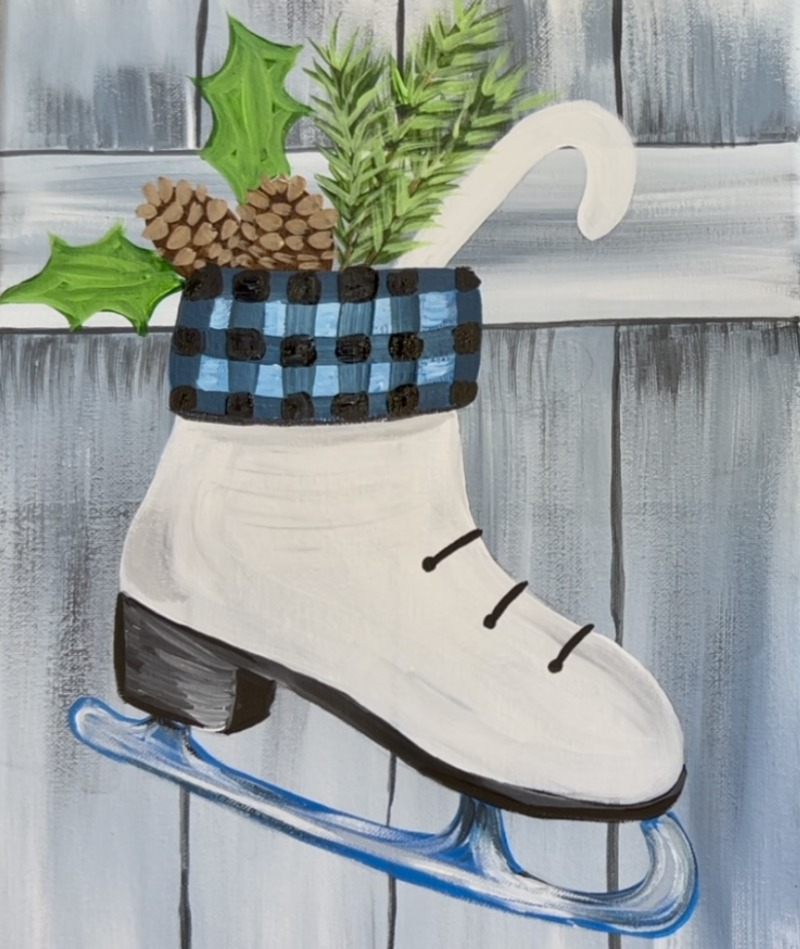
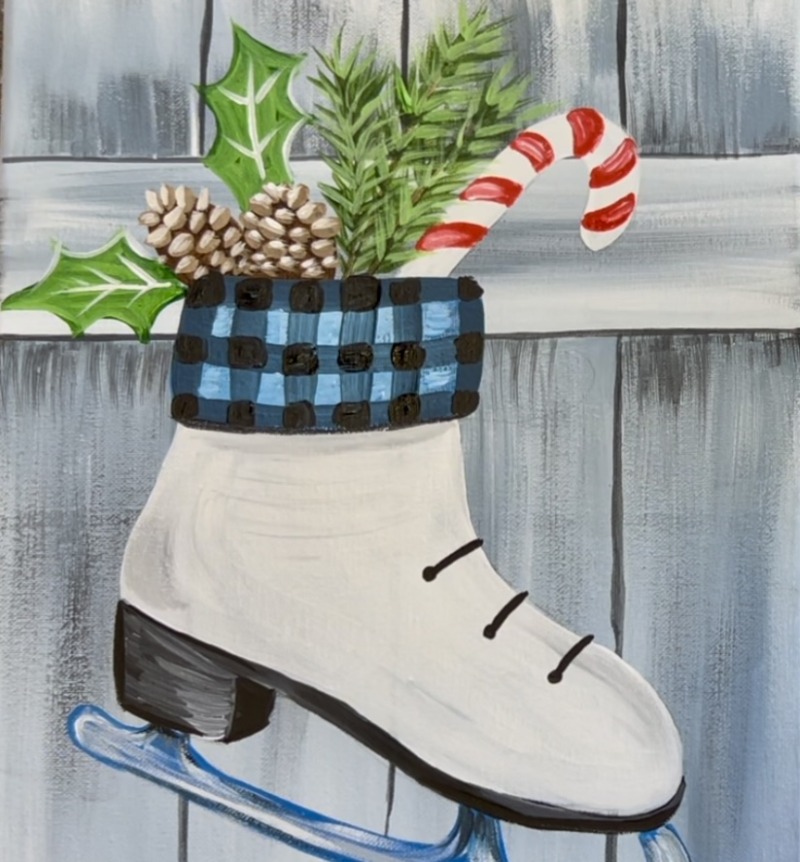
3. Paint White Parts Of Skate
Use the #12 bright brush and “titanium white” to paint the white part of the skate. This is the majority of the boot. Your white layer should be relatively thick. If there is background showing through, you can go back over it with a second layer.
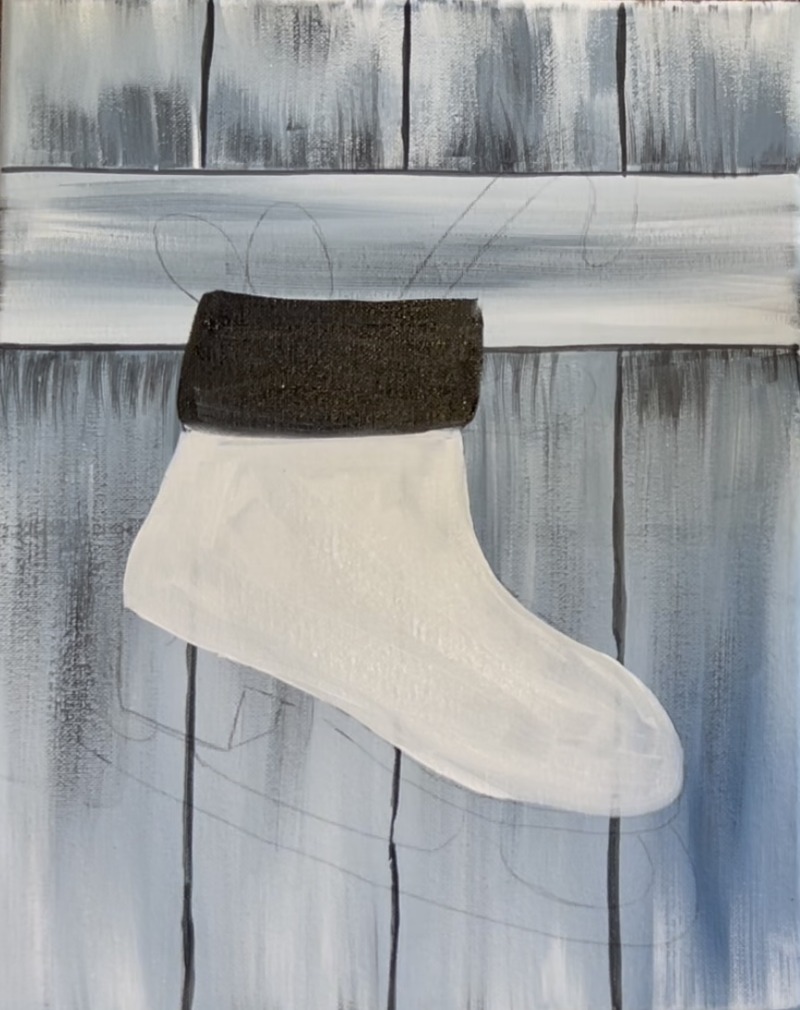
4. Paint Heel, Sole & Boot cuffs
Use the #12 bright brush to paint the top of the boot (cuff) black. This will be painted blue/ plaid in a later step.
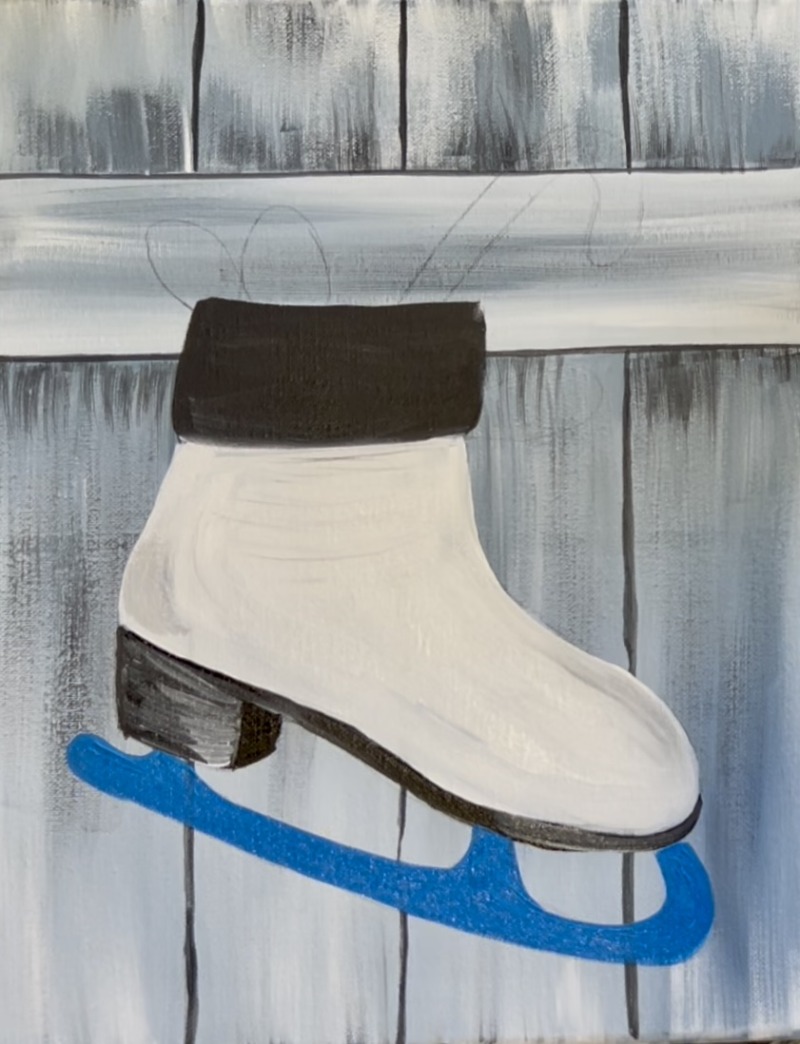
Use the #4 round brush to paint the heel and sole of the boot. Add a little bit of white over the black to blend it in to make a medium to dark gray. This shows up on the side of the heel. Then use pure “mars black” for the side of the heel. This makes it look more three-dimensional.
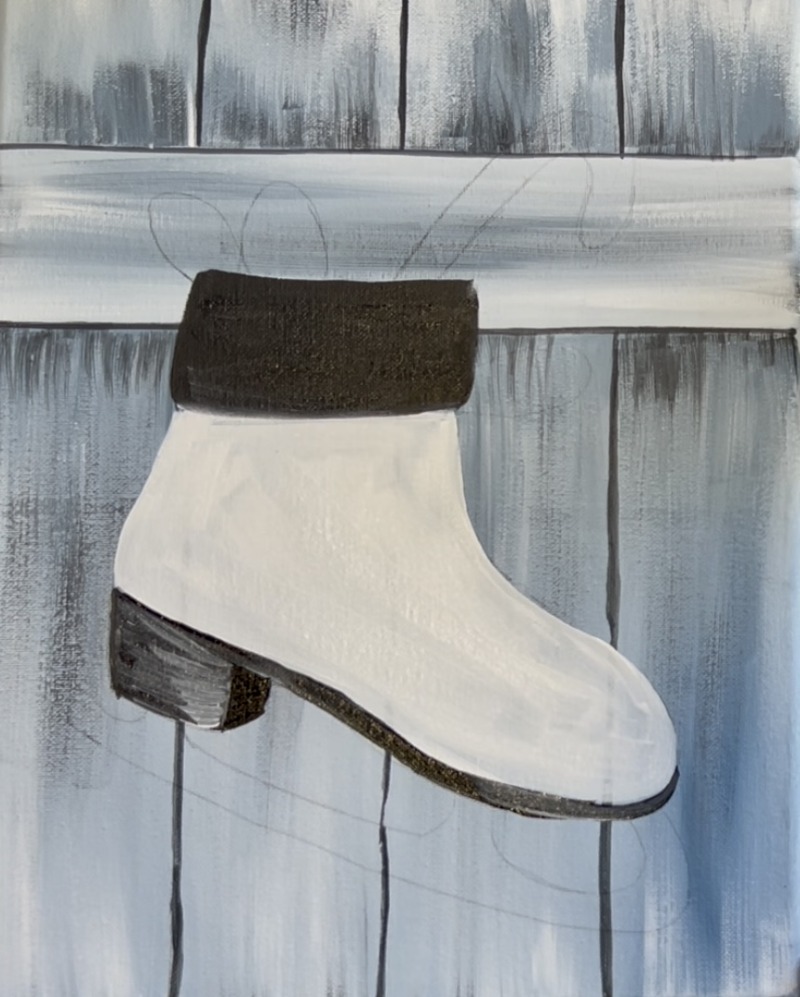
Optional: add a little bit of “dark shading” on the toe and back heel of the boot. Do this with white mixed with just a little bit of black to make a light gray color. Use the round brush to paint this.
5. Paint Blade (first layer)
Use the color “cerulean blue” and the #4 round brush to paint the blade of the skate. Paint everything this solid blue color. This is just the first layer. Highlights and shadows will be painted on the blade in a later step.
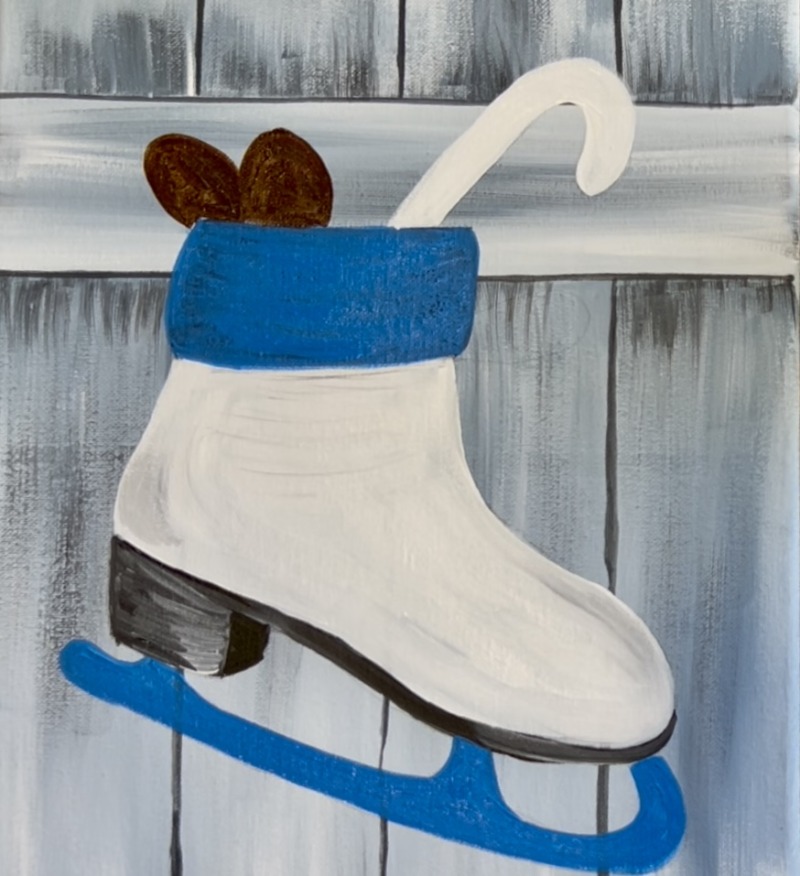
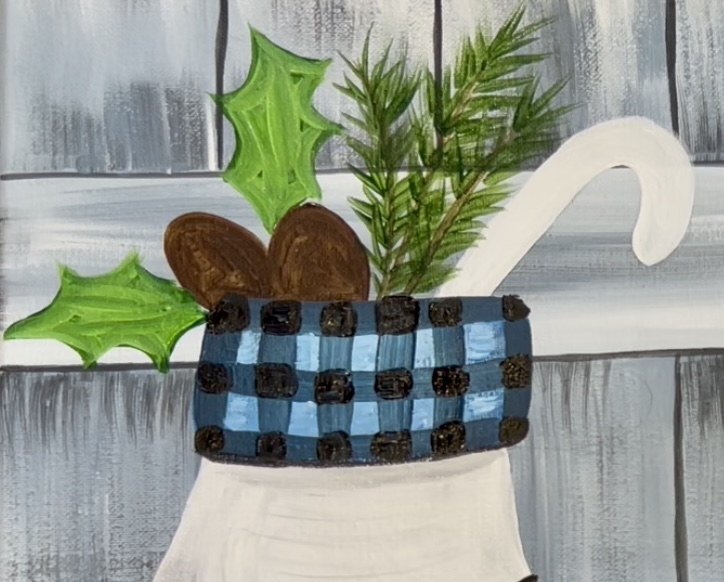
6. Pinecones, Candy Cane & Branches (first layer)
Use “titanium white” to paint the candy cane shape. Use “burnt umber” to paint the two pinecone shapes. We will detail these in a later step after this layer dries.
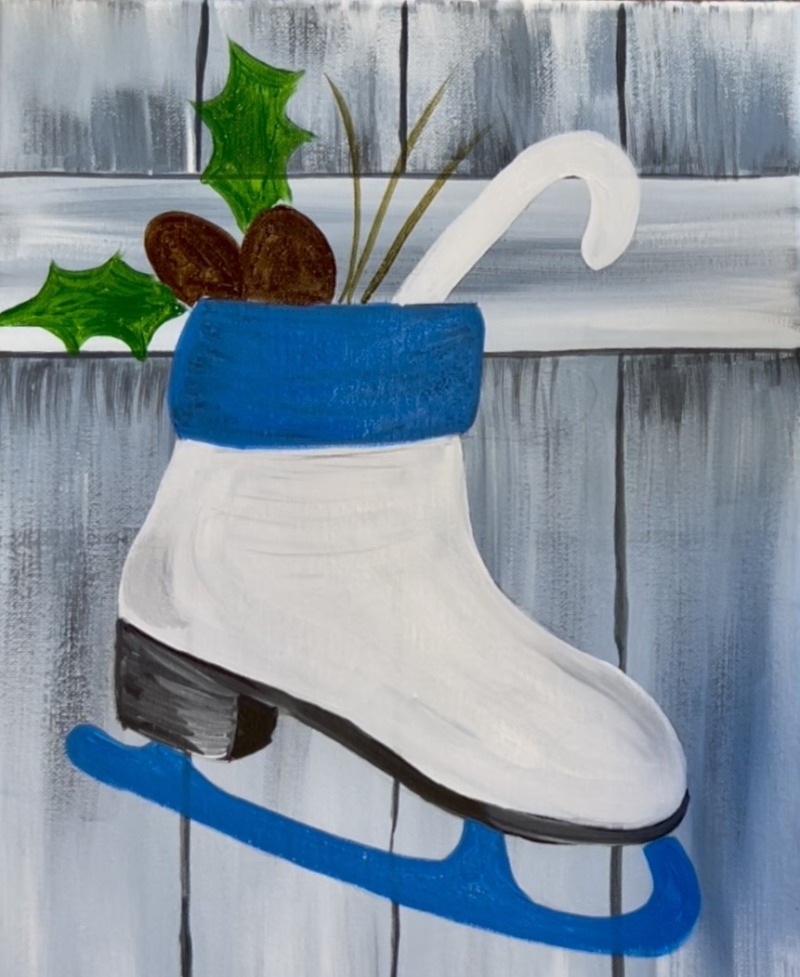
Use the color “hooker’s green hue” to paint the holly leaves. Then paint the branches for the pine branches. Mix equal parts “hooker’s green hue” and “burnt umber”. Then paint the three thin lines for the branches using the #4 round brush.
7. Laces
Use the #4 round brush and “mars black”. Paint the laces on the skate boot.
8. Highlight Skate Blade
Make sure the “cerulean blue” layer is dry before doing this step. Mix a light gray on your paint palette by mixing 1 part “mars black” to 3 parts “titanium white”. Use the #4 round brush to paint loose lines on the inner part of the blade shape, leaving the edging outlined with the initial dark layer of blue. Paint these loose lines in the direction of the shape (curved and straight along the shape of the blade).
Then mix a dark gray on your palette by mixing a little more black into the gray you just used. Add some dark areas on the blade that still “contour” in the direction of the shape of the blade. I especially added dark just under the heel and sole of the boot where the blade touches. Leave the edges dark blue.
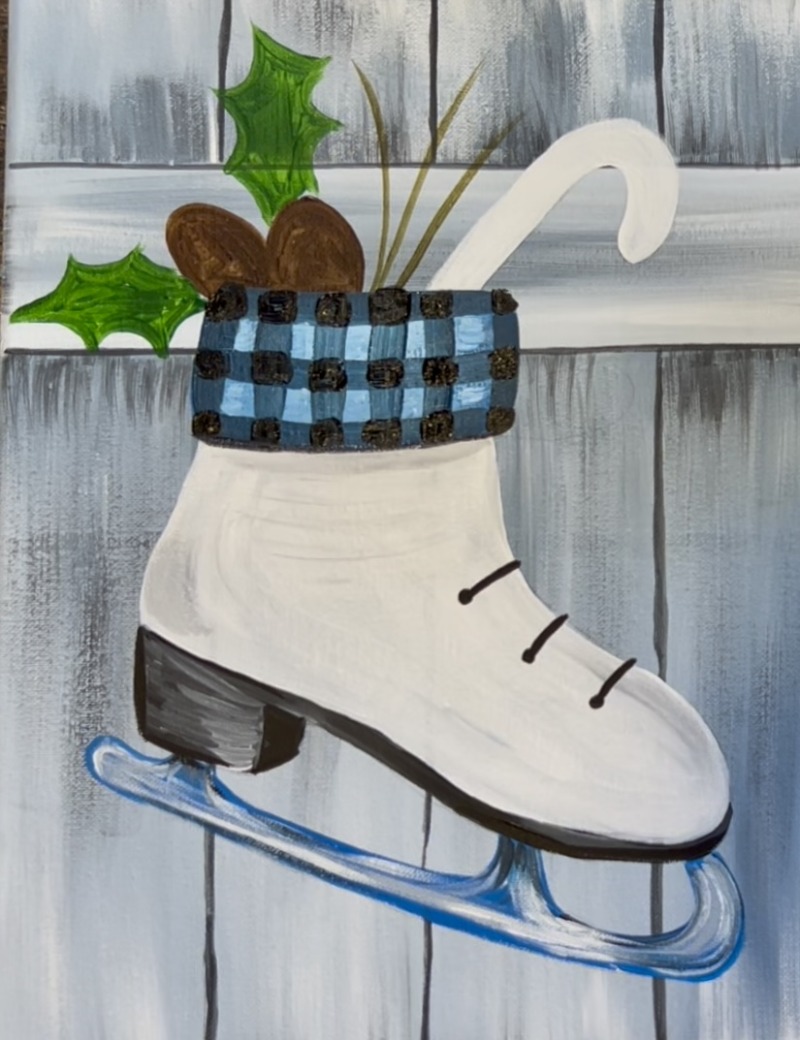
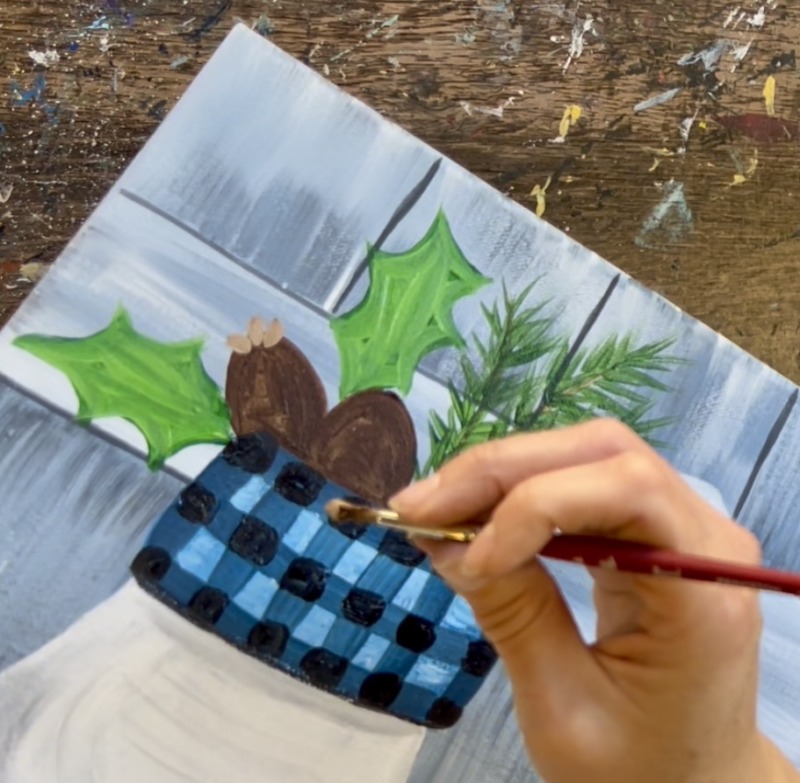
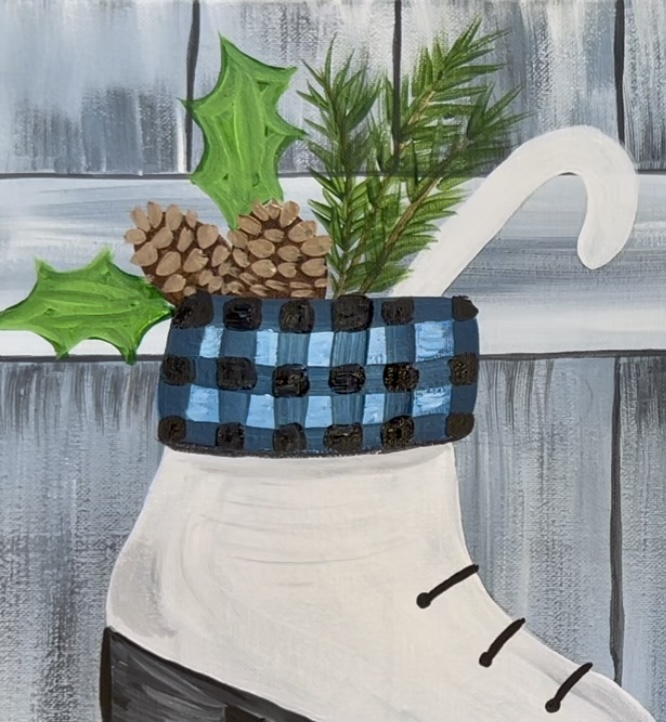
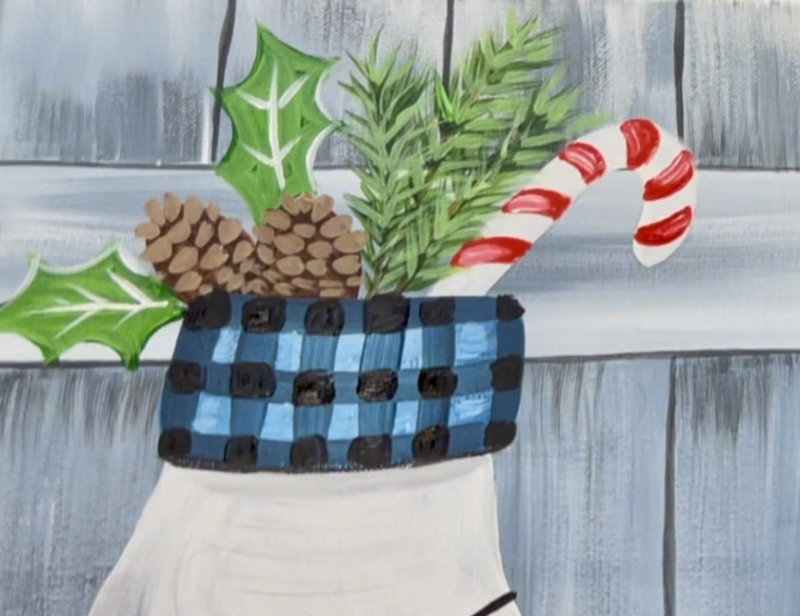
9. Plaid Pattern On Cuff
Mix equal parts “titanium white” with “cerulean blue”. Use the #4 round brush and this blue to lightly paint the interior of the cuff of the boot. You want to add this light layer because this will be the lightest color of the squares in our “plaid pattern”.

Next, mix a dark blue color on your paint palette by mixing 1 part “mars black” to 2 parts “cerulean blue”. It should show up much darker than our light blue layer we just painted. Paint vertical lines using the #4 round brush. I did a total of 6 lines, relatively evenly spaced apart.
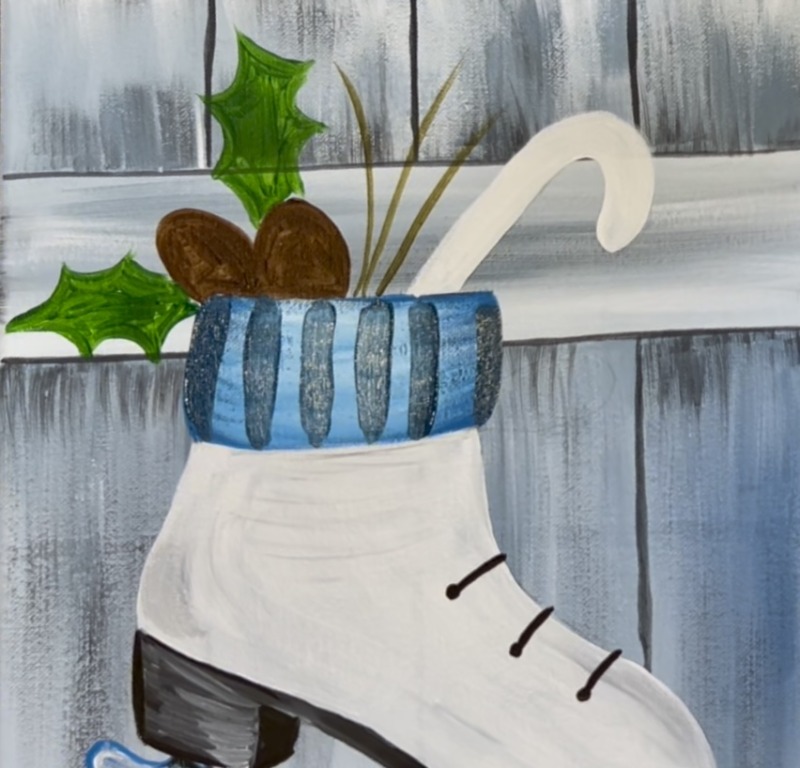
Then paint horizontal lines (they are actually going curved and parallel to the edges). This will create your vertical and horizontal lines for your plaid pattern.
Rinse the #4 round brush. Then load it into pure “mars black”. This time you will be painting the “squares” where each of the vertical and horizontal lines intersect each other.
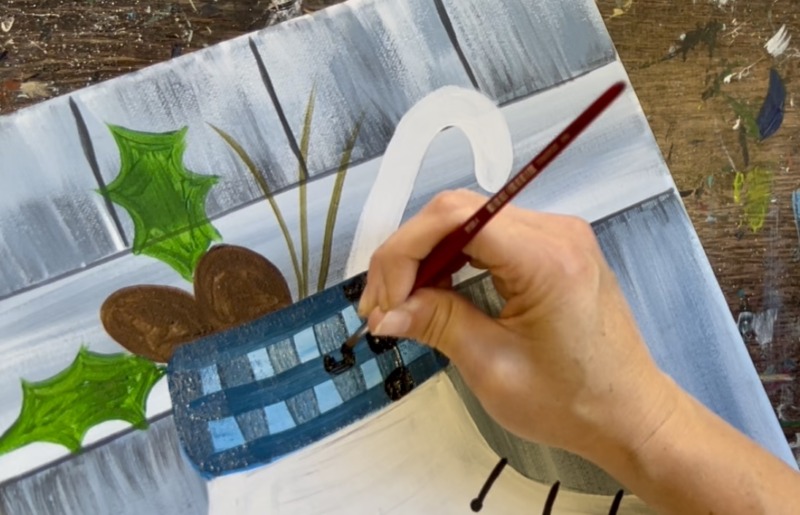
Painting the black squares will complete the plaid pattern! If needed, go back and re-paint the light blue squares so they show up brighter.
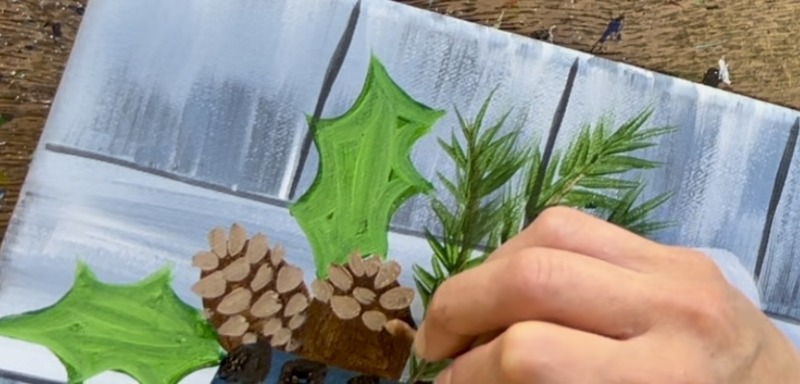
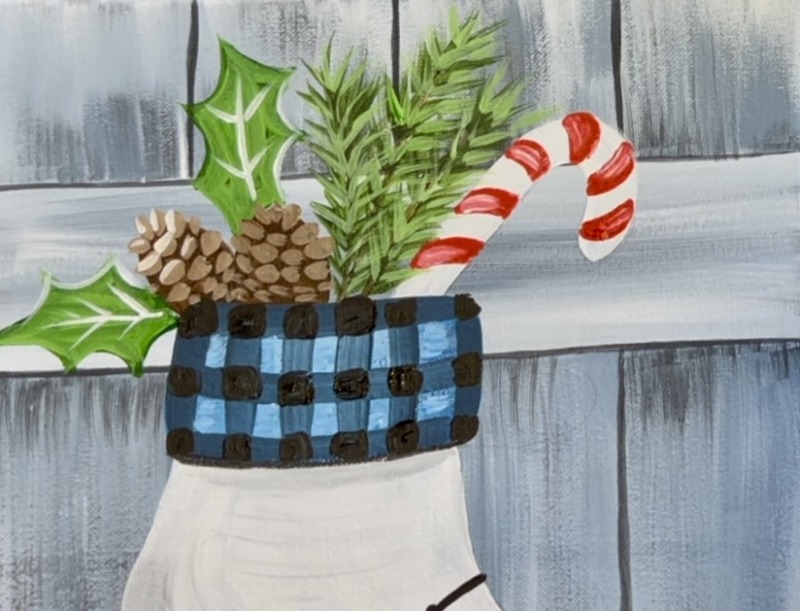
10. Pine Needles & Pinecone Detailing
Use the #4 round brush and “hooker’s green hue” to paint the pine needles on the three pine branches. I like to start at the end of the branch and paint bundles of pine needles with tiny angle paint strokes. Work your way to the bottom of the branch to allow your pine needles to overlap each other. Do this for each of the branches.
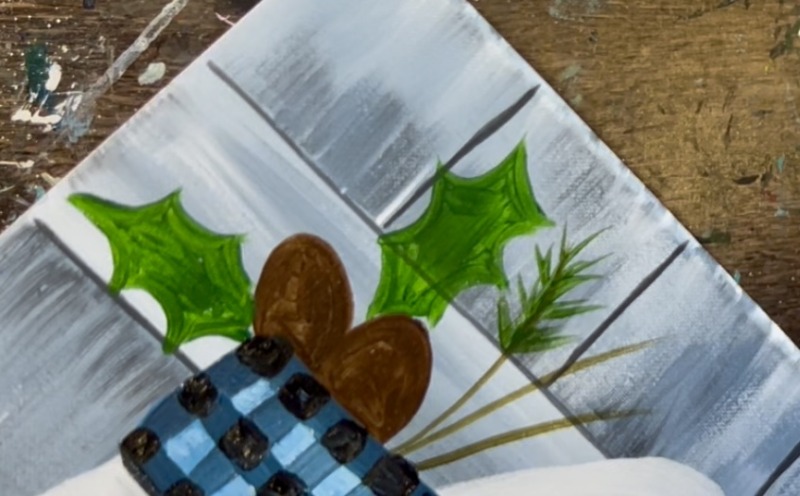
Paint a lighter green layer over your holly leaves. Mix green and white together to make a light green and then use the #4 round brush to paint this second coat of paint over the leaves. I left a little “slither” of dark green showing still on the edges.
Paint the pine cone texture next. Mix a light brown on your paint palette by mixing equal parts “titanium white” and “burnt umber”. Use the #4 round brush. Start at the top of the pinecone and paint 2-3 little oval “notches” that stick up and outside the dark shape of the pinecone.
Then paint rows of little oval/ notch shaped paint strokes that go horizontally across the shape of the pine cone shape. Leave the dark brown still showing around your paint strokes.

Repeat this for the other pine cone.
When this first layer dries, we will add another layer of lighter color over the pine cones to give them more dimension!
Next, use the “light green color” that you used for the holly leaves to paint a second layer of “pine needles” on your pine branches. As you paint this second layer, try not to cover up all of your dark green.
11. Candy Cane Stripes & Holly Leaf Details
Load your paint palette with “pyrrole red”. Use the #4 round brush to paint stripes on the candy cane that are evenly spaced apart.
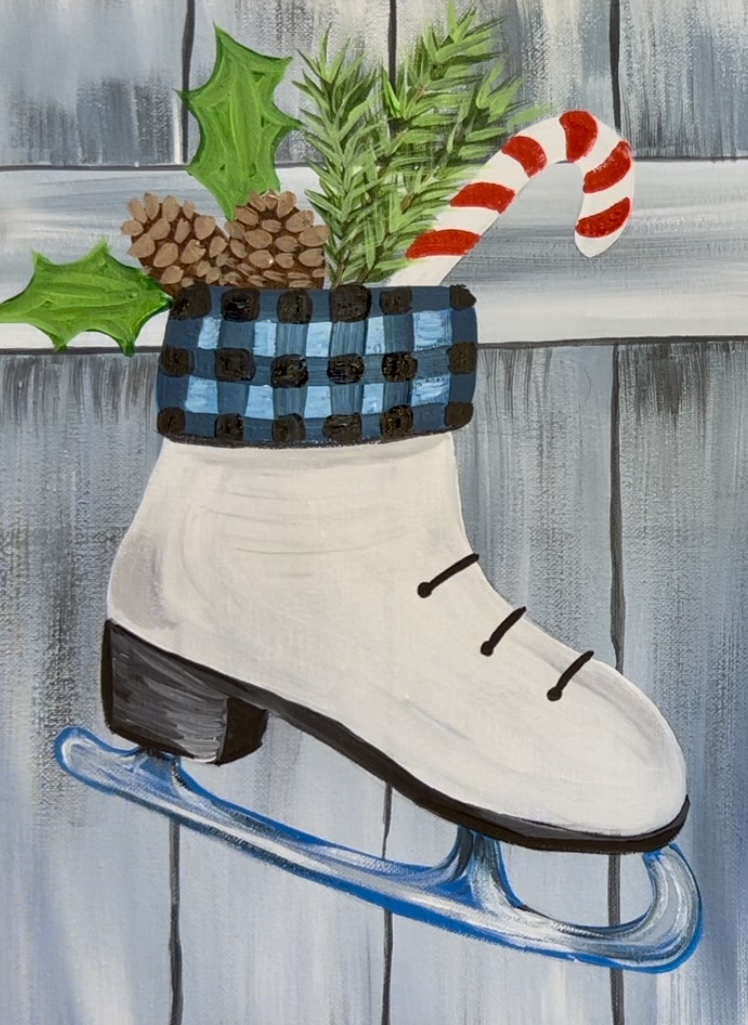
Before the red dries, blend in “titanium white” over the red. This gives it a little bit of color variation.
Next, use “titanium white” to paint veins on the holly leaves. Lightly outline one side of the holly leaves.
12. More Layering On Pine Cones
Make sure your light brown layer is dry. Take your “light brown” color that you used on your paint palette and add more white into it to make it lighter. Then use the #4 round brush to paint the top edges of all of your light brown “notches”. Don’t cover all of the light brown and make sure you still have the dark brown layer showing in between.
This will really make your pine cone’s “pop”!
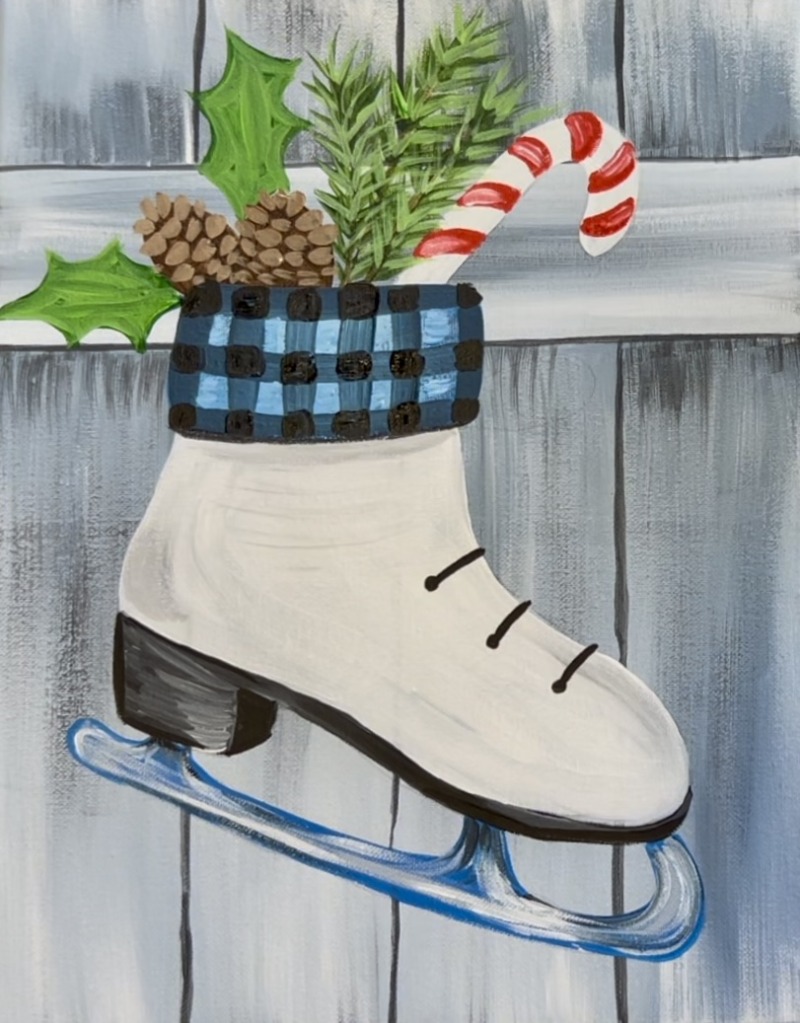
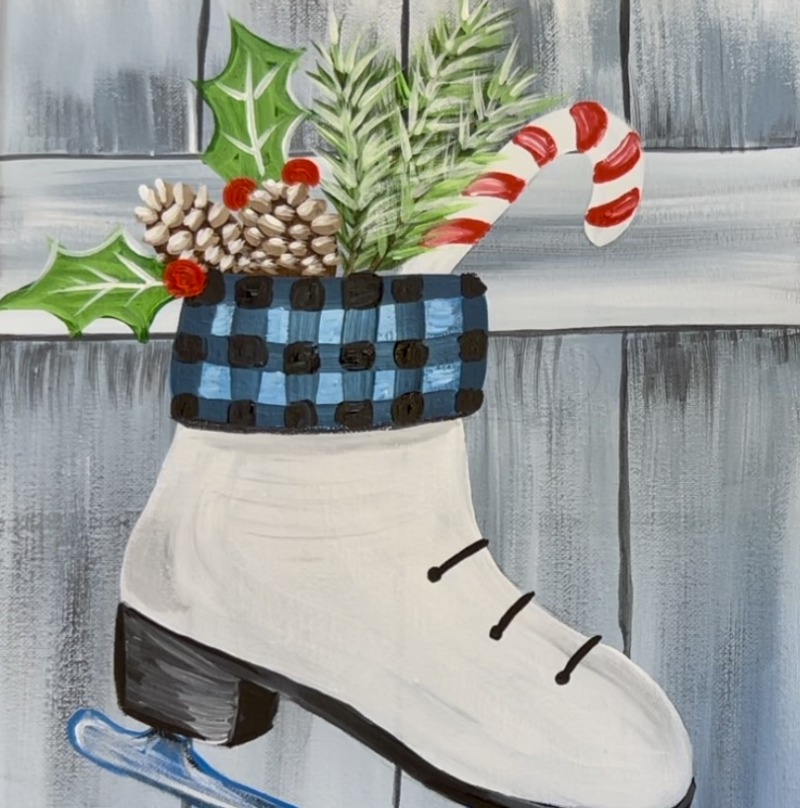
13. Berries, Bow & Highlights
Use the color “pyrrole red” to paint little berries. I did a few hiding behind the pine cones and one in the front on the bottom. You can opt out of the berries or change the design if you want!
Then paint the bow. Start with the two loop lines at the top. Paint an oval shape in the middle where the loop lines meet.
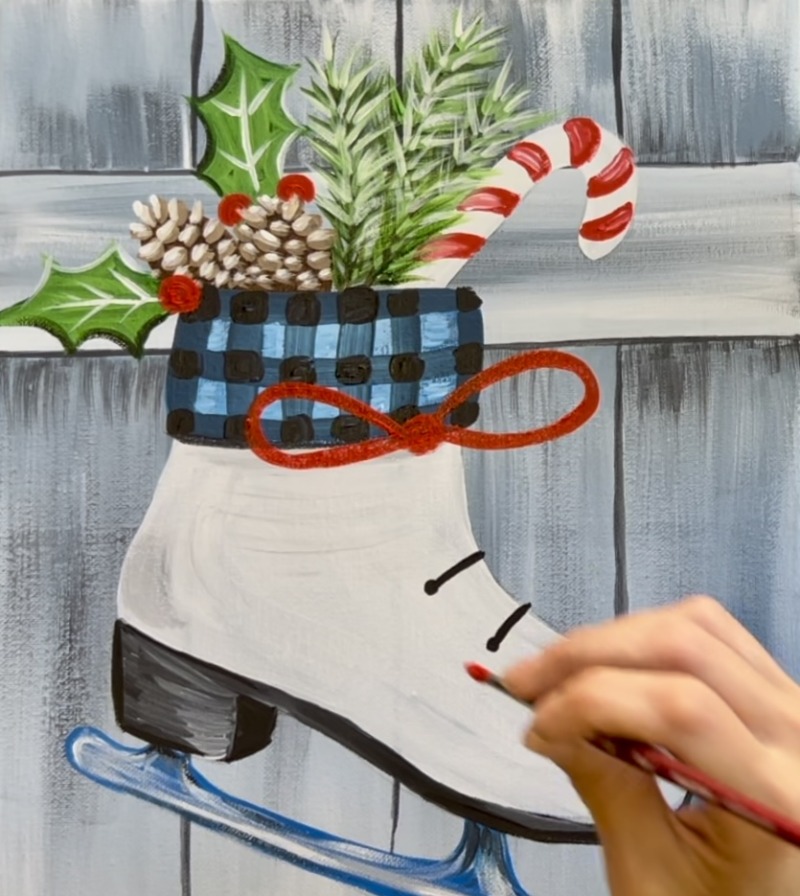
Then paint the tail lines of the bow. These are very wavy and go down and below the skate.
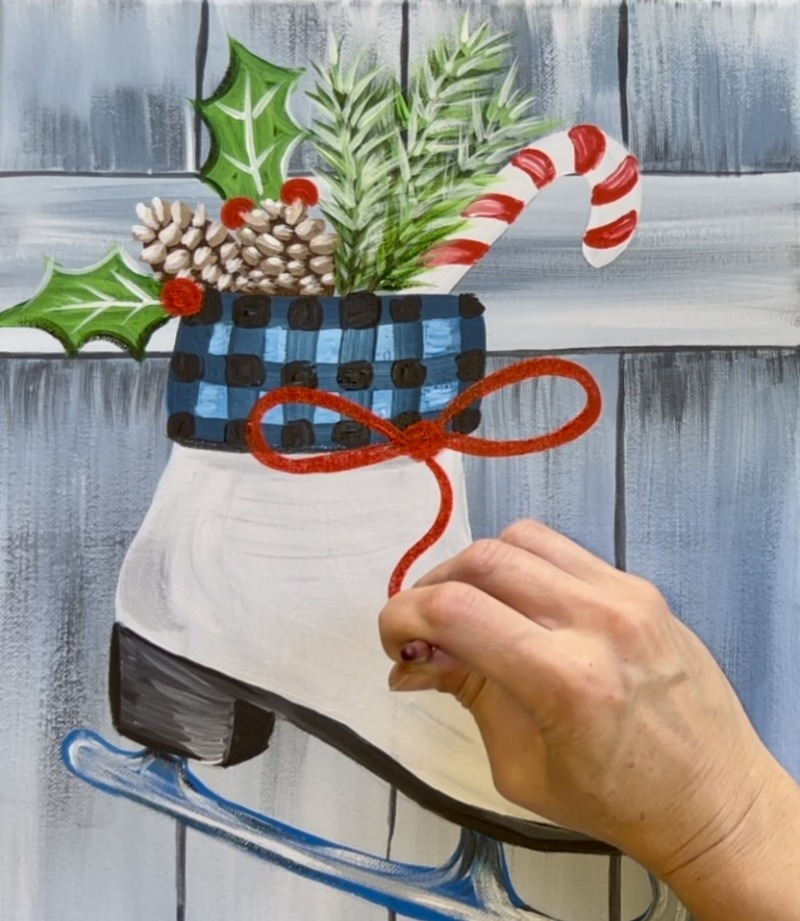
Highlight the bow by blending in a little bit of white in some areas.
Add a highlight to the candy cane by taking “titanium white” and the #4 round brush and painting very light layer of white that curves and goes over the red and right stripes. Add little curved highlights to the berries as well.

14. Snowflakes
The final step of this painting is painting snowflakes! It’s fun to look at different styles of snowflakes. You can google “snowflake clipart” for inspiration! Use the #4 round brush and “titanium white” to paint large and small snowflakes throughout the background.
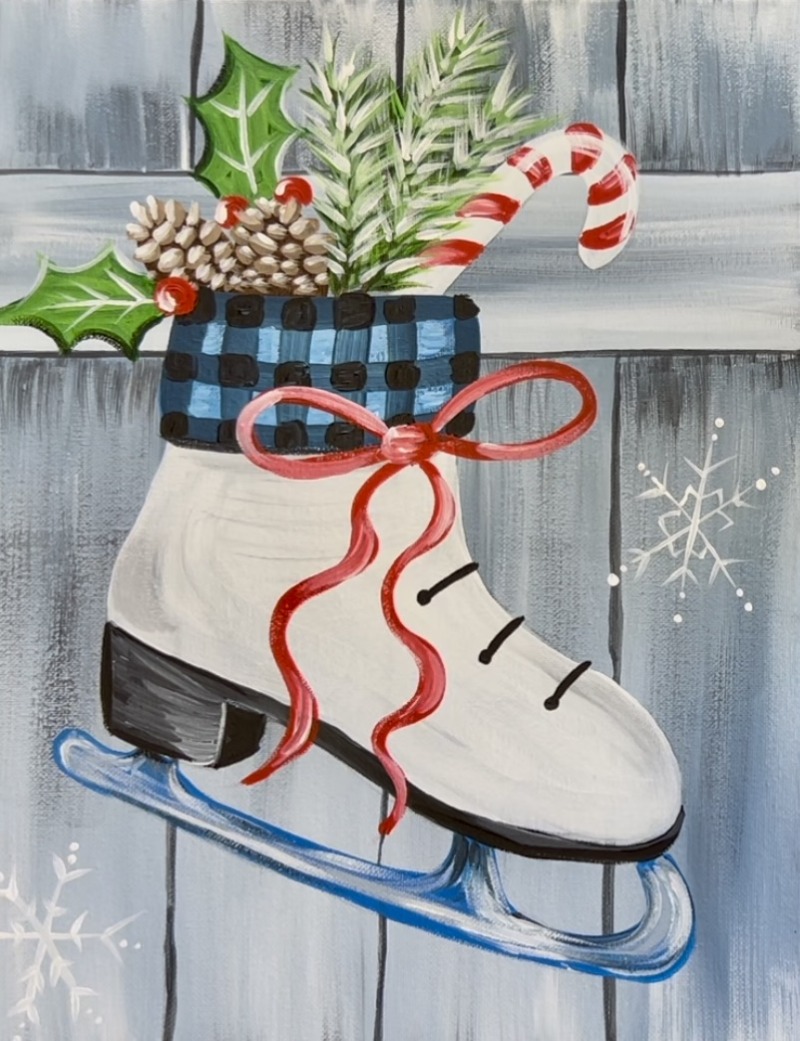
In addition to snowflakes, you can paint various snow dots throughout the background.